
My wife Anita won this desk at a local auction a couple of weeks ago. She loved the curves of the desk and wants to use it for sewing. What she’s going to sew I have no idea but that ‘s what she wants it for. It was in decent shape with a few spots where the veneer needed to be glued down and the leg needed to be glued back to the frame but that’s easy stuff to fix. What really needed attention were the two legs in the back that were missing part of their feet.

More than likely, sometime in the past the desk sat in some water and both back feet became unglued from their leg. I knew Anita was planning on painting it so I just grabbed some straight grain cherry about 1″ thick and glued it onto both back legs.

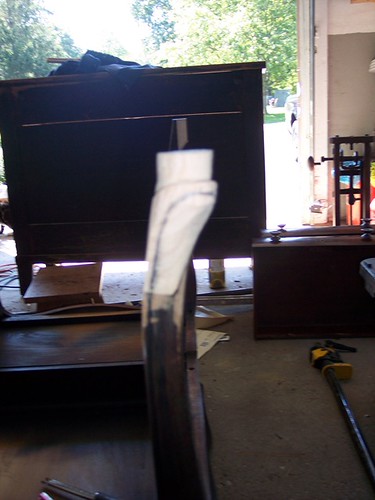
Once the glued dried, I started filing away the wood trying to recreate the swoop of the pad. Since the bad legs were in the back, it wasn’t entirely necessary to make perfect matching feet with the ones in the front since no one would really see them while the desk was against the wall but I still wanted to give it my best shot.
I used a variety of rasps and MicroPlanes to shape the curve into the foot. I’ve made cabriolet legs before so I had a basic understanding of how to shape them. Once the general shape was created, I drew the bead onto the blank and used my Dremel to carve it in.
After shaving was completed, 80 and 150 grit sandpaper finalized the foot. I was quite pleased with the results.

One foot down, one to go. It took about 30 minutes for me to finish one foot listening to the Bengals game on the radio.

After I was done with both feet, I flipped over the desk to see how it looks. Not too shabby. Once the desk is painted no one will know that the feet where redone. Anita was impressed as well. She didn’t think I would have been able to match the two in the front. I guess I’m good for something.


Mike,
Great repair. You’re too modest. I always look forward to reading your new blog posts.
Chris
LikeLike
Thanks Chris
LikeLike
Great Job! Just continue with these results, and you may just work yourself into a “keeper”.
LikeLike
Paint!! I hate paint, unless it’s a house or a car. A little red mahogany stain, and a good finish, think about it.
Toby
LikeLike
I know but it’s my wife’s desk and she does a really good job painting old furniture. I’ll throw up a pic when she’s done.
LikeLike