
The last couple of weekends have been really nice in Cincinnati so we took advantage of the weather and decided to complete the railing on the deck. We actually started to replace the railing and some of the deck boards on the 15 year old deck before we got hit by the tornado a couple of months ago.
The railing is really simple, just some custom 4×4 posts, 2×4’s for the rails, plastic rail supports to hold the railing to the posts, and rectangle aluminum spindles. Simply measure the distance between posts and subtract 1/4″ of the total measurement for the thickness of the plastic supports. Then add back the 1/4″ for the top hand rail. The final step was to figure out where the spindles go by using simple math and spacing them 4″ apart.

These things are a God send and worth every penny. They’re about $5 for a pair and save a whole bunch of time and frustration installing the rails to the posts. On my old railing, I toe nailed them to the post with 3″ decking screws. Some rails held up, many didn’t.

To attach the posts to the side of the deck, I cut a notch half way through the post by running my circular saw over the notched area many times. Then I took a chisel and popped off the chunks, followed by smoothing the face with my Stanley 140 block plane. Then I bolted the posts securely making sure it was plum.


The trickiest post to do was the inside corner. This post I cut notched on both sides of the post and cut a square hole into the deck board, then slid the post inside and bolted it from the side of the deck.

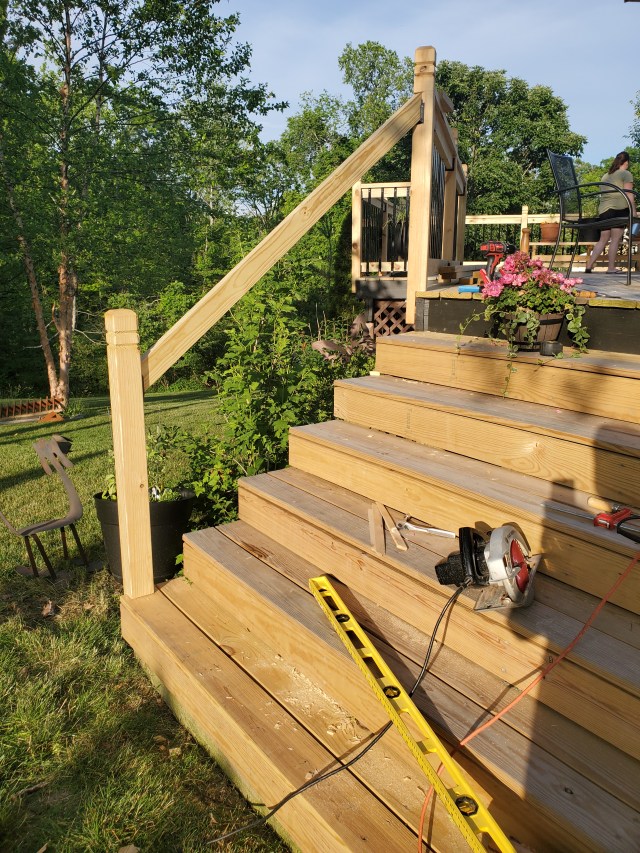
When it came to installing the stair railing I had to take my time and figure out all the different angles. Because my stairs come off my deck at 45 degrees, I had to notch out the corners of the posts to attach my rail supports.

I had to cut the notch deep enough so that the plastic support would fit nicely inside. The support was temporary attached to the post so I could figure out the correct angle it needed to be.

Ideally the notch would be 45 degrees on the post, but my stairs were not a perfect 45 degrees of the deck. I had to play with the angle so that the railing would be inline with my steps. I simply eyeballed what the angle should be and cut more on one side of the posts to change the angle of the notch.

After a little trial and error, and constantly nibbling off the length of the rail, I got it to fit nicely between the posts. I attached the rail supports to the end of the rail and screwed it onto the posts. Then repeated the process for the bottom rail as well.
The next thing to do was to figure out the angles for the top rail. Since the rail is angled upward, simply cutting a 90 degree notch at a 45 degree angle on the board won’t work. The angle has to be more acute than 90 degrees and the underside needs to be angled back so the rail fits snugly against the post. I used my template gauge in order to find the right angle and cut everything using my reciprocating saw.

It’s not a perfect fit but it’s good enough for a deck. Once the angles were cut on both sides, I screwed the hand rail onto the top rail with 2 1/2″ decking screws.

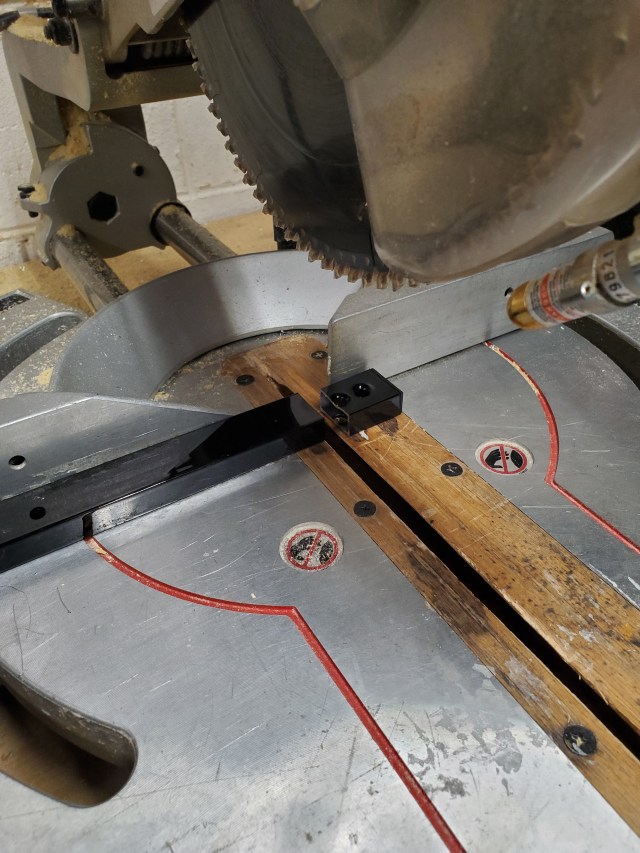
Because of the angle of the step rail, the 32″ long aluminum spindles are too long. I simply cut off about an inch of length by cutting them on my chop saw, then drilled new 1/4″ holes on my drill press.

I figured out the spacing on the spindles an attached each one to the rails making sure they were plumb by using a torpedo level. I spaced all my spindles 4″ from each other using a scrap piece of wood that was 4″ long.
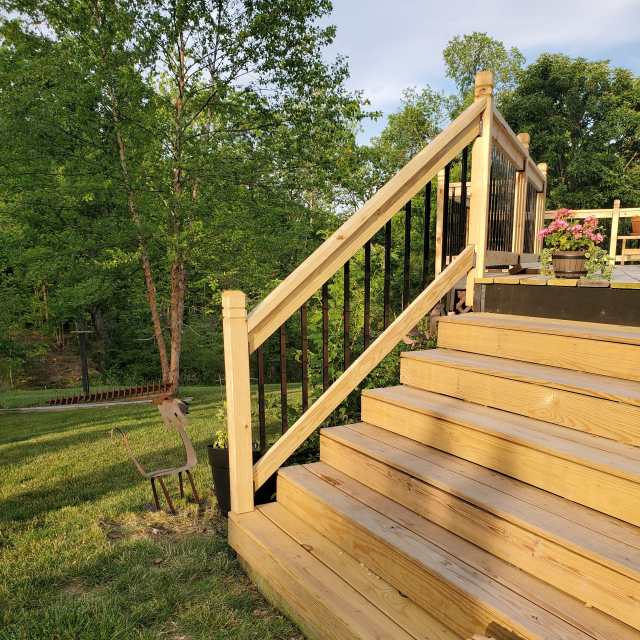
The next day, I finished the other stair rail. This one went much quicker since I knew what I was doing.

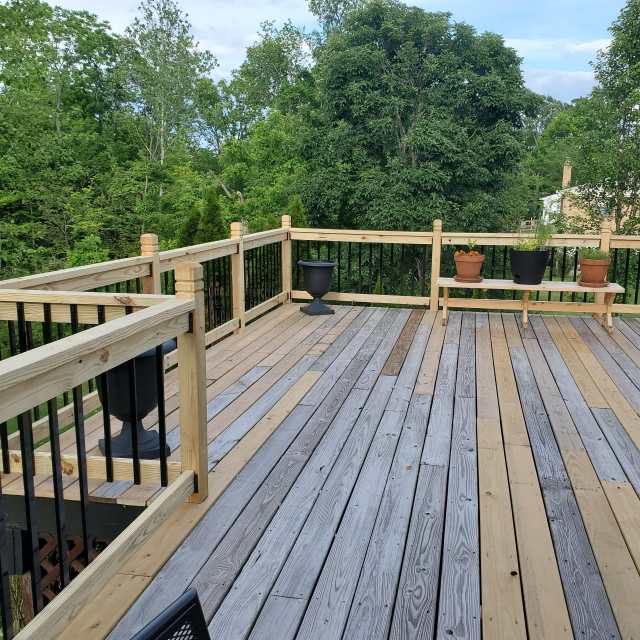
The railing looks nice from the yard and you can’t spot any of my mistakes. Even though you can barely see them in the photo, I glued some spacers under the bottom rail so they won’t bow down. We’ll stain the entire deck in the coming weeks. Now it’s back on to working on the inside of the house.


Hey Mike, It certainly strong enough to withstand some bad weather. You do excellent work and I love the structural details. Keep on Truckin’ Mike…
Best, Charley Supple
LikeLiked by 1 person
Thanks Charley
LikeLike
Doesn’t code say a 4″ sphere may not pass between the spindles? Perhaps you meant 4″ center to center?
Yes, I know, I was always a problem child.
Looking good my friend, rock on!
LikeLike
Correct
LikeLiked by 1 person
Looks good Mike…question: Your mitre saw in the picture, Is that a Delta Sidekick 10″ Sliding Compound Mitre Saw? I even went and looked at mine to compare, from what I can see, yours looks identical to mine. I thought I had bought the only one on the planet…I have never seen anyone else with this saw. What are your impressions of it? I bought mine new in 1996, still like new and going strong…I like the large table, just wish it was dual bevel, but after 24 years, it still works too well to justify a new one, 🙂
LikeLiked by 1 person
Sooo….I looked at your shop tour post, and see my saw is the previous version of yours, the only real difference is my handle is oriented vertically, while your later version is oriented horizontally.
LikeLiked by 2 people
I believe its one the earliest sliding compound saws ever made.
LikeLiked by 1 person
It’s an okay saw. My brother and I went half in together so we both could use it then I bought him out. If I had to do it again, I’d let him buy me out. It’s held up for the past 20 years but I could use a new one.
LikeLiked by 1 person