
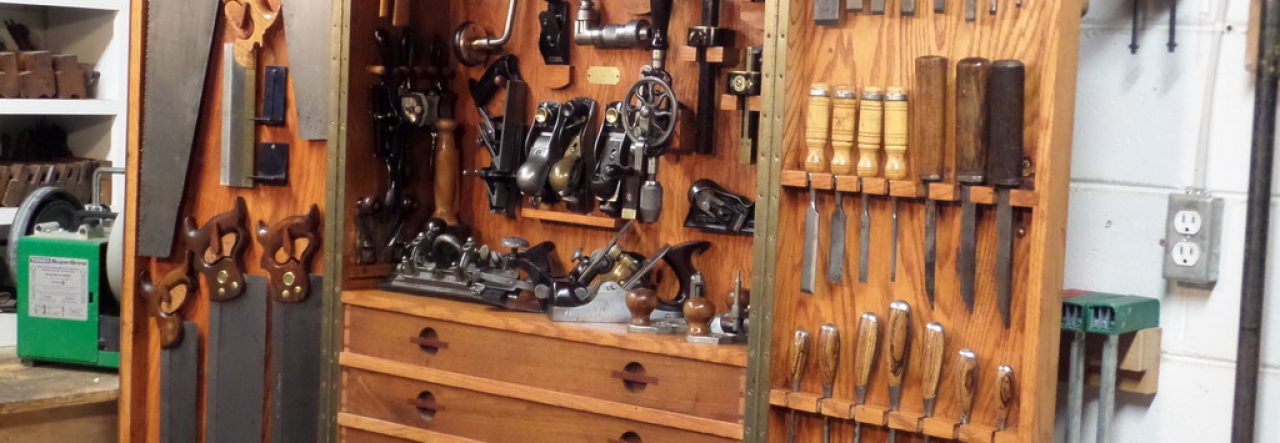
Over the past few months I’ve been making these French style bookcases for my wife. They’re pretty popular as they usually sell within a couple of weeks in her booth. The nicest part of the bookcase is the design of the cross bars that mimic the design of the Eiffel Tower. The design also makes the bookcase lighter and feel more open as opposed as having closed sides making the bookcase feel heavy.

Adding the cross bars isn’t so difficult when you take your time and measure everything correctly. When I start to build the cross bars, I rip 3/4″ square stock out on the table saw and sand them smooth on my drum-sander. I take one of the bars and clamp it to both back styles of the bookcase. I then strike a line to show me the correct angle that needs to be cut.

I take the bar over to my old school Stanley No 140 miter box and cut it close to the line, but not on it. I could do this on a power miter saw, but I feel that’s way too much power for doing delicate work like this.

After the cutting the bar on my miter box, I size it to the line by carefully trimming it with my AMT miter trimmer. I love this tool, but a miter trimmer is the Rodney Dangerfield of woodworking. For whatever reason, it simply gets absolutely no respect in the hand tool world. I guess hand tool purest would rather use a shooting board and plane, but this thing has never let me down in the twenty-five years I’ve owned it.

When the bars are properly fitted, they are super tight against the styles. So much so that it is very tough to even fit them in place. Having the bars fit this tight is actually very important because they will be glued in place without any mechanical fasteners other than a 23 gauge micro pin toe nailed to the styles.

Once I’m happy with the fit, I then scribe a line on each bar where the bars meet to create a half lap joint.
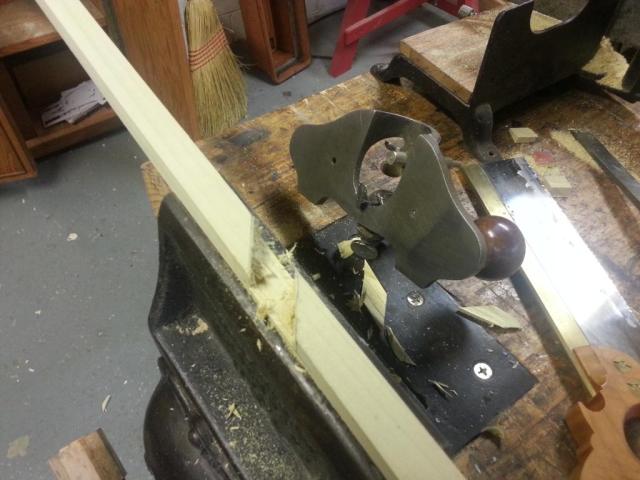
With a dovetail saw, paring chisel, and router, I carefully remove the material between the lines. The depth of the router blade is exactly half the thickness of the bar ensuring the bars are flush to each other when they are fitted together.

After the joint is cut, I test fit the pieces to make sure everything looks good. An important thing I do when installing the bars is to place witness marks on the bars and styles so that I know which direction the bars goes when it’s time for installation.

The cross bars on the sides of the bookcase are done exactly the same way. When it comes to installing all the cross bars, I glue and nail them to the styles. Because I plan on painting the bookcase, I don’t care about the nail holes. I just fill them in with wood putty. I use 18 gauge pneumatic nails and nail the side cross bars from the front and back of the styles. The back cross bars, I glue and toe nail them with 23 gauge pin nails to the back styles.


 MVFlaim Furnituremaker