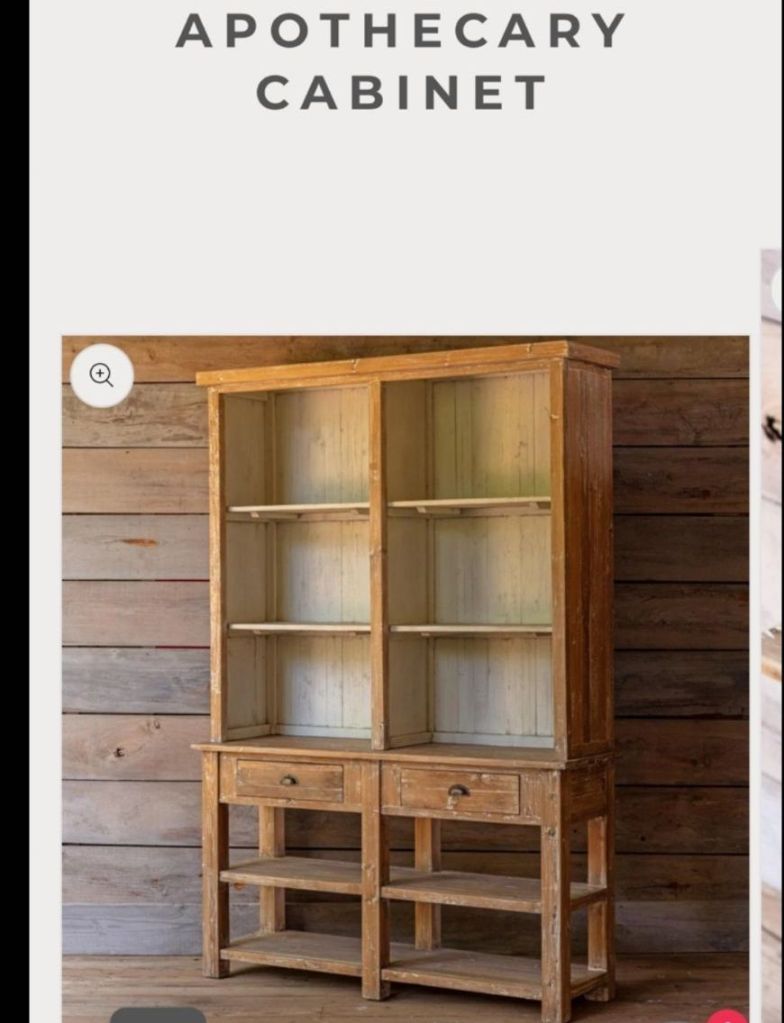
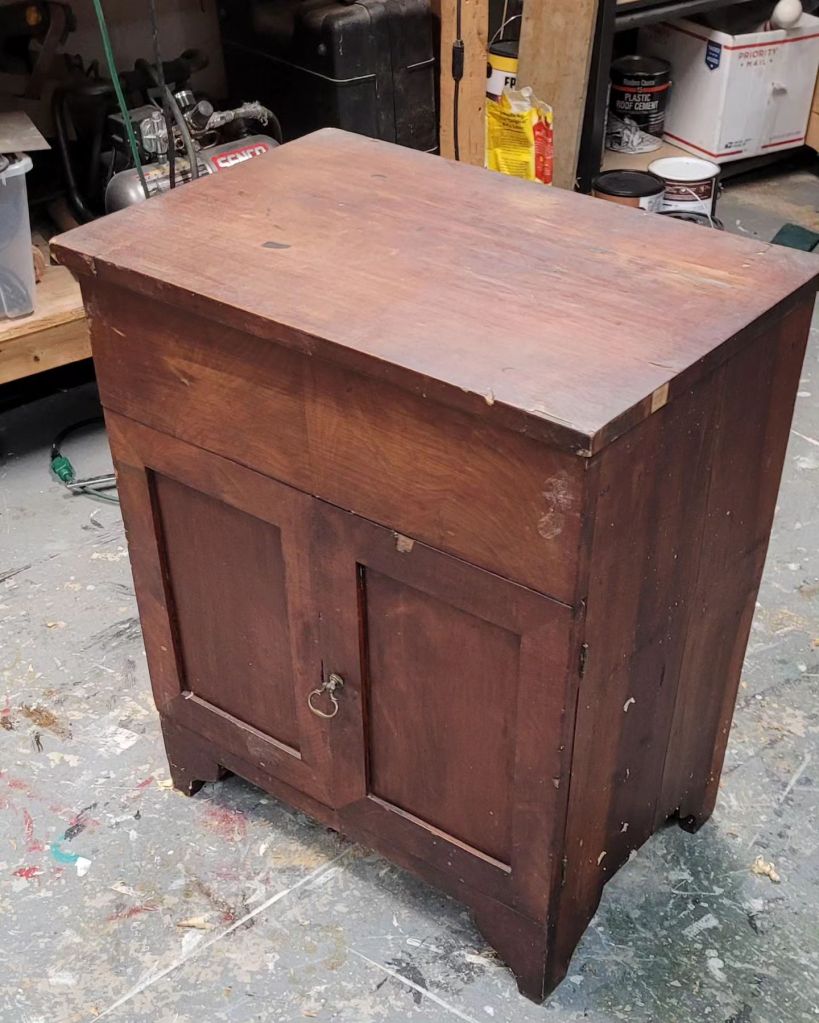
Last weekend, my wife Anita bought this old side table at an antique mall. She loved the way it looked, but it was pretty wobbly and ready to fall apart. She asked me if I could stabilize it and I told her I could so she bought it.

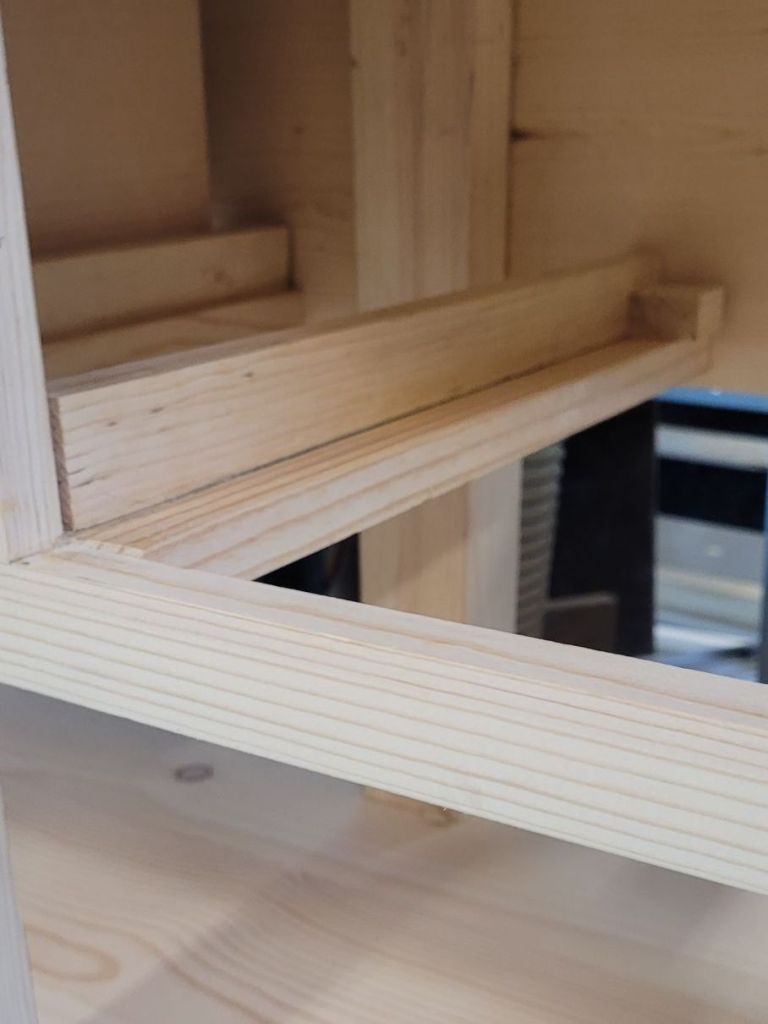
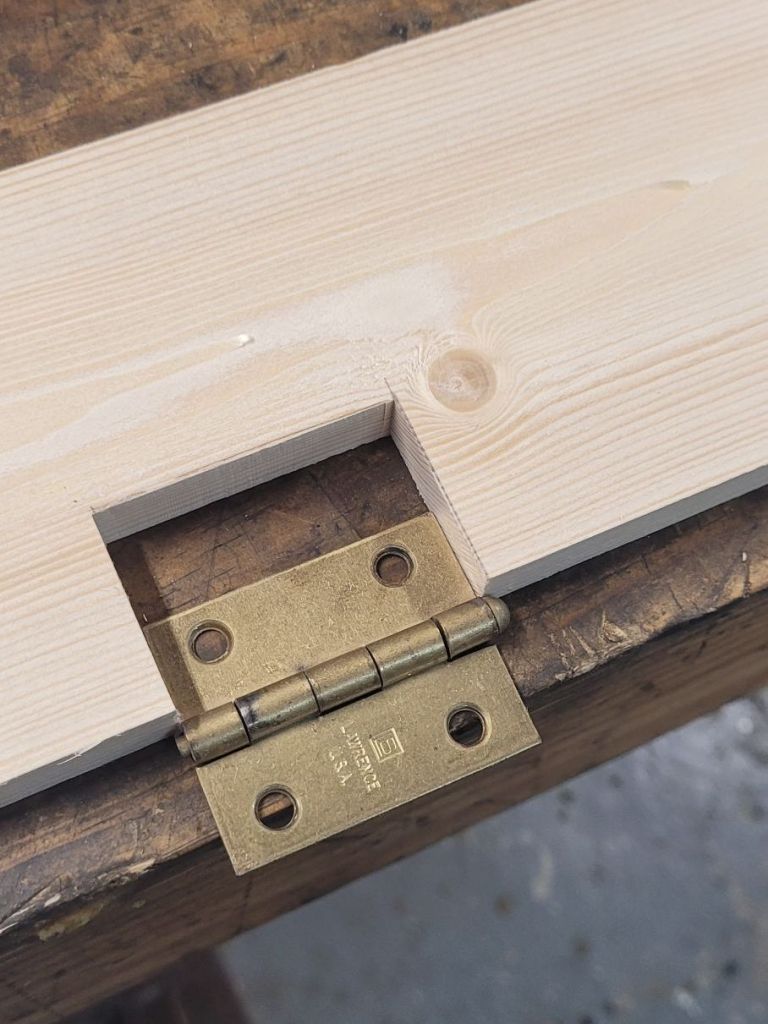
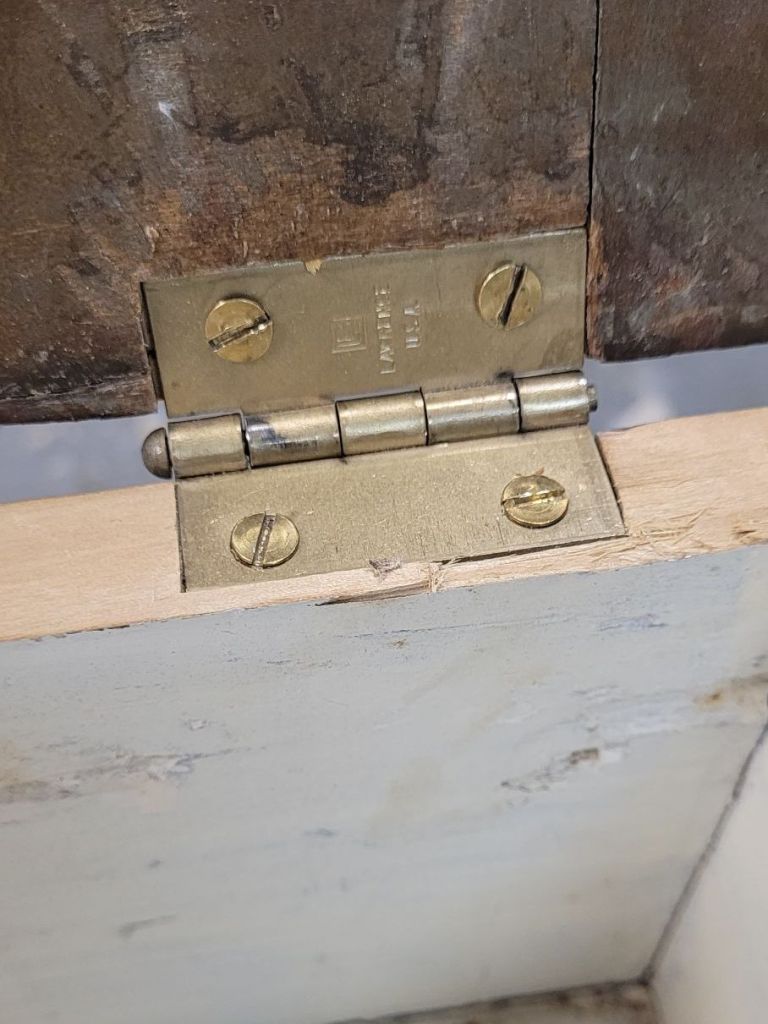
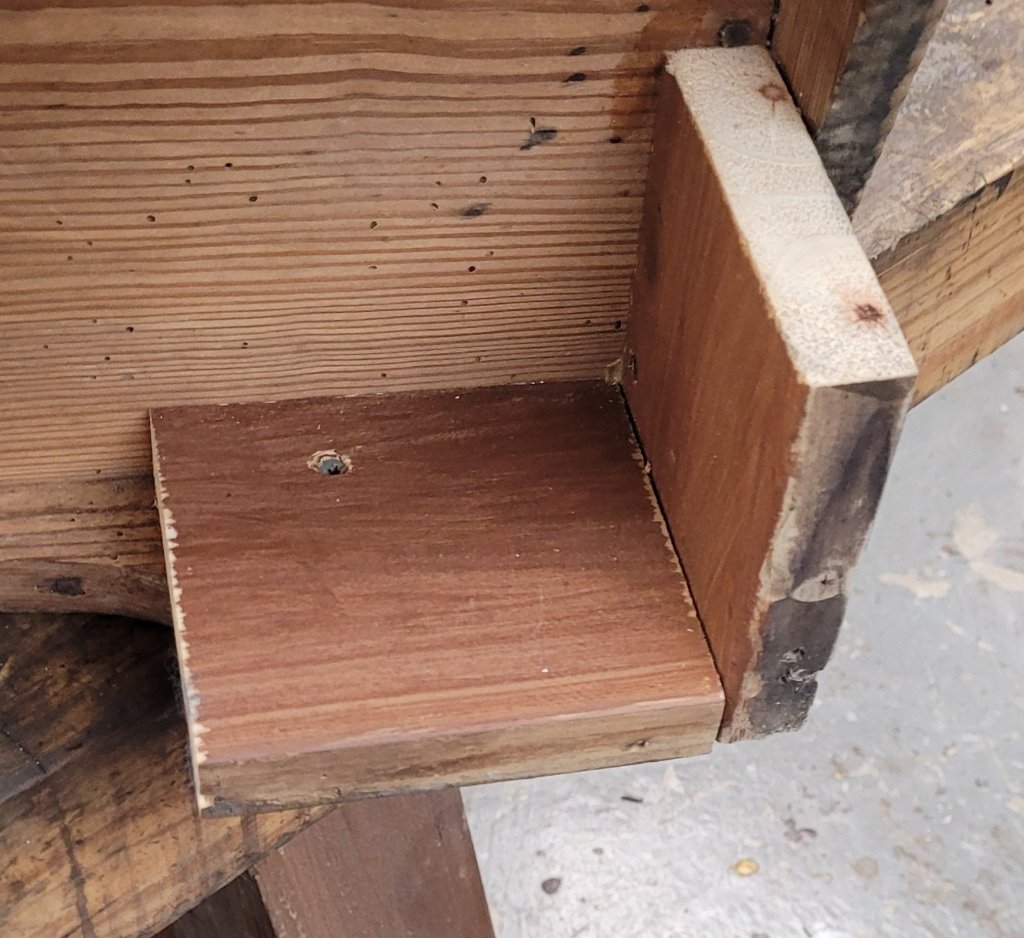
The issue with the table was that it was coming loose in the back and the legs were wonky so she asked me to put a stretcher in the back to stanle everything.

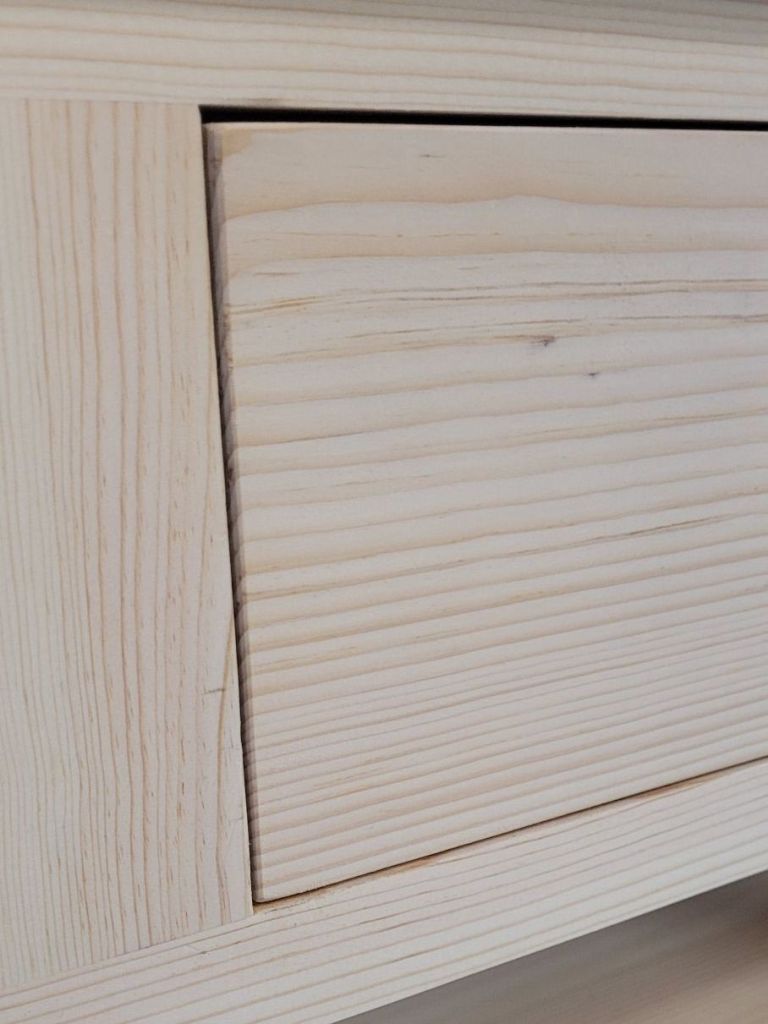
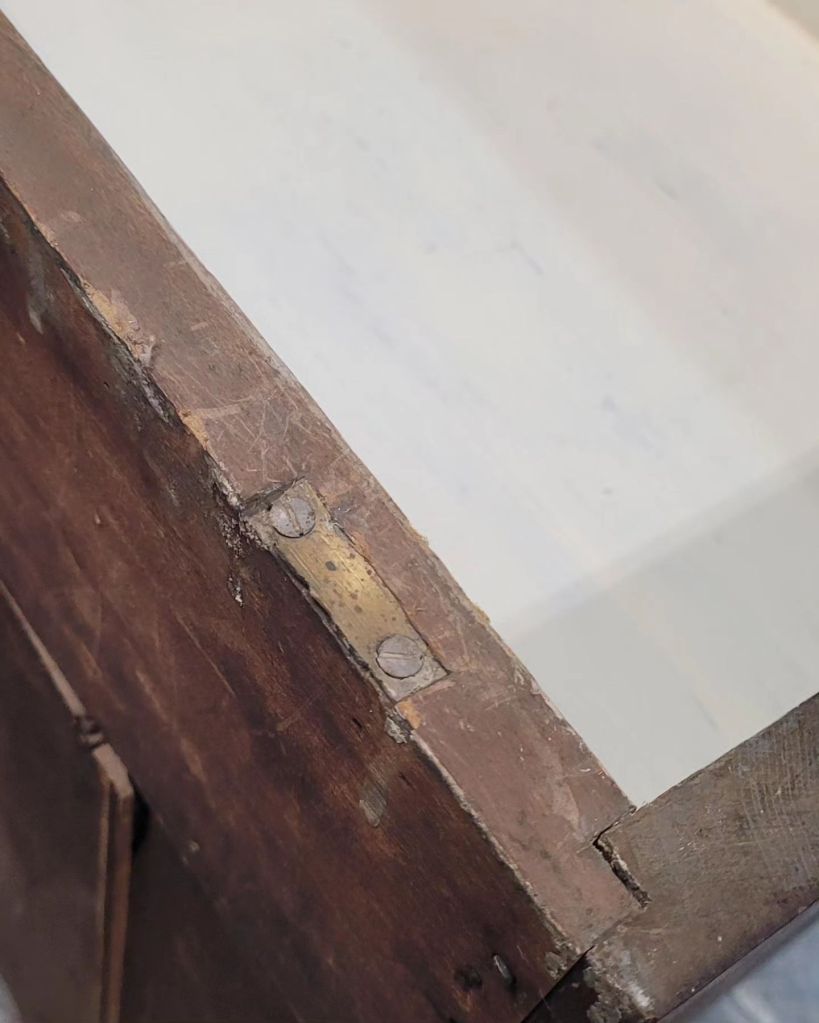
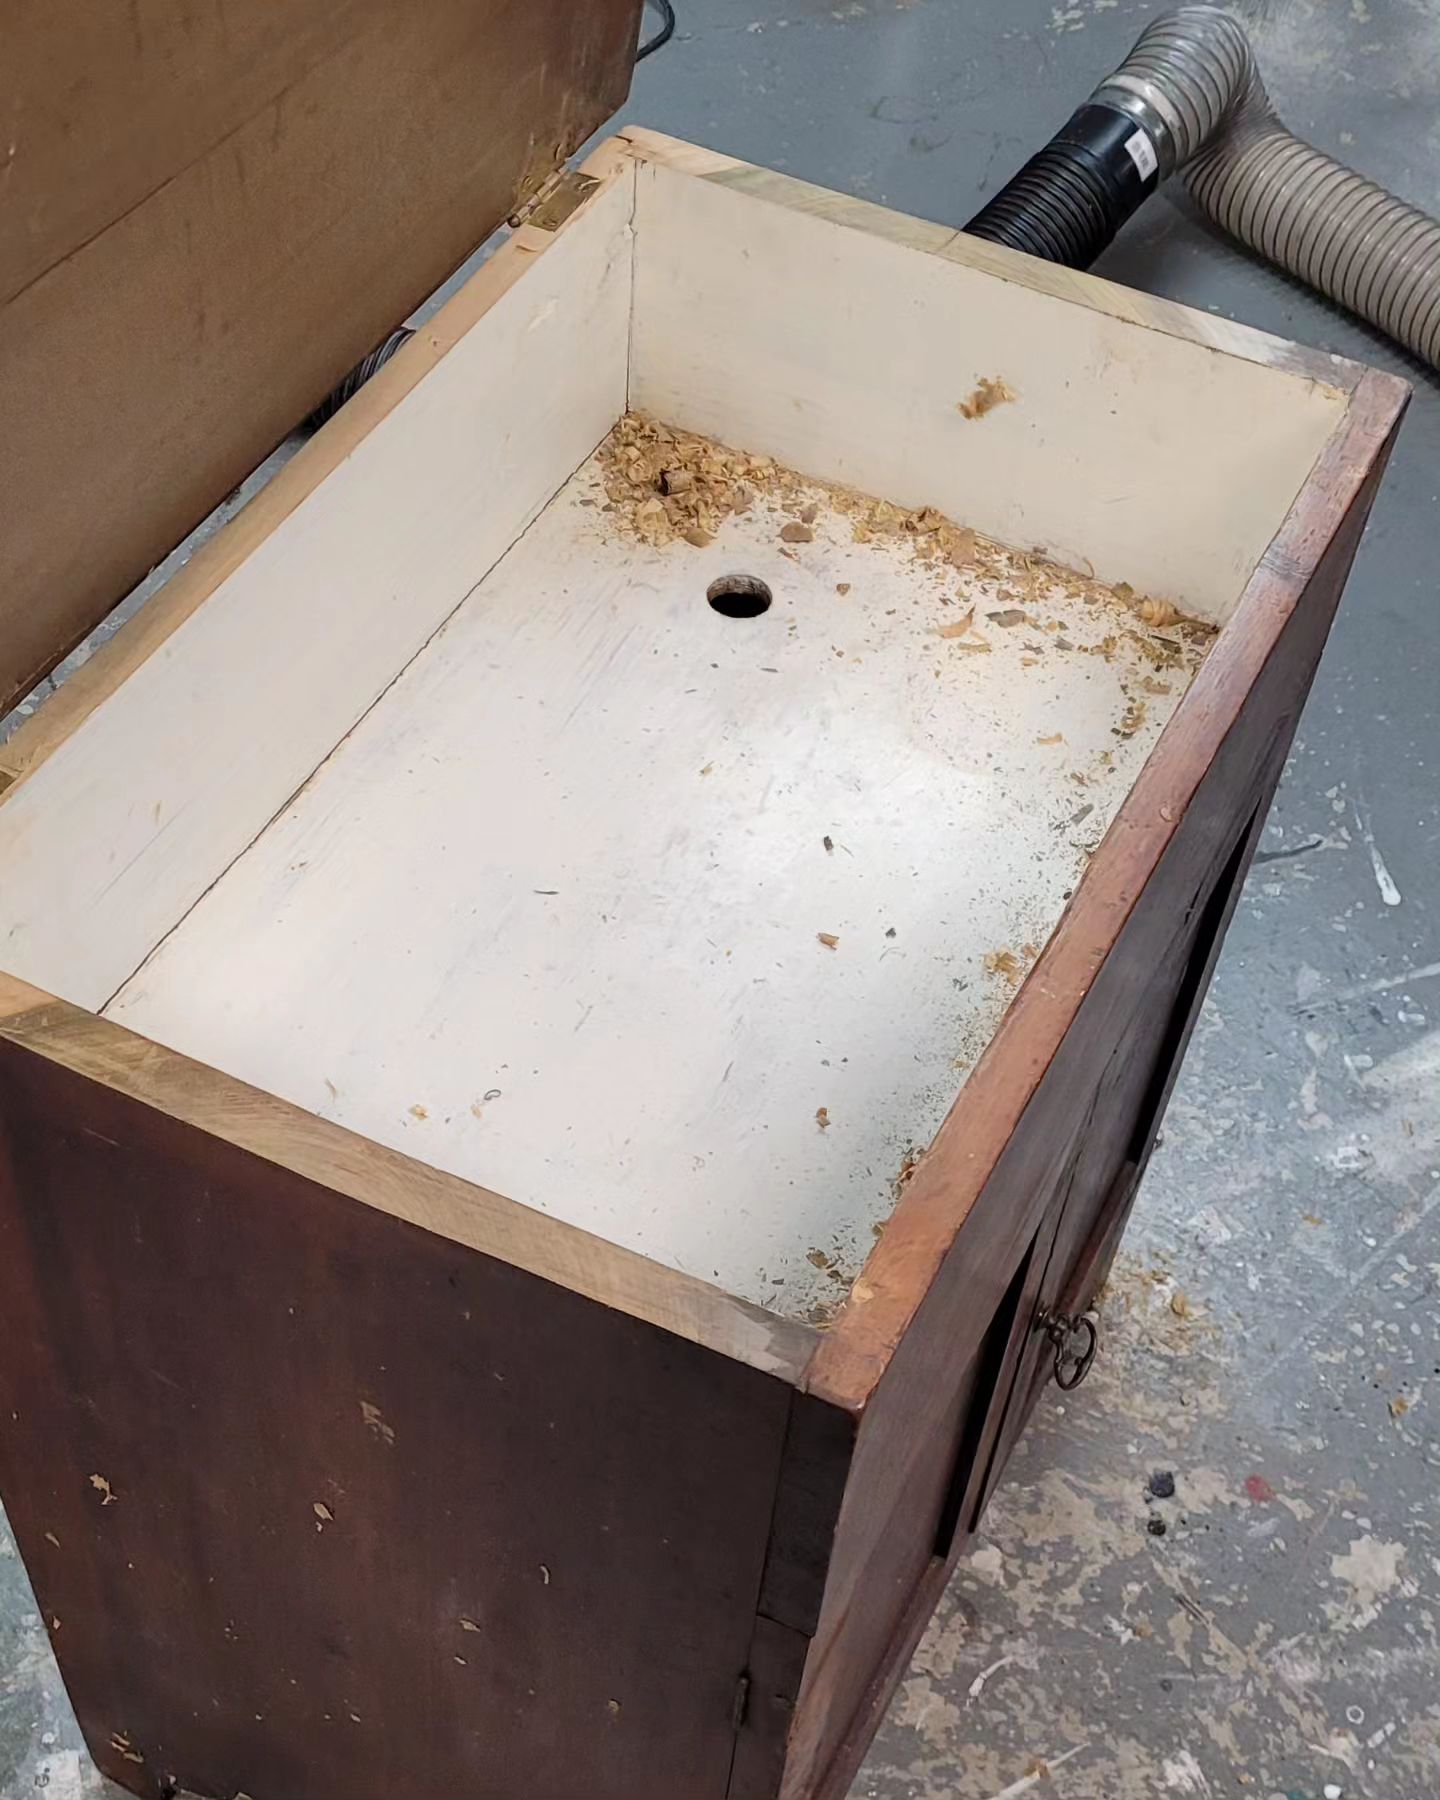
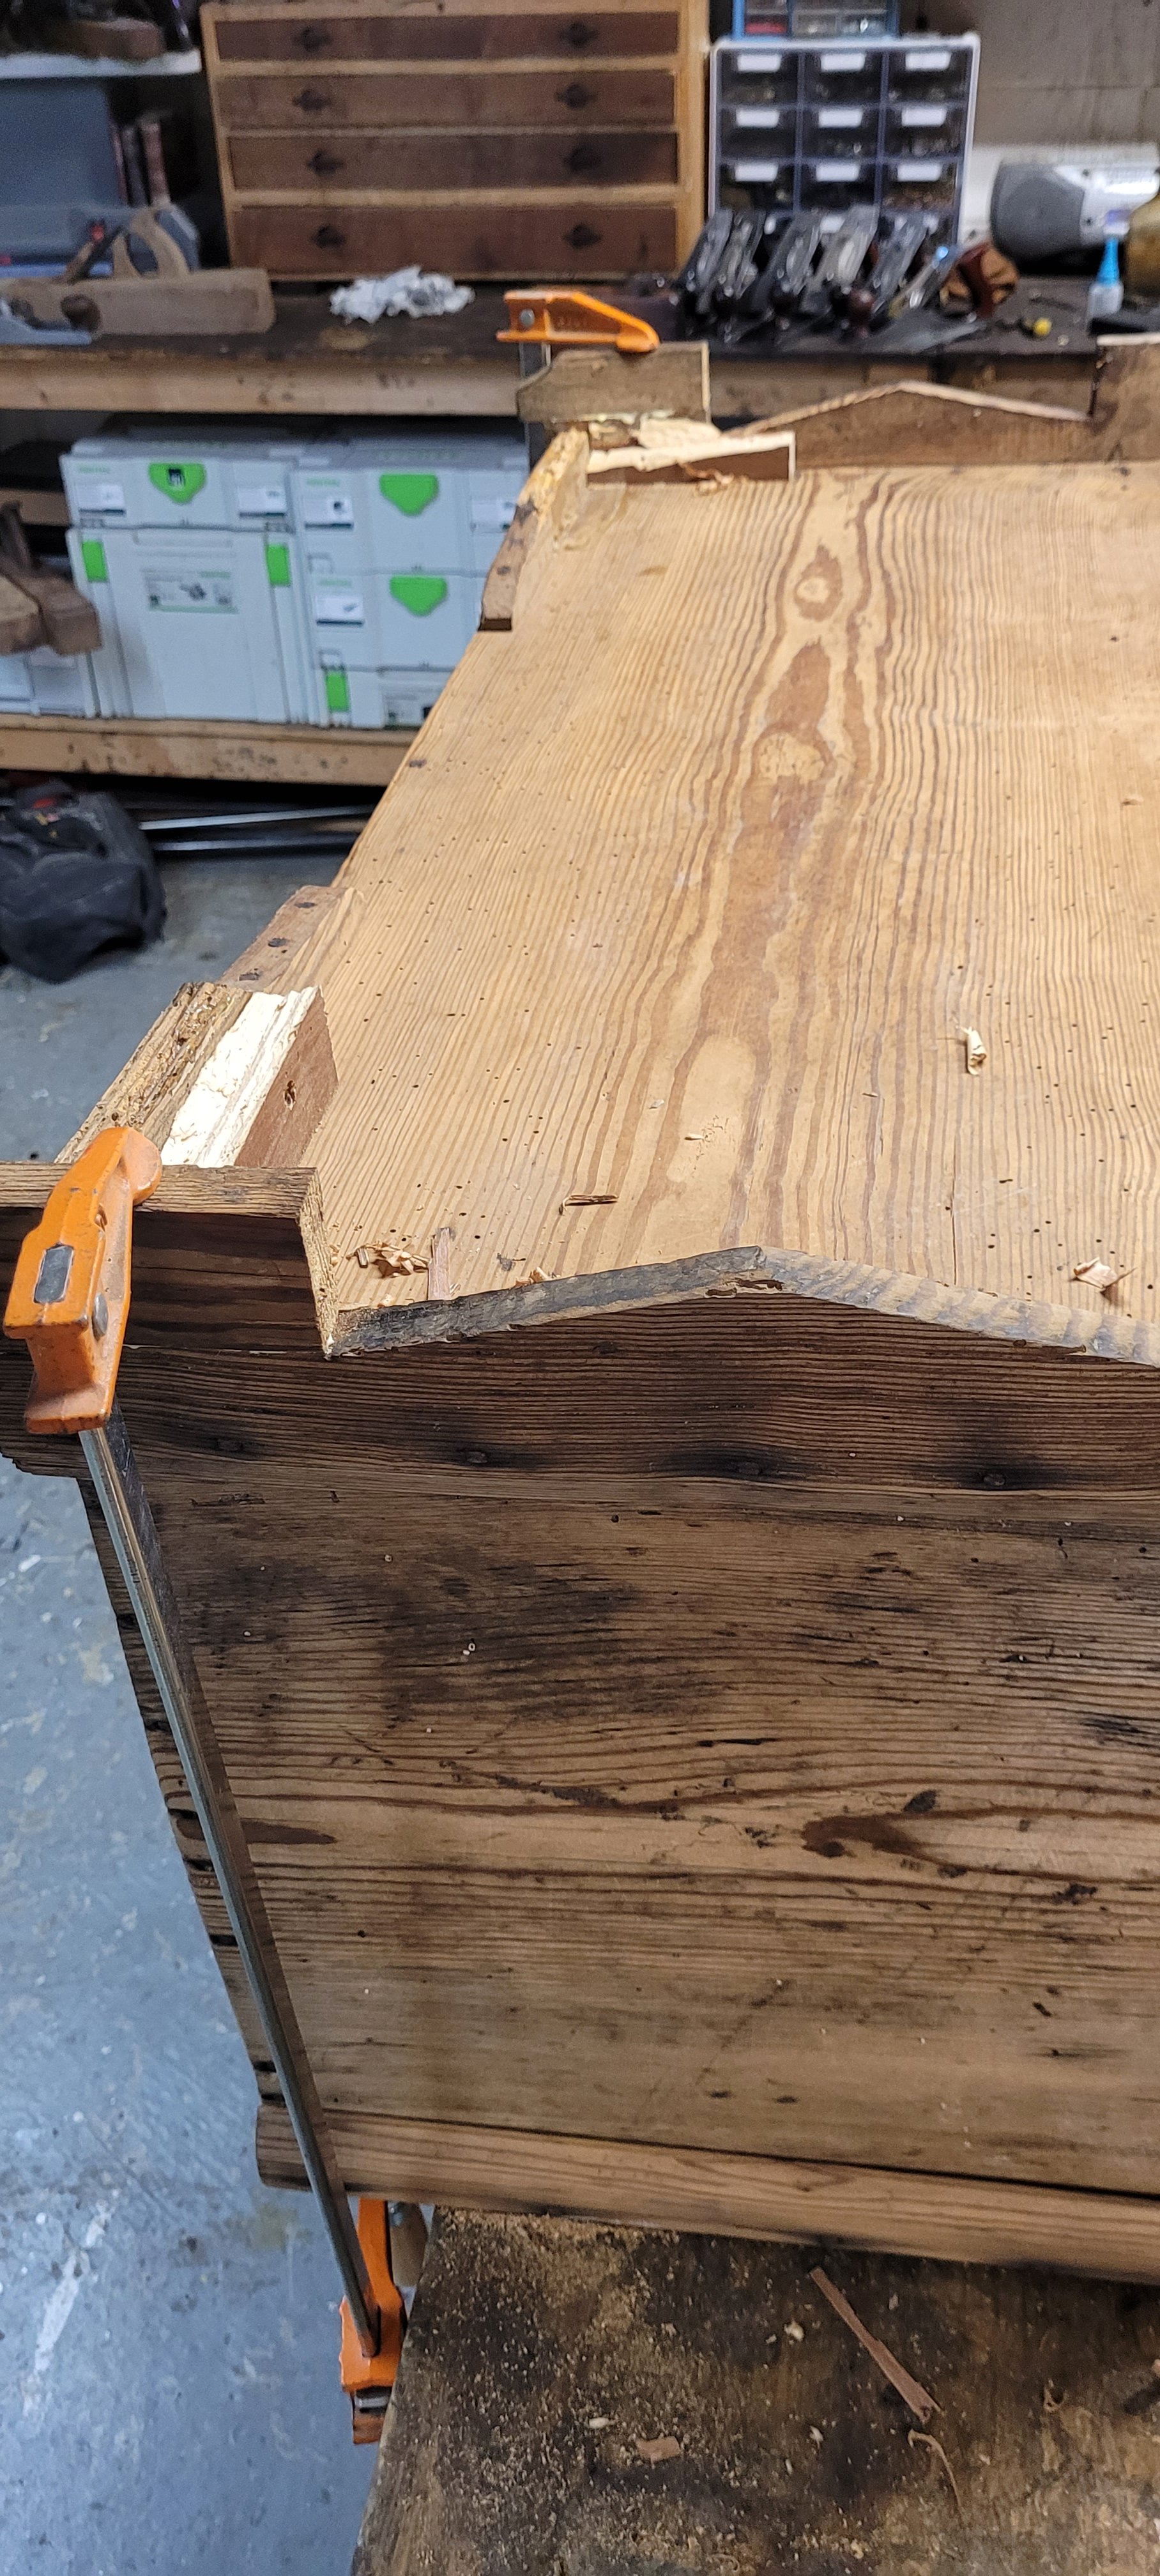
A bigger problem with the table was actually its drawer. It was somewhat repaired back in the day but done improperly, so it really didn’t work at all. The one drawer bottom side was completely gone, so I had to deconstruct the drawer in order to fix it.


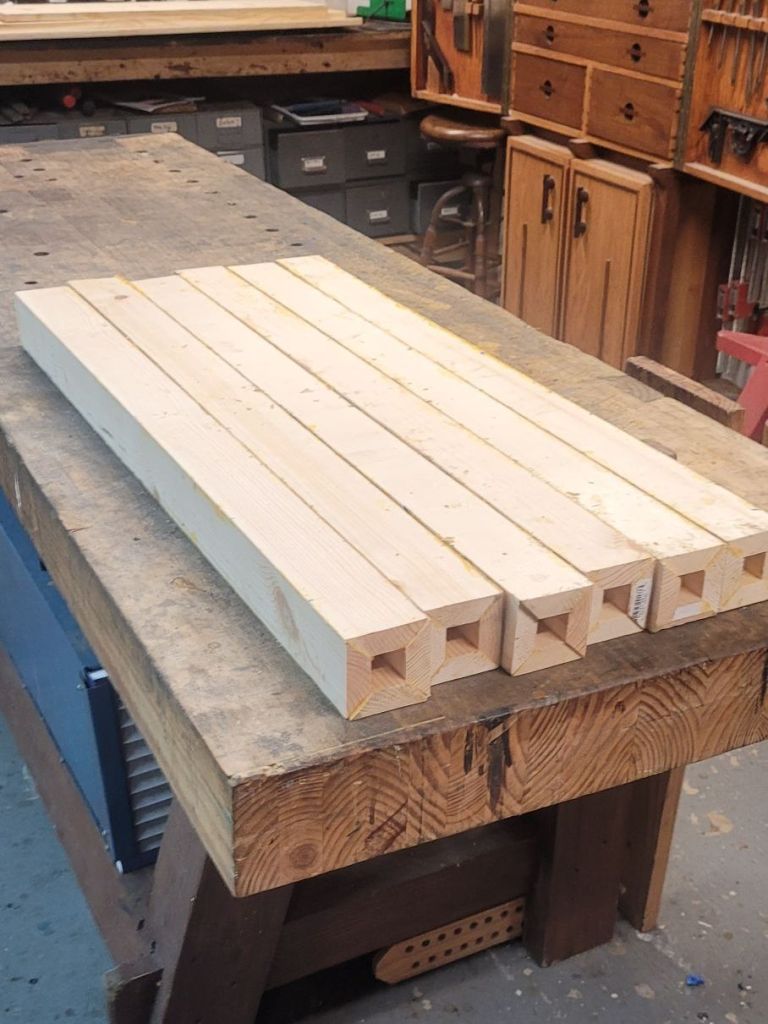
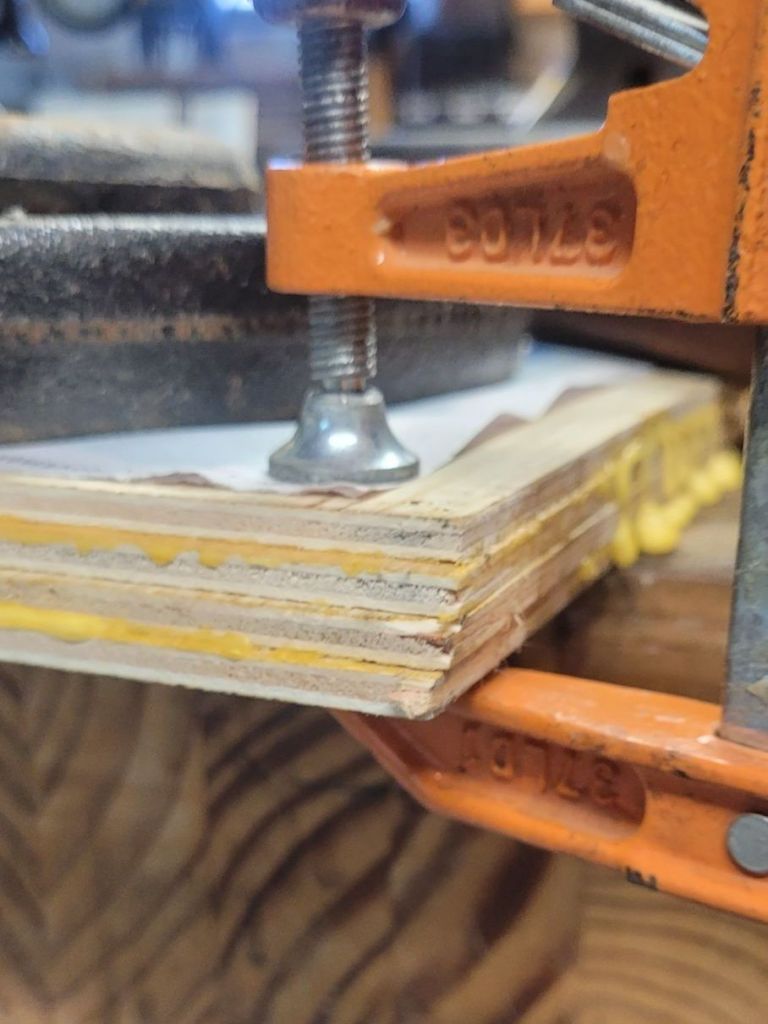
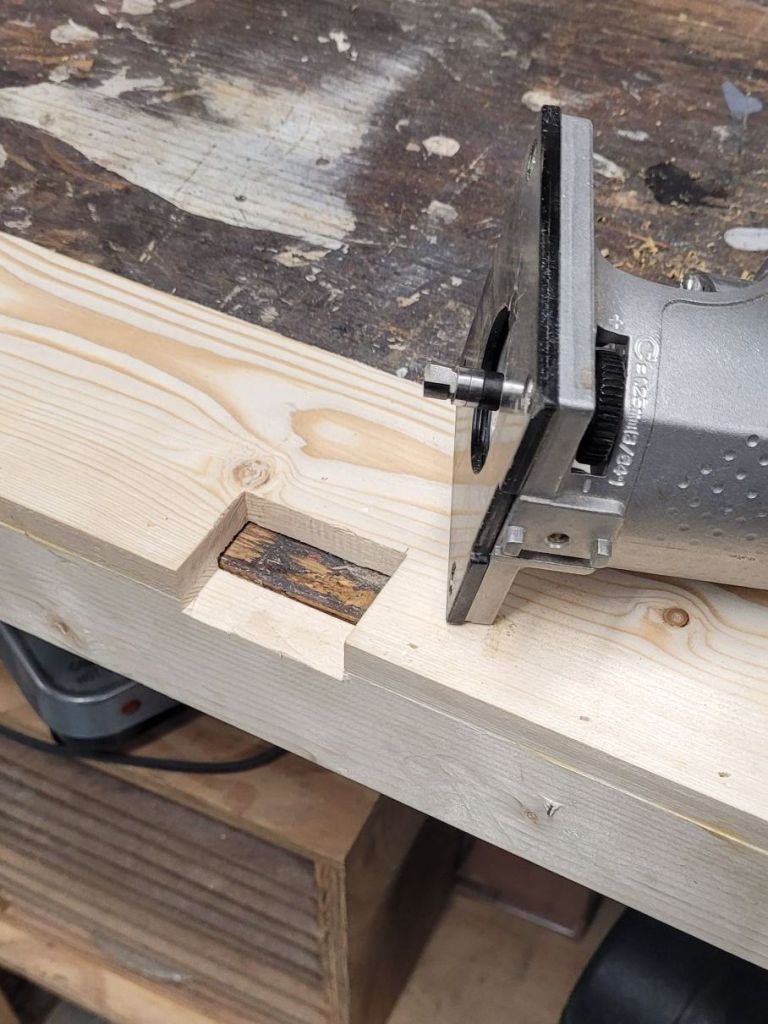
I grabbed a piece of scrap pine that matched well enough to use for the parts of the table I was going to fix. Then I cut and glued everything together.


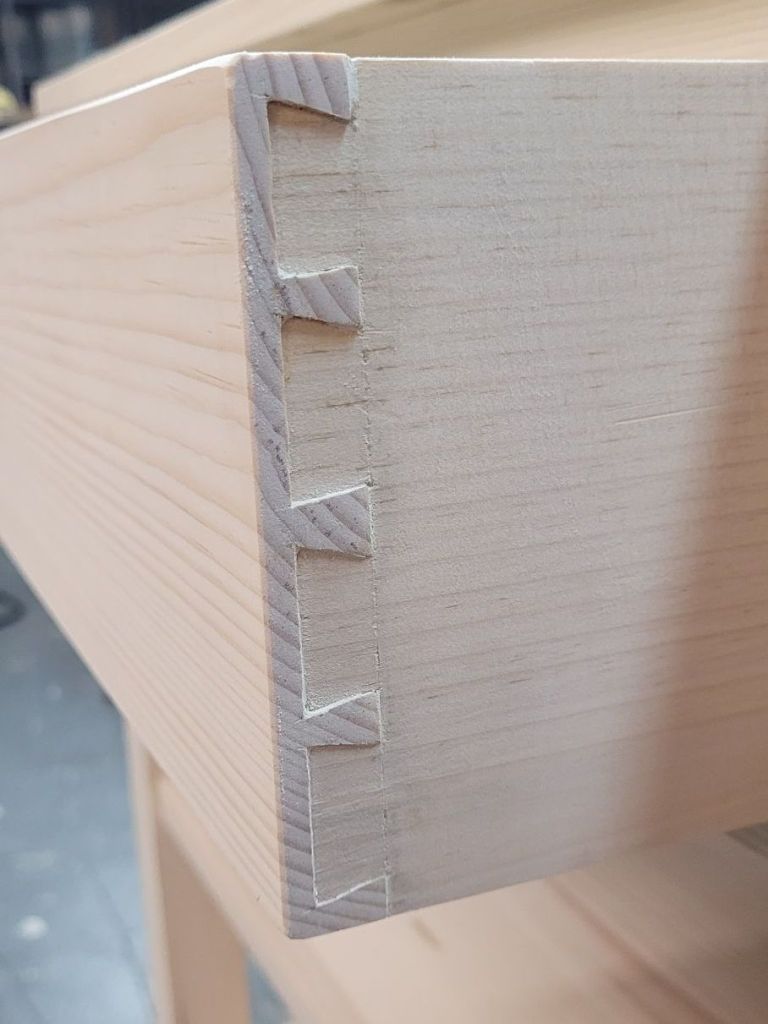
I added a stretcher to back to stabilize the legs. I cut the piece to fit, and then I used my Festool Domino to cut the through tenon. There is nothing like using a 21st-century tool to repair a 19th-century table.


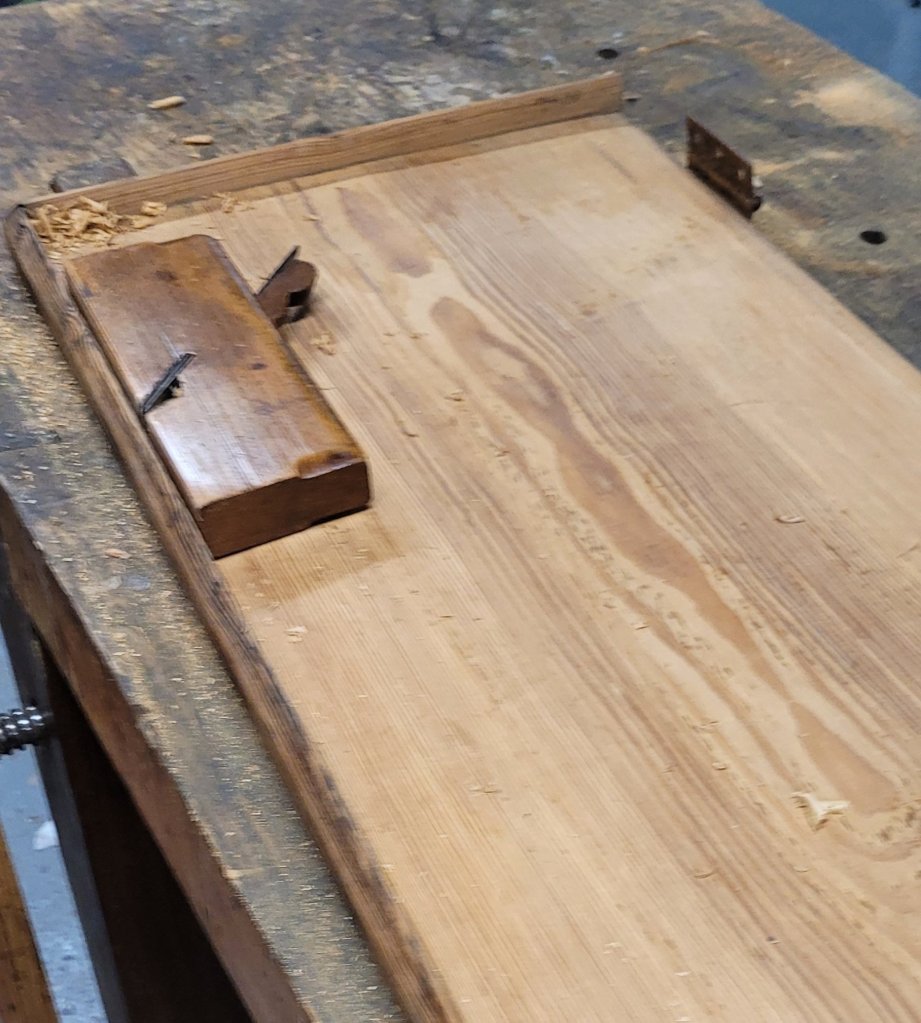
After the glue dried, I cut a Dao down the side of the drawer to fit the drawer bottom in. Then I nailed the bottom to drawer so that it would fit better and not fall in.


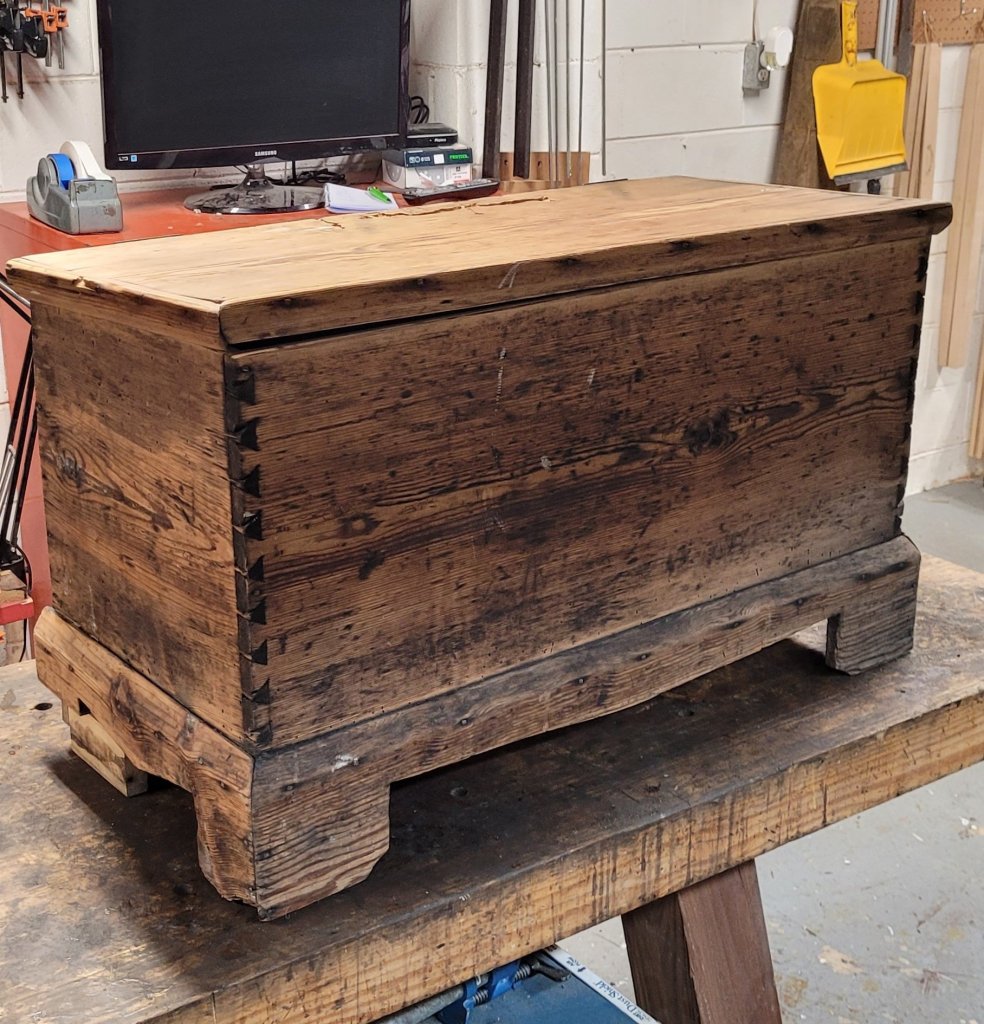
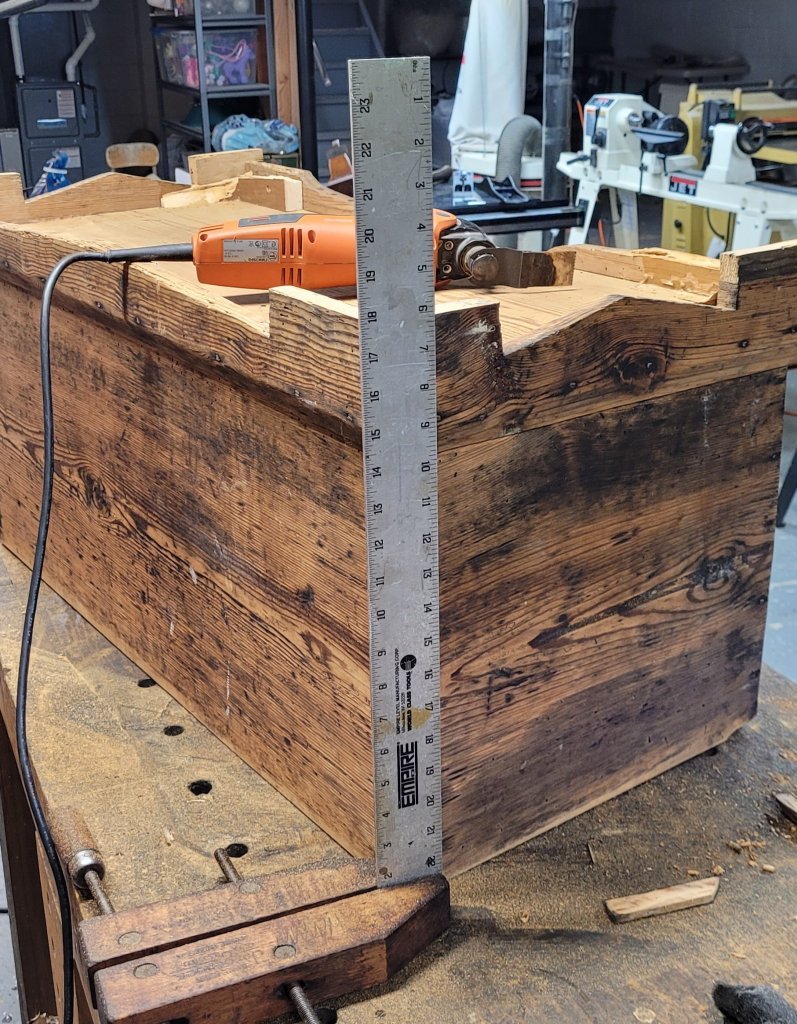
A couple of hours in the shop and the table is ready for another hundred years of service. I’m not going to do anything to the back stretcher to make it match the rest of the table. I doubt no one will even notice it.