Last weekend, my wife Anita bought this old side table at an antique mall. She loved the way it looked, but it was pretty wobbly and ready to fall apart. She asked me if I could stabilize it and I told her I could so she bought it.
The issue with the table was that it was coming loose in the back and the legs were wonky so she asked me to put a stretcher in the back to stanle everything.
A bigger problem with the table was actually its drawer. It was somewhat repaired back in the day but done improperly, so it really didn’t work at all. The one drawer bottom side was completely gone, so I had to deconstruct the drawer in order to fix it.
I grabbed a piece of scrap pine that matched well enough to use for the parts of the table I was going to fix. Then I cut and glued everything together.
I added a stretcher to back to stabilize the legs. I cut the piece to fit, and then I used my Festool Domino to cut the through tenon. There is nothing like using a 21st-century tool to repair a 19th-century table.
After the glue dried, I cut a Dao down the side of the drawer to fit the drawer bottom in. Then I nailed the bottom to drawer so that it would fit better and not fall in.
A couple of hours in the shop and the table is ready for another hundred years of service. I’m not going to do anything to the back stretcher to make it match the rest of the table. I doubt no one will even notice it.
When you’re looking at where to buy old tools, you need to decide where to go. When I started collecting tools back in the 1980s, the main places were antique shows, flea markets, and antique malls. Even after all these years, these are still the easiest places to find general woodworking tools at a good price. You get to look at what you’re buying to see how good the condition is. Then you can barter on the price if you want with the seller. Large antique shows and flea markets have hundreds of vendors during the show. If you’re looking for common planes, chisels, and saws, this is the best place to be. After buying tools for forty years, this is still the primary place where I buy tools.
However, since the ’80s, numerous other places to buy old tools have opened up. Mainly because of the internet. eBay is by far the easiest way to find what type of tool you’re looking for. A simple quick search can lead you right to the type of tool you’re looking for as well as its vintage. Prominent eBay sellers will take multiple pictures of the tool and include a solid description of what you’re buying. On eBay, you can either wait for the auction to be over or simply buy it with a Buy It Now button. eBay is where I’ve been selling my restored tools for the past twenty years and will probably continue to do so for the next twenty.
Antique tool sellers’ personal websites are also another resource. They, too, will categorize their inventory into a search format so that you can easily find what you’re looking for. Tool collector websites often sell tools that are in good to mint condition, so little restoration may be needed. With this, the pricing on their tools will often be more than what certain eBay sellers will have, but not always.
Online classifieds like Craigslist and Facebook Marketplace are another option. In my experience using those platforms, I’ve I have found that sellers are often very vague in their description and only include one or two pictures of what they’re selling. I rarely buy tools through those two platforms as I don’t like having to schedule a time to meet up with the seller, and prices are often too high anyway.
Along with Facebook Marketplace, Facebook tool groups is another way to buy old tools. There are dozens of tool collecting groups on Facebook that specialize everything from restoring workbenches to using stanley planes to collecting infill planes. The members of the group will post pictures of the tools they want to sell along with their price. There are also Facebook groups where you can bid on tools like an auction or even swap tools for trade. I have never bought anything from any of these groups as I have heard and seen too many scammers listing tools they don’t even own just to take money from the buyer and split. Others may have had luck with these groups.
Yard sales is another way to buy old tools. However, the yard sales around me are always filled with clothes and baby toys. Driving around town from a yard sale to yard sale is a painful way for me to spend a Saturday afternoon. Unless it’s a barn sale out in the country, I generally skip any community yard sale, with one very large exception, The US 127 World’s Longest Yard Sale!
The US 127 World’s Longest Yard Sale runs from Michigan to Alabama on state route US 127 the first weekend of August. This sale is hundreds of miles long and has thousands of vendors who set up from the Thursday through Sunday of the show. In fact, the sale is so large that many sellers will set up the weekend before the show even starts. Anything and everything is sold during this show. Every year, I spend several days traveling up and down US 127 between Ohio and Tennessee looking for old tools. Some years I hit the jackpot, others I get skunked only coming home with a handful of tools. But the show is amazing. I call it the Super Bowl of Antique Shows.
Another good place to buy old tools is from tool collector associations. The largest is the Mid-West Tool Collectors Association, but there are a few smaller regional assoctions like The Ohio Tool Collectors and PATINA. Each association will have shows several times a year around the country where members meet up and show and sell their tools. It’s a great way to meet fellow tool collectors and learn about the tools they own. It’s one of the best ways to learn about old tools and how they work.
The most fun I have buying old tools is from antique tool auctions. I prefer the live ones, but their are a lot more that appear online that I participate in. Live auctions are full of action as the auctioneer bids out the tool to the gallery. I get a rush trying to win something I’ve been waiting several minutes to hit the auction block. I’m always hoping that I’m the only one who wants the tool, and in some cases, that has happened, but for the most part, I have to bid against my fellow tool collectors. I always have a set price of what I want to pay and also take into consideration if there is a buyers premium and tax taken on top of my bid. Buyers premium is a fee many auction companies will use in order to cover some of the cost of setting up the auction. Many times, the buyers premium will be 10-15%. However, I’ve seen some as high as 20%. You’ll need to be careful when bidding so you don’t inadvertently overpay for your tool. If a buyers premium is 15% and they charge tax, I automatically adjust my bid fees to 20% in my head. So, if I’m willing to pay $100 for a tool, my max bid will be $80.00. $80.00 bid + $12.00 buyers premium, + $6.00 tax comes to $98.00.
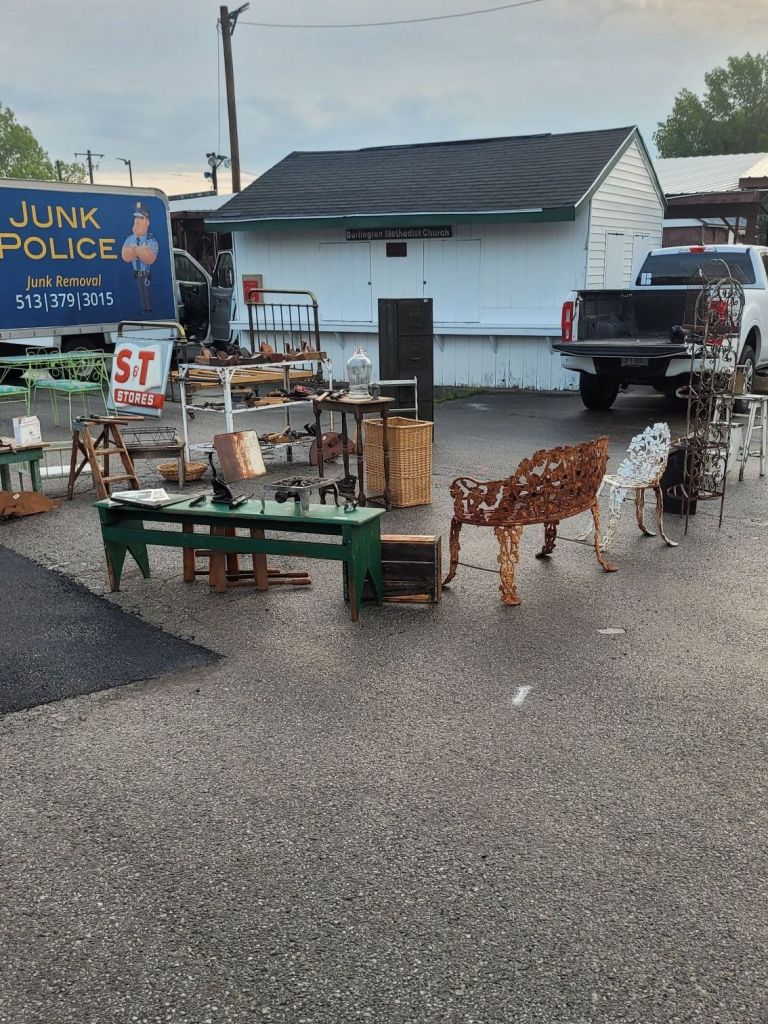
Yesterday, I did something that I have never done in 20 years of selling antique tools. I set up a booth at the Burlington Antique Show in Burlington, KY.
The reason for my booth was that my wife, Anita, is down sizing her booth rentals at the new antique mall she is in. She’s been renting two rooms for the past few months. While her sales have been phenomenal, she found taking care of two rooms, filling it up with antiques was too much to bear. Plus, the majority of the sales were coming from the one room by the register. The furniture she was selling in the back room, she was getting off her Facebook Marketplace ads. She told me she doesn’t need to spend $400 a month in rent if she could just as easily sell it in the garage instead. Makes sense to me.
So Saturday night, we loaded some of the stuff that was still in the back room and shoved it in my truck to head to the antique show in the morning. Since I was going to work the show, I decided to bring some of my tools with me and put them out for sale.
I decided to bring tools that were too big to ship. I sell planes and smaller items on eBay all the time, but shipping large items has always been a pain in the ass. First, it’s hard to find a box to fit the tool, and then it’s hard to estimate total shipping if I don’t have the box on hand. I’ve been burned more times than not when it comes to shipping big tools.
I woke up at 4:00am and headed out the door at 4:45, arriving at the fairgrounds at 5:30 am. This gave me 30 minutes to unload and set up the booth. I didn’t have too much stuff as all I had was what I could fit in my pickup truck, but hopefully, I had enough to make it worth my time.
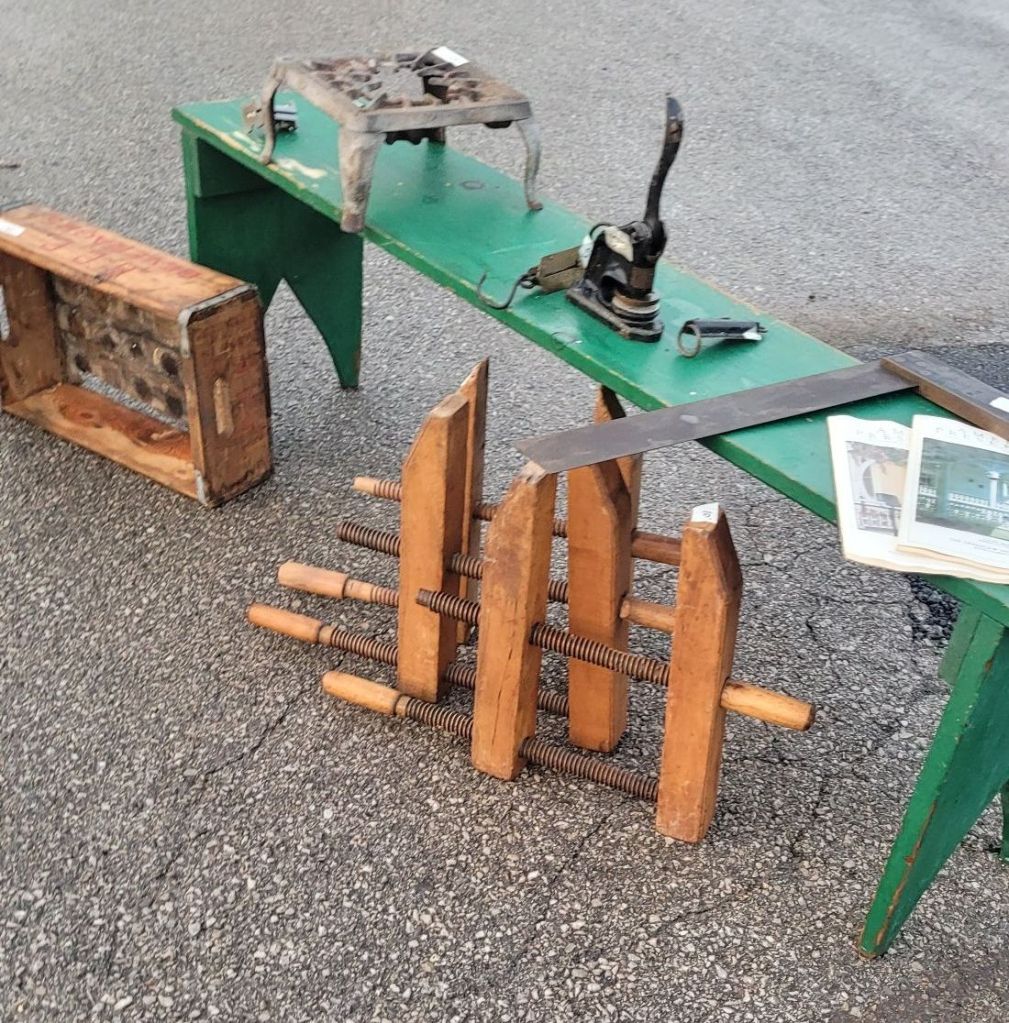
I put most of my tools on a white metal shelf Anita had in her booth. On top were big panel raising planes. On the two shelves were smaller tools that I sold for $5.00 each. I’ve found over the past year that cheap tools don’t sell well on eBay anymore. The buyer will pay $5.00 for the tools but will spend $13.00 in shipping. I mainly ship USPS Priority Mail for the free boxes, but I’ve been rethinking about buying my own boxes and switching to UPS.
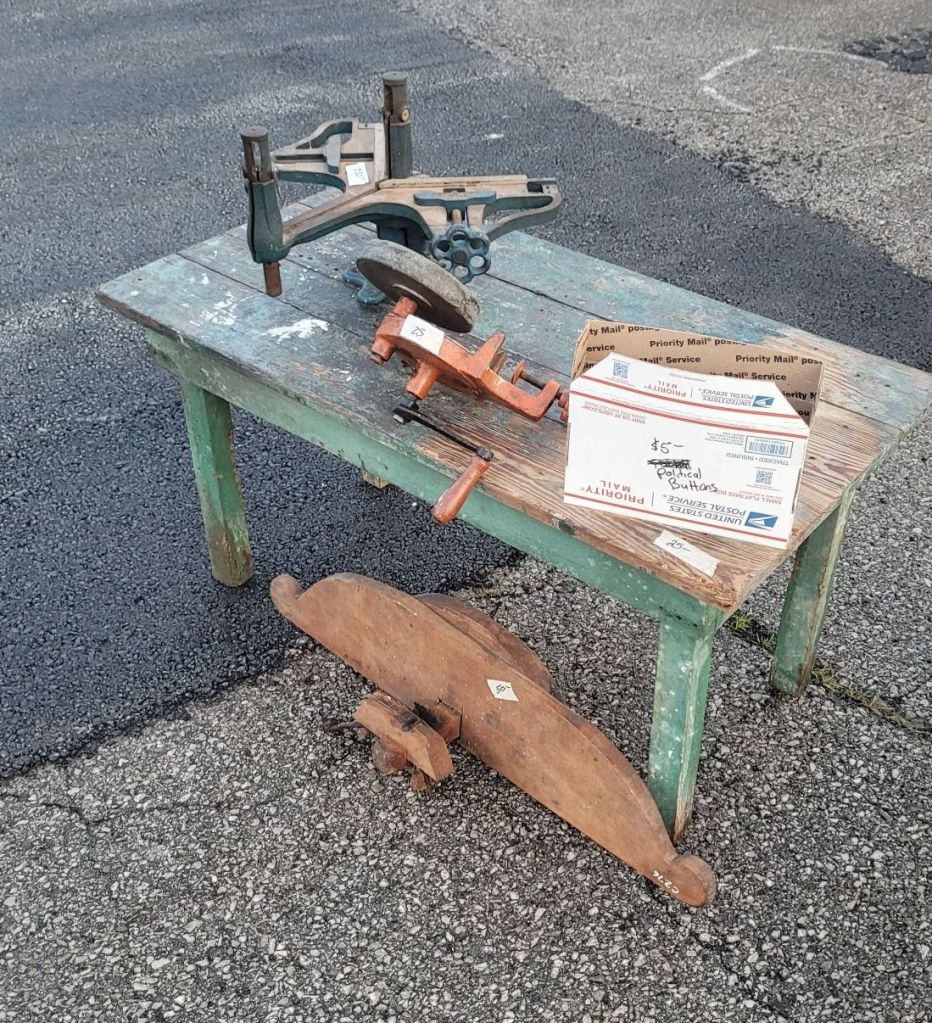
The tool of the day was this Stanley No 100 Picture Framers Miter Box. I had $50.00 on it, which was a steal. Even though I could probably sell it on eBay for more, the shipping would be outrageous. In fact, I checked eBay recent sales, and one sold for $50.00 with $120.00 in shipping. No thanks! I’ll sell it here and let the buyer save the money.
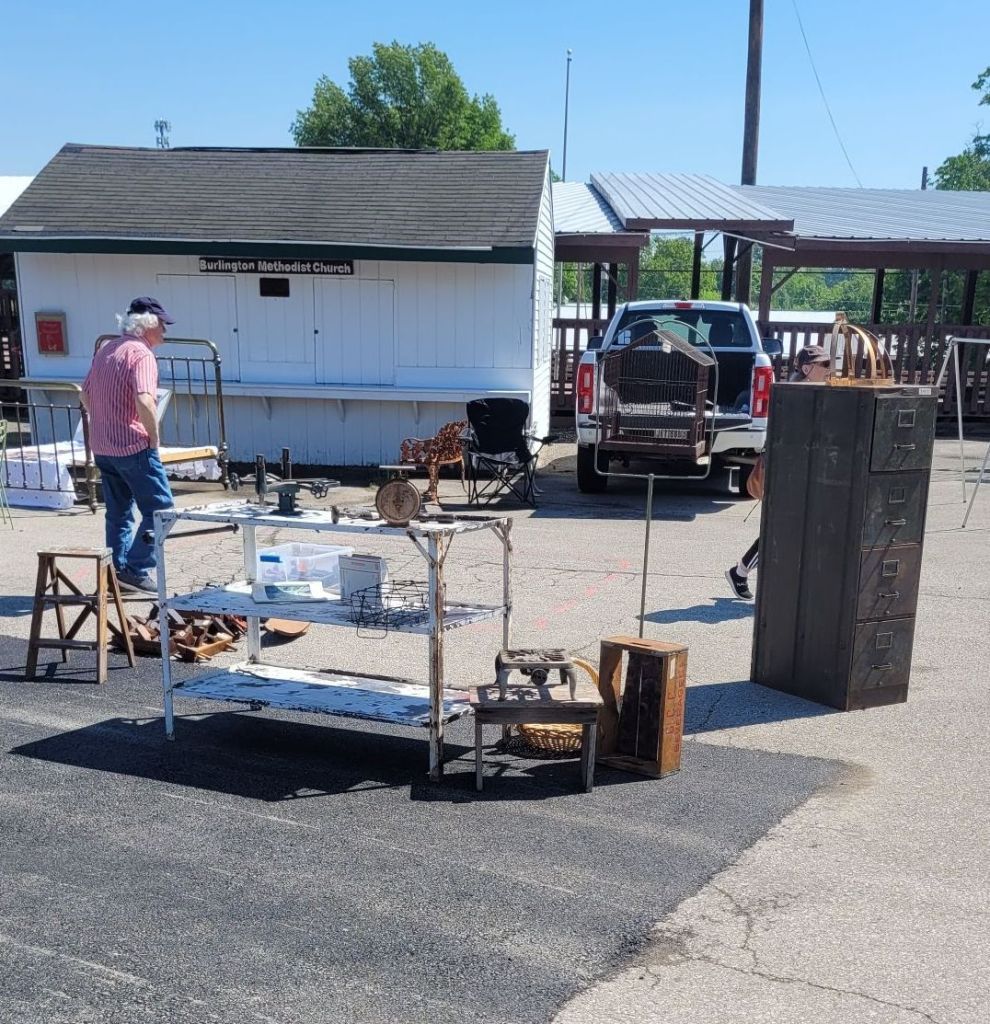
I sat out all day sitting on my trucks tailgate and spoke to numerous customers. Everybody was nice and thankfully had cash. I don’t have Venmo, so cash was the only payment I would take. I negotiated with customers all the time, making sure they felt they were getting a good deal. A lot of time, if I had $20.00 on an item, they would ask if I would take $15.00. I always said yes and never missed out on a sale.
My goal was to sell $400 for the day. By 10:00 am I was close at $280.00. The $5.00 tool shelves were the most popular as customers were looking for deals. People would look at the panel raiser planes, but no one offered me anything for one. Anita’s stuff was more popular with customers than my tools, but I expected that. Most of my customers were women.
By noon, I hit my goal as I surpassed $400. There were plenty of customers left still walking around, so I was happy to still sit on my truck’s tailgate. Nearing the end of the show, a guy came back to look at the Stanley No 100 Miter Box. He asked me what my bottom price was for it. I told him $40.00, and he took it. It was a little less than what I really wanted for it, but I was glad it was going to a good home.
In the end, I sold $641.00 worth of stuff. Out of that, $263.00 were my tools. There was an old file cabinet and that white metal shelf that came home with me. Anita didn’t want either one back in the garage, so I took it to the recycling center this morning and got $18.25 in scrap metal for it.
Doing the show was a lot of fun. It was nice sitting out and relaxing a little bit and talking to people all day and making new friends. I’ll definitely do it again. In fact, I’m considering buying an enclosed trailer so that I can bring more items with me in the future. If I had a lot more inventory, I think I could sell thousands of dollars during the show. I know several people who do the same.
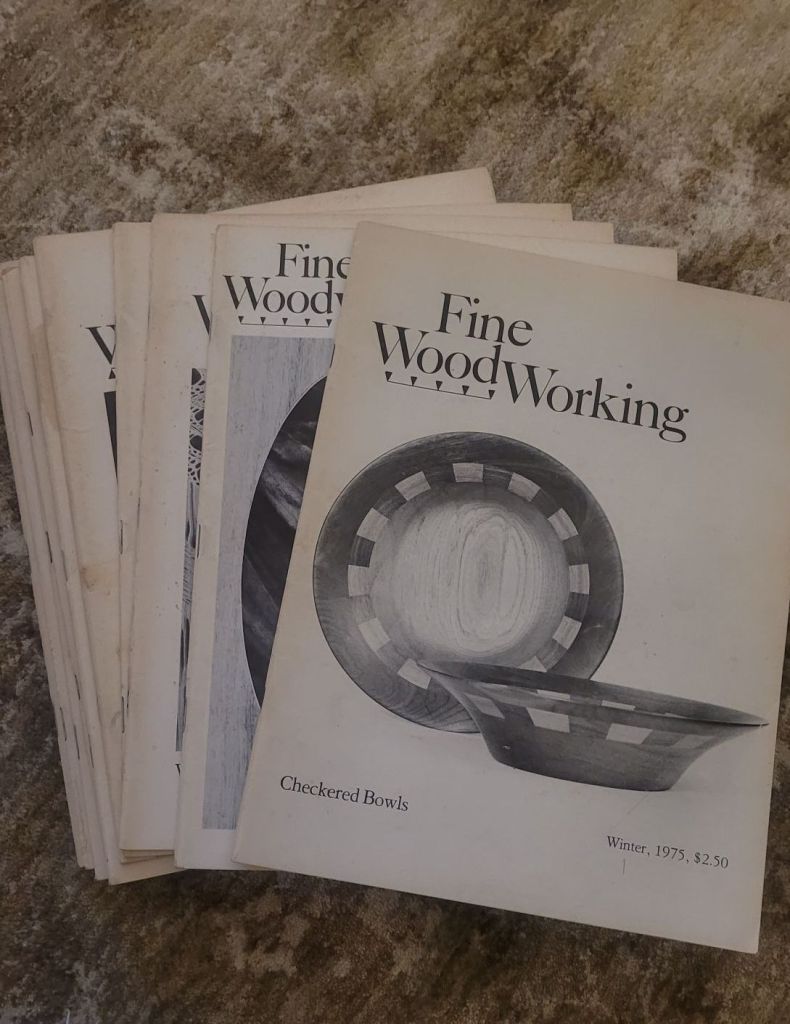
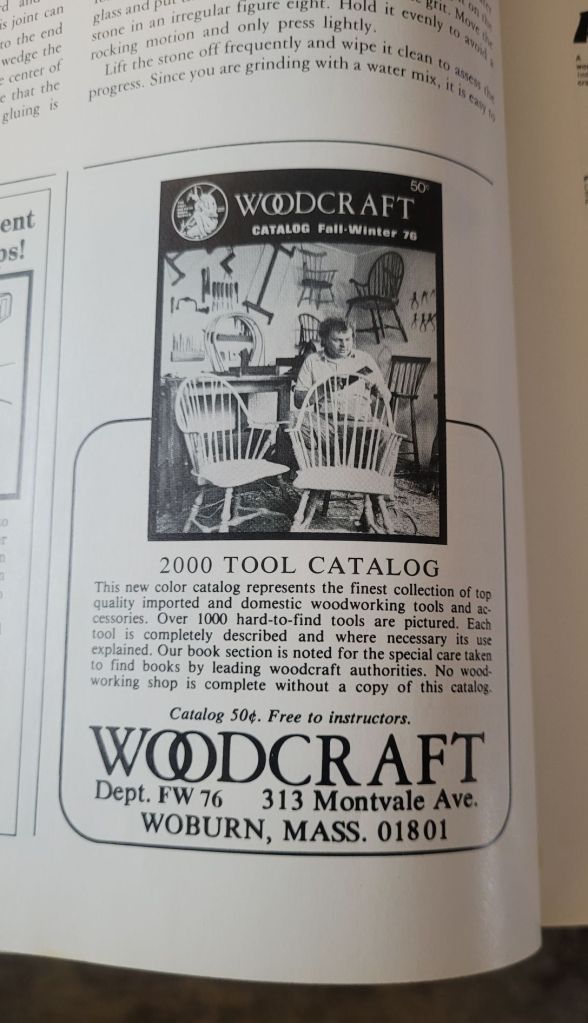
This weekend I had the opportunity to buy the first ten issues of Fine Woodworking at an antique mall in Northern Ohio. When I saw them laying on a magazine rack, I couldn’t believe what I was looking at. Even more so was the price of each issue. A mere $0.50 each. Unbelievable!
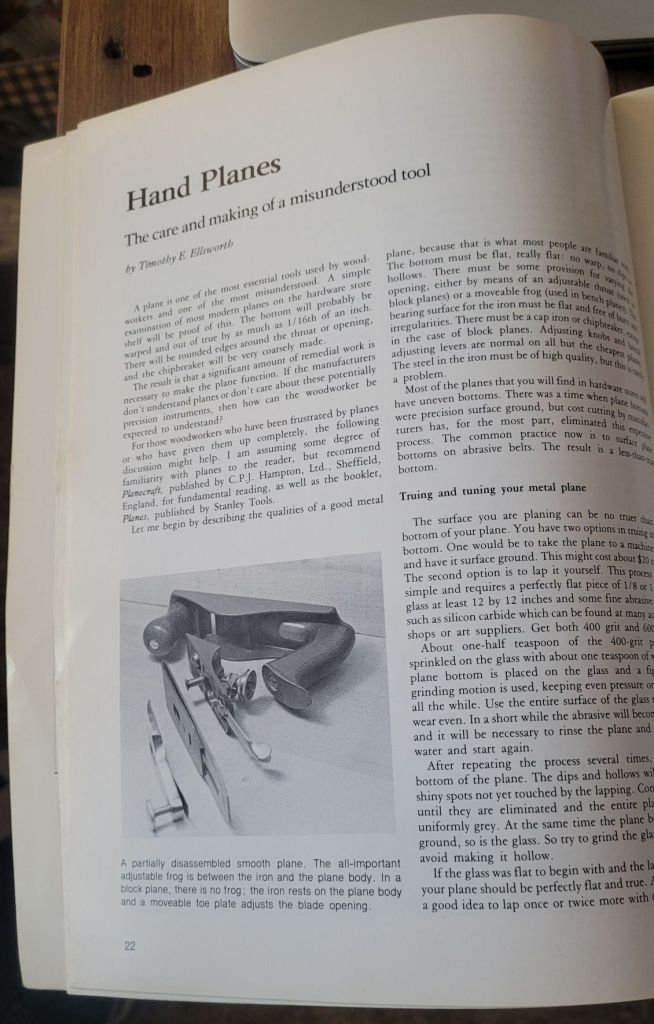
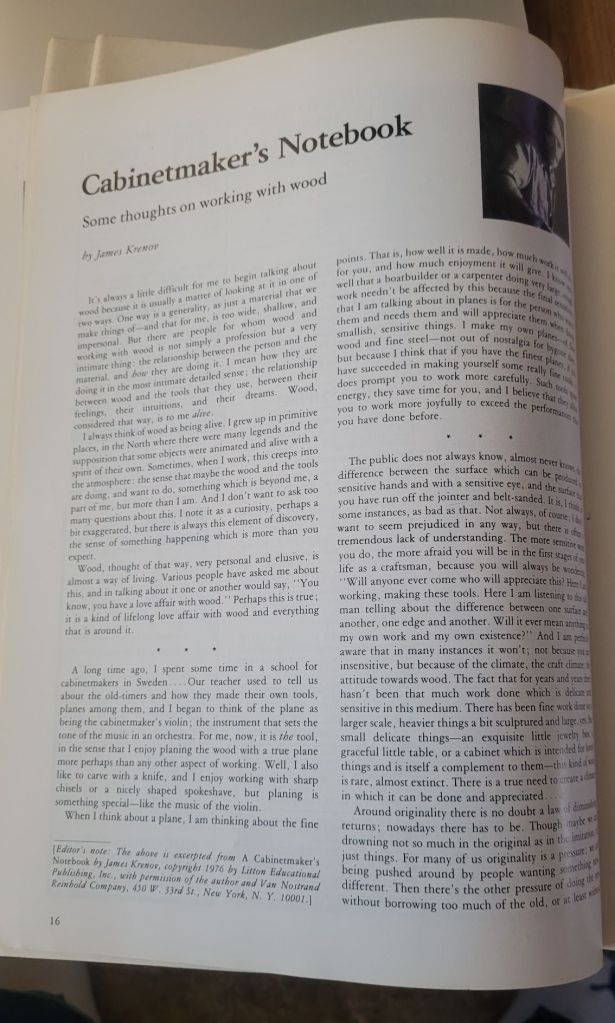
When I got home, I looked through the issues and read some of the articles. The first issue of Fine Woodworking had an article near and dear to my heart. Hand planes, with the caption “The care and making of a misunderstood tool.” This shows you how this was the very beginning of a magazine dedicated to woodworking if the common woodworker thought of a hand plane as being a weird foreign object.
Scanning the magazines, I saw Tage Frid was an early contributor with several articles he wrote in first few issues.
Along with Frid, there are articles by James Krenov, Jere Osgood, and Bruce Hoadley. A basic who’s-who of 20th century woodworkers.
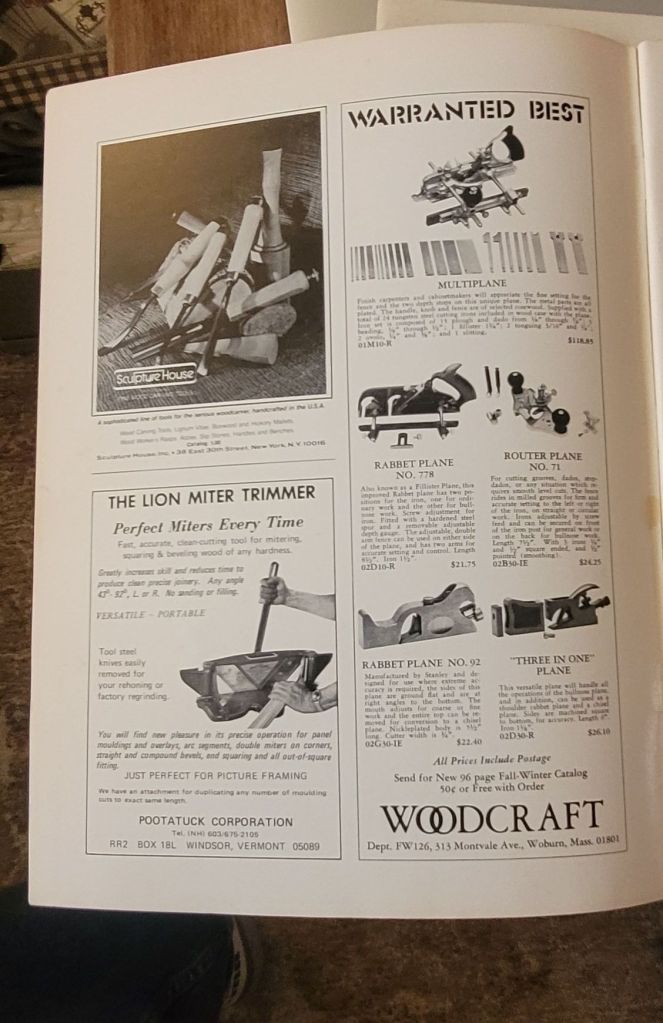
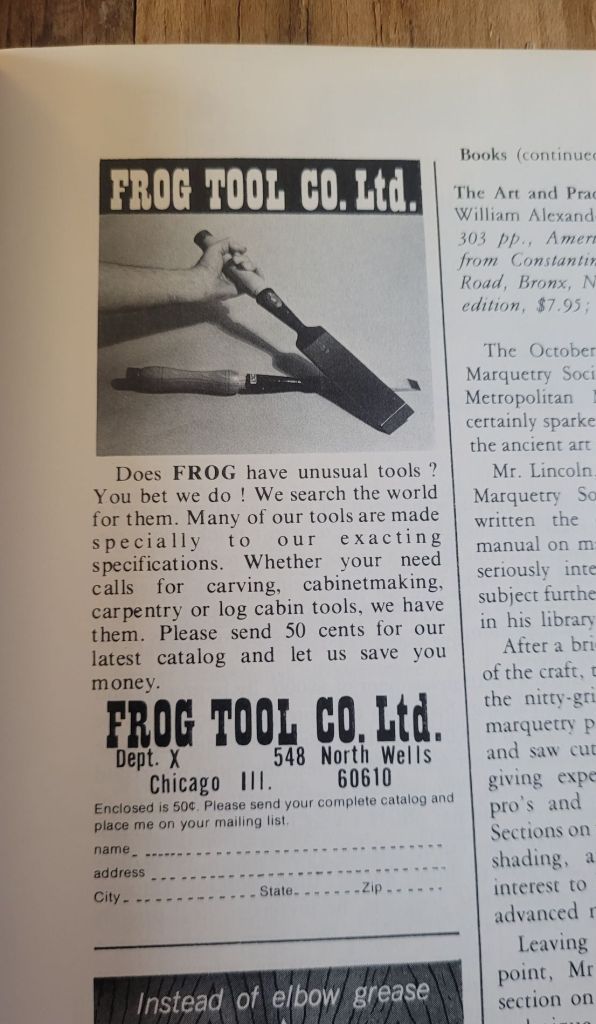
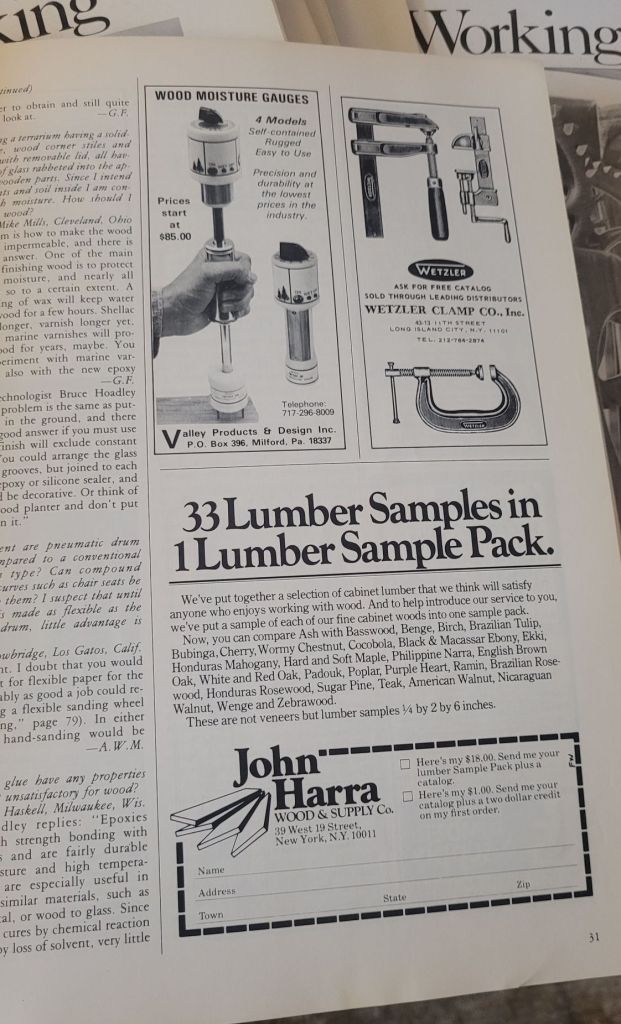
The first issue had very few advertisements, but the magazine quickly grew thicker in a couple of years as woodworking companies saw the opportunity to reach their audience by placing an ad in their pages.
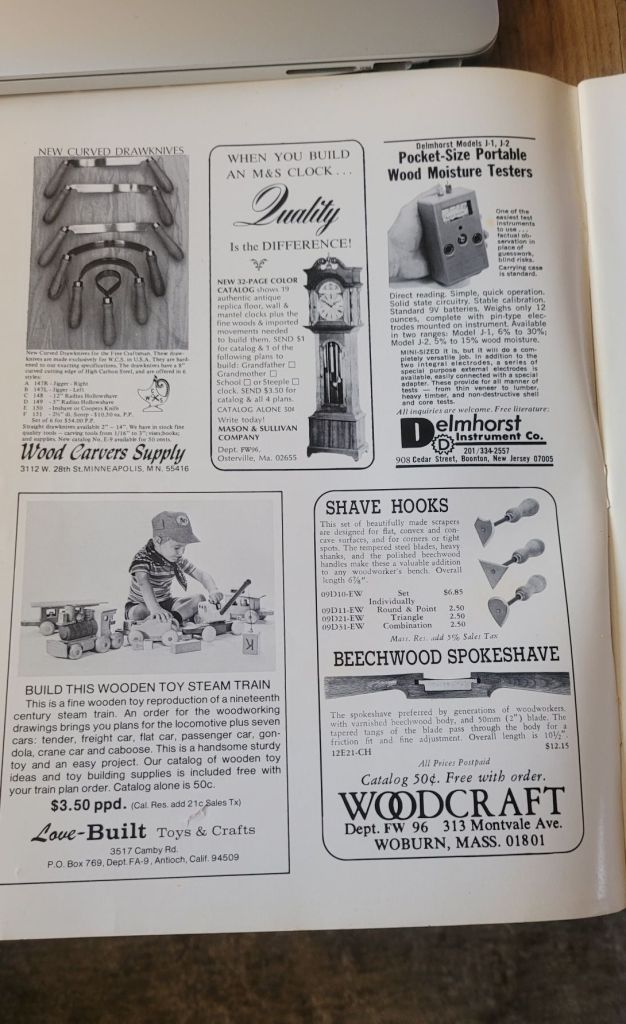
It’s interesting, but a bit sad to see the companies that were thriving 50 years ago, only to go bankrupt or be acquired over the years. The issues are full of now defunct woodworking companies.
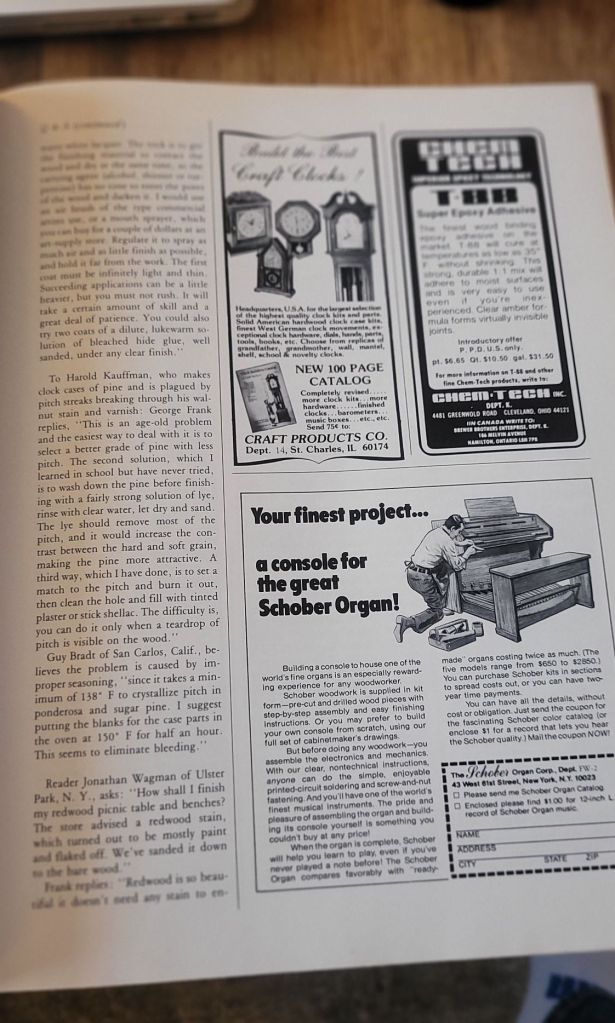
I’m still in the process of reading all the articles, but there is a wealth of knowledge with these issues. The one thing I did notice is back in the early days, the magazine focused a lot on wood carving and occasionally had articles on blacksmithing. Something that you would rarely find in today’s issues.
I checked eBay to see what these magazines might be worth. They’re actually worth a lot less than I would have thought. You can currently buy the first 12 issues for around $40.00. Of course you can buy all the issues of Fine Woodworking online if you don’t mind having a digital copy. I’m old school and still like holding a magazine in my hand instead of on my phone.
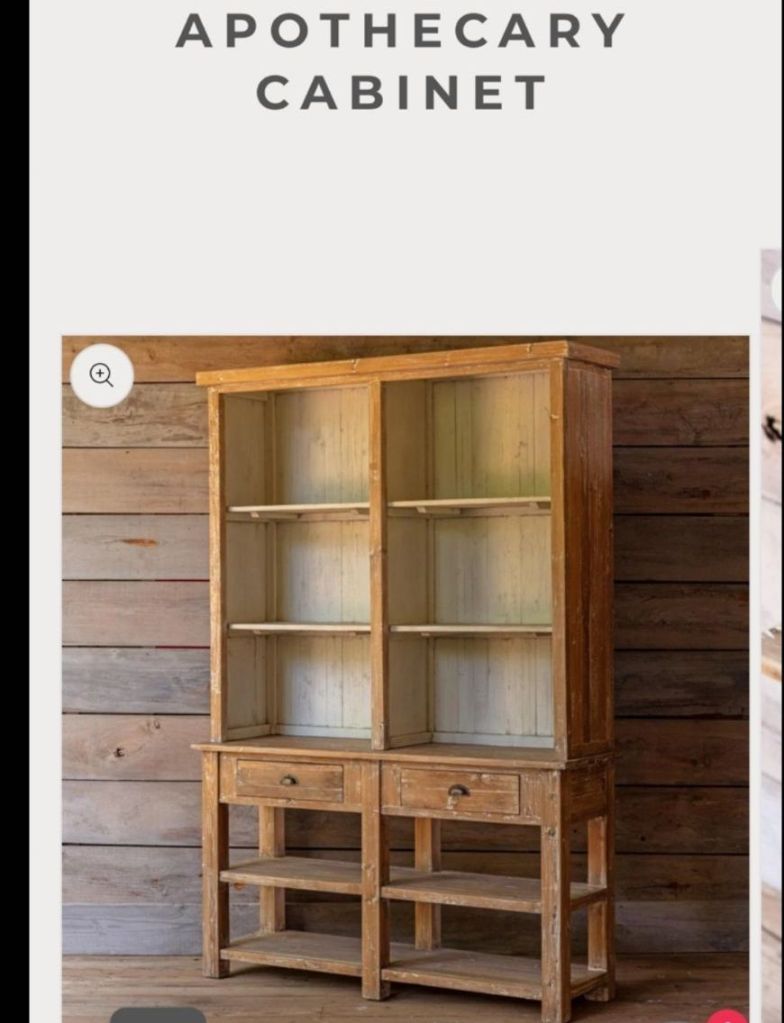
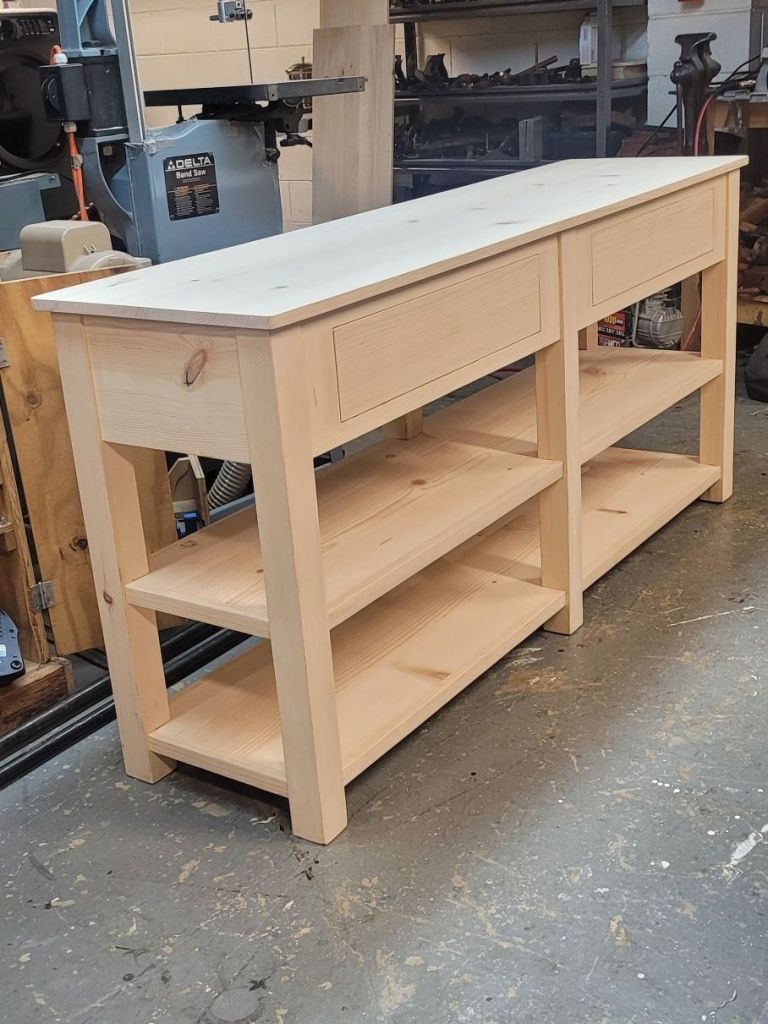
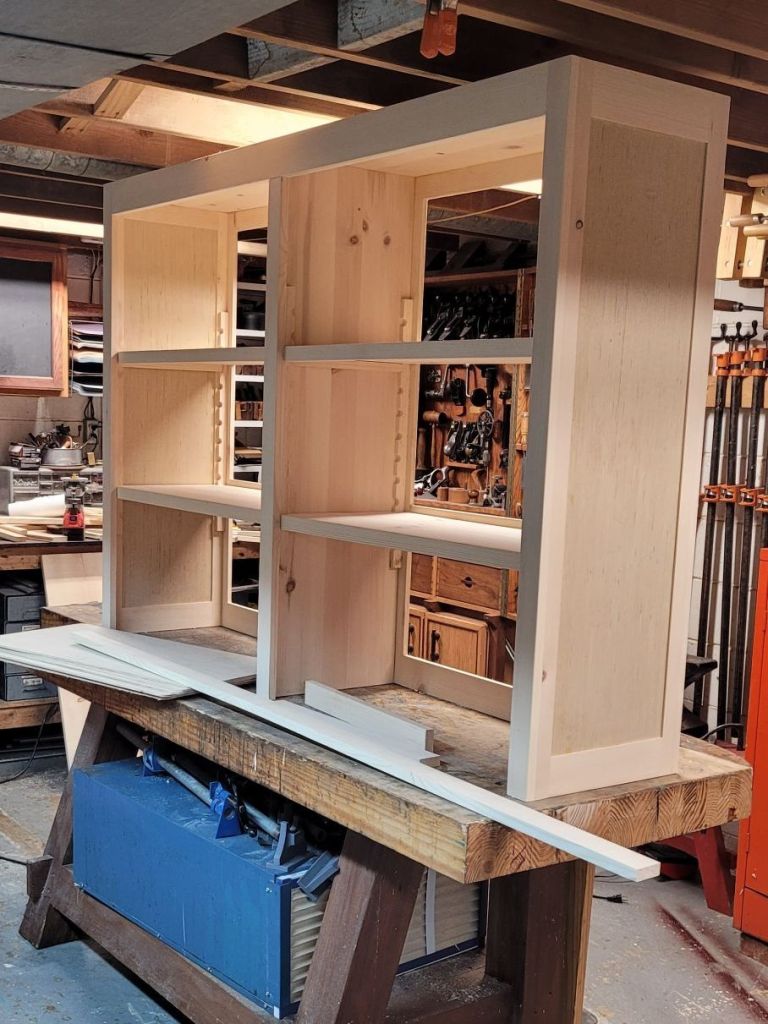
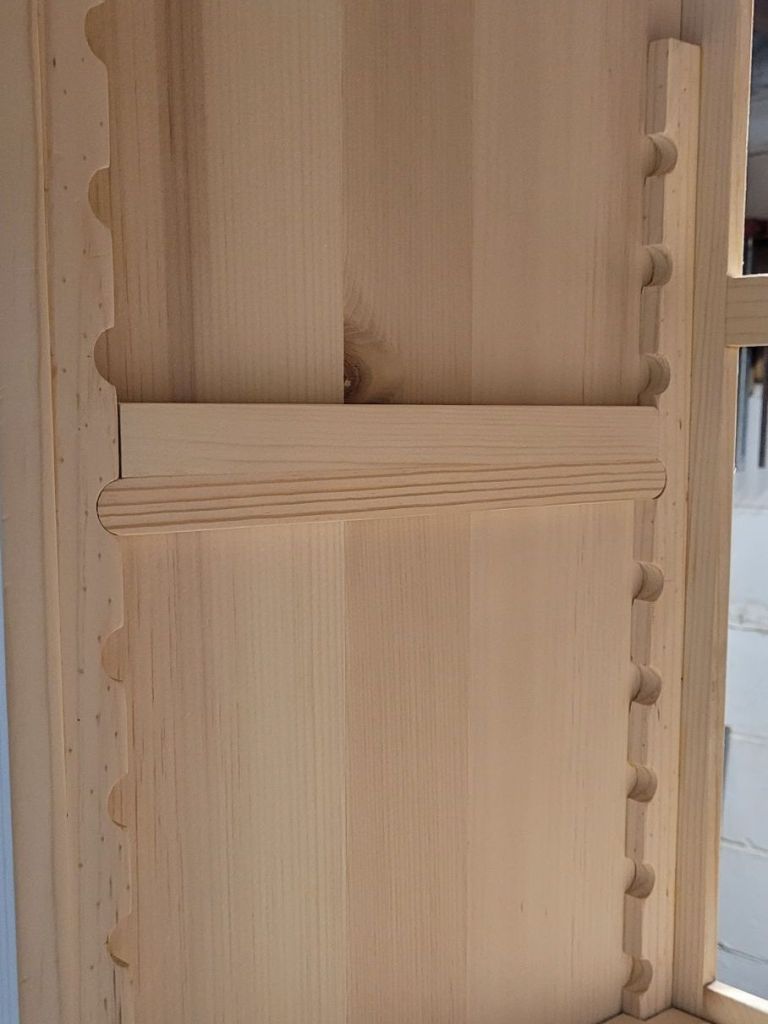
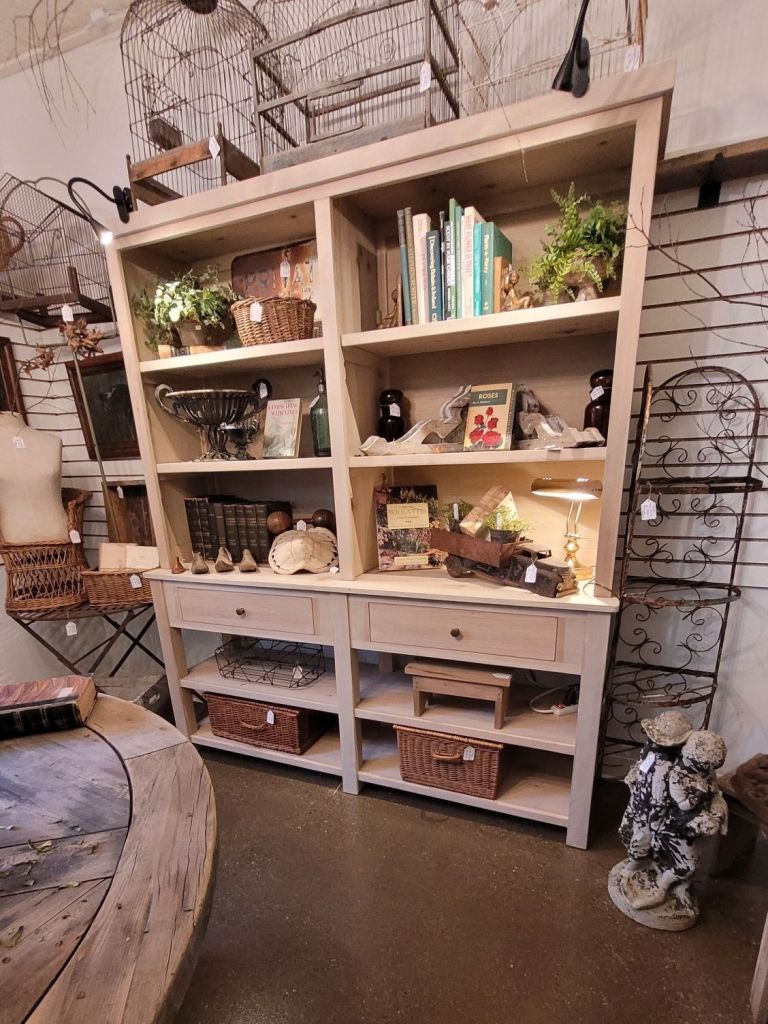
Anita got two new booths in the antique mall she sells in. She went from having a small 8′ x 10′ L shaped booth to having two big rooms. Because of this, she needed a big display cabinet for the back wall in one of her rooms. She searched the internet and asked me if I could make this apothecary cabinet for her.
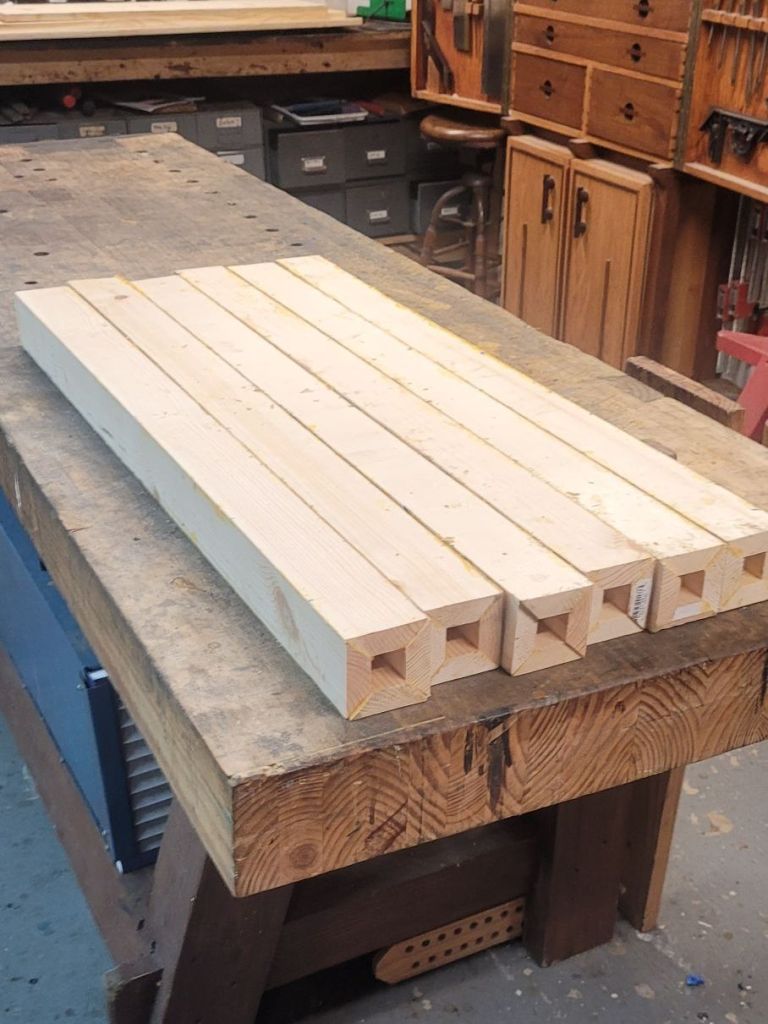
She wanted the piece to be made of a light colored wood but didn’t want maple or poplar. We went to Lowes and bought a bunch of 1×12’s that were a light pine made in Sweden. Being that they were from Sweden, I assume that it’s the same pine that IKEA uses in their furniture.
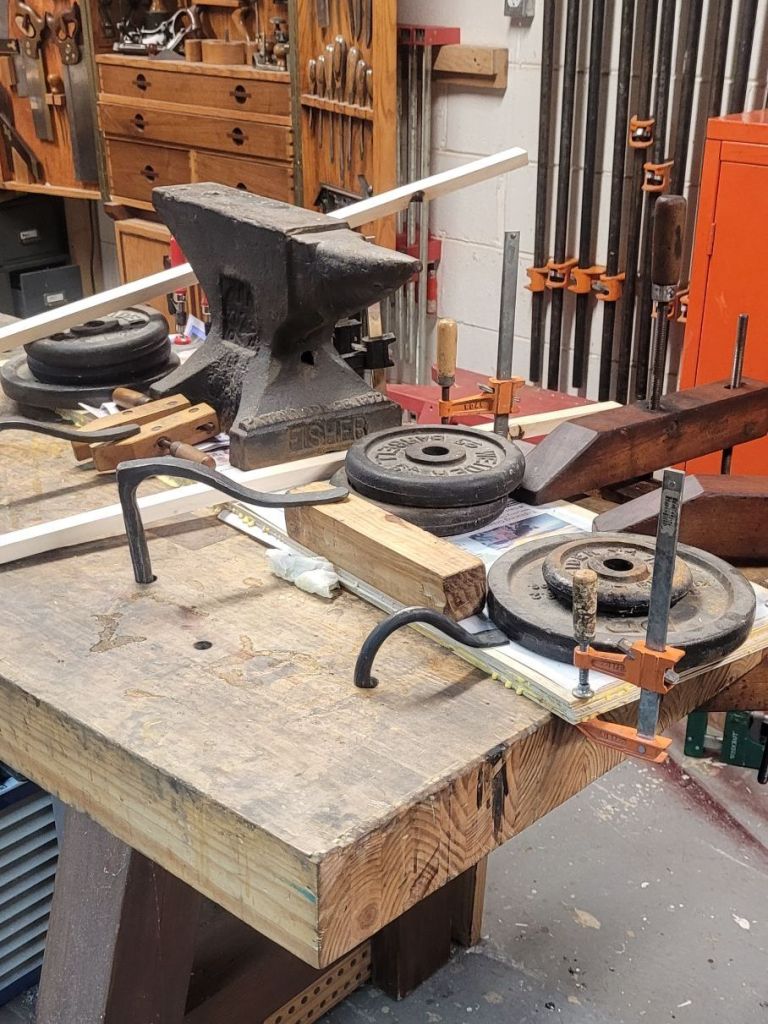
The first thing I did was make the legs by glueing up boards into a square. There’s a special lock miter router bit for this purpose but I have always heard that your stock has to be completely straight and flat in order for the bit to work well. My boards were neither, so I opted for 45 degree cuts and a lot of clamping pressure with band clamps and duct tape. Fortunately, they came out fine.
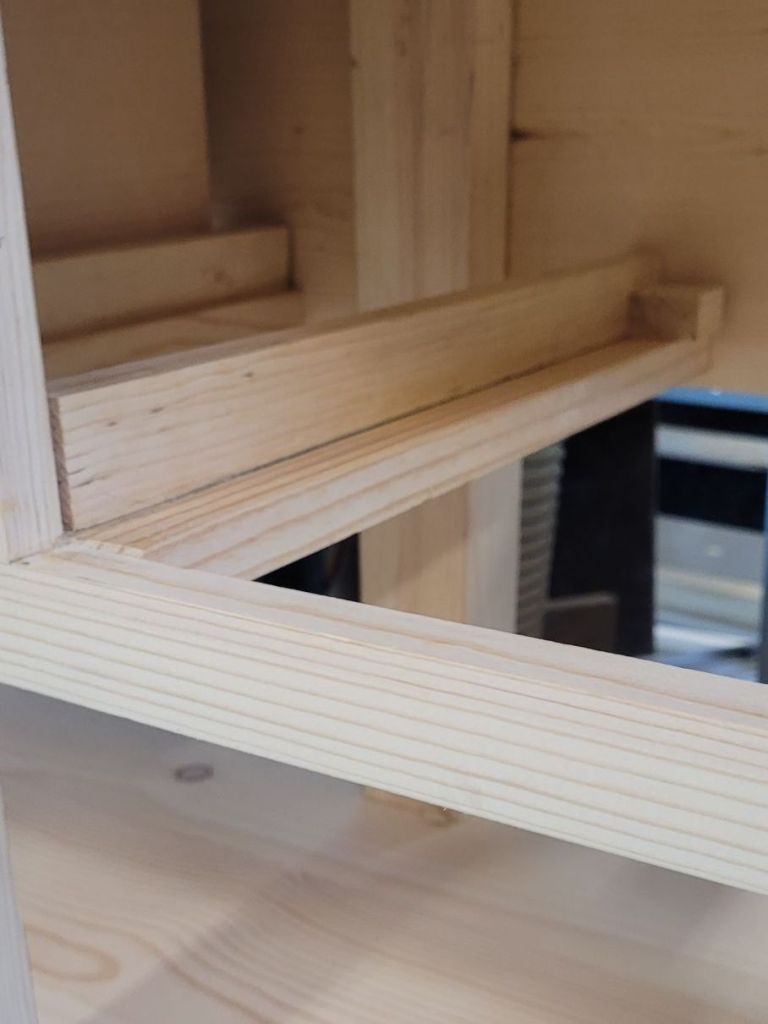
After the legs were made, I cut notches into them to fit the shelves. Then I wrapped the edge of the shelves with 1 1/4″ pieces of wood. On the end grain, I used a little bit of glue and pocket screws for the wood movemnet. The rest of the base was built with Festool Dominoes and glue.
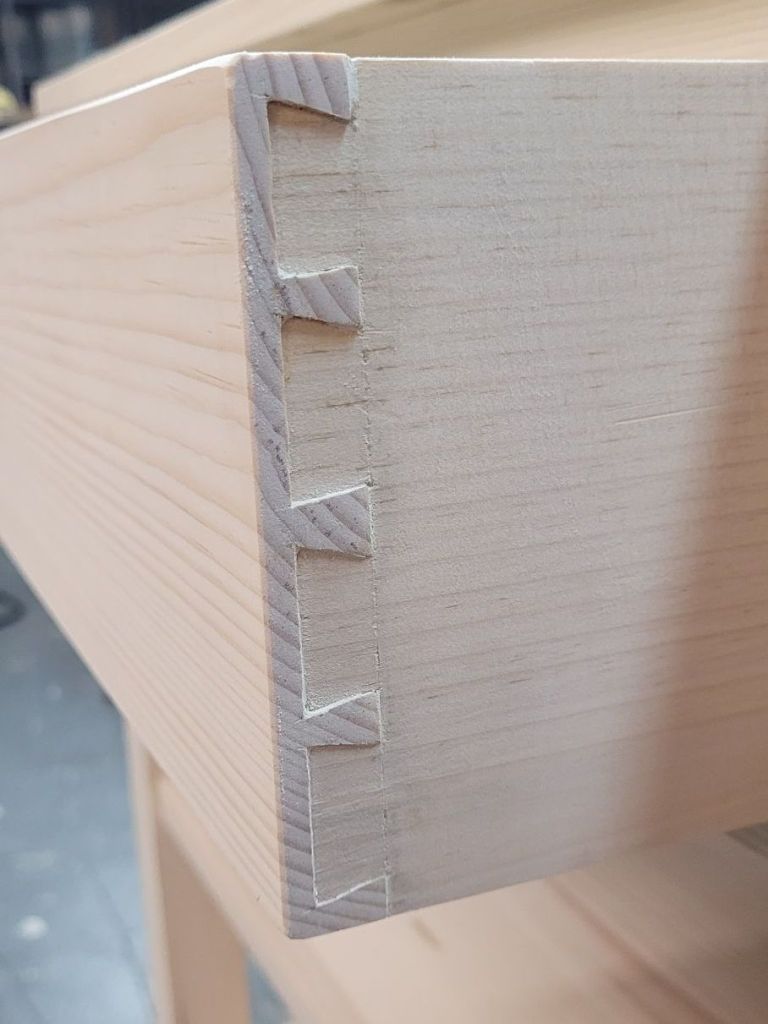
I wanted robust drawers so I made those with handcut half blind dovetails. It’s a lot of fun cutting dovetails by hand and it really doesn’t take too long once you get the hang of it.
I wanted to make sure that the drawers wouldn’t bind, so I made the drawers a 1/8″ smaller in length and height so there would be a 1/16″ gap all around. I made sure the drawer runners were 1/16″ proud of the opening and screwed them in place with pocket screws and glue.
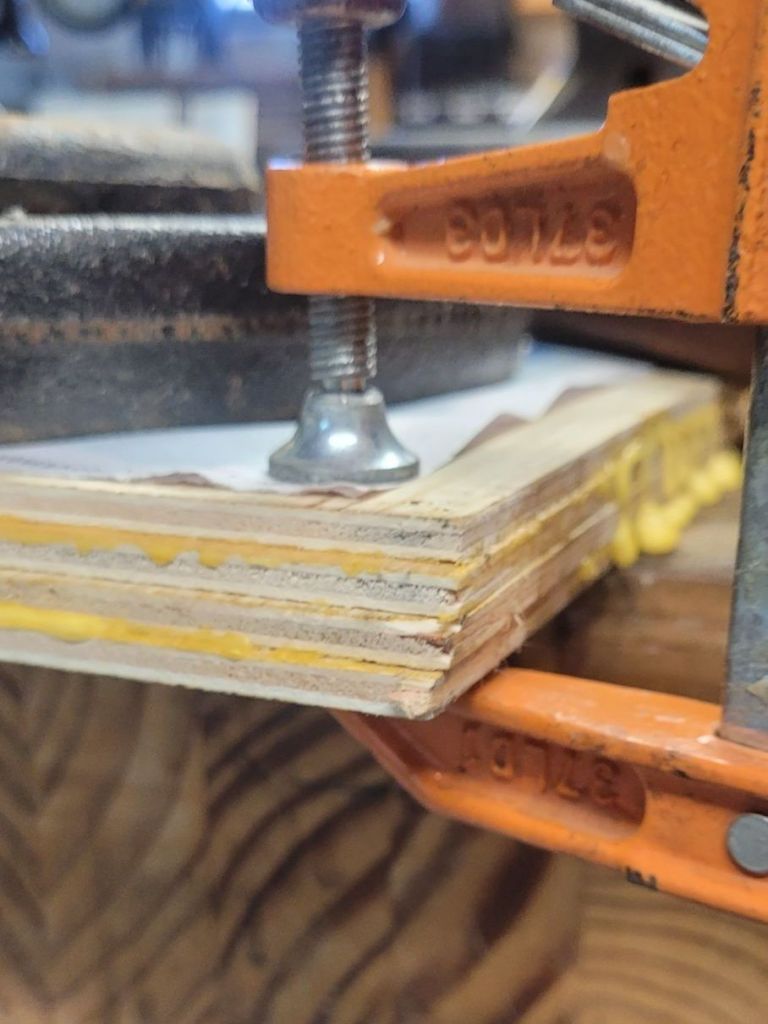
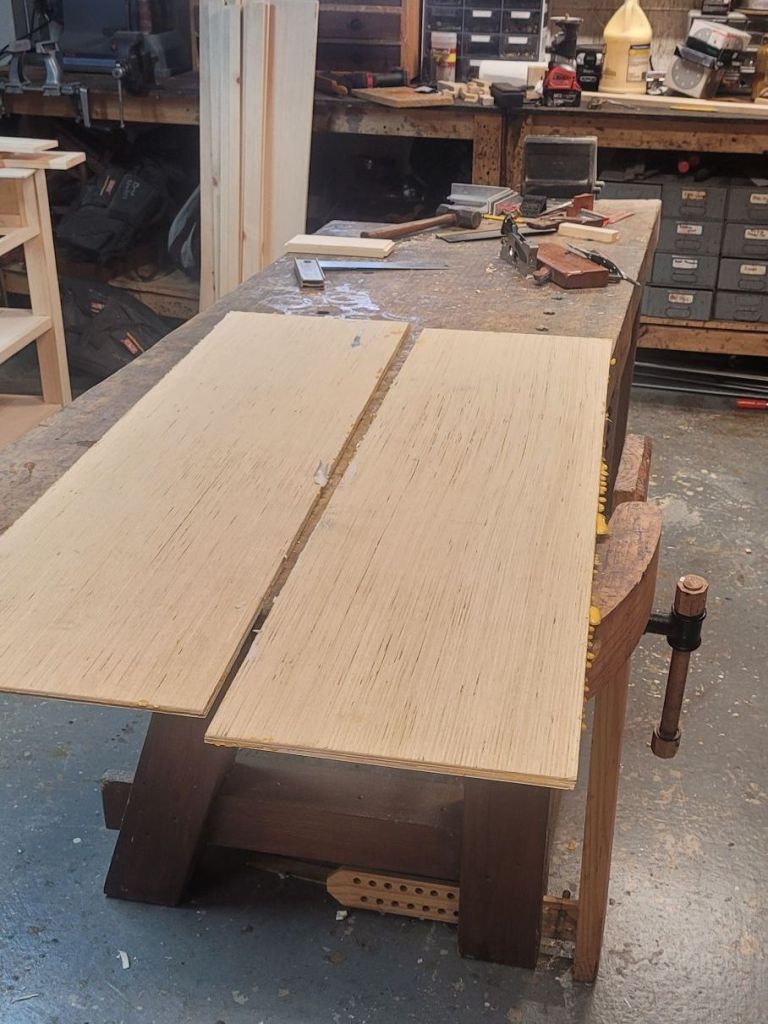
Once the base was made, I focused on the top. I wanted the sides to have a thicker panel in the middle of them, so I glued up the 1/8″ panels together. I used as many clamps I could find and stuck newspaper between the two panels so they wouldn’t stick together. Luckily, when the panels dried, I was left with two oversized panels for the sides of the cabinet.
I built the case with more Dominoes and glue and created adjustable shelf supports with the scrap wood I had left over.
I love this technique for adjustable shelves. You drill a 3/4″ hole every 2″ then you rip the piece in half on the table saw. Then for the support, you add a 1″ filler on the bottom of the support stick. This way, if you need your shelf 1″ higher, you simply flip over your shelf support.
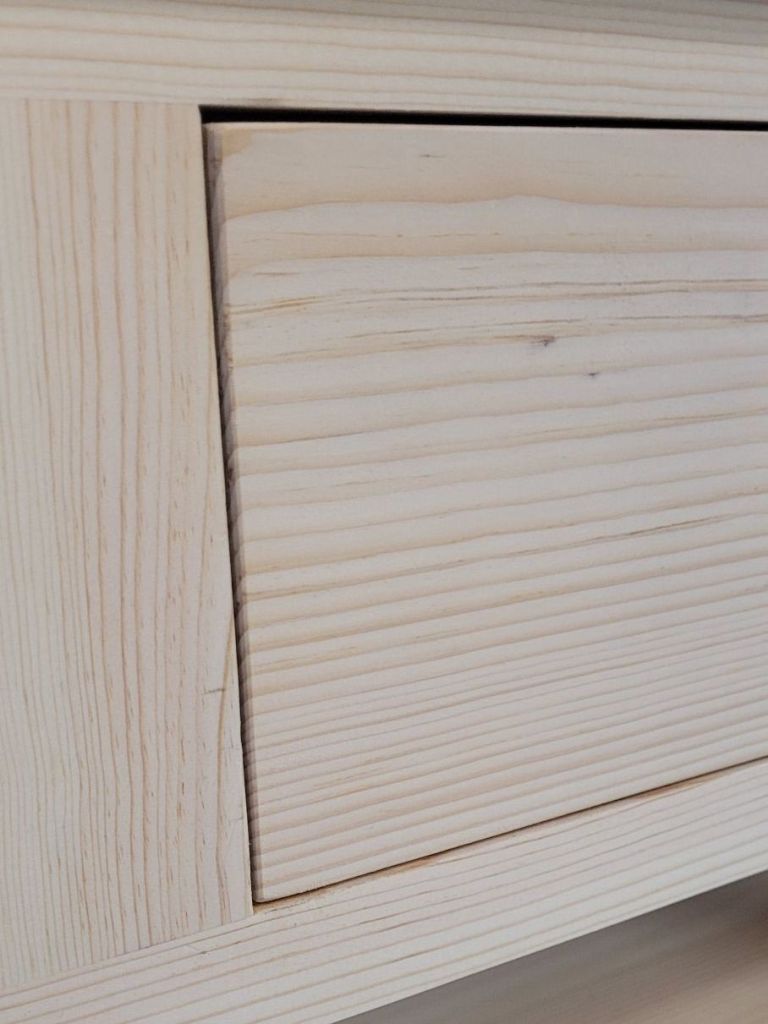
I installed the back with more of the 1/8″ thick panel wood and Anita put a natural aging solution on the piece as she didn’t want it stained.
People in the antique shop love the piece and are perplexed that I built it out of 1×12’s from Lowes.
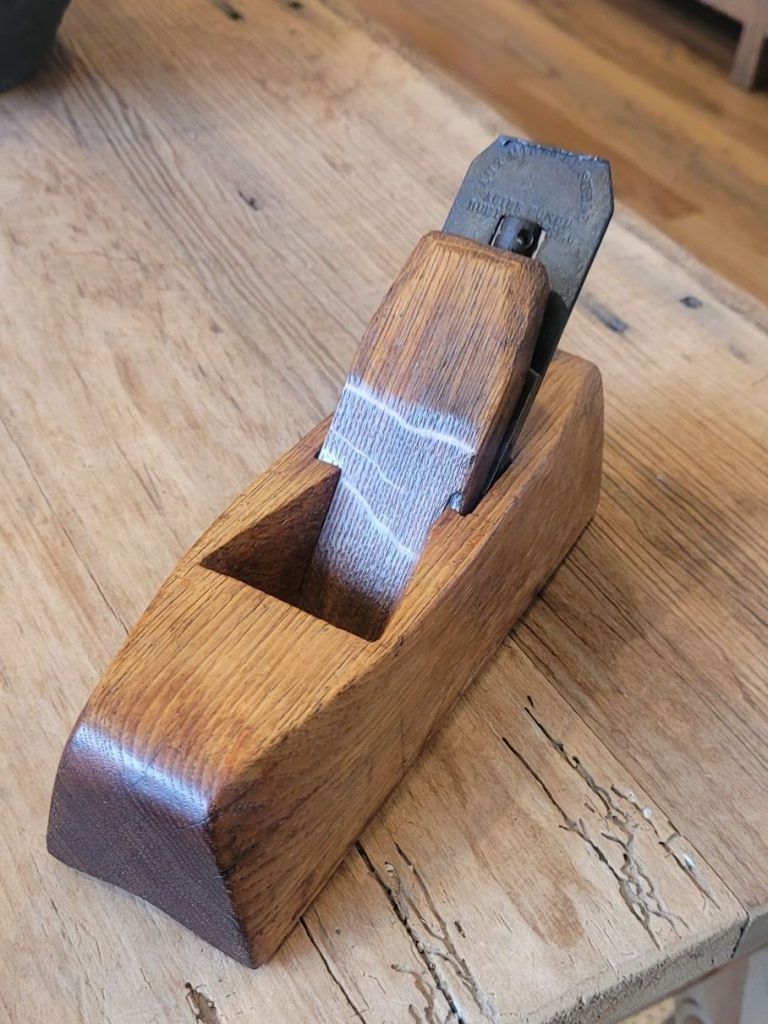
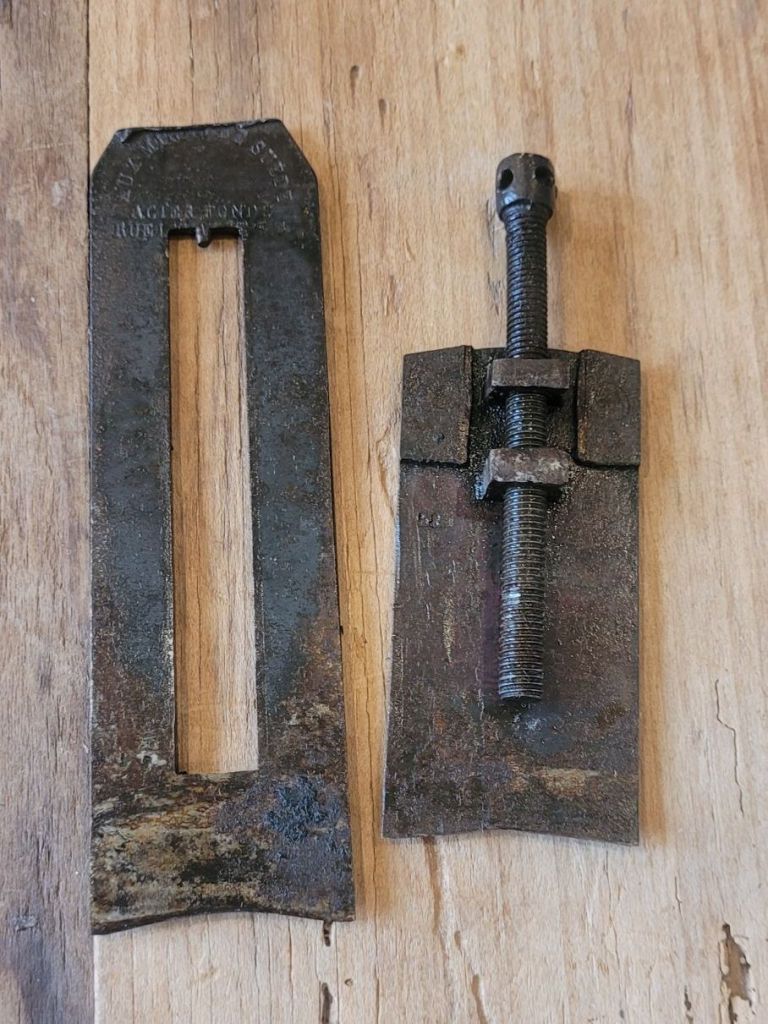
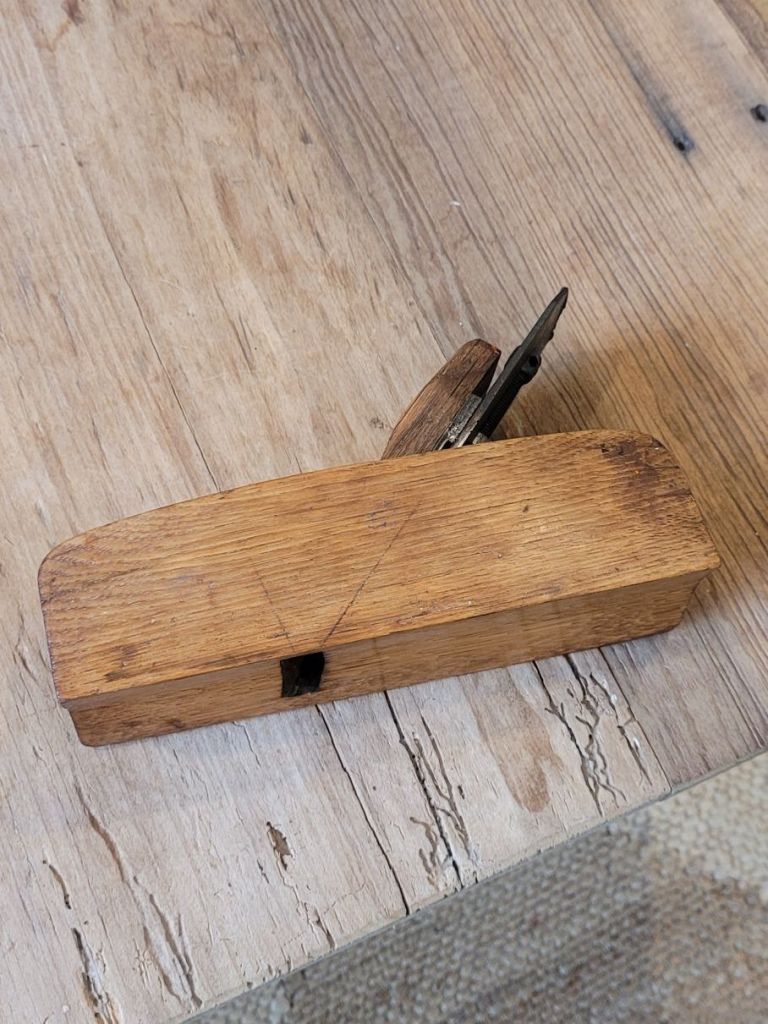
I was going through my tool collection yesterday when I stumbled on this little plane. It looks like any other coffin smoother with a convex sole until I took it apart to look at the blade.
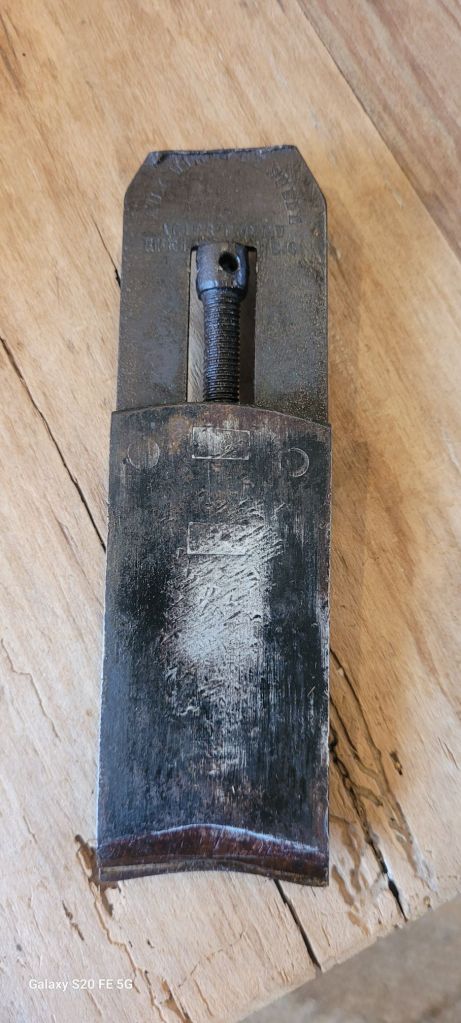
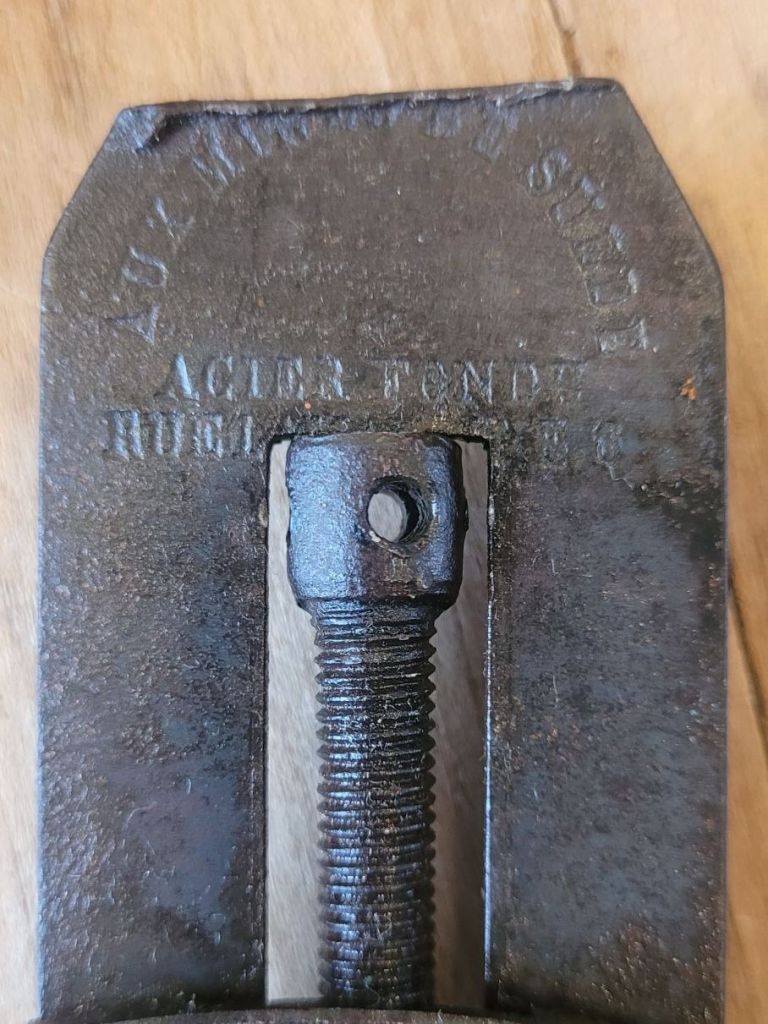
When looking at the back side of the plane, you can see where there is a screw mechanism to advance the cap iron up and down.
I took a brad awl and stuck it in the hole spinning the screw all the way down hoping I could remove the cap iron, but it didn’t work. My thread got stuck underneath the nut and I couldn’t turn it anymore.
Then, as luck would have it, when I wiggled the cap iron a little bit, it came loose off the blade. My tool oil I used must have loosened up the rust that has been sitting in the blade for decades. You can see a little nib at the top of the blade where the cap iron mechanism lays into.
After doing some research, I found the company Aux Mines De Suede that made the plane. I downloaded their tool catalog and they produced a lot of interesting woodworking tools.
The body of the plane looks to be oak. You can see the scribe marks on the side as a guide where to cut out the inside. There is no makers stamp on the body so it may have been custom made plane by the owner. It’s a really interesting plane I have never seen before.
After nearly 70 years in production, Shopsmith, the maker of the Mark V and Mark 7 woodworking machines, is on its last legs and facing liquidation unless a person or group buys them.
I never used a Shopsmith but always see used ones for sale on Marketplace. My understanding is that the accessories were proprietory so you were locked into only their brand of stuff. It didnt seem very user friendly to me, so I never considered buying one.
Did you own and use a Shopsmith? How is the machine? Was it a “jack of all trades, master of none” type of tool? I’ve always been curious.
Do you have a boatload of money and want to buy the company? Now is your chance. They may be liquidated by the end of the month. They are located in Dayton, OH and apparently it’s how Scott Phillips got his start with his TV show “The American Woodshop”. The story goes he worked for Shopsmith at the time and did some How-To videos on using the machine. Someone saw his videos and asked him to do a new woodworking TV show (or something like that. He knows the story a lot better than I do).
A few weeks ago, my buddy Rich and I went out to Wings and Rings to watch the Bengals football game. While there, we shot the breeze and I mentioned that I bought these pipe clamp lifters online. I told him that they were made on a 3D printer. He told me that he could make those on his 3D printer and that there is a website called http://www.yeggi.com where you can search for free downloads of woodworking tools and jigs.
I checked out Yeggi and saw that they had Golden Ratio calipers and asked if he could make a pair. I bought a pair on Etsy years ago but they were smaller than I thought they would be. Rich made me two larger size on his 3D printer.
Then this weekend, he came over and gave me more stuff he printed for my birthday. I was shocked when he handed me this box. It was completely printed with my logo on it on his printer. Then inside were over twenty french curves I can use for designing furniture.
Then he gave me a really cool set of roundover jigs. This was another free plan he downloaded. It comes with seven different sizes. It’s an awesome gift!
So now my mind is spinning with what else he can print for me. I told Rich I’d pay him for his time, but he said when he puts in the download, he just goes to bed and when he wakes up in the morning, the item is printed. He told me just to pay for the filliment. What do you think I should have Rich make next?
Last weekend, I ventured out to an antique show in Urbana, OH. I got there around 8:00 am and walked around for a couple of hours buying a handful of tools. I was happy with what I bought as I just go to these antique shows because I enjoy going regardless of what I buy.
I decided to make one more pass around the fairgrounds when I decided to go down a little part that I didn’t visit before when I stumbled upon this guy.
A huge tool chest full of tools. The guy selling it said he took out of a house in Troy, OH from a woman who had it in her garage. It was her Dad’s tool chest. She had nowhere to keep it as she was moving into a retirement home, so she had to ged rid of it.
I looked inside at the tools and immediately noticed a Stanley No 8 and 5 Type 4 prelateral planes and an early version of a Stanley No 45 Combination plane. The guy told me he wanted $350 for the chest and tools and that he’s had a few offers for the chest alone. He then told me he’d sell all the tools in it for $200. At this point, wheels were spinning in my head as to where I was going to put this thing as my shop is already overflowing with tools from the auction I went to a few months back.
Then the guy told me he’d take $300 for everything as he really wanted to get rid of it. At $300, I might as well buy the whole thing as the tool chest alone was worth more than a $100. I told him I’d take, but I had to go to the ATM and get some cash.
I came back, gave him the money then drove into the fairgrounds to put it in my truck. I was stoked! In 35 years of collecting antique tools, I’ve never bought a tool chest, let alone one with a bunch of tools in it.
When I got home, I decided to look at the tool chest more closely. It was a pine box dovetailed together with brass hardware on the corners. Inside were mahogany tool bins with veneered banding on top.
Underneath the veneered bins were two tool totes for various tools and parts.
Removing those bins, were two more filled with auger bits and chisels.
Underneath those is where the planes were. There were only two bench planes but he had a decent collection of molding planes with most stamped J W ROOF.
I brought everything in my basement and cataloged all the tools that were inside. There were over 100 with a lot of them being small drill bits and hardware. There were a nice collection on incannel gouges along with metal working punches and wrenches. I’m trying to figure out what he did for a living but it may be impossible to figure out as who knows what tools are missing and which tools were just thrown into the chest over the years.
With the age of the Stanley planes, I estimating that the chest was made in the 1870 -80’s Now I need to decide what to do with it. Nevertheless, what a great Birthday present to myself!
Life has been keeping me busy with my job and antiquing with my wife on the weekends. It seems my shop time is a few minutes a week and even then, I spend that time restoring old tools. But when I saw these pipe clamp holders on an Instagram ad, I had to have them.
I’ve been fighting with my Jorgensen pipe clamps for decades. When they came out in 1980’s they were a must have woodworking tool, so I bought as many as I could afford as a teenager. Fast forward 35 years, I still use the heck out of them. The issue, is that when I use them, they have a tendancy to roll over during glue ups.
These fixtures allow you to slide the foot of the pipe clamp into a pocket and lifts it a few inches to allow you to turn the handle without hitting the bench. Simple and straight forward. Even the height of the fixture is short enough that if it is in front of back clamp pad, it won’t hit the wood being clamped, which is nice if I’m clamping a panel that is wider than my bench.
The guy who sells these makes them on a 3D Printer. They’re about $30 for four of them but they’ll last a lifetime. If you have these style of Jorgensen pipe clamps, it’s a no-brainer. I know they sell newer versions of pipe clamps with a taller base that do the same thing, but I don’t want to spend the money to replace all my pipe clamps.
You can find this guy on instagram @artisanmadethings.