The remodeling of our dining room continues. This time with new chairs. My wife was never that fond of the Windsor chairs I made about twelve years ago, so she bought four french style caned back chairs at a local thrift store for $10.00 each. They were in good shape, the only issue with them was that they had an ugly ass imitation claw bubble design thing on the front legs. Honestly, I have no idea what they were suppose to be or how they made the chair look more formal, but they were ugly.

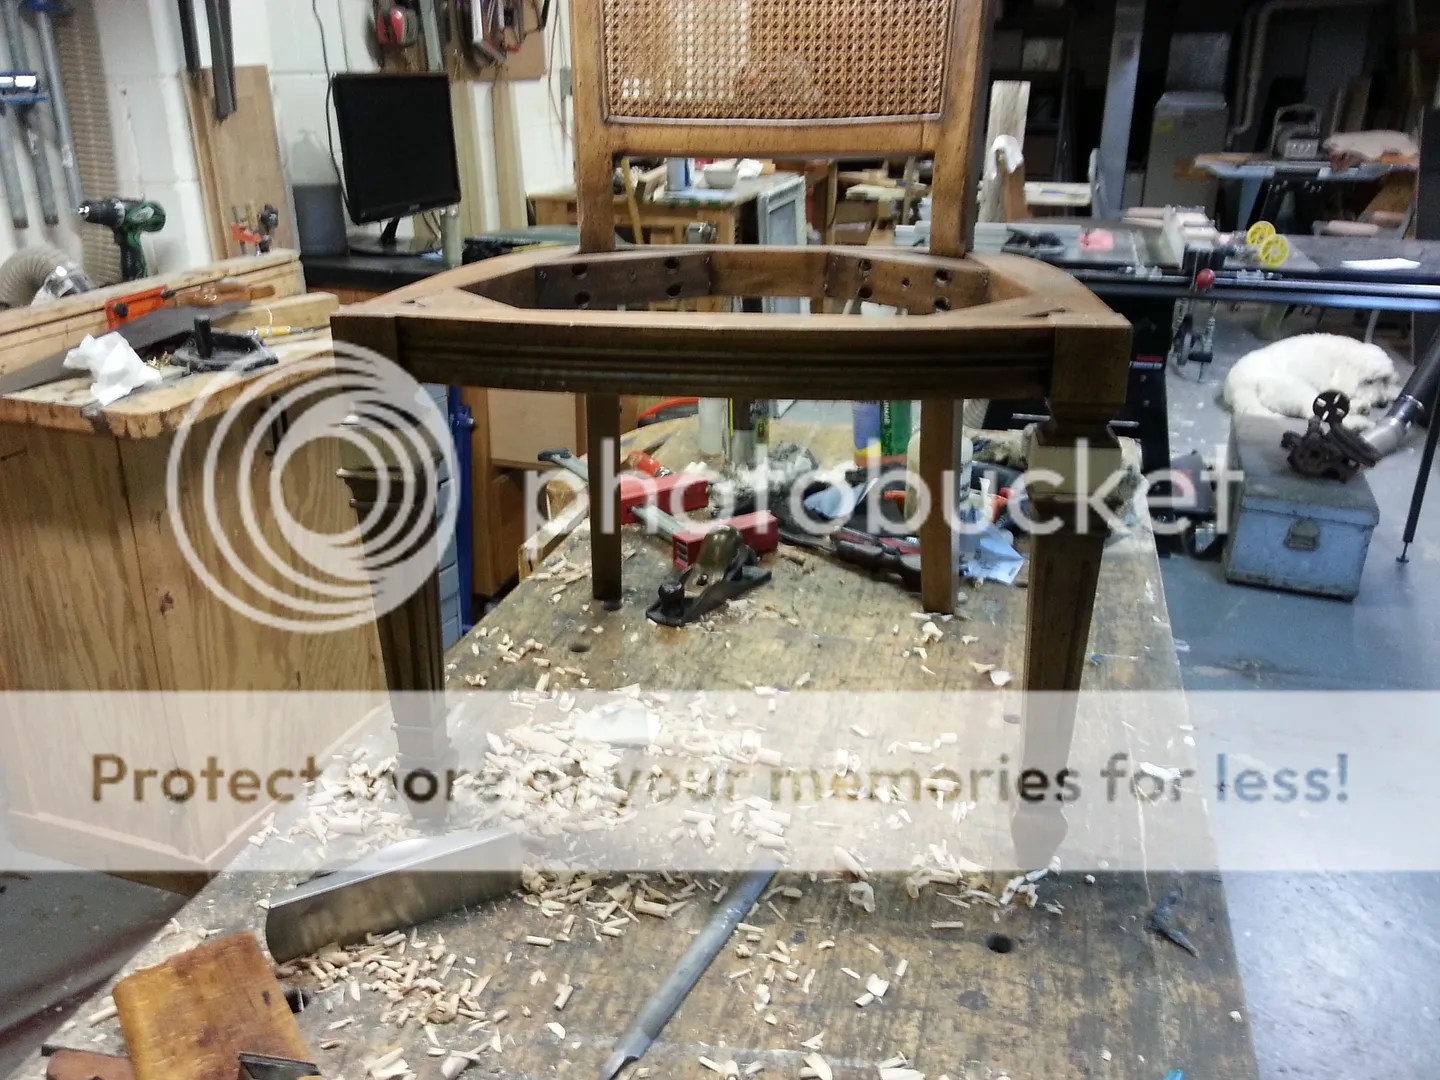
My wife Anita and I both agreed they had to go so I took out my low angle block plane and some files and I shaved away the bubbles on all four sides of the front legs. Since Anita was going to paint the chairs, it wasn’t a big deal that the original finish was removed exposing the bare wood.
After Anita painted the chairs white, I made a template for the seats with 1/4″ hard board. I simply traced around the chair with the hard board on top and cut it out on my band saw. I had to pay attention to the two notches in the back of the chair seat so that when Anita put fabric on the seat, they would still fit.

I didn’t have scrap 3/4″ plywood lying around in my shop, but I did have the original oak plywood top from my dining table I revamped last month. I removed some of the extra plywood around the edges where it thickened up the top and laid out my seat pattern on the board. I then used my jig saw to cut the seats out.

After a little fiddling, the seats fit well to the chair frames.

The rest of the work was in Anita’s hands. She used the seat bottom to trace around the batting for the chair and cut it using a pair of sharp scissors.


Then she started to staple the fabric on with upholstery staples. She used a Senco pneumatic stapler to make the job go much quicker.

Here is one of the chairs finished. I have to admit, it looks a lot better than the Windsor chairs I made a few years ago. Once she finishes all four chairs, I’ll post some pictures that show the revamped chairs along with the revamped table together as a set.


