World’s Longest Yard Sale 2025

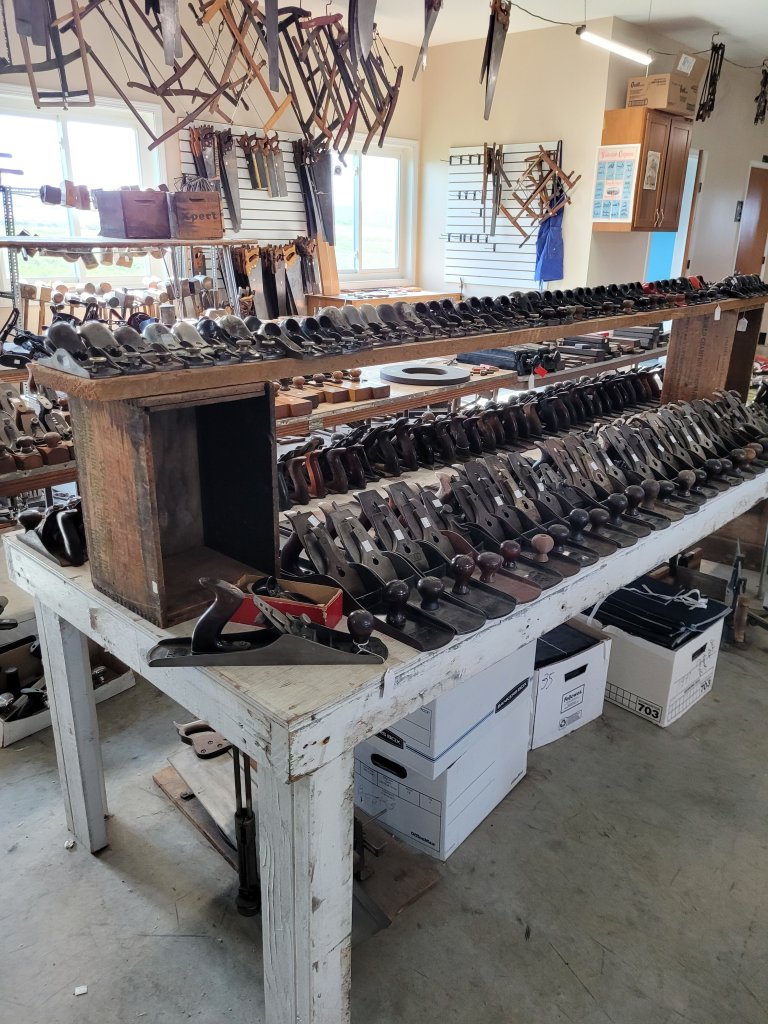
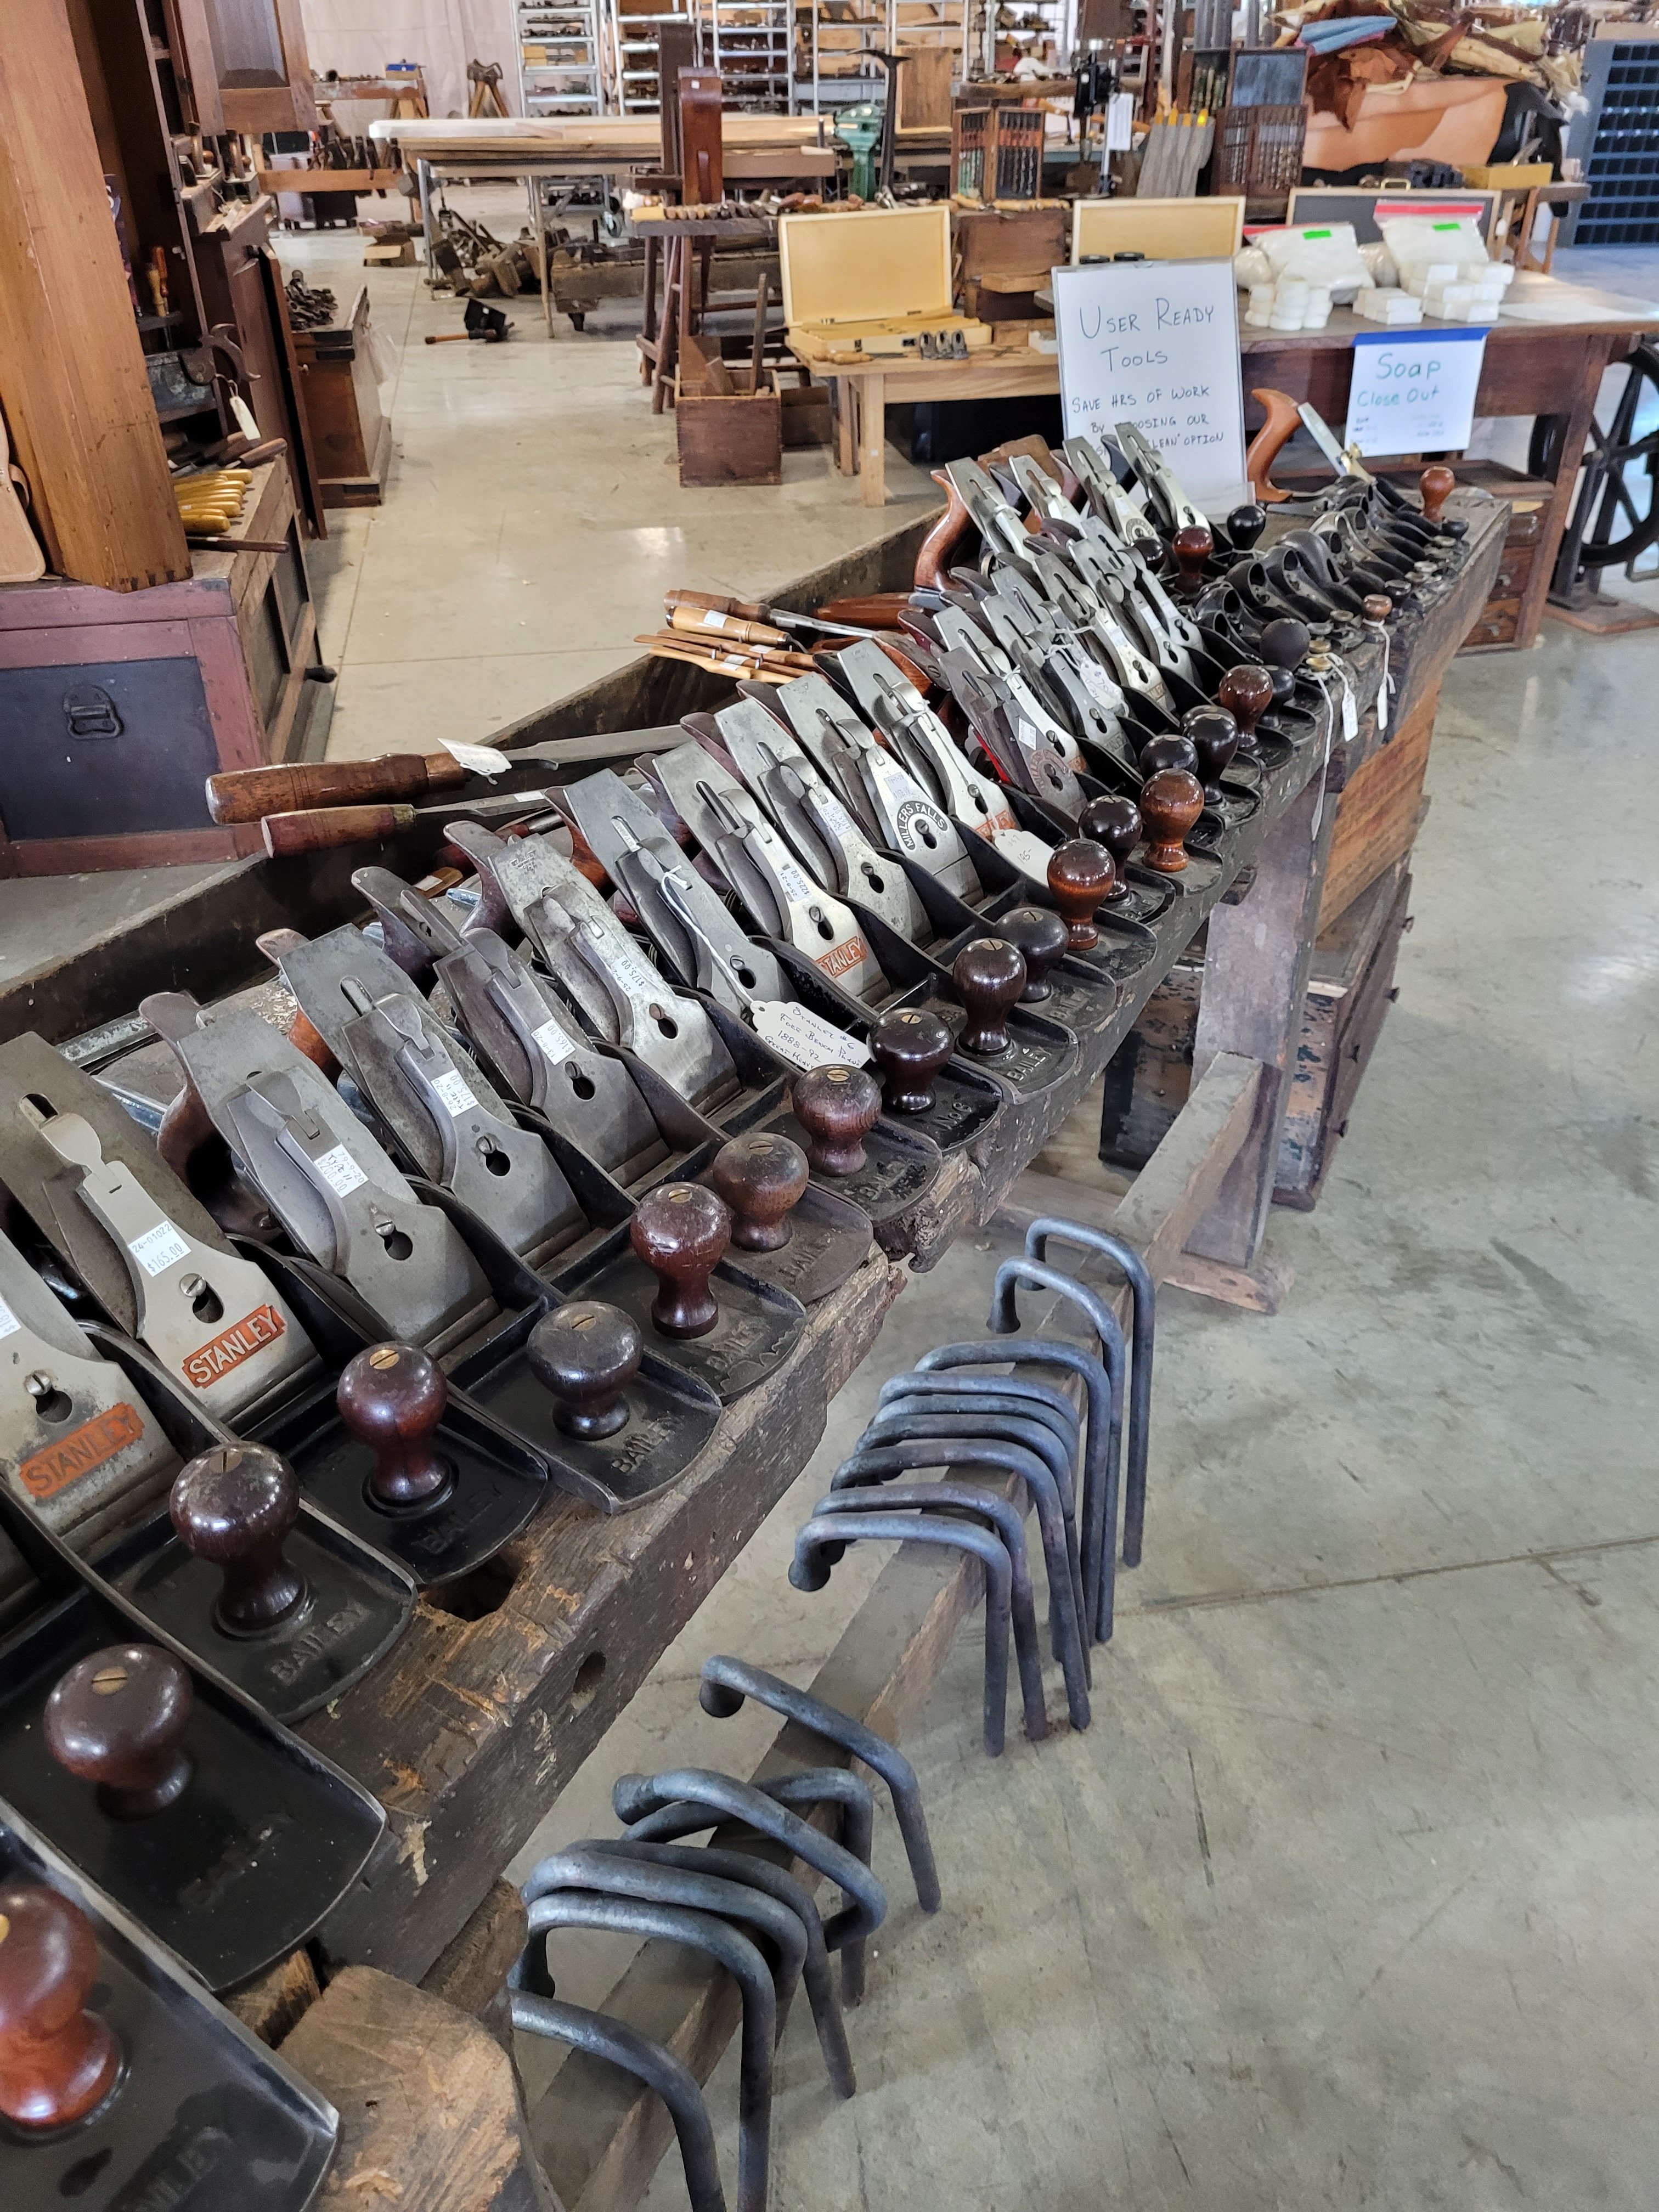
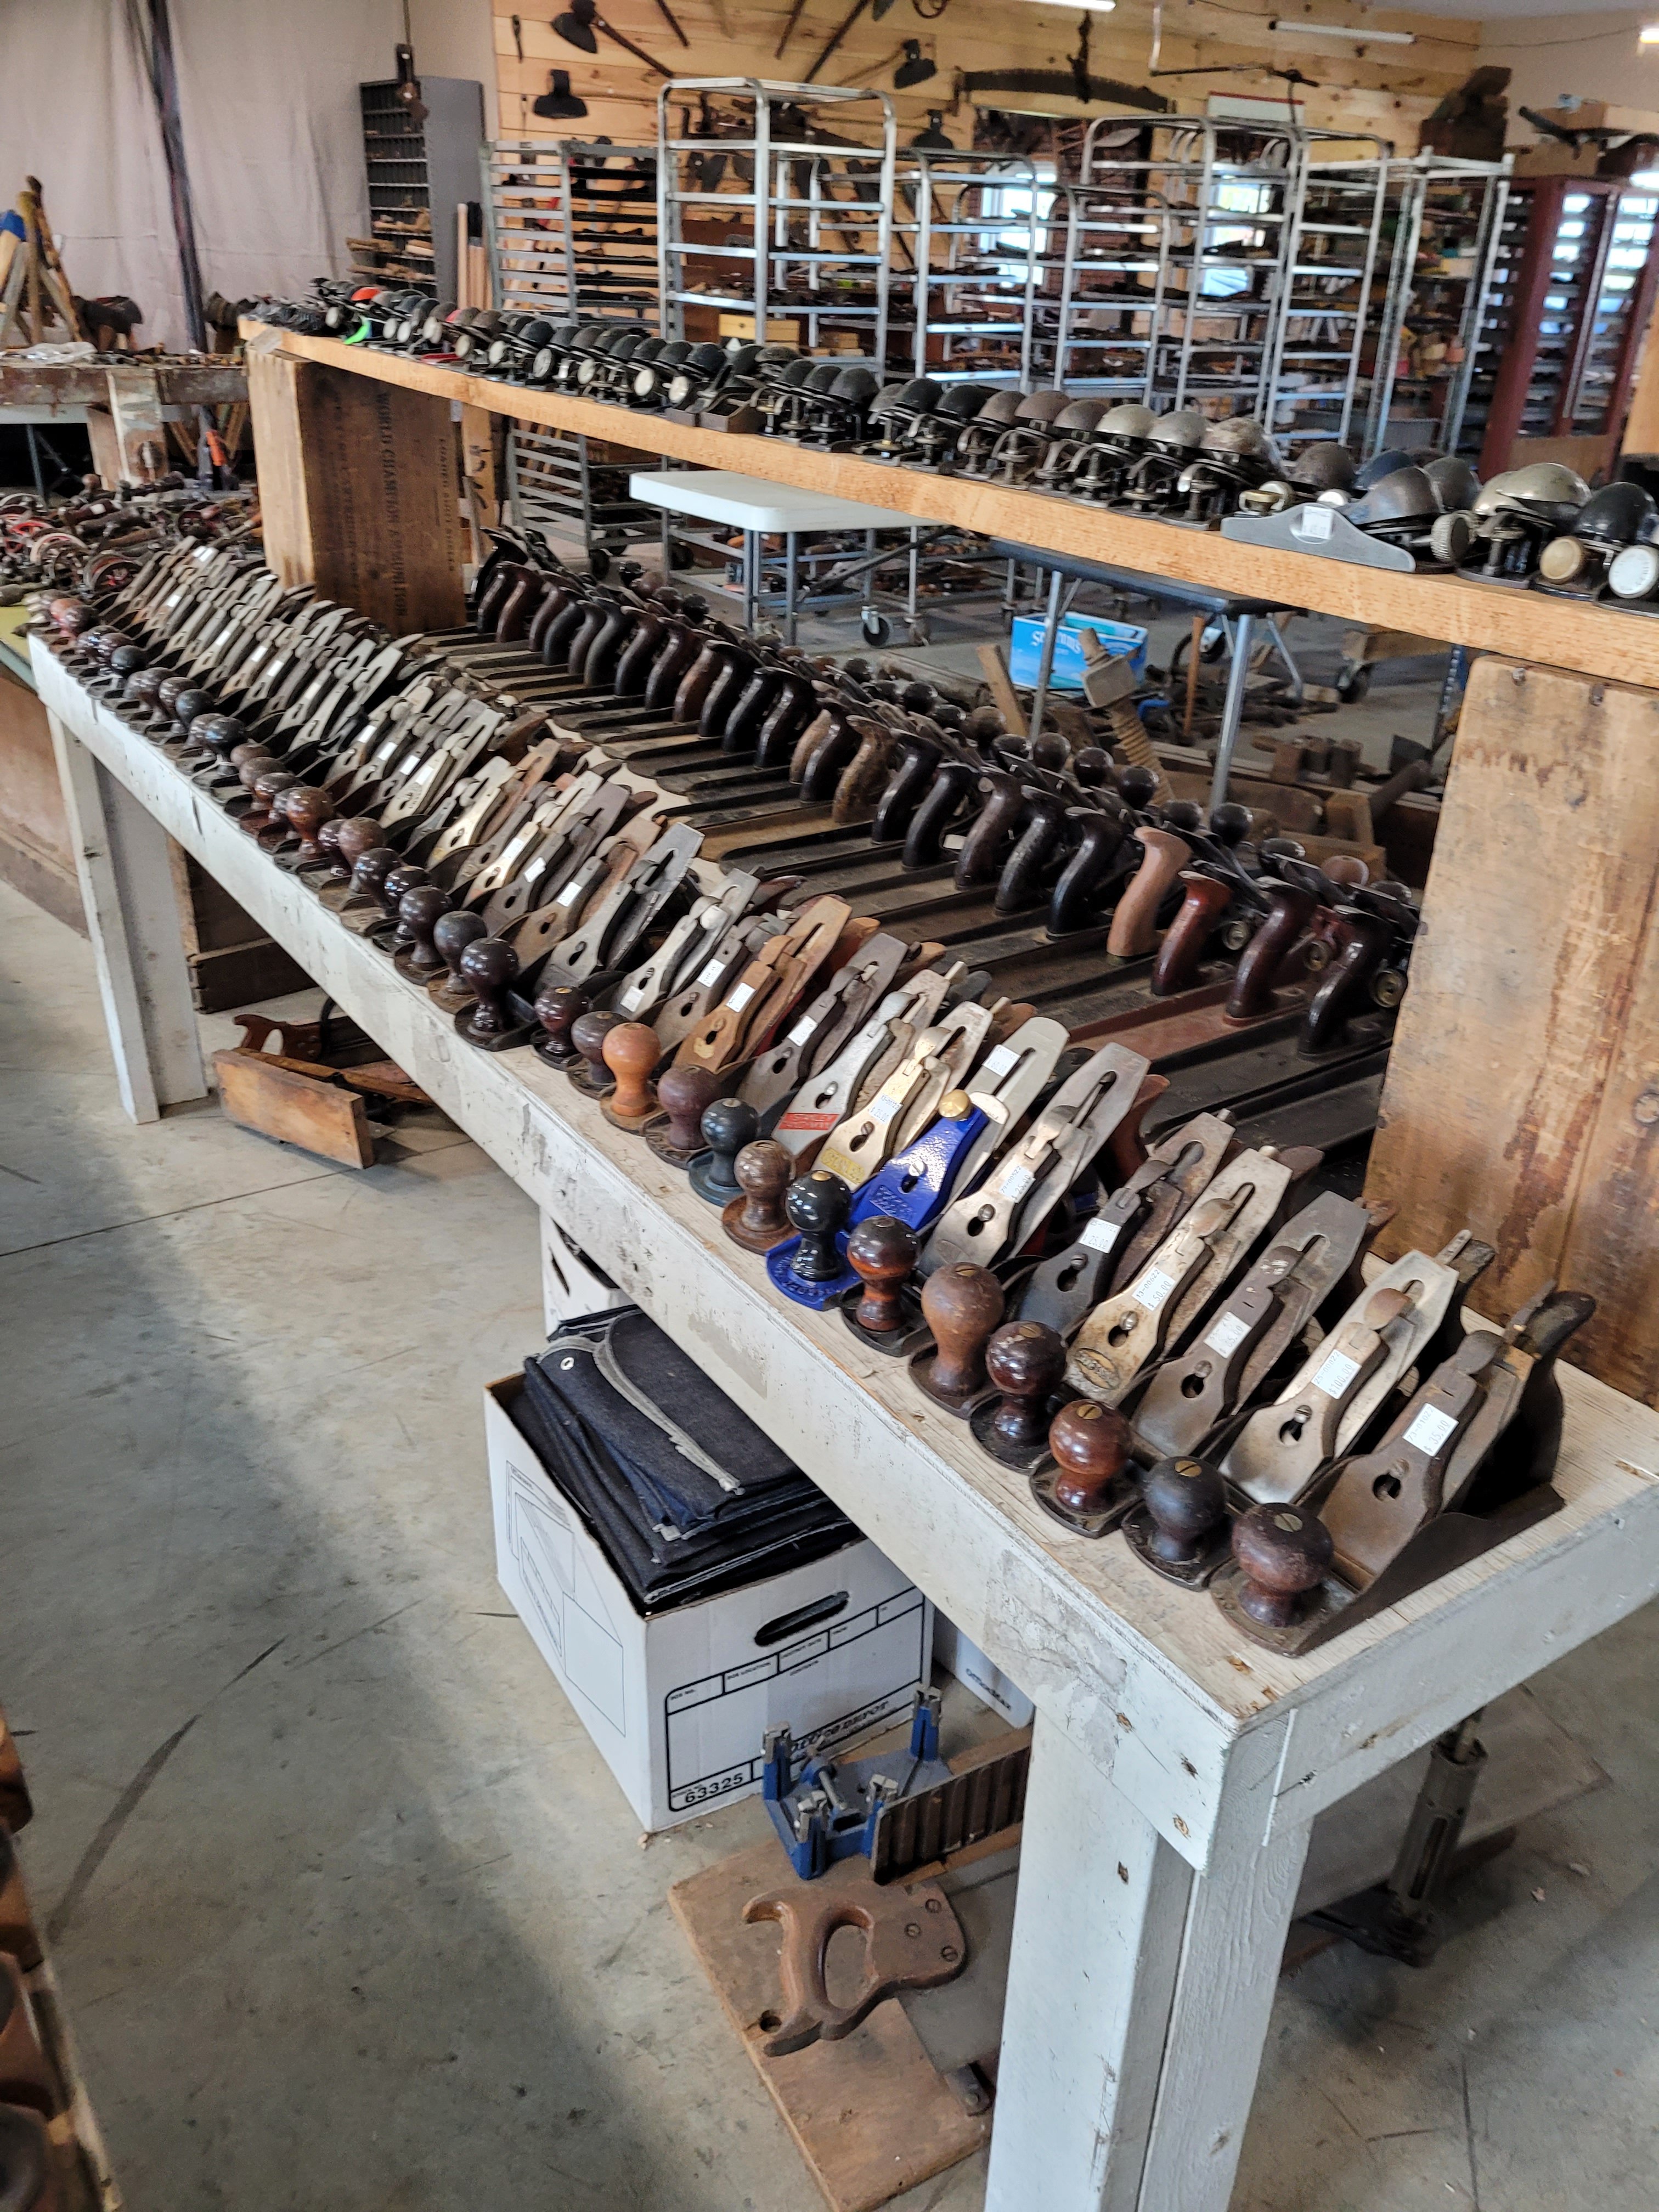
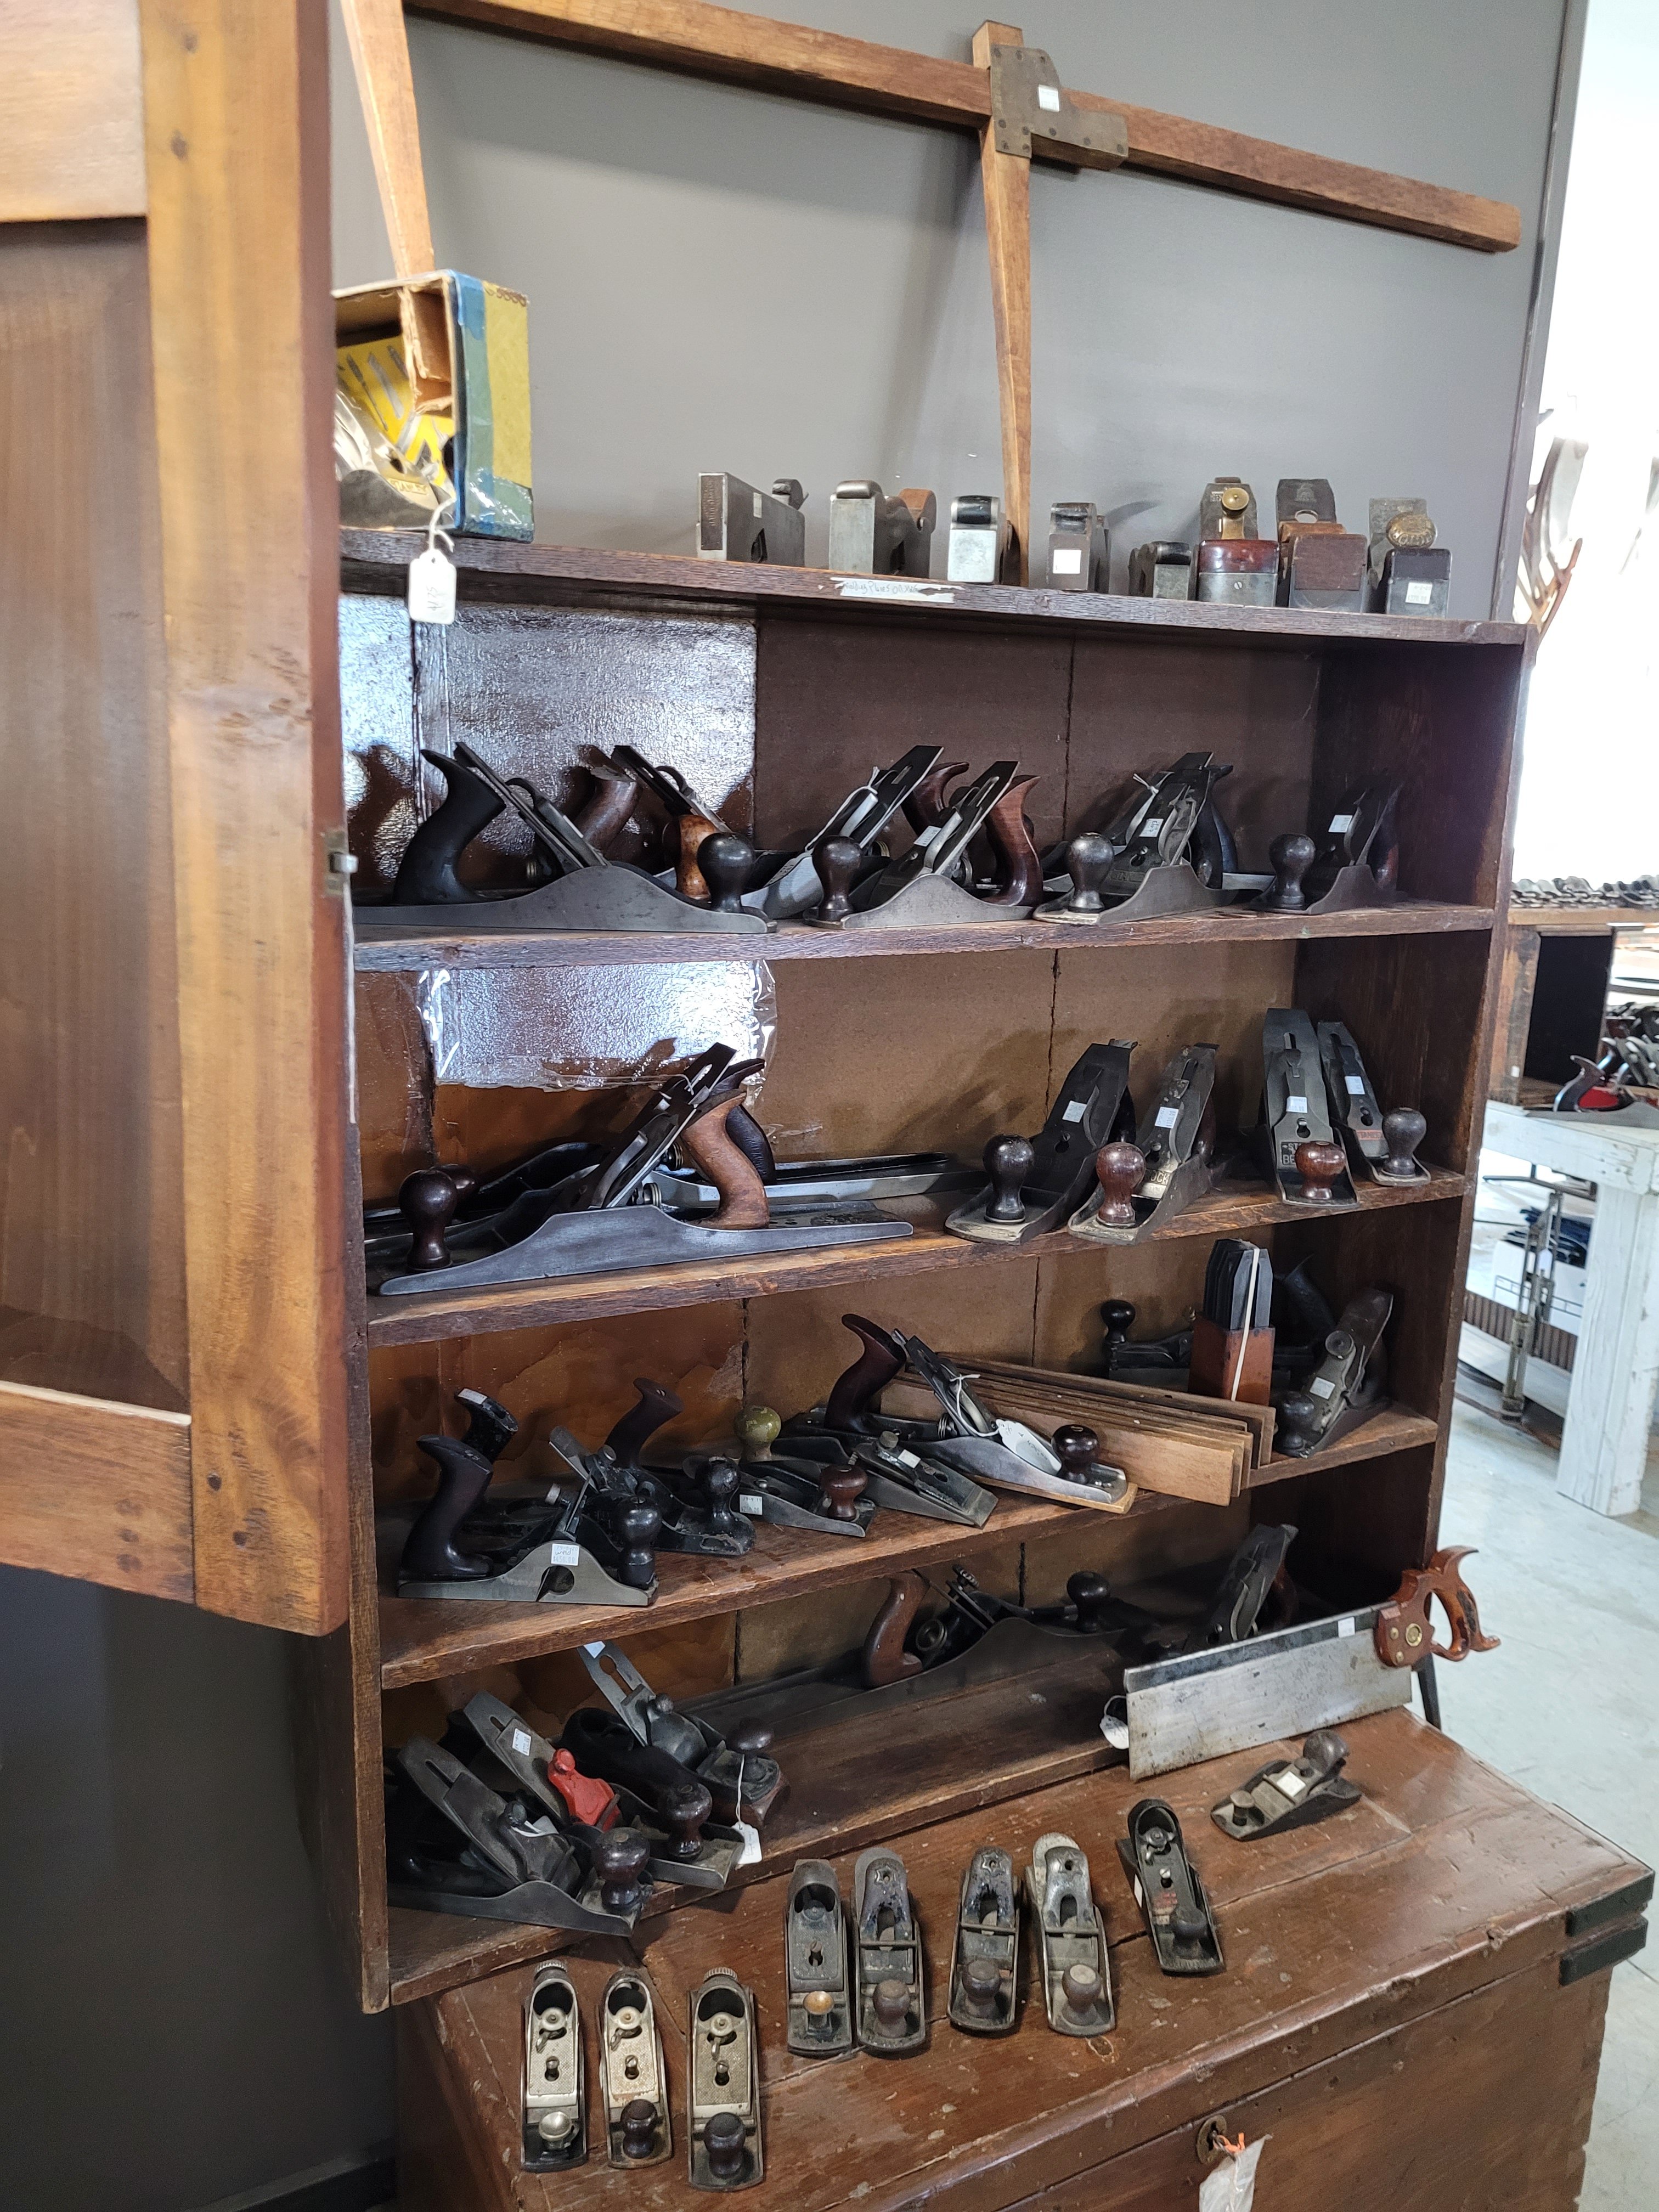
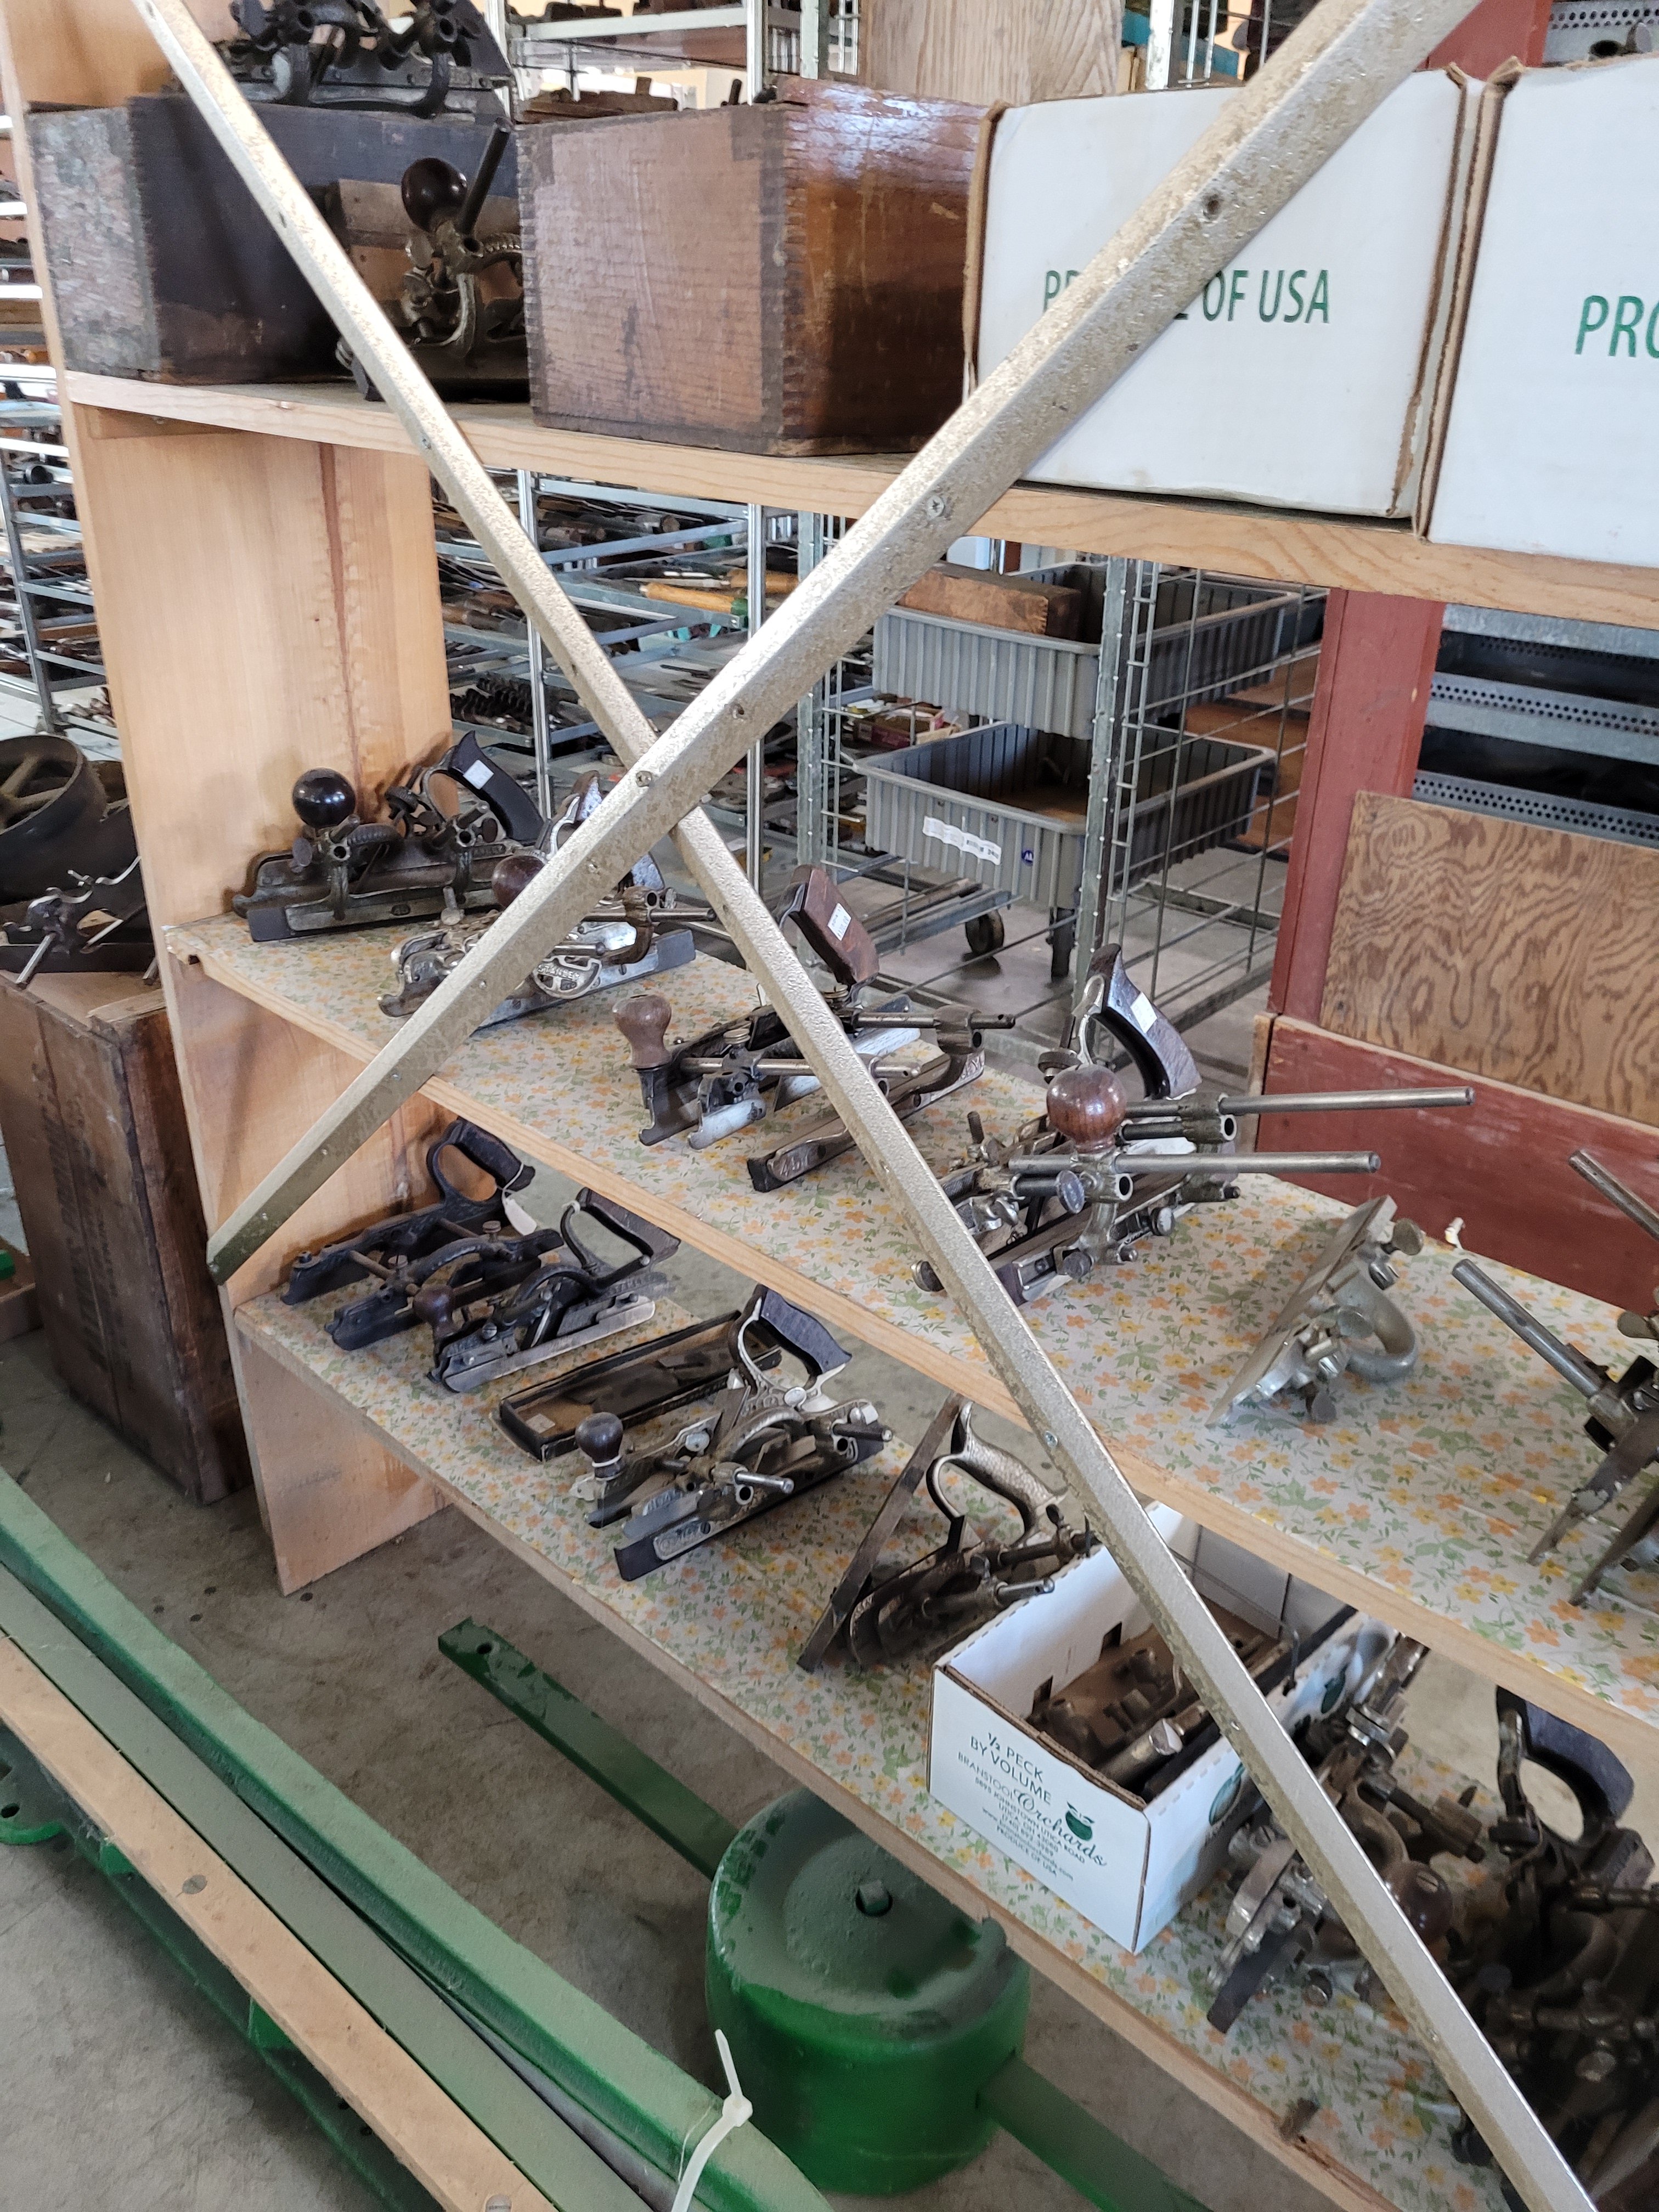
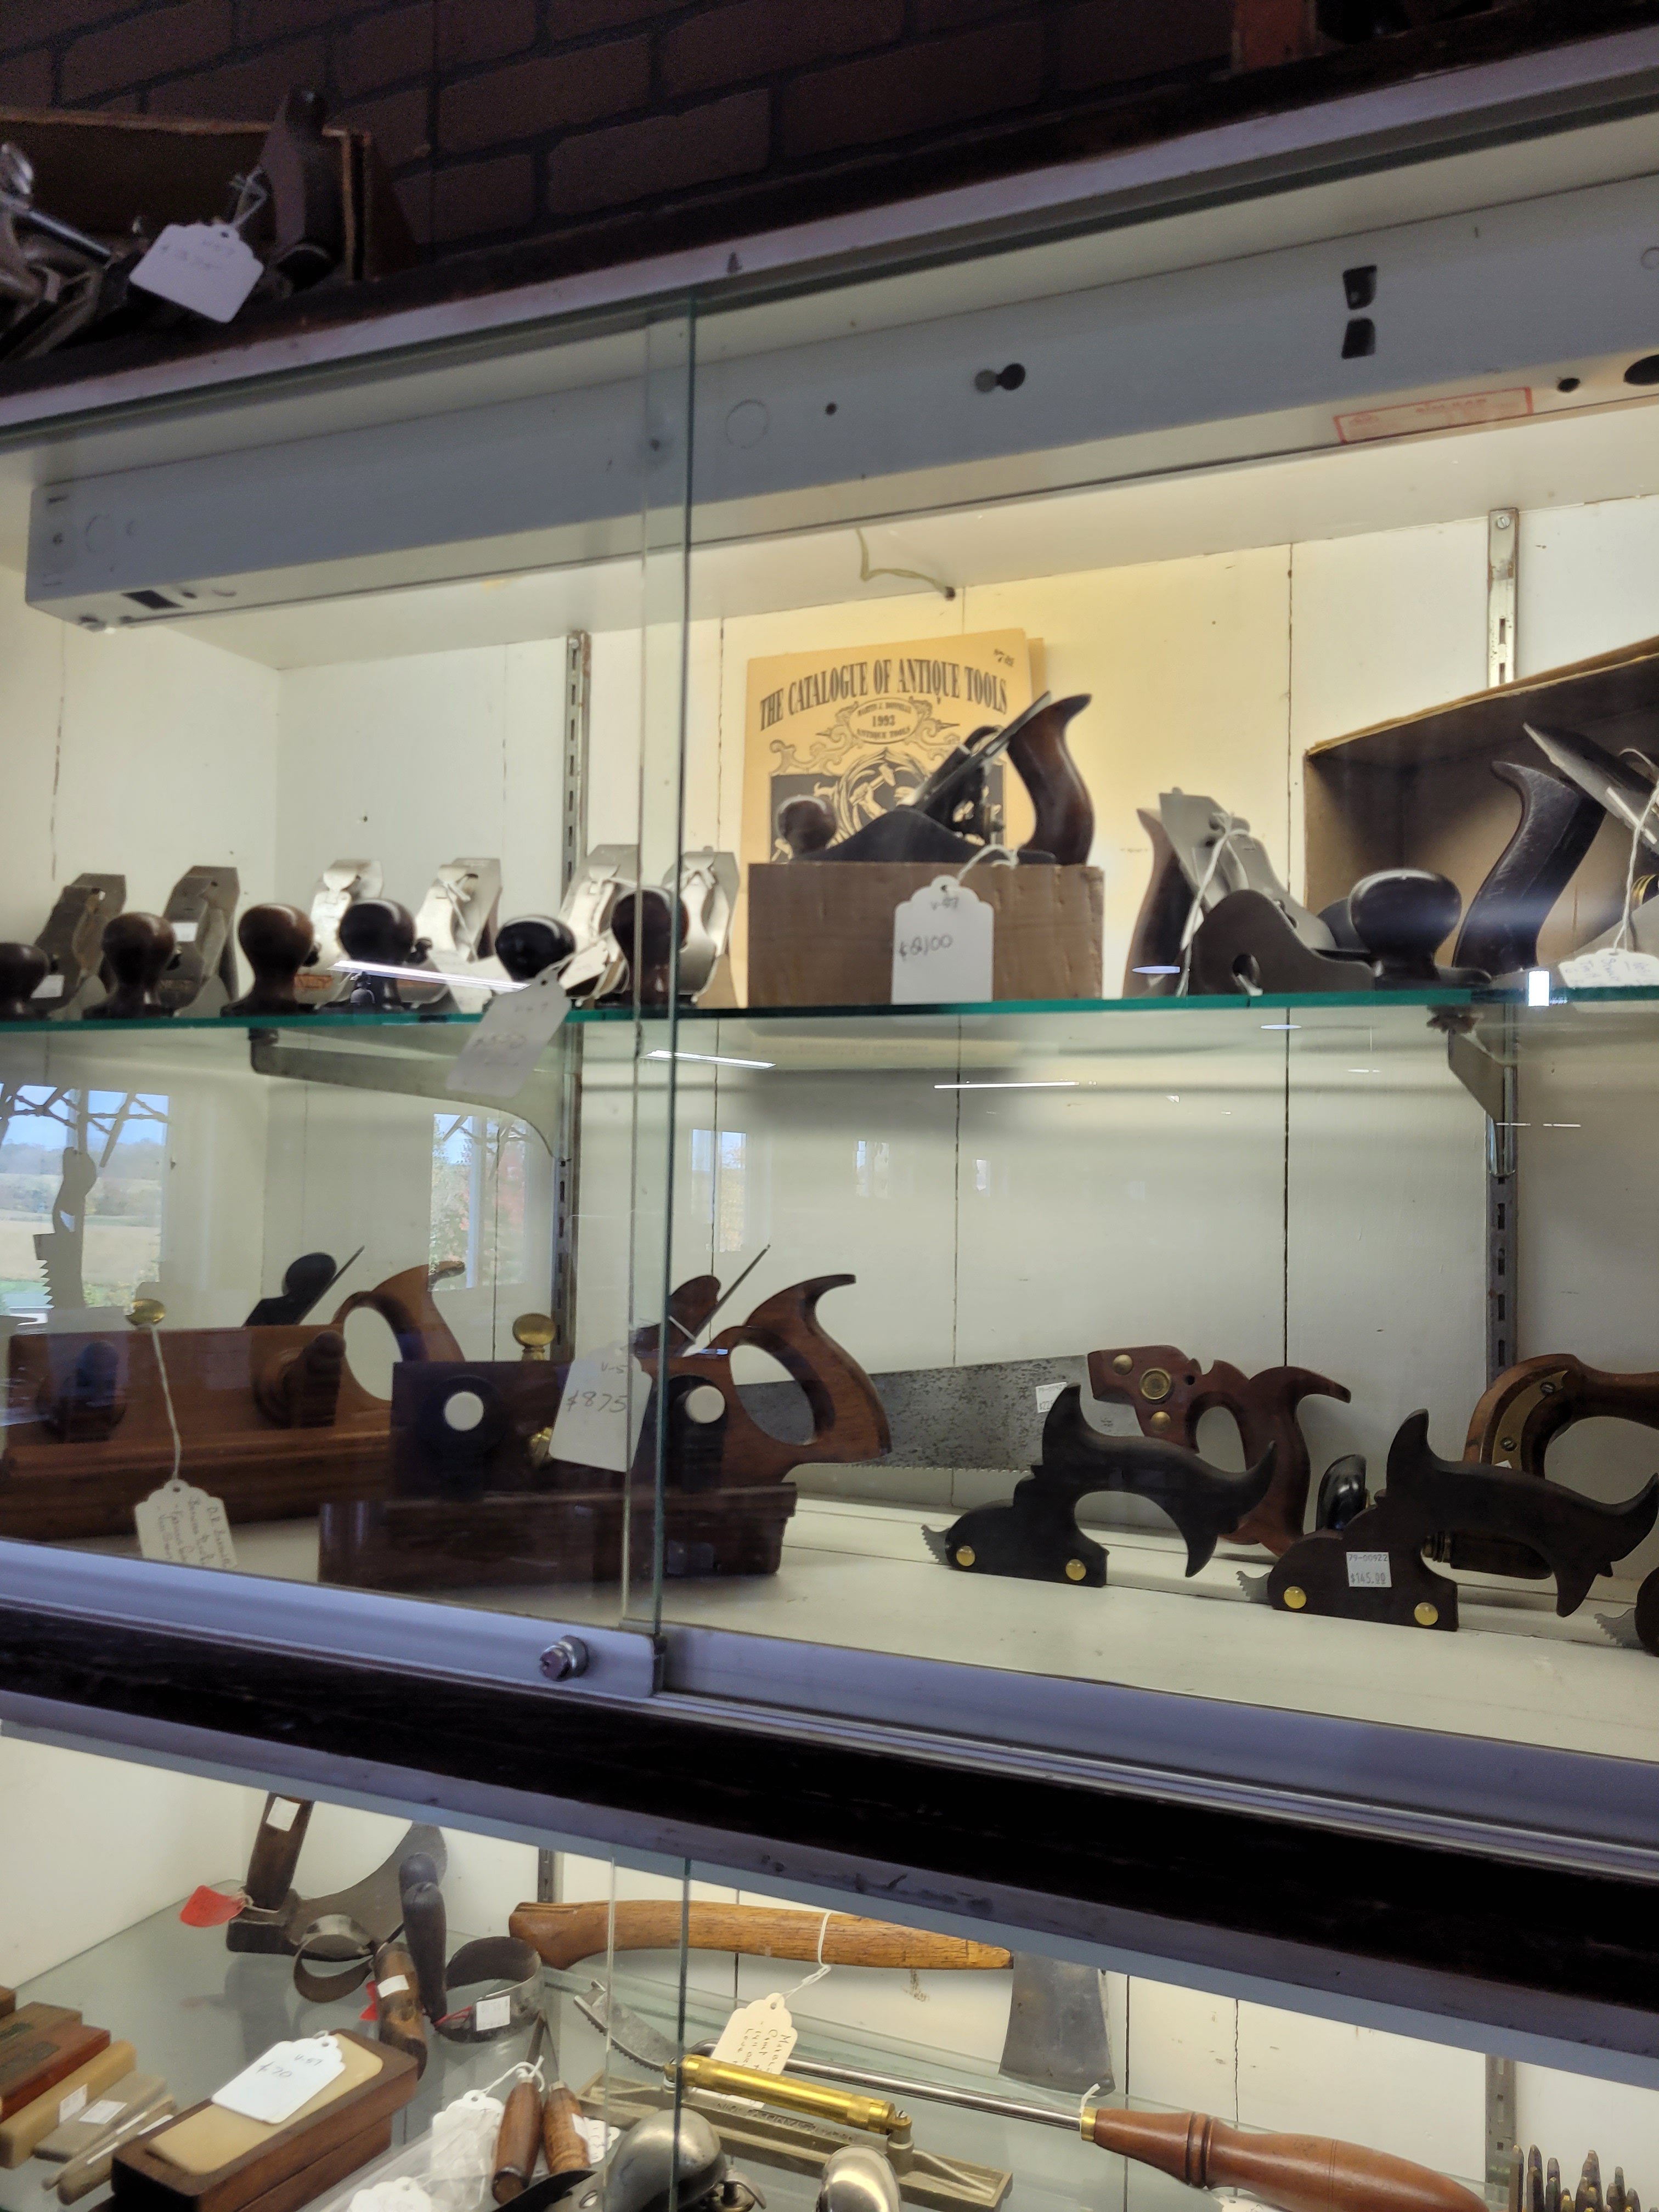
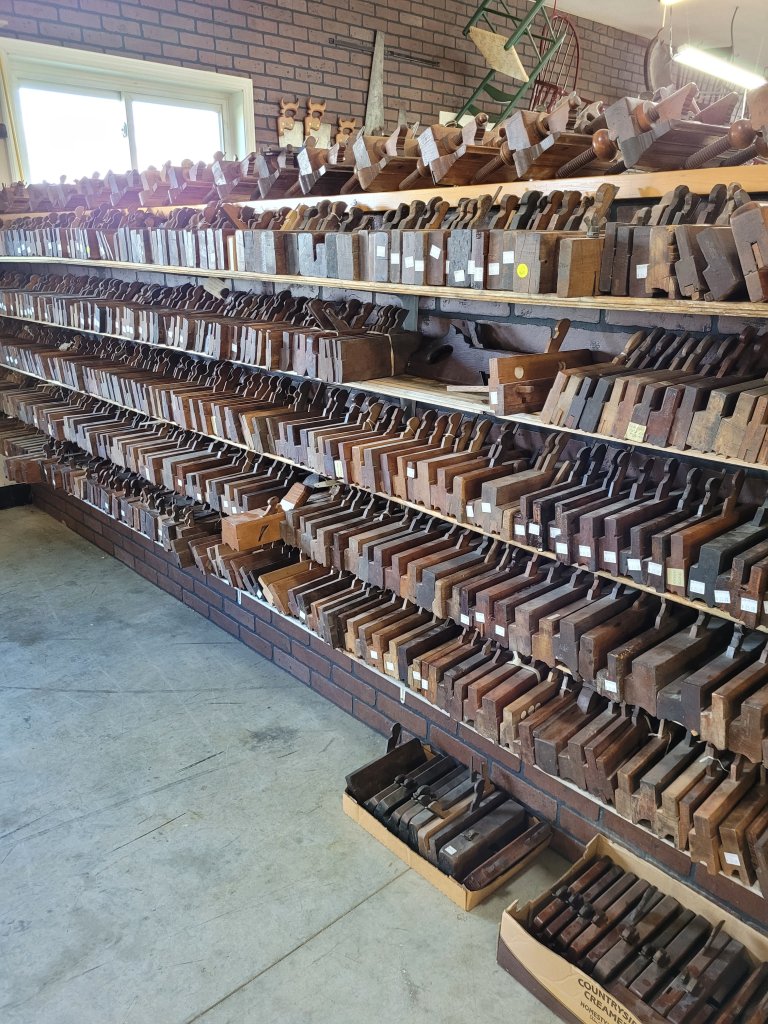
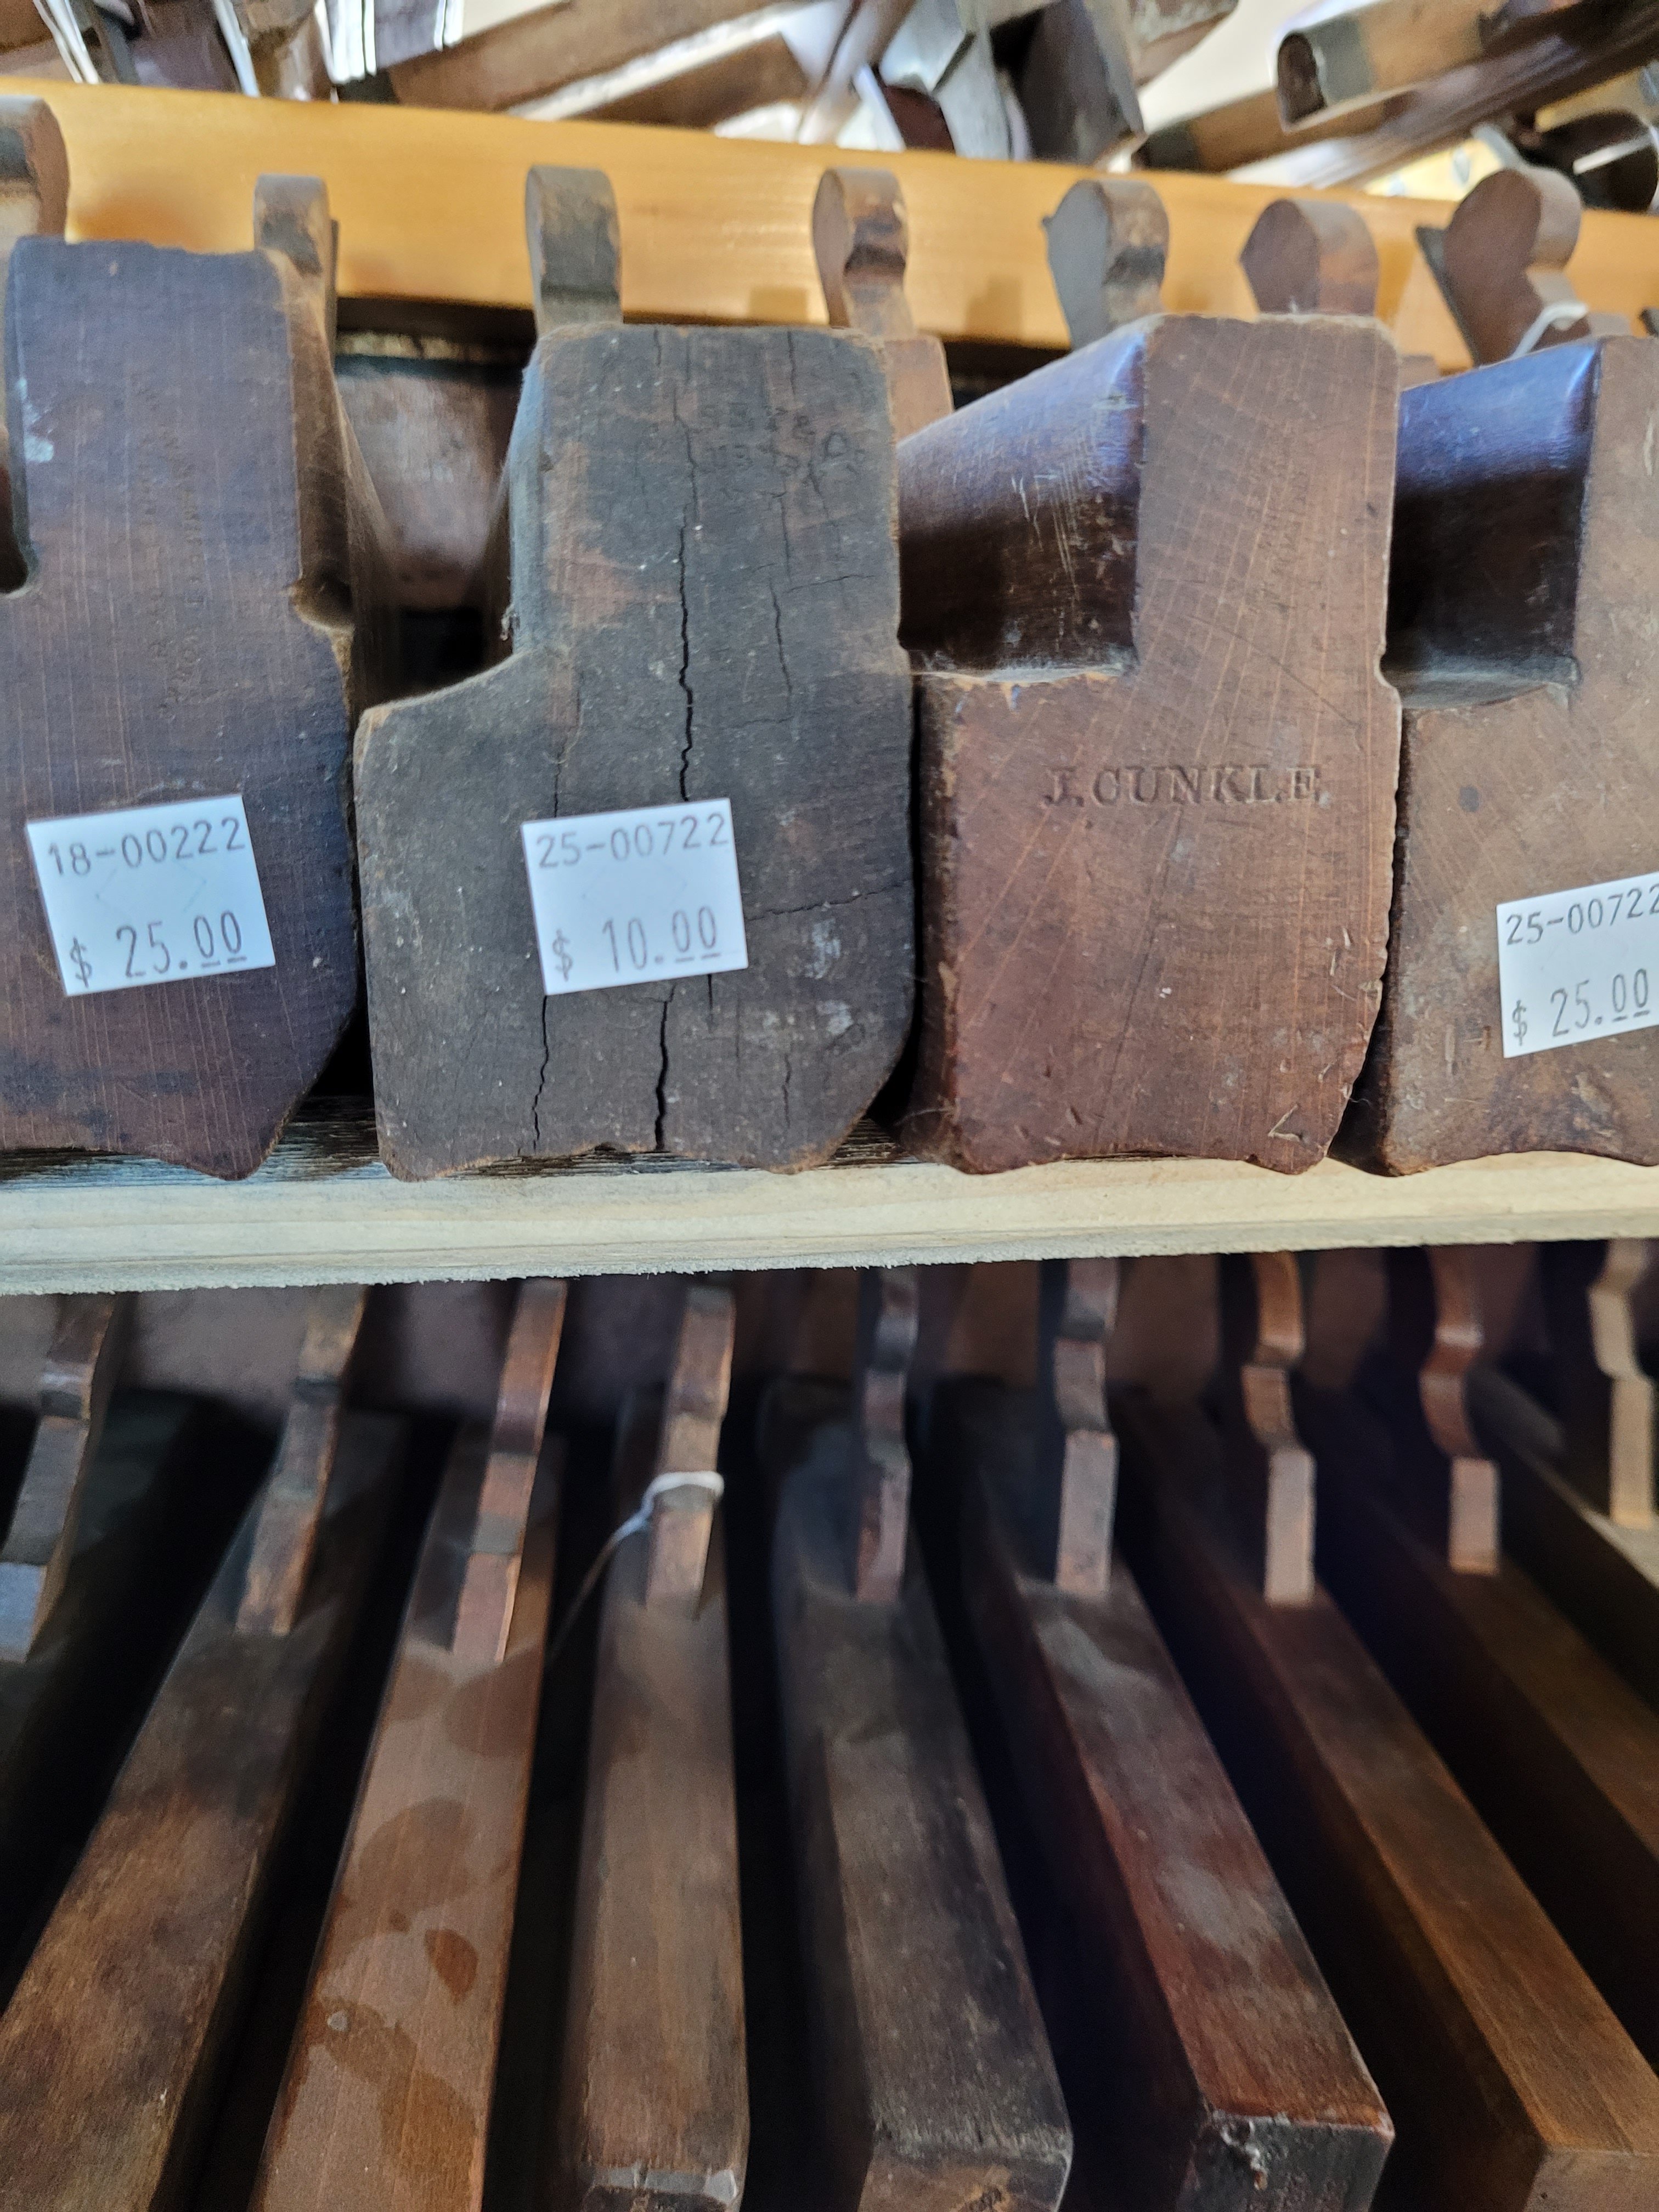
I went on the World’s Longest Yard Sale again this year. We traveled five days traveling from Russel Springs, Ky to Eaton, Ohio, at the I -70 line. It seems harder and harder to find tools. Mainly because the same vendors have the same tools I picked through the previous year. Nevertheless this is what I got.

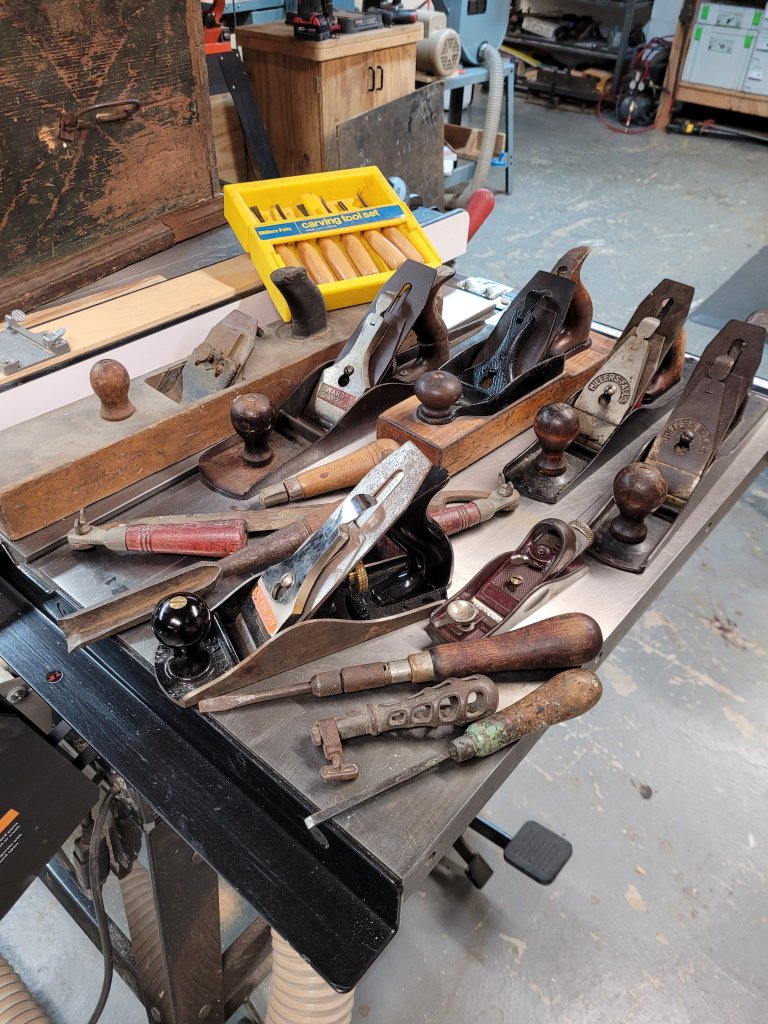
A couple of Milers Falls planes. These are getting pricier every year as more people realize how well they work.

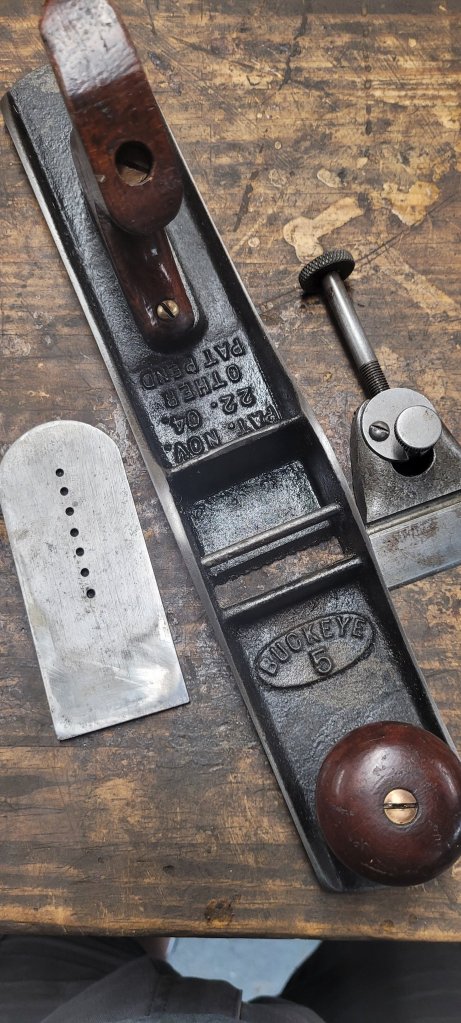
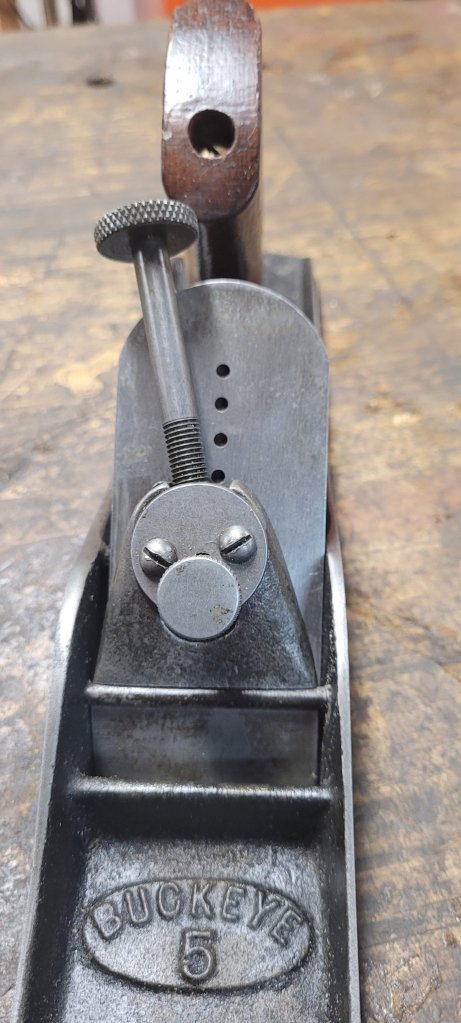
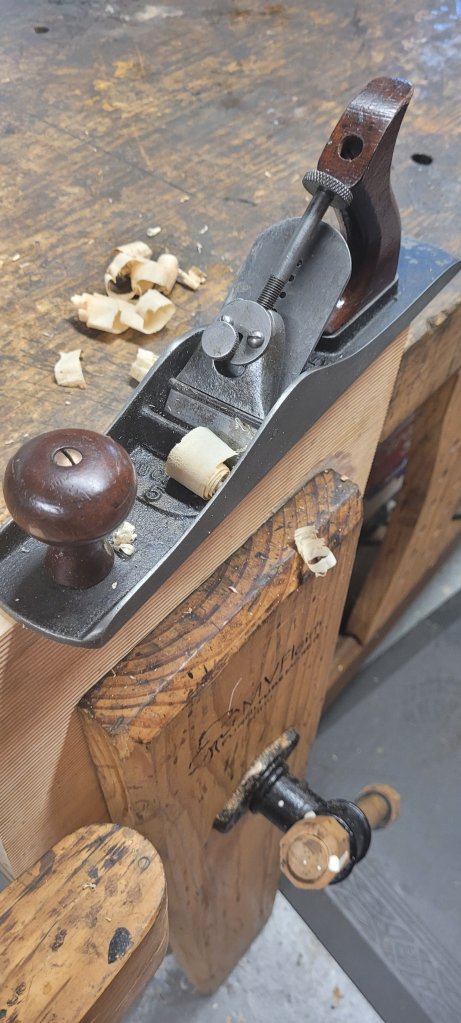
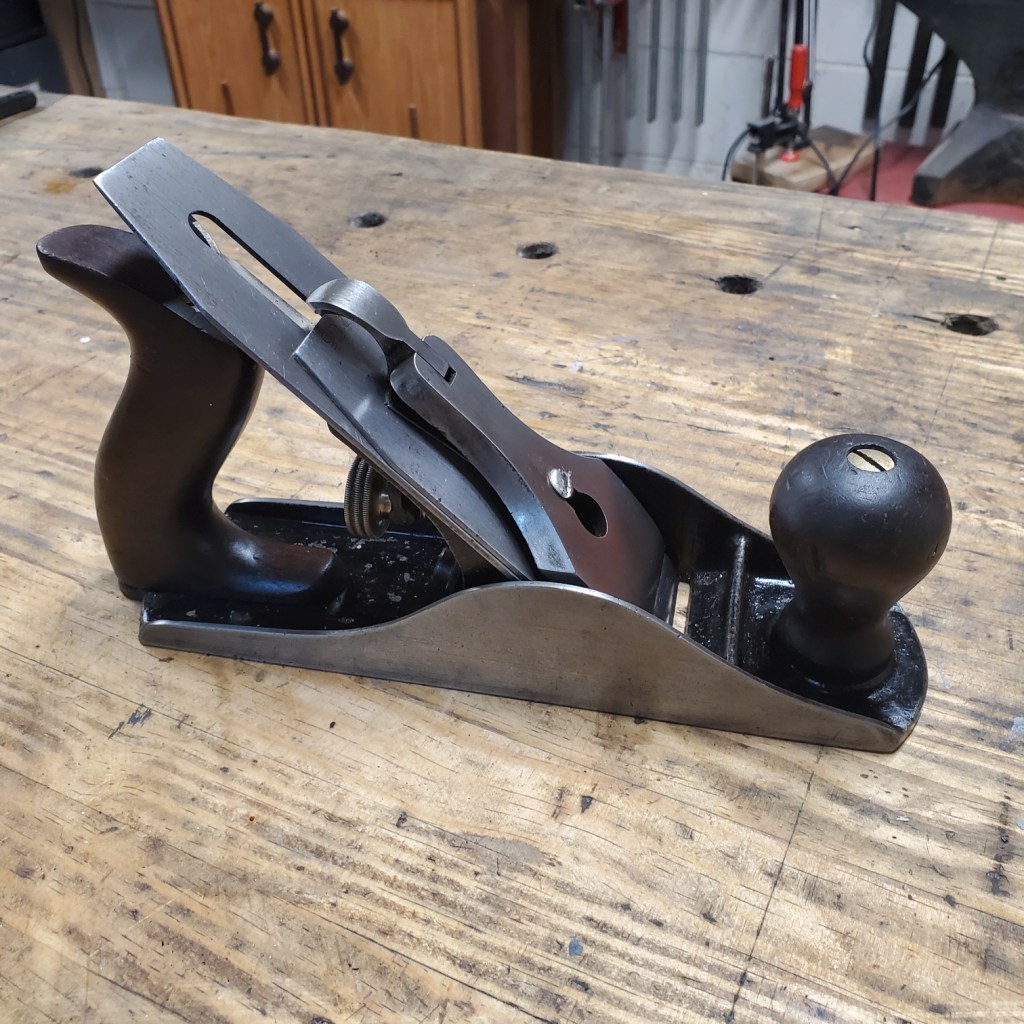
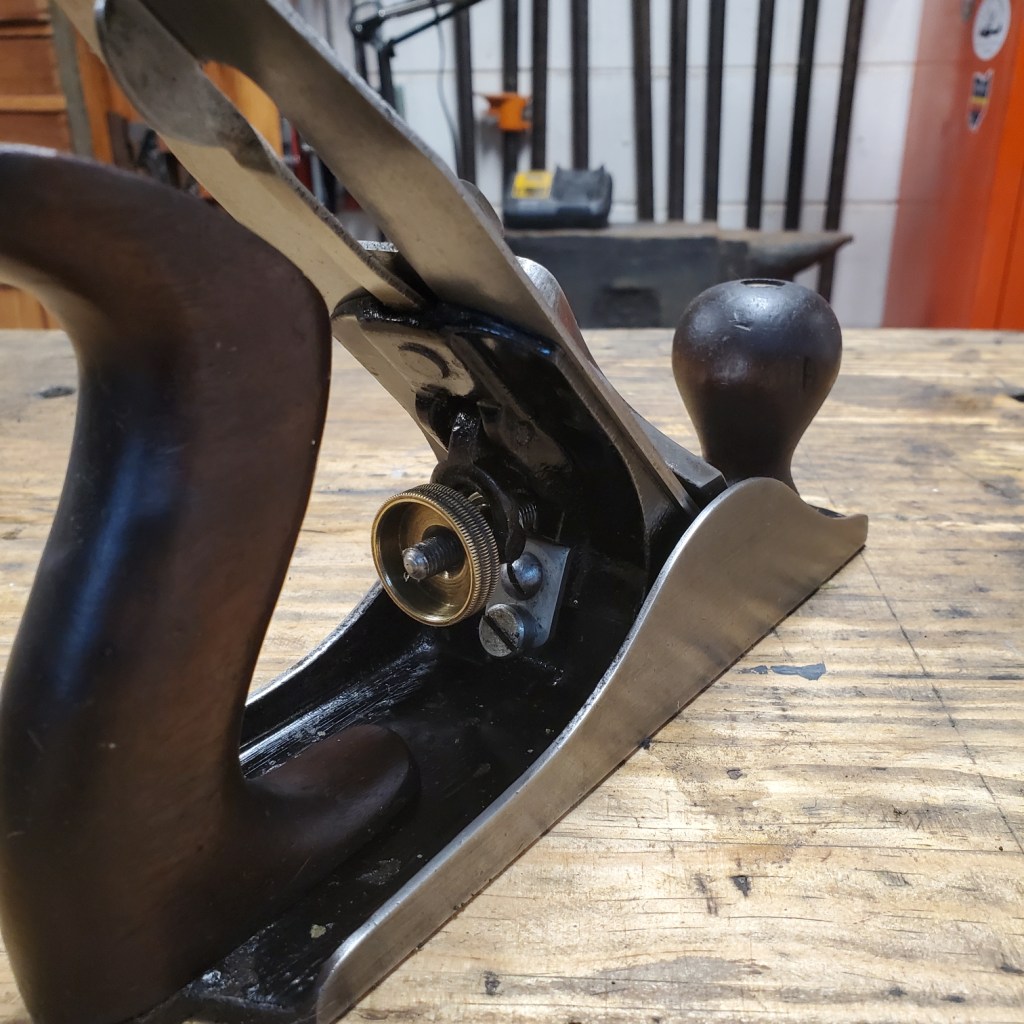
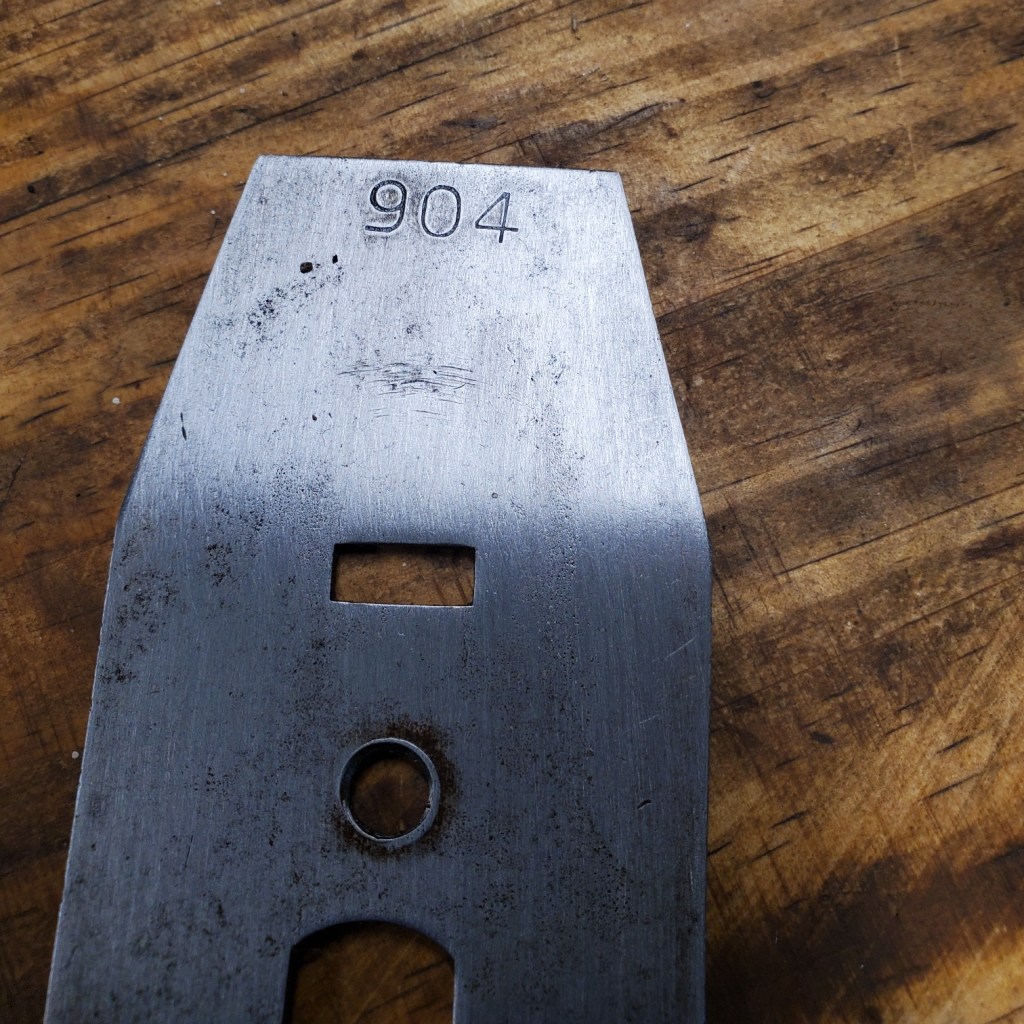
A bunch of Stanley bench planes and one Craftsman No 5C for $5.00. I’ll buy the parts planes if the price is right as I usually have the correct part to make it complete.

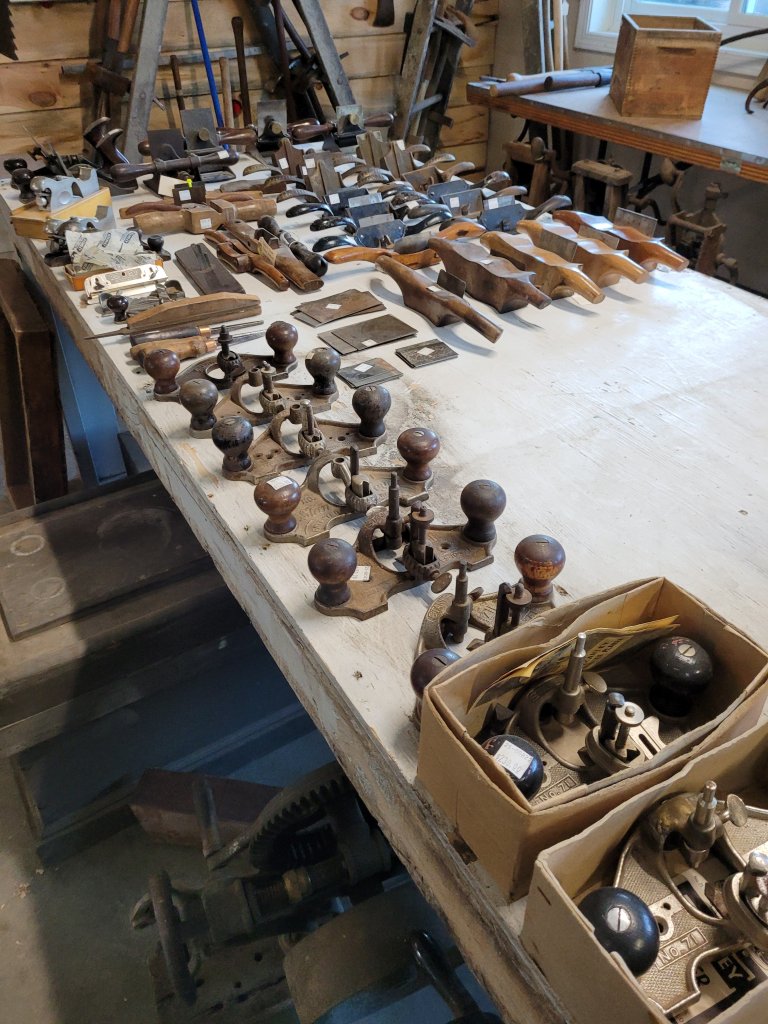
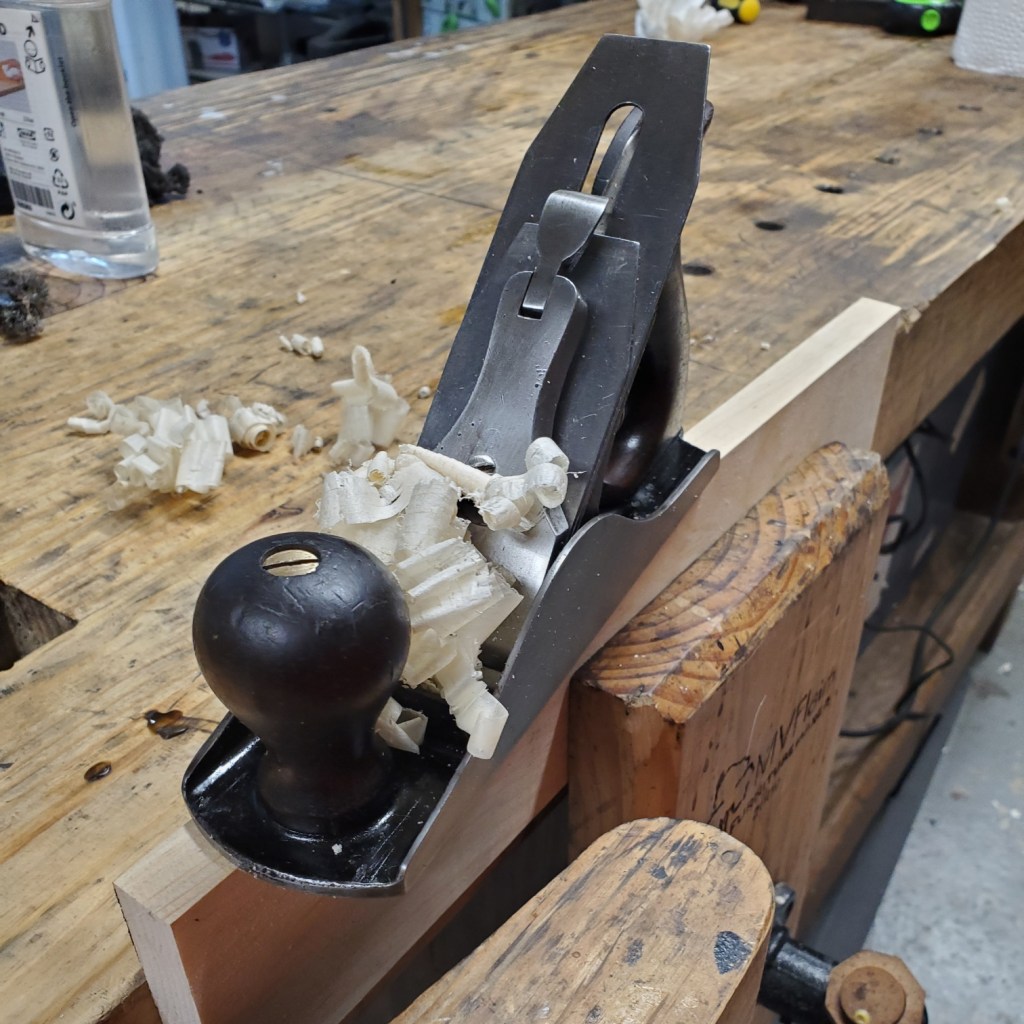
Two Stanley No 48 tongue and groove planes. One is missing a blade, but they’re relatively easy to make. The other has a user made wooden fence that is too narrow to work.

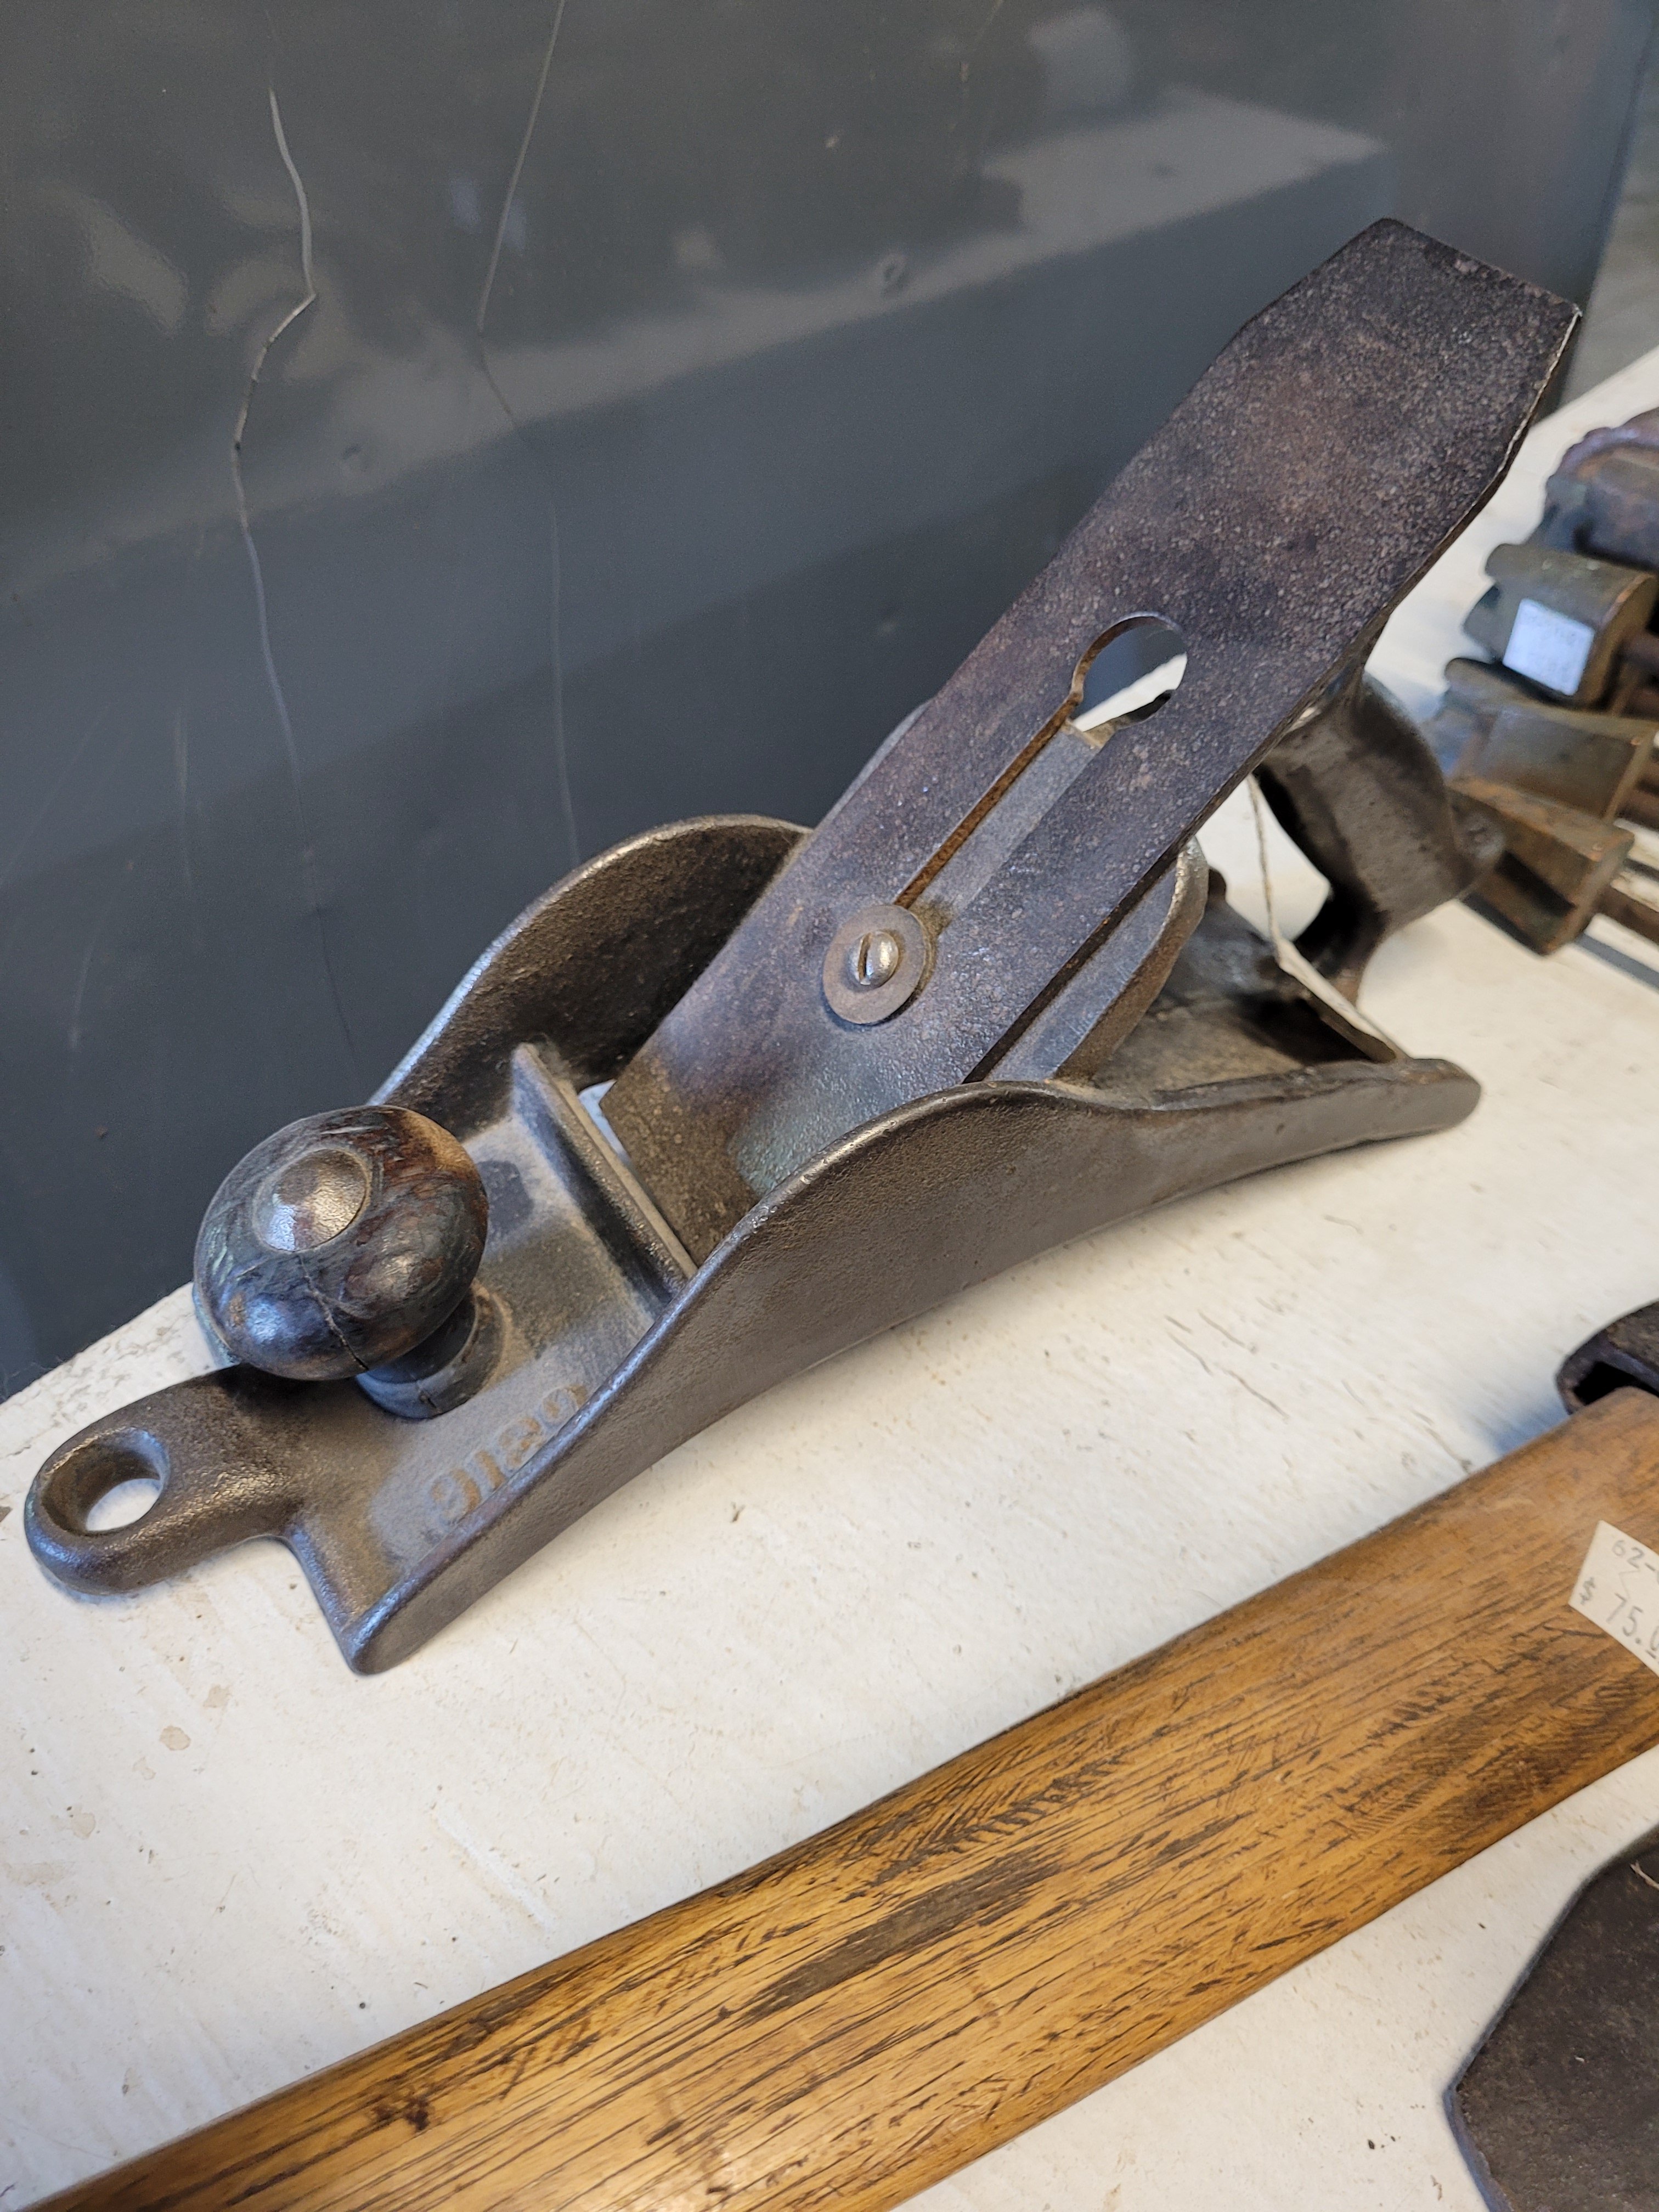
I bought this lot for $20.00. The guy didn’t know what the sun plane body was. I believe the screw handle is from a mitre clamp.

An ivory slide rule and a 2 ft caliper rule I have never seen before. Plus, there are a few odds and ends.

I found the Holy Grail of paste wax. A full can of SC Johnson paste wax for a $1.00. I hit the lottery. lol.

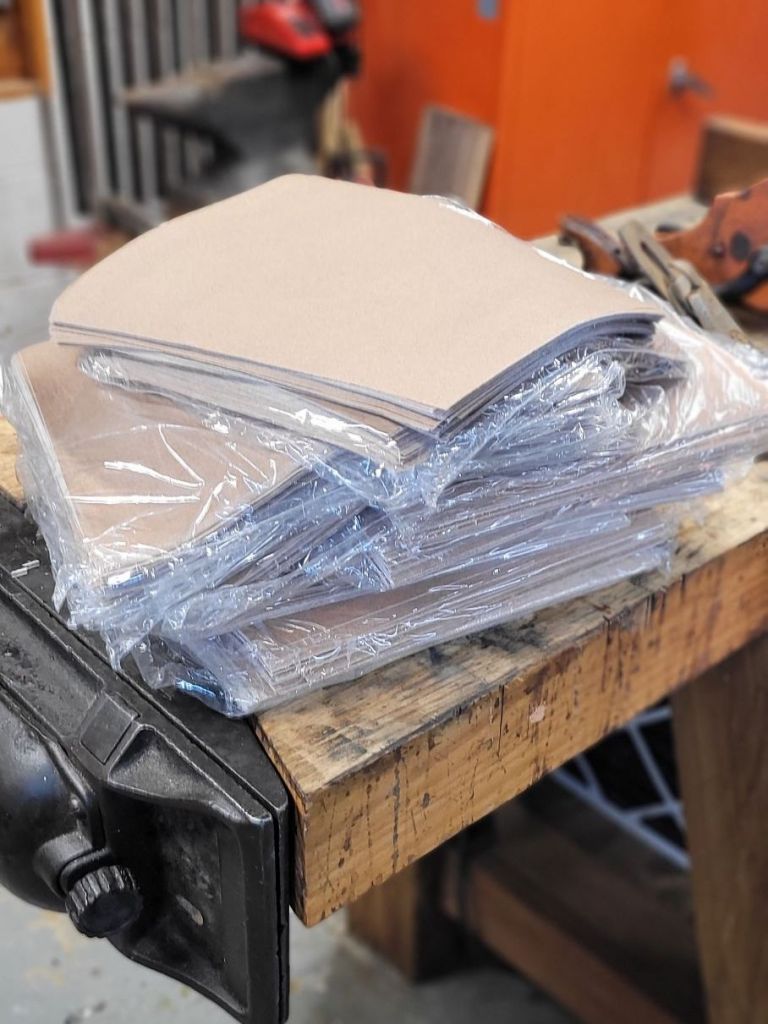
I bought 600 sheets of sandpaper for $20.00. 300 each of 150 and 220. I love cheap sandpaper. The number one rule of sandpaper is to use it like someone else is paying for it.

I only spent about $250.00 for everything, but my wife, Anita, made out well. She bought a whole lot more and spent a whole lot more money than me. You can check out her Instagram page at mybuckeyehome to see what she bought.

Denison & Co Boxwood Plow Plane

I bought this unmarked antique plow plane sometime during my life. I have bought so many tools over the years, I often can’t remember when or where I got them. Not to mention what I paid for them, which can be a problem if I want to try to make money when I want to sell the tool.

The plane was complete, but the arm was broken in half, missing the bottom of it. The original owner simply stuck a big bolt from the top of the arm through the fence.

I had some Applewood in my shop for fixing handles of my Disston saws and also to turn tool handles. I grabbed a small piece and traced the outline of the good arm, and shaped a new one.

I cut the bad part of the arm off at the bandsaw and found the center of the threaded rod so that I could drill a hole down the center of it.

Unfortunately, the rod was too tall to do this on my drill press, so I had to do it free hand using a square to keep my rod at 90 degrees keeping me in line to drill a straight hole.

Once I drilled a 5/16″ hole about a 1/2″ deep, I stuck a center point in it.

Then, I pushed the center point into my new arm end and used that point to drill another 5/16″ hole into the new piece.

Thankfully, when I glued a dowel into both holes and clamped it for a few hours, the new arm was straight and looked similar to his brother.

The last thing to do was clean up the rest of the plane. I used some Citristrip to remove all the crud off the plane and washed everything with dish soap and water.

After the restoration was complete, I grabbed my antique tool reference catalogs to see if I could find out who made this plane. It turns out that it is a Denison & Co Boxwood Plow Plane. The bottom fence and nuts on my plane are nearly identical to the one in the picture.

The plane came out really well even though I used Applewood while the plane is Boxwood. The color matches well enough and will darken to a nice reddish color similar to Disston saw handles.

You can see where the plane was repaired in its past with a big screw in the brass skate that goes all the way through its body. Plus, there are four screws going up from the bottom of the body for some reason. I see no cracks as to why they are there.

I’ll keep the plane and put it in my arsenal. It’ll be a perfect plane to use since it’s not in original condition.

Buckeye No 5 Plane

Several weeks ago, I won this Buckeye No 5 plane at auction. The look of the plane was something I had never seen before. I wanted to see how it would perform, so I took a closer look at the plane’s functions.

Buckeye planes were made by the Buckeye Saw Company, which was in business from 1904-1929, and they are known for this patented plane by John Muehl, who more likely sold his patent to The Buckeye Saw Co.

The plane has no frog. The blade simply rests on the casting of the bed, and the Norris style adjuster, pins into holes on the blade.

The lever cap acts as the cap iron as well, which usually is not a good sign for quality. The Norris style adjuster swings from left to right in order to adjust the blade from side to side.

The simplicity of the plane makes it impossible to adjust the gap in the plane’s mouth to produce a thin shaving.

I sharpened the blade to see how it performed. Because the plane is so primitive and basic, I couldn’t get a nice shaving out of it even after messing with it for a few minutes. At best, the plane would only be good for rough carpentry work, like trimming a door and not for fine cabinetmaking.

In the end, my opinion about the quality of this plane is……it sucks!

Tote Turner

A couple of weeks ago, I received the latest issue of Popular Woodworking Magazine. Inside was a photo of a new fixture made by Woodyah that hit the market. It was a piece of plastic you put on your hand plane to make your tote tilt at an angle for using it as a shooting board plane. I thought it was pretty cool, so I went online and ordered it.

The fixture came in the mail in a few days, and I took a look at it. It’s made with a 3D printer, so it’s made precisely to fit and it comes with its own hardware. You just need to use your original front tote screw to screw the fixture onto your plane in the front. I downloaded the instructions when I bought the fixture, so I knew how to put it on before I received it.

Once everything is attached, the tote feels really comfortable in your hand, and it’s simple to install.

The next thing I needed to do was make a shooting board to go with the plane. I had a scrap of 1/2″ prefinished cabinet grade plywood and some poplar stock (I should have used maple, but I didn’t have any lying around.) The shooting board base is about 10″ wide by 15″ long. The length of the shooting board was simply determined by the overall length of plywood I had, knowing I had to cut it in half.

The parts were pinned and glued together, and I made sure that the side of the plane rode nicely against the thin rail of the shooting board.

Everything worked, but I needed to make sure it was accurate. I checked the squareness of the side of my plane against the bed, and it was just a touch off.

I took the plane over to my oscillating edge sander and fettled the bed first, then flipped it over on its side to fettle the side perfectly 90 degrees.

Taking the plane back to the shooting board, I made sure the bottom of the bed was a perfect 90 degrees to the face of the shooting board.

I then set the blade and tried it out. It worked well with a little bit of practice. Because there is only one point of contact between the side of the bed and the rail, I had to take slow and purposeful strokes to make sure I got a smooth cut. If I tried to use the plane fast, the plane would rock back and forth, producing an inaccurate cut.

I wanted to try shaving miter cuts with the shooting board. At first, I thought about making some sort of fixture that would attach to the base with dowels or some other mechanism. Then I thought to myself not to reinvent the wheel when I saw a plastic speed square in my tool cabinet. I simply placed the square on my shooting board where it needed to be in order to produce a perfect 45-degree angle and clamped it in place with a couple of C clamps. Then I cut a witness mark on the fence and square so I knew where it went the next time I used it.

With a sharp blade, the plane was cutting incredibly clean and accurate shavings. They looked like chocolate shavings you find on fancy desserts.

Fortunately, this is the plane that I wrote an article for Quercus Magazine last year, so I’m glad I now have a use for it.

A visit to Colonial Homestead

A couple of weekends ago, my wife and I drove up to Millersburg, OH to check out the fall colors and the antique malls up there. We visited Millersburg a couple of years back only to find out after we left, that there is an antique tool store in town. I saw Colonial Homestead on Instagram when we got home and couldn’t believe I missed it so, this time I knew I had to put it on our list of stops.

The building is about ten minutes outside of town and is a really big. Inside there are thousand of tools laying on tables and bookshelves. I immediately took a step back just to absorb everything I was looking at. There’s a table in front with a bunch of Stanley planes that are restored and ready for use.

Every tool you could imagine in this joint with some rare and unusual pieces. The prices on the tools are equivalent to eBay pricing, so don’t expect to get a steal. At least it’s not for me as I’m a picker so there was no meat-on-the-bone with the pricing on the tools. He was asking $2100 for the Stanley No 1 which was way above my budget. It looks like it’s sitting on the original box but I don’t remember noticing the box when I was looking at it.

He did have a real nice selection of molding planes with prices that were in my budget however, he only takes cash and I didn’t have any on me so, it was pretty much a few minutes of browsing.

He also had a nice closet full of woodworking books. There were a lot of out of print books along with Lost Art Press favorites. I looked for the 2nd edition of the Stanley Tool Collecting book by John Walter but, there was none to be found.

After twenty minutes of browsing, I said goodbye and went on my way as my wife was waiting in the truck. The weekend wasn’t a total lost as I was able to find tools in my budget in antique malls in Berlin, and Walnut Creek, OH. The prelateral Stanley No 37 Jenny’s Plane was my favorite pick of the trip.

Oddball Smoothing Plane

I bought this plane on eBay this week. Probably the first plane I bought on the bay in two years. The seller said it was marked 904 and was similar to a Stanley No 2 plane. When I opened the box, I immediately saw that it was actually the size of a No 4 plane. It’s my fault for not paying closer attention to the pictures and not doing my research. I looked over the plane and saw no makers mark of any kind. To me, it looked like it was made by the Sargent Tool Co.

When I took the plane apart, I saw that the frog on the plane was identical to early Stanley Bedrock plane. I knew it wasn’t a Bedrock because it would say “Bedrock” on the bed. The only other plane company that made planes that I knew of that had a Bedrock style of frog was Vaughan & Bushnell but all their planes had flat side walls similar to Bedrock planes.

The lateral adjustment had a twist on the top. It reminded me of a Sargent plane but I don’t think Sargent ever made planes with a Bedrock style of frog.

The back of the frog was similar to all other Bailey style planes on the market back in the day. The one thing I noticed was that the threaded rod for the brass knurled nut was really long like that of an Ohio Tool Co plane. Was this an Ohio Tool Co plane?

The only identification mark on the plane was 904 on the chip breaker. Since I thought it was a Sargent or Ohio Tool Co plane, I researched “904” for each company and came up empty. Sargent’s No 4 size planes were labeled 409 not 904.

The blade had no marking on it. The only unique feature it had has a polygram shaped hole at the bottom. So, I went back to Vaughan & Bushnell and searched “904”. Sure enough, I found an early example on the internet of a Vaughan & Bushnell No 904 with round sides. Mystery solved. Why Vaughan & Bushnell didn’t mark their planes is anybody’s guess but mine would be that they sold their planes to hardware companies who would then label the plane under their own brand name. Similar to that of companies who use to make tools and sold it to Sears to be sold under the Craftsman brand. Maybe this plane was packaged in a box with the hardware store’s brand on it.

I sharpened the blade and put it to use. After a quick honing, the plane performed well. It’ll make a nice user however, I’m still kind of pissed it was sold as a number to 2 size plane. I overpaid for it but that’s my fault.

Installing Crown Molding

Last weekend I proceeded to work on the dining room by installing crown molding around the ceiling. I already built and installed bookcases that went on either side of the sliding glass doors a couple of weeks ago. Now I needed to complete the look by installing crown molding at the top.

 photo 20150412_150125.jpg

Before I began, I watched a YouTube video with Tom Silva of This Old House to give me the idea of how to cut the molding. The trick was flipping the board over and cut the trim upside down. Clamping a board on the saw table helped kept the trim at the proper angle.

 photo 20150412_150149.jpg

The molding around the bookcases wasn’t too bad as the sides were 90 degrees to each other. However, when I ran a piece down the one side of the dining room to the hallway, is when I got tripped up. I may be able to hand cut dovetails, but a trim carpenter I am not. I have no idea how they cope one end of the crown to fit perfectly, then make a perfect cut nine feet away to make a tight corner to a wall that is out of square. I gave it my best attempt and attached the crown to the wall. I then tried to figure out the other angle the other piece of trim would need to be to make the corner look nice. However, every cut I made was way off. I tried about a dozen times to make it work with no luck. I became so frustrated, that I decided to quit Saturday afternoon and reconsider continuing with the room or just take everything down except the crown around the bookcases.

 photo 20150412_150202.jpg

I woke up Sunday morning and decided to give it another shot. I messed around with the other side of the crown molding for a couple of hours until I was satisfied with how it looked. Below is a picture of the finished corner. I had to shave a lot of the molding away with rasps so each piece would match. I probably should have sanded the pieces better, but I was so frustrated with it I said “screw it”!

 photo 20150417_083632.jpg

Fitting the crown for inside corners was a bit tricky as well. Even after I coped the ends, I had to file the back of the molding so that it would fit in place. However, after practicing coping a few times, I got better at it.

 photo 20150412_150137.jpg

This was the final piece I cut to finish the job. It was a bit tricky as I had to cut the trim at the correct length as well as perfectly cope each end so everything fitted nicely.

 photo 20150412_154146.jpg

After everything was done, Anita started to apply the first coat of paint. Next I’ll be working on the chair rail and the faux wainscoting molding squares I made a couple of weeks ago. I’ll throw up a few pictures of the finished dining room and hallway when I’m done.

 photo 20150415_082726.jpg


Brown Tool Auction Winnings

Every few months Clarence Blanchard from the Brown Tool Auction holds an antique tool auction in Pennsylvania. Even though some his auctions are within a day’s driving distance for me, I’ve never been to one. It’s just too easy for me to place a bid online and pay a $3.00 absentee bidder fee for every auction I win. Plus at $3.00, it’s a lot cheaper than spending the money on gas and a hotel room.

I never know what or if I win until about a week later when UPS drops of a box at my door. So you can imagine the excitement when I see a big box at my door. Typically the bigger the box, the more tools I have won.

As soon as I open it up I see molding planes neatly bubbled wrapped up. I love molding planes. To me they’re the router bits of hand tool woodworking. With a little bit of work, molding planes tune up nicely and create some of the nicest profiles that you can’t even produce with common router bits.

After unpacking the box, the results were in. Seventeen molding planes and two Stanley bench planes. All of the planes were in good shape and need only a little bit of tuning to bring them back to working condition.

Of the two Stanley planes I won, one was the Big Boss of Stanley planes, the No 8C Corrugated Jointer. This plane is in excellent condition and with a little bit of work, it will clean up to be a top shelf tool. The other bench plane was a nice Stanley 5 1/2C corrugated plane. Collectors go crazy for the corrugated soles as they tend to bring in higher prices, but for me, the corrugations just act as a place for dried glue to hang out. The theory behind corrugated soles was that they tend to be easier to push because of the less mass on the workpiece, and they were easier to fettle the bed because you didn’t have to remove as much metal. I haven’t found either one of those benefits to be true.

The molding planes were nice with a wide variety of profiles in the mix. Over the next few weeks I’ll tune them up and list them for sale on eBay.

As you can see, I have a soft spot for molding planes. The day I figured out how to tune one up and make it sing, I was hooked. I intend to sell some of my duplicate profiles on eBay in the coming weeks.