A visit to Colonial Homestead

A couple of weekends ago, my wife and I drove up to Millersburg, OH to check out the fall colors and the antique malls up there. We visited Millersburg a couple of years back only to find out after we left, that there is an antique tool store in town. I saw Colonial Homestead on Instagram when we got home and couldn’t believe I missed it so, this time I knew I had to put it on our list of stops.

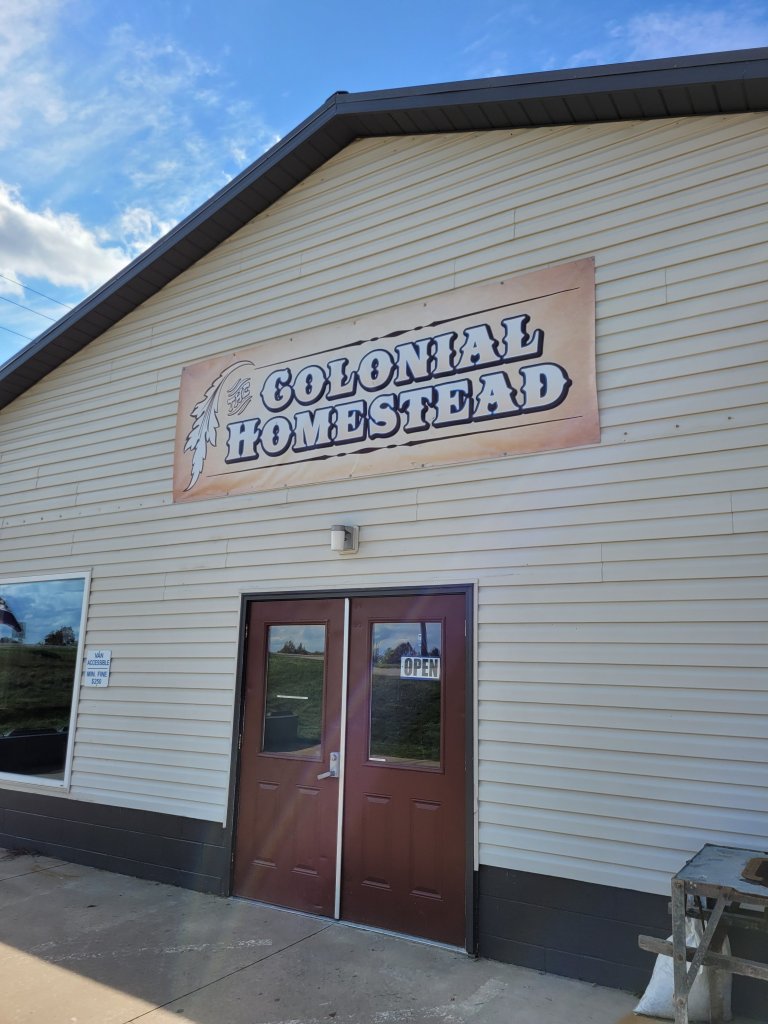
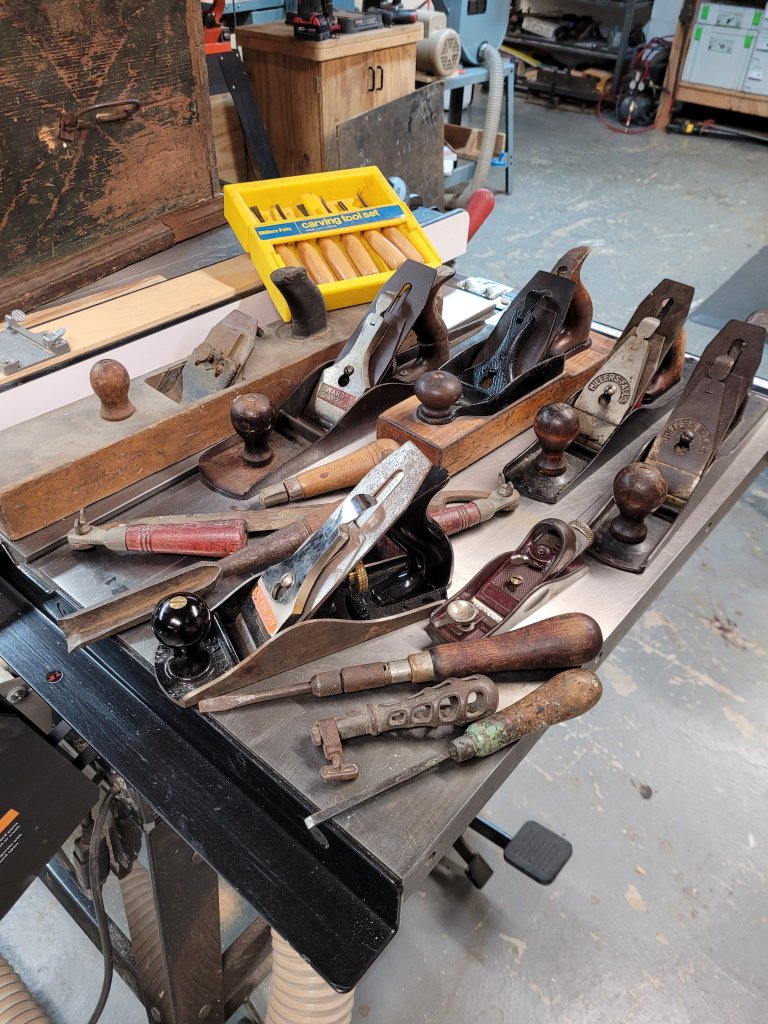
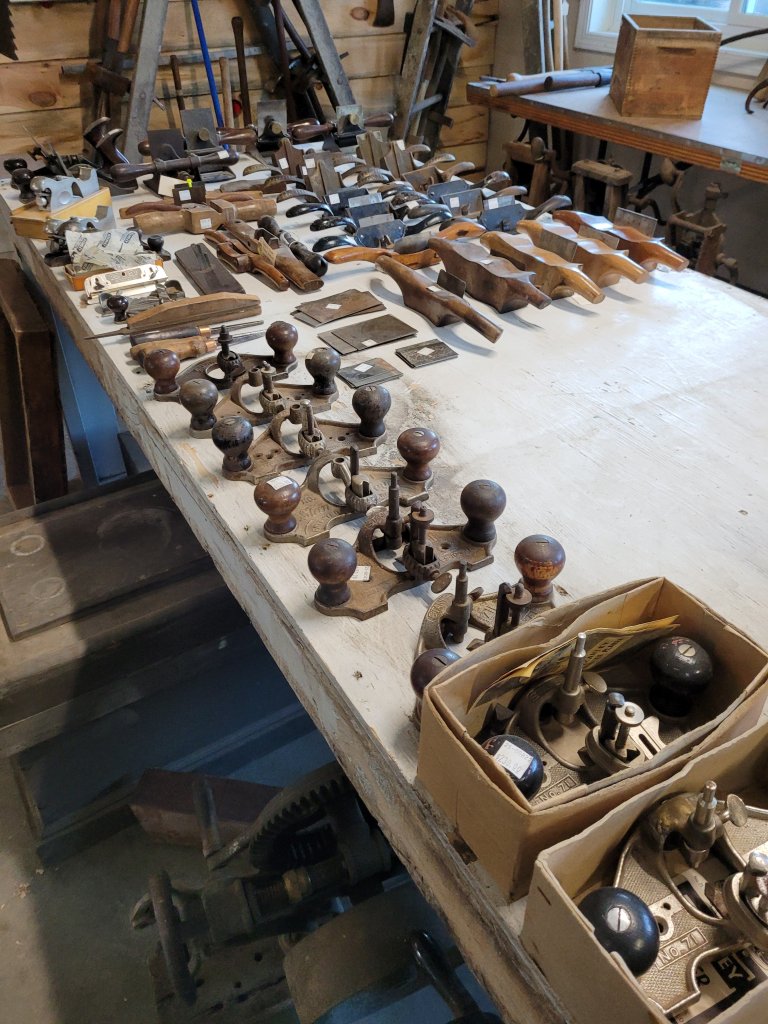
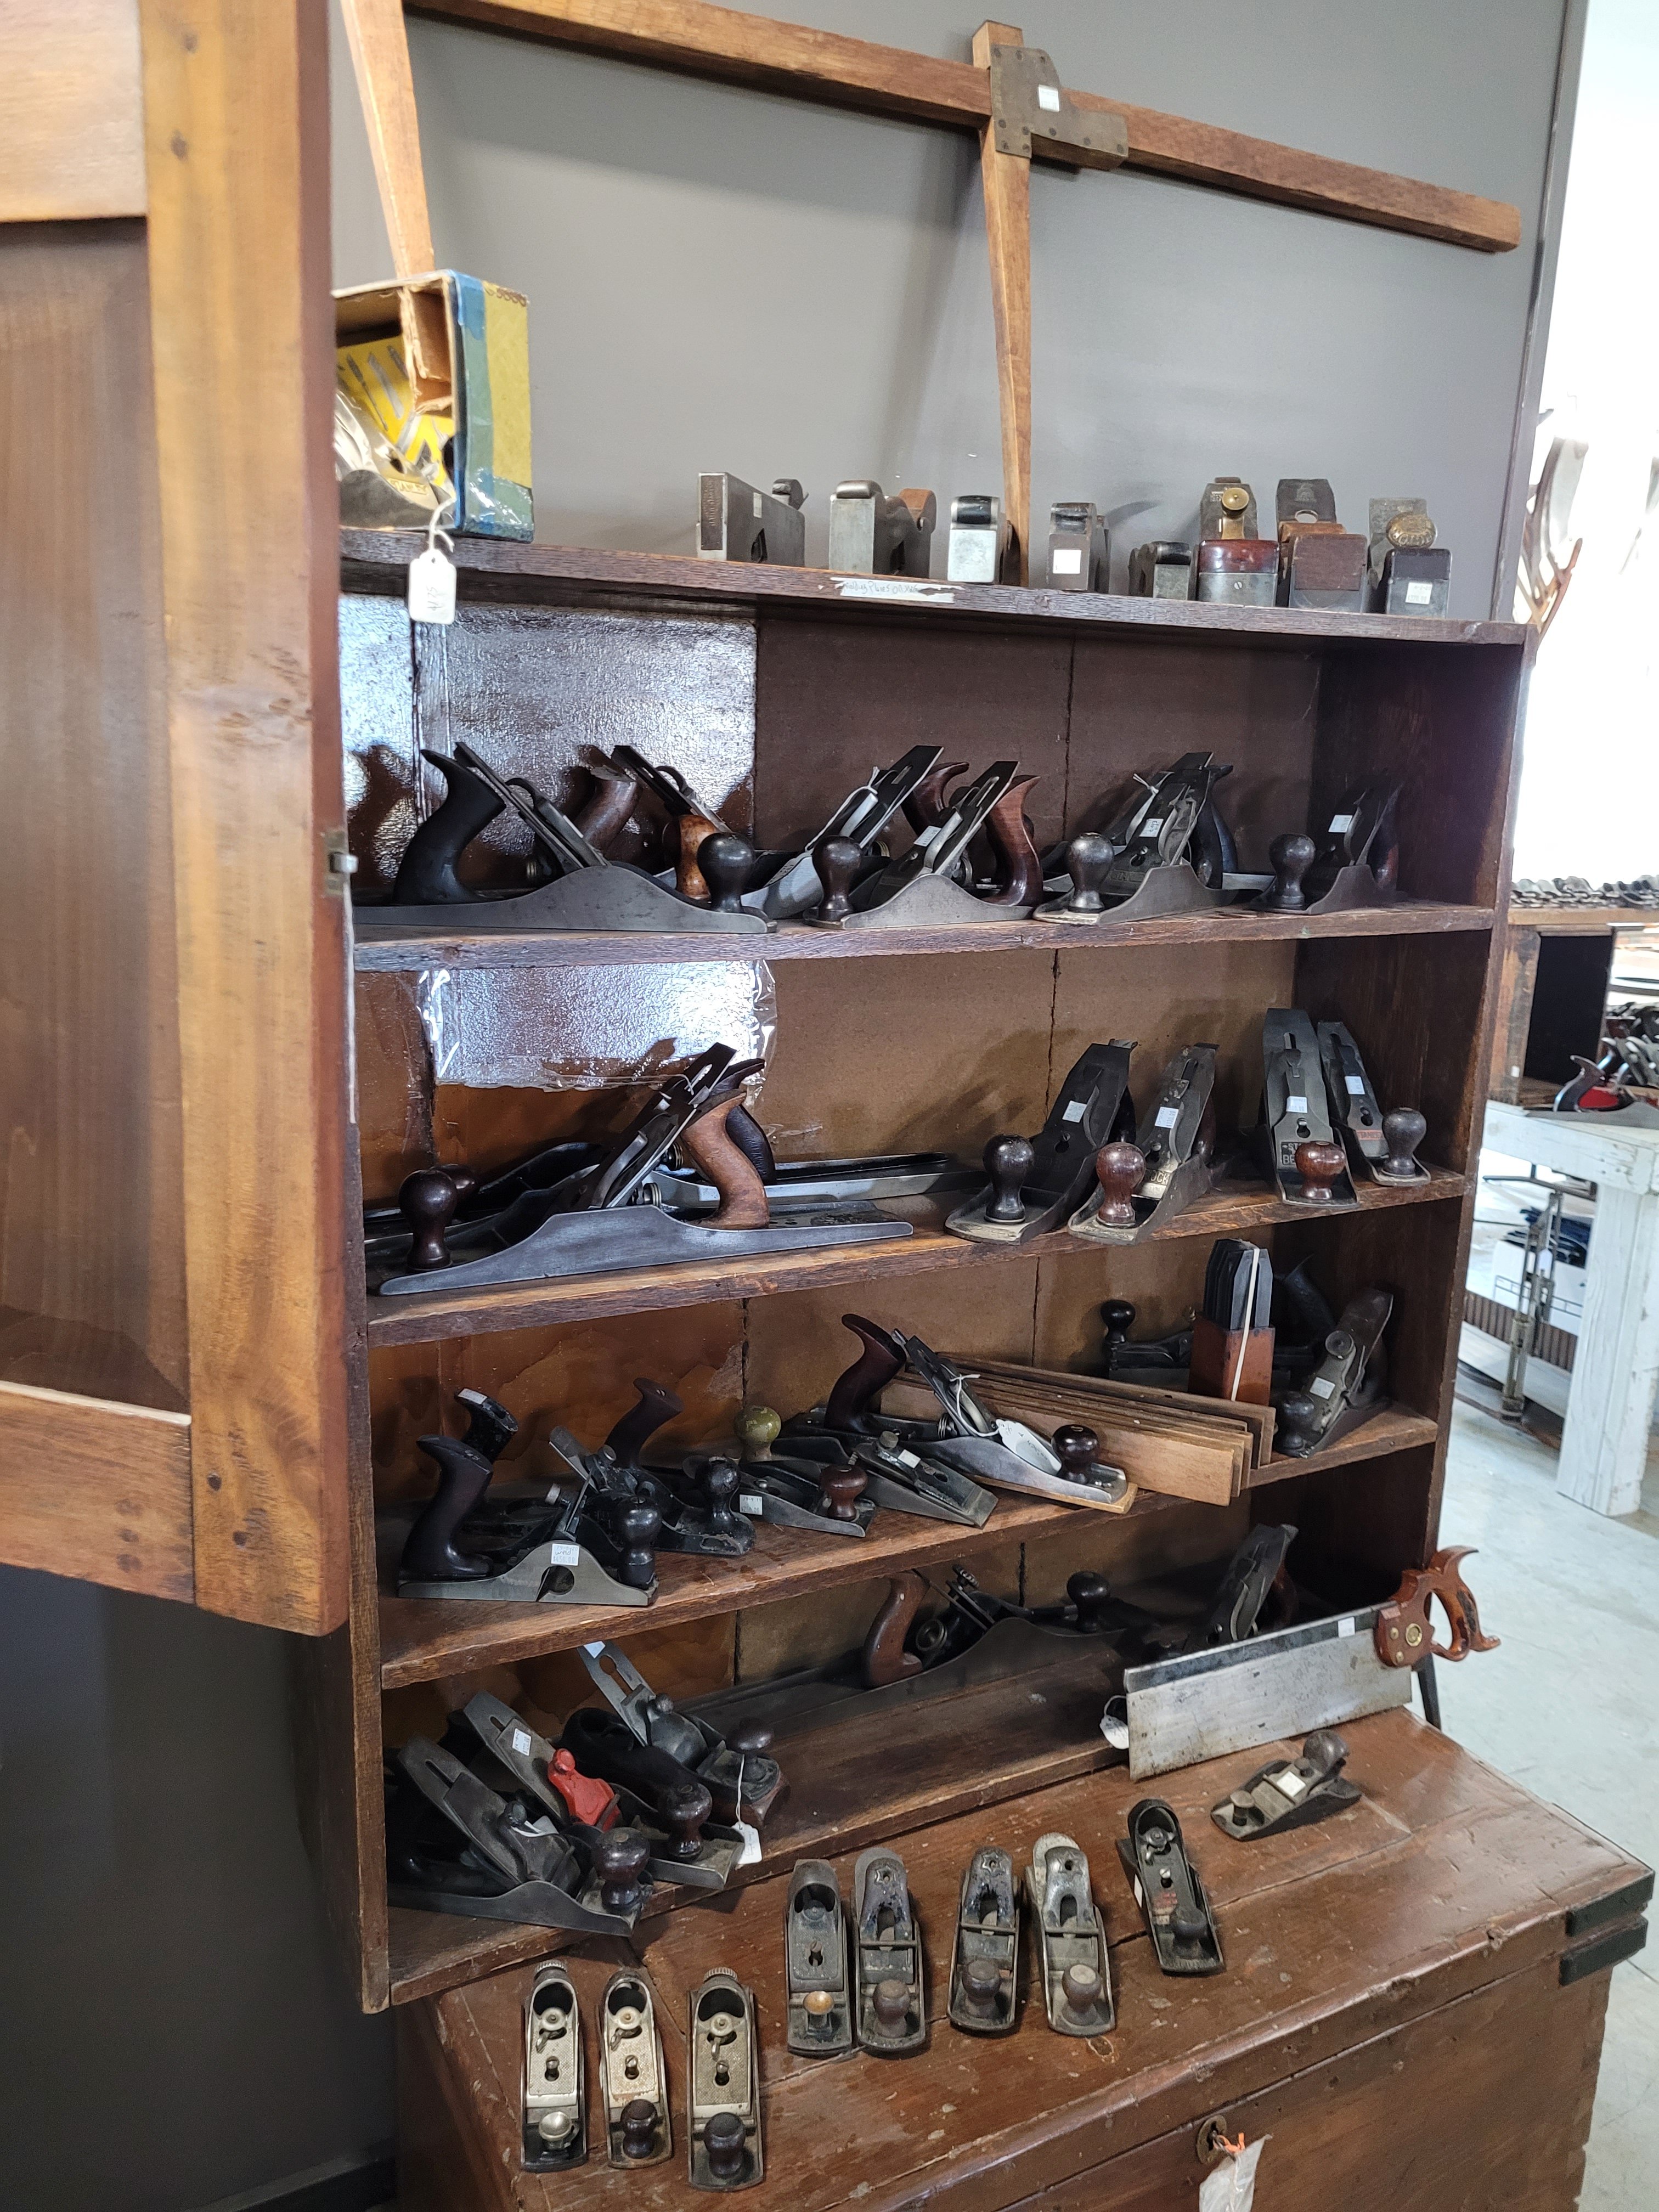
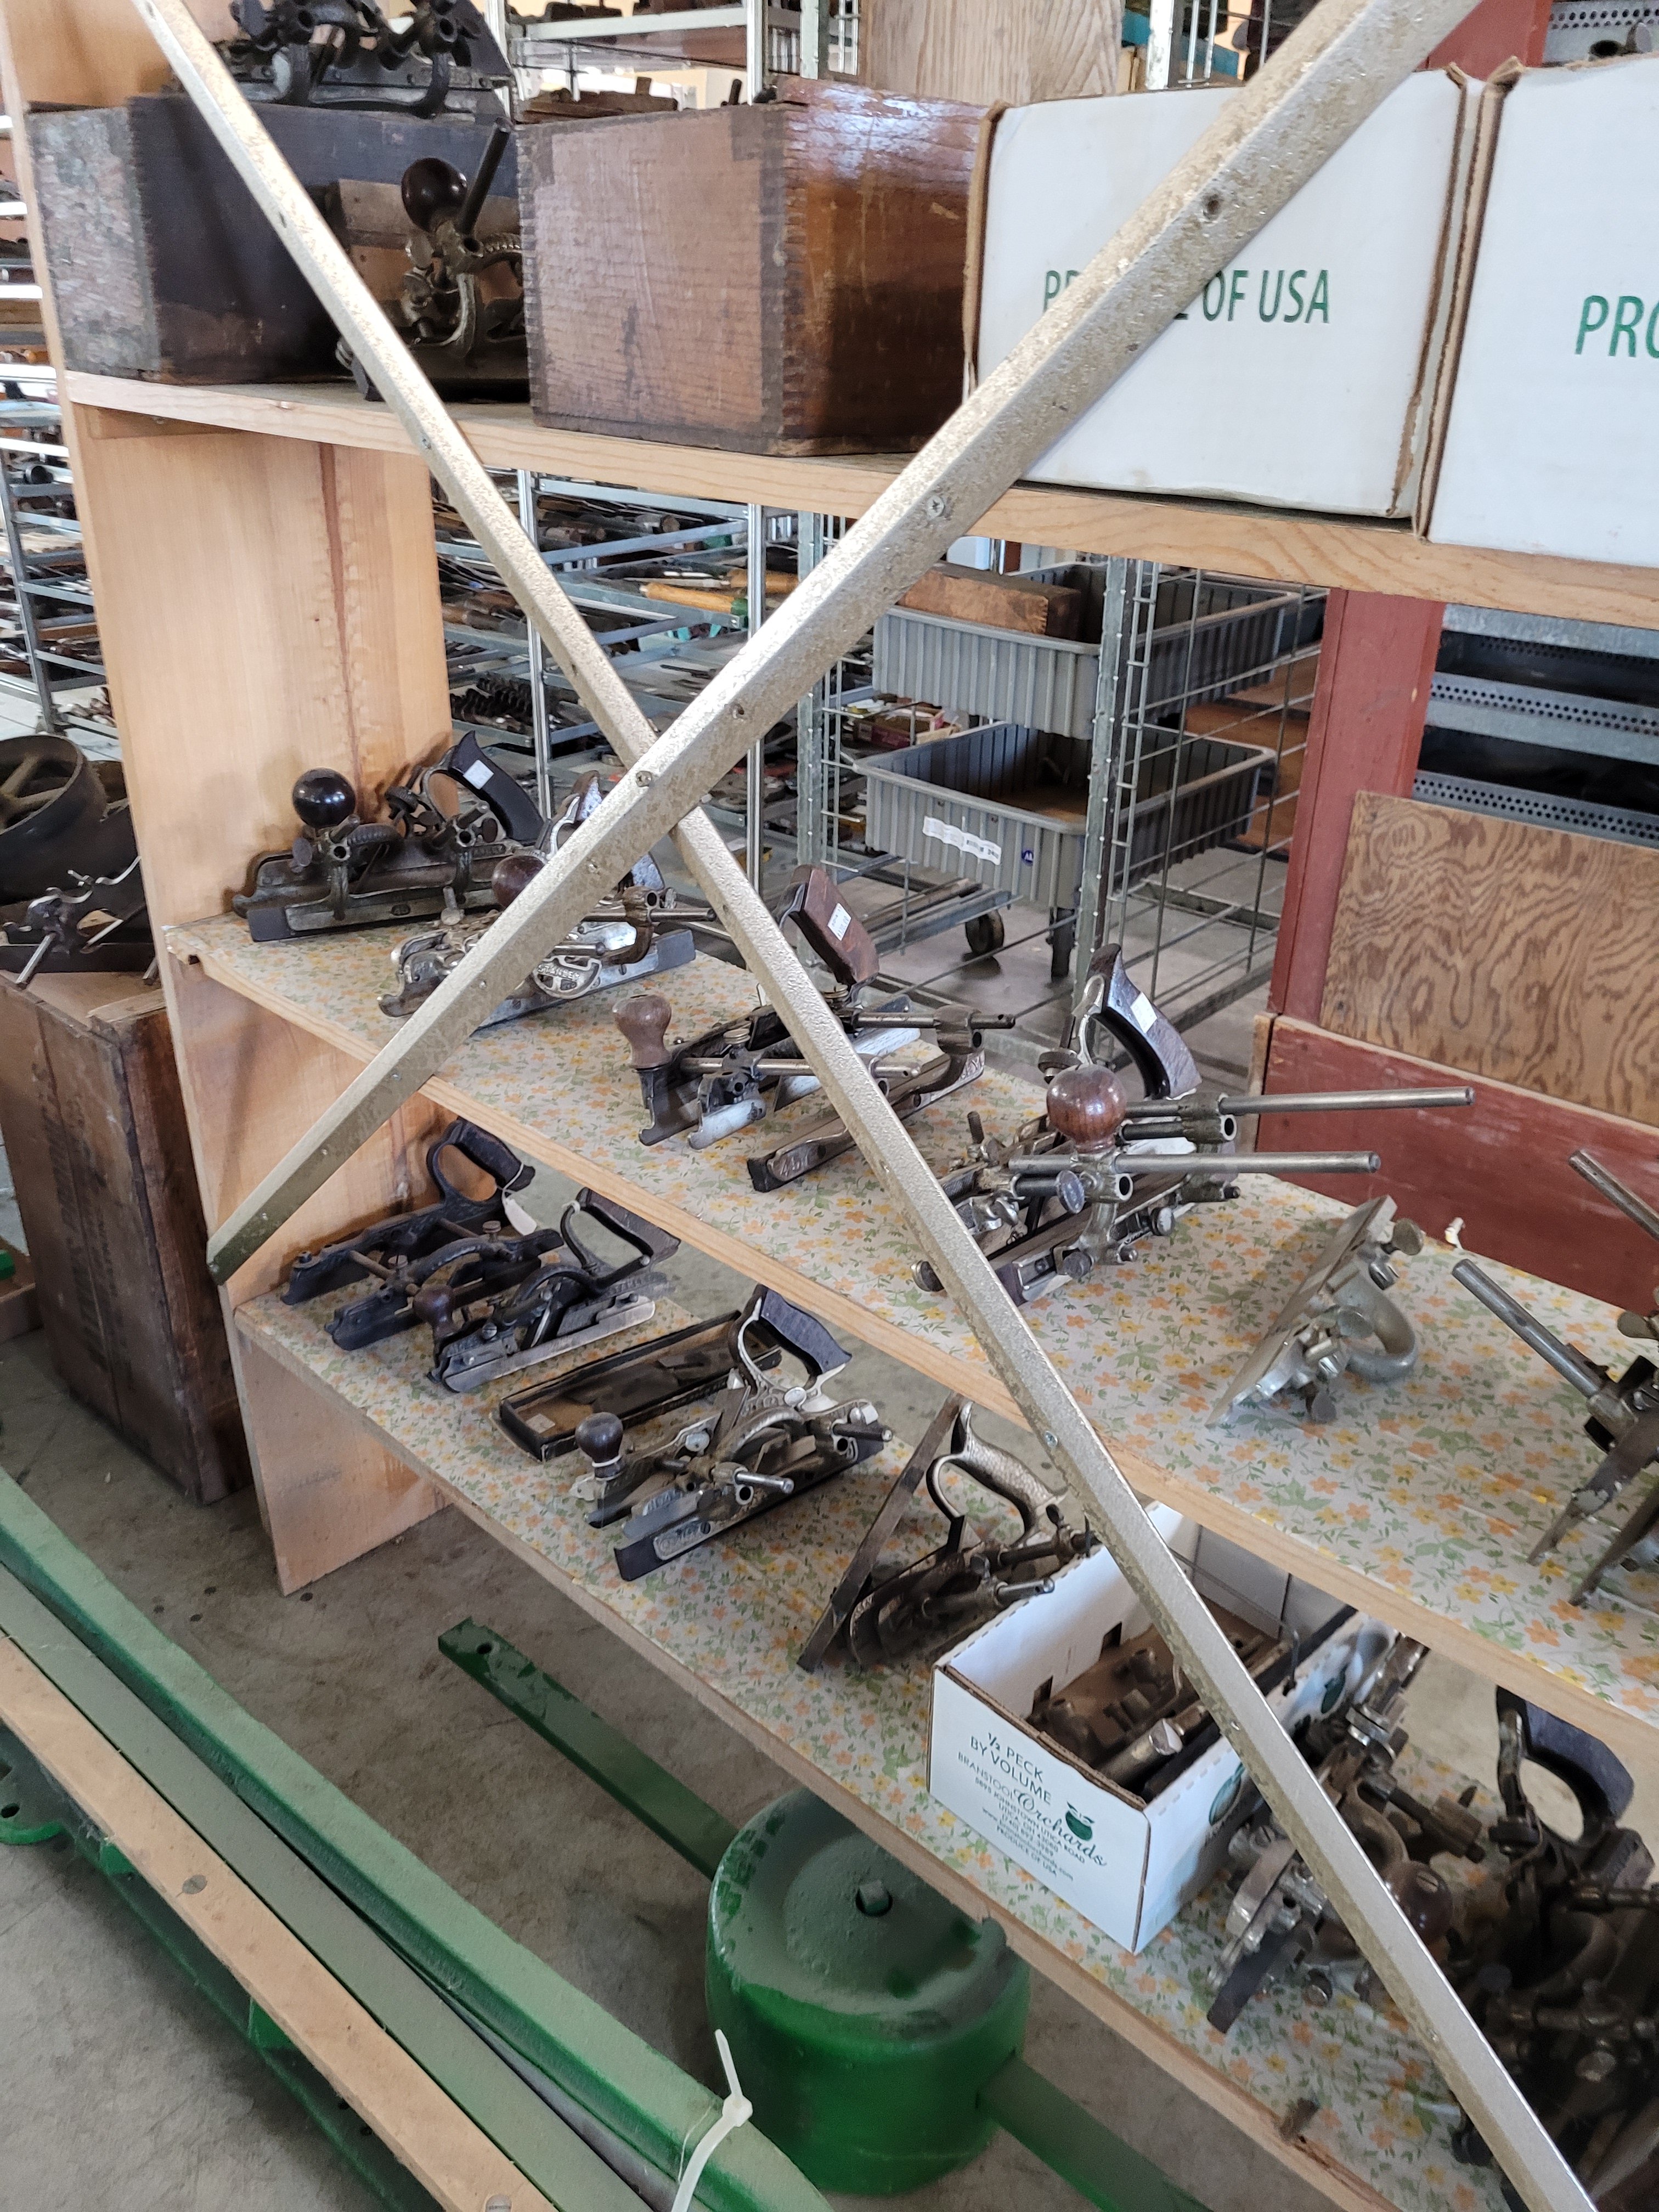
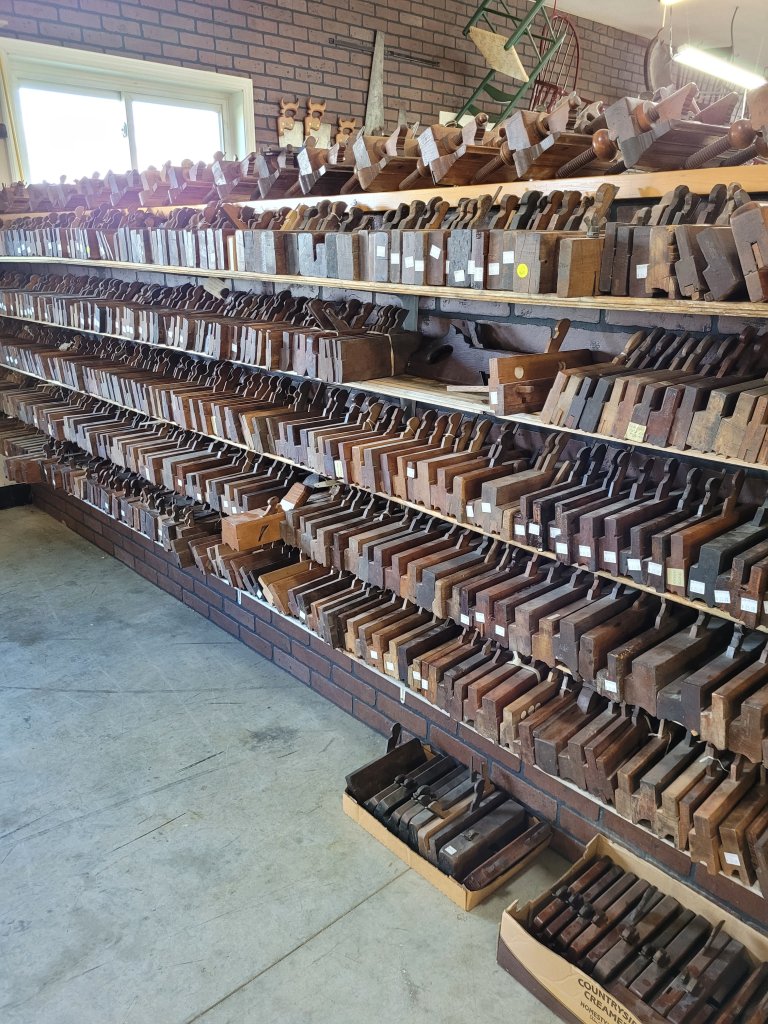
The building is about ten minutes outside of town and is a really big. Inside there are thousand of tools laying on tables and bookshelves. I immediately took a step back just to absorb everything I was looking at. There’s a table in front with a bunch of Stanley planes that are restored and ready for use.

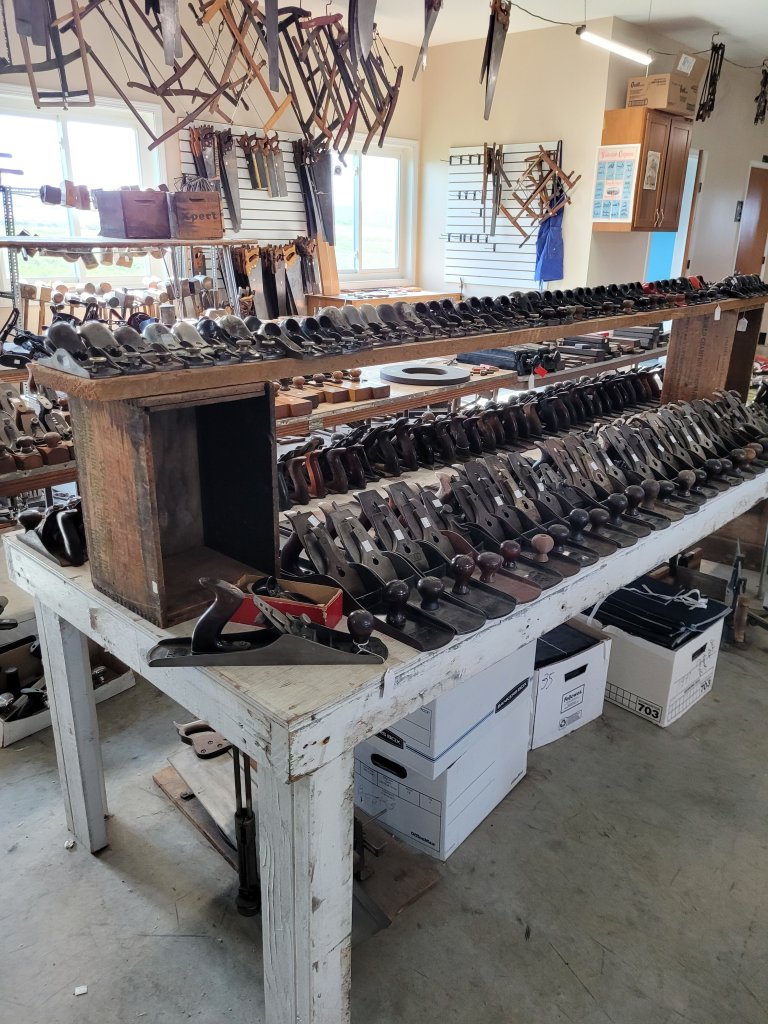
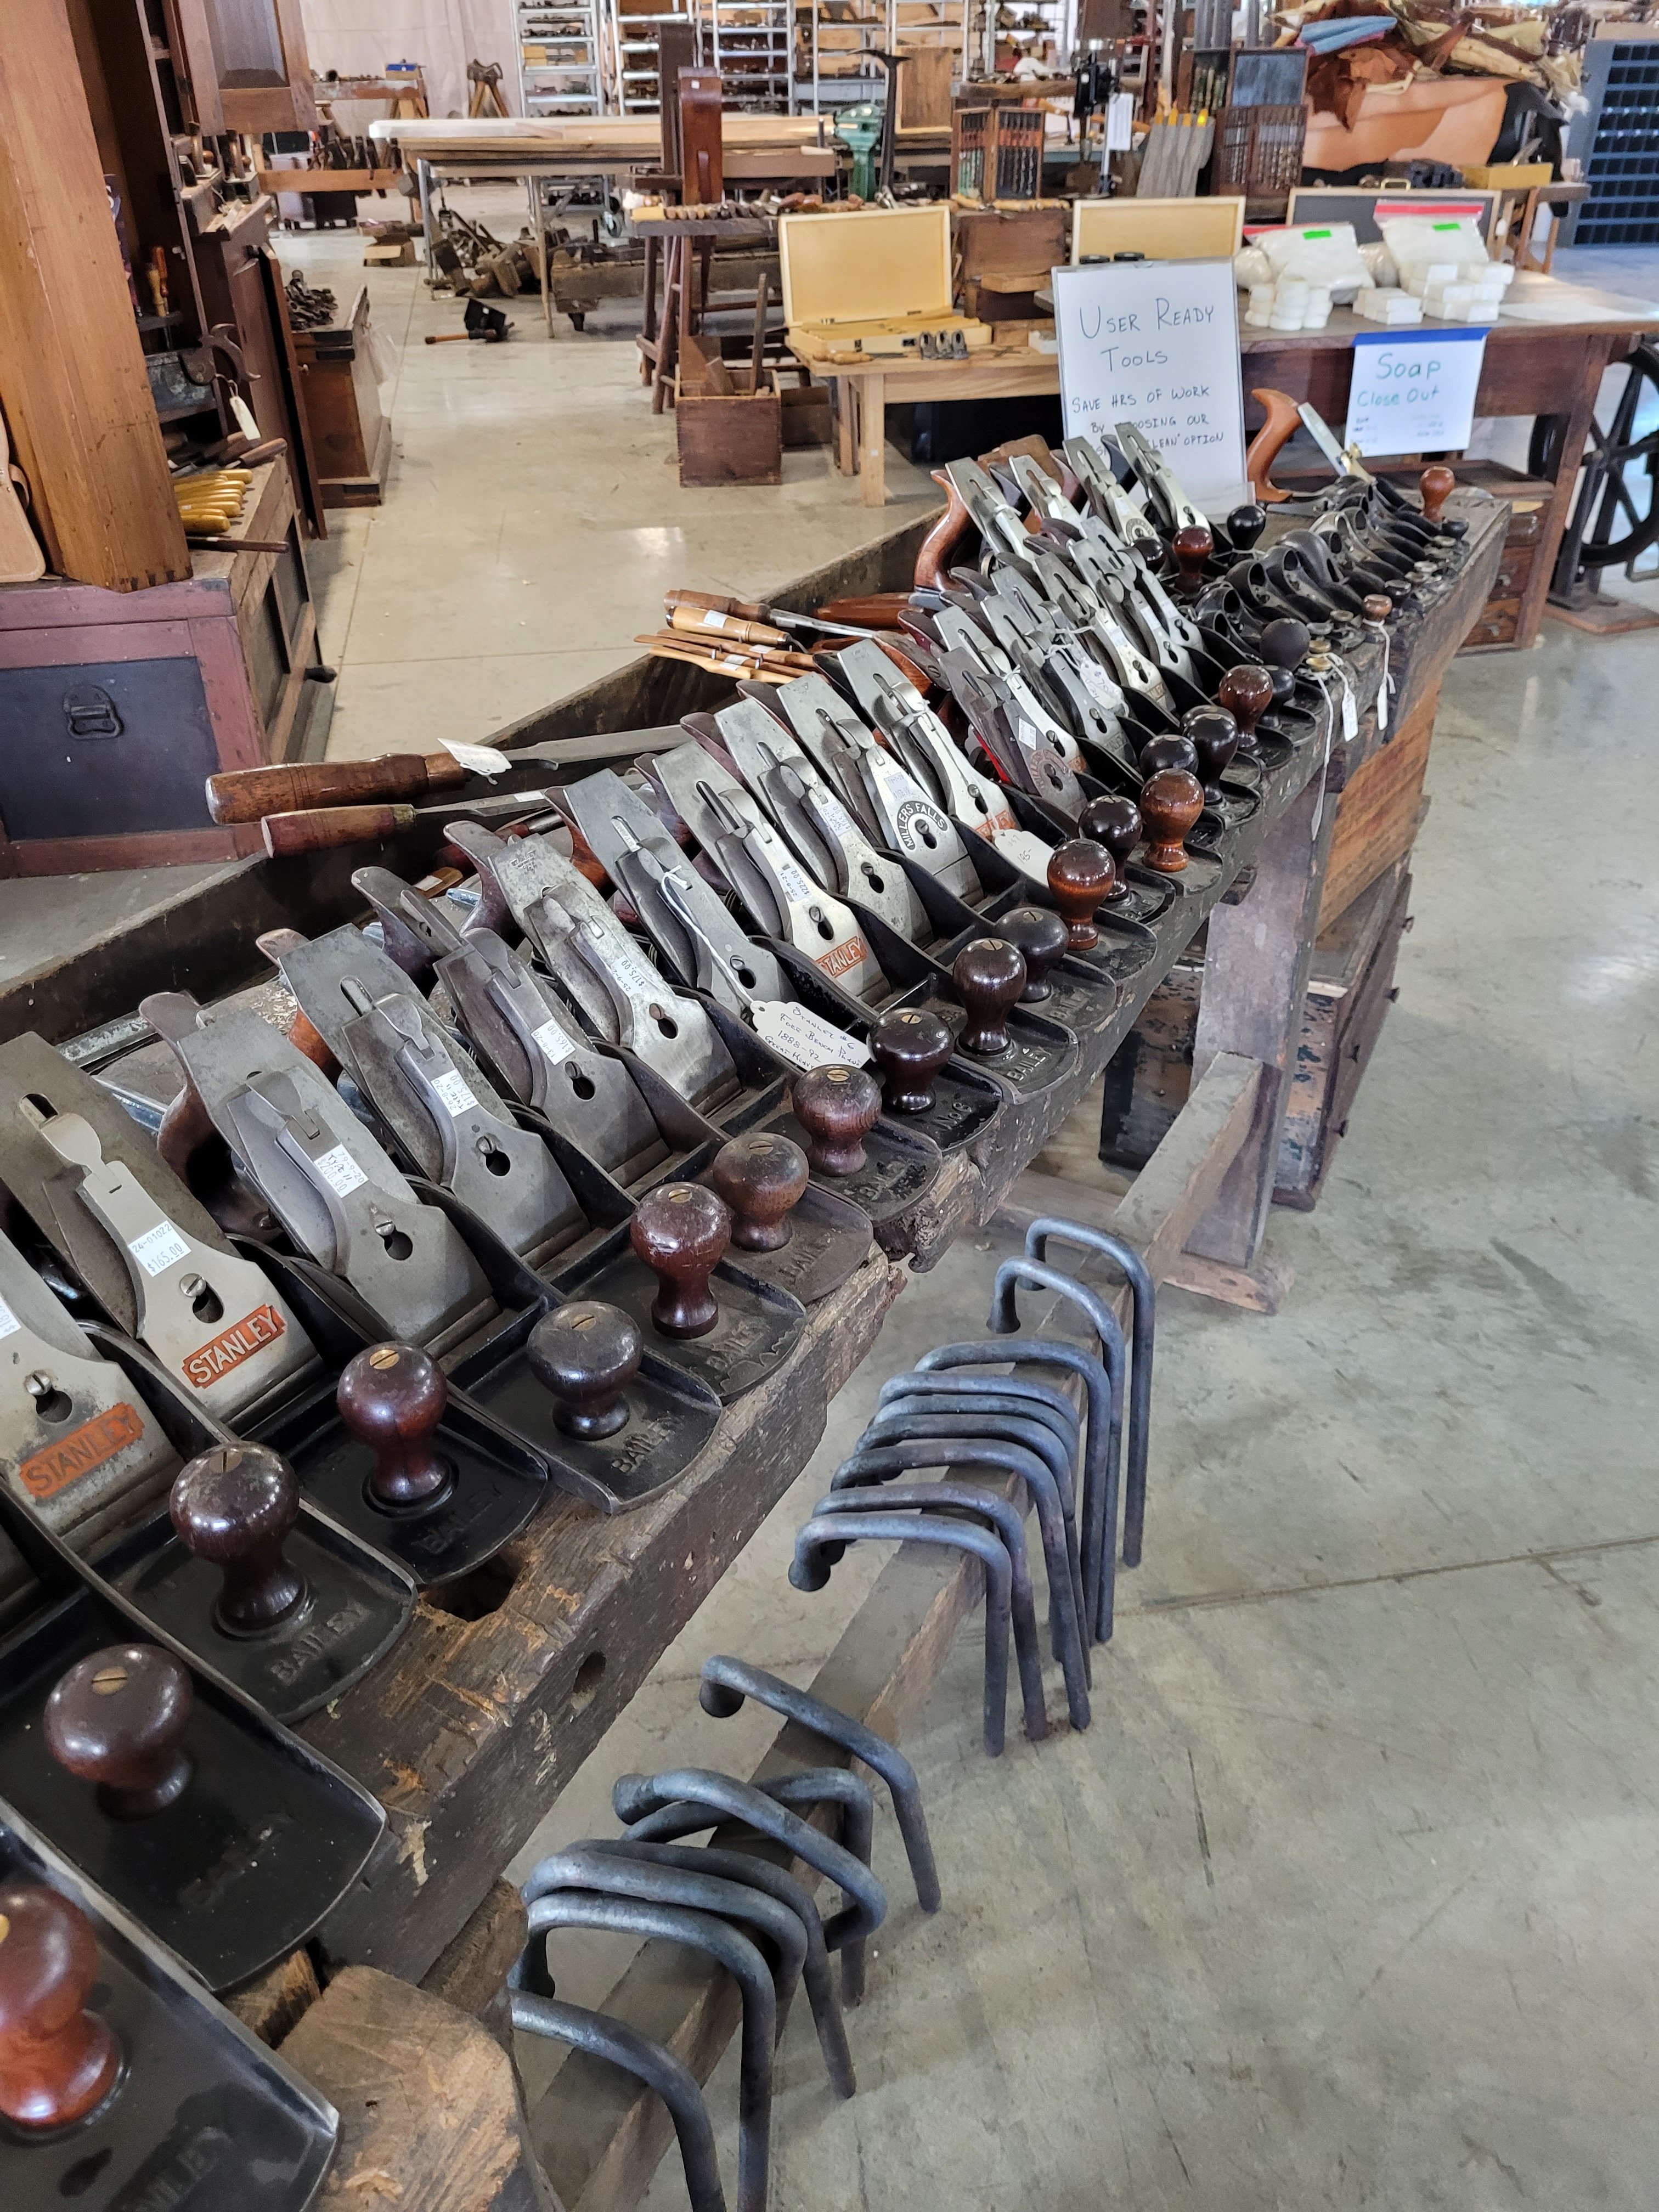
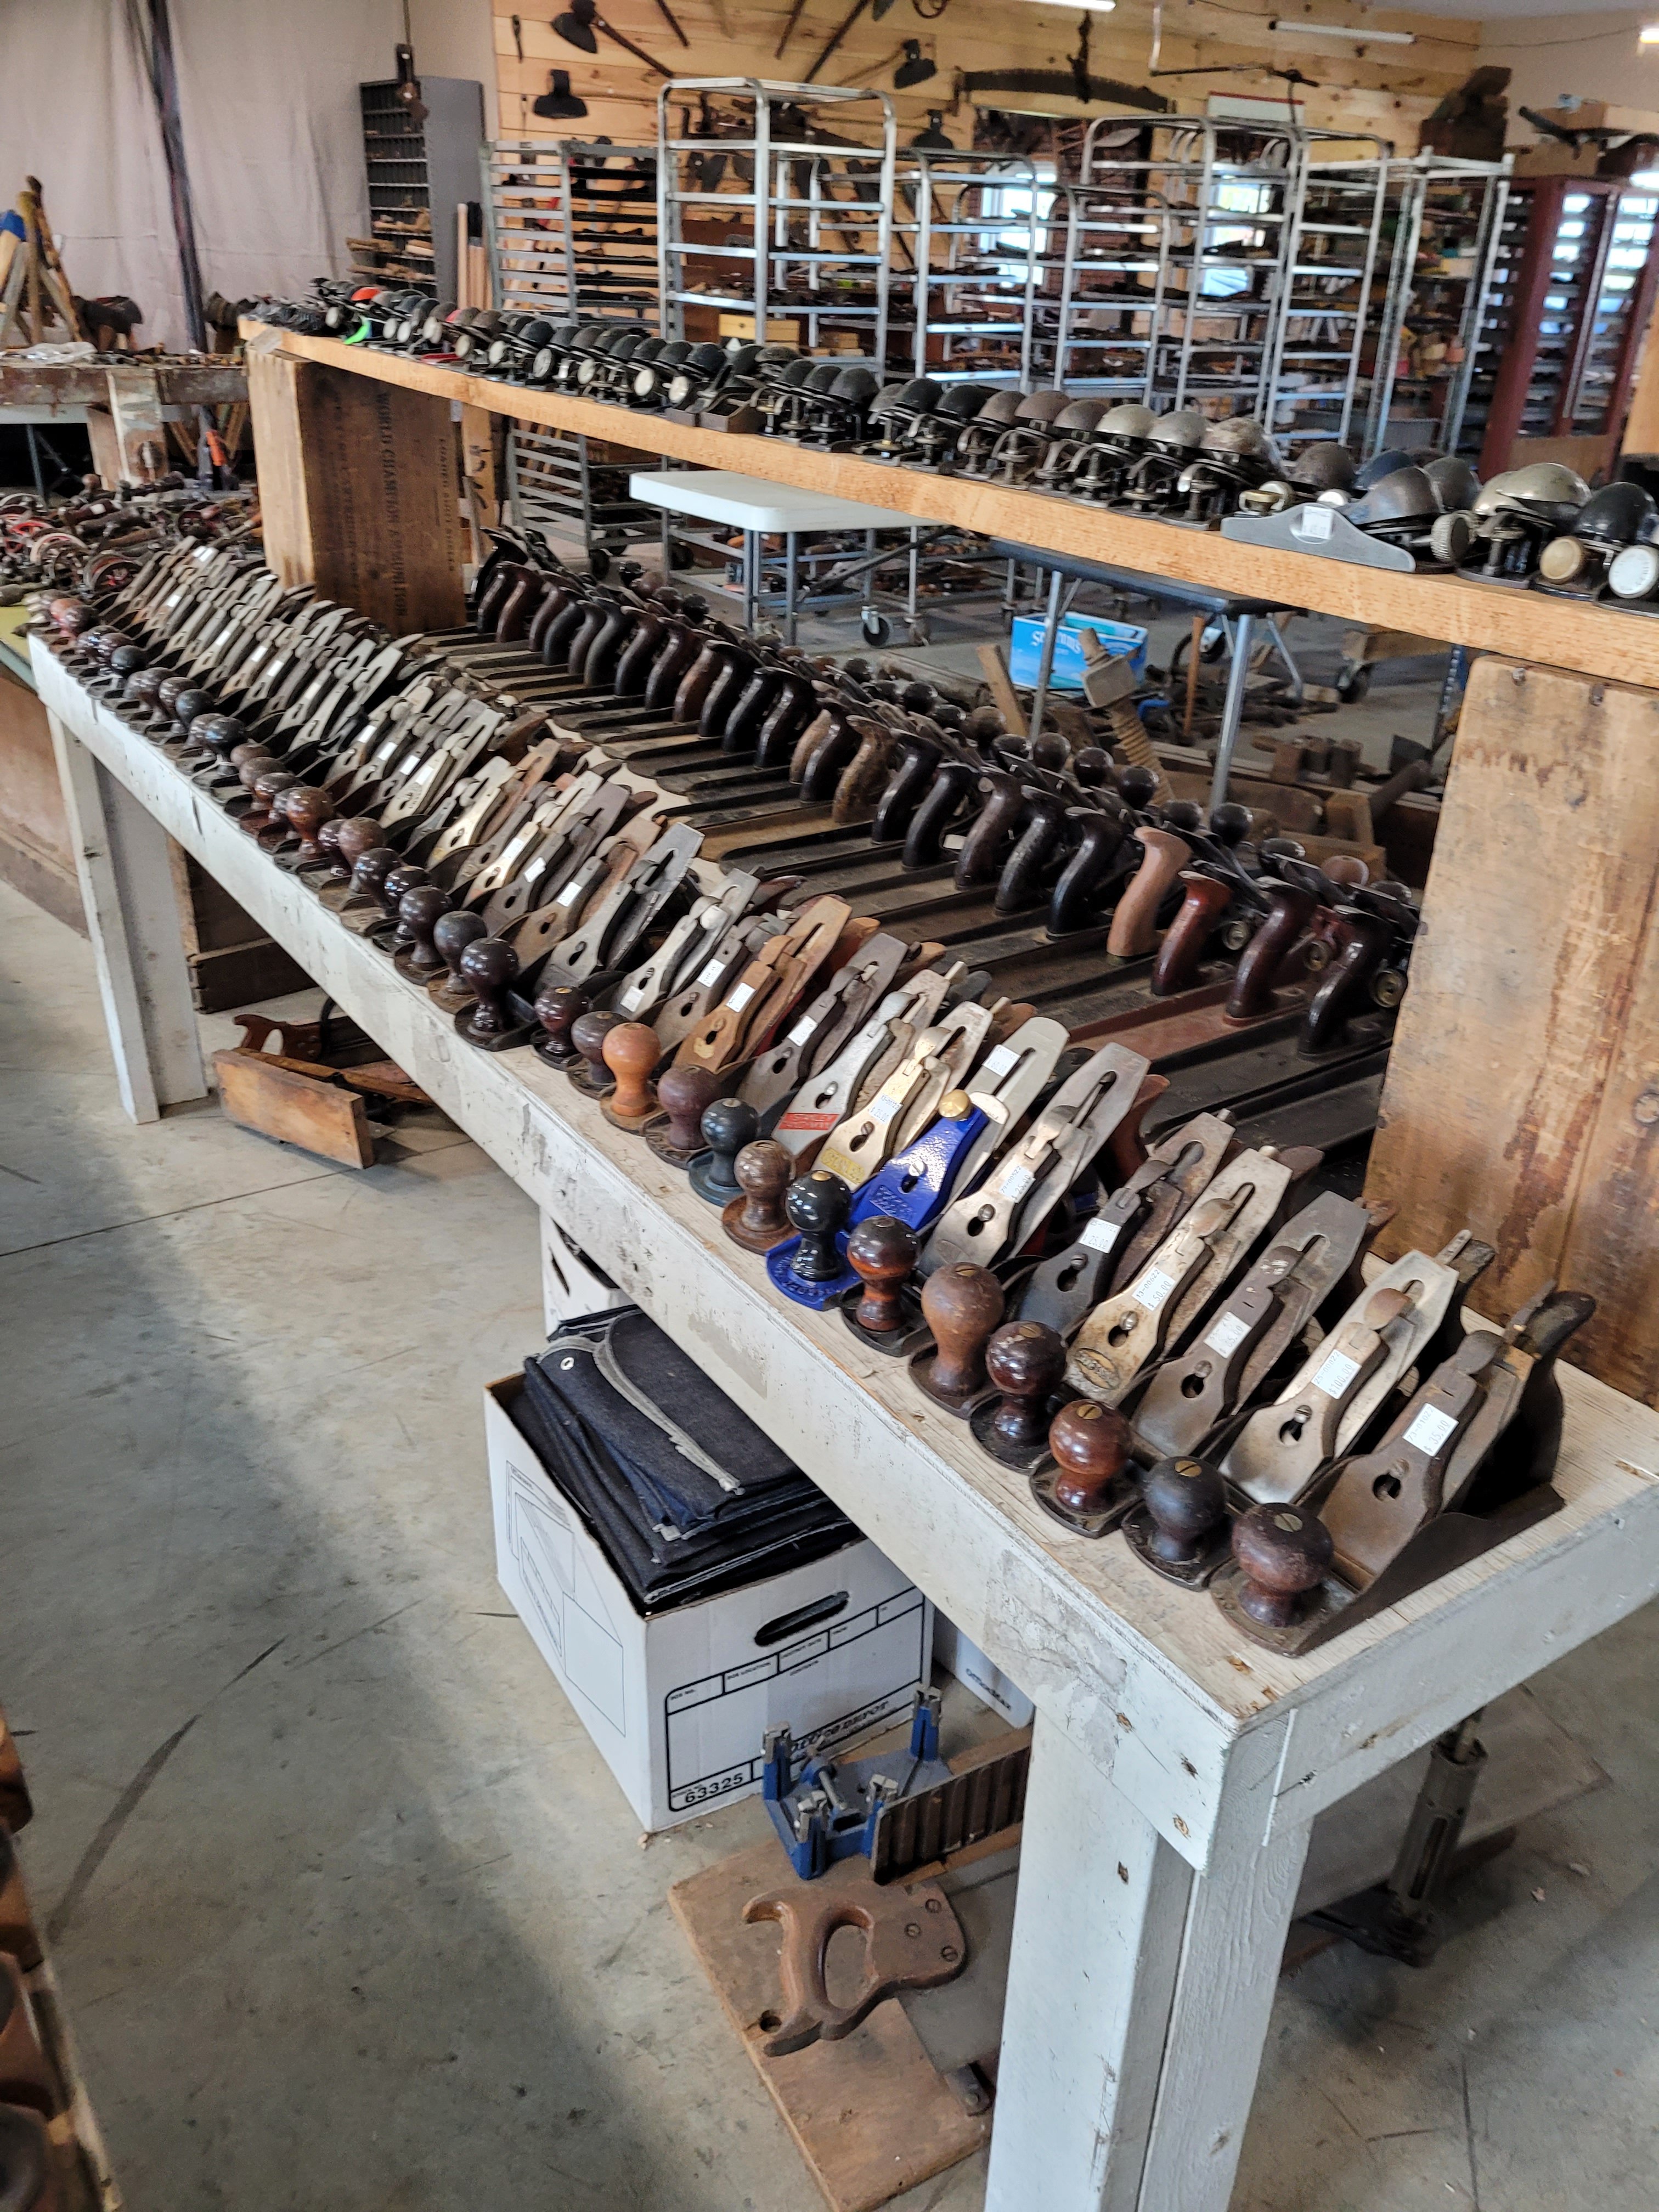
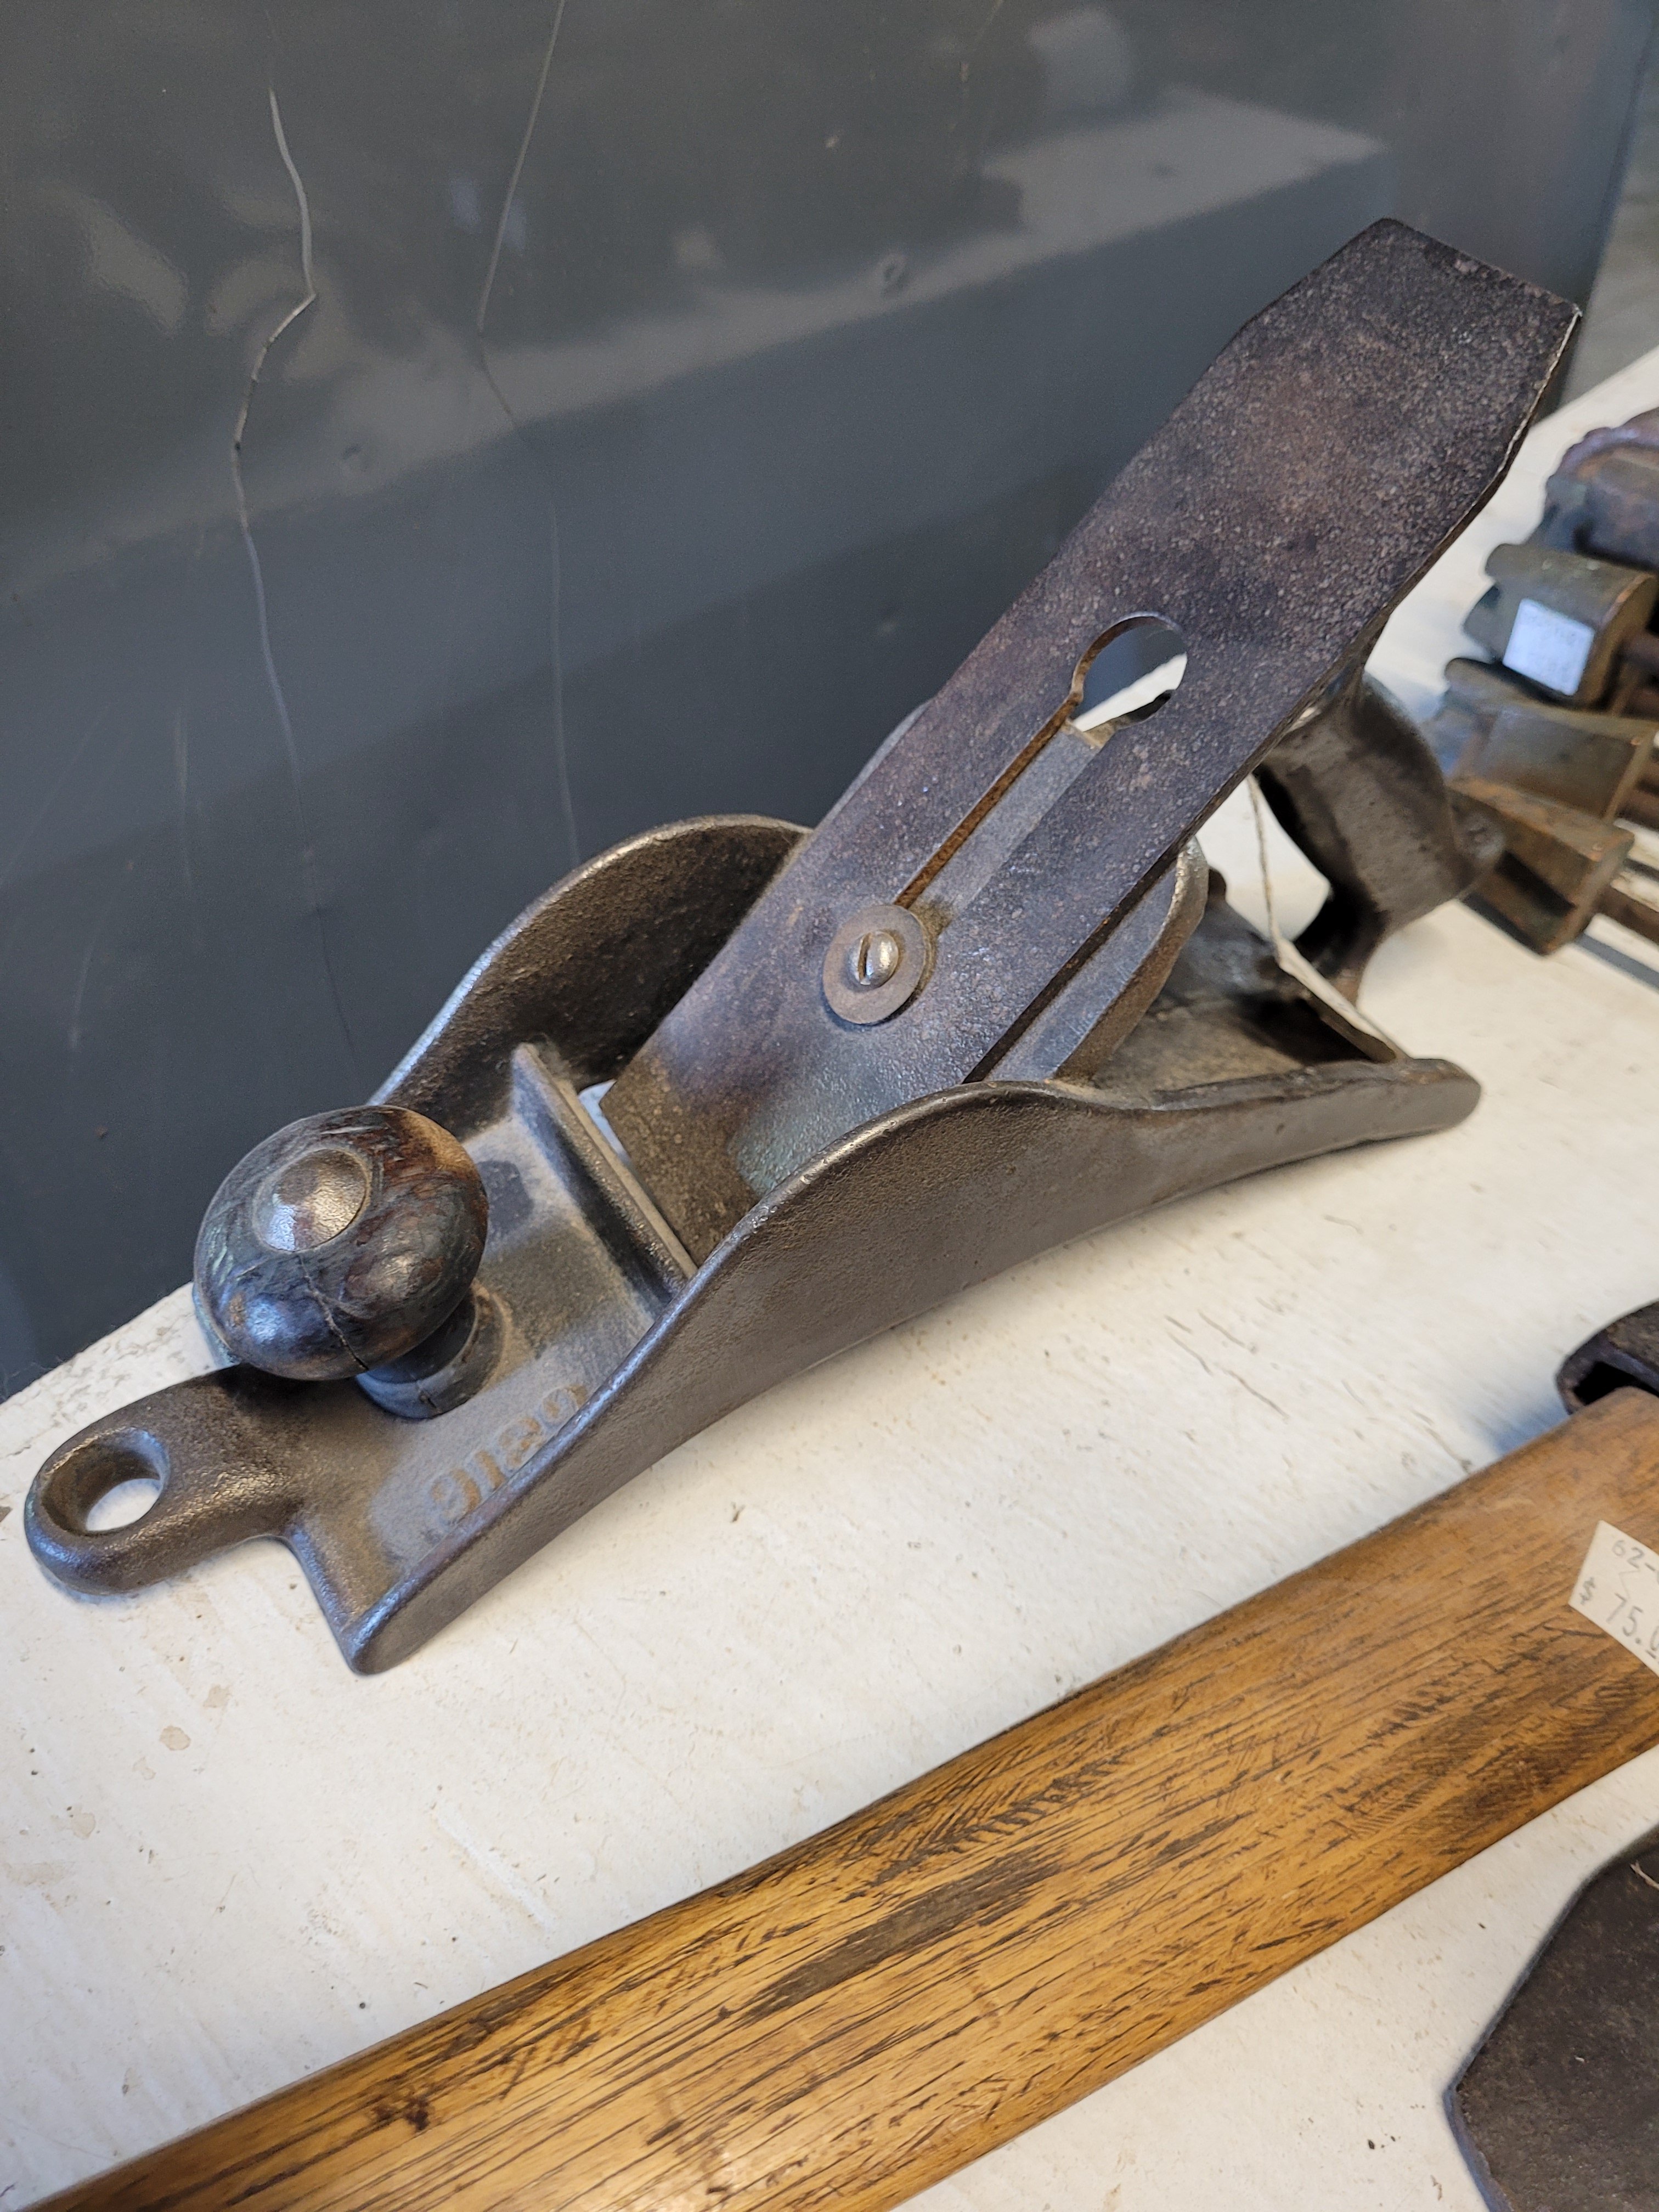
Every tool you could imagine in this joint with some rare and unusual pieces. The prices on the tools are equivalent to eBay pricing, so don’t expect to get a steal. At least it’s not for me as I’m a picker so there was no meat-on-the-bone with the pricing on the tools. He was asking $2100 for the Stanley No 1 which was way above my budget. It looks like it’s sitting on the original box but I don’t remember noticing the box when I was looking at it.

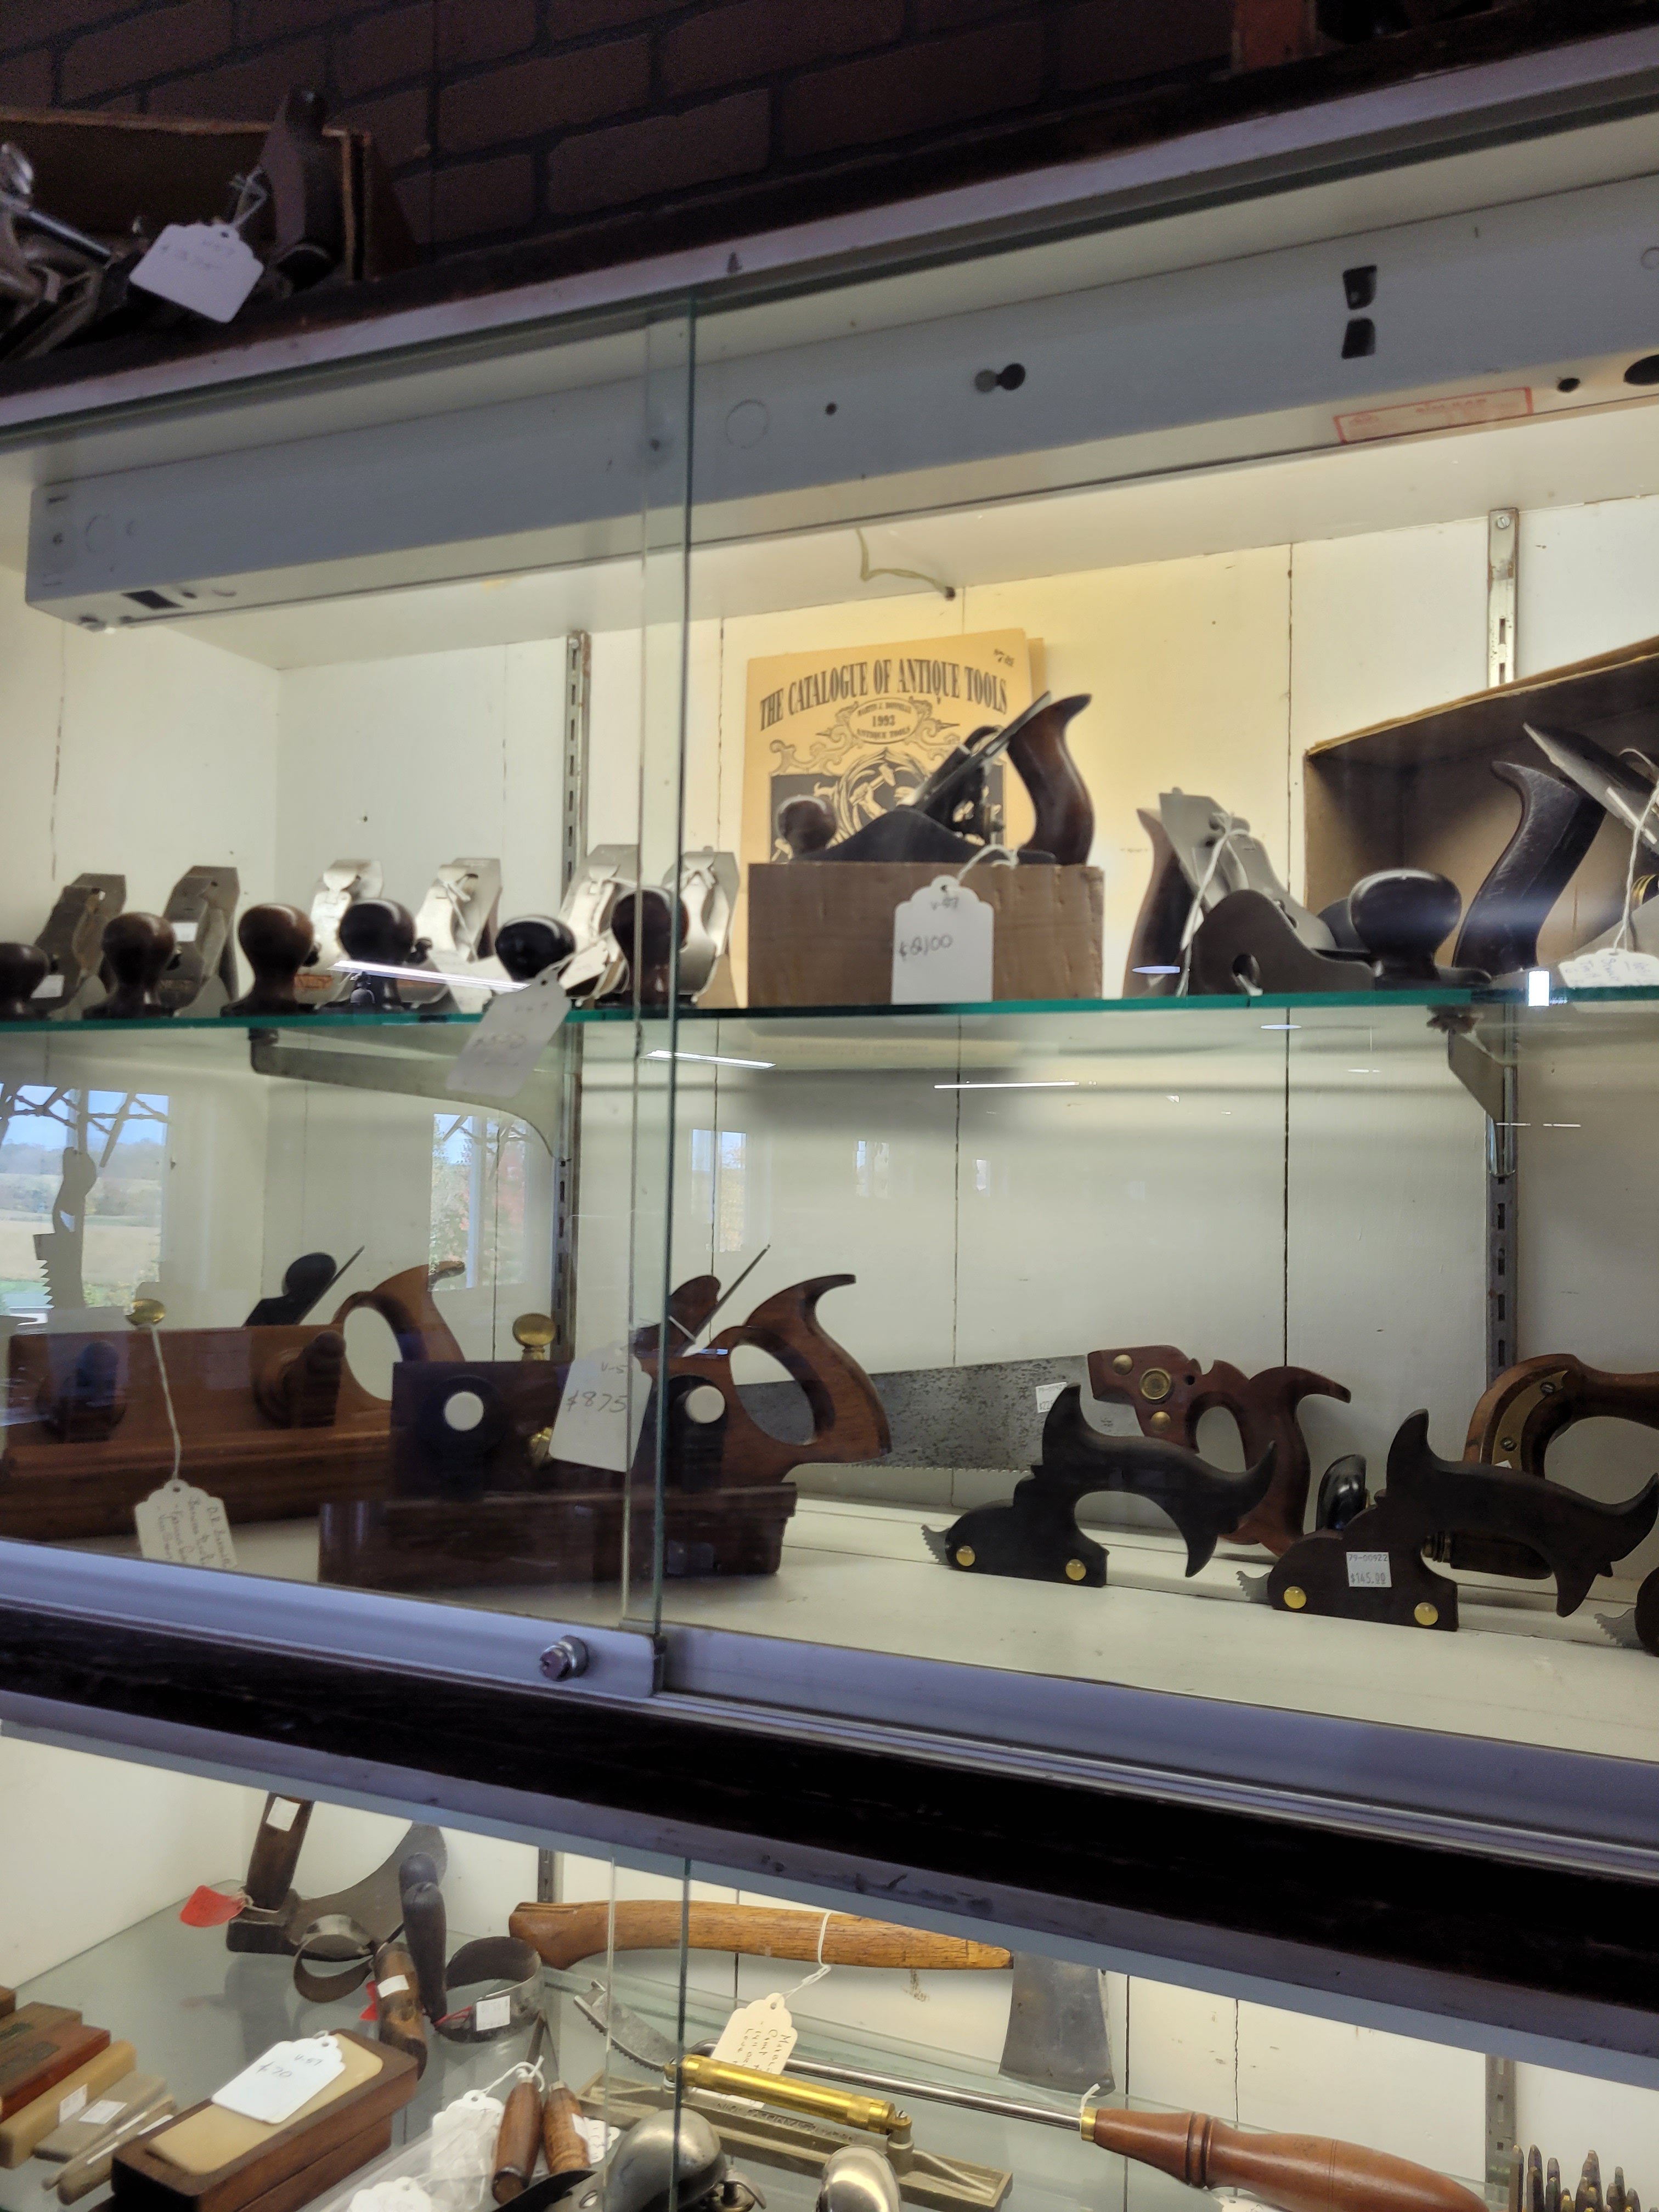
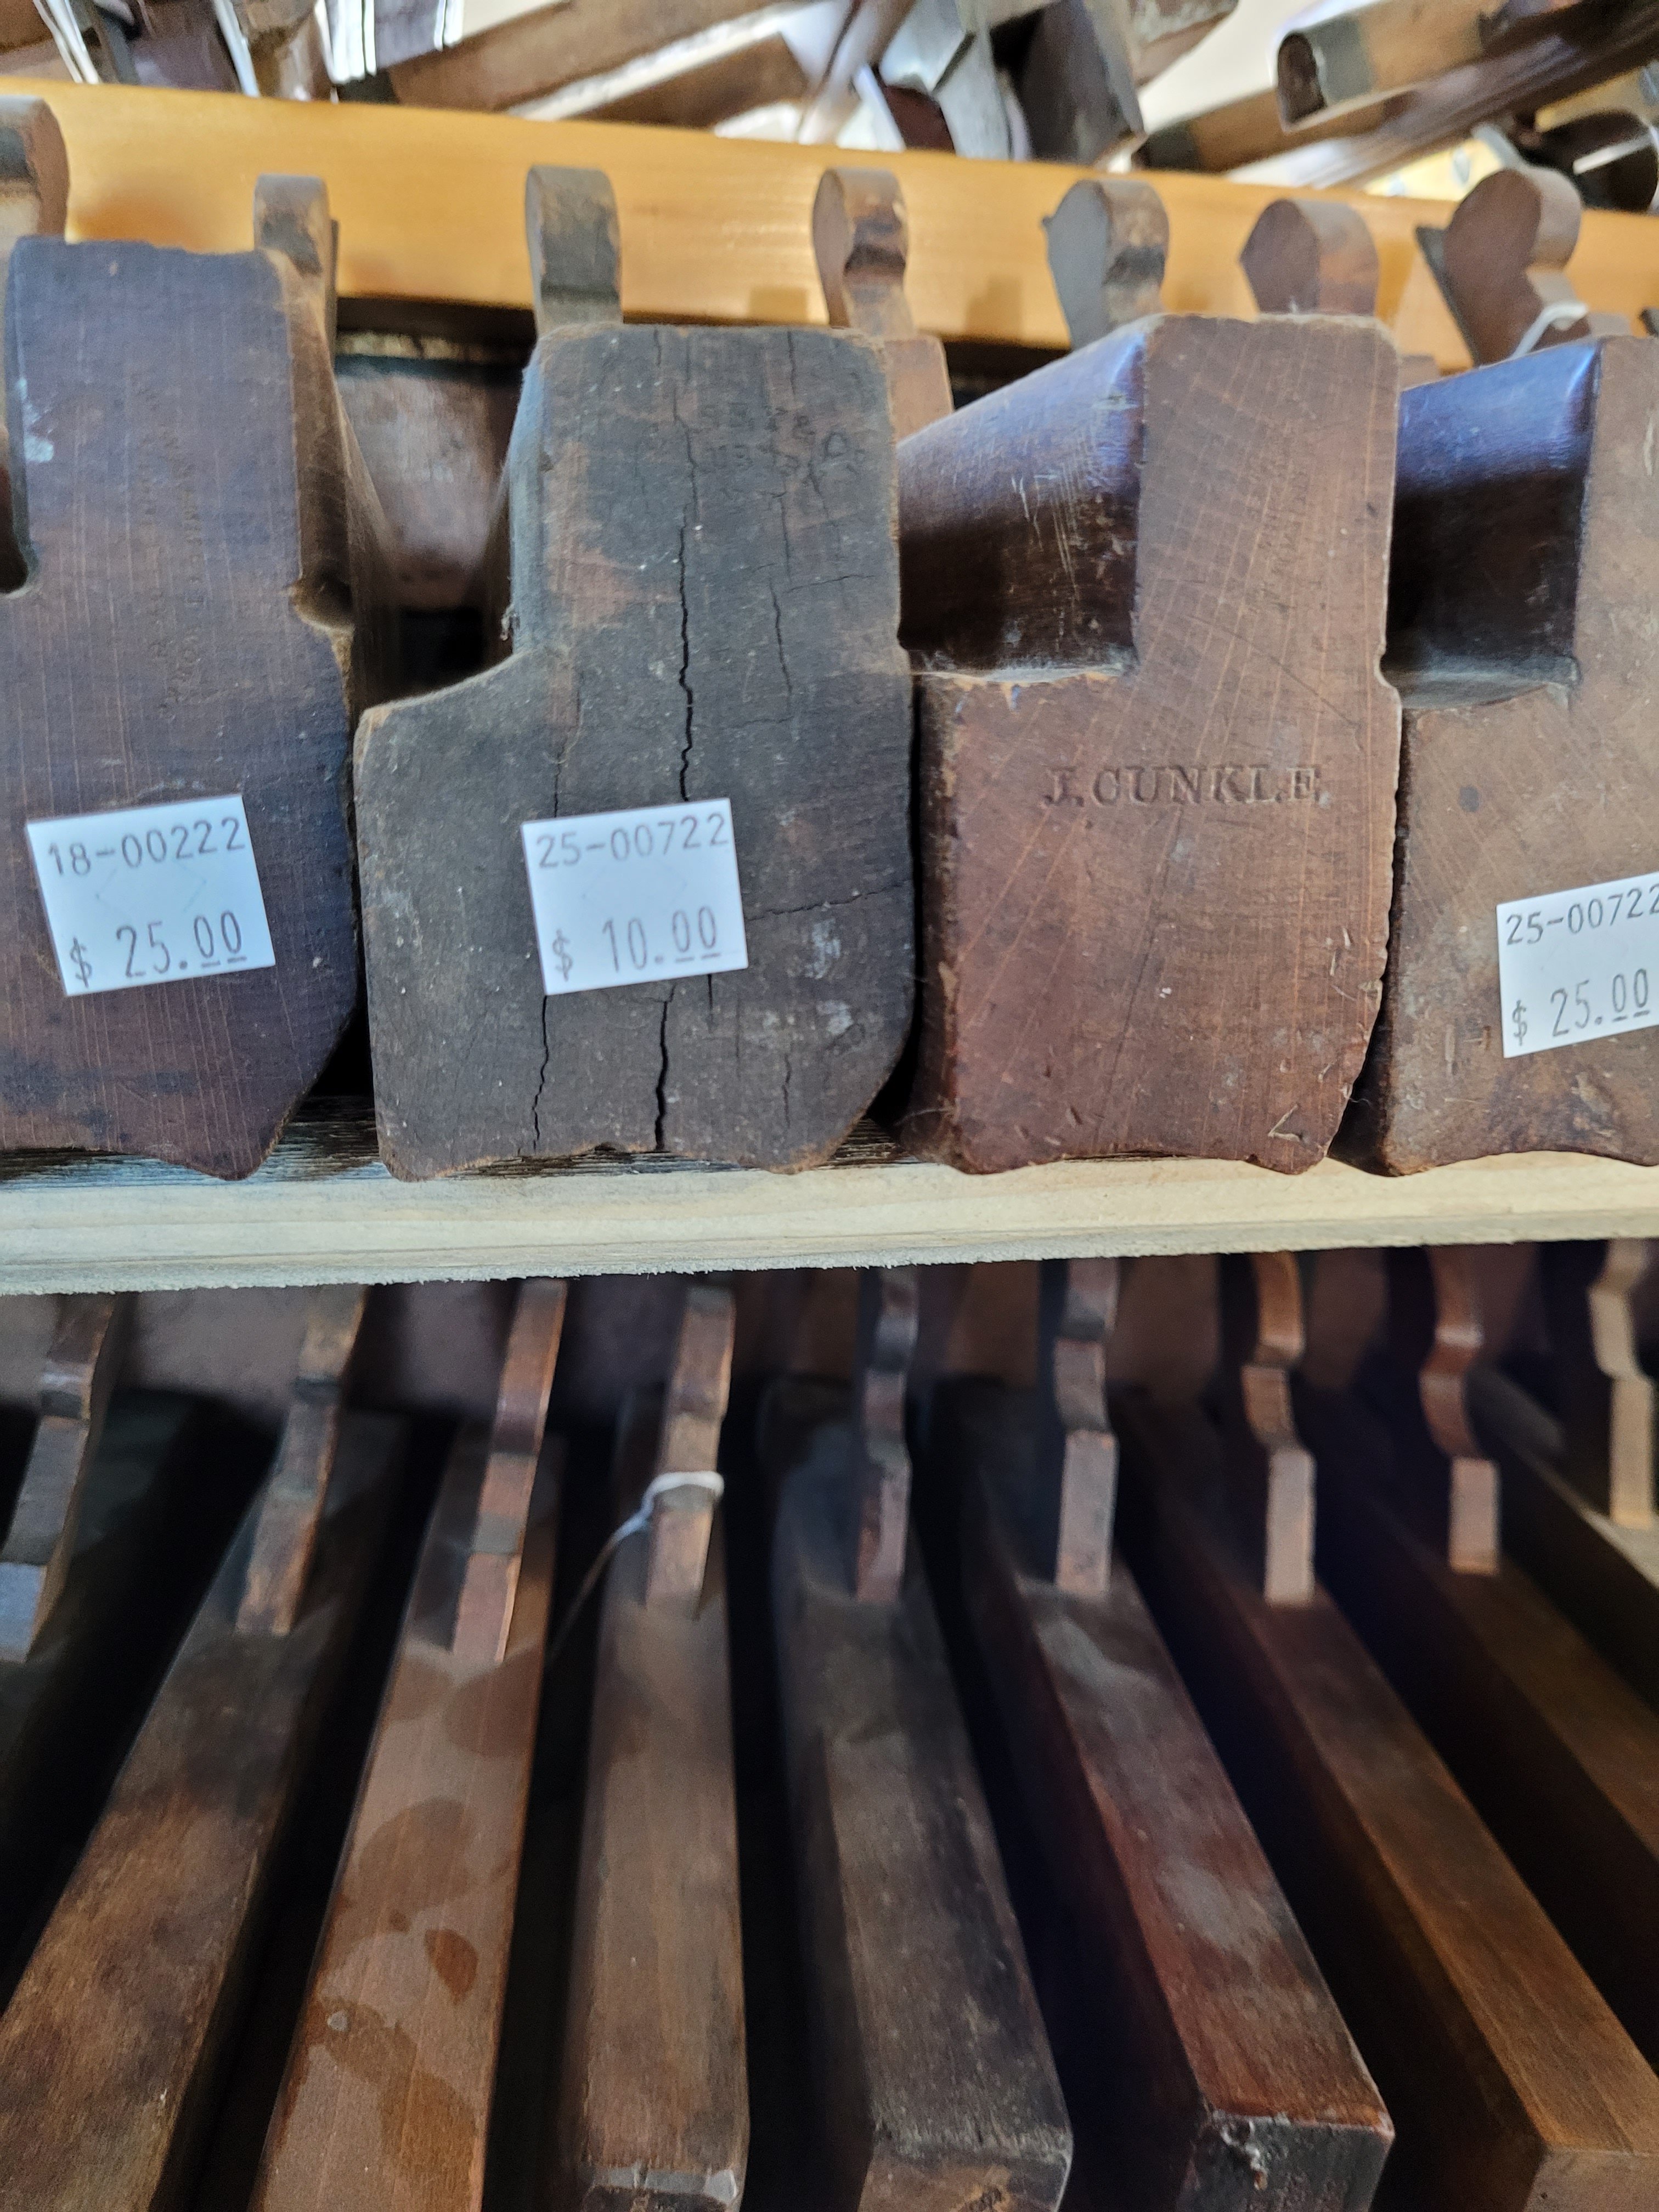
He did have a real nice selection of molding planes with prices that were in my budget however, he only takes cash and I didn’t have any on me so, it was pretty much a few minutes of browsing.

He also had a nice closet full of woodworking books. There were a lot of out of print books along with Lost Art Press favorites. I looked for the 2nd edition of the Stanley Tool Collecting book by John Walter but, there was none to be found.

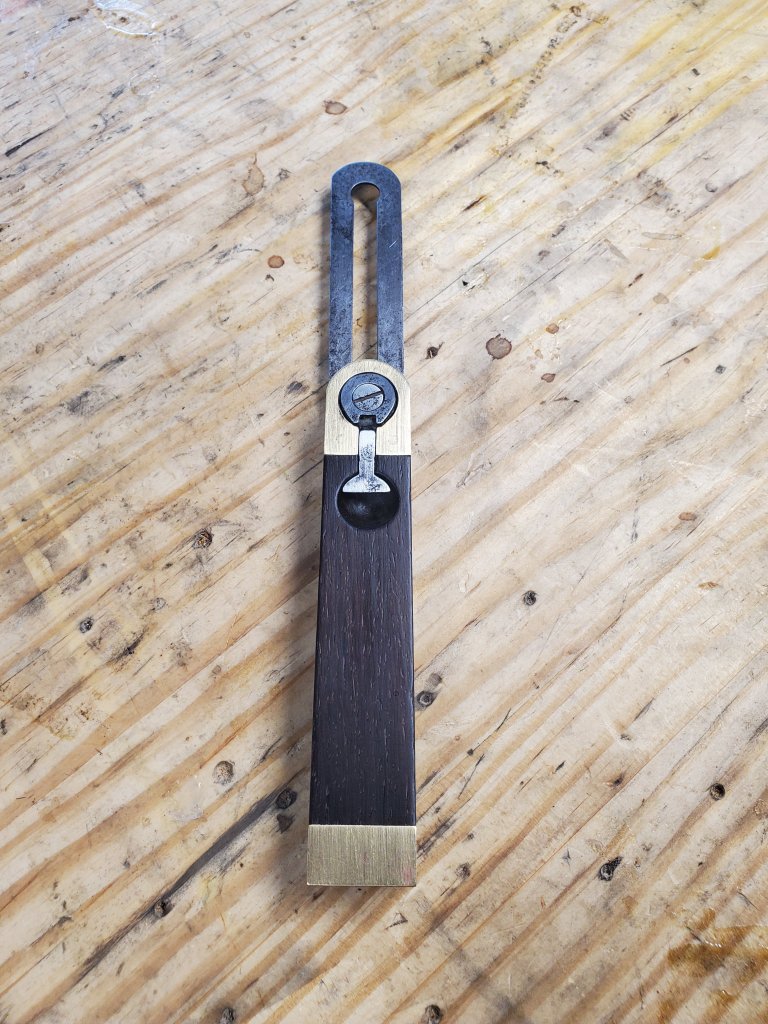
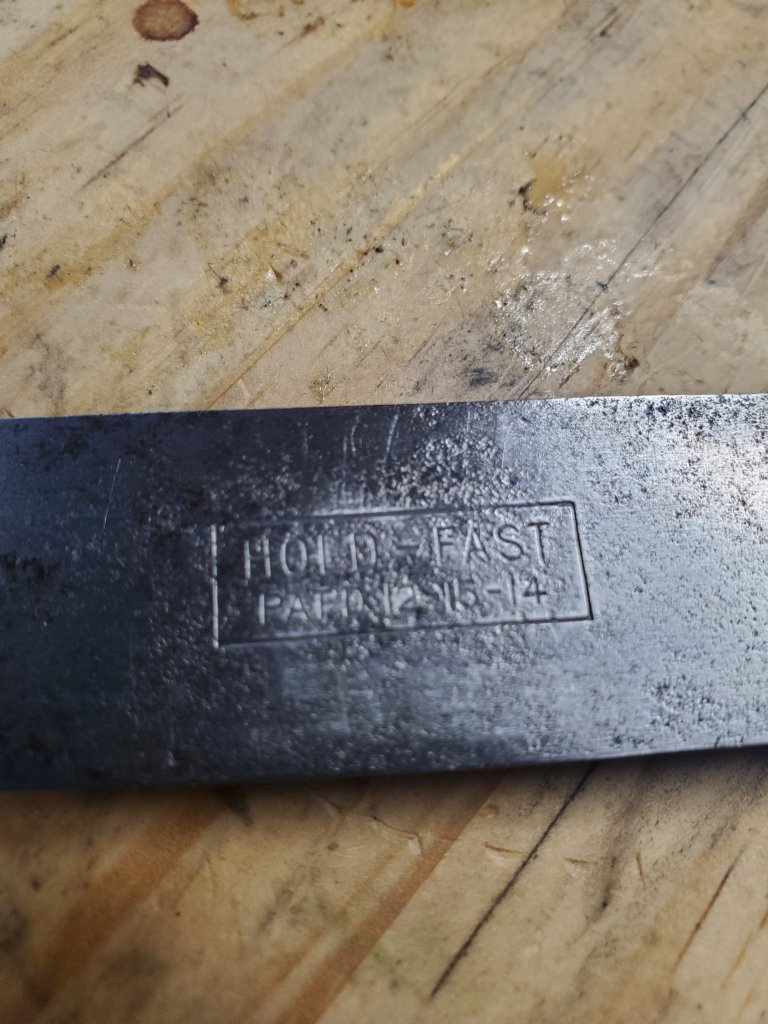
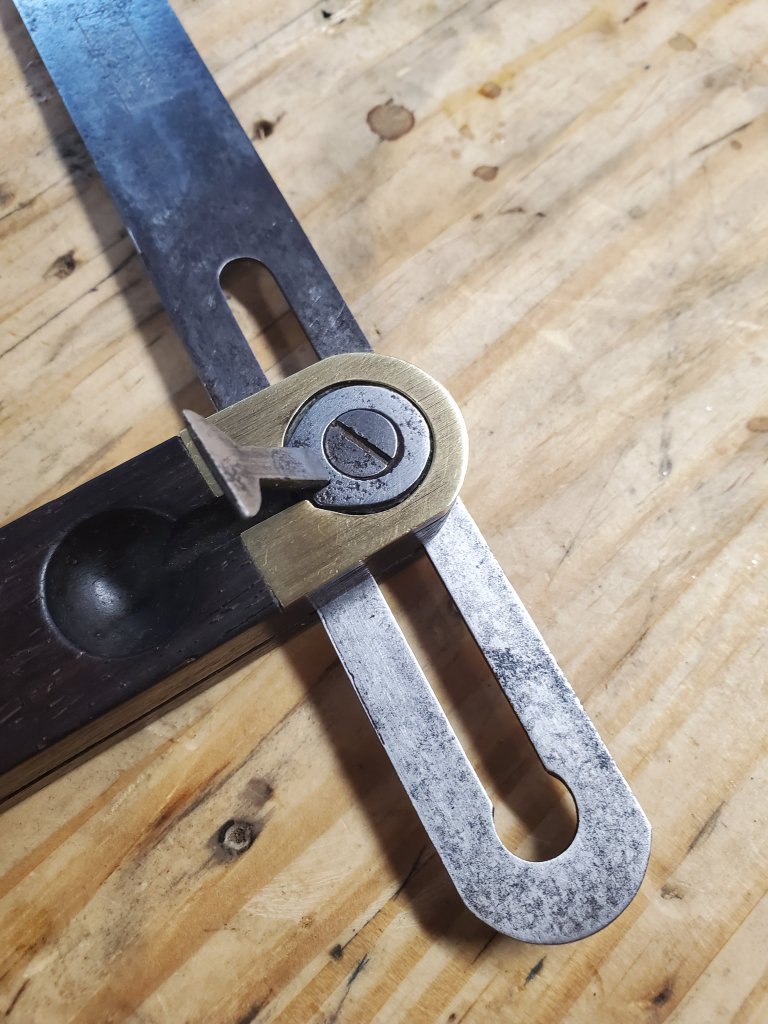
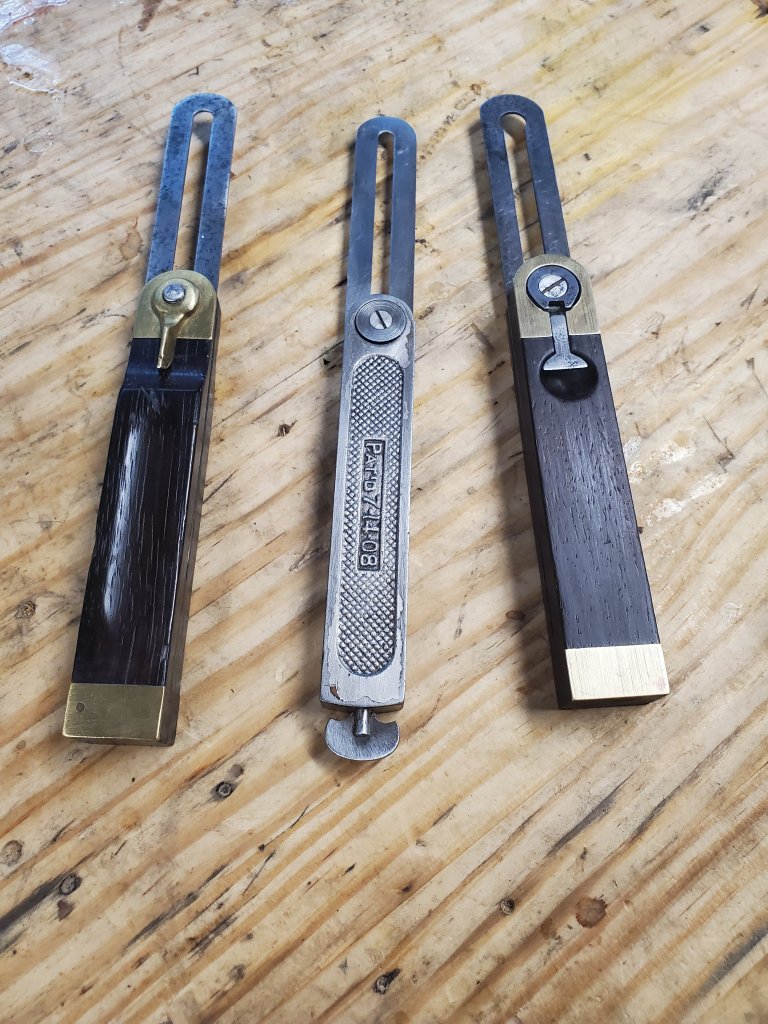
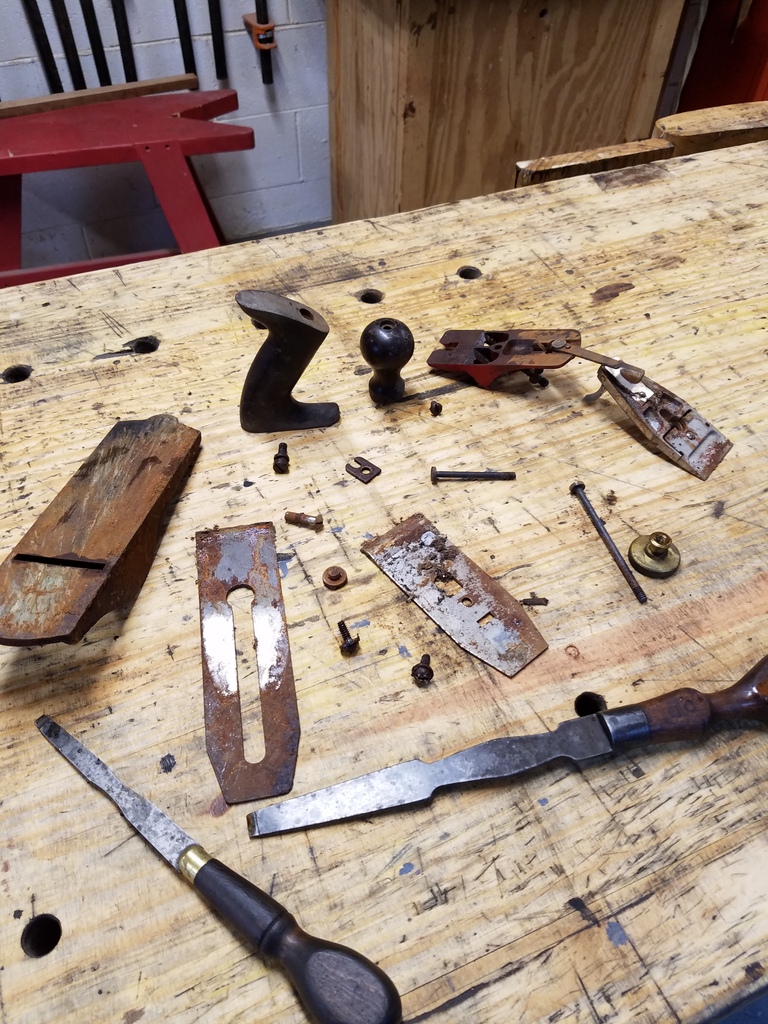
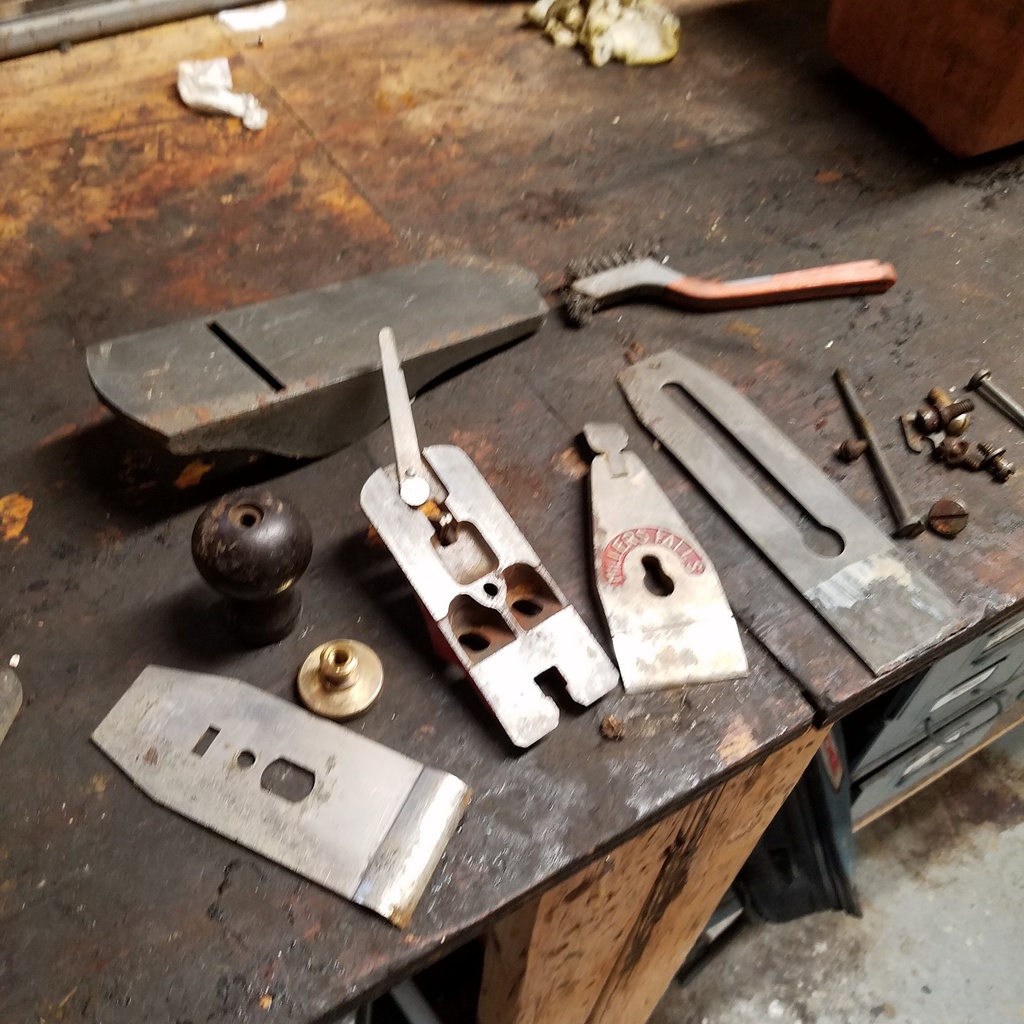
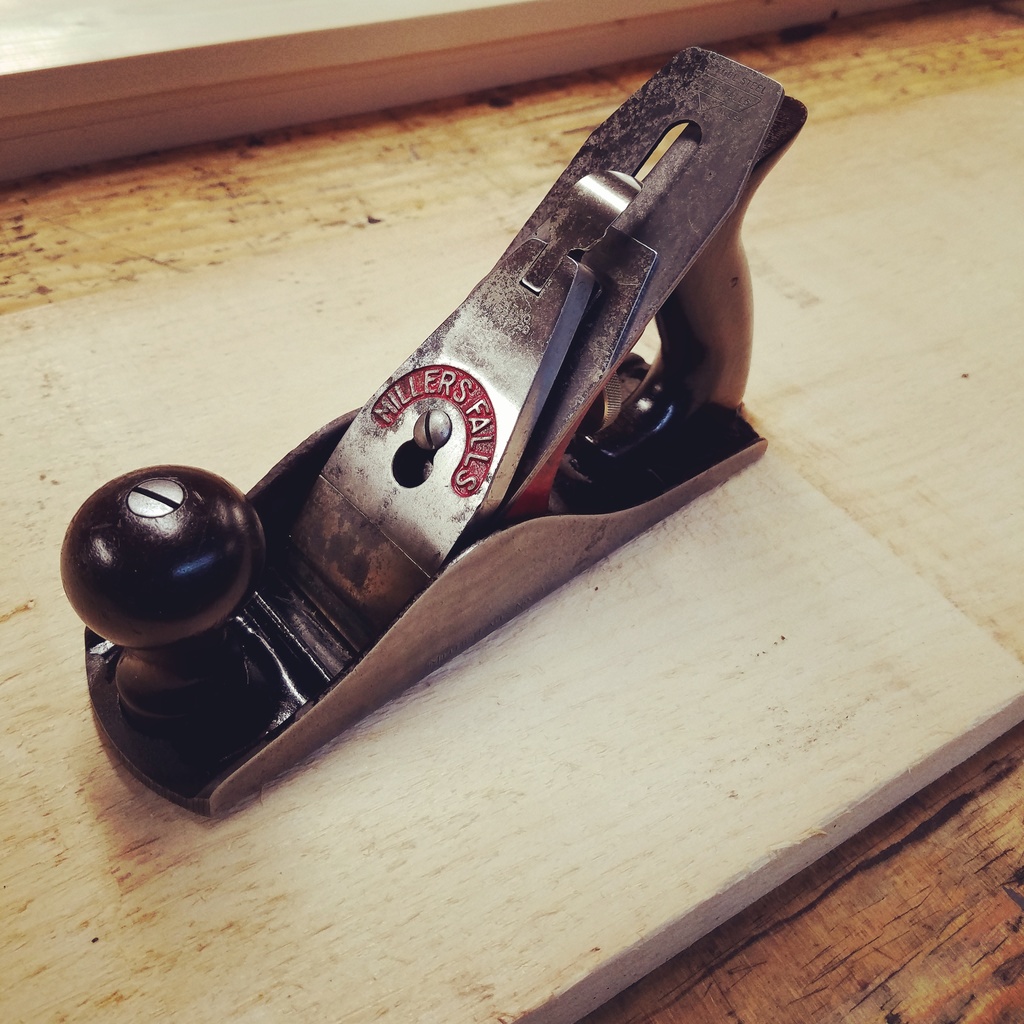
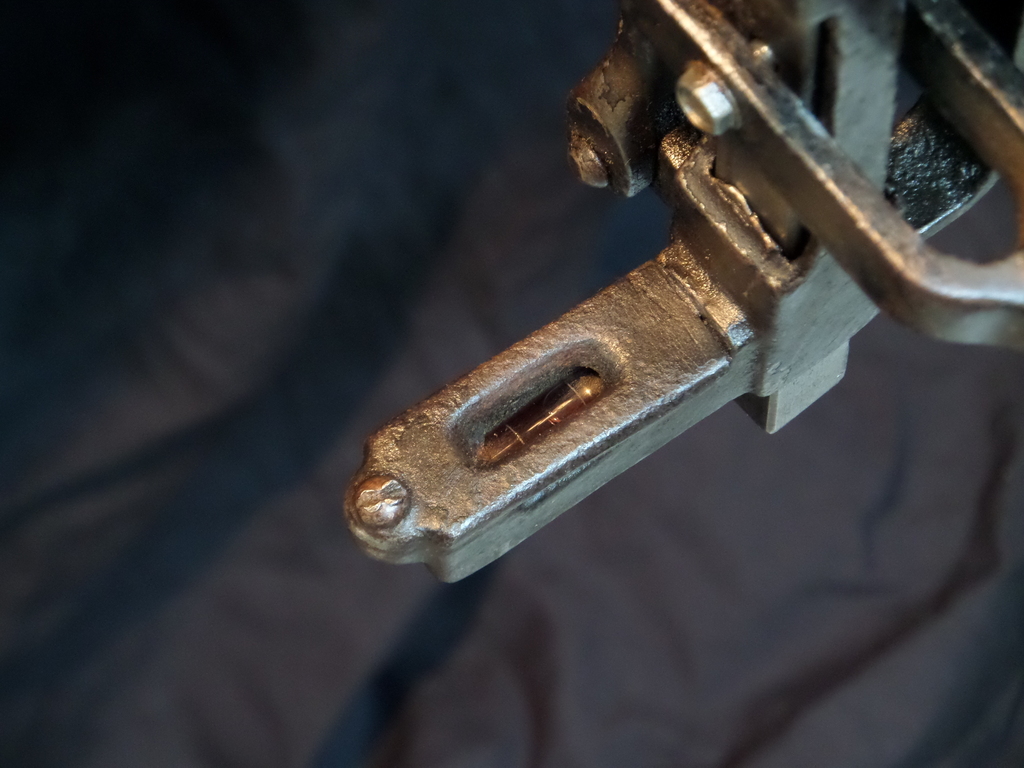
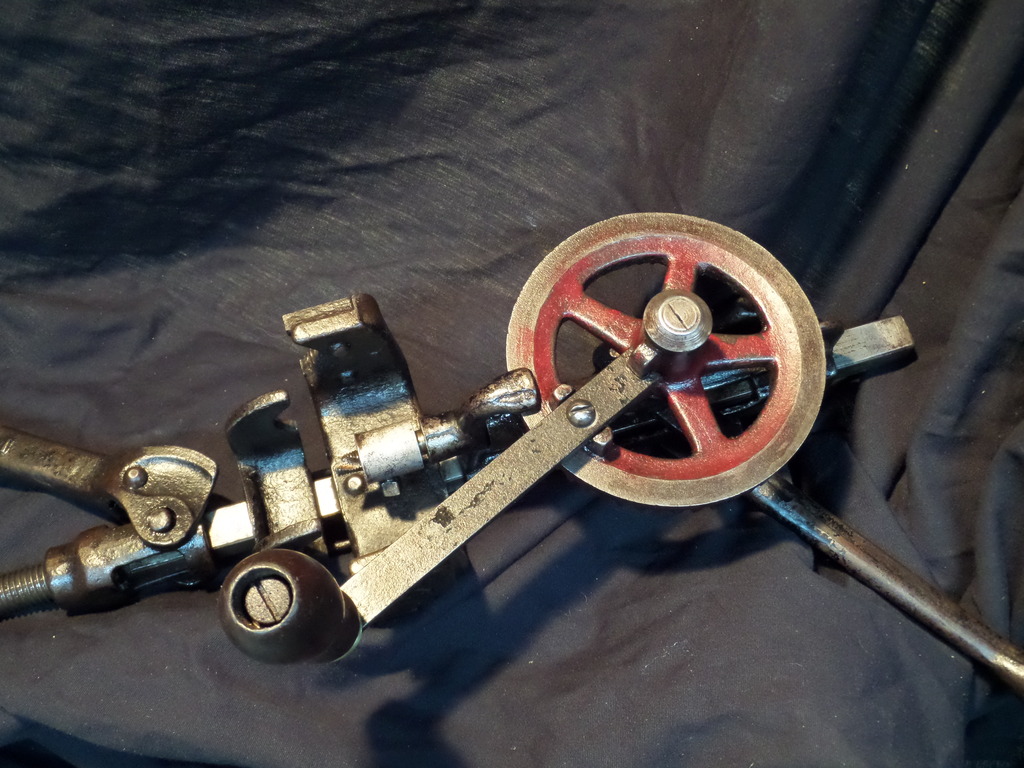
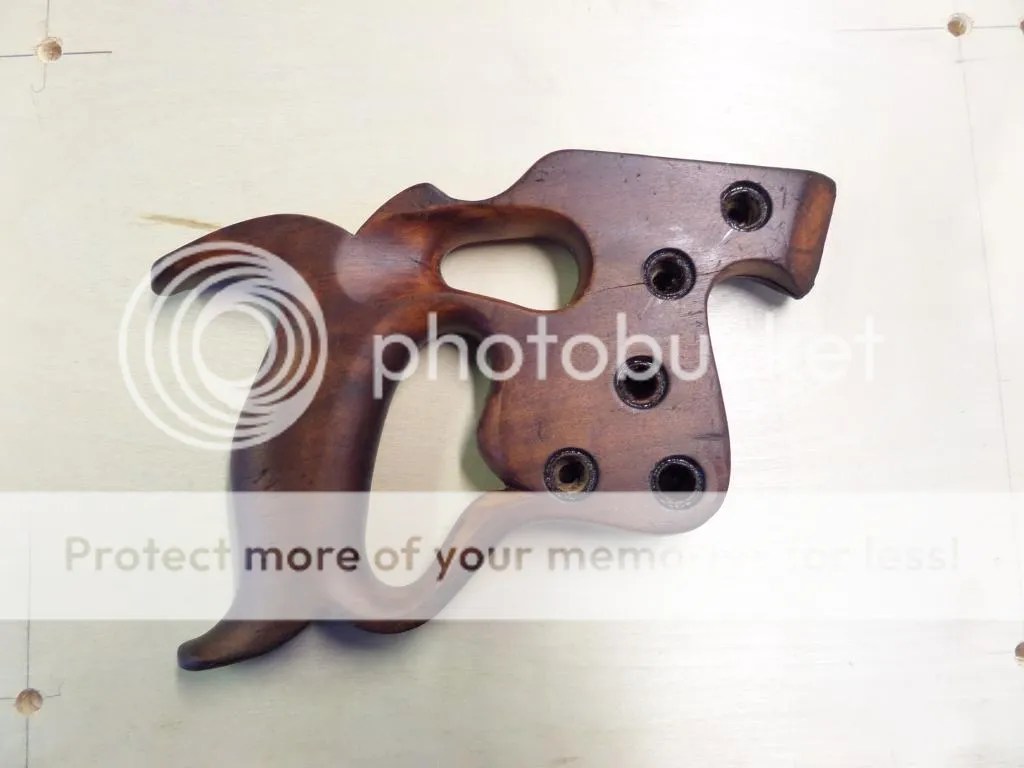
After twenty minutes of browsing, I said goodbye and went on my way as my wife was waiting in the truck. The weekend wasn’t a total lost as I was able to find tools in my budget in antique malls in Berlin, and Walnut Creek, OH. The prelateral Stanley No 37 Jenny’s Plane was my favorite pick of the trip.

Hold-Fast Bevel

A few weeks ago, I went to an antique tool auction near Xenia, OH. On the tables was an interesting little bevel with a locking mechanism I hadn’t seen before. It’s simplistic design and art deco styling appealed to me. Intrigued, I waited for the bevel to come up for auction and ended winning it (probably paying too much.) I took home my new little friend, polished him up a bit and stuck him in my tool cabinet.

Then, a few days ago, I was reading Stewart Woodworks blog about some of his bevels he uses in his workshop. Sure enough, one of his bevels was similar to mine called a Southington, except his was all metal and not rosewood like mine. The only marks I see on my bevel are the words Hold-Fast on the blade with a patent date of 12-15-14.

A google search of Hold-Fast bevels doesn’t come up with much, and James said a google search of Southington came up with limited information on his end as well. Whether or not Southington was the name of the company or just a trade name, who knows? Nevertheless, the two have to be one of the same as both have identical locking mechanisms.

EDIT: I found out that these bevels were indeed made by Southington Hardware Co in Southington, CT. Nicholas McGrath was the patentee.

When you open up the mechanism you can see the simplicity of the design which makes it easy to use. A simple turn of the screw, tightens the locking mechanism to the blade. You adjust the screw to the proper tighteness and you’re done.

A lot of the antique bevels on the market have a one armed wing nut which you need to adjust the other nut on the back of the bevel to the proper spot in order for the wing to tighten parallel to the body so it doesn’t get in your way while using it. A lot harder than it seems. That’s why I’ve always enjoyed using Stanley No 18 bevels with the locking screw at the bottom of the body. However when I use it, I have to set the angle of the blade with one hand and tighten it in the back with my other hand. Not a big deal, but tedious none-the-less.

This new bevel is going to be even easier to use that the Stanley No 18 because I can adjust the angle of the blade and lock in place at the same time with one hand. Super quick, super easy. An ingenious design that has stood the test of time.

If you come across one of these Hold-Fast bevels at a local antique store or flea market buy it. You’ll be glad you did.

Saving a Millers Falls No 9 Plane

Last month my wife and I were at an antique show in Columbus, Ohio when I passed by this Millers Falls No 9 plane. I looked at it and decided that the rust on the right side was too much to deal with, so I walked away. About ten minutes later, something told me to go back and examine the plane better to see if it was worth saving. I thought to myself if nothing else, it could be used for parts as the handles and frog were in good shape. I asked the dealer how much he wanted for it and he told me $10.00 so I handed him a ten-dollar bill and walked away.

img_20170304_120015_038

The first thing I do when restoring an old plane is to take everything completely apart spraying PB Blaster on the parts if necessary to break free the rust.

20170304_121257

Once apart, I soak the plane in a citric acid bath for a few hours. I use an old planter box as my tub and fill it half way up with water. Then I’ll scoop out about a cup of citric acid and spread it over the water. Sometimes you can buy citric acid at the grocery store in the spices section, but I buy mine by bulk on eBay. I buy about ten pounds worth for $30.00 which is much cheaper than the grocery store which is usually about $7.00 per pound.

img_20170304_155902_905

After a few hours, I take the parts out of the bath and use a wire brush to scrub the residue off the parts. The acid does a great job of removing the rust from the tool.

img_20170305_101028_318

I then polish all the parts with sanding sponges and apply my own homemade rust protection solution which contains, mineral oil, orange oil, and beeswax. I also steel wool the handles of the plane and apply a couple of coats of shellac to them.

20170305_200606

Once everything is cleaned and polished, I put the plane back together to see how it looks.

img_20170305_202015_812

If all the plane was to do is to sit on a shelf and collect dust, then I would be done. However, I want this plane to be used again, so I needed to focus on the blade. As you can see in the picture, the blade was roasted and desperately needed a new edge. Some people feel a blade that is in this bad of shape would automatically need to be replaced, but I like to see if I can get it to work again first.

20170401_102354

I took the blade over to my high-speed grinder and ground a new edge making sure not to overheat the blade making it lose its hardness.

20170401_103001

After the major grinding was done, I switched to my slow speed water-cooled grinder and worked on the edge some more. I also flattened the back of the blade on my grinder at the same time.

20170401_104744

After I was satisfied with the grinding process, I switched to my water stones to hone the edge. I sharpened the blade with a series of 800, 2000, and 5000 grit water stones.

20170401_105348

I set the cap iron about a 1/8″ from the edge of the blade and put it back in the plane. After adjusting the blade up and down, I was able to get the plane to cut off a nice thin shaving.

20170401_105936

I took one of the shavings and measured it with my calipers. The shavings produced were .002 of an inch thick.

20170401_110035

The shavings are nice, but the real proof is the way the plane leaves the wood with a nice sheen. No sandpaper needed. Not too shabby for a rusty $10 plane.

20170401_110434

The Skinner Irrigation Co Hand Drilling Device

I’m not sure how unusual tools find me, but another has landed on my lap. This time it was an odd-looking drill press. I spotted it in a local antique shop and knew it was some sort of drill press with its flywheel and depth handle, but it was a drill press like I had never seen before. I could tell it was for drilling through pipe because of the claw like clamping pads that could wrap around pipe after adjusting the bottom arm.

SAMSUNG CAMERA PICTURES

I brought the drill press home and after cleaning it up, I clamped one of my bar clamps across my workbench and attached the press to one end of the pipe.

SAMSUNG CAMERA PICTURES

After studying the press a little bit, it dawned on me that I actually clamped the drill press upside down. The arm clamps down on top of the pipe, then the user turns the flywheel while pulling up the depth adjustment arm drilling a hole.

SAMSUNG CAMERA PICTURES

I realized it was upside down because of a small level on the bottom of the press which guides the user to place the tool level.

SAMSUNG CAMERA PICTURES

Here’s another view of the press in its rightful state.

SAMSUNG CAMERA PICTURES


Luckily, there was a maker’s plate on the back. The tool was made by The Skinner Irrigation Co in Troy, OH. I googled the company name and found they were a turn of the century company that specialized in laying irrigation systems. Apparently this tool was used to tap into pipes to attach some sort of nozzles in a direct line with each other. Also, on the plate there was a patent number 893667 so I googled that as well. I found out that the tool was patented July, 21, 1908. You can read about it here. http://www.freepatentsonline.com/0893667.pdf\

SAMSUNG CAMERA PICTURES

The bit that came with the tool looks like a broken threaded tap. You can see that the collar doesn’t have a chuck so this must be a very specialized tool to do one specific job.

SAMSUNG CAMERA PICTURES

Who knows how many of these hand drilling devices were made, but I’m glad this one found me.

SAMSUNG CAMERA PICTURES

Another Tool Auction

If you follow my blog, then you know I have an addiction to going to tool auctions and buying a boatload of planes. Well, not much has changed over the years except this auction was online a couple of nights ago. Today I went to the house to pick up my winnings to see what I won in person. Needless to say, I was pleasantly surprised with the quality of the tools I bought.

 photo blog 001_6.jpg

When looking on the lots, the auctioneer was very vague with their descriptions. They just grouped about ten to fifteen tools together and listed them as “Stanley Metal Planes”. One of the lots was nine Stanley Bed Rock planes with only four pictures of the total lot. I took a chance that they were in good shape so I placed my bid until I outbid all the other bidders. When I picked them up, I noticed that six of the nine were corrugated which put a big smile on my face.

 photo blog 002_5.jpg

The other planes I ended up winning were a couple of Stanley circular planes. Theses planes work really well and come in handy when properly tuned.

 photo blog 003_7.jpg

They had this Stanley No 77 Dowel Making machine as a “drill”. These machines are sweet to use. I only wish I could afford the extra heads they came with as they usually sell for over $100 a piece on eBay.

 photo blog 005_7.jpg

I also picked up this Stanley No 150 miter box with a Cincinnati Steel Saw Co back saw. I’ve owned one of these for twenty years and work great cutting small moldings.

 photo blog 006_3.jpg

Here are a couple of Stanley No 112 scraper planes. Another tool that you’re glad you own when you need it.

 photo blog 007_1.jpg

A couple of Stanley No 10 Rabbet planes. The one in the back has been welded as that is a common repair for these when they break in two.

 photo blog 008_2.jpg

I ended winning six pre-lateral Stanley bench planes. One of them has the wrong lever cap and a couple others have the wrong style of tote, but all have the proper blades which is good as usually these are found with an improper blade.

 photo blog 012_1.jpg

Most of these tools will eventually be restored and sold in my eBay store. http://stores.ebay.com/mvflaim. The pre-lateral planes are too collectible to be restored. Just a light cleaning will do. The tools in the bottom photo are the tools I’ve been working on the past few weeks and will be listed for sale soon.

 photo blog 015.jpg

A Saturday Afternoon at an Estate Auction

Not much has been going on lately with woodworking, but I have been picking up some more tools. Yesterday I went to a local estate auction and scored some serious tools. I saw the auction on AuctionZip a few days ago, but they only had a couple of pictures of a few tools. When I arrived at the auction and took a look around, I nearly crapped myself when I saw all the tools that were sitting on the tables.

 photo 20150627_152847.jpg

I have a blast at auctions as you can see with my winnings. I always try to remain reasonable and not get too carried away with my bidding. Fortunately, there weren’t a lot of tool collectors at the auction, so I was able to buy a whole bunch. In fact, most of the time I was bidding on several tools at once in one box.

 photo 20150627_152851.jpg

At the end of the day, I brought all the tools down to my basement and tried to calculate how many tools I actually bought. I had to separate the good tools from the junk that was packed in the boxes. I won a about a dozen junky block plane beds that ended up in the garbage can.

 photo 20150627_152909_1.jpg

In the end, I bought over 150 tools with nearly 100 planes. I’ll be busy over the next few months cleaning all these babies up.

 photo 20150627_152920.jpg

My first winning bid was for a box of steel wool for $8.00. I use a lot of steel wool when cleaning tools and I’m sick of buying those little packs for $5.00 at Lowe’s. I should have enough steel wool here to last me a couple of years.

 photo 20150627_152929.jpg

Probably the best buy of the day was this old BedRock 605 plane. It should be cleaned up and for sale in a few weeks.

 photo 20150627_152950.jpg

Video of Making Trim

A few weeks ago I wrote about how I was able to recreate trim that my wife wanted to put on our walls. I had some time this weekend to make all 36 pieces of trim each about 24″ long. It was fun making the trim, but after number twenty, it started to get old. Thankfully, it only took me a few minutes to cut the profile in the wood once I milled the rabbets into each side of the wood.

I decided to do a short video showing the process better than just showing it in pictures. Enjoy!

Restoring a Disston D8 Thumb Hole Rip Saw

While scouring antique malls looking for tools, I ran across this nice rip saw stuck in the back corner of a booth. It’s a Disston D8 Thumb Hole saw and considering it’s age, it was in very nice condition. Even though it had some rust on the blade, I knew it would clean up just fine.

 photo blog 020.jpg


The first thing I did was take the saw apart and dip the blade in a bath of water with food grade citric acid. I let it sit overnight allowing the acid to eat all the rust off the blade.

 photo blog 023.jpg

While the blade cooked, I focused my attention on the handle. Using Soy-Gel paint stripper, I cleaned all the gook and grime off the apple wood handle using a steel wool pad.

 photo blog 024.jpg

Here’s the handle wiped off after just a few minutes of paint stripper on it.

 photo blog 025.jpg

In the morning, I took the blade out of the bath and wiped it down with a paper towel. The blade was clean from rust, but was dull from the cook. I grabbed some drywall sponges and lightly sanded the blade. I then polished it with a variety of Sand Flex sanding sponges.

 photo blog 001.jpg

Here’s the blade after the polishing was done. You can see how the blade was slightly pitted. Unfortunately because of the pitting, the etching was no longer present, but the saw will still make a fine user.

 photo blog 002_1.jpg

After applying a couple of coats of shellac to the handle and putting it back together, the saw looked far better than when I bought it.

 photo blog 003_1.jpg

 photo blog 004_1.jpg

Here’s a close up of the handle. You can see the crack at the bottom of the handle. A little bit of glue was all that was needed to fix it.

 photo blog 005_1.jpg

The saw looked nice, but it needed to be sharp in order to work well. I took some Dykem layout fluid and spread it over the teeth of the saw so that I can see what I was doing better when filing the teeth.

 photo blog 001_1.jpg

I used a file to joint the teeth flat then filed the flats away with a triangular file. If you’ve never attempted to sharpen a saw before, I recommend you start with a rip saw like this. It’s a pretty simple saw to sharpen and the big teeth are easy enough to see. For a video on how to sharpen a saw, you can look at this YouTube video of Frank Strazza of the Heritage School of Woodworking. The video is a little long, but Frank does a good job explaining the steps.

Here are the teeth after I sharpened the saw. I’m not the world’s best saw sharpener, but I can get the job done.

 photo 635e73f9-6177-4c17-8bf6-87330938a806.jpg

Here’s a picture of the saw performing in mid cut. It stayed straight on the line and cut the wood like butter.

 photo blog 005_2.jpg

Finally I made a short video showing the saw’s performance.


Removing Paint and Grime with Soy Gel

Sometimes life gives you the answer so clearly that you’re too blind to see. Just a few days ago I read on the “Working by Hand” blog a post about removing tool japanning with Soy Gel. https://workingbyhand.wordpress.com/2015/01/23/plane-body-finish-removal-soy-gel/

Soy Gel is a 100% soybean based paint remover that has no toxic fumes and is really safe for the environment. I bought a bottle for my wife about a year ago so she could remove the paint off a piece of furniture she bought. I rarely repaint planes so, I never gave much thought about using it to remove the black japanning from a plane. Well apparently according to the post, it does the job quite well.

So, this weekend while I was busting my knuckles cleaning up the bed of an old Stanley Liberty Bell plane with steel wool, I opened up my cabinet to grab another piece of wool when my bottle of Soy Gel was staring at me right in the face. I looked at the bottle, then looked at the plane bed and thought “I wonder if it would help”?

I grabbed the bottle, squirted some on the bed, spread it around with my steel wool pad and let it sit there for a bit. Sure enough after just a few seconds, the dirt and grime just melted away when I rubbed it off with the steel wool.

 photo ebay 001.jpg

I was amazed it worked so well. Then I was angry at myself that I didn’t think of it any sooner. How could I be so blind? Here’s the before and after shot of the side of the plane.

 photo ebay 002.jpg

 photo ebay 003.jpg

All these years of busting my knuckles trying to clean up the wood from old planes with nothing but steel wool and a whole bunch of elbow grease, and I could have just been using Soy Gel the whole time to make the job a whole lot easier. Oh well, I learn something new everyday. Here is a couple of shots of the plane all cleaned up. I guess someone liked my cleaning job as the plane sold within a few hours of being listed on eBay.

 photo ebay 004.jpg

 photo ebay 005.jpg