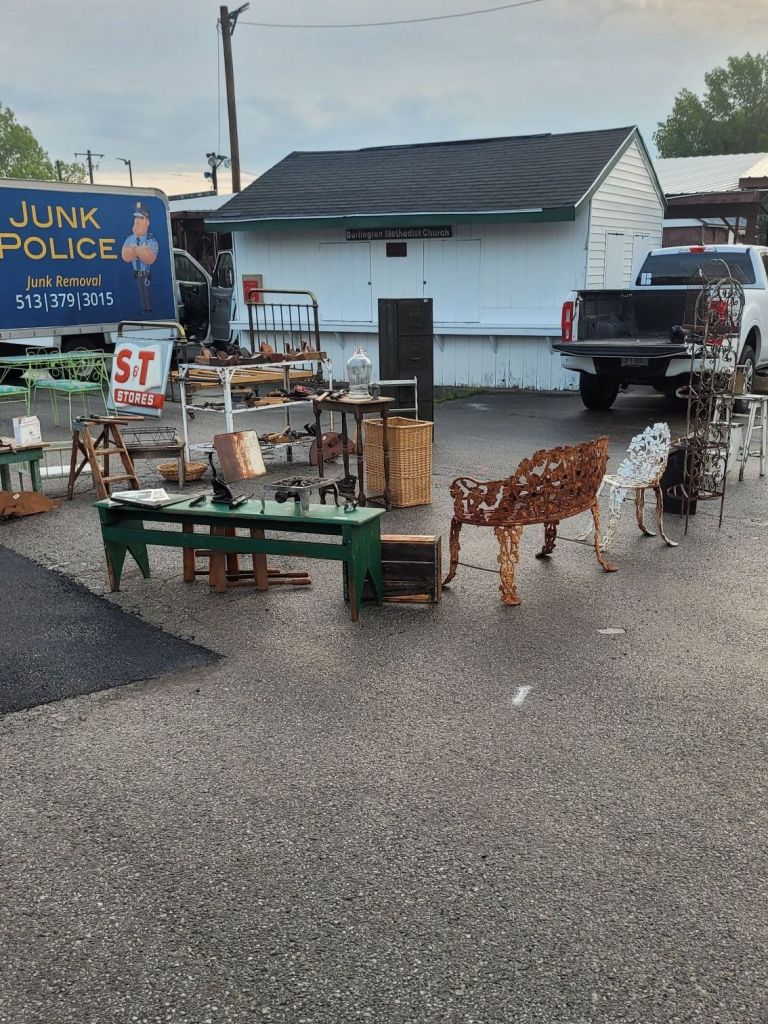
Yesterday, I did something that I have never done in 20 years of selling antique tools. I set up a booth at the Burlington Antique Show in Burlington, KY.
The reason for my booth was that my wife, Anita, is down sizing her booth rentals at the new antique mall she is in. She’s been renting two rooms for the past few months. While her sales have been phenomenal, she found taking care of two rooms, filling it up with antiques was too much to bear. Plus, the majority of the sales were coming from the one room by the register. The furniture she was selling in the back room, she was getting off her Facebook Marketplace ads. She told me she doesn’t need to spend $400 a month in rent if she could just as easily sell it in the garage instead. Makes sense to me.
So Saturday night, we loaded some of the stuff that was still in the back room and shoved it in my truck to head to the antique show in the morning. Since I was going to work the show, I decided to bring some of my tools with me and put them out for sale.
I decided to bring tools that were too big to ship. I sell planes and smaller items on eBay all the time, but shipping large items has always been a pain in the ass. First, it’s hard to find a box to fit the tool, and then it’s hard to estimate total shipping if I don’t have the box on hand. I’ve been burned more times than not when it comes to shipping big tools.
I woke up at 4:00am and headed out the door at 4:45, arriving at the fairgrounds at 5:30 am. This gave me 30 minutes to unload and set up the booth. I didn’t have too much stuff as all I had was what I could fit in my pickup truck, but hopefully, I had enough to make it worth my time.

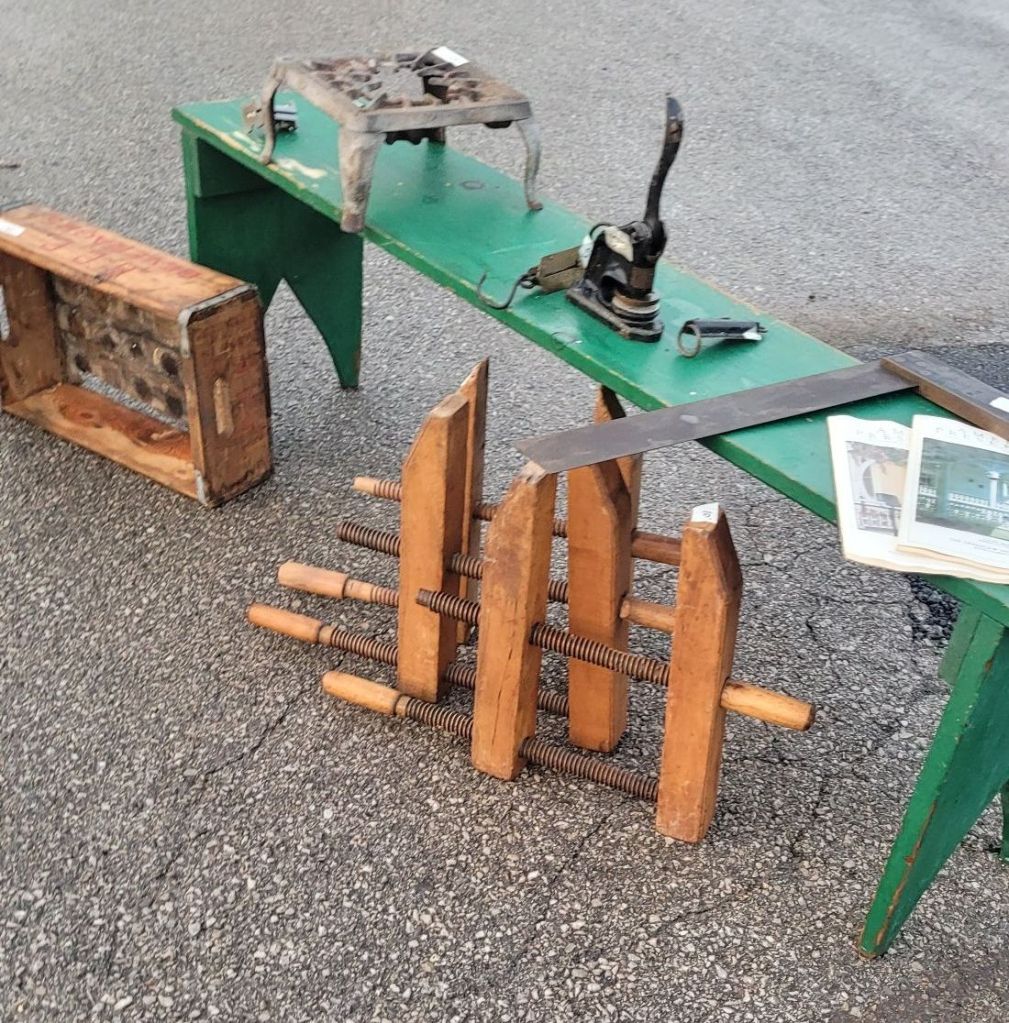
I put most of my tools on a white metal shelf Anita had in her booth. On top were big panel raising planes. On the two shelves were smaller tools that I sold for $5.00 each. I’ve found over the past year that cheap tools don’t sell well on eBay anymore. The buyer will pay $5.00 for the tools but will spend $13.00 in shipping. I mainly ship USPS Priority Mail for the free boxes, but I’ve been rethinking about buying my own boxes and switching to UPS.
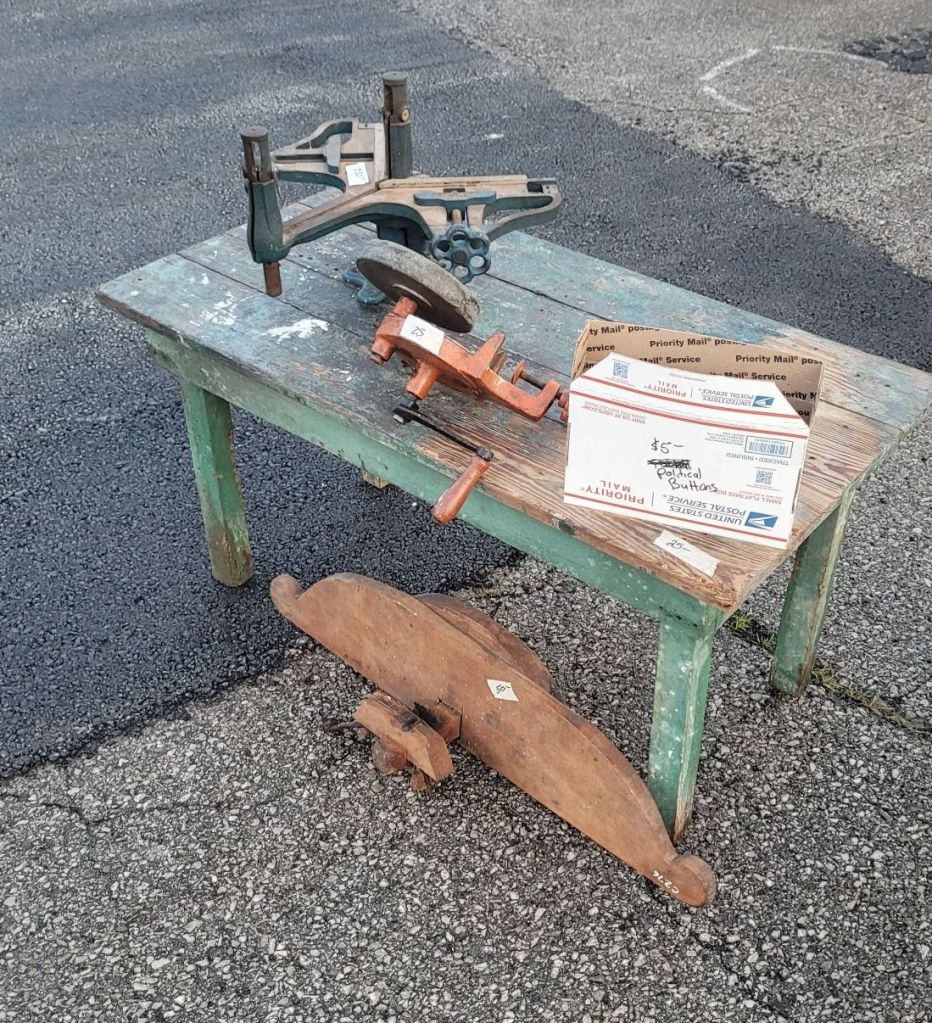
The tool of the day was this Stanley No 100 Picture Framers Miter Box. I had $50.00 on it, which was a steal. Even though I could probably sell it on eBay for more, the shipping would be outrageous. In fact, I checked eBay recent sales, and one sold for $50.00 with $120.00 in shipping. No thanks! I’ll sell it here and let the buyer save the money.
I sat out all day sitting on my trucks tailgate and spoke to numerous customers. Everybody was nice and thankfully had cash. I don’t have Venmo, so cash was the only payment I would take. I negotiated with customers all the time, making sure they felt they were getting a good deal. A lot of time, if I had $20.00 on an item, they would ask if I would take $15.00. I always said yes and never missed out on a sale.
My goal was to sell $400 for the day. By 10:00 am I was close at $280.00. The $5.00 tool shelves were the most popular as customers were looking for deals. People would look at the panel raiser planes, but no one offered me anything for one. Anita’s stuff was more popular with customers than my tools, but I expected that. Most of my customers were women.
By noon, I hit my goal as I surpassed $400. There were plenty of customers left still walking around, so I was happy to still sit on my truck’s tailgate. Nearing the end of the show, a guy came back to look at the Stanley No 100 Miter Box. He asked me what my bottom price was for it. I told him $40.00, and he took it. It was a little less than what I really wanted for it, but I was glad it was going to a good home.
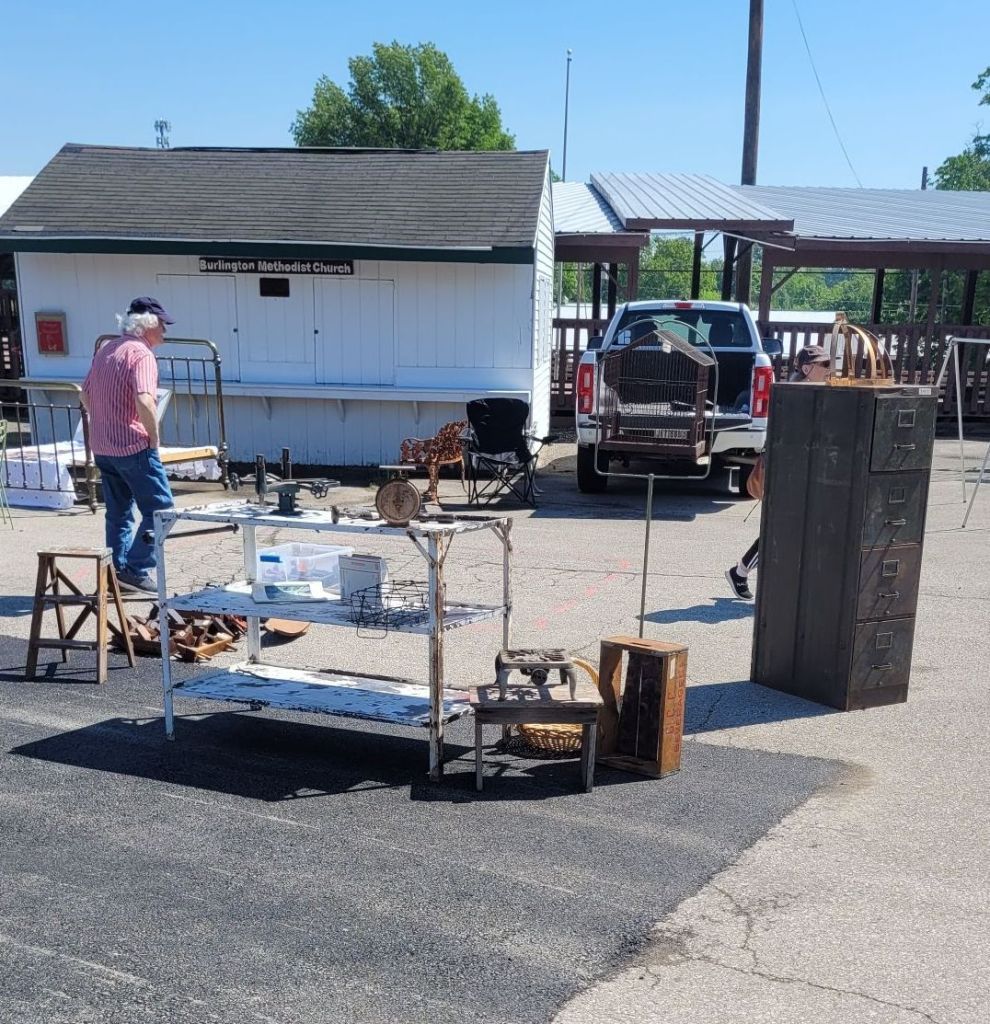
In the end, I sold $641.00 worth of stuff. Out of that, $263.00 were my tools. There was an old file cabinet and that white metal shelf that came home with me. Anita didn’t want either one back in the garage, so I took it to the recycling center this morning and got $18.25 in scrap metal for it.
Doing the show was a lot of fun. It was nice sitting out and relaxing a little bit and talking to people all day and making new friends. I’ll definitely do it again. In fact, I’m considering buying an enclosed trailer so that I can bring more items with me in the future. If I had a lot more inventory, I think I could sell thousands of dollars during the show. I know several people who do the same.