Making a Yardlong Frame

Several weeks ago, I bought a yardlong picture at an antique shop. Finding a frame to fit the picture is next to impossible, so I knew I had to make one.

I looked around for some wood and found a piece of ash from a project I made a few years ago. Ash is not the ideal wood to use with molding planes as it has a lot of moving grain. Preferably poplar or mahagony would be the ideal wood, but ash is what I have.

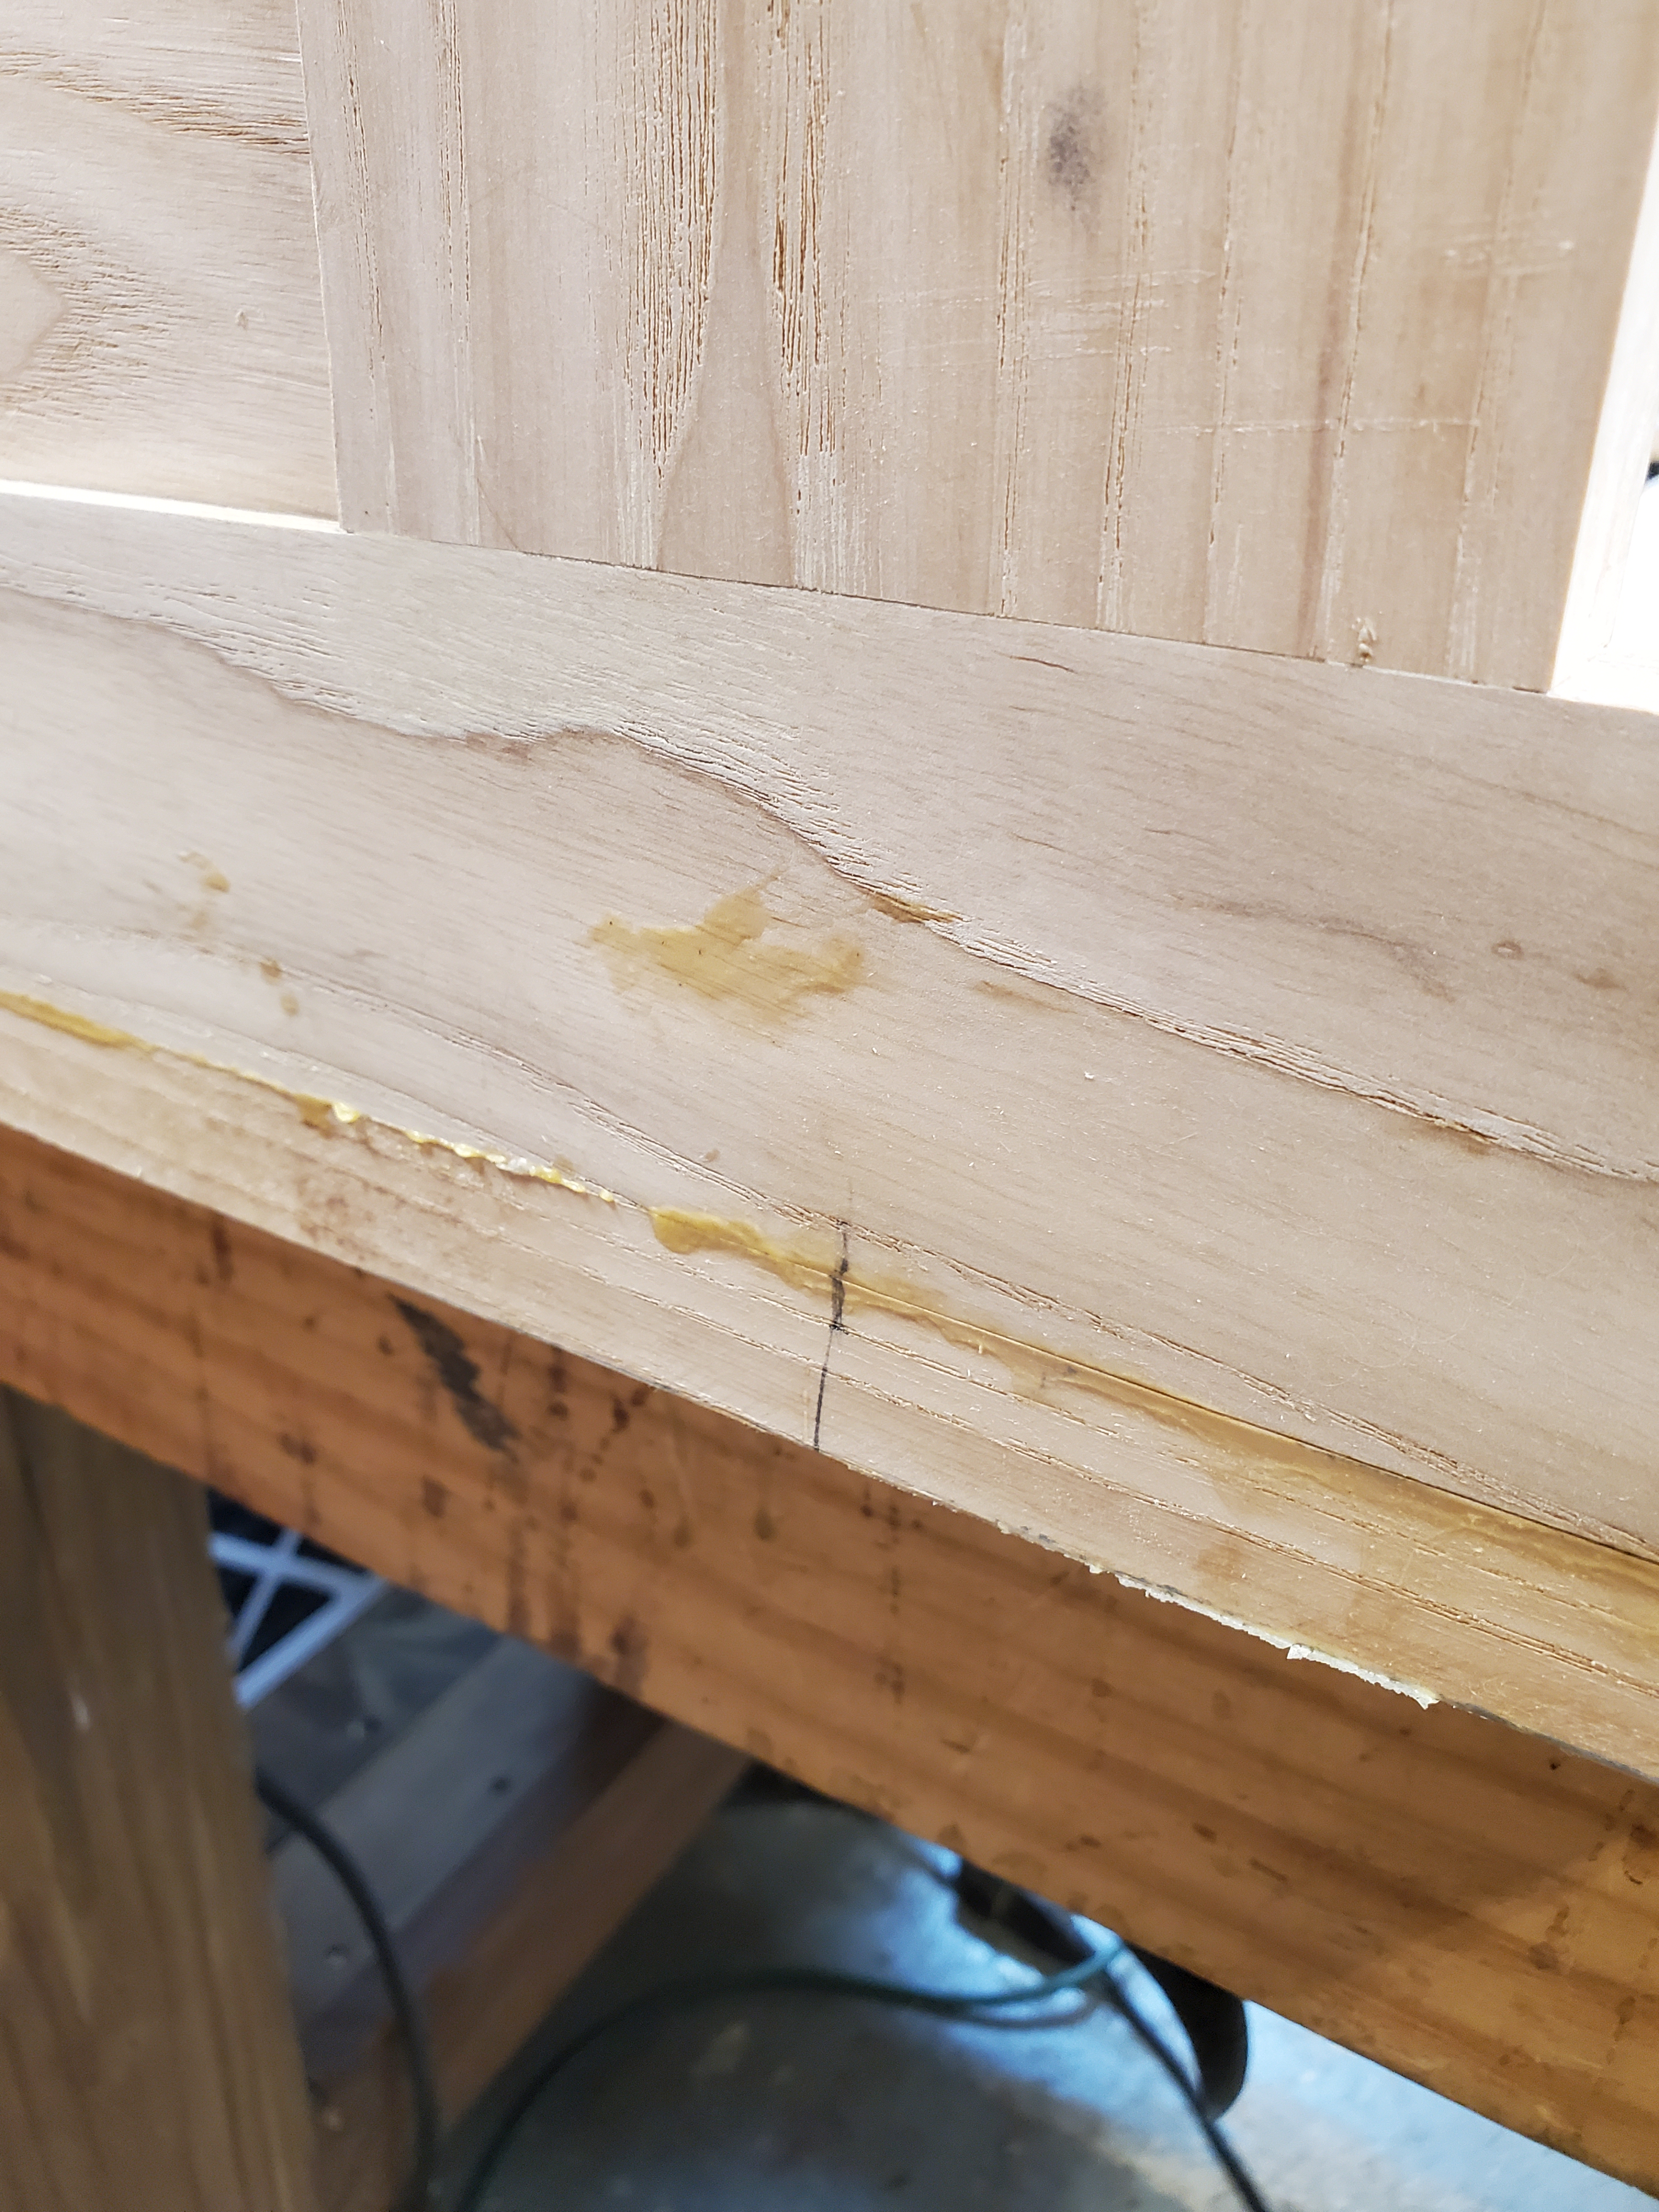
I ran my complex molding plane over the board and slowly cut the profile in the wood. It took about 20-30 minutes for me to cut the profile.

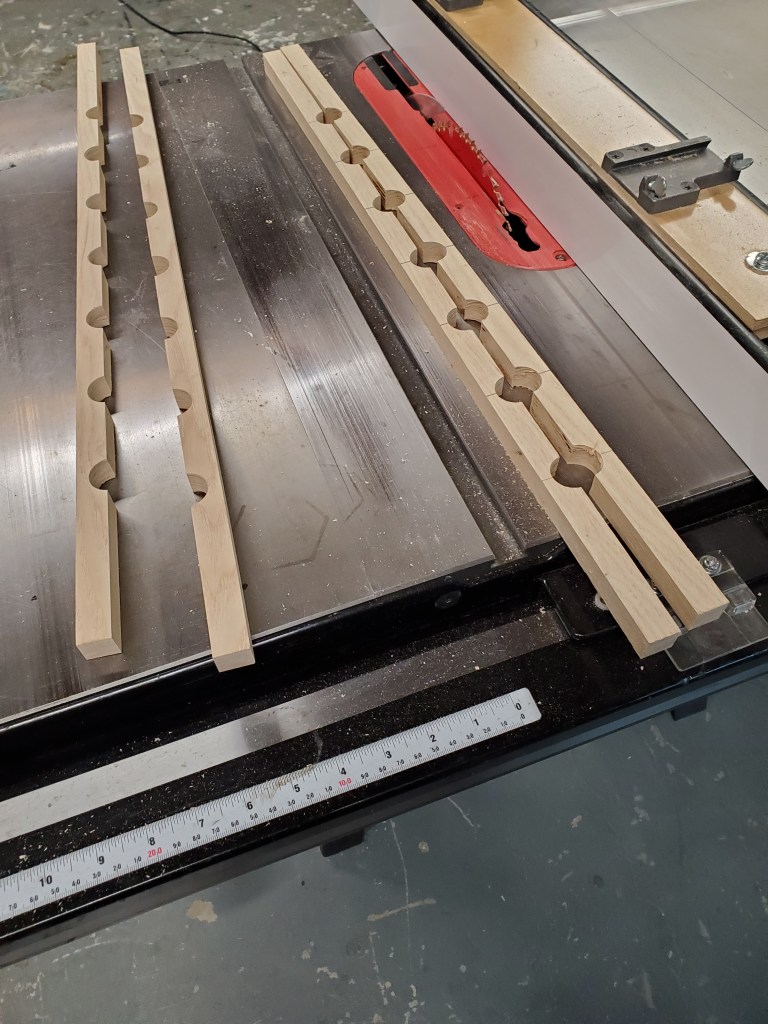
I then took the board over to the table saw and ripped the molding 1″ wide.

I didn’t want the sides of the frame to be flat, so I carefully gouged out the middle, starting with carving gouge, then switched over to my No 6 hollow plane. Then I finished up with a piece of sand paper wrapped around a 1/2″ dowel.

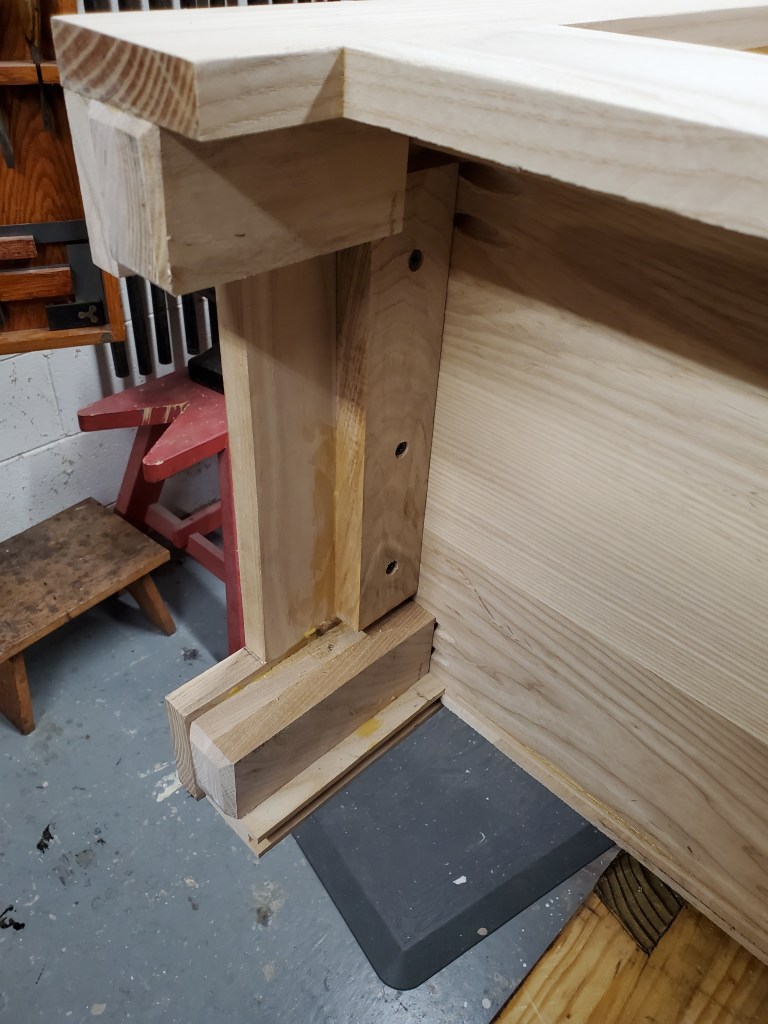
I cut the rabbets for the frames on the table saw. I made three moldings that were longer than what I needed. I wasn’t concerned about the ends of the molding because I was going to cut them away anyway.

Using my Stanley No 150 Miter Box and my miter trimmer, I cut the piece out.

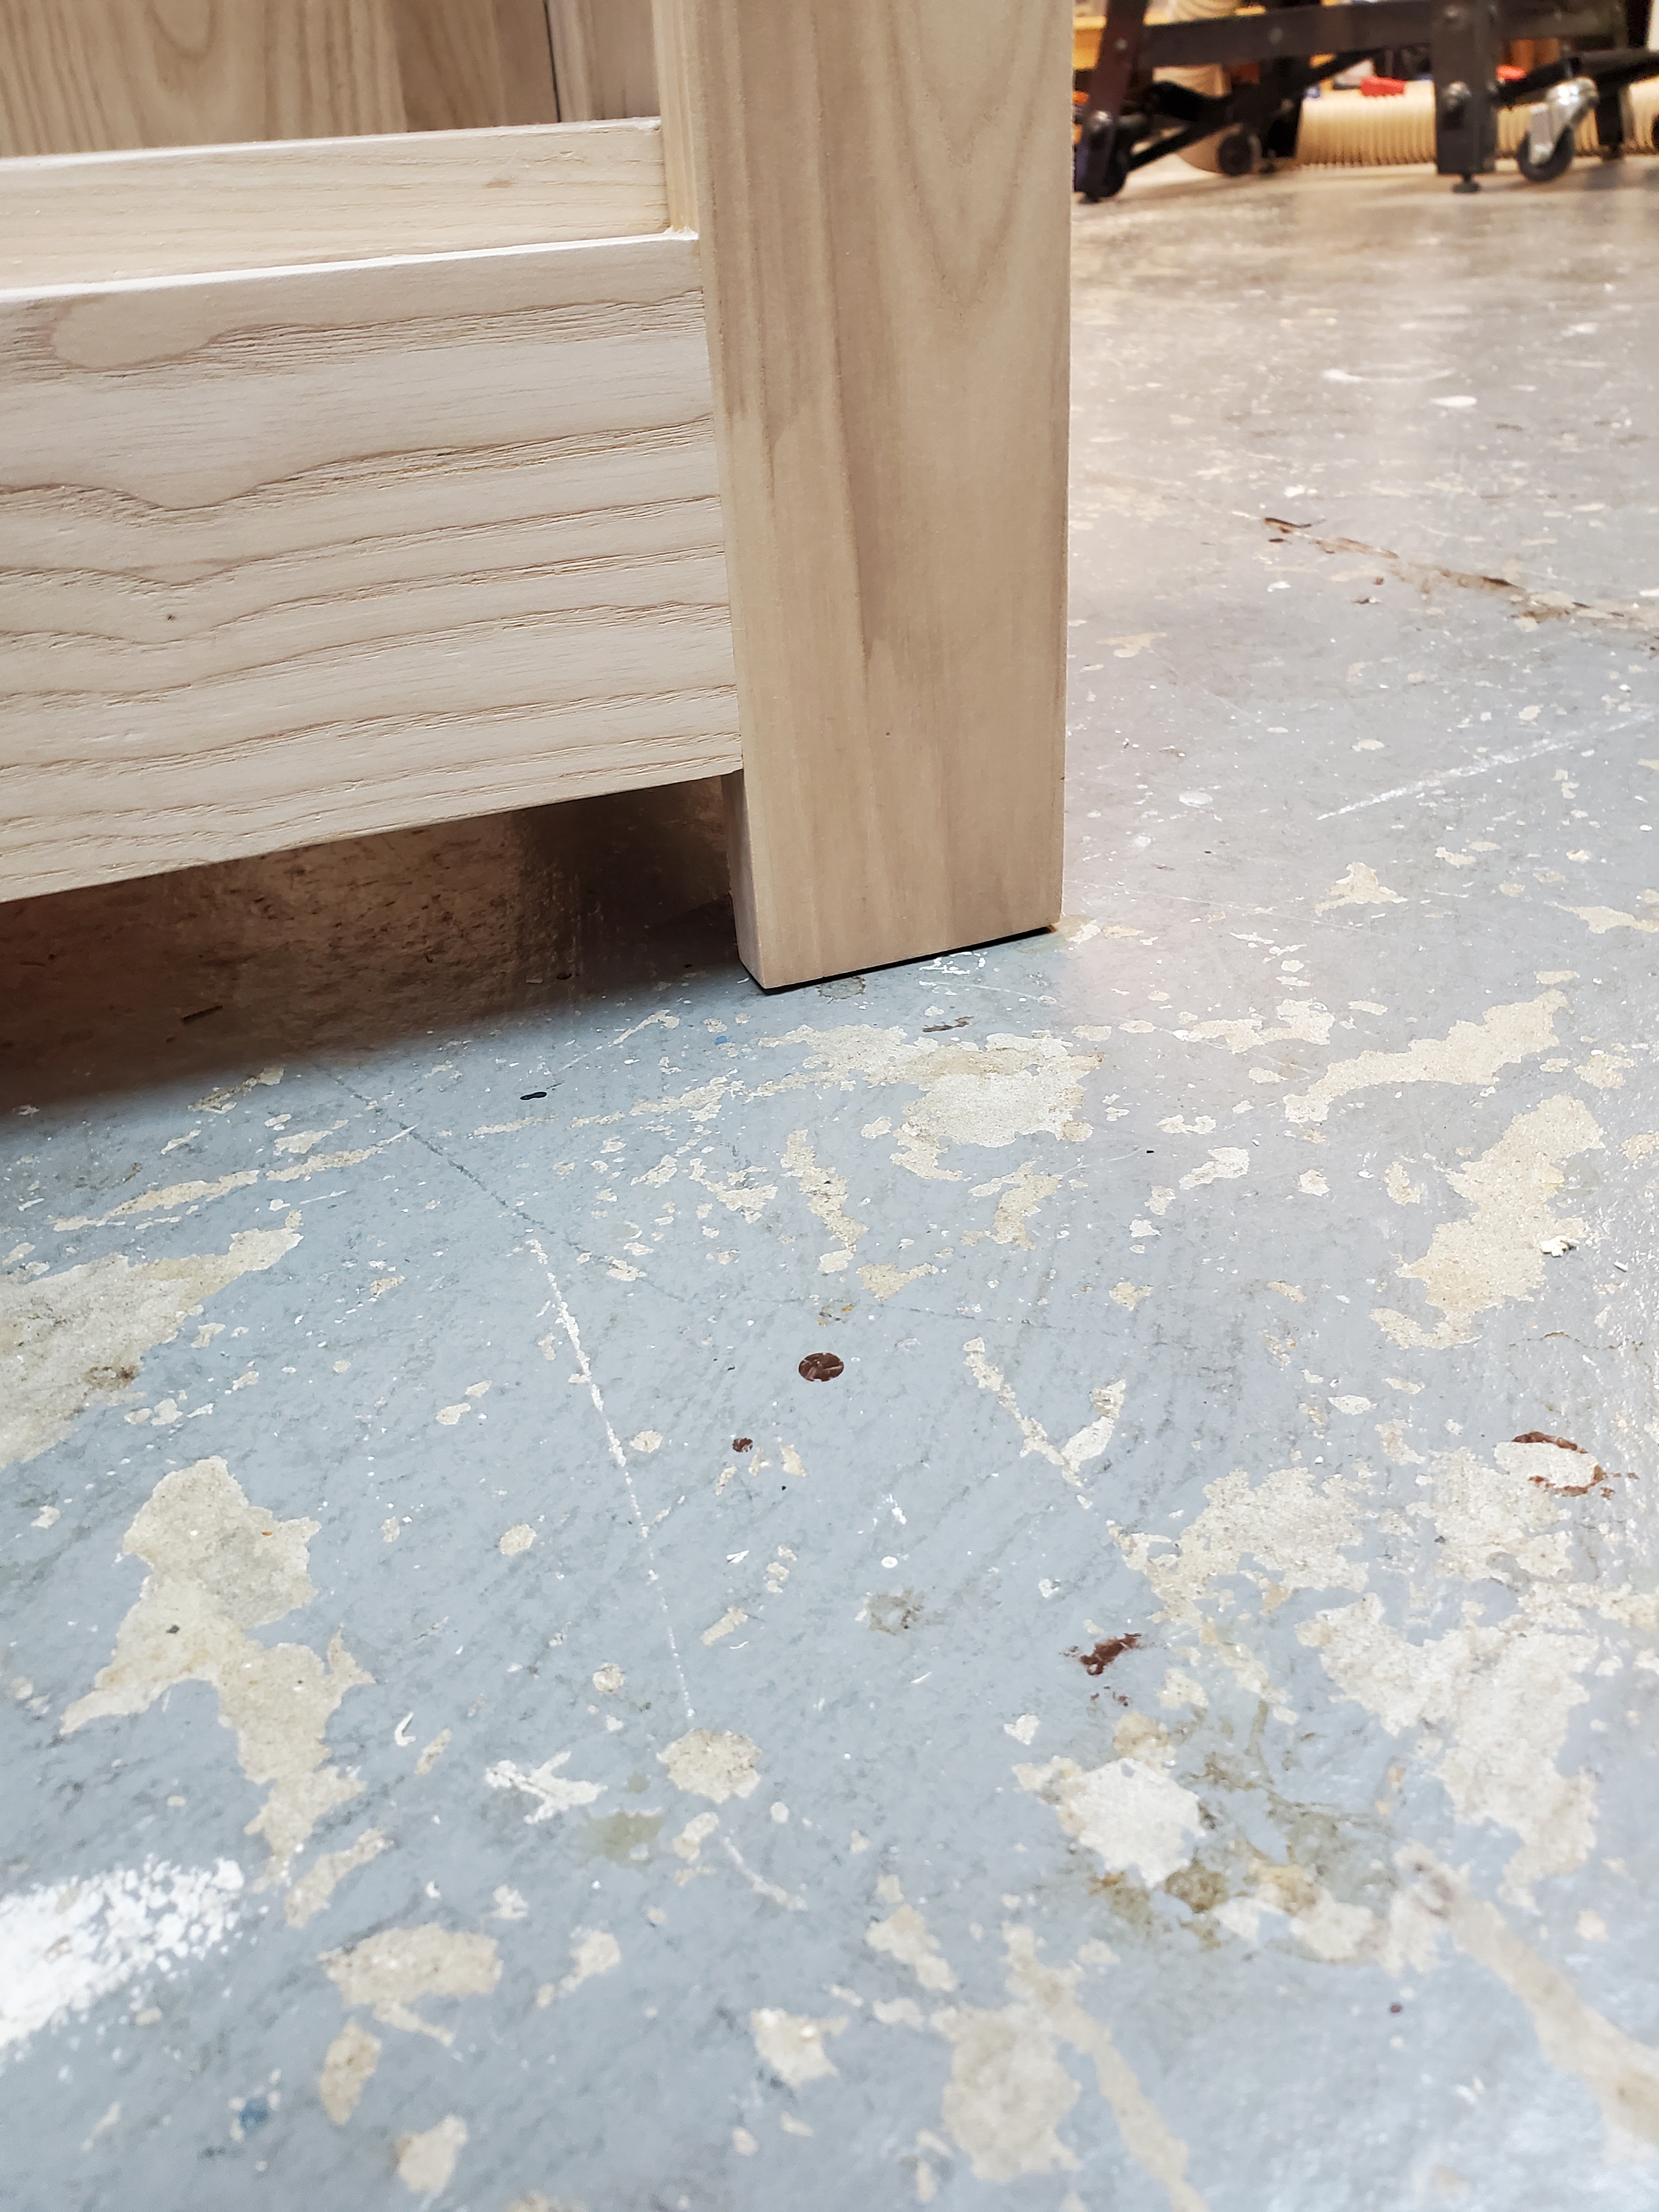
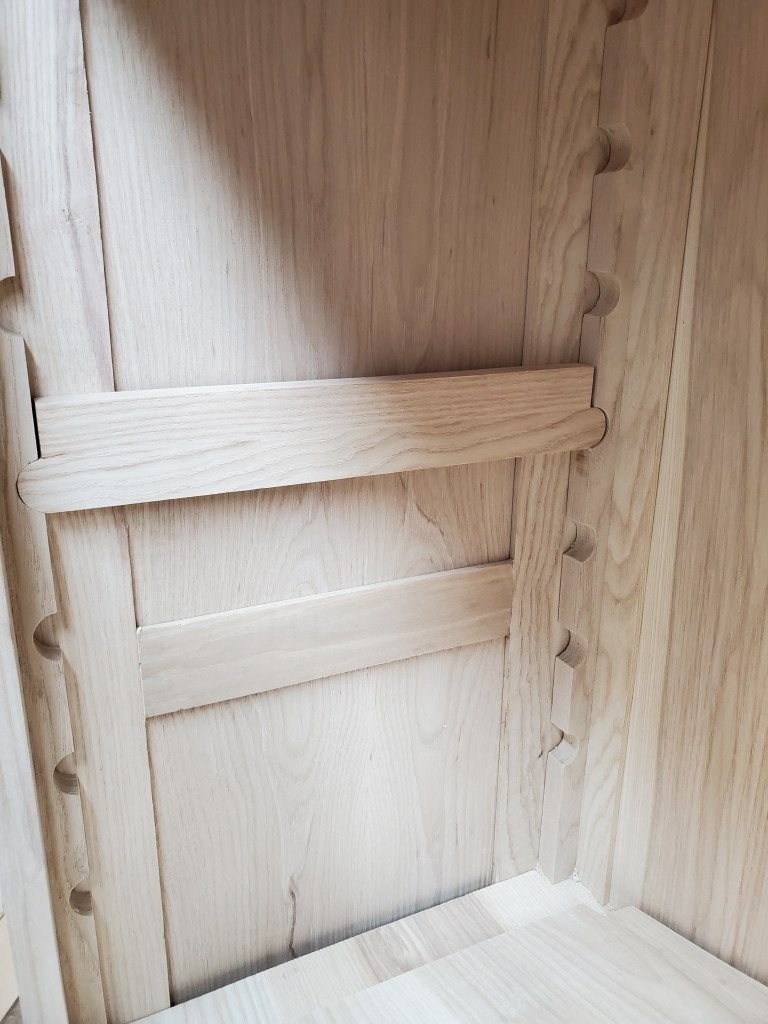
The molding pieces are now looking like a frame.

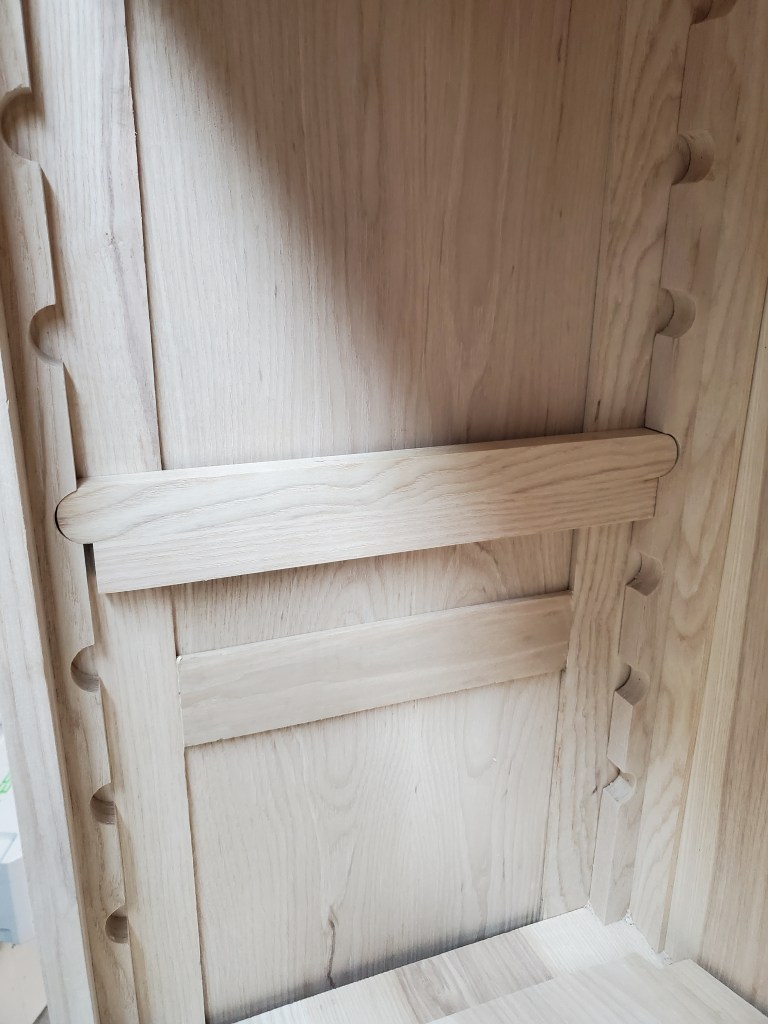
After I cut all the pieces, I dried fitted them together to see how the corners met. If they needed attention, I would carve and sand the ends to meet each other.

The final frame looks pretty good. Now it’s up to my wife, Anita, if she wants to stain or paint it.

This is the first time this year where I have had time to work in the shop, and it felt great. My job keeps me busy during the week, and the weekends are often antique hunting with Anita. I’m glad I had the time yesterday.

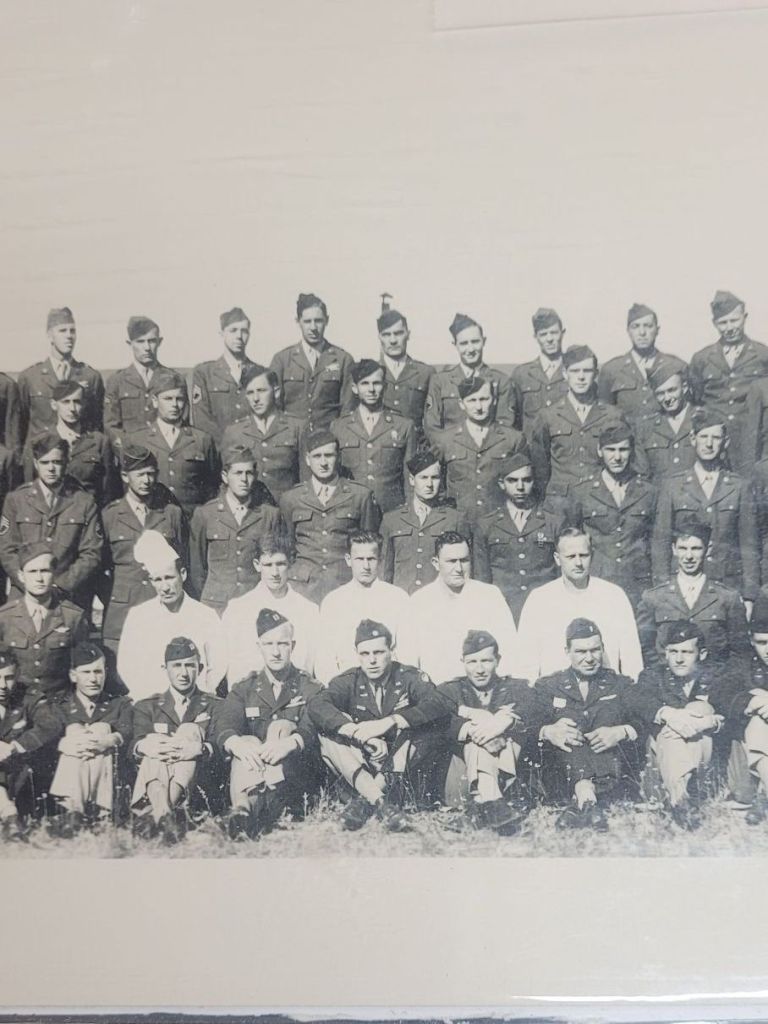
I’m not sure which branch of the military these men served or when the picture was taken, as there is no stamp on the picture, but they may have served in WWI as many of the yardlongs I’ve seen are early 20th century. All I know is that these men fought and may have died for our country, so they need to be honored by being put into a frame and hung on someone’s wall.

Happy Easter!

Ash Display Cabinet

The ash display cabinet I’ve been building for Anita is finally done. Took longer than I wanted but, working full time, restoring and selling antique tools, and doing honey-do lists around the house has eaten up all of my time. Anita will eventually put handles on the doors once she figures out which ones she wants, but for the most part, it’s done.

The cabinet is 48″ x 66″ x 16″ and is the first piece of furniture I made without using a single piece of plywood. I would have at least liked to have made the shelves out of 3/4″ plywood but my lumber supplier doesn’t carry it. The piece is extremely heavy and cost me about $500 to build. But, it’s still way cheaper than the $1600 price tag that was on the one at Pottery Barn. Plus, this is made from American hardwood and not some junky looking Chinese lumber.

To help speed up the build, I went out and bought a Festool Domino. I waited ten years to buy one until the day I could afford it, but that day never came. So, I bit the bullet and bought the tool as well as the Domino kit with the extra drill bits. So far, I love the tool. I was told by the sales rep at the store that you set the tool on the first setting one one side of the board, then switch to the second setting for the other side of the board. The wider slot gives you a little bit of play when aligning the boards similar to using a biscuit joiner.

I used the machine for the case as well as the joinery on the glass doors and it performed wonderfully. The Domino is one of those tools you wished you would have bought sooner.

The other thing I did differently on the piece versus others I have built was to put feet on the cabinet. In years past, when I built something, the sides of the case would be the feet of piece of furniture but, after studying antiques over the years, I noticed that the well built pieces would have feet glued to the bottom. This helps protect the sides by lifting them off the floor by a 1/16″. Having square feet also makes sticking furniture pads on the bottom a lot easier.

I already wrote about the wooden shelf supports a few weeks ago here. They work exceptionally well and can hold a massive amount of ironstone. I can’t even imagine all that weight on little brass pins.

Anita loves the cabinet, I love the cabinet, her friends love the cabinet, people on Instagram love the cabinet. It’s been a big hit and the money I saved building it, paid for my Festool Domino.. (see what I did there?)

Shelf Support Brackets

The past few weeks I’ve been building a display cabinet for my wife out of ash. Things have been going well with the build and when it came to adding a way to hold the adjustable shelves, I wanted to use an old method that I’ve seen numerous times on antique furniture.

It starts with a couple of pieces of 1 1/2″ wide wood laying out 1″ diamter holes down the middle. The holes are 3″ apart on center. I taped the two pieces together so that when the holes are bored, the pieces mirror eachother.

I then ripped the pieces apart in the middle giving me four brackets that are similar to one another. I then installed each piece in the corner of the cabinet with glue and a few 23 gauge pins. This gives me perfect alignment when I install the shelf brackets.

The brackets are nothing more than a 1″ wide ash with a roundover on each end. I decide to add another 1″ piece of wood onto the stretcher. This gives me the opportunity to adjust the height of the shelf inside the cabinet by one inch. It’s helpful if the shelf needs to be a little bit higher, but I don’t want to move the stretcher three inches to the next notch.

Overall, I love the look of the wooden shelf dividers. I’ve done the 1/4″ holes drilled up and down the sides with brass pins for years and was never a big fan of them. To me, this looks a bit more authentic.