A couple of months ago, I went over to a local blacksmith’s shop to take a class on making Roubo style holdfasts. I’ve been following Jamie Gier on Facebook for some time now and I knew he lived right down the street from me, but when I saw him making holdfasts on his page, I contacted him to see how much they would cost.
When he told me they were only $60.00, but he could teach me how to make them, I jumped at the chance and scheduled a time to meet with him after work.
When I got to his shop, he started by throwing a couple of steel rods in his furnace and heating them until they got hot. Then, he sent each one over to his power hammer to draw them out until each rod was about 16″ long.


That’s when he gave me the reigns and had me finish up drawing out the rods until they were about 20″ long.

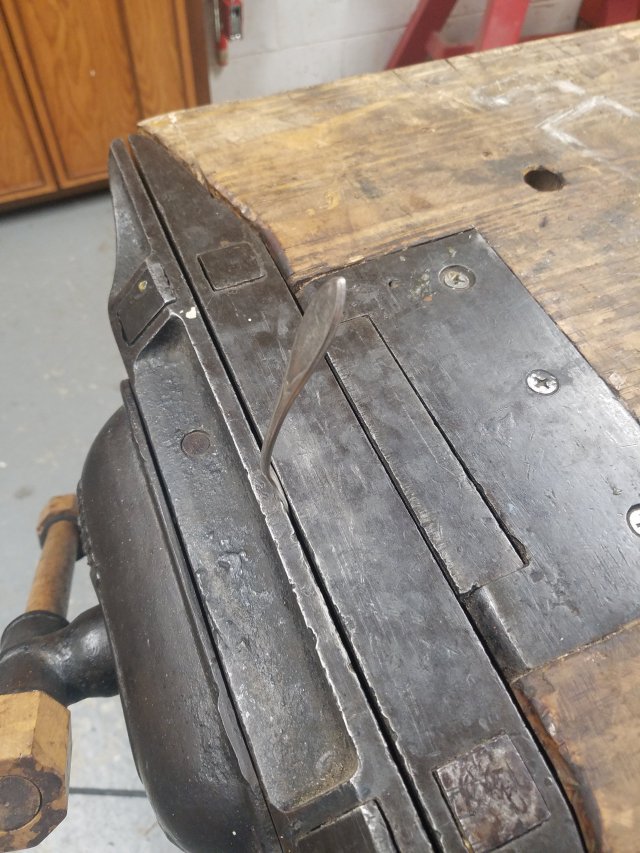
Next, we took the steel bar over to his other power hammer and hit the middle of the bar into a form to create the 90-degree bend. This is what I’m doing in the photo here, but there is no photo of the actual form. sorry.

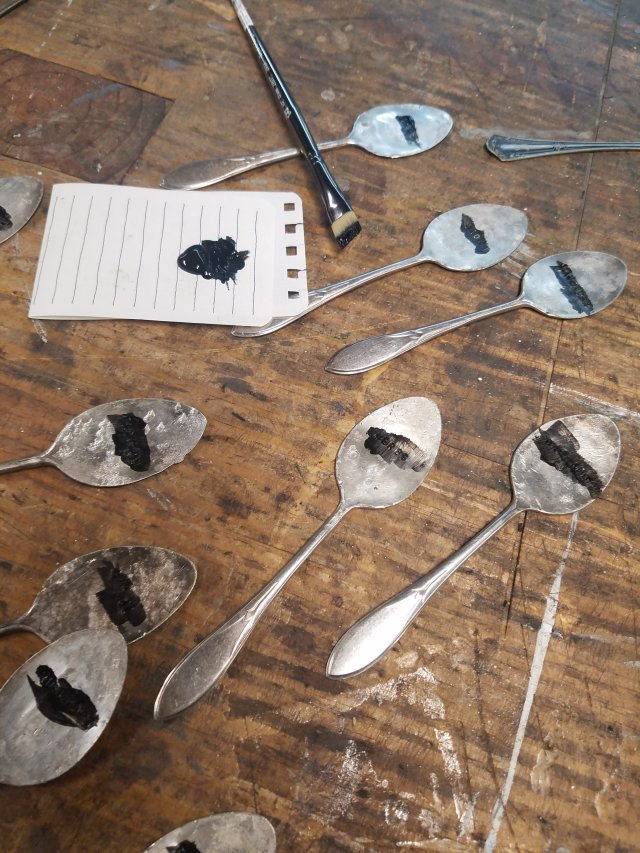
Next, I formed the goose head shape of the holdfasts between two round heads and played with how the head of the holdfast should look. Took some trial and error until I was happy with the result.


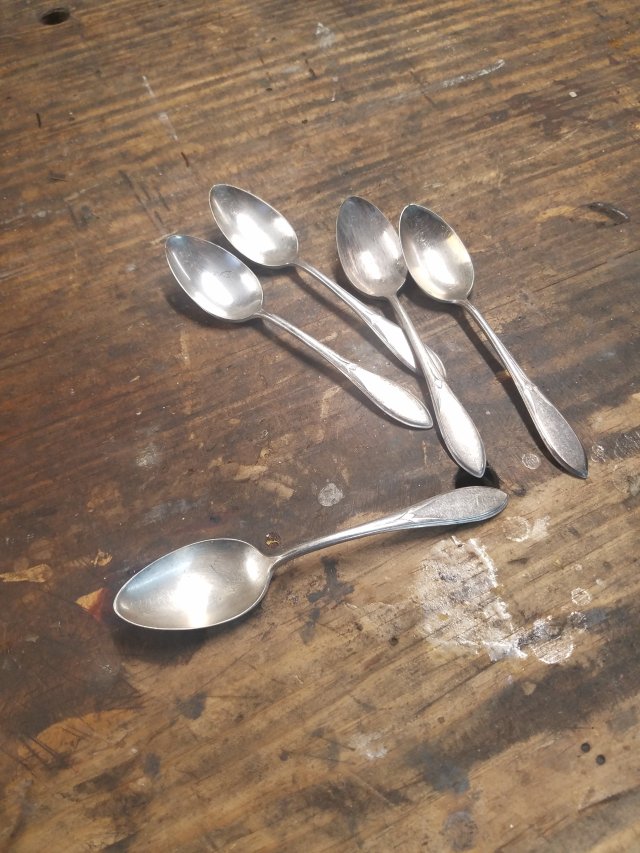
After the holdfasts were shaped, Jamie knocked off the burrs from the steel with a wire brush and coated each one with boiled linseed oil. I ended up with four holdfasts as he loves just being in his shop and making things.

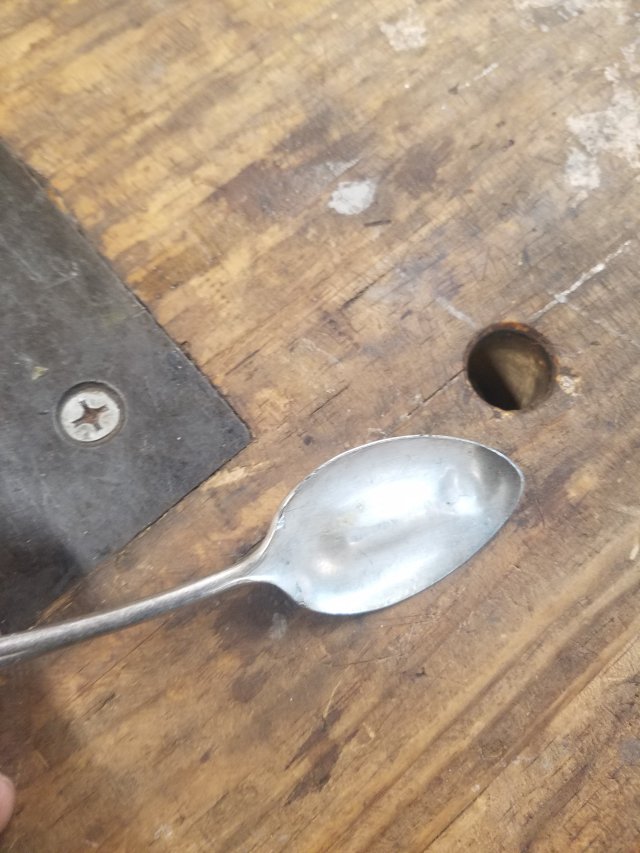
The next day, I drilled a hole in a scrap piece of wood to test the holdfasts. They almost worked. Unfortunately, they were off just a few degrees as the pads weren’t hitting the wood where they should be.

I showed Jamie that they needed to be adjusted, so I went back over a few weeks later. He threw the holdfasts back in the furnace and adjusted the pads down about 6 degrees.

The next day, I tested them again. Sure enough, that did the trick! I now have four usable holdfasts in total but will only need to use two at the most. I drilled some more 13/16″ holes on my bench so that I could have total reach with holdfasts. The holdfasts are pretty big, with each one having a swing of 18″ in diameter.

Having a guy down the street who is willing to teach me blacksmithing is a godsend. While I was at his shop adjusting the holdfasts the other night, he taught me how to heat treat some plane blades I made for my Stanley No 48 plane out of O1 steel.


We had such a good time together that we’re talking about making Japanese style chisels next, as it’s something he has always wanted to try. This is going to be fun!
If you want to follow Jamie on Facebook, here is his link. https://www.facebook.com/jamie.gier?mibextid=ZbWKwL
You can also follow the blacksmith group, the Goshen Historical Society School of Blacksmithing, on Facebook as well, of which him and I are members of.