Buying Old Tools

When you’re looking at where to buy old tools, you need to decide where to go. When I started collecting tools back in the 1980s, the main places were antique shows, flea markets, and antique malls. Even after all these years, these are still the easiest places to find general woodworking tools at a good price. You get to look at what you’re buying to see how good the condition is. Then you can barter on the price if you want with the seller. Large antique shows and flea markets have hundreds of vendors during the show. If you’re looking for common planes, chisels, and saws, this is the best place to be. After buying tools for forty years, this is still the primary place where I buy tools.

However, since the ’80s, numerous other places to buy old tools have opened up. Mainly because of the internet. eBay is by far the easiest way to find what type of tool you’re looking for. A simple quick search can lead you right to the type of tool you’re looking for as well as its vintage. Prominent eBay sellers will take multiple pictures of the tool and include a solid description of what you’re buying. On eBay, you can either wait for the auction to be over or simply buy it with a Buy It Now button. eBay is where I’ve been selling my restored tools for the past twenty years and will probably continue to do so for the next twenty.

Antique tool sellers’ personal websites are also another resource. They, too, will categorize their inventory into a search format so that you can easily find what you’re looking for. Tool collector websites often sell tools that are in good to mint condition, so little restoration may be needed. With this, the pricing on their tools will often be more than what certain eBay sellers will have, but not always.

Online classifieds like Craigslist and Facebook Marketplace are another option. In my experience using those platforms, I’ve I have found that sellers are often very vague in their description and only include one or two pictures of what they’re selling. I rarely buy tools through those two platforms as I don’t like having to schedule a time to meet up with the seller, and prices are often too high anyway.

Along with Facebook Marketplace, Facebook tool groups is another way to buy old tools. There are dozens of tool collecting groups on Facebook that specialize everything from restoring workbenches to using stanley planes to collecting infill planes. The members of the group will post pictures of the tools they want to sell along with their price. There are also Facebook groups where you can bid on tools like an auction or even swap tools for trade. I have never bought anything from any of these groups as I have heard and seen too many scammers listing tools they don’t even own just to take money from the buyer and split. Others may have had luck with these groups.

Yard sales is another way to buy old tools. However, the yard sales around me are always filled with clothes and baby toys. Driving around town from a yard sale to yard sale is a painful way for me to spend a Saturday afternoon. Unless it’s a barn sale out in the country, I generally skip any community yard sale, with one very large exception,  The US 127 World’s Longest Yard Sale!

The US 127 World’s Longest Yard Sale runs from Michigan to Alabama on state route US 127 the first weekend of August. This sale is hundreds of miles long and has thousands of vendors who set up from the Thursday through Sunday of the show. In fact, the sale is so large that many sellers will set up the weekend before the show even starts. Anything and everything is sold during this show. Every year, I spend several days traveling up and down US 127 between Ohio and Tennessee looking for old tools. Some years I hit the jackpot, others I get skunked only coming home with a handful of tools. But the show is amazing. I call it the Super Bowl of Antique Shows.

Another good place to buy old tools is from tool collector associations. The largest is the Mid-West Tool Collectors Association, but there are a few smaller regional assoctions like The Ohio Tool Collectors and PATINA. Each association will have shows several times a year around the country where members meet up and show and sell their tools. It’s a great way to meet fellow tool collectors and learn about the tools they own. It’s one of the best ways to learn about old tools and how they work.

The most fun I have buying old tools is from antique tool auctions. I prefer the live ones, but their are a lot more that appear online that I participate in. Live auctions are full of action as the auctioneer bids out the tool to the gallery. I get a rush trying to win something I’ve been waiting several minutes to hit the auction block. I’m always hoping that I’m the only one who wants the tool, and in some cases, that has happened, but for the most part, I have to bid against my fellow tool collectors.  I always have a set price of what I want to pay and also take into consideration if there is a buyers premium and tax taken on top of my bid. Buyers premium is a fee many auction companies will use in order to cover some of the cost of setting up the auction. Many times, the buyers premium will be 10-15%. However, I’ve seen some as high as 20%. You’ll need to be careful when bidding so you don’t inadvertently overpay for your tool. If a buyers premium is 15% and they charge tax, I automatically adjust my bid fees to 20% in my head. So, if I’m willing to pay $100 for a tool, my max bid will be $80.00. $80.00 bid + $12.00 buyers premium, + $6.00 tax comes to $98.00.

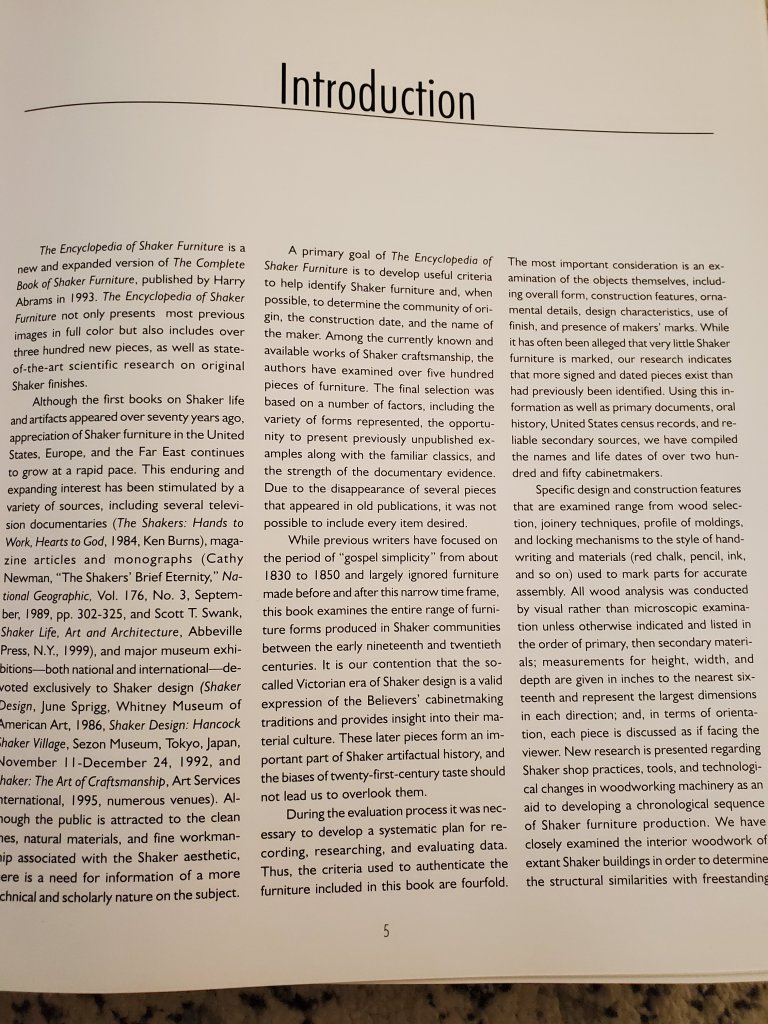
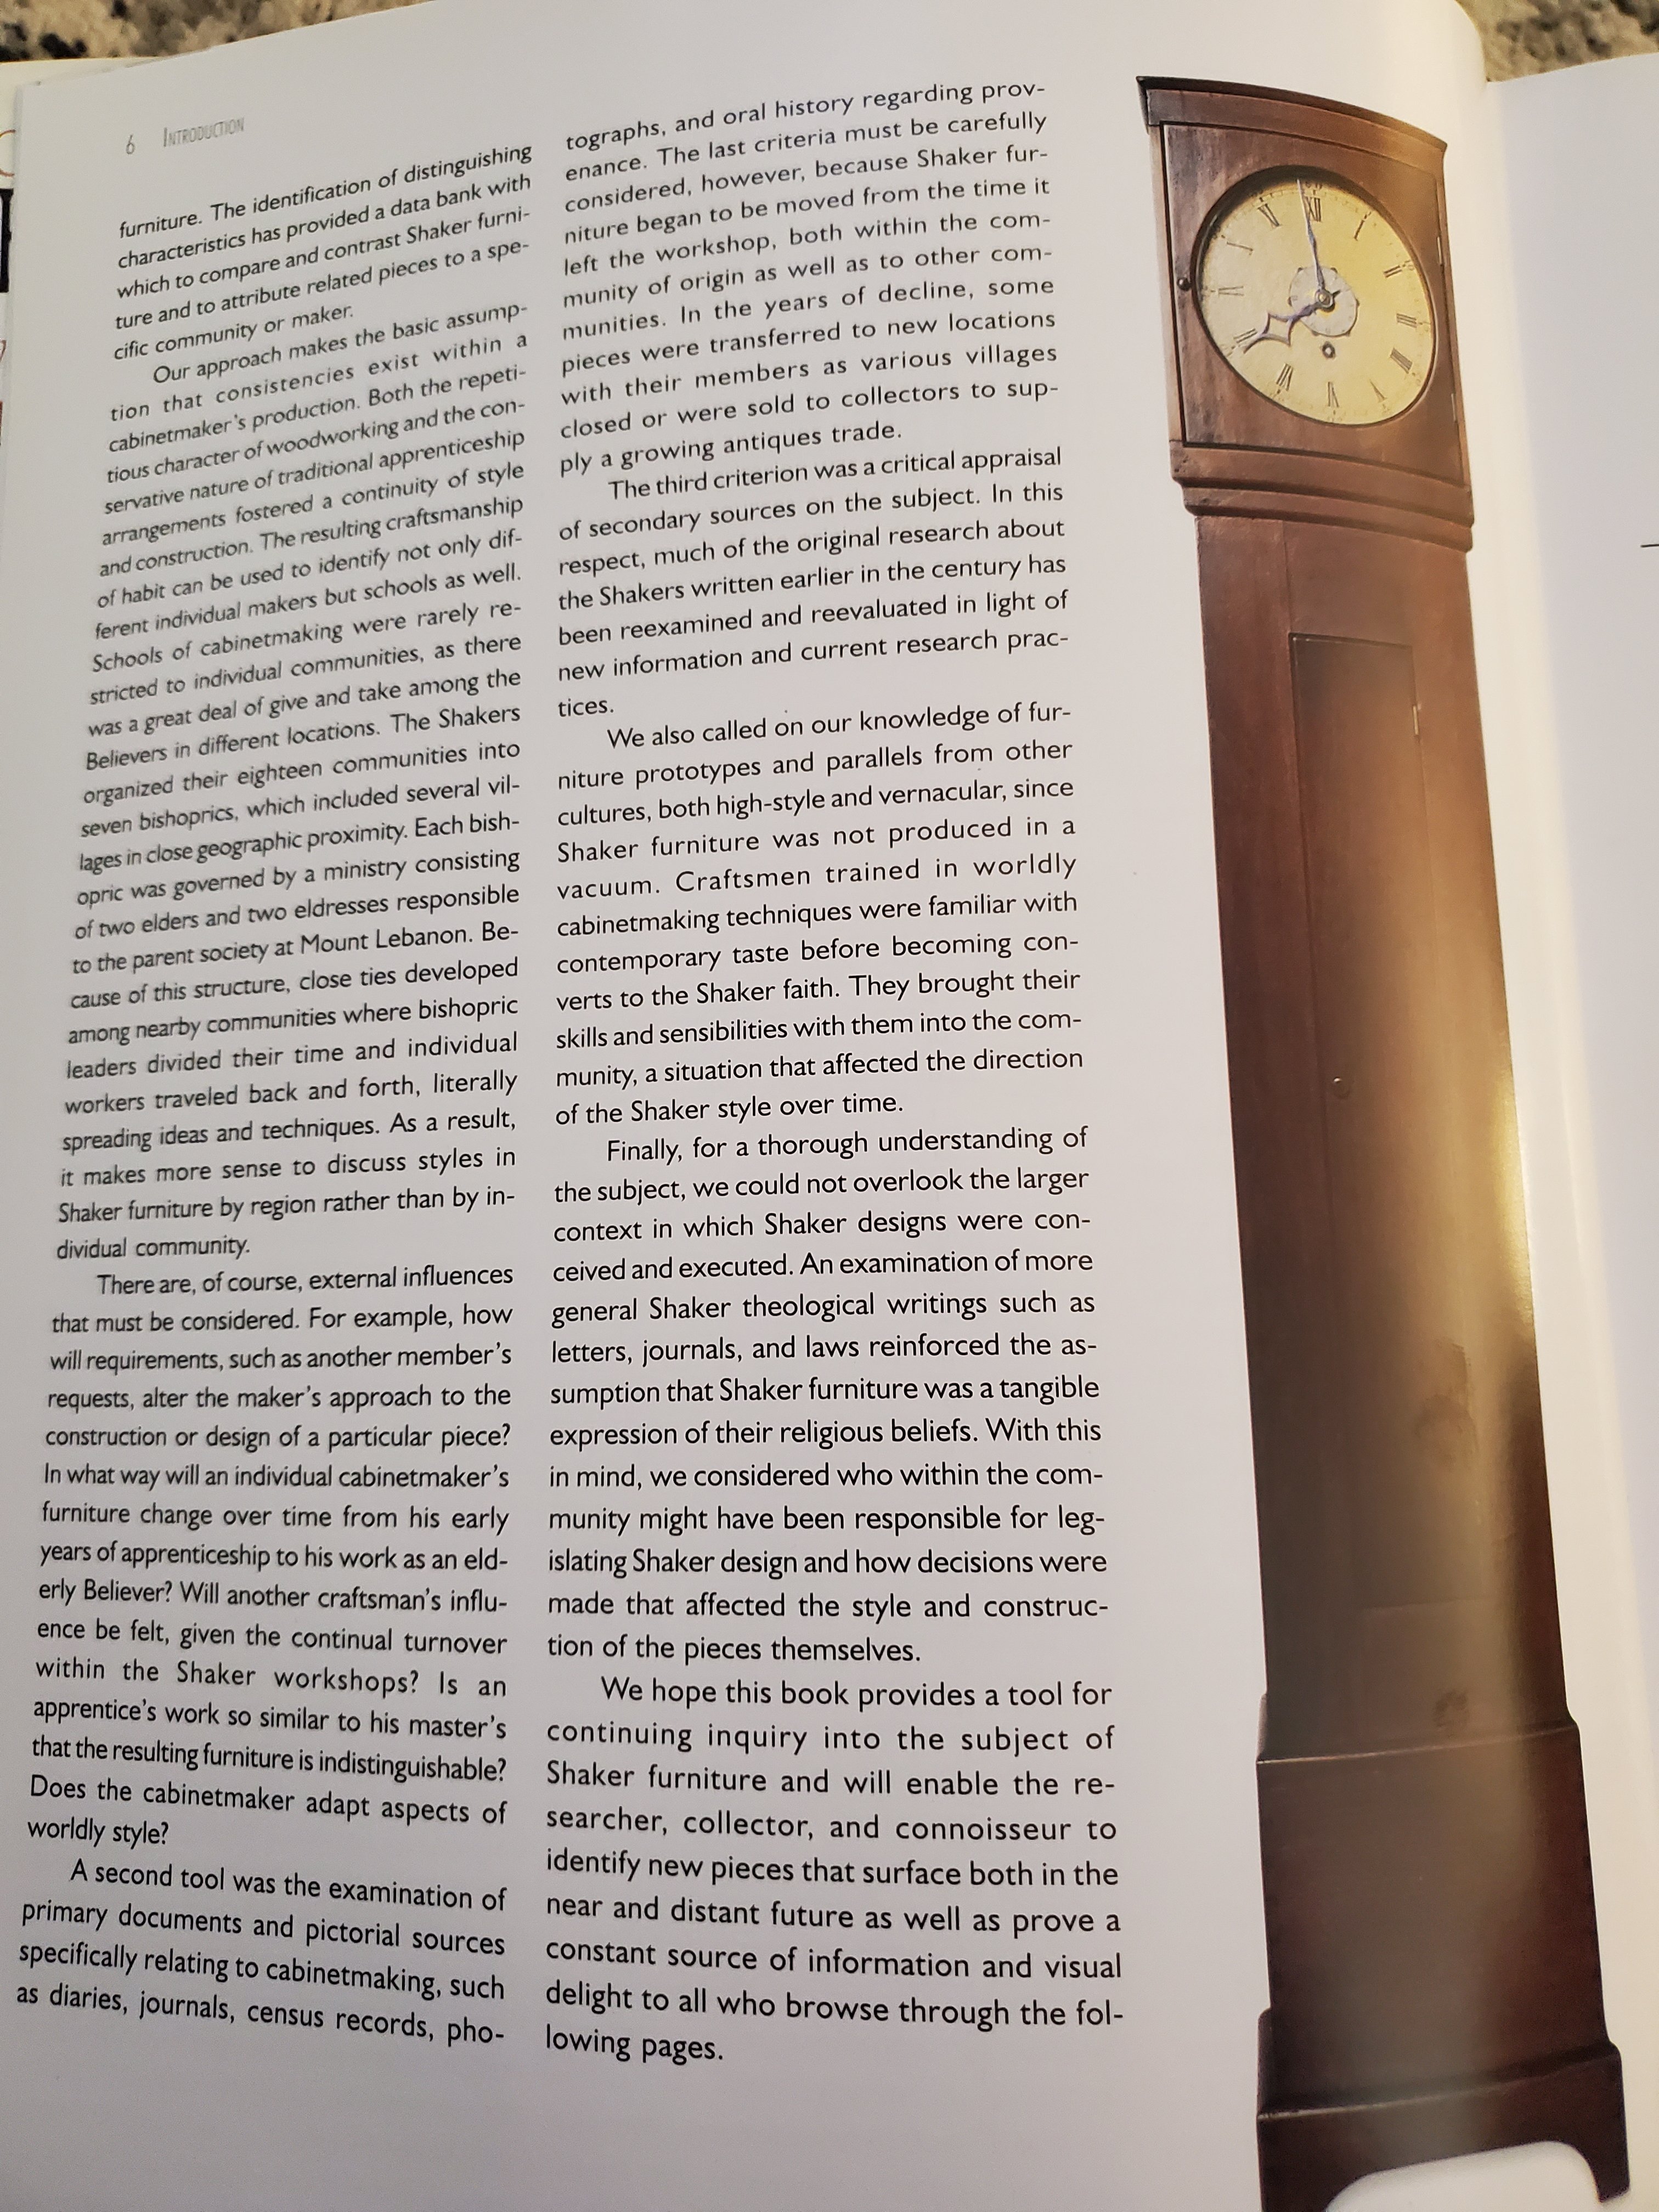
The Encyclopedia of Shaker Furniture

Yesterday I went to an antique show in Columbus, Ohio when I stumbled upon this book in one of the booths. When I first saw it, I thought the book was huge so, I browsed through it to see what was in it.

After looking through the pages for a few minutes and seeing the book originally sold for $125.00, I decided the $20.00 the guy wanted for it was too good to pass up.

I’ve had several books on Shaker furniture over the years, but none are as comprehensive as this one. The first 85 of 576 pages in this book goes into detail of how the Shakers came to be, their daily life, the tools and practices they used, and the different types of furniture each community made. There were over twenty different Shaker communities during the 18th and 19th century with a few of them only lasting a few years. The book talks about the different design and building practices the Shakers brought to their community as no one was born a Shaker. When you compare the furniture of one community to another, you can see suttle design differences between the two.

There must be over 1000 pictures of furniture along with the dimensions and descriptions of each piece. If nothing else, it makes an excellent reference book on Shaker design.

The book is so nice, it’s no wonder why it still sells for over $100 on eBay and Amazon. If you can find one that’s affordable, get it, you’ll be glad you did.

Here is the Introduction from the author himself to get a better understanding of the book’s purpose.

Chairmaker’s Notebook: The Best Chairmaking Book on Earth

A few weeks ago I stopped by the home office of Popular Woodworking to go to their Lie-Nielsen Hand Tool Event. It’s always fun to take a break out of my day to play around with their tools. While I was there, I tried their No 5 1/2 jack plane that cut such nice shavings it almost got me thinking of quitting restoring my old Stanley planes.

Along with Lie-Nielsen, Lost Art Press was there selling their books and apparel. I took a peek inside one of their newest offerings, “Chairmaker’s Notebook”, to see if it was something I wanted to open my wallet for. I love books about making chairs. I’ve read over a half-dozen of them over the years including John Alexander’s “Make a Chair from a Tree: An Introduction to Working Green Wood” as well as Drew Langsner’s “The Chairmaker’s Workshop”. In fact, if I was ever a professional woodworker, I’d probably be a chair maker. So, I decided to bite the bullet and purchase the book. Needless to say, I’m glad I did.

I read a few chapters a night as I wanted all the information to absorb. What I love about this book is that it takes you through all the aspects of building a chair. From buying a log at a sawmill, to setting up a chairmaker’s workshop, to modifying and sharpening your tools, to assembly and finish. Peter even gives you a scaled model of a “sightline ruler” so you can photocopy it and make one yourself. It’s by far the most complete woodworking book I’ve ever read. Absolutely nothing was missed when writing this book.

As an example of how well this book is written, in the beginning, Peter talks about buying a log from a sawmill and what to look for when picking a log. He tells you not to buy the veneer logs as they tend to be too expensive and go for a premium. He says you should ask for “veneer rejects” because those logs will work just fine for building chairs and will be a whole lot cheaper. He then goes on to recommend that you bring a chain with you to wrap around your log so that the guy on the forklift can gently lower it down on your trailer instead of slamming it down breaking your trailer in half. It’s first hand stories like this that really sets this book apart from other books I have read.

A few years ago I made a few Windsor chairs of my own, but I used kiln dried lumber because I had no idea how to go buy a log. Regretfully, had I owned this book at the time, I would have made my chairs a whole lot better.

 photo ef7d23d7-3262-4d97-8202-2d51a3494aa6.jpg

Along with the excellent information in the book, Peter is also one hell of an artist as he drew all the pictures in the book. In fact, the pictures are so well drawn, that you know exactly what he is describing in his illustrations.

 photo 20150421_200208.jpg

If you have ever been intrigued with building a chair, then I highly recommend that you add this book to your library. You can buy it from The Lost Art Press.

“The Art of Joinery” by Joseph Moxon and Chris Schwarz

A few years ago I attended the first Woodworking in America conference in Berea, KY. While there, I picked up the book “The Art of Joinery”. The book was originally written by Joseph Moxon about 300 years ago. Chris Schwarz rewrote parts of the book in plain English and added a bunch of photos with captions under them.

It’s a good book that is a quick enjoyable read but unfortunately it’s no longer in print. So one day I was browsing eBay and saw that somebody was asking $400 for the book. I thought to myself “yeah right”. Then I searched amazon.com and saw people were asking $500 for their copy. I knew those prices were ridiculous but was intrigued what the book was actually worth. So, I threw the book on eBay last week with a starting bid of $39.99 and watched where it would go. It ended up selling for $59.12 plus shipping.

I can’t remember what I paid for the book but I think it was only around $8.00 -$12.00. Chris Schwartz signed the book with his name on the first page which may have helped its final selling price. Pretty good return on my investment if you ask me. In fact, it makes me want to buy a couple dozen copies of “The Anarchist Tool Chest” and drive across the Ohio River to Chris’s house to have him sign the books.

Making crown molding with a complex molding plane

While in the process of building a Bourdonnais French style bookcase I needed to make some crown molding for the top.

I wasn’t about to go out and spend money on some pre-made crown molding. That would be the easy way out. I have a boat load of antique molding planes in my shop, so I decided to put one of those bad boys to use.

The first step in make making crown molding is to get the stock prepared. I ripped a couple of pieces of straight grained poplar 5/8″ x 2″ x 6′ long. It’s important to get wood with grain as straight as possible to avoid tear out caused by the plane’s blade.

I then chopped off a section of one of the boards to use as a test piece. Placing the piece in my sticking board, I began running my molding plane over the board to create the Roman ogee profile. After a few strokes, the shape was completed in about five minutes. By the way, my sticking board is similar to the one based off of Jim Toplin’s in the book “The New Traditional Woodworker” by Popular Woodworking Books.

The next step is to create the angles on the board so that is works as crown molding on the case. I took the board over to the table saw and set the blade to 30 degrees. Once I set the fence to the proper location, I ran the board through and then flipped the board over to rip off the same 30 degree angle off the other end of the board.

I then took the molding back to the bench to finalize the profile. I used a block plane and just knocked off the top corner. This corner should be 90 degree to the 30 degree angle cut on the table saw so that it will lay on the case properly. (It’s really helpful to have a small sample piece of crown molding laying around so that you can use all the angles on the molding as a template for your piece).

Once the profile has been completed, a light sanding with 120 grit sand paper helps clean up any chatter left by the molding plane. I use a styrofoam sanding sponge and some sticky sand paper to sand the profile.

After sanding the only thing left to do is attach it to the case. Always make more molding than you need. There may and will be parts of the molding where the plane falls out of line a little bit and the profile won’t match the rest of the board. You simply cuts those parts off and use the rest.