My cousin had been asking me to make a whiskey barrel coffee table for her for over a year. I put it off for months because I didn’t know where to buy a whiskey or wine barrel until I ran across a guy on Craigslist who sells them out of his house. Even better, he sells half barrels which was perfect for me as I really didn’t feel like cutting a barrel in half.

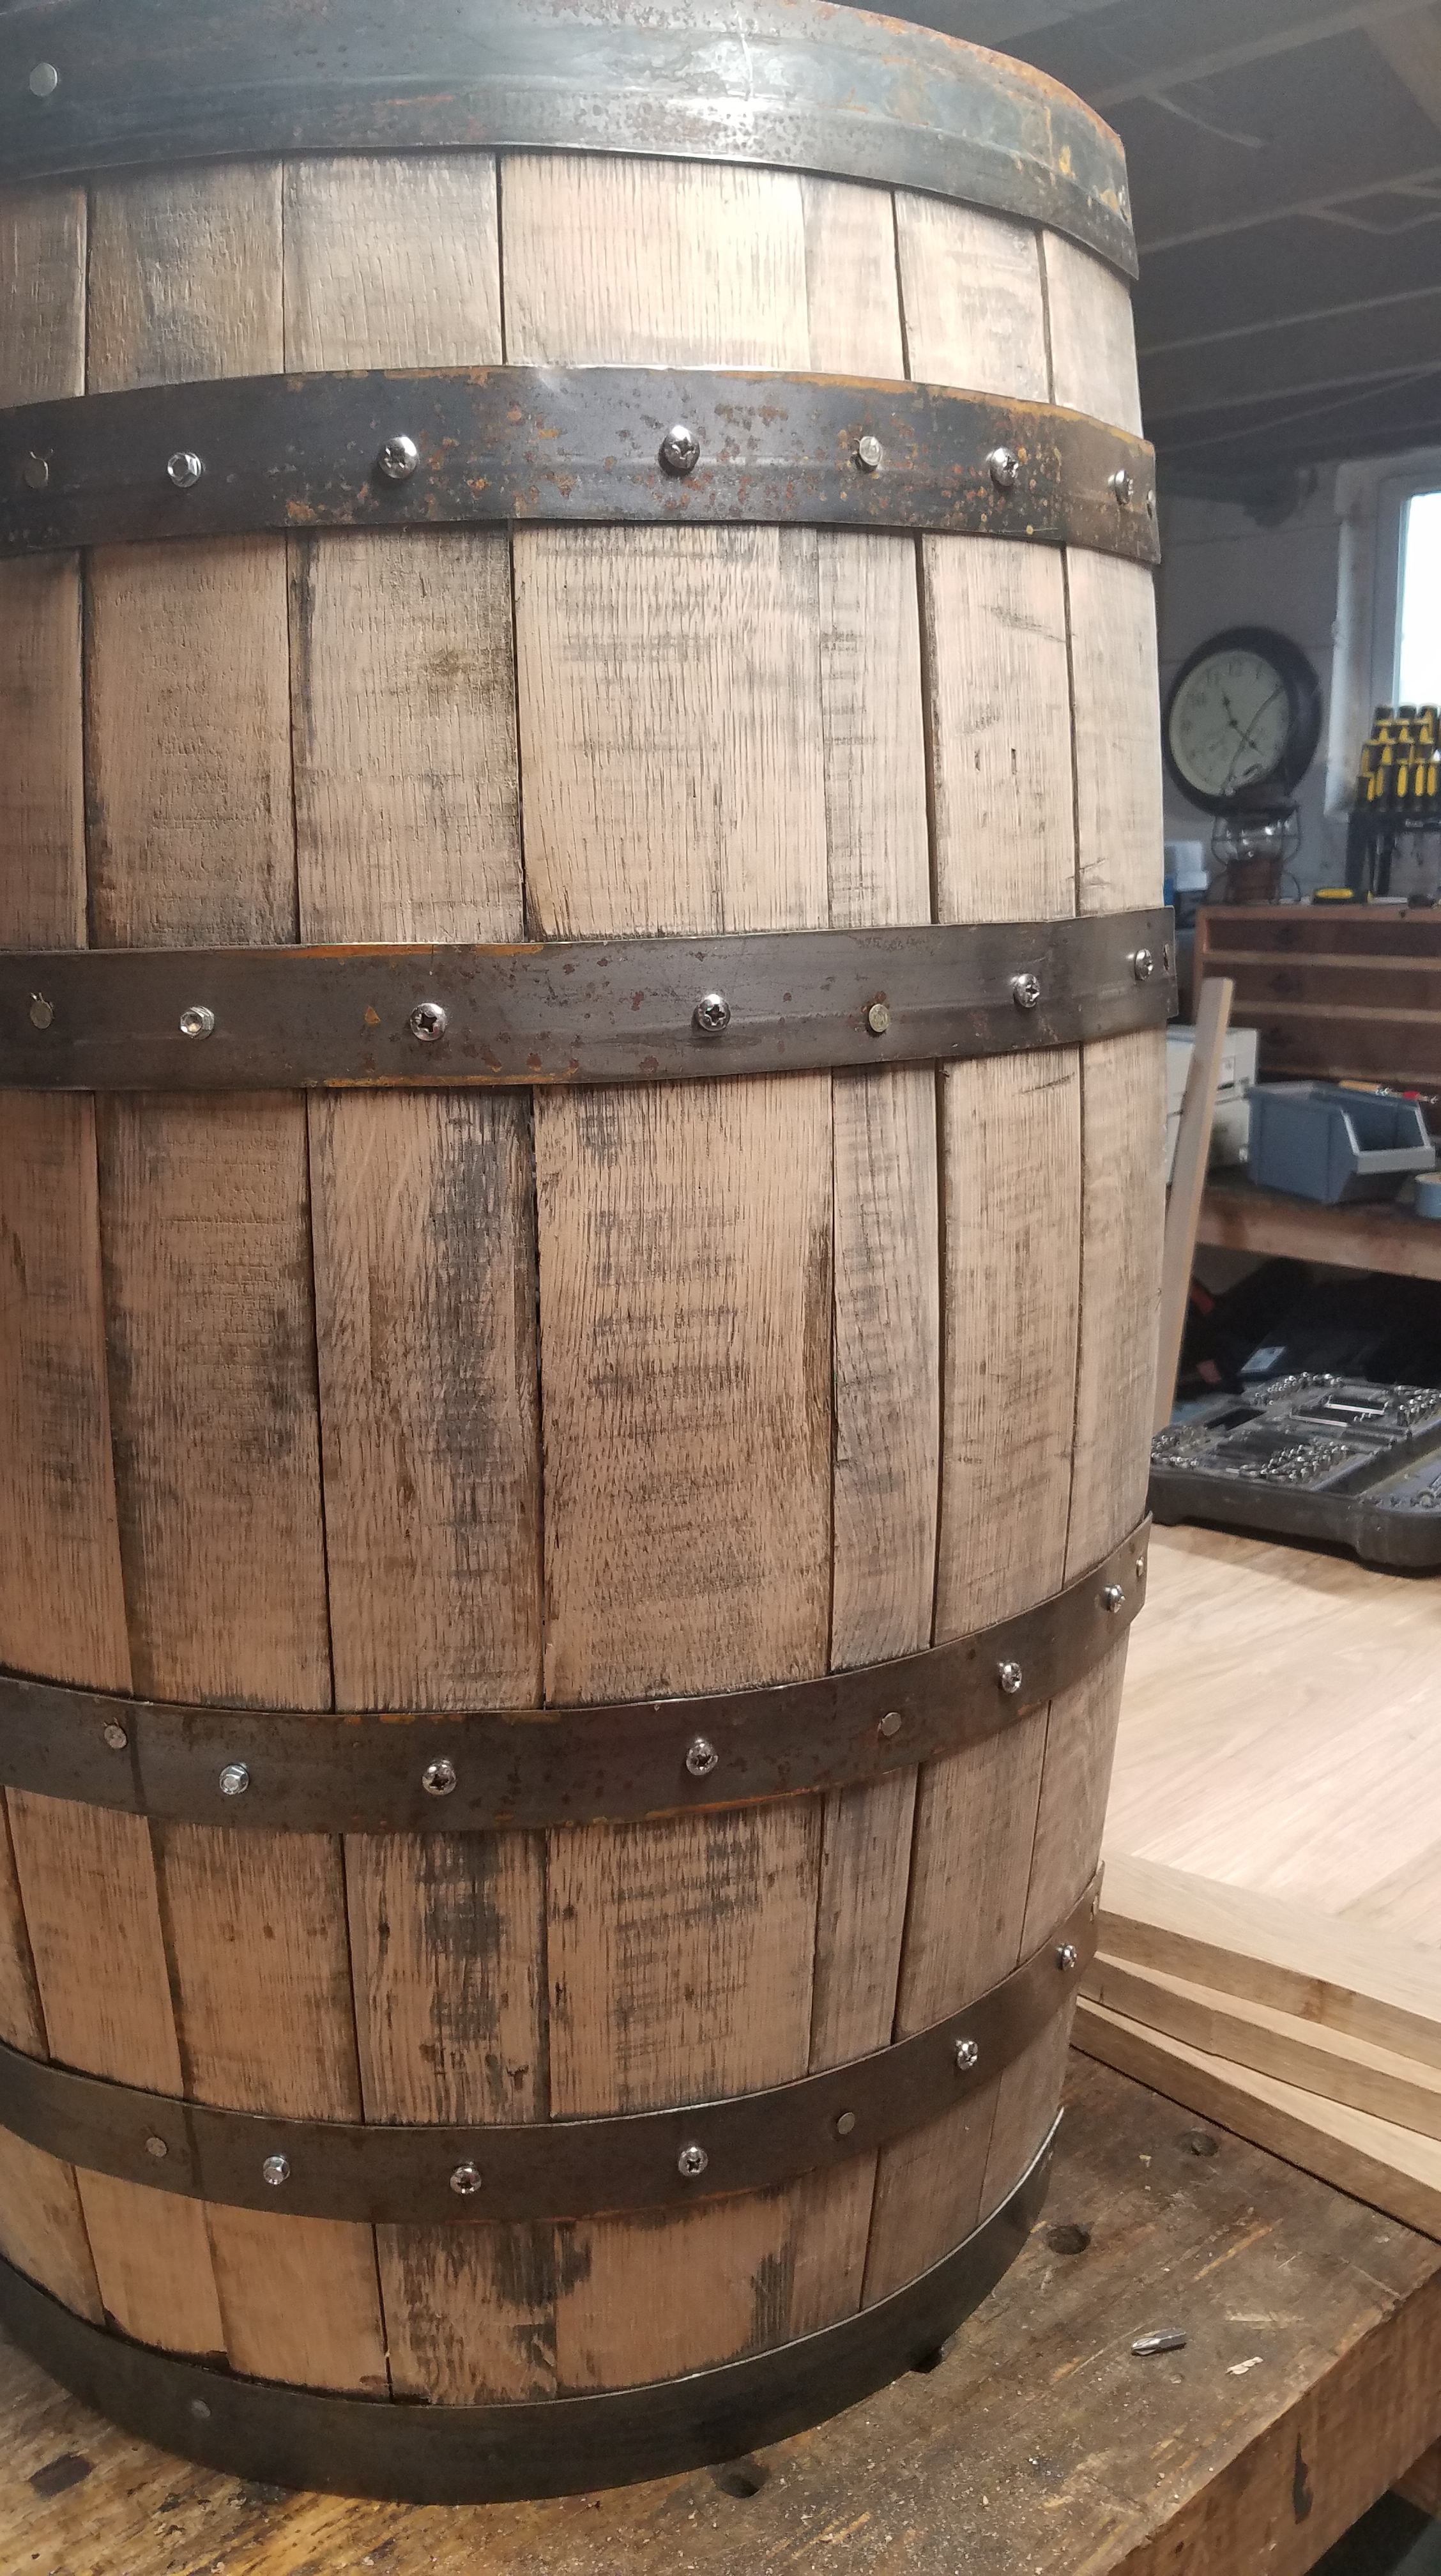
When I got the barrel home, I let it acclimate in my shop for a few weeks. As the barrel dried out, the staves started to fall apart, so I clamped them together using band clamps until I was able to screw fasteners into each stave to hold it in place. While the band clamps were holding the whole barrel together, I laid it on top of white oak boards I bought at a sawmill to see how big I wanted to make the top of the coffee table.

To keep the barrel together, I screwed hex bolts through the bands into the wood to hold each stave in place. I also leveled the top of the barrel by sanding the edges straight with my belt sander. The barrel came with a stand for it to be used as an outside planter which was helpful in holding it in place while I worked on it.

My wife didn’t like the look of the hex bolts I used so, I replaced them with #14 stainless steel pan head screws. She was right, the pan head screws look much nicer.
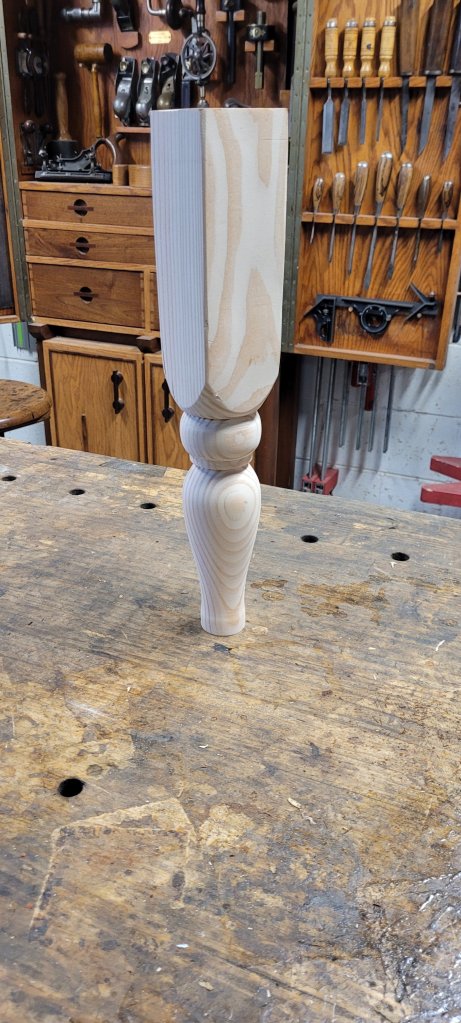
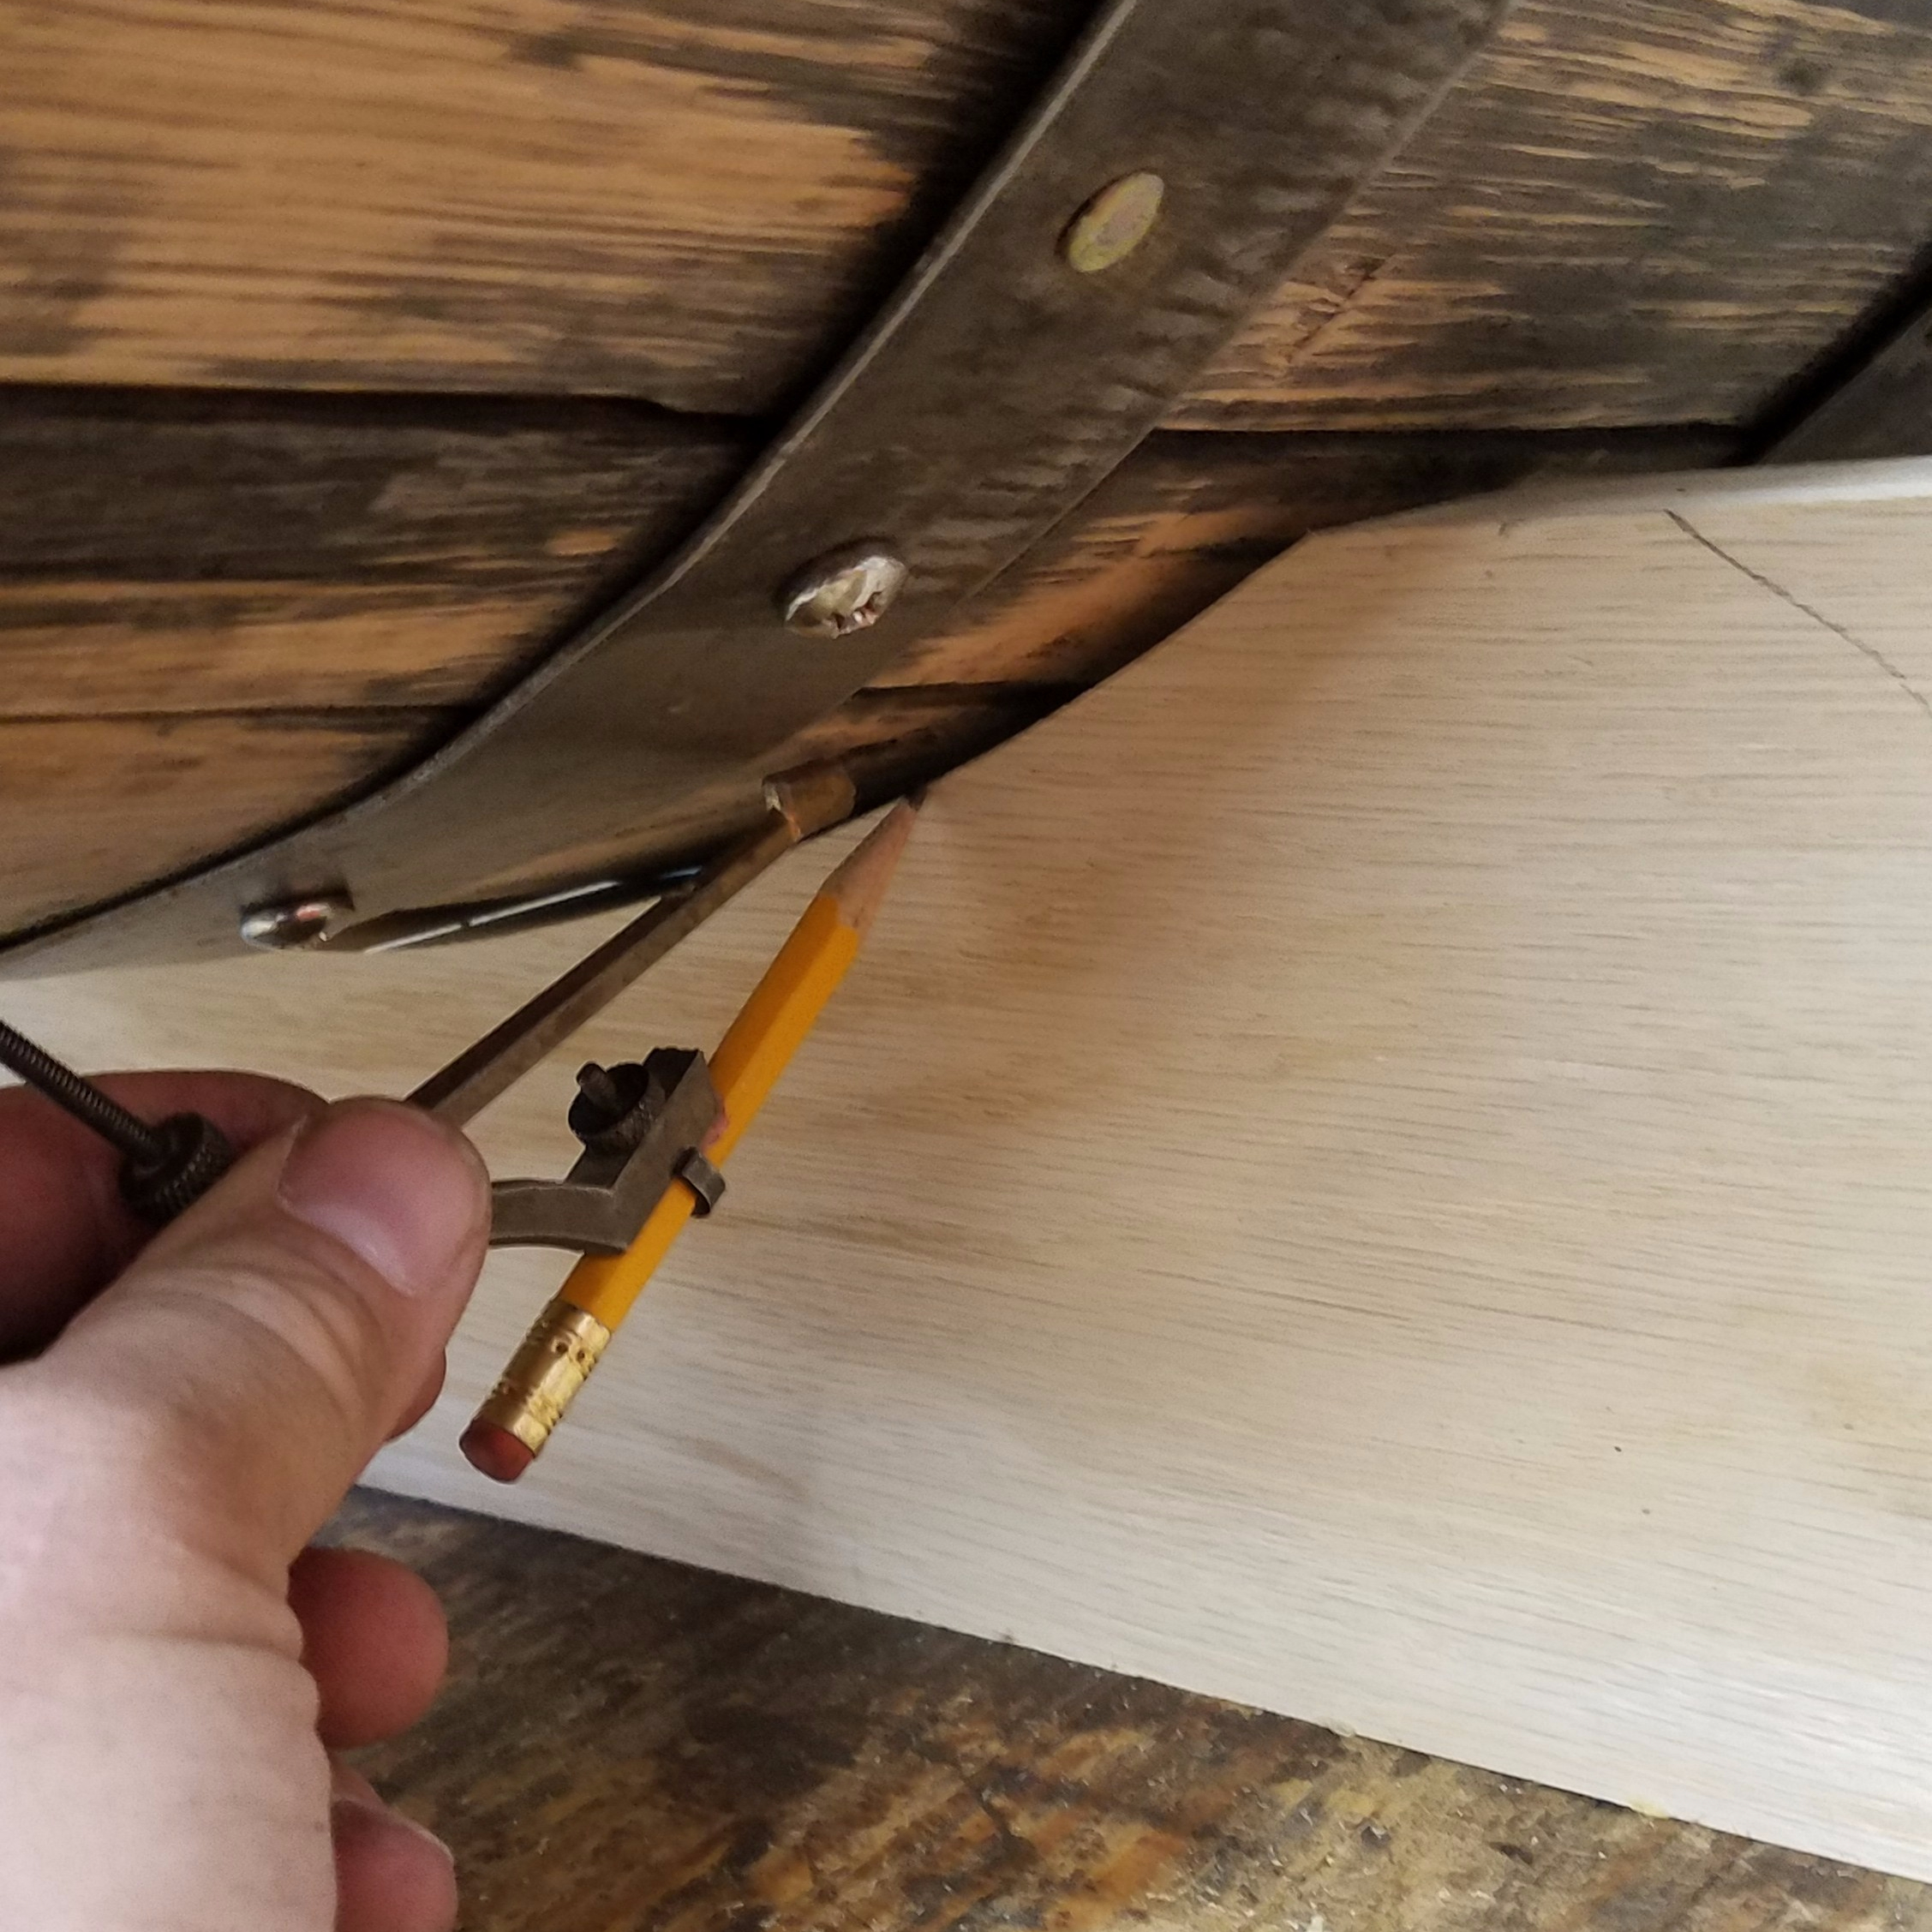
I designed the shape of the legs by using the stand that came with the barrel to shape the curves. Each leg had an angle to the top that fit the angle of the barrel as it laid flat. I chamfered the edges of the feet to mimic the chamfers on the top and bottom of the barrel.

You can see how I used the compass to figure out the gap that I needed to shave off the other side of the leg in order for the barrel to fit tight.
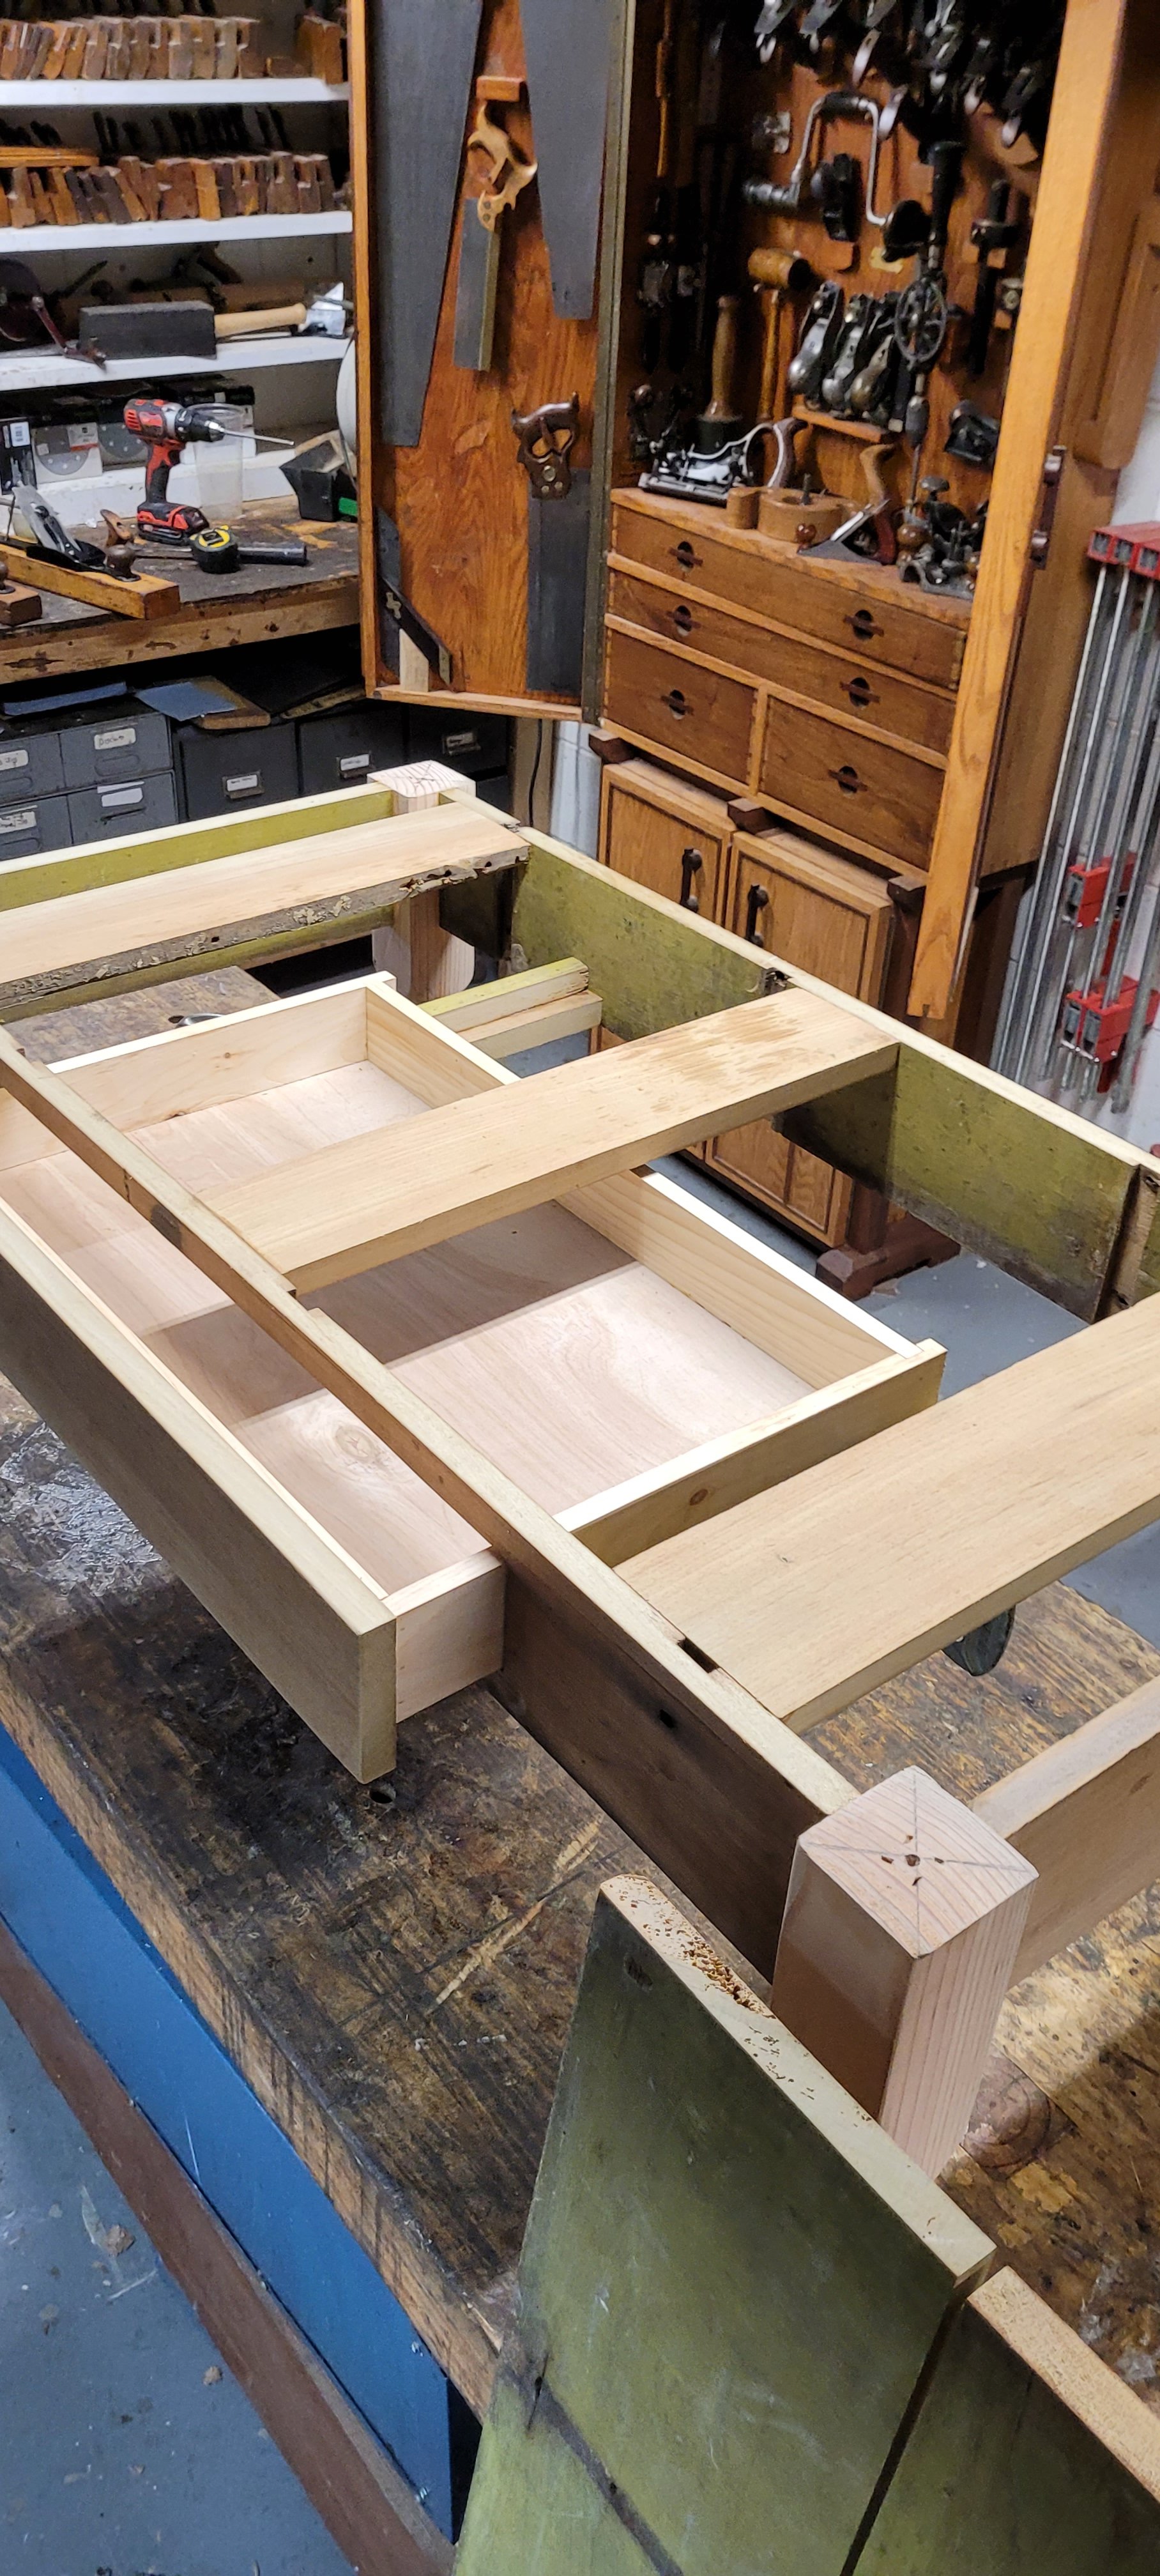
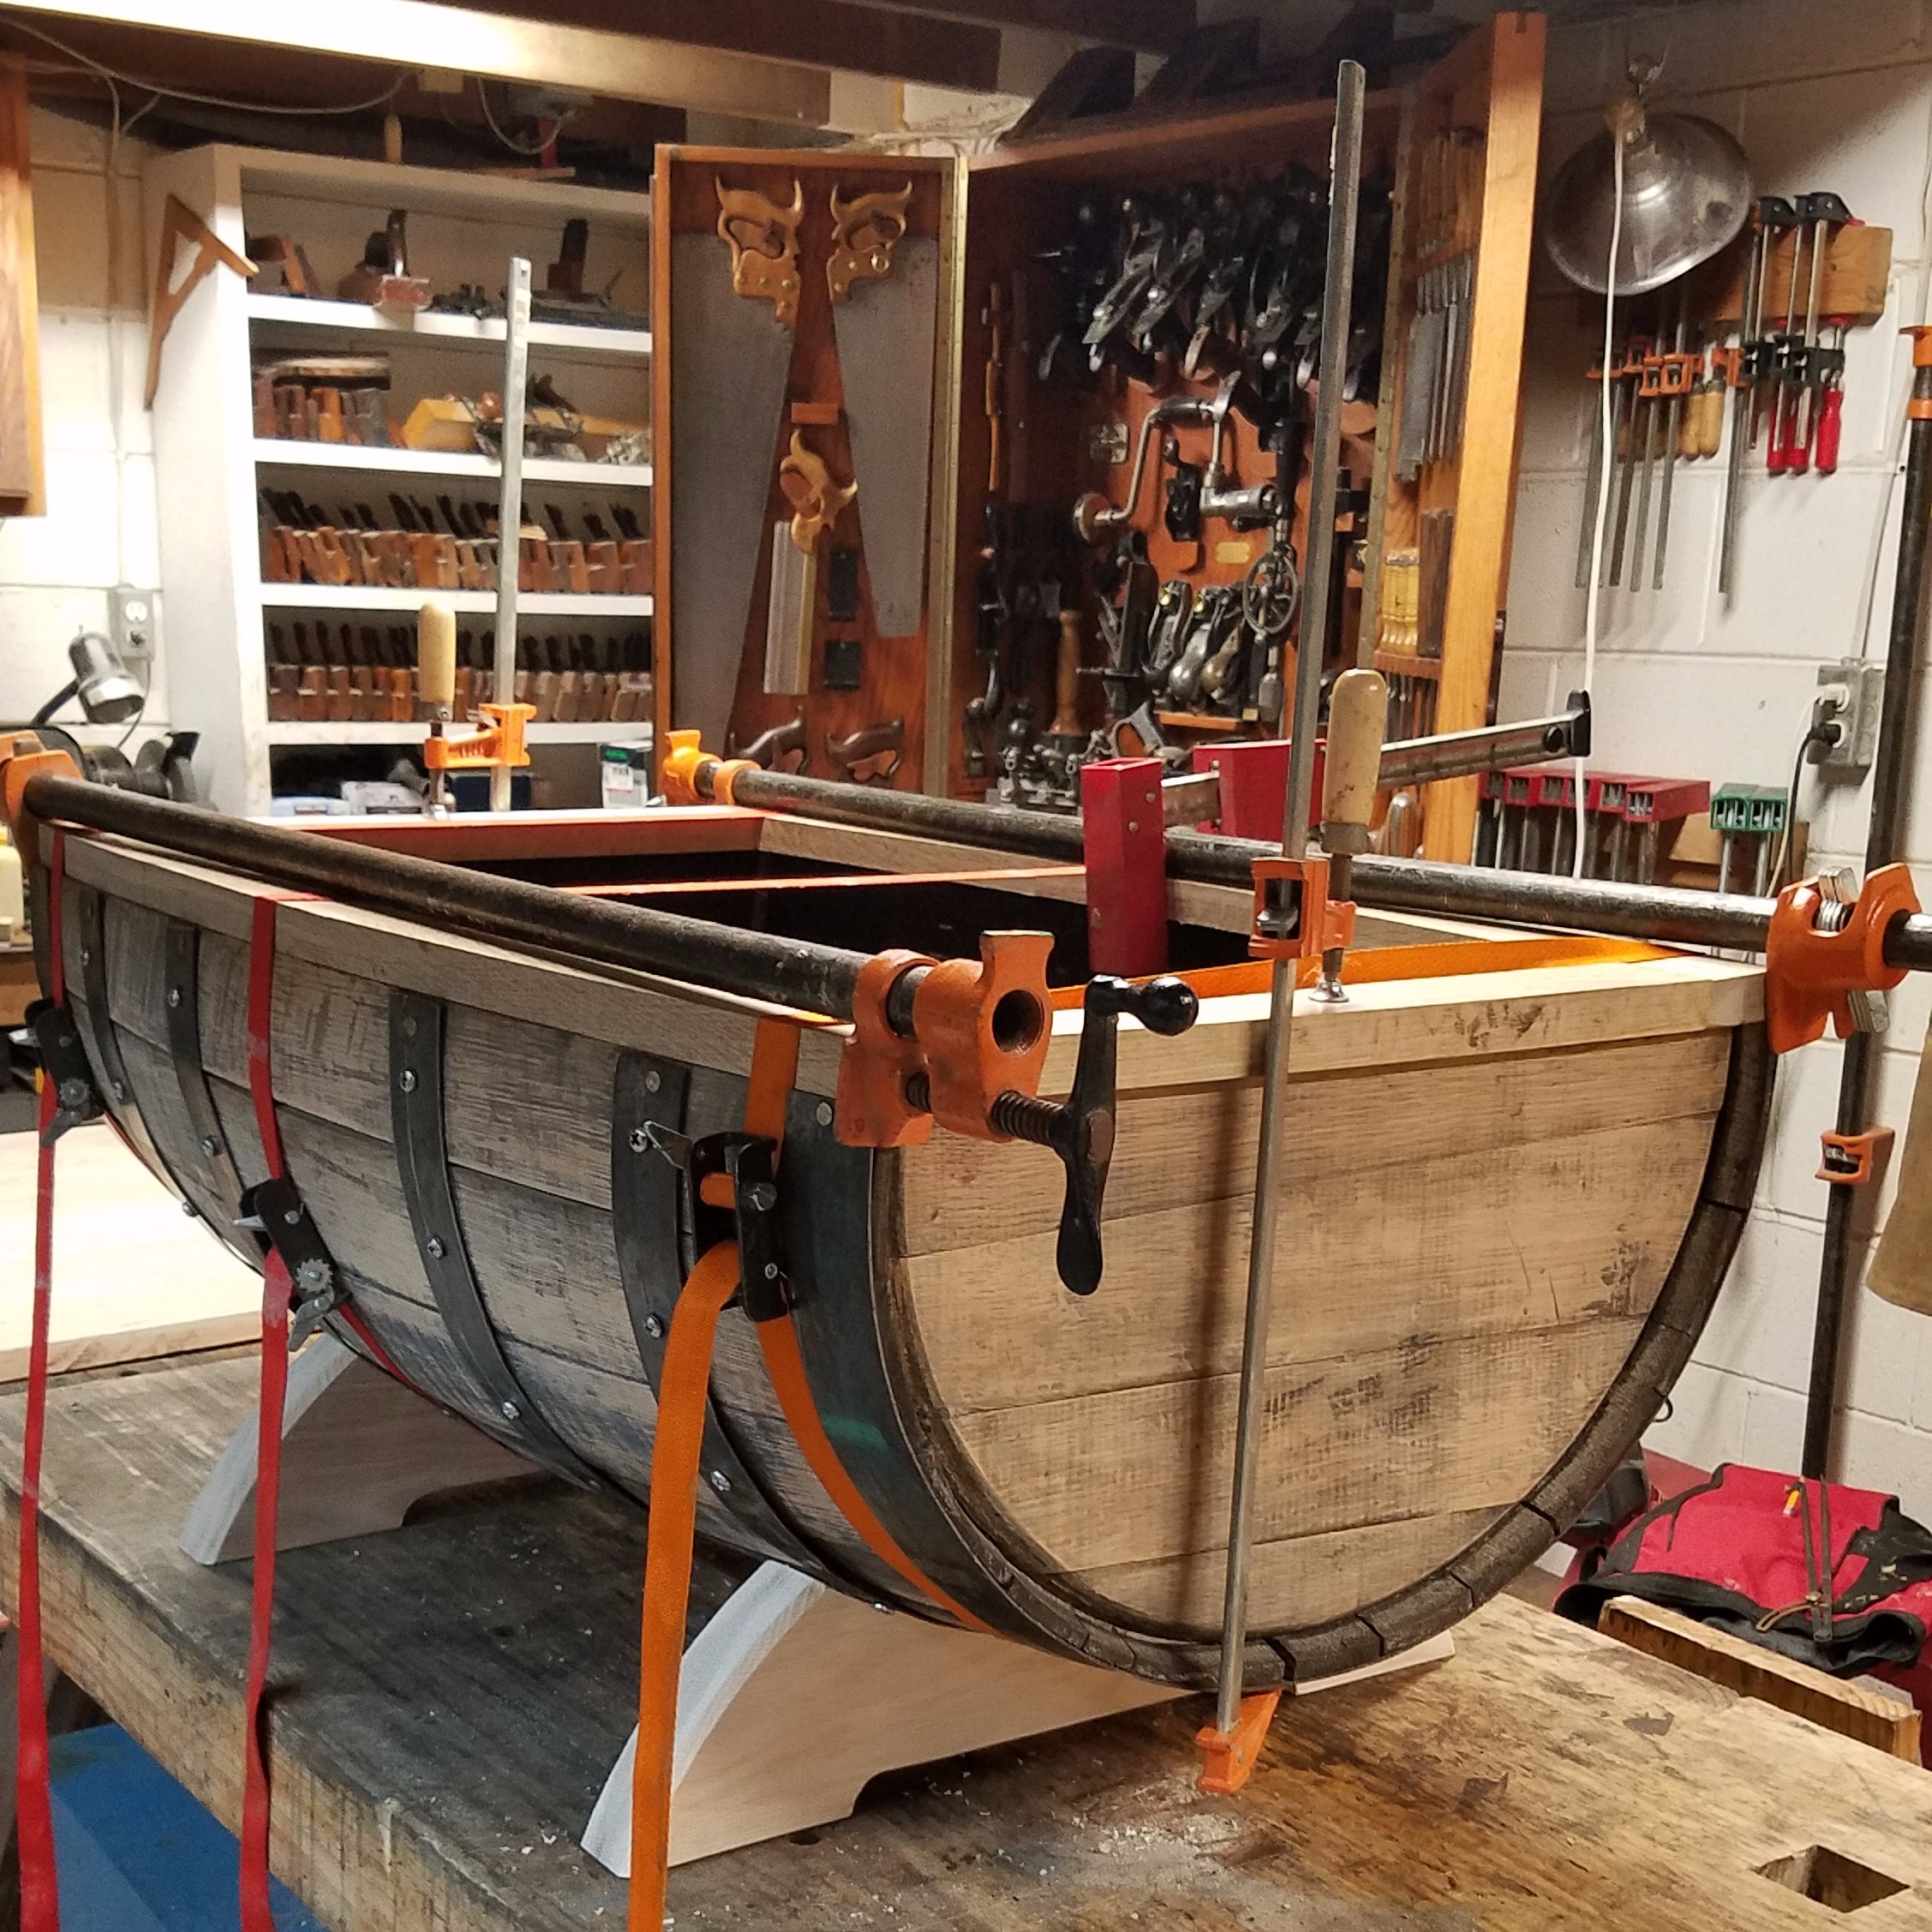
Once I was happy with the legs, I focused on the frame of the barrel. I traced the shape of the barrel onto a piece of wood and cut it out on my band saw. I then trimmed the end of the sides 90 degrees to the edge and double-stick taped it to the other side. This allowed me to clamp the whole frame while it was screwed and glued together.

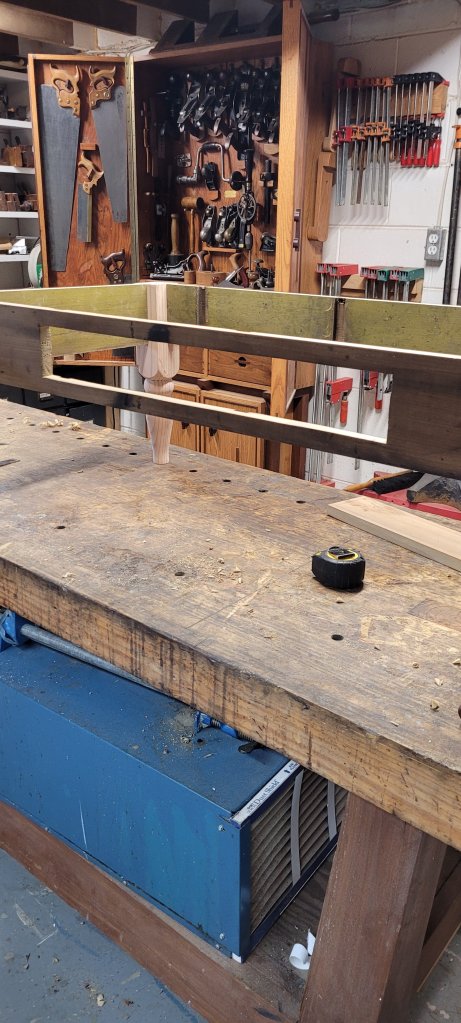
After carefully measuring all the pieces, I test fitted the frame together to make sure it would fit nicely on top of the barrel.

I was more aggressive with the clamps when it came time for the actual glue up. I let this set in place for 24 hours.
As the base was setting up, I turned my attention to the top. I glued up several white oak boards together and flattened them with my hand planes because the panel was too wide to fit through planer.

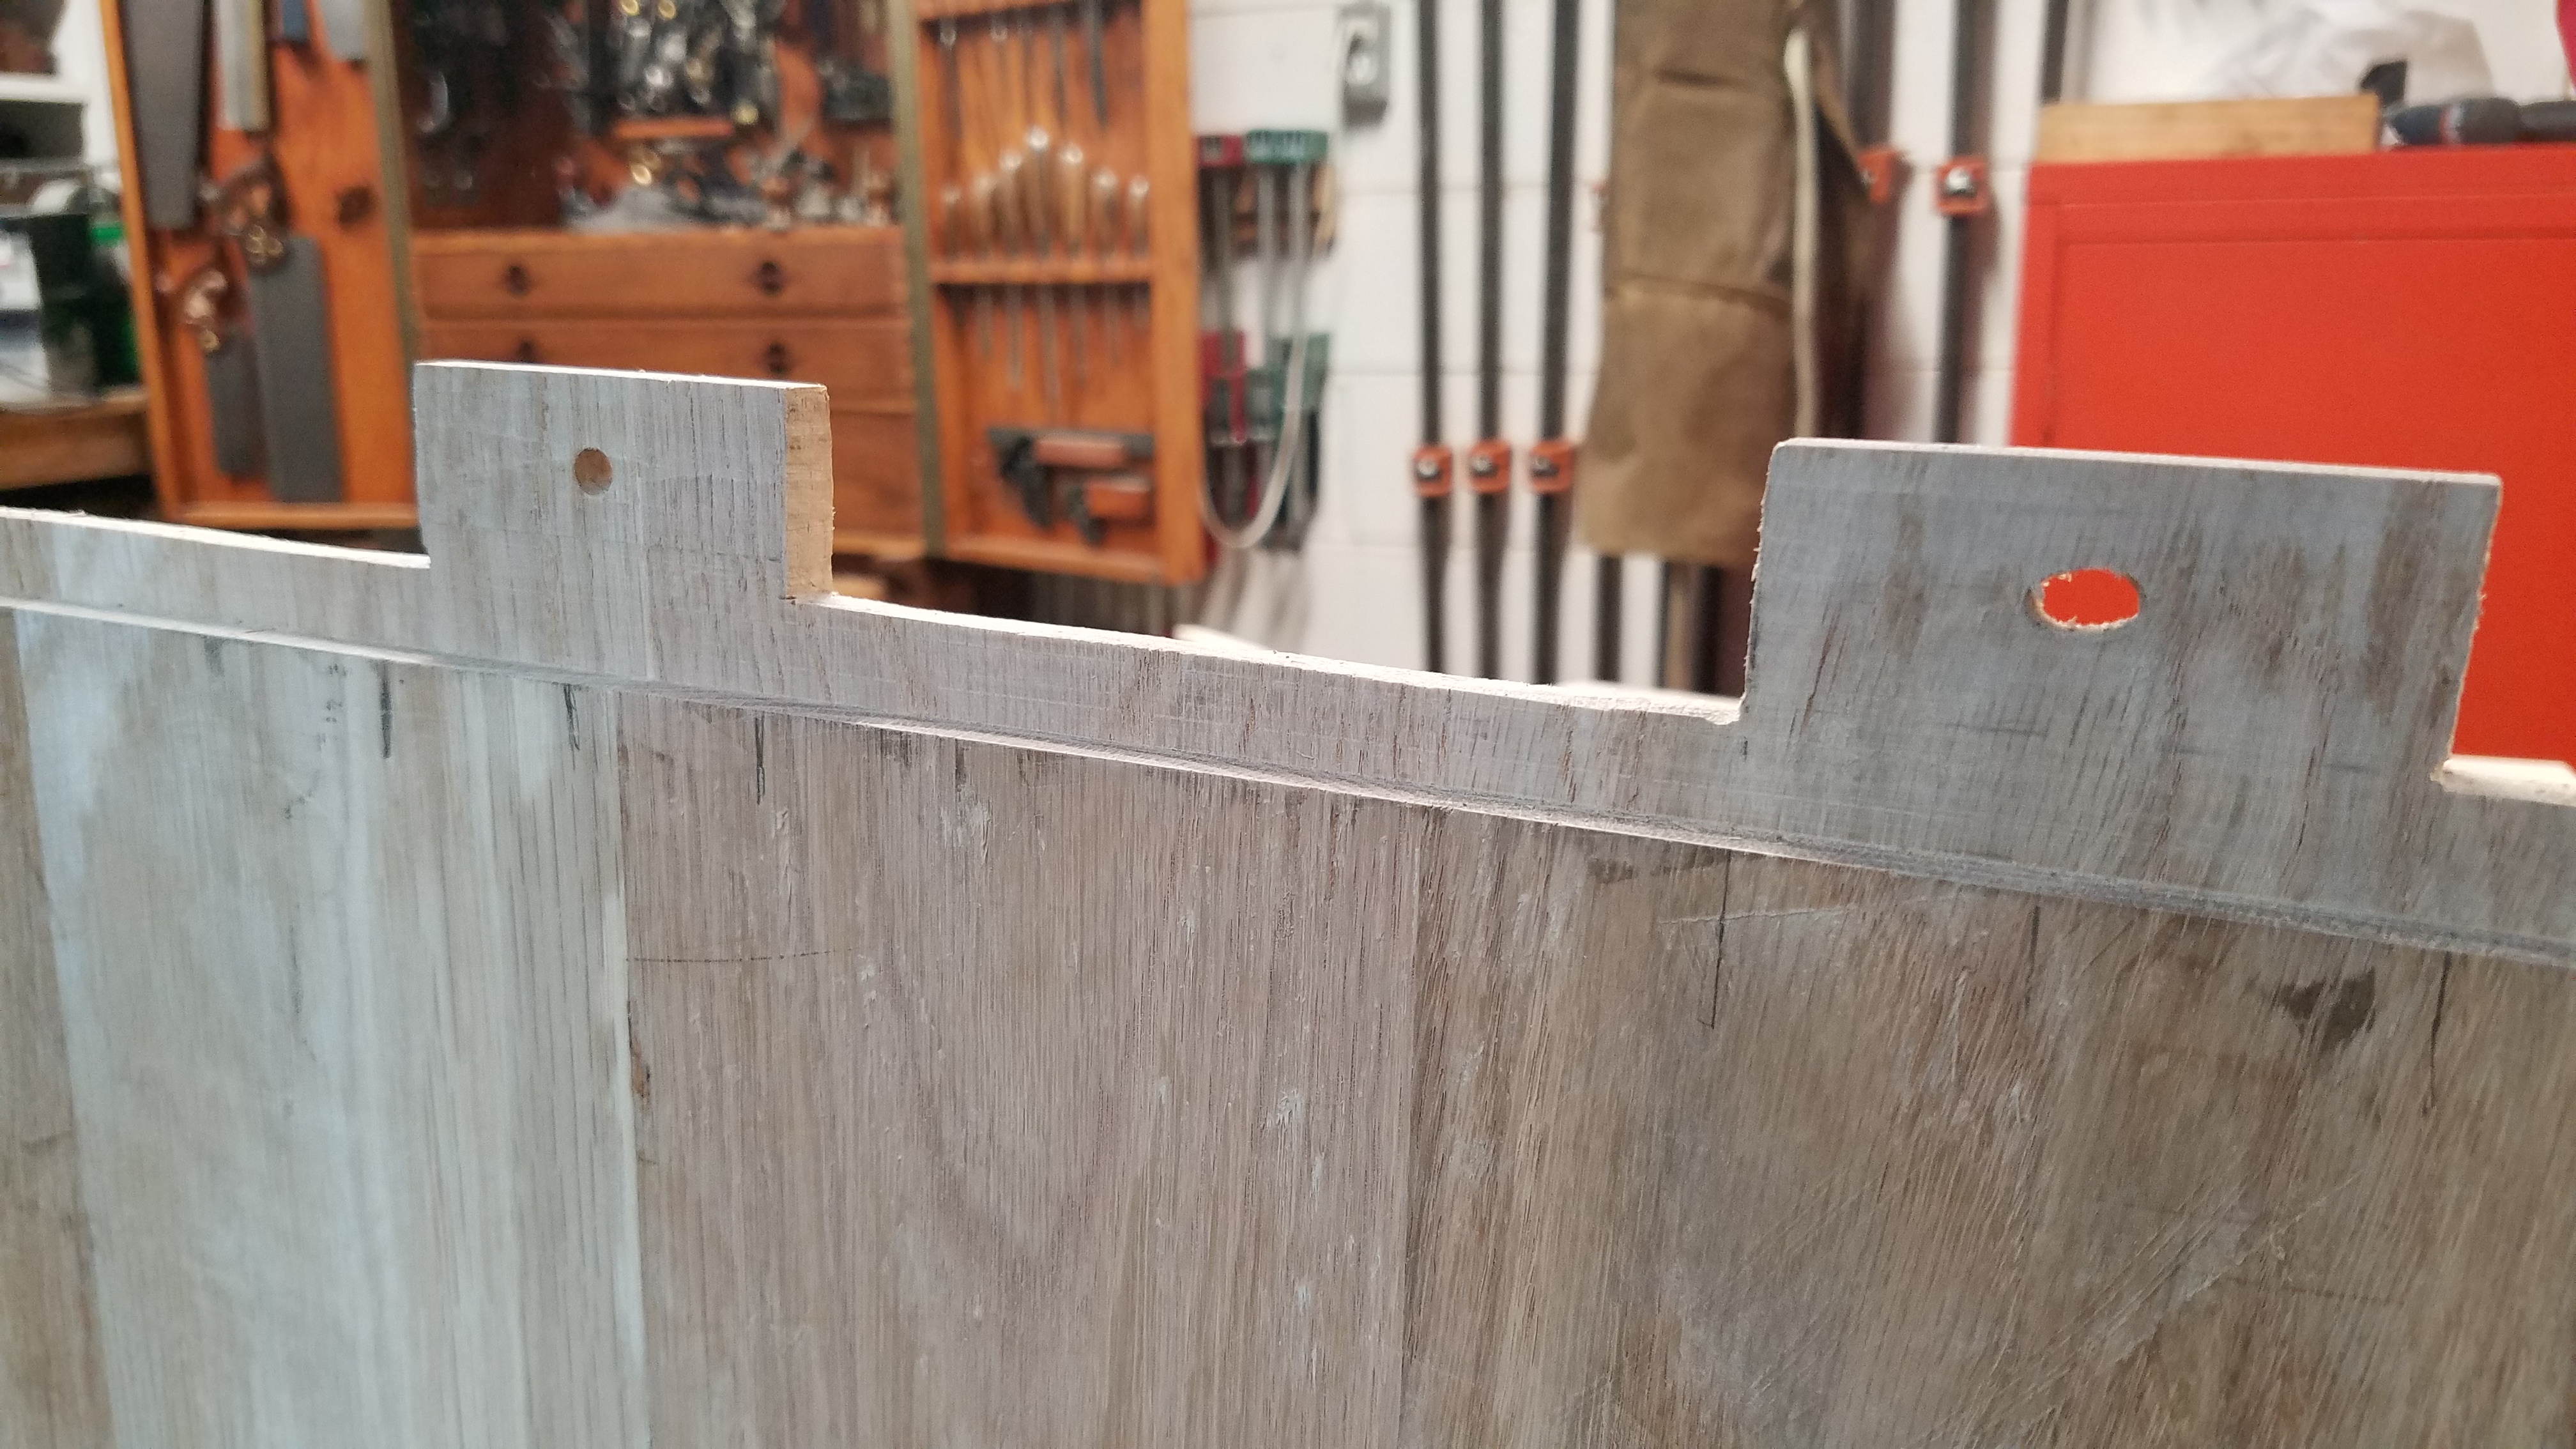
I wanted the top to have a bread board edge so I plowed a groove into the ends that was the same width as my 3/8″ mortising chisel. I would later chop three mortises into the groove to fit tenons I would make.

To make the tenons, I used both power and hand tools to get the job done. I routed most of the material away with my plunge router, then finalized the fit with my Stanley No 10 1/2 rabbet plane.

I made sure the panel would fit into to the groove before I cut the tenons

Cutting out the tenons, I drilled holes through the middle for pins. The middle hole I left round while the tenons on the outside I elongated for the expansion and contraction of the wood.
Once the joints fit well, I drove pins into the holes and added a dab of glue so the pins wouldn’t fall out.

I shaped the sides of the top to match the curve of the barrel and lightly rounded over the sides with my hollow molding plane.

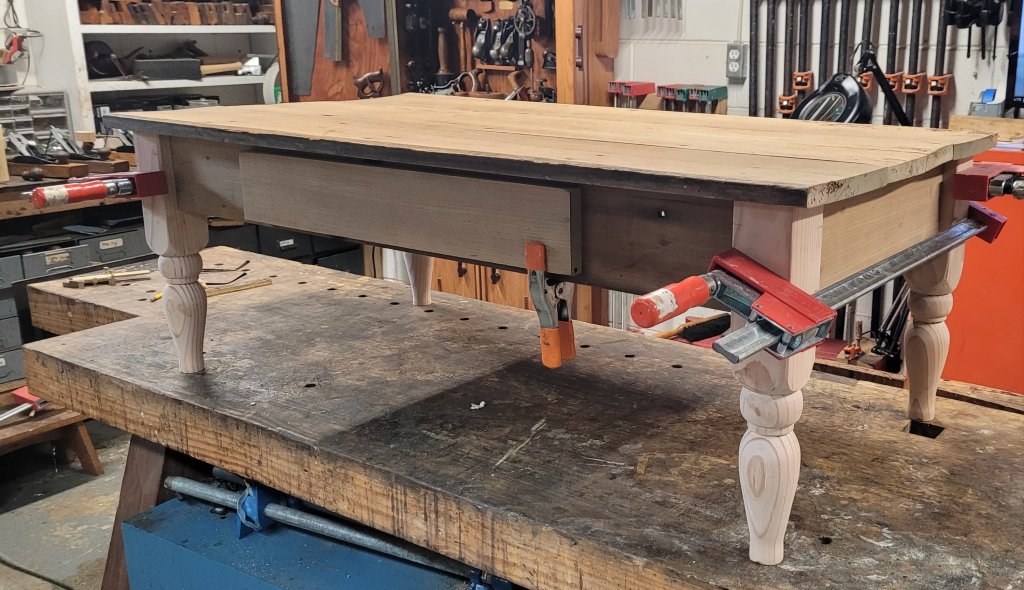
The final shape of the coffee table top came out nicely. Now I needed to find away to attach it to the frame.

After days of pondering, I decided to attach hinges to the top so that the lid could open and close. The inside of the barrel was charred from the brewing of the whiskey so, it’s not very useful as it will leave ash on your finger if you touch it, but I thought it was cool enough to show off. I clamped my level to the middle of the frame to determine where in proximity the hinges would need to be installed.

Because the lid overhangs the side by an inch, the barrel of the hinges lay underneath the top when closed. I had to rout out a recess on the underneath of the lid so the top could properly close.

Even with all my calculating, I ran into a problem. The top would hit the middle of the barrel when I tried opening it. I had to route a recess in the middle of the lid so that there would be enough room for the lid to open. It took several hours of trial and error to make it work, but I finally made it work.

Once everything worked, I sanded the entire coffee table to 220 grit sand paper and applied a weathered wood enhancer to blend the old barrel to the new white oak. This turned the coffee table a bit purplish gray.

Next, I stained it Minwax Espresso stain and applied three coats of water based polyurethane for a protective finish. I think the coffee table turned out really nice. Luckily, my work has me going to Detroit next week, so I can deliver the coffee table to my cousin.