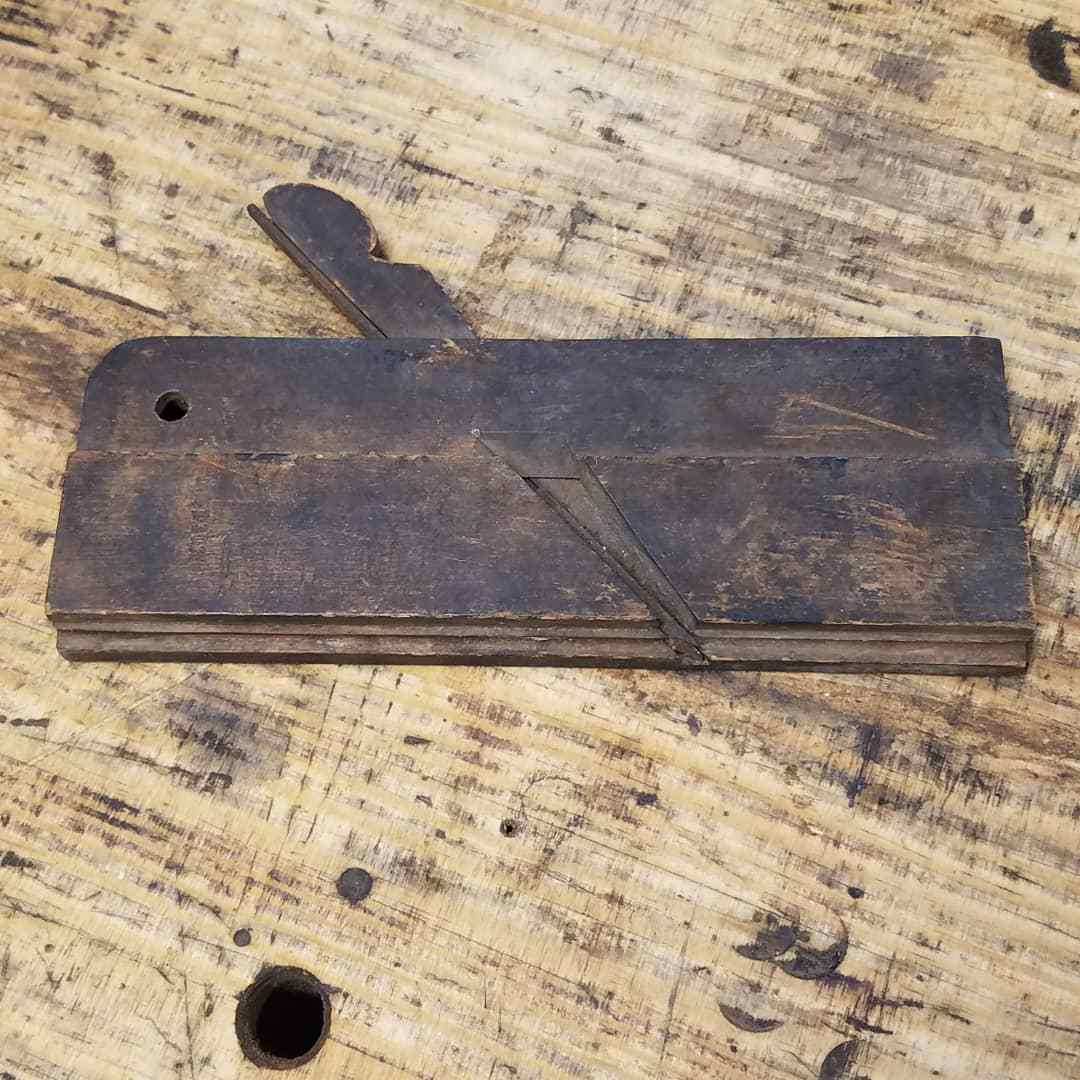
I’ve owned this Ohio Tool Co Moving Fillister Plane for a while now. It was missing its fence and screw when I bought it, so I decided it was time to make a new one for it.

I started by cutting a blank from some brass stock I bought on eBay. The blank I cut out was 3/8″ x 2″ x 3″.

Luckily, I have another fence off another moving fillister plane I could use as a template. While the dimensions weren’t the same, I custom drew what the fence should look like on the brass stock.

After I cut out the shape on the band saw, I punched a spot where my 3/8″ drill bit will drill a hole for the center on the fence. Then I kept moving down the fence drilling holes in the center.


I needed to remove some of the back of the fence, so I went back to the band saw to do the job.


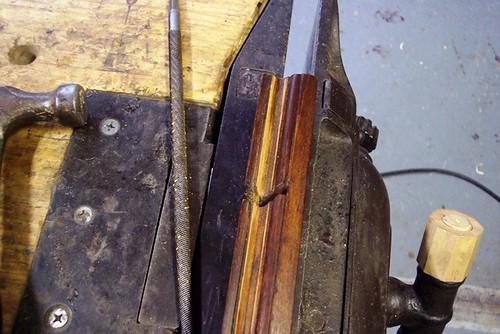
Then, I cut off some of the face of the fence to thin it up and shaped the bottom of it with my files.

In the end, I was happy with my results. Not too shabby, as this was the first thing I have ever fabricated out of brass.


Now I needed to make the screw to hold it in place. Again, I had a screw from another plane that I could use to find something similar at the hardware store. I ended up buying a 5/16″ x 1″ screw from Home Depot, but I had to grind it round on my belt sander.


I then filed the top to a dome shape and used a hacksaw to file a slot in the top.


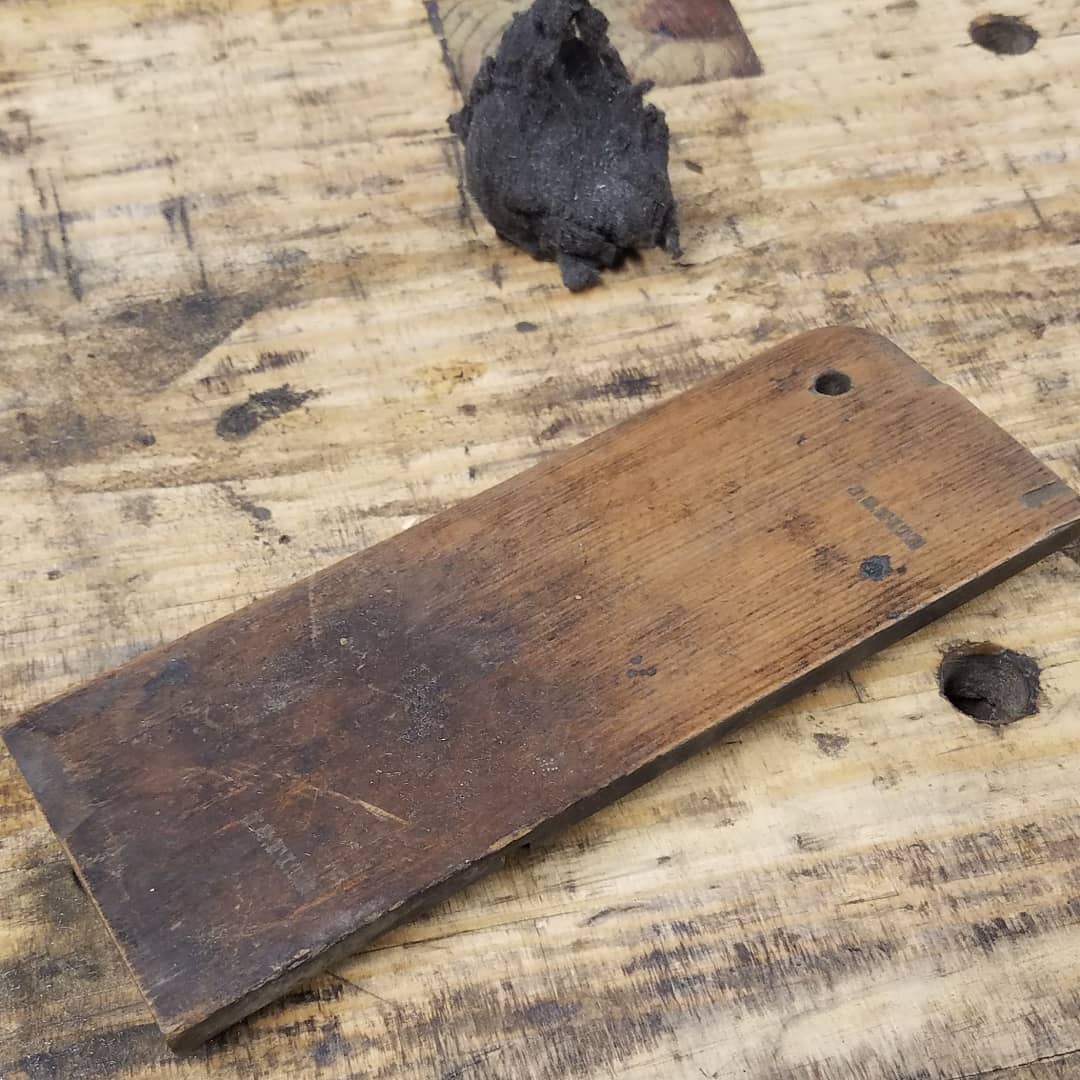
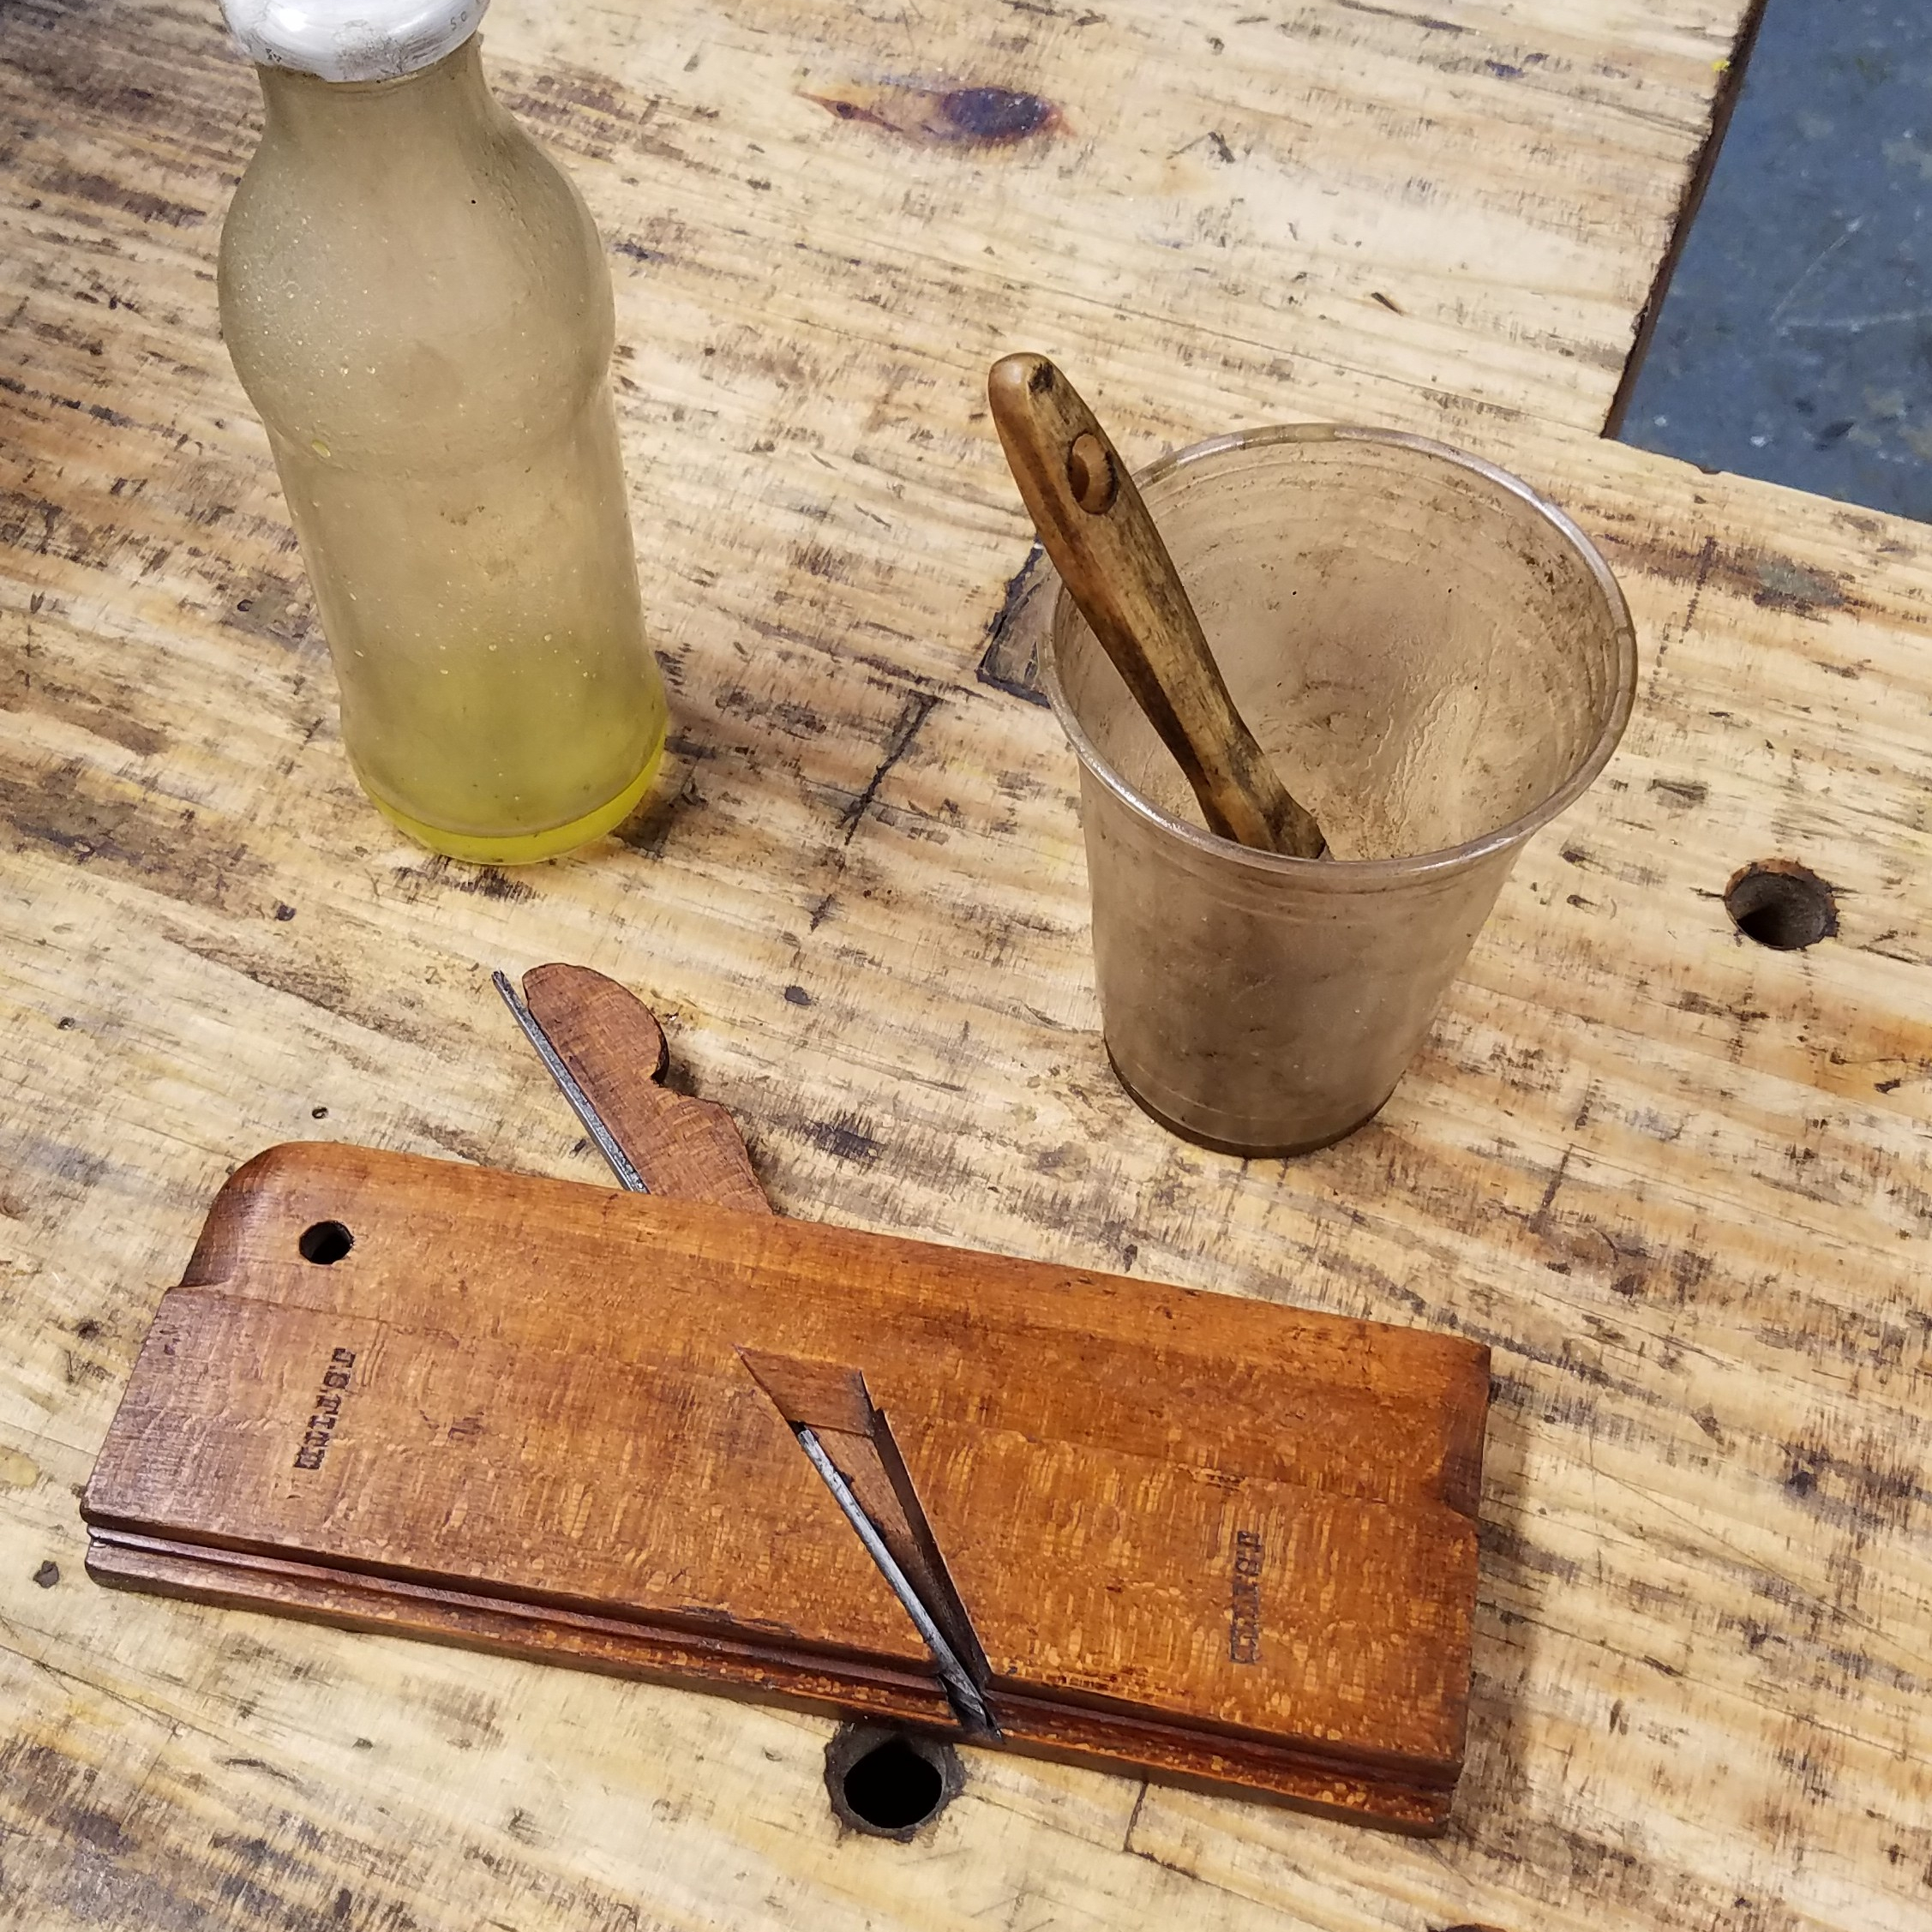
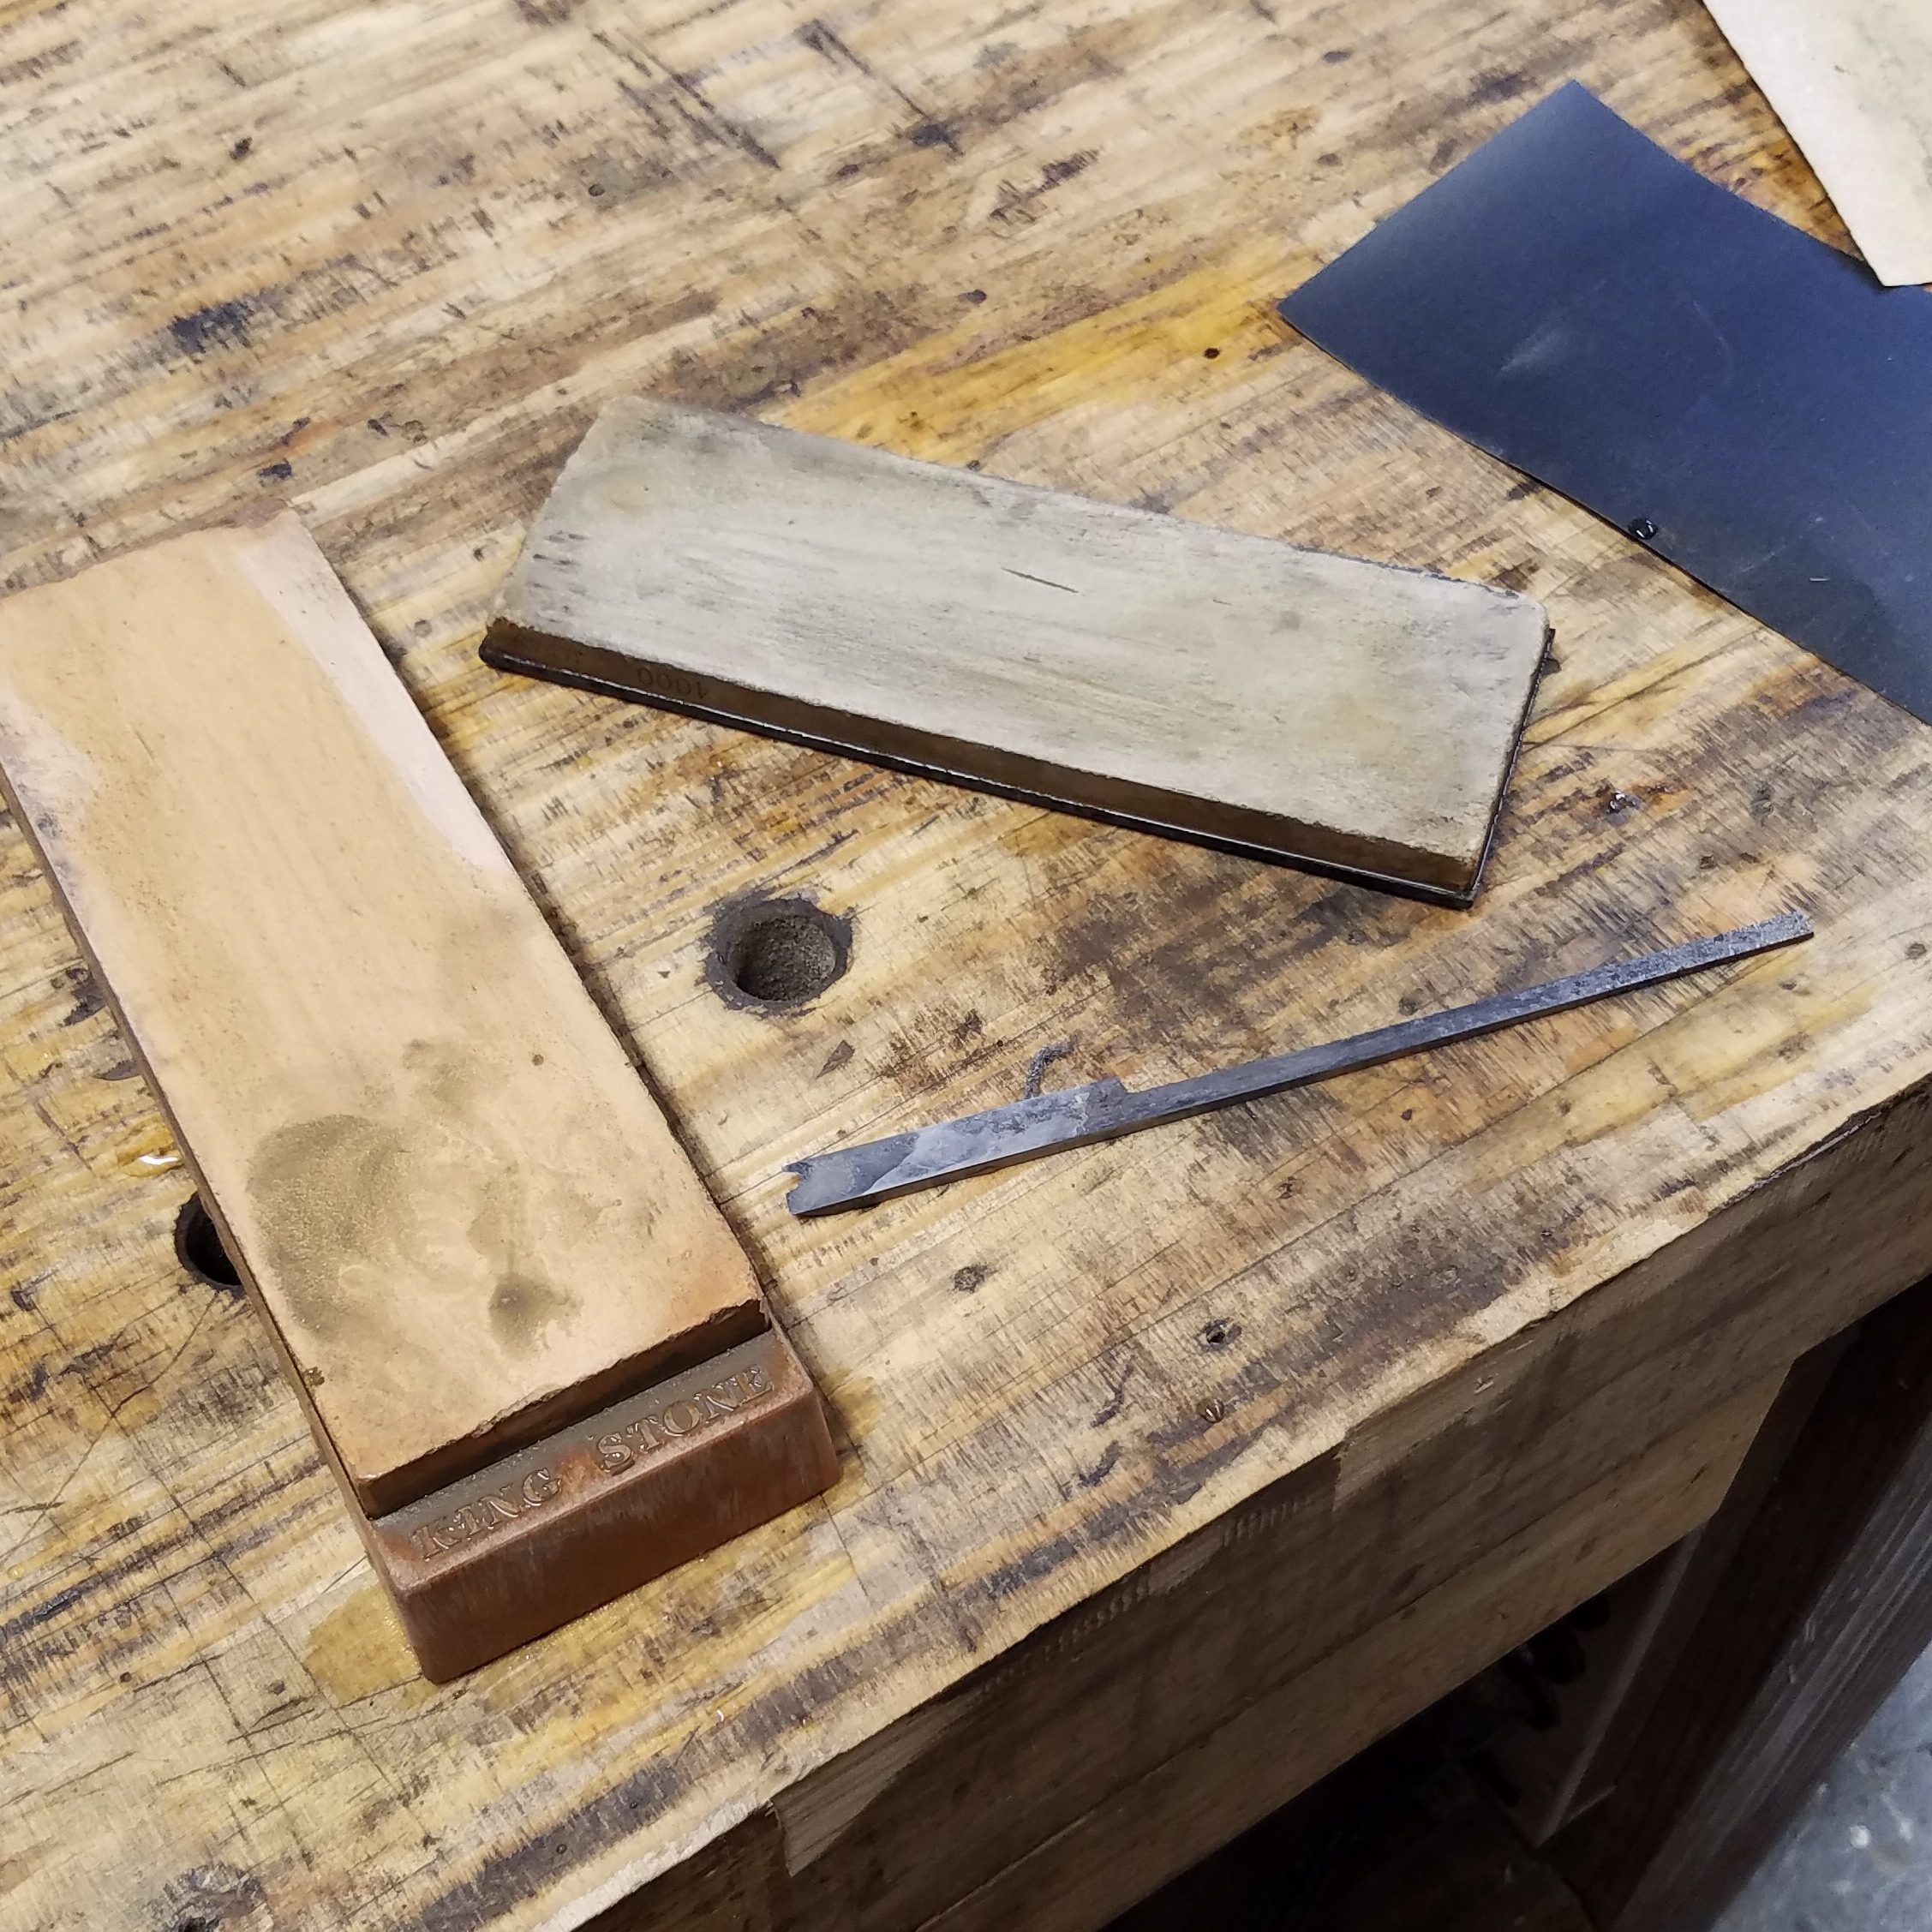
I polished the screw up, cleaned the body of the plane, and put everything together. The plane came out really nice and performs well after I sharpened the blade.


Another plane has been saved from the garbage bin of life and is back to use for the next hundred years.