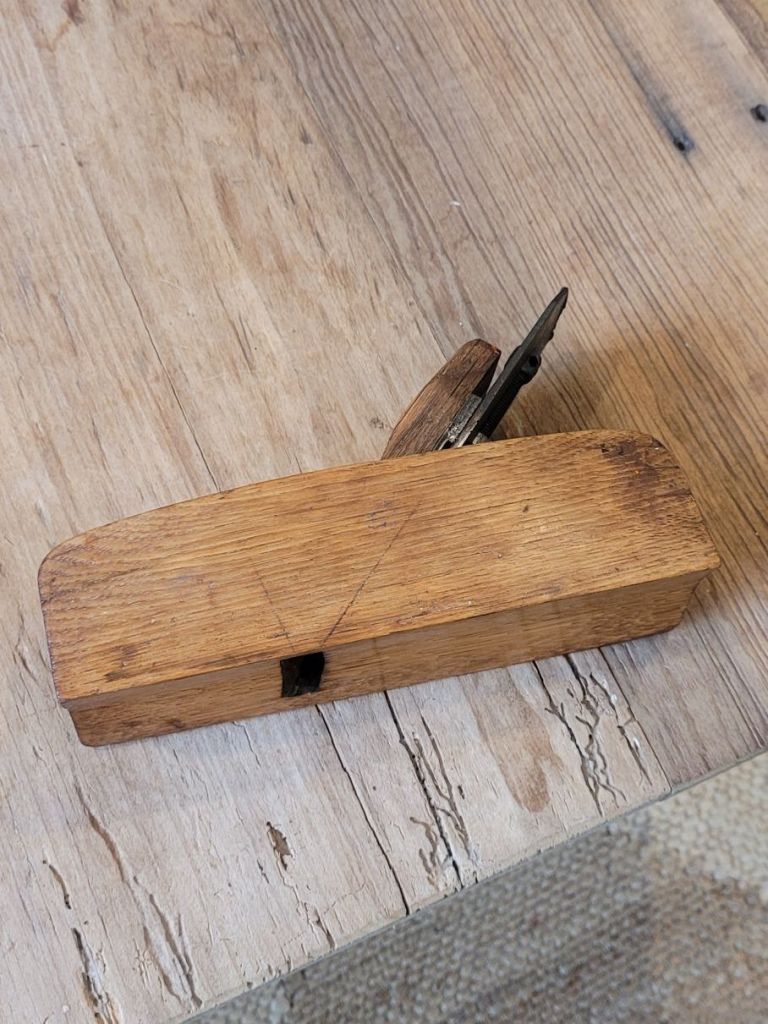
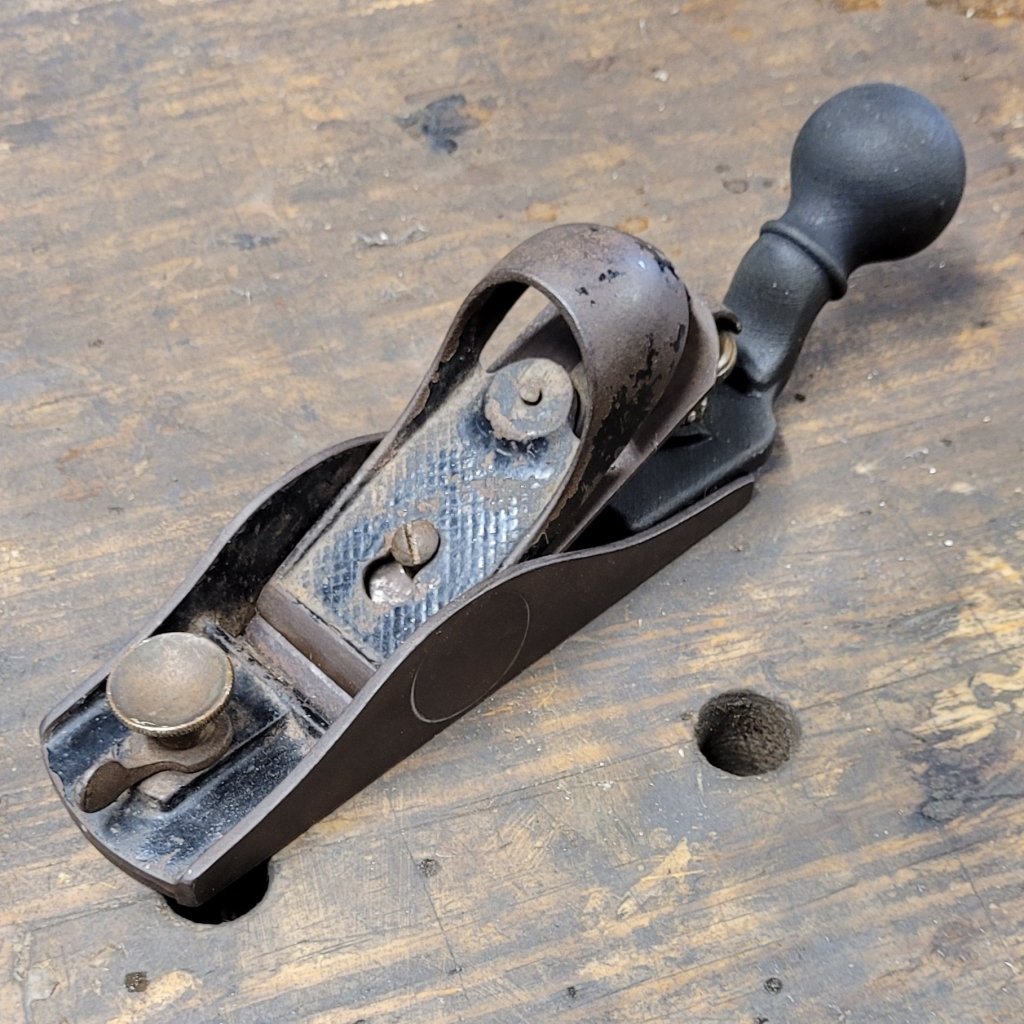
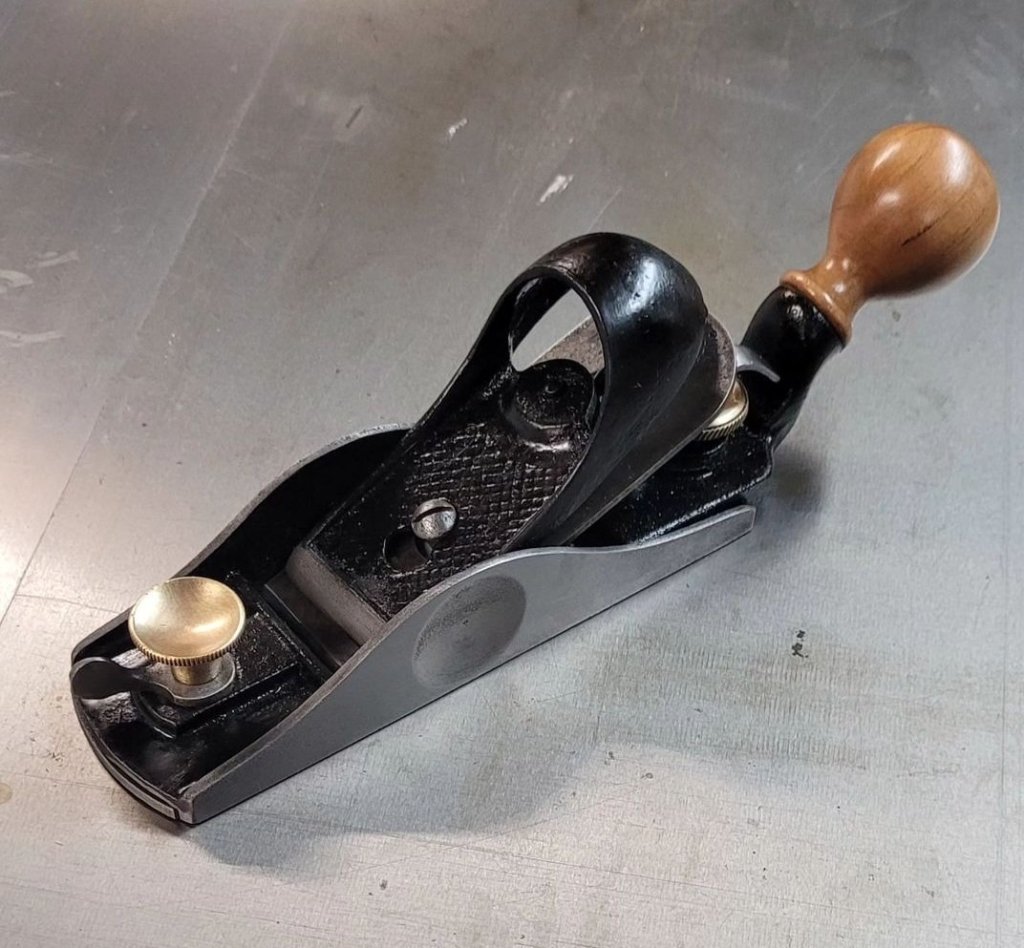
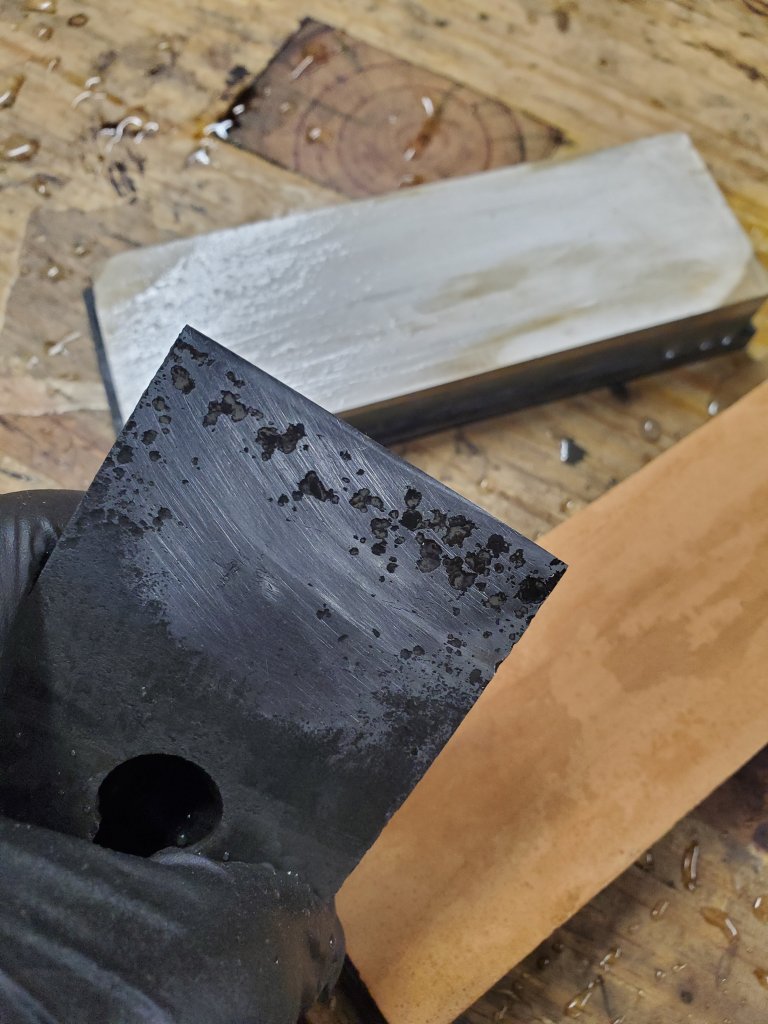
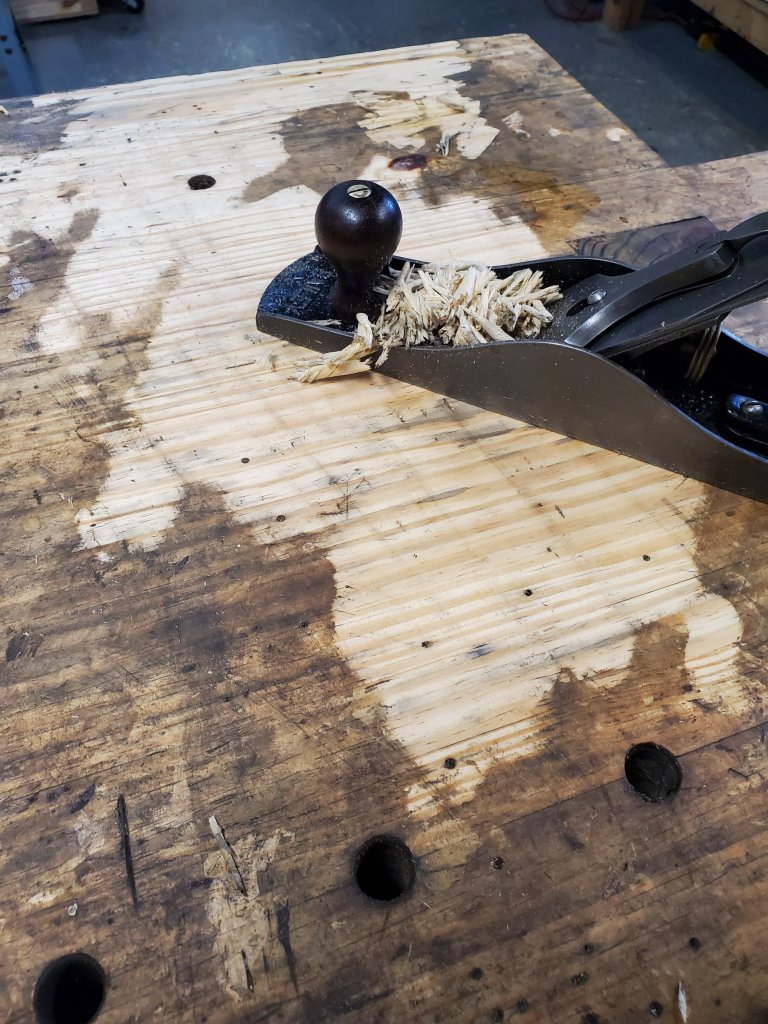
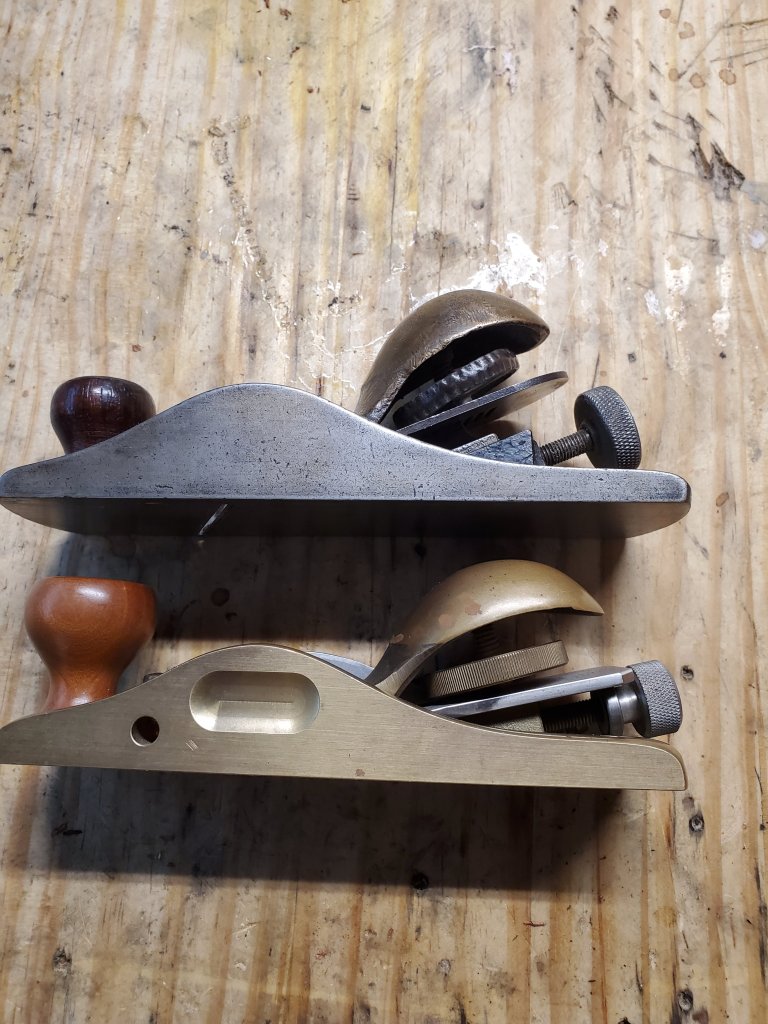
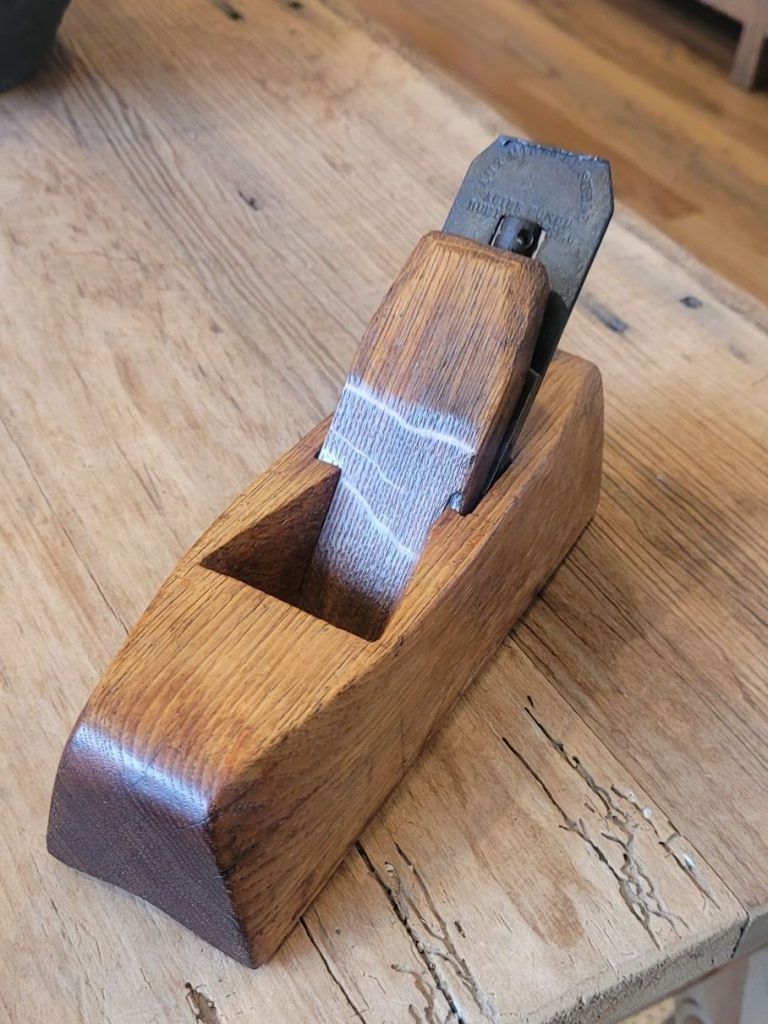
I was going through my tool collection yesterday when I stumbled on this little plane. It looks like any other coffin smoother with a convex sole until I took it apart to look at the blade.
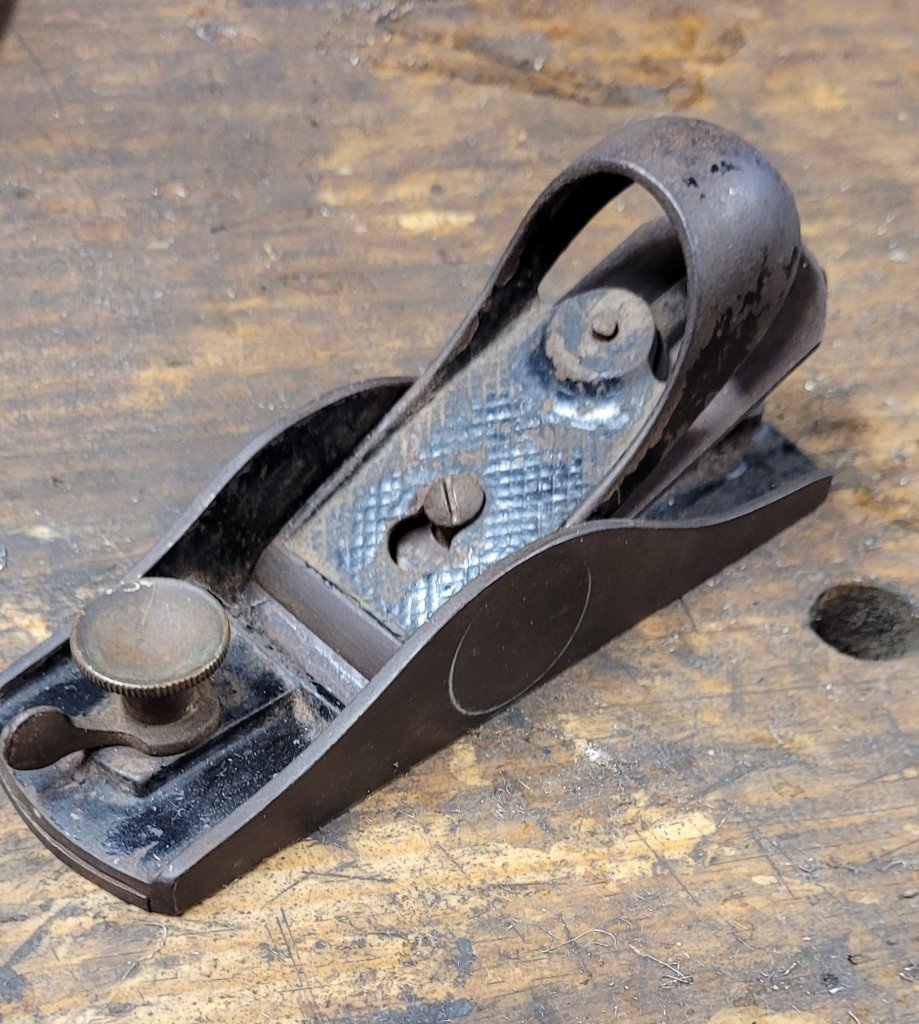
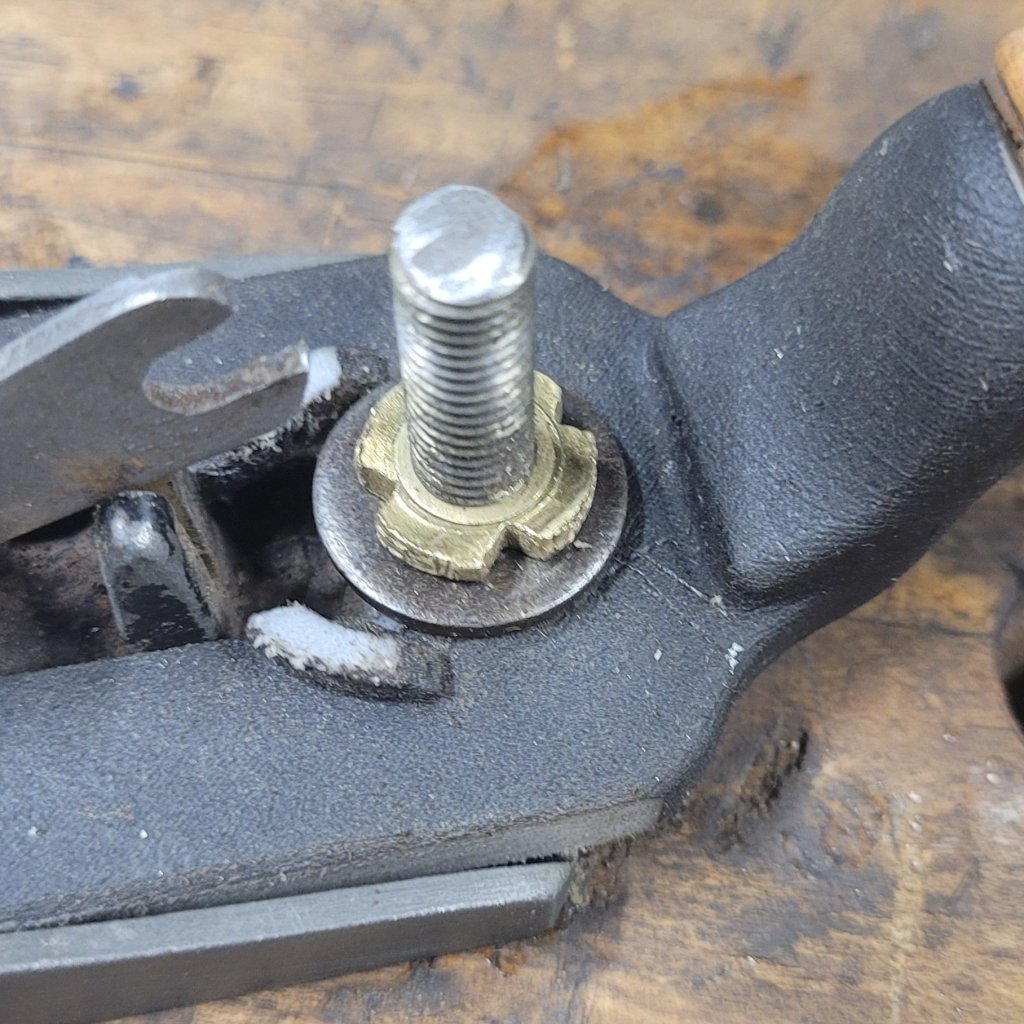
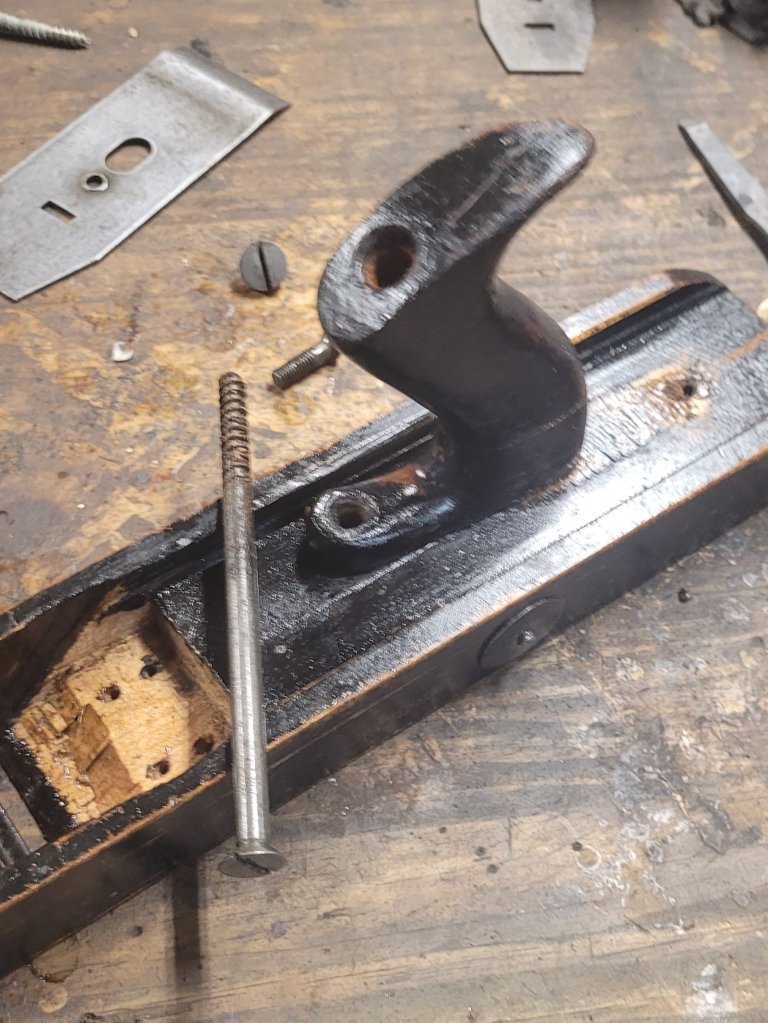
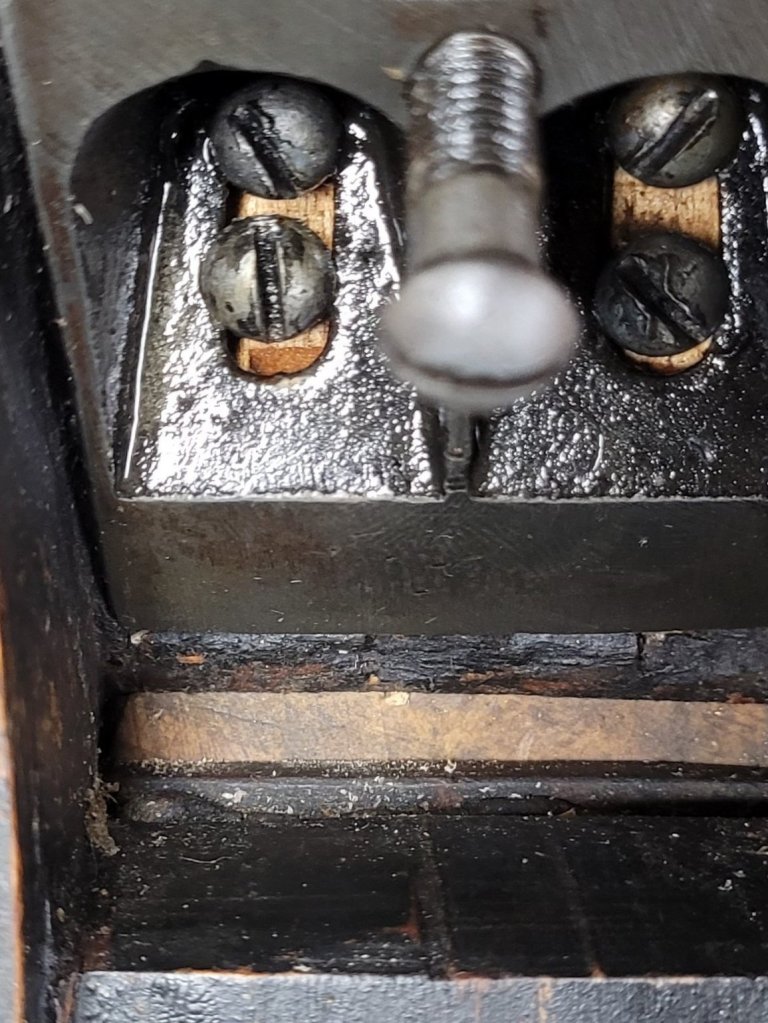
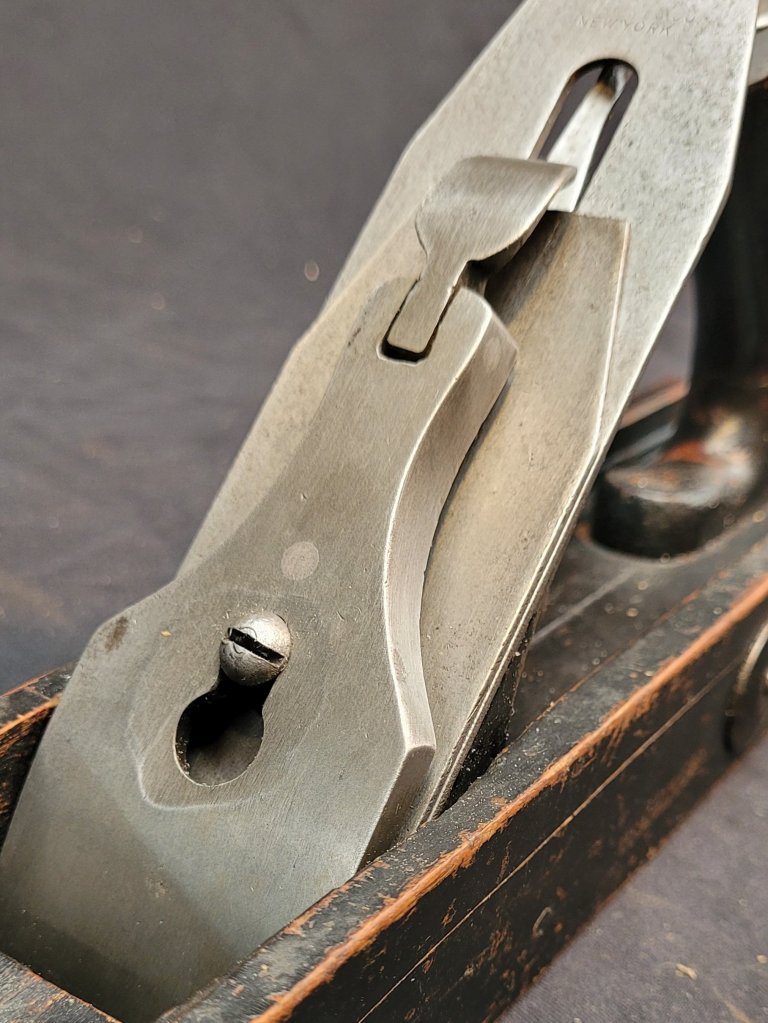
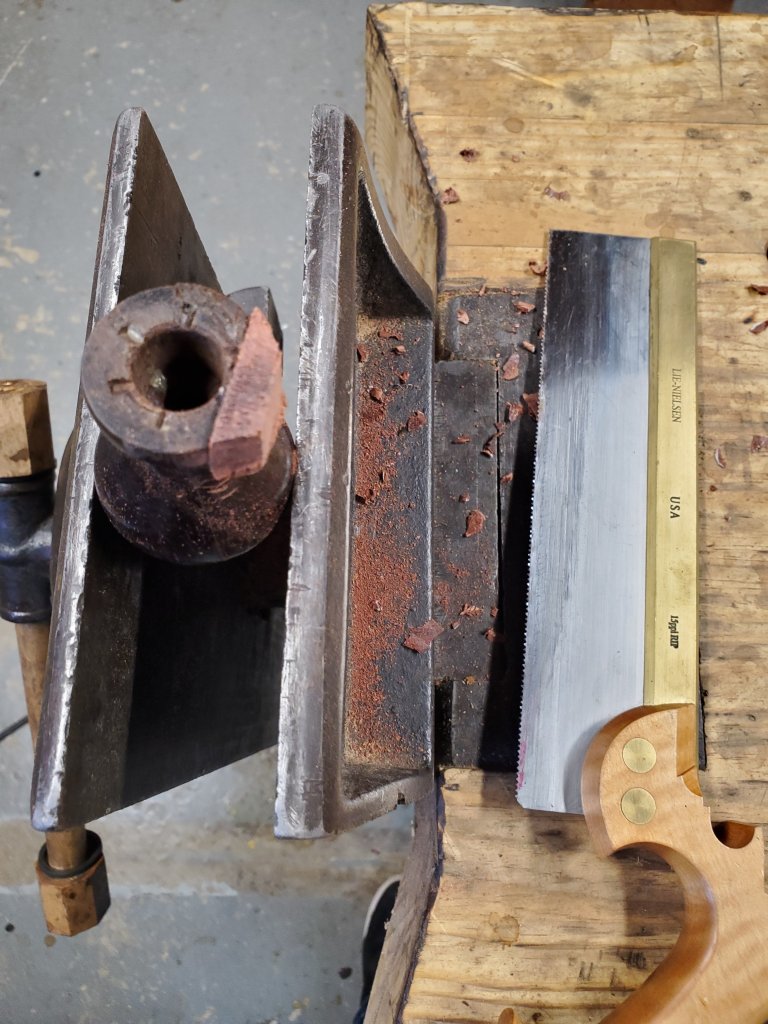
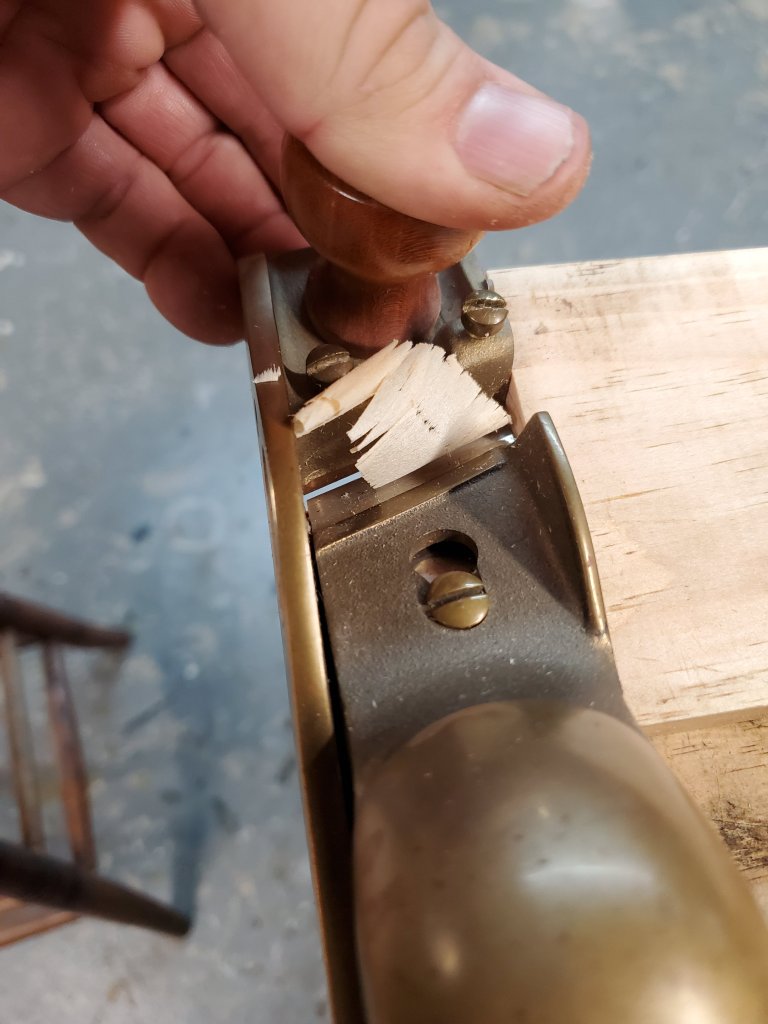
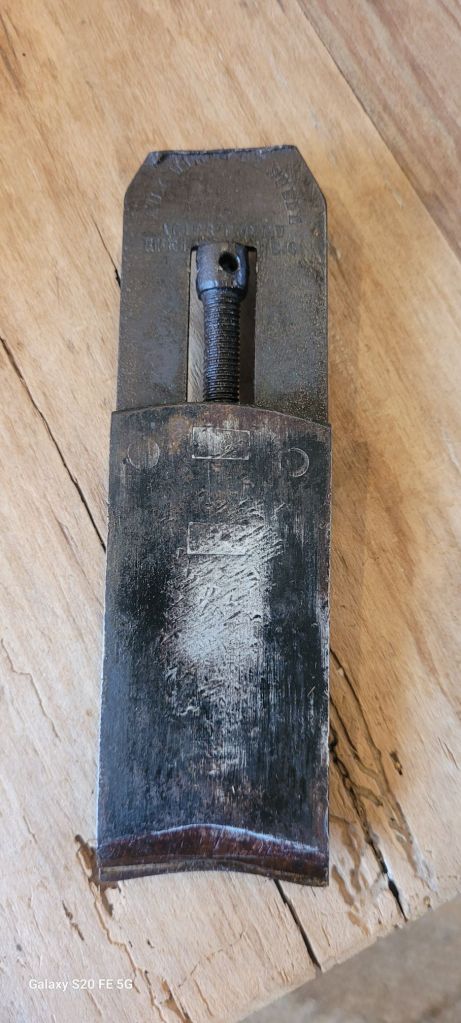
When looking at the back side of the plane, you can see where there is a screw mechanism to advance the cap iron up and down.

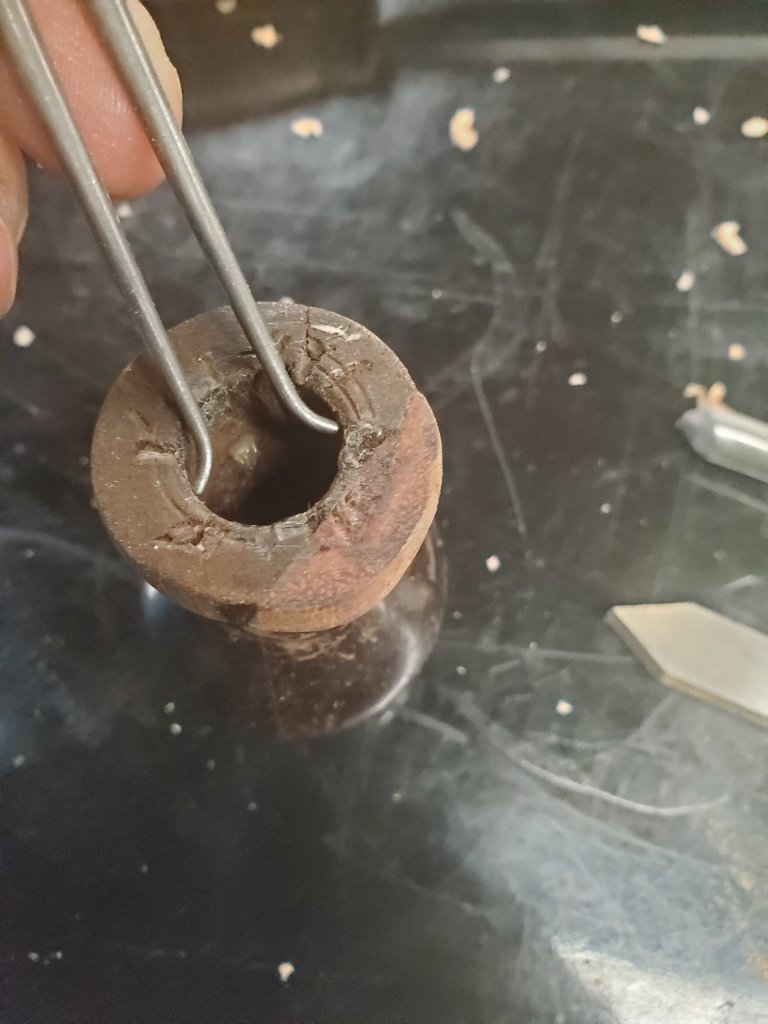
I took a brad awl and stuck it in the hole spinning the screw all the way down hoping I could remove the cap iron, but it didn’t work. My thread got stuck underneath the nut and I couldn’t turn it anymore.
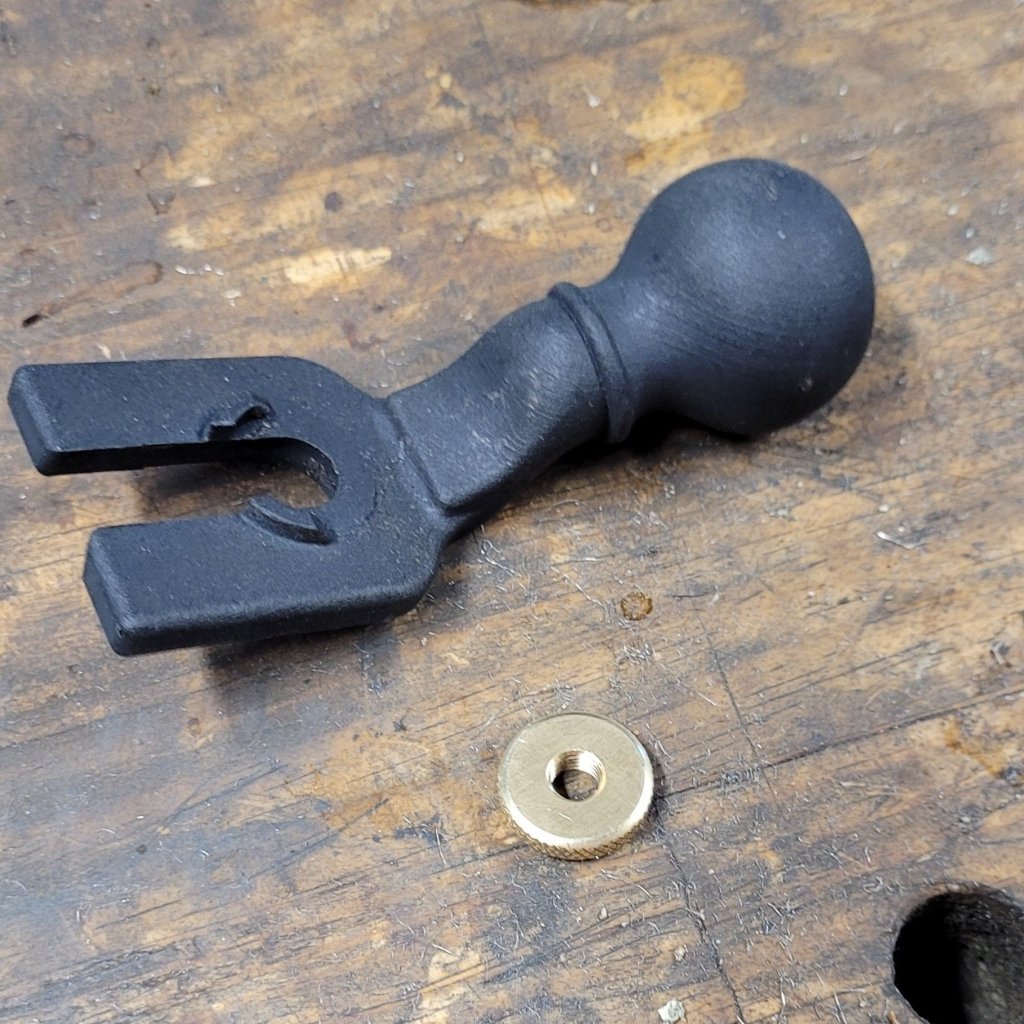
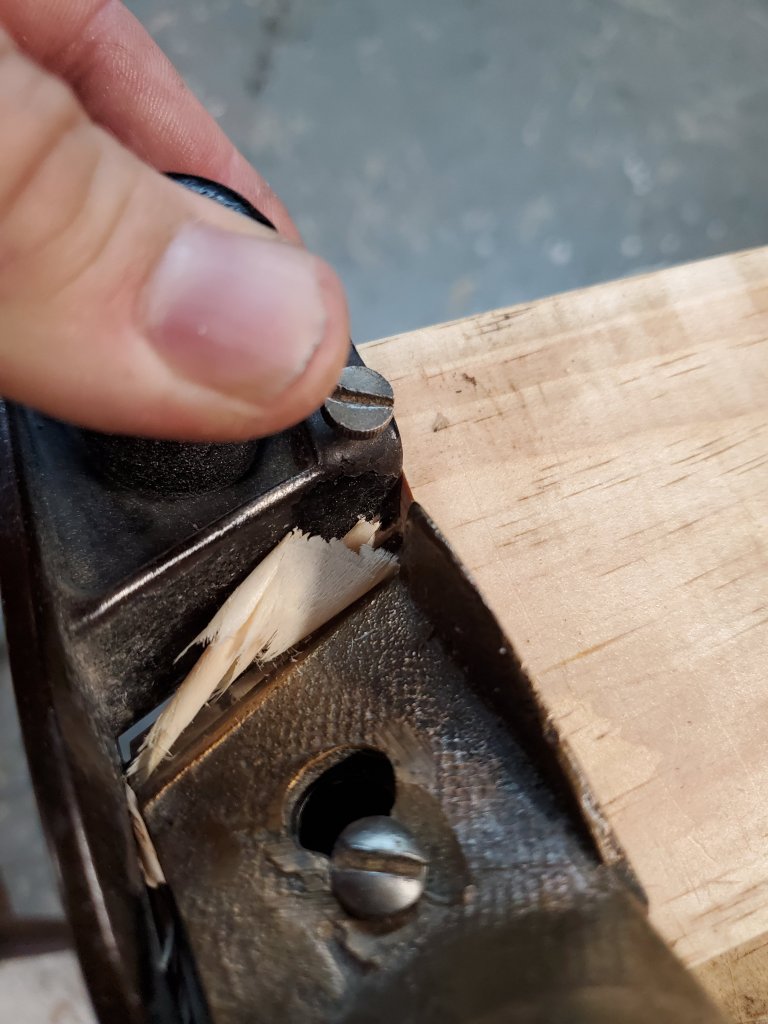
Then, as luck would have it, when I wiggled the cap iron a little bit, it came loose off the blade. My tool oil I used must have loosened up the rust that has been sitting in the blade for decades. You can see a little nib at the top of the blade where the cap iron mechanism lays into.
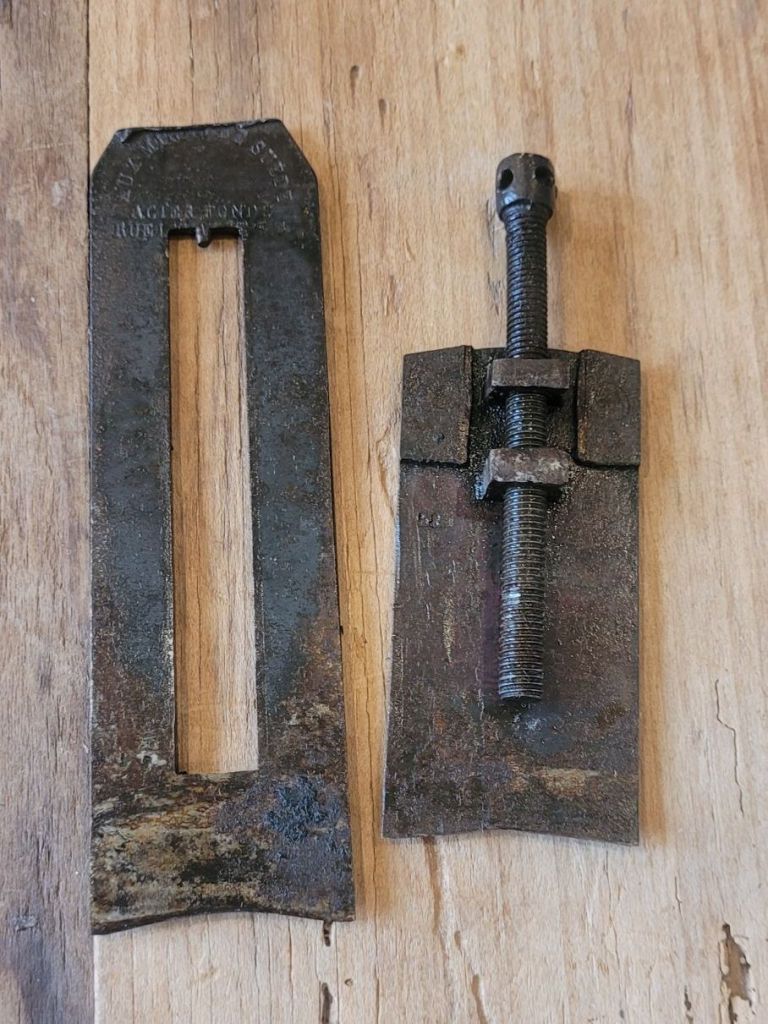
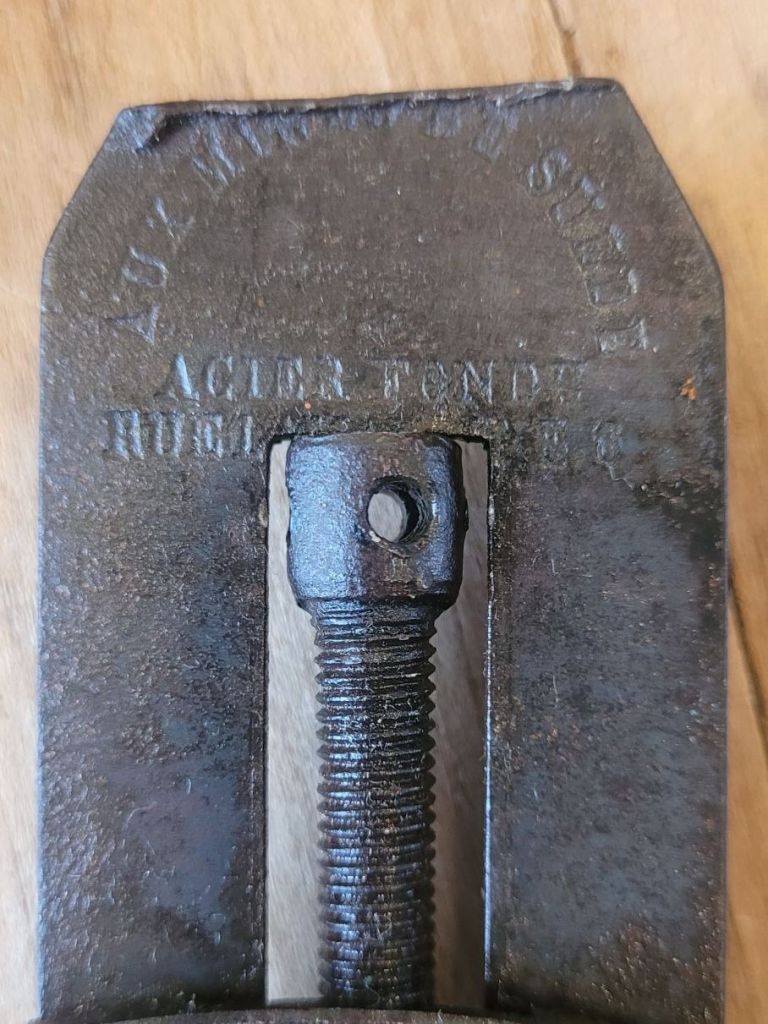
After doing some research, I found the company Aux Mines De Suede that made the plane. I downloaded their tool catalog and they produced a lot of interesting woodworking tools.
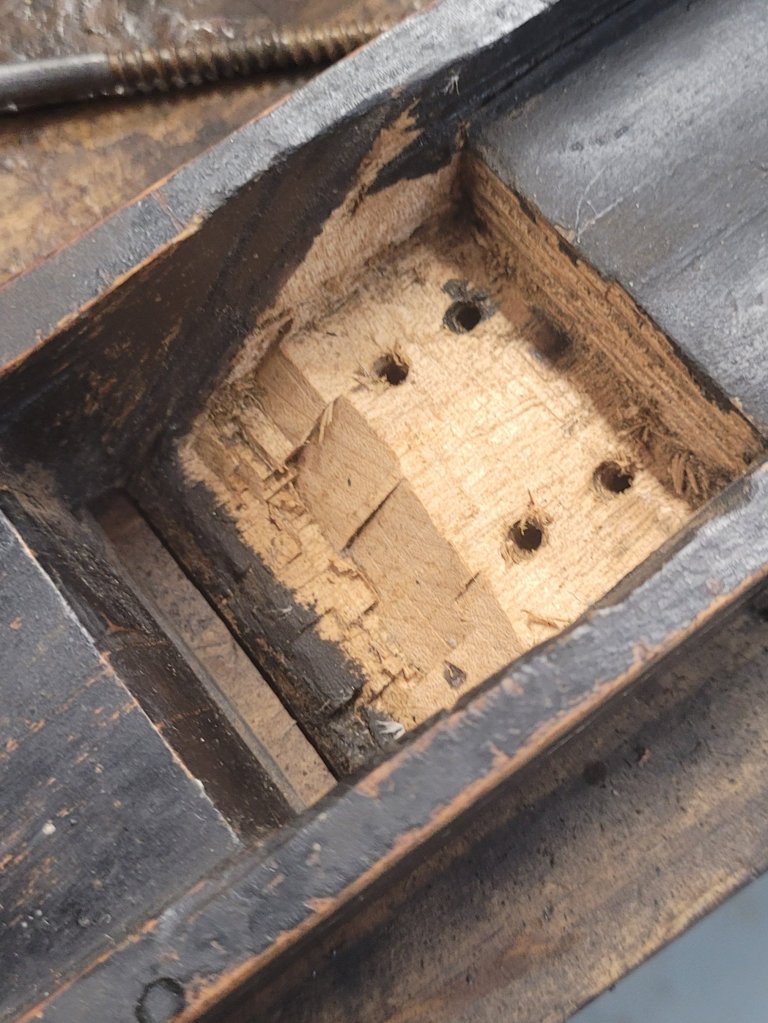
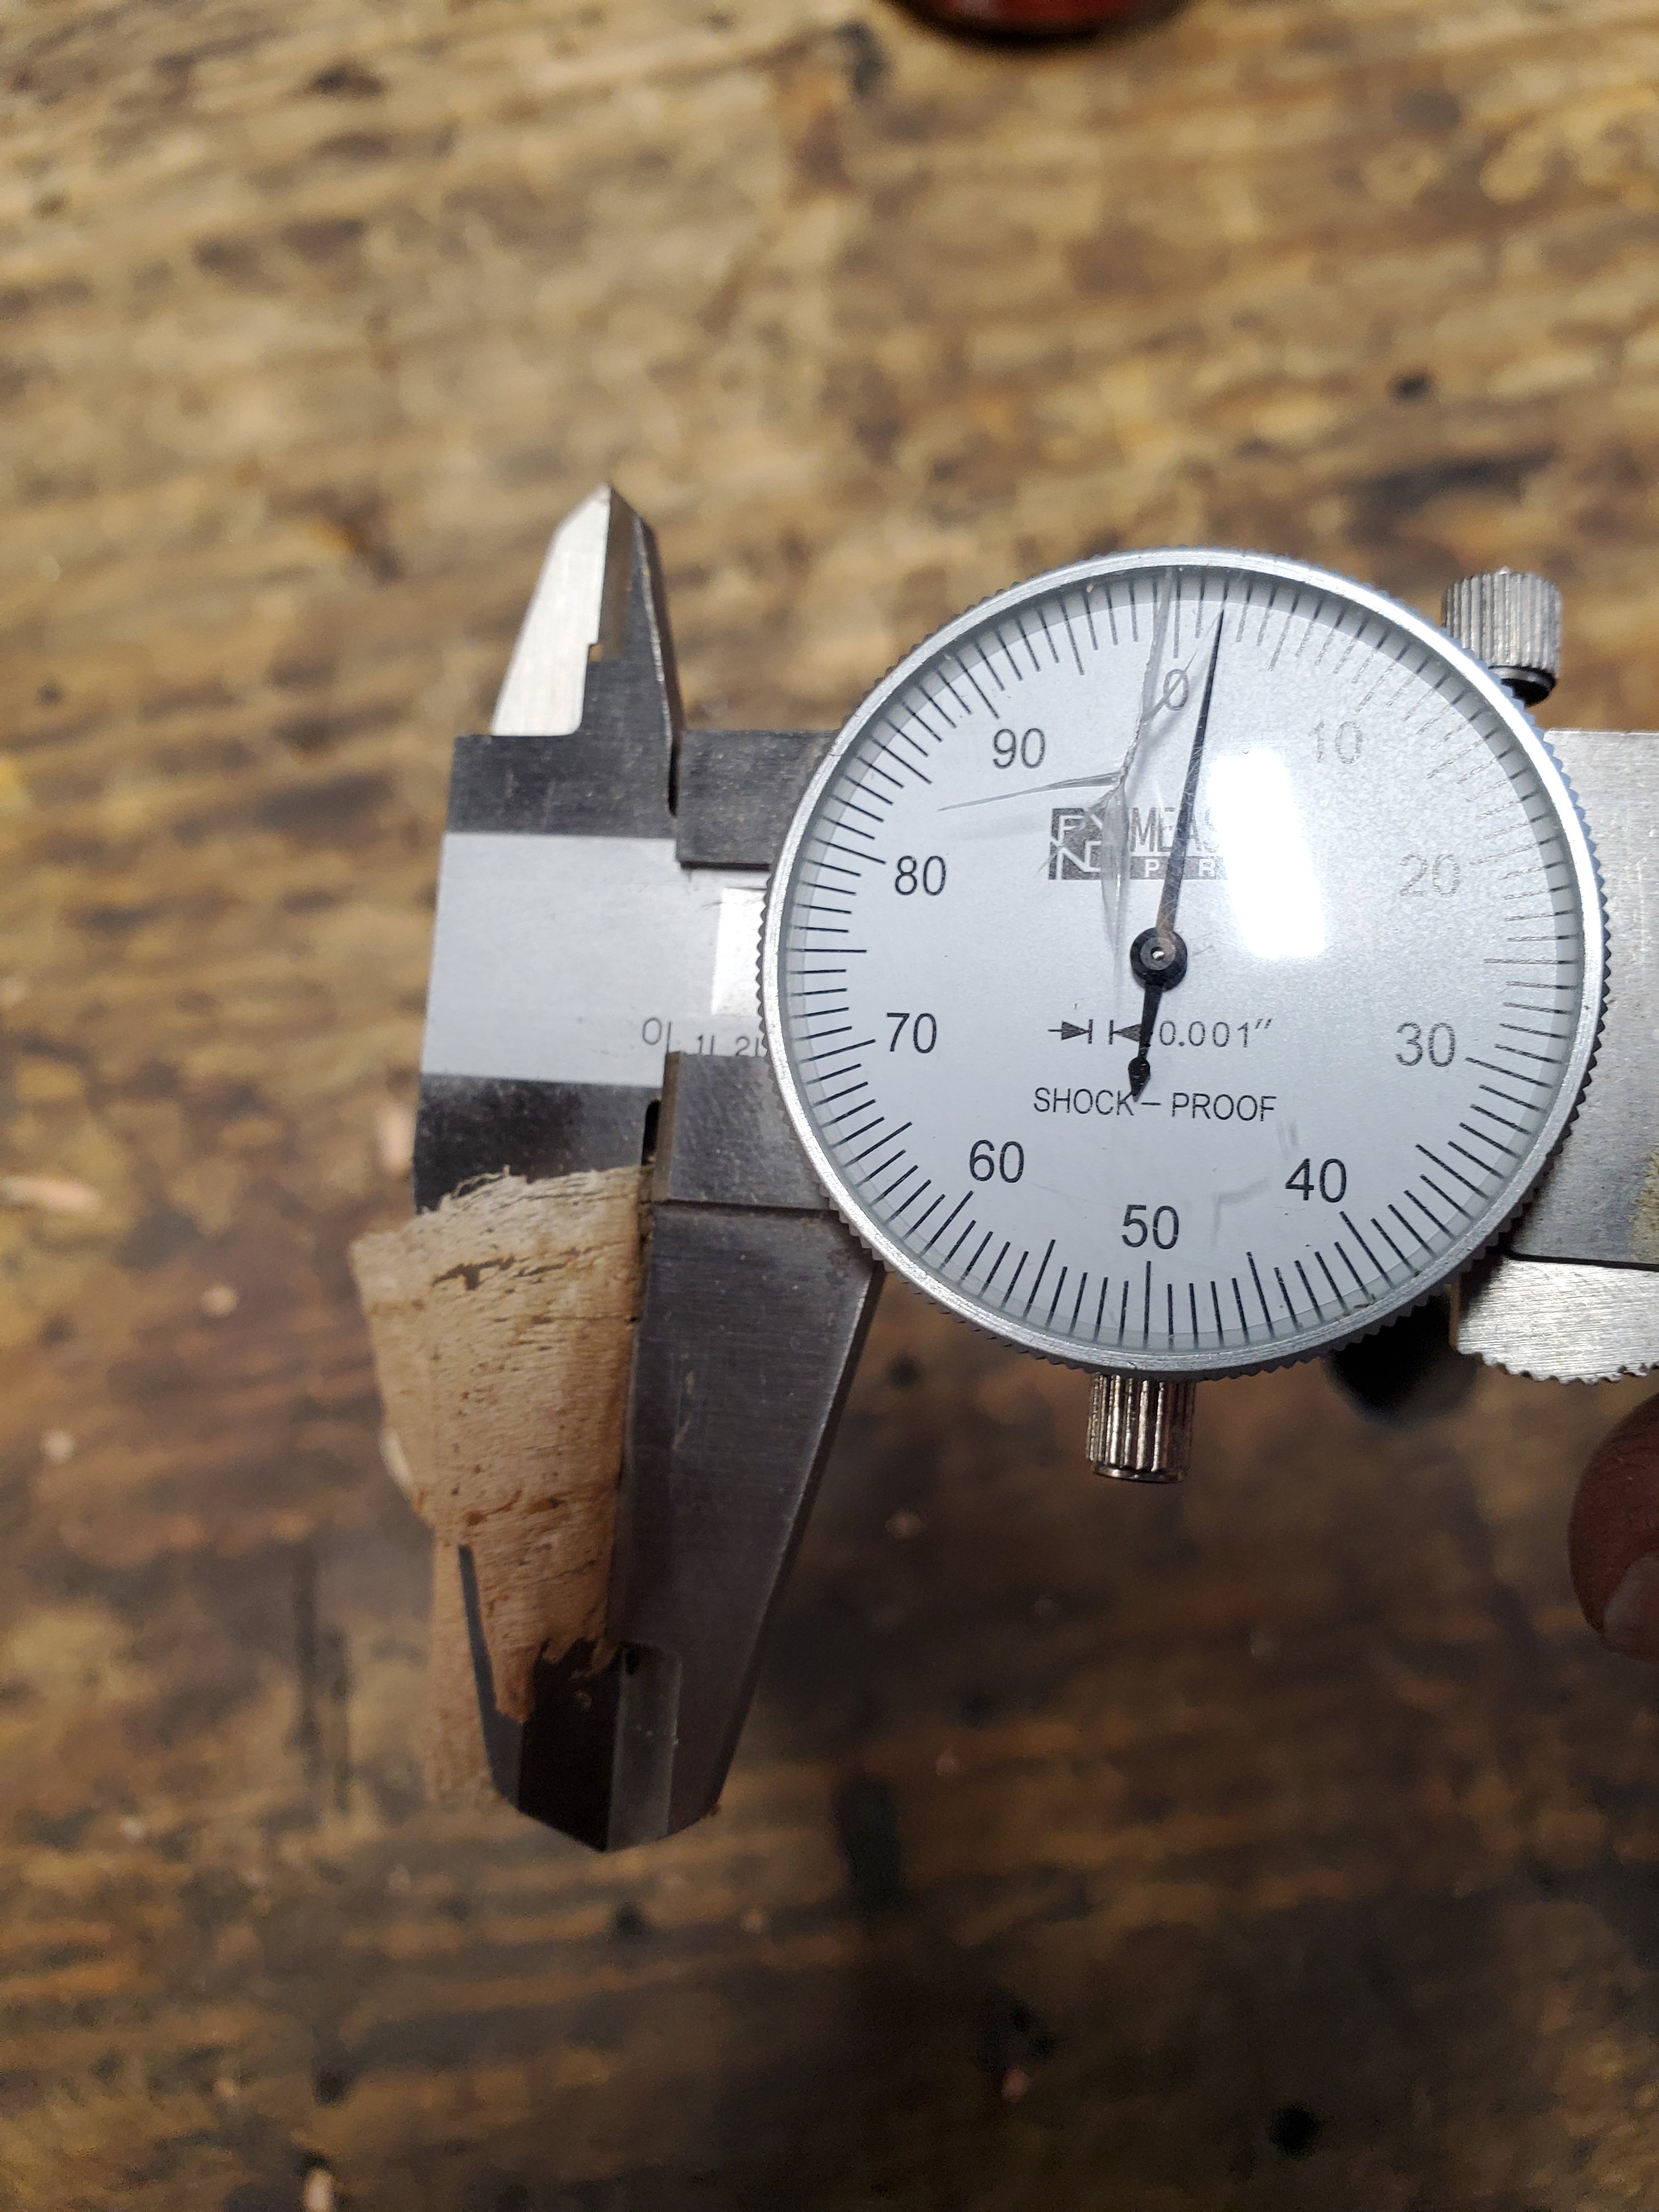
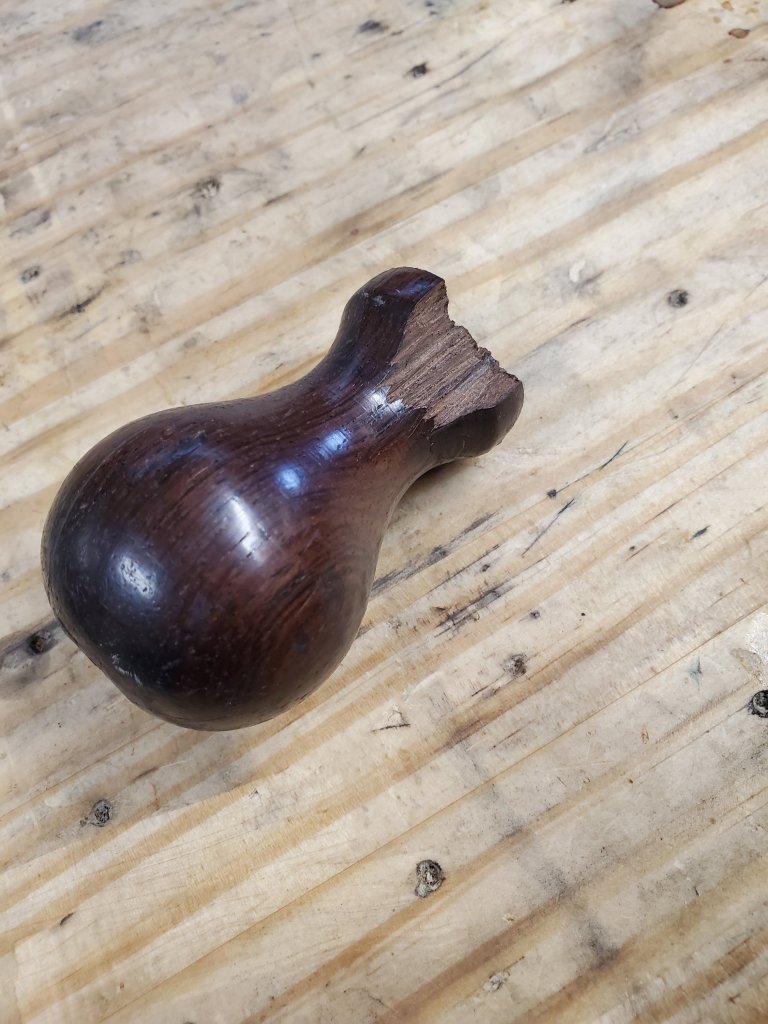
The body of the plane looks to be oak. You can see the scribe marks on the side as a guide where to cut out the inside. There is no makers stamp on the body so it may have been custom made plane by the owner. It’s a really interesting plane I have never seen before.