Wooden Router Plane

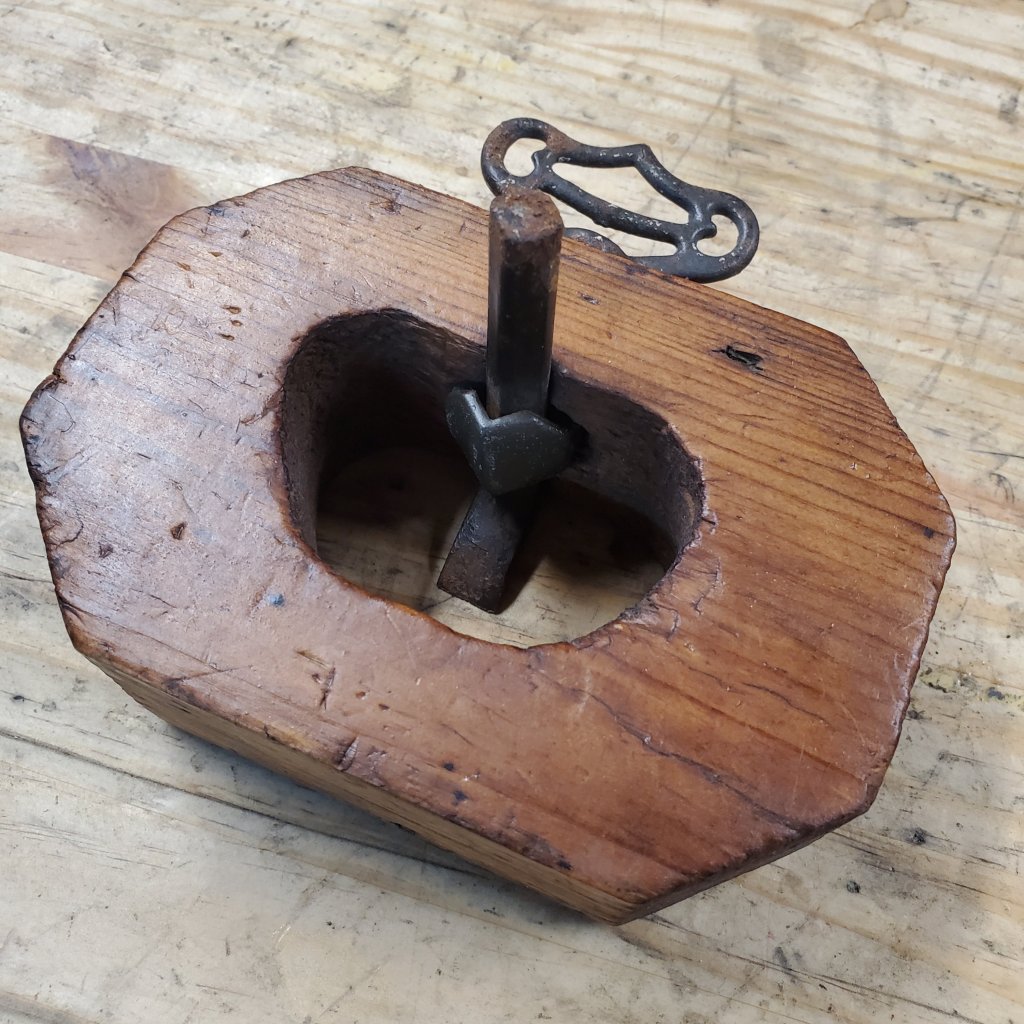
Several months ago, I bought an old wooden router at an antique store for $20. The price tag said it was a Japanese woodworking tool. I guess it could be if a Japanese guy used it. Looked like a home made wooden router plane to me. I bought the tool simply for the hardware, and the Stanley router bit it that came with it.

I search online and came up with a wooden router plan and printed it out. Then I measured, drew, and bore the three holes for the body on a piece of 2″ thick cherry.

A few minutes on the band saw I had the new body of the router.

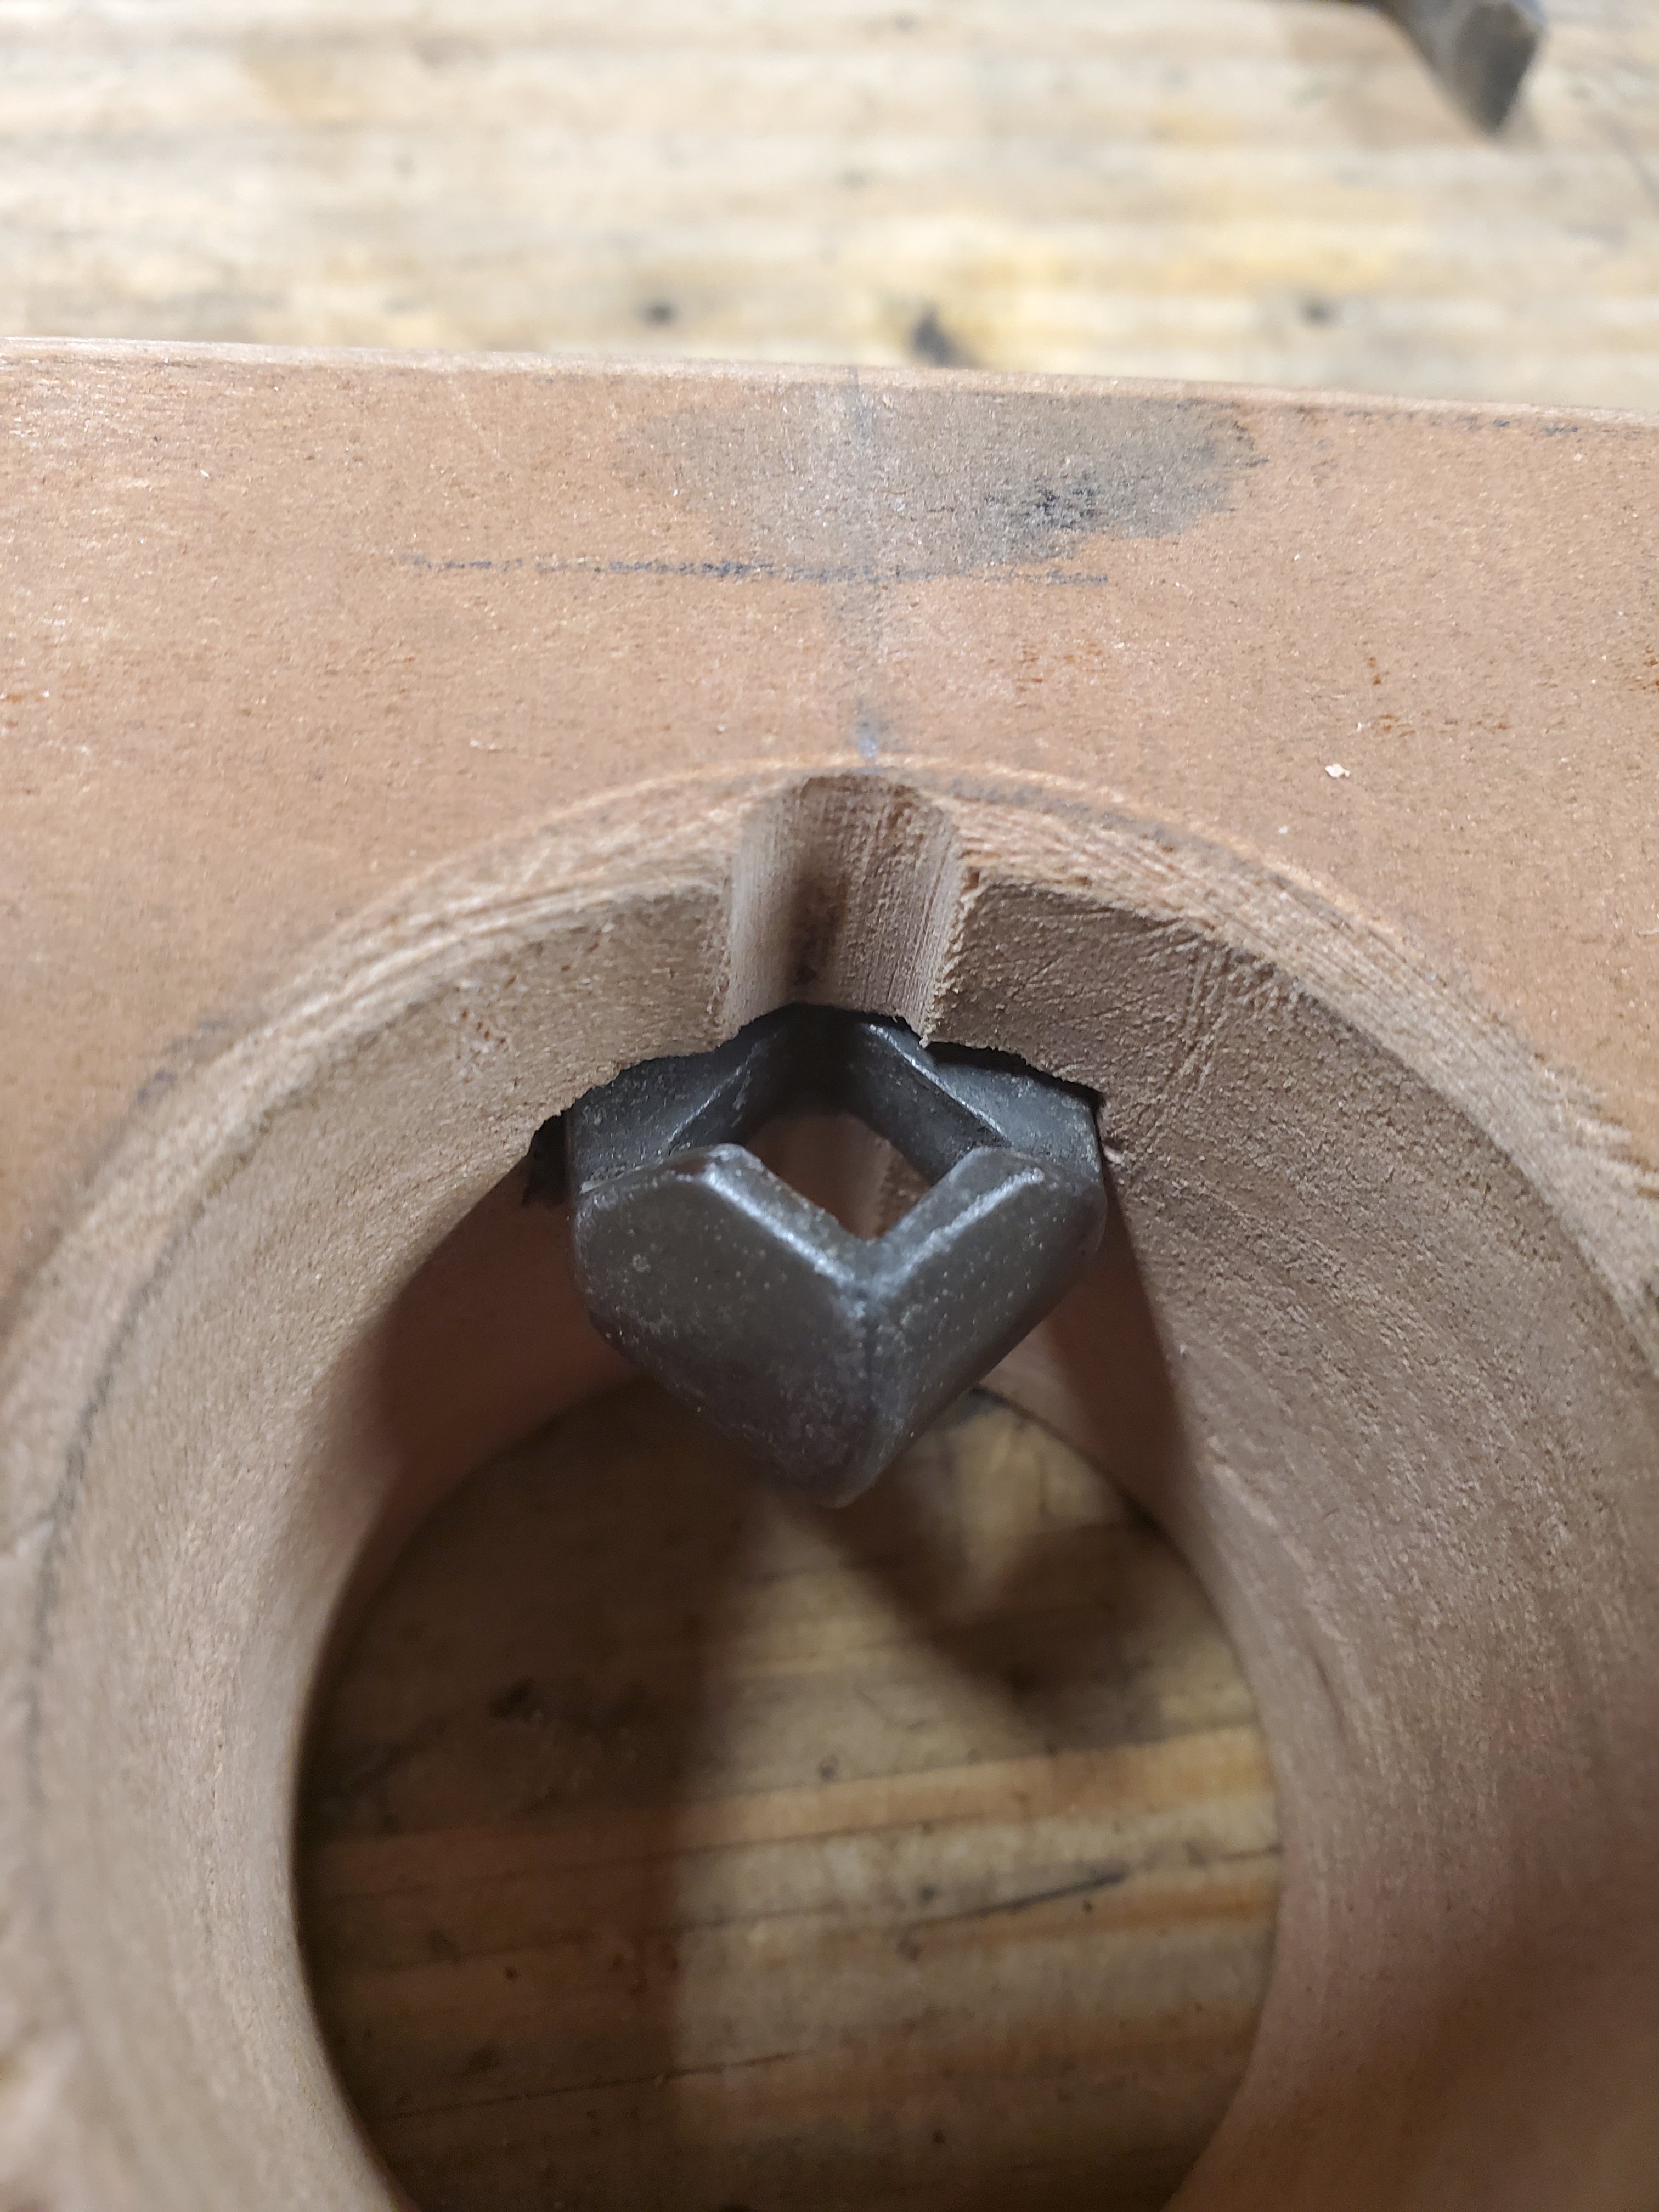
The hardest part in making the body was cutting the mortise for the blade holder. I jabbed at the wood with chisels, knives and drill bits in order for the piece to fit. I ended up getting the piece in the hole and then tightening in the back in order to crush the wood fibers into shape. It took a few attemps, but after a few minutes, it finally fit.

Once the hardware was in, I stuck the blade back in to see how the final fit. Once I was satisfied, I sanded the body and applied a few coats of shellac to it.

The last thing I needed to do was sharpen the blade. The easiest way I have found to sharpen a router plane blade is to grind a bevel on an oscillating spindle sander making sure to take a light touch in order to prevent burning the edge of the cutter. Then, I hone the edge and flatten the back with a whetstone.

I stuck the blade back into the router to see how it cuts. Cuts like butter!

If you’re in the market for a router plane, take a look at the wooden versions. They are much cheaper than their metal counterparts as some of their prices fetch up to $150. I see wooden router planes all the time at antique shows for around $40. They work pretty much the same way, they just don’t have the adjustment mechanism to raise and lower the blade. With a little practice, you can easily tap the blade down with a hammer to lower the blade for the next cut.

Adding Cross Bars to a French Style Bookcase.

Over the past few months I’ve been making these French style bookcases for my wife. They’re pretty popular as they usually sell within a couple of weeks in her booth. The nicest part of the bookcase is the design of the cross bars that mimic the design of the Eiffel Tower. The design also makes the bookcase lighter and feel more open as opposed as having closed sides making the bookcase feel heavy.

Adding the cross bars isn’t so difficult when you take your time and measure everything correctly. When I start to build the cross bars, I rip 3/4″ square stock out on the table saw and sand them smooth on my drum-sander. I take one of the bars and clamp it to both back styles of the bookcase. I then strike a line to show me the correct angle that needs to be cut.

20140914_175028


I take the bar over to my old school Stanley No 140 miter box and cut it close to the line, but not on it. I could do this on a power miter saw, but I feel that’s way too much power for doing delicate work like this.

20140914_175414

After the cutting the bar on my miter box, I size it to the line by carefully trimming it with my AMT miter trimmer. I love this tool, but a miter trimmer is the Rodney Dangerfield of woodworking. For whatever reason, it simply gets absolutely no respect in the hand tool world. I guess hand tool purest would rather use a shooting board and plane, but this thing has never let me down in the twenty-five years I’ve owned it.

20140914_181649

When the bars are properly fitted, they are super tight against the styles. So much so that it is very tough to even fit them in place. Having the bars fit this tight is actually very important because they will be glued in place without any mechanical fasteners other than a 23 gauge micro pin toe nailed to the styles.

20140914_180408

Once I’m happy with the fit, I then scribe a line on each bar where the bars meet to create a half lap joint.

20140914_180757

With a dovetail saw, paring chisel, and router, I carefully remove the material between the lines. The depth of the router blade is exactly half the thickness of the bar ensuring the bars are flush to each other when they are fitted together.

20140914_181522

After the joint is cut, I test fit the pieces to make sure everything looks good. An important thing I do when installing the bars is to place witness marks on the bars and styles so that I know which direction the bars goes when it’s time for installation.

20140915_182435

The cross bars on the sides of the bookcase are done exactly the same way. When it comes to installing all the cross bars, I glue and nail them to the styles. Because I plan on painting the bookcase, I don’t care about the nail holes. I just fill them in with wood putty. I use 18 gauge pneumatic nails and nail the side cross bars from the front and back of the styles. The back cross bars, I glue and toe nail them with 23 gauge pin nails to the back styles.


Adding a Micro Fence to a Bosch Colt plunge router base

After the last month of cleaning and selling a bunch of antique tools on eBay I bought last fall, I was finally able to get back in the shop. For months I’ve always had a Festool Domino on my wish list but for the nearly $1000.00 for one, I never pulled the trigger. So after cleaning out my router cabinet one day, I came across the Micro Fence I bought about ten years ago collecting dust. I bought it for my Porter Cable laminate trimmer and had intended to use it for inlay work. Needless to say I never used the damn thing as I don’t do inlay work. So I got the idea of using it with a Colt plunge router base for routing mortises for loose tenon joinery.

The first thing I had to do was retro fit the jig to work with the plunge router base. I had to custom make the bar that attached the base to the jig so I used a piece of scrap maple I had lying around. I went to Lowe’s and bought 7/16″ round bar stock and fitted them into the sliding section of base.

Next I threaded the rod and reamed the holes with a 7/16″ 14 TPI tap and die set. Took me a while to get that done because everywhere I looked, didn’t carry both the tap and die. I ended up buying the die at Menards and the tap at O’Reilly’s Auto Parts. A big pain in the ass.

After the base had the bar installed, I lined up the Micro Fence to the base, marked where the holes went and threaded those holes with a 5/16″ tap.

The finished piece was tight and clean with the Micro Fence able to come into full contact with the plunge router base.

I got lucky as the handle from the base was able to extend all the way down without touching any part of the Micro Fence. The distance between the handle and the brass screw is about 1/32″.

Once I got the fence to work, I quickly realized that the center hole on the base was too big to work with plunging mortises into end grain as the work piece would literally fall through the hole. So I had to buy a piece of 1/4″ acrylic plastic and make a zero clearance insert for the base.

The base worked well but the only caveat is that when routing, there is no place for the chips to escape the hole. I have to plunge a little bit, then vacuum or pry out the shavings from the hole, then deepen the cut. Not a big deal to me as I always turn off the router in between depth settings anyway.

The Micro Fence works well but thought it would be nice to add a little light so I could see what I was doing better. I stumbled upon this little book light at Half Price Books for $5.00 and hoped I could get it to work on the router.

I snapped off the piece that slides in a book, grabbed some double stick turners tape and stuck the light on the back of the router. The thing works perfectly. Like it was made for the tool. It has an easy touch on, touch off switch which makes it slick to use.

Now I just needed to put the tool to work to see how it performs.

After cutting a couple of loose tenons, I laid out where I wanted them on the piece to be mortised.

A couple of reference marks and some quick passes with the router, I got a perfect fit. I think this will quickly become one of my favorite tools. Not as slick as a Festool Domino but for the price of the plunge router base at $100 and an unused Micro Fence, I think it’s a really good bargain.

ToolCo Router Bits

A couple of months ago there was a thread on a woodworking forum I host called The Burl www.theburlforum.com where people were talking about which router bits were the best. I made the comment that I usually buy Whiteside router bits because they were of good quality and made in the USA.

I was told by a member of The Burl that there was another USA made router bit company around that makes bits under their name as well as private labels them for other companies called ToolCo. I had never heard of them but was intrigued so I searched them on the internet and found their website at www.toolcobits.com.

After visiting their website, I was impressed with the vast amount of bits they made and was eager to try them out but had no way of knowing where to buy them as it lacks a dealer locator.

Then miraculously, I was contacted by an employee of the company who asked If I would be interested in getting some. After exchanging a few emails he sent me a package of router bits.

At first glance I could tell these bits were bad ass. The majority of router bits I have in my shop are 1/4″ shank Chinese shit bits I bought as a set at Costco a few years ago. These ToolCo bits were 1/2″ shank and looked like they could kick some serious hardwood ass.

You can definitely see the quality difference between ToolCo and the crap bits. For one thing, there’s more metal to the body and the carbide is thicker. I’m sure the carbide itself is better grade of material but I don’t know much about metallurgy to even comment on that. All I know is that when I stuck them in my router they cut like butter.

Even the spiral up cut bit is wicked looking. I’ve never seen a bit with that many tight spirals up the shank. A few weeks after I got my bits, I attended The Woodworking Show in Columbus Ohio and went to the booth where they sell a lot of router bits. I looked for their spiral up cuts to compare to the ToolCo I have. I could tell the ones they sold at The Woodworking Shows were made for homeowners while these ToolCo bits are sold for Industrial use.

Obviously I haven’t had time to try out all the bits I got but, it’s like the old saying; you don’t have to eat the entire pie to know it taste good. All I know is the next time I’m in need of a new router bit, ToolCo is where I’ll look. I just hope they update their website so I can find a local dealer who stocks them.