Repairing a Saw Handle

I bought a Disston D8 Thumb Hole Rip Saw and wanted to restore it. The saw was in pretty good condition when I bought it. The only issue it had was that the back of the handle was broken with a chip missing from it.  It’s a pretty common issue as that is where your thumb and index finger ride when sawing, so it’s under a lot of friction.

I wanted to repair it, so I carefully carved out an area to glue a new piece of apple wood in its place.

After the glue dried, I shaped and sanded the wood to match the rest of the handle. It came out well , it just needed a little bit of wood putty to close up the gaps between the new wood and handle.

After the putty dried, I sanded the whole handle and applied a few coats of shellac to it. The handle looked nice, but the putty stood out like a sore thumb.

This is where I put my artistic hat on. Playing with a paint kit, I mixed up a few colors of red, brown, and yellow, mixing them around to get the best matching shade I could create. It wasn’t about creating the perfect color but laying three different colors down so that it would blend with the rest of the handle.

After a few minutes of painting, I was happy with how it turned out, so I let it dry.

The saw came out nice, and the broken end of the handle won’t dig into my skin when I’m using it. Now that is all left to do is to sharpen the blade and put it to use.

Another saw saved from the scrap heap.

Langdon Millers Falls No 40 Mitre Box

Last weekend, my wife and I were antiquing in Dayton, Ohio, when we stopped in an antique store in Tipp City. I went into the back of the store when I saw this thing sitting on the shelf. I immediately knew exactly what it was as I owned one of these tools many years ago. It’s a No 40 Langdon Millers Falls Portable Mitre Box.

When I was a kid, I went to an Ohio Tool Collector Association meet-up and saw one of these miter boxes on a silent auction table. I thought it was cool as it was something I had never seen before. I put a silent auction bid of $20.00 and hoped for the best. Sure enough, I won the auction! The guy selling it wasn’t too happy about the price it received as he said that’s what he paid for it.

The tool is simple in its concept. There’s a fence that you clamp to a board and disc that you turn and set your angle with positive stops. You can even adjust the accuracy of the angle by adjusting the two screws on either side of the positive stop.

I wanted to try it out, so I grabbed a piece of scrap wood and clamped the miter gauge to it, then swung the fence to 45 degrees.

Since it’s made to be portable, the craftsman would just use a panel saw and cut the board while on the job site. The miter box is small enough that it would easily fit in a toolbox.

After I took a cut, I was surprised how accurate it was. That’s a pretty good 45 for trim carpentry work on a house.

Millers Falls made a compound angle version of this tool called the No 41, but I have never seen one in the wild.

I paid $15 for this miter box, which is cheaper than what I paid for the first one 35 years ago. People don’t know what these things are, so if you find one in the wild, chances are you’ll pick it up for a good price. I sold my first one years ago when I was unemployed and needed money. I really didn’t want to sell it back then as I thought I would never find another. Maybe the antique tool gods like me. 

Saw Sharpening

A couple of weeks ago, I bought Set & File by Matt Cianci from The Lost Art Press. I waited about a year for the book to be published as sharpening has never been a strong suit of mine when it comes to saw restoration.

I’ve owned a Lie Nielsen dovetail saw for years and recently restored a Spears and Jackson dovetail saw. While I could sharpen the teeth fine, setting them properly was a pain as the anvil in my saw set was too big to do the job.

I read in Matt’s book where he dismantled his Stanley No 42X saw set and filed the anvil thinner in order to properly set the teeth on fine tooth saws.

Sure enough, I followed his advice and clamped the anvil in my vise, and carefully filed both sides of the anvil in order for it to look like the one in his book.

Putting the saw set back together, the anvil looked like it would now do the job.

After a few minutes of sharpening and setting the teeth, the saw sat in its kerf nice and tight. Plus, it cut like butter.

Now, I have two dovetail saws that are ready for use. It’s amazing how simple tricks can help your woodworking skills. Major props to Matt Cianci!

Cool Little Workbench

My wife, Anita, and I were antiquing in Madison, IN, yesterday when I stumbled upon this little workbench. 

It was cute little Sloyd style workbench from the 1800s. I couldn’t believe how small it was, so I imagine it had to be built for a little kid.

It had to be about 3′ 6″ tall by 5′ long. What was so amazing about the bench was how well worn out and used it was. The child that worked on this bench used it a lot as the top is full of tool marks.

Obviously, it could have been for multiple children in a school shop class, but I never had a bench like this in elementary school, let alone a shop class.  Can you imagine being the kid lucky enough to work on this bench?

No, I didn’t buy the bench as I couldn’t afford the $350.00 price tag as I’m too cheap. Plus, I didn’t want to drag it home because I had no place to put it. But it’s definitely the coolest old workbench I’ve ever seen.

Jorgensen Compound Miter Box

A few months ago I was browsing through my local thrift store when I stumbled upon this miter box. I’ve seen hundreds of miter boxes in my day, but this was the first handtool compound miter box I had ever seen.

It’s a Jorgensen No 64020 Compound Miter Box made during the 1980’s or ’90’s in complete condition with its original instruction sheet. The price at $15 was too good to pass up so I brought it home to play with it.

The miter box appeared to be well made with smooth action on the vertical axis swing, wood support, repetive cut stop, and a hold down clamp. After figuring out how the tool worked, I was excited to put it to use.

I grabbed a piece of pine and randomly set the angles on the vertical and horizontal axes and gave it a go. After a few minutes of cutting, I was finally able to cut the piece off. The blade is either dull or the teeth are set so fine, that it easily binds in the wood. I measured the teeth on the blade and they’re 20TPI. I’m thinking that maybe this tool was meant to cut woods like balsa for model airplane building.

I went online to find a replacement blade, but unfortunately they are no longer made. Craftsman makes a 16″ long replacement blade but this one is 24″. I guess I could make a new out out of old miter box saw blade and use this one as the template. That may be a fun thing to try someday.

So right now, it sits underneath one of my workbenches out of the way collecting dust. What a shame! It looks like a really cool miter box that would come in handy for cutting intricate molding that would be too dangerous to perform on a powered miter box.

Cleaning up an Old Saw Blade

It’s been slim pickings buying antique tools the past few months. So much so, I had to close my eBay store and just list things when I had a few tools to sell.

Scrounging around my shelves in my workshop, I found an old miter saw I bought at one time but completely forgot about. It was in pretty rough shape when I bought it but the price was right. Being out of inventory, I figured it would be a good time to clean it up

If you know me, you know I like dipping old rusty tools imto a ctric acid bath for a few hours. The process works great on old cast iron plane beds but when I try it on saw blades, it turns the steel really dark.

I heard about guys who scrunch up a piece of aluminum foil and use mag wheel polish to buff out the rust using nothing but elbow grease. I have tried this method on previous saws and have enjoyed the outcome so much that I no longer dip my saw blades in citric acid.

I started with a piece of aluminum foil but the blade was so tarnished and rusty, that I decided to use a scotch brite pad instead. It took a lot of elbow grease, but I was happy with the outcome after a few days of scrubbing.

You can see the etching was saved using the mag + aluminum polish. Sometimes when you use sandpaper to remove rust on saw blades, you lose the etching as well. You can also see the oxidation on the blade from all the rust.

When I bought the saw, I thought it was a Disston but it turned out to be a Simonds saw for a Millers Falls Langdon Mitre Box. Turned out to be a nice find.

The handle was already in nice shape. All I had to do was remove the old cracked lacquer finish with paint removal gel and buff it with steel wool. Then I applied a few coats of shellac to it.

The saw cleaned up nicely and is ready to be put back to use. Just needs a quick sharpening.

It’s Back

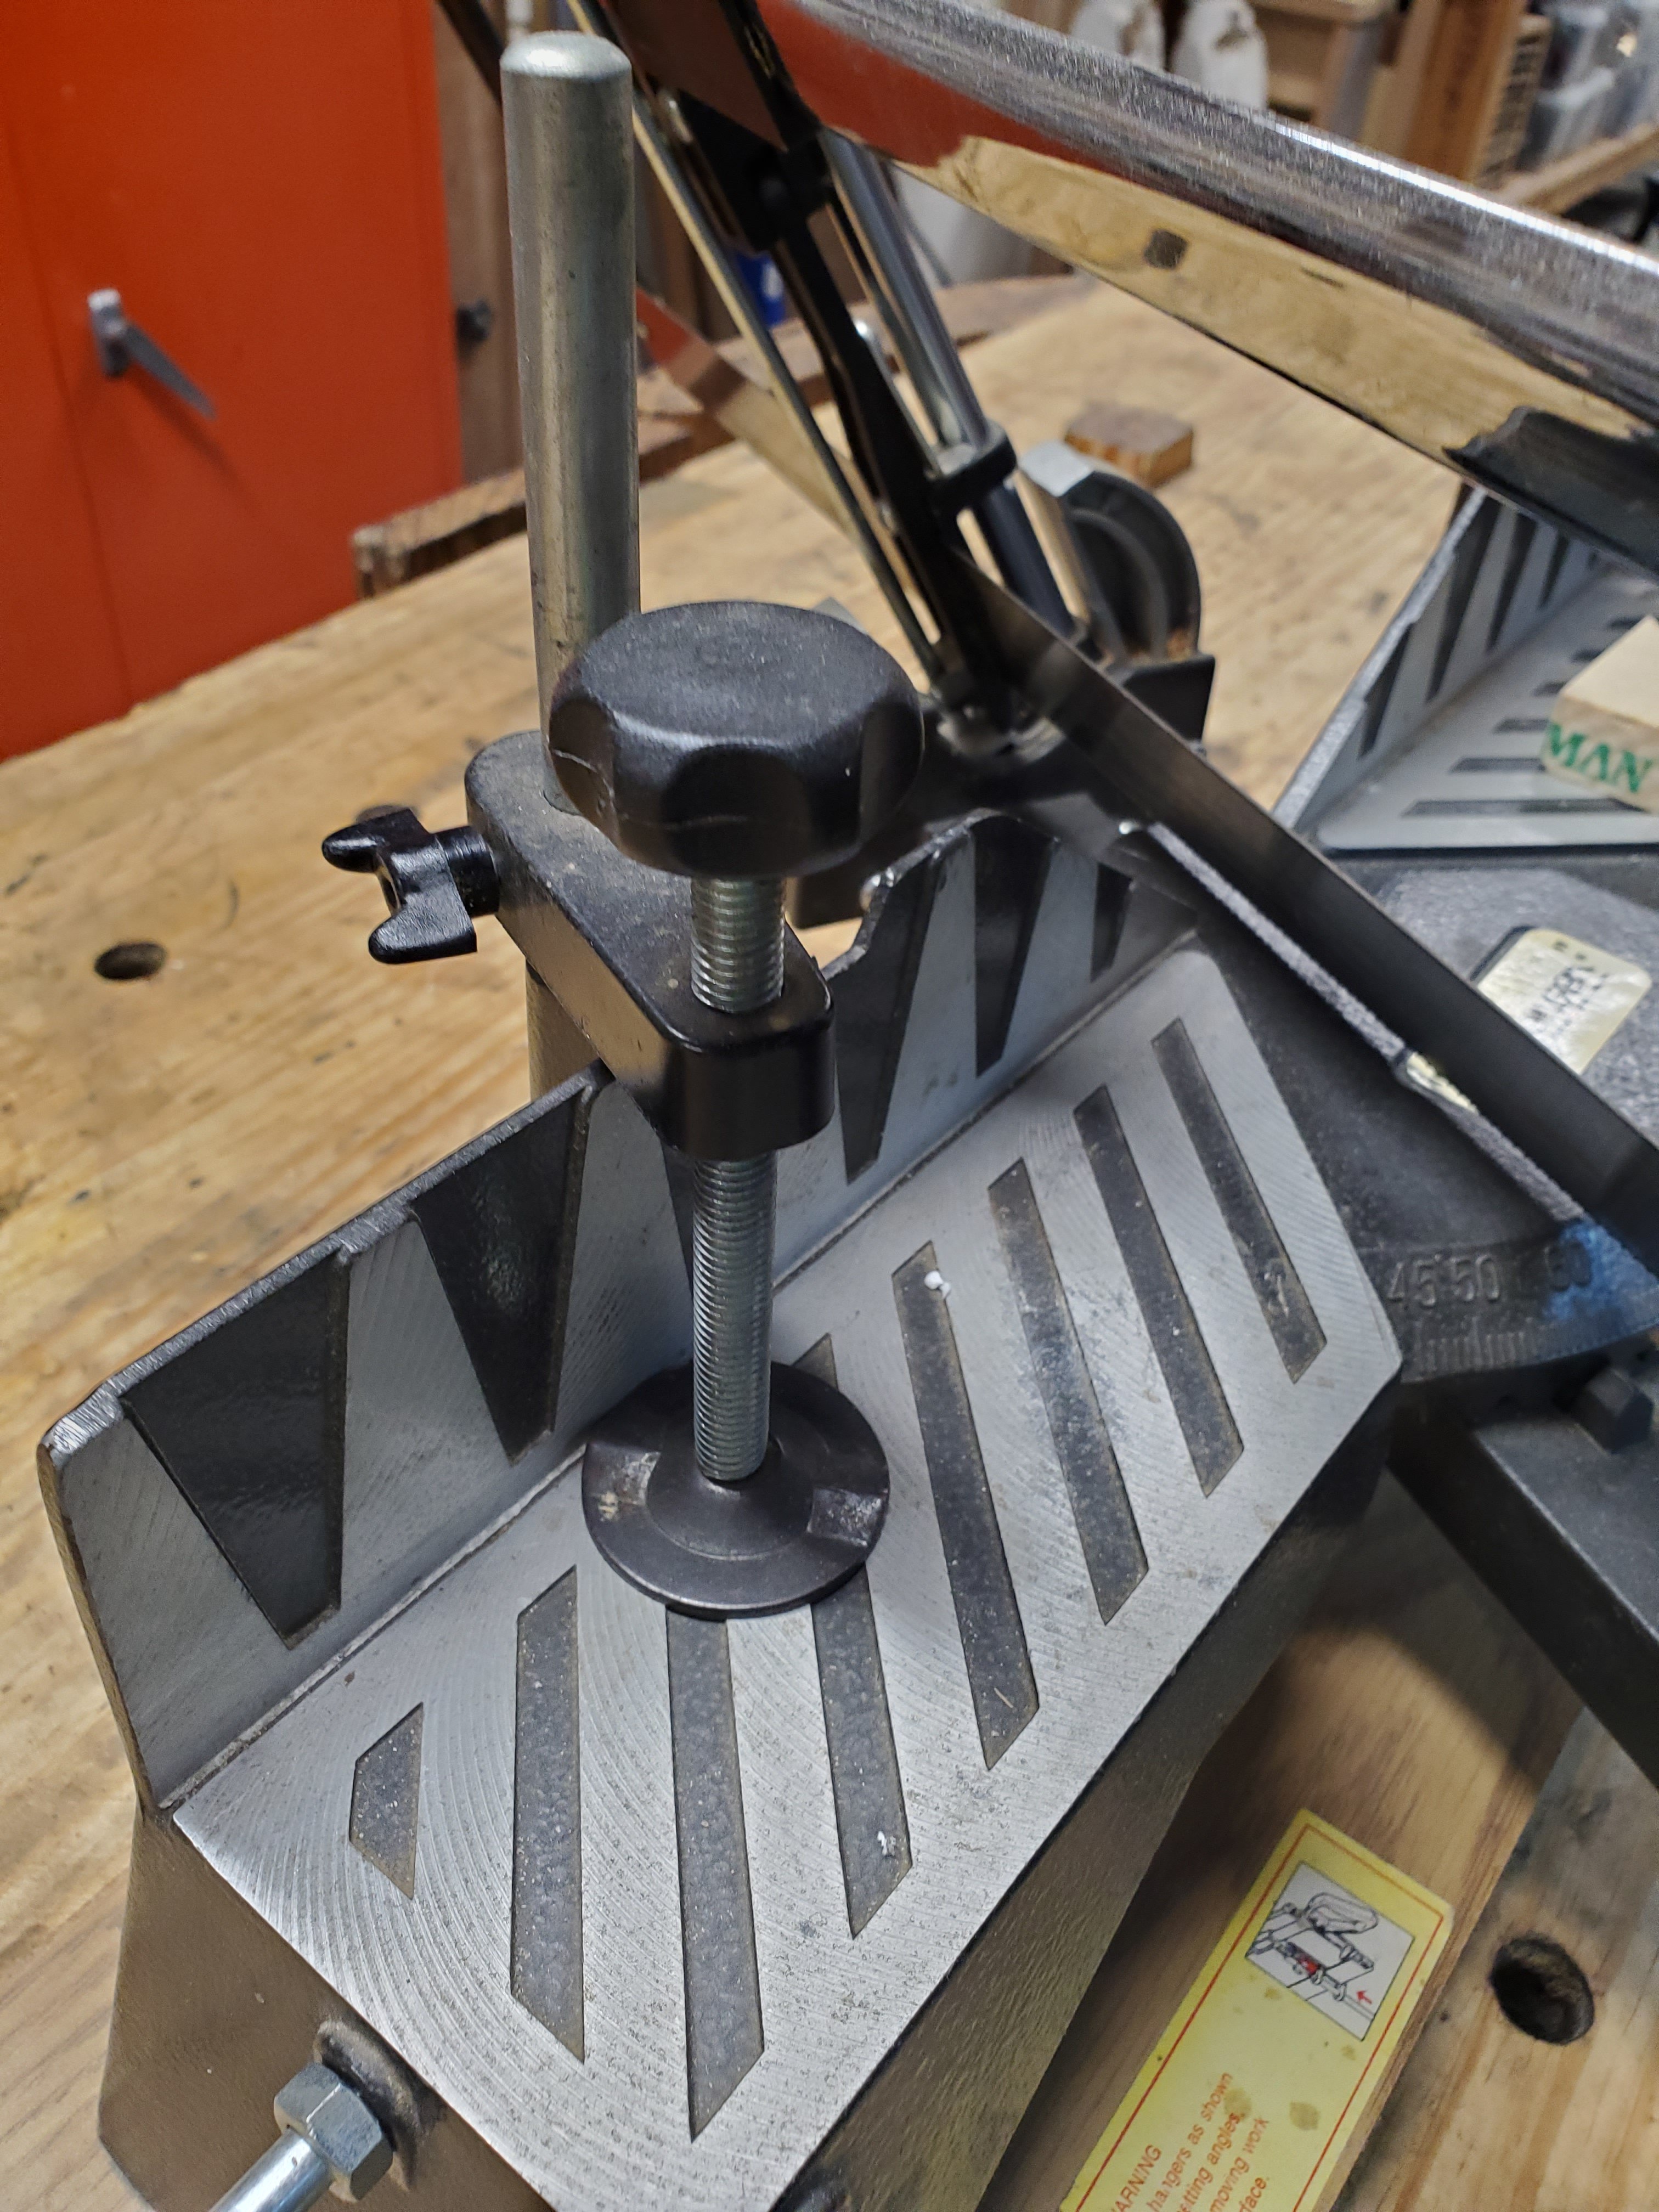
Last month I was fortunate enough to sell my massive Langdon Mitre Box and Disston Saw on eBay after it was listed on the site for over a year.

20140617_164553

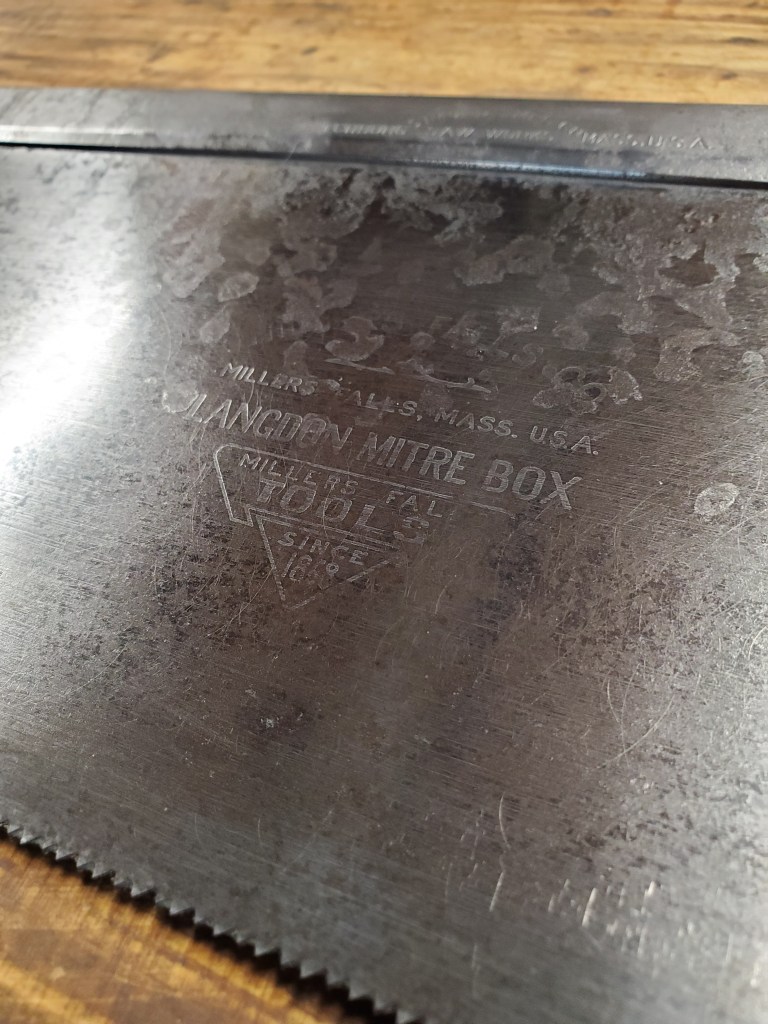
Just a few weeks before, an article I wrote for The Gristmill, a publication of the Mid-West Tool Collectors Association, was published in their December 2017 issue where I discussed the origin of the tool.  A few years back, a member of the MWTCA wrote about the Disston saw, but couldn’t determine if there was ever a miter box that went with it. My article cleared up the controversy. Apparently the guy who bought the miter box from me on eBay, read my article and made me an offer for it. Deciding I had no real need for the tool, I accepted his offer.

20180107_172409.jpg

I went to u-haul to buy a box, wrapped the miter box and saw in bubble wrap, and carefully packaged both into the shipping box. I took it to UPS and paid for shipping and insurance which cost me $60.00. The girl at the counter told me that UPS insurance only covers damage in shipping if UPS packed the item. Going against my better judgment, I went ahead and bought their insurance anyway since I was the one who packed the tool. In hind sight, I should have just walked out the door and went to USPS to ship it to the buyer.

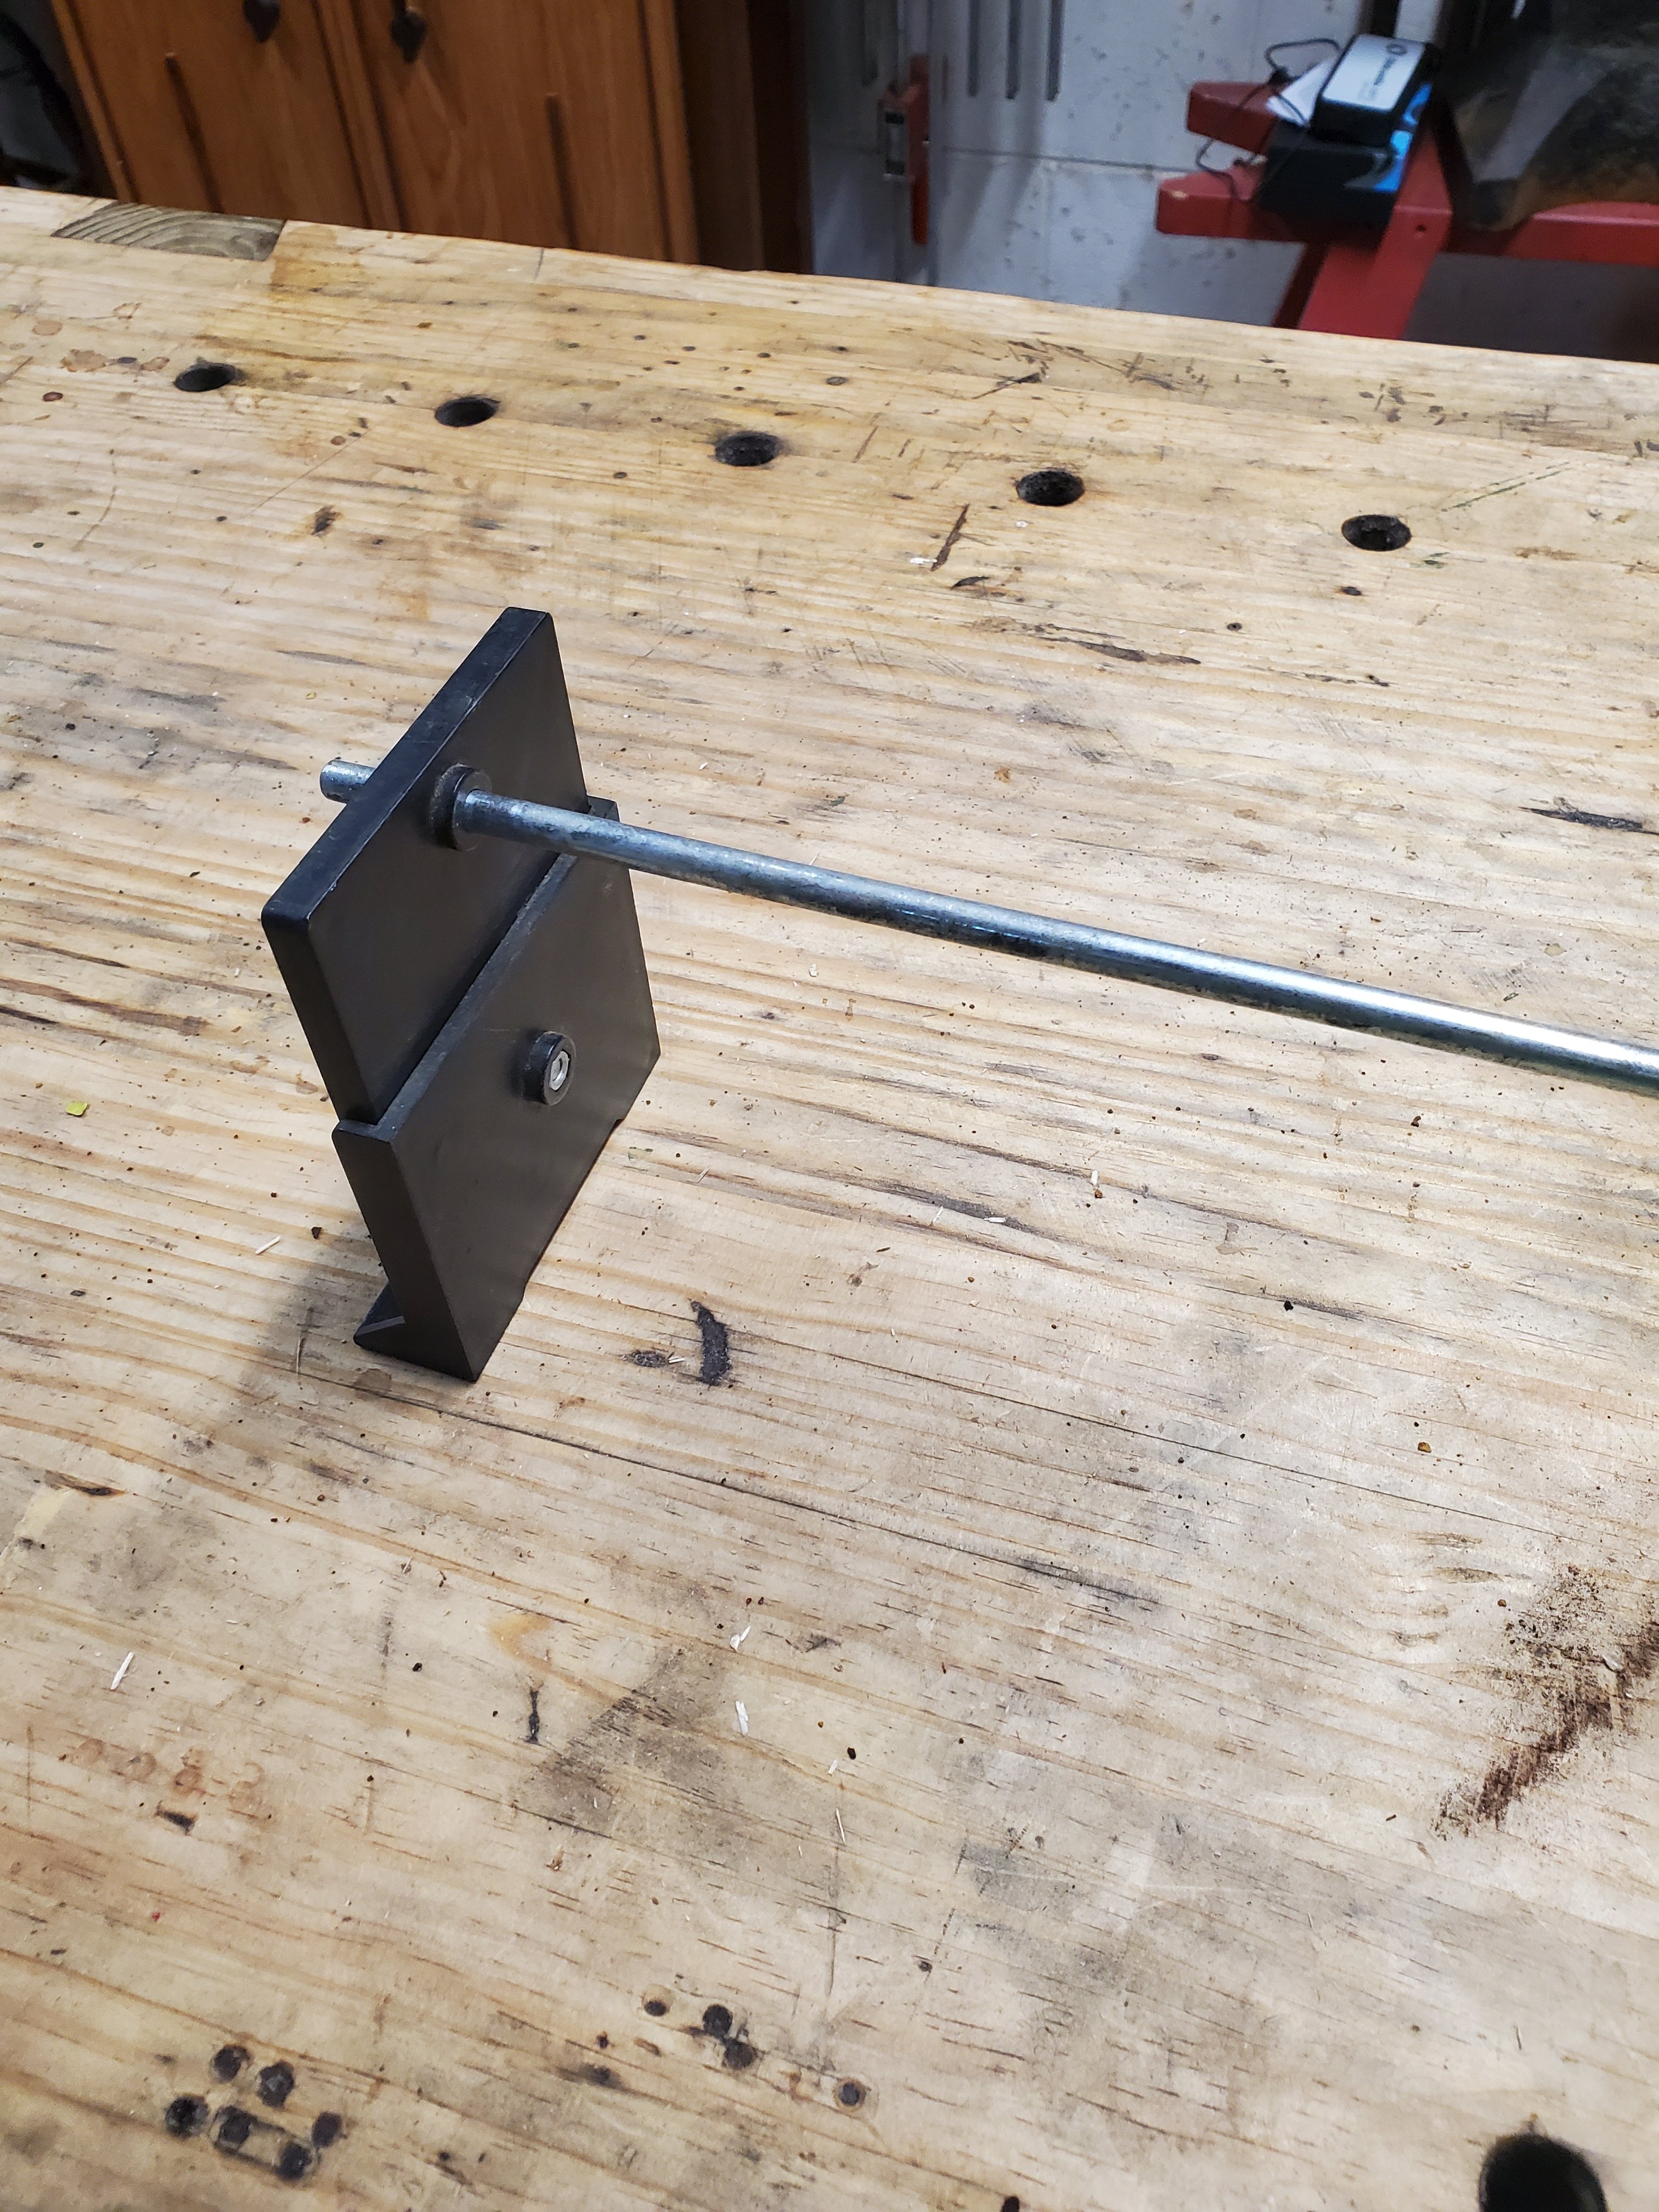
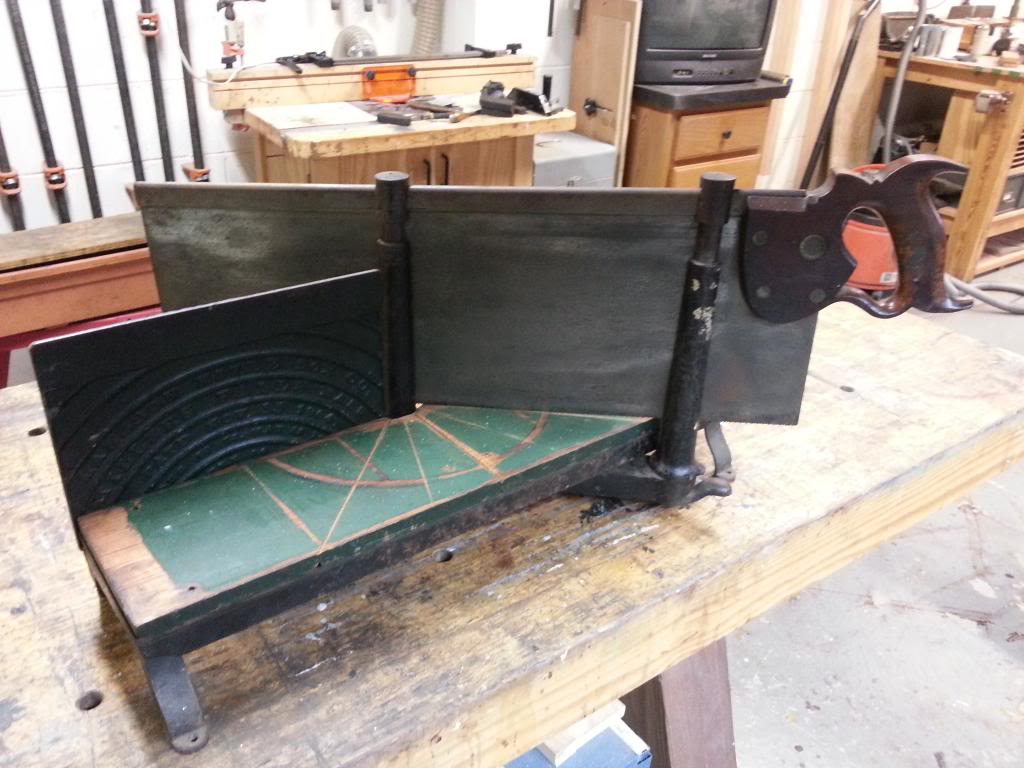
Sure enough a few days later, the buyer contacted me saying that the bottom foot cracked in half during shipping and he wanted to return the tool. I told him to send it back and I’d give him his money back, which he did. When it arrived back to me, the bottom cast iron foot was indeed broken in half. I took some epoxy and glued it back together just so I wouldn’t lose the piece, but the foot is now useless.

20180107_172618.jpg

The other foot was already broken before I bought the miter box which leaves me with the dilemma; do I try to fix the feet or just leave it be? If I try to fix them, how do I do it? I assume I could make a sand casting of the foot and make two identical feet from the casting, installing them back onto the miter box but, I don’t know how to make a casting as I’ve never tried that before. Additionally, I really don’t want to pay someone to make them for me. Even if I did make new feet, they wouldn’t be original and may detract from the value of the tool. I think my best bet is to find another Langdon miter box for parts and take the feet off that one. They may work as long as the depth of the boxes are the same.

20180107_172601.jpg

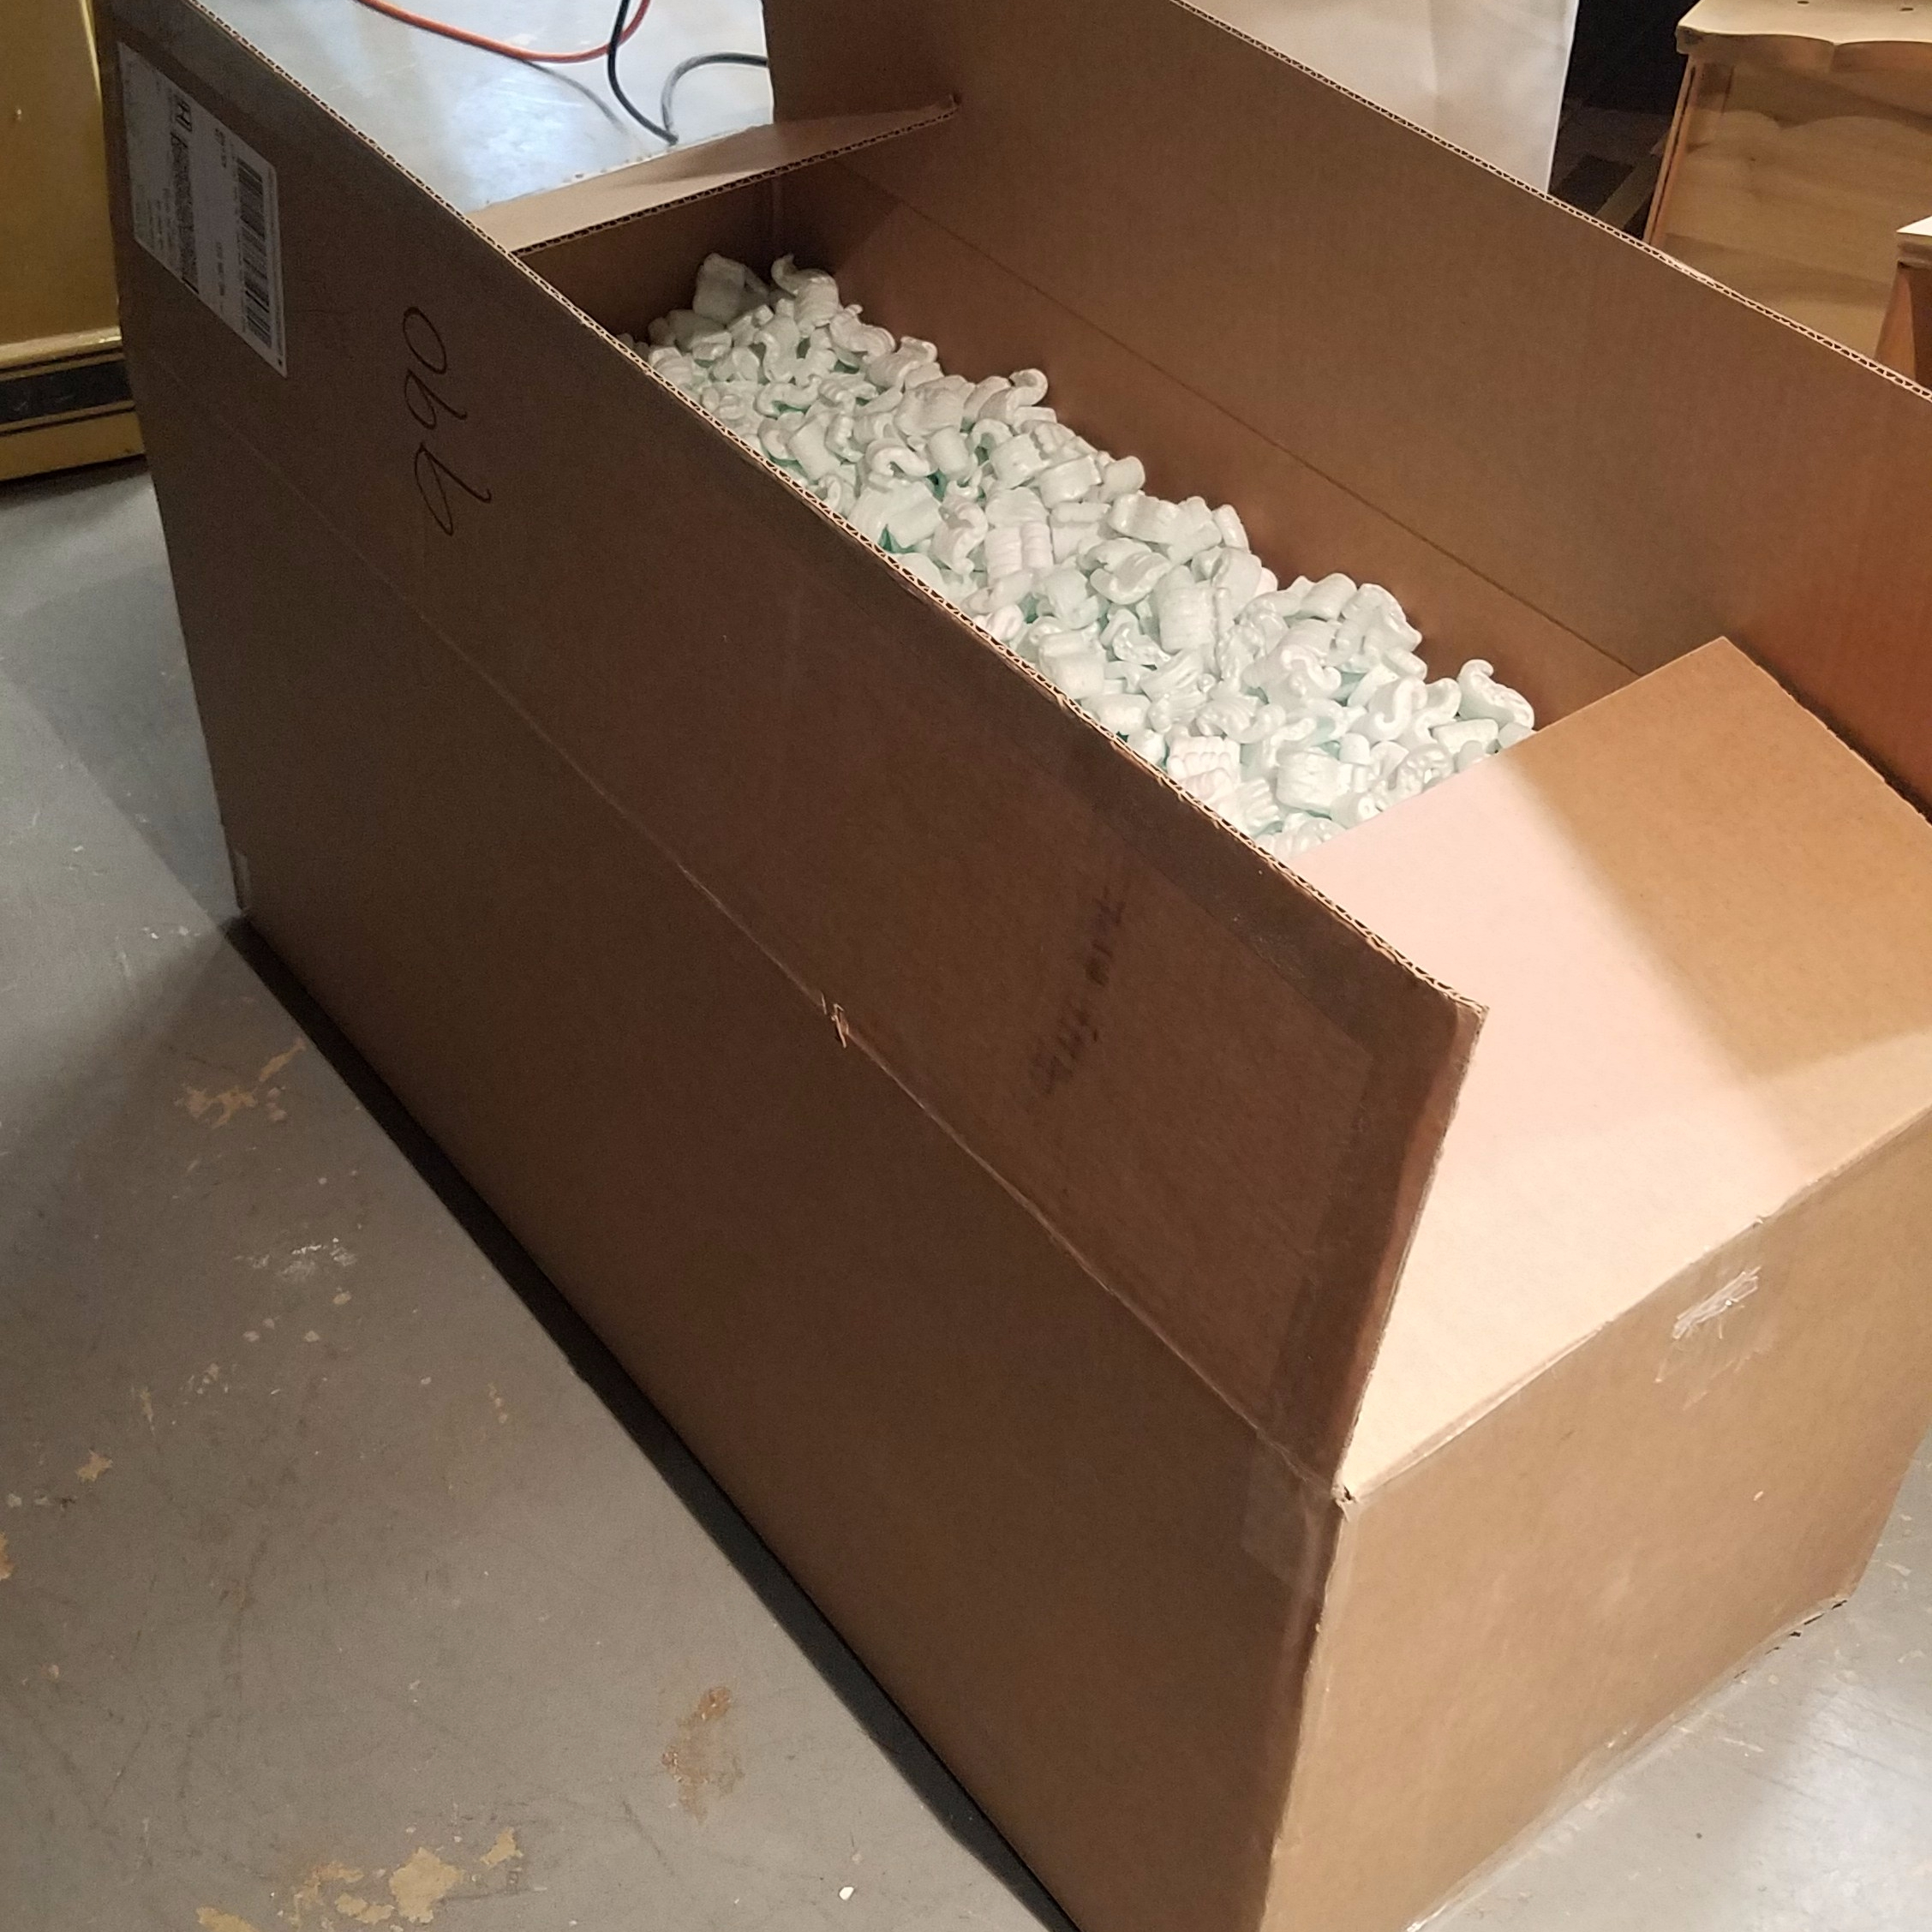
I wish I had this box to begin with. The buyer of the saw did a much better job shipping it back than I did shipping it out. He had a perfect fitting box with a bunch of packaging peanuts inside.

20180107_172646.jpg

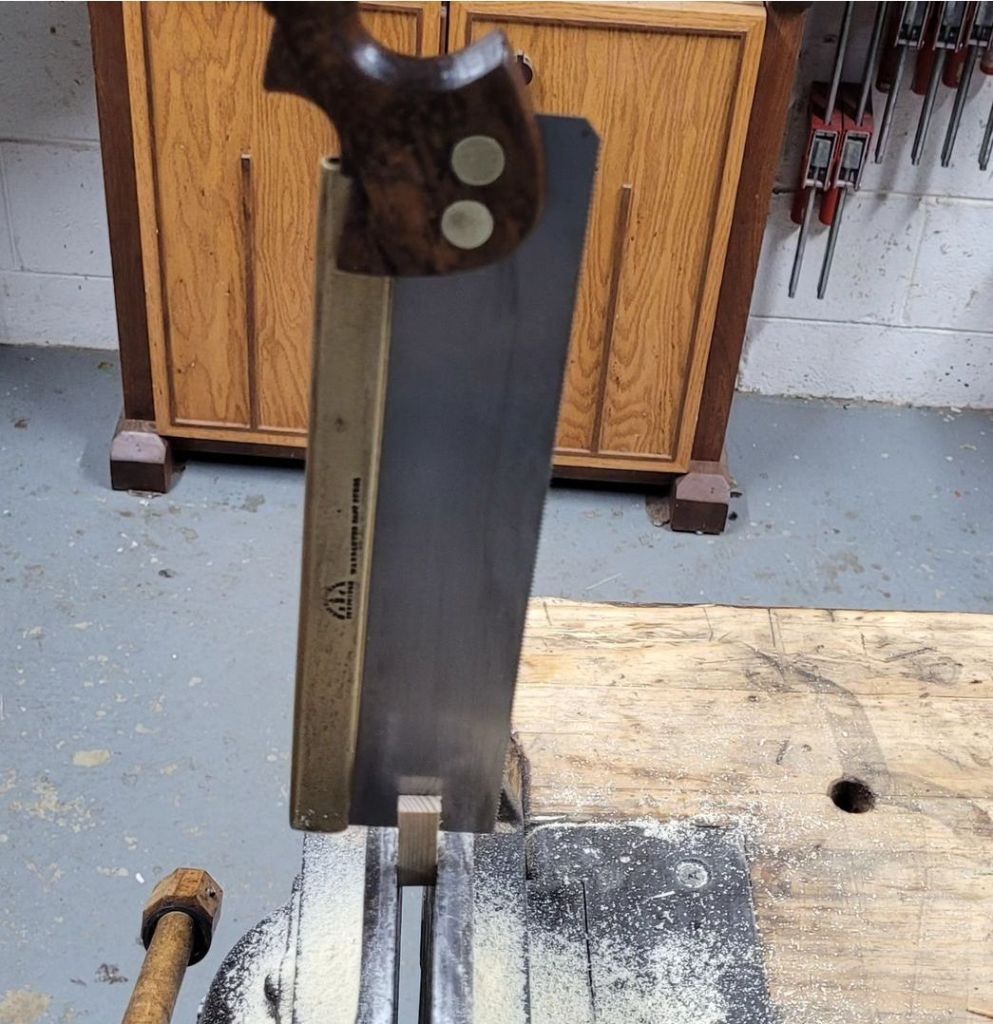
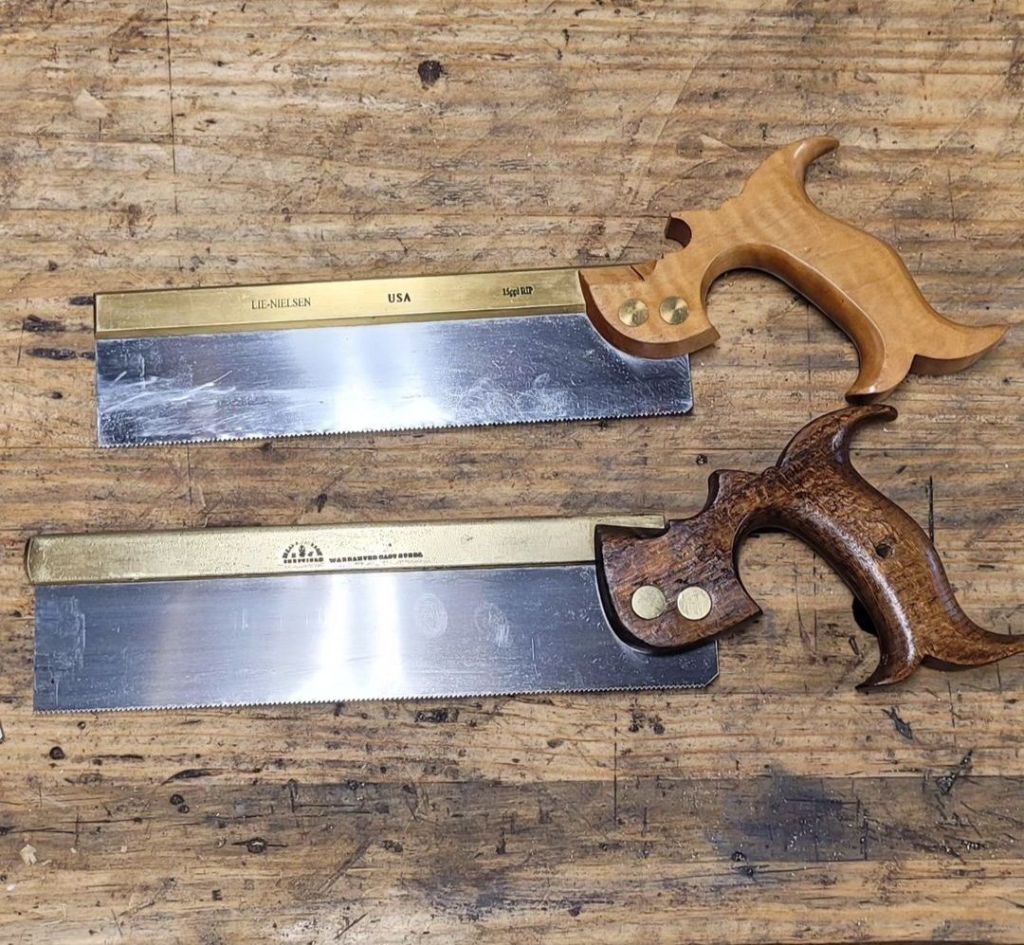
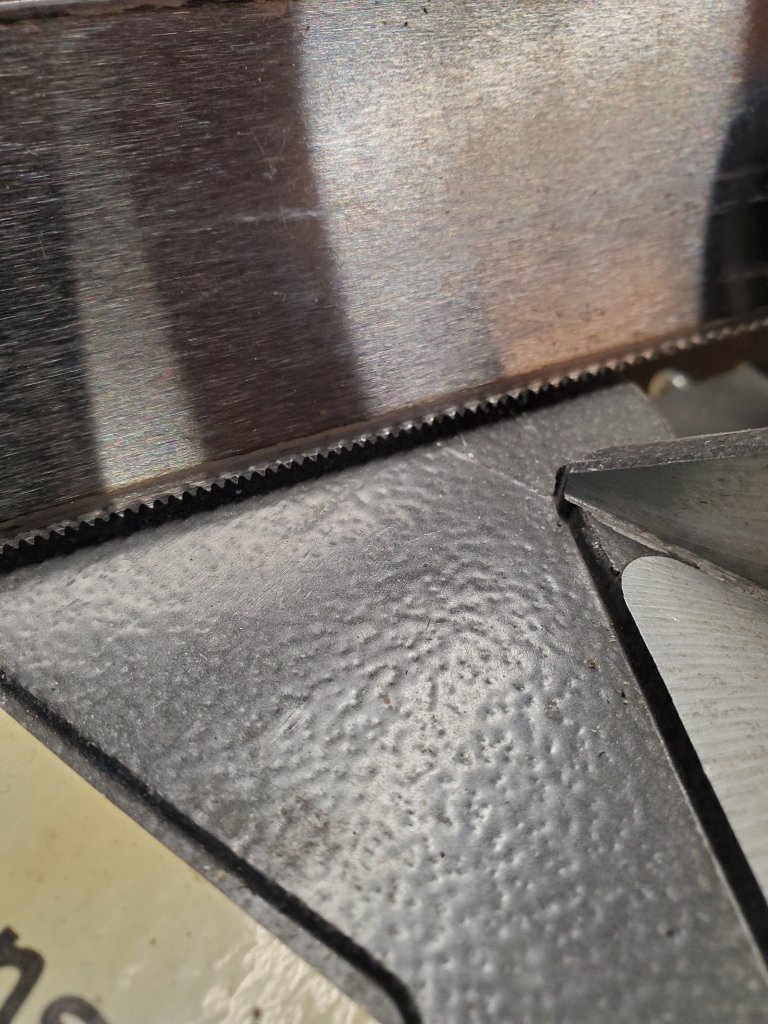
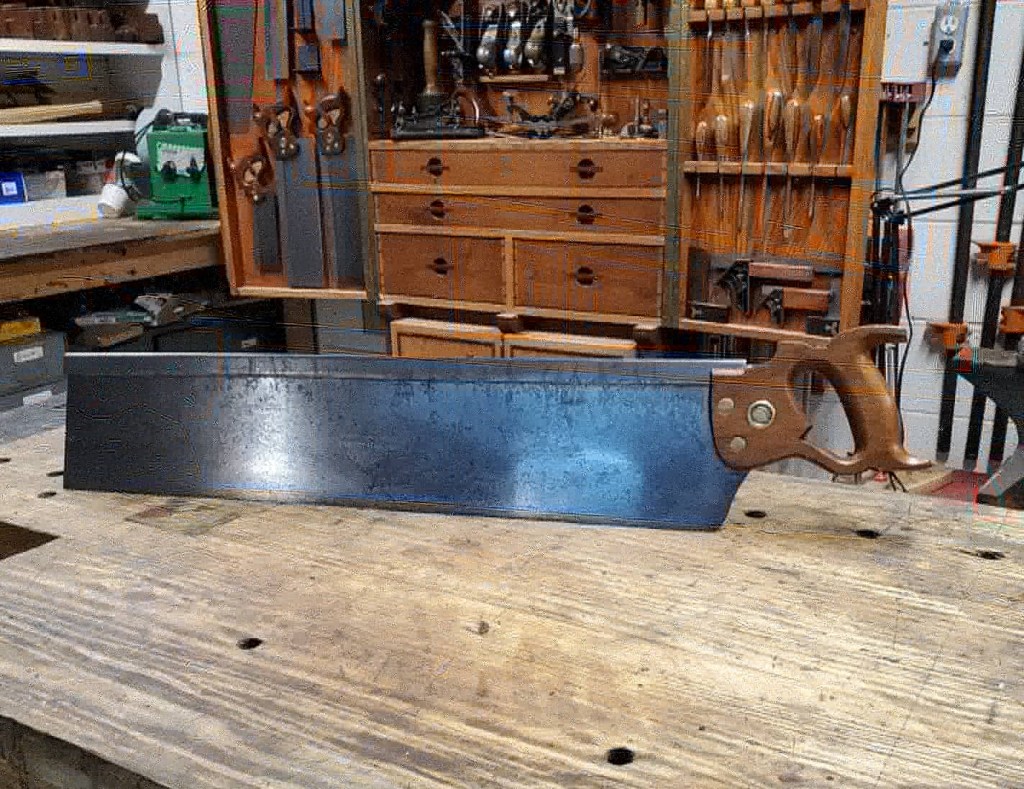
Even the saw was well packed up. I’m glad the saw was never damaged in the shipping as that is what has the most value. I thought about just selling the saw by itself, but I know that’s not the right thing to do as it really needs to be with the miter box it was created for. As far as I know, there are no other miter box and saw combo like this around as they are truly a one of a kind tool. What do I do?

20180107_172657.jpg


The Downfall of Sears

This morning I had some time to kill in between store visits, so I decided to stop in a local Sears to browse their tool department for a few minutes. I wasn’t expecting much since I knew that Sears had fallen on hard times in recent years, but what I encountered was just plain sad.

20170608_102711

I was so taken back by their tool department that I grabbed my cell phone and took some pictures of  their shelves. There was hardly any selection of any kind. I remember about twenty years ago, Sears was one of the main places to buy tools. They had a huge selection with competitive prices. I used to buy all my tools from Sears. From clamps to power tools, to automotive wrenches. In fact I still own a Craftsman bench top radial drill press that still works like a champ to this day.

img_20170608_103022_267

I was wondering if this was a store that was closing so, I looked around for clearance signs, but found none. The only reason I could think of why they don’t have any products on their shelves is because they may be on COD-only terms with the majority of their suppliers. I remember the company I used to work for a few years ago had the same problem. They couldn’t order any product from the manufacturers to resell it to their dealers and ended up going bankrupt within six months. It’s been so bad for Sears lately that they sold the Craftsman brand name to Stanley Black and Decker late last year to generate cash.

img_20170608_103022_285

This is what’s left of their machinery selection. A radial arm saw and a cheap looking band saw. There was one old lady working the entire department who looked like she was 82 years old. I remember back in the day, there would be at least three or four clerks around to help you out.

img_20170608_103022_265

When things get this bad, there’s no way I would even buy anything from them in the first place. There’s a good chance that if I did buy something from them and the product ended up breaking within the 30 days of my purchase, with my luck, the company’s doors would be closed leaving me high and dry. When was the last time you bought something from Sears? I can’t even remember the last time I did.

img_20170608_103022_269


Woodworking in America

I stopped by the Marketplace at The Woodworking in America show in Covington, KY today after work. Living in Cincinnati I’m spoiled that I get to waltz right in like it’s no big deal when the majority of people who attend have to make travel plans and hotel accommodations. I attended the first WIA a few years back in Berea, KY and had a blast listening to presenters like Roy Underhill, Brian Boggs and Frank Klaus. However, the money has been too tight for me to afford to attend any of the seminars since then.

I picked up a few things while I was there, nothing much. I mainly went there to buy the book “By Hand & Eye” by George Walker and Jim Tolpin. I’ve read good things about it and knew Lost Art Press would have a booth so leaving with that was a no-brainer. I also picked up a couple of DVDs about using SketchUp. I’ve been wanting to learn how to use this design software for years but after fiddling around with it in the past, it never clicked. Hopefully the DVD’s will make a light bulb go off in my head.

I stopped by the Knew Concepts booth and looked at their fret saws again. I see them every year but they never bring any inventory to sell. They would give me a card and tell me to go on the website and use it for free shipping. Every year I took the card and just forgot about it. Well not this year. They finally brought saws to sell so I bought one.

I’ve wanted one of these saws for a few years now. They are much stronger and hold the blade much stiffer than an ordinary coping saw. I’ll use it mainly for cutting the waste out of dovetails as well as some fret work from time to time. The difference between a Knew Concepts saw and a coping saw is night and day. I may turn a new handle for it out of cocobolo to beautify it someday, but I’m in no rush for that.

With my Knew Concepts saw, my coping saw is perfectly happy in his new home.

All in all, the Woodworking in America is a good show that’s worth going to. It’s not like The Woodworking Show that travels around the country. It’s mainly focused on hand tool woodworking so you won’t find a lot of power tools or boxes of discount belt sander sanding belts. About three quarters of the vendors focus on hand tools which is fine by me.

I was disappointed not to see Welch chair maker Don Weber again this year. He hasn’t attended in a couple of years and I’m not sure if he will again. I took a blacksmithing class from him a few years ago at his shop in Paintlick, KY. He’s extremely knowledgeable about woodworking and a hell of a craftsman, as well as down right a nice guy. I did talk to a few young chair makers who were selling some sweet ass chair making tools. I wanted to buy a drawknife sharpener and adjustable calipers but my funds were already spent. I got their cards so maybe sometime down the road I’ll buy them off the internet.


Restoring a Hand Saw

A few weeks ago, while at the Tri-State Antique Show in Lawrenceburg, IN, I came across this old Disston saw. It was in decent shape barring a little rust but the blade was straight. The dealer was only asking $8.00 for it so I decided to buy it and see if I could bring it back to life.

Overall, the saw was in pretty good condition, it just had a few issues with the handle. The top of the tip was chewed up and a part of the side was busted on the other side. I grabbed a piece of beech scrap wood and cut out a couple of blanks to fix the handle. The beech came from an old jointer plane I bought decades ago. It was missing the blade so I ripped it straight down the body into 3/4″ planks and have been using it to repair other tools for years.

I could have cut off the entire tip of the saw and glued in a new piece of wood but I decided just to shave the worn area away with a chisel. This way, the other side of the handle would be left undisturbed.

After I carefully cut out a blank that matched the angle of the shaven off area, I glued it in place with some woodworkers glue.

After the blank was glued and had dried, I used files and rasps to bring it to final shape. I wanted to make sure the wood matched the original shape which was easy because the other side was still there.

Next I flipped over the handle and started working on the part that was missing from the front of the handle.

I cut another piece off my scrap beech and glued it to the handle then shaped and sanded the wood.

The handle came out well but the contrast between the old beech handle and the replaced beech was pronounced. I decided to darken the entire handle down so it would all match. The first thing I did was tone down the wood with walnut aniline dye. I rubbed a couple of coats on it with a sponge and let it dry. I then applied a light coat of dewaxed shellac so I could wipe on a couple of coats of General Finishes Walnut gel stain.

While the handle dried, I focused on the blade. This was the easy part. I simply soaked the blade in a citric acid/water solution for a couple of hours and wiped it clean.

After I wiped it off I used some fine grit sanding sponges and cleaned up blade a little bit more. I also cleaned up the saw nuts with some 000 steel wool.

The saw turned out really well. I just now need to sharpen the blade. I’m no expert on saw sharpening so there’s no sense showing you how I’ll sharpen the saw because I’ll just be following someone elses instructions. There are a bunch of videos on YouTube on saw sharpening so pick your favorite and have at it however, for the money, Ron Herman’s “Sharpen Your Saws” by Popular Woodworking is worth every penny. Ron is considered to be one of the foremost experts on hand saws in the country and his DVD showed me everything I needed to know how to make a saw sing. http://www.shopwoodworking.com/sharpen-your-handsaws-w5169