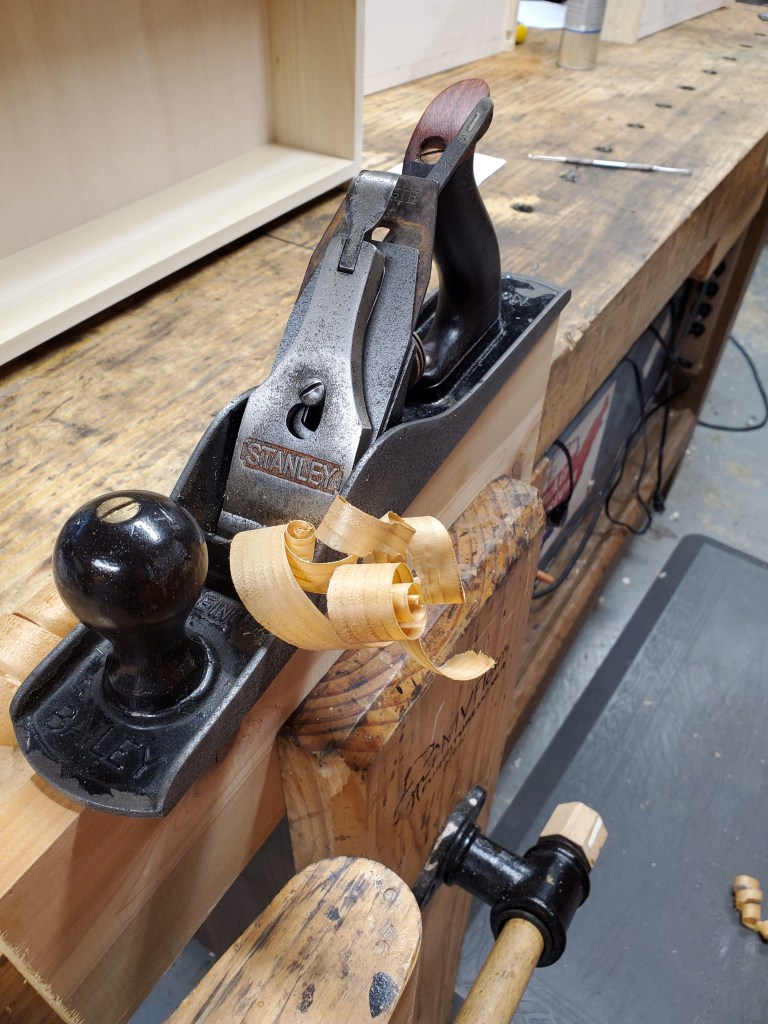
A couple of weeks ago, I bought Set & File by Matt Cianci from The Lost Art Press. I waited about a year for the book to be published as sharpening has never been a strong suit of mine when it comes to saw restoration.
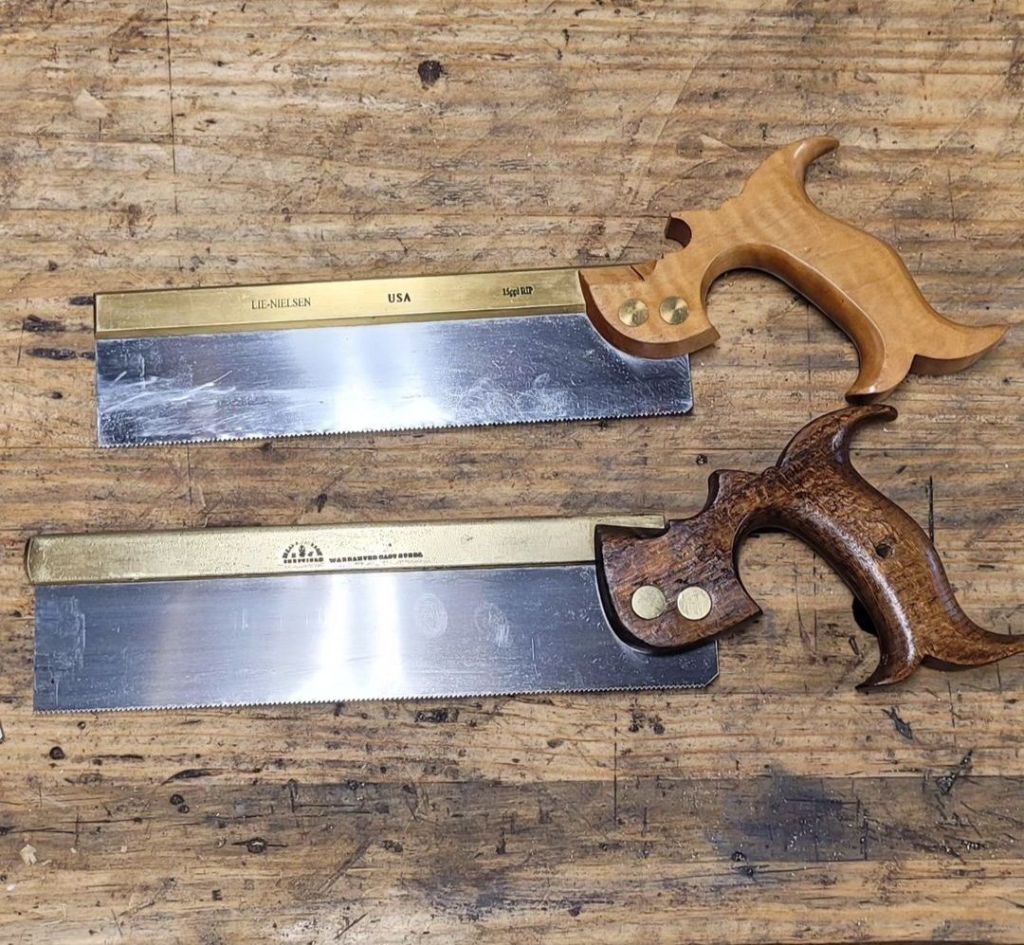
I’ve owned a Lie Nielsen dovetail saw for years and recently restored a Spears and Jackson dovetail saw. While I could sharpen the teeth fine, setting them properly was a pain as the anvil in my saw set was too big to do the job.
I read in Matt’s book where he dismantled his Stanley No 42X saw set and filed the anvil thinner in order to properly set the teeth on fine tooth saws.
Sure enough, I followed his advice and clamped the anvil in my vise, and carefully filed both sides of the anvil in order for it to look like the one in his book.
Putting the saw set back together, the anvil looked like it would now do the job.
After a few minutes of sharpening and setting the teeth, the saw sat in its kerf nice and tight. Plus, it cut like butter.
Now, I have two dovetail saws that are ready for use. It’s amazing how simple tricks can help your woodworking skills. Major props to Matt Cianci!
Several months ago, I bought an old wooden router at an antique store for $20. The price tag said it was a Japanese woodworking tool. I guess it could be if a Japanese guy used it. Looked like a home made wooden router plane to me. I bought the tool simply for the hardware, and the Stanley router bit it that came with it.
I search online and came up with a wooden router plan and printed it out. Then I measured, drew, and bore the three holes for the body on a piece of 2″ thick cherry.
A few minutes on the band saw I had the new body of the router.
The hardest part in making the body was cutting the mortise for the blade holder. I jabbed at the wood with chisels, knives and drill bits in order for the piece to fit. I ended up getting the piece in the hole and then tightening in the back in order to crush the wood fibers into shape. It took a few attemps, but after a few minutes, it finally fit.
Once the hardware was in, I stuck the blade back in to see how the final fit. Once I was satisfied, I sanded the body and applied a few coats of shellac to it.
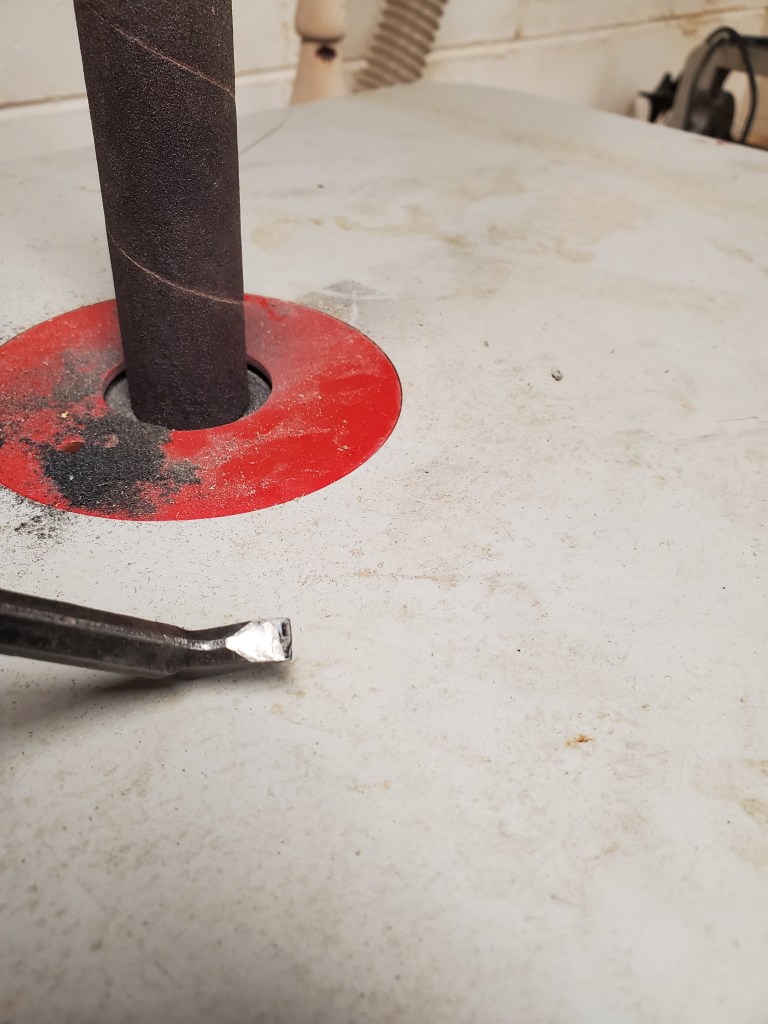
The last thing I needed to do was sharpen the blade. The easiest way I have found to sharpen a router plane blade is to grind a bevel on an oscillating spindle sander making sure to take a light touch in order to prevent burning the edge of the cutter. Then, I hone the edge and flatten the back with a whetstone.
I stuck the blade back into the router to see how it cuts. Cuts like butter!
If you’re in the market for a router plane, take a look at the wooden versions. They are much cheaper than their metal counterparts as some of their prices fetch up to $150. I see wooden router planes all the time at antique shows for around $40. They work pretty much the same way, they just don’t have the adjustment mechanism to raise and lower the blade. With a little practice, you can easily tap the blade down with a hammer to lower the blade for the next cut.
I was reading Journeyman’s Journal blog this week (if you don’t follow him, you should) and he had a quick post about someone who submitted a tip to a woodworking magazine about sharpening a block plane blade with a drill press. The tip shows a block plane blade in a drill press vise with a drum sander attached in the chuck. You would raise and lower the handle grinding a bevel on the blade while sharpening it at the same time. I looked at the tip and laughed thinking there’s no way that would work. But after thinking about it for a minute, I wanted to see if it actually would work. I knew I could try it but instead of using a drill press, I could use my oscillating drum sander. So, I grabbed an old plane blade and gave it a go.
I have this old Ryobi oscillating drum sander. It’s nothing special. In fact, I think I bought it at Sears about 30 years ago. It still works fine so I’ve never bothered buying a new one. I decided to sharpen the blade with 150 and 220 grit papers.
I wanted a 25 degree bevel on the blade so I clamped the blade into a hand clamp and set it up to the sander at 25 degrees to the table. This actually didn’t work because of the diameter of sanding sleeve changed the angle of attack. I probably should have used a larger diameter of a drum in order to get a more accurate bevel on the blade but I really didn’t care since I wasn’t going to use the blade full time in a plane anyway.
I carefully sanded the blade taking it on and off the drum every few seconds so not to burn the edge. After I ground the bevel with 150 grit, I switched to 220 grit paper and repeated the process.
Here’s the edge after I took it off the sander. You can see the heavy burr on the back side of the blade however, the grinding is nice and consistent.
I then took the blade and removed the burrs and honed the edge with my oil stone. It turned out well enough to see how it performs.
As you can see, the bevel turned out to be 35 degrees. I don’t care as I was just trying to determine a proof of concept. If I did care, I would have played with the angle of attack at the sander until the end result was 25 degrees.
I stuck the blade in a Stanley a No 5 plane and tried it out. Sure enough, it took a nice shaving even though the cutting edge was a little too high for my liking. Even though it works, I’ll still stick to my water cooled sharpening machine for grinding a bevel on blades for it’s ease of use.
On Salko’s post, one of his followers posted that a popular woodworking blog-gist, Derek Cohen, sharpens his router plane blades with a drum sander so I had to try that out as well. Below is the blade I’ve been using in my router plane for years but never bothered to sharpen it properly. I sharpened this blade the same way as with the block plane blade. I did this just free hand and didn’t bother to make a jig or holding device for it.
After a few seconds grinding the bevel, I honed the edge on my oil stone and stuck it back in the plane.
Sure enough, it worked like a champ. The router has never cut so nice. Who knew!
I normally don’t do product reviews. The reason is because often when someone writes one, they seek affirmation that they made the right decision with what they just bought. This is especially true with tool reviews. How many times do people buy a new tool, take it out of the box, use it, and then blog about how much of a piece of shit it is? Very rarely. It’s one of the reasons I don’t put much weight on reading tool reviews in woodworking magazines. The other reason I don’t write tool reviews is that often I don’t have anything to compare the new tool to. When I bought a new random orbital sander, my old sander was twenty years old and obsolete. I can’t compare my new one to the old. That wouldn’t make any sense. Also, when I bought my random orbital sander, I didn’t try out any of other sanders on the market to see how they stacked up to mine so, I just use it and move on with life.
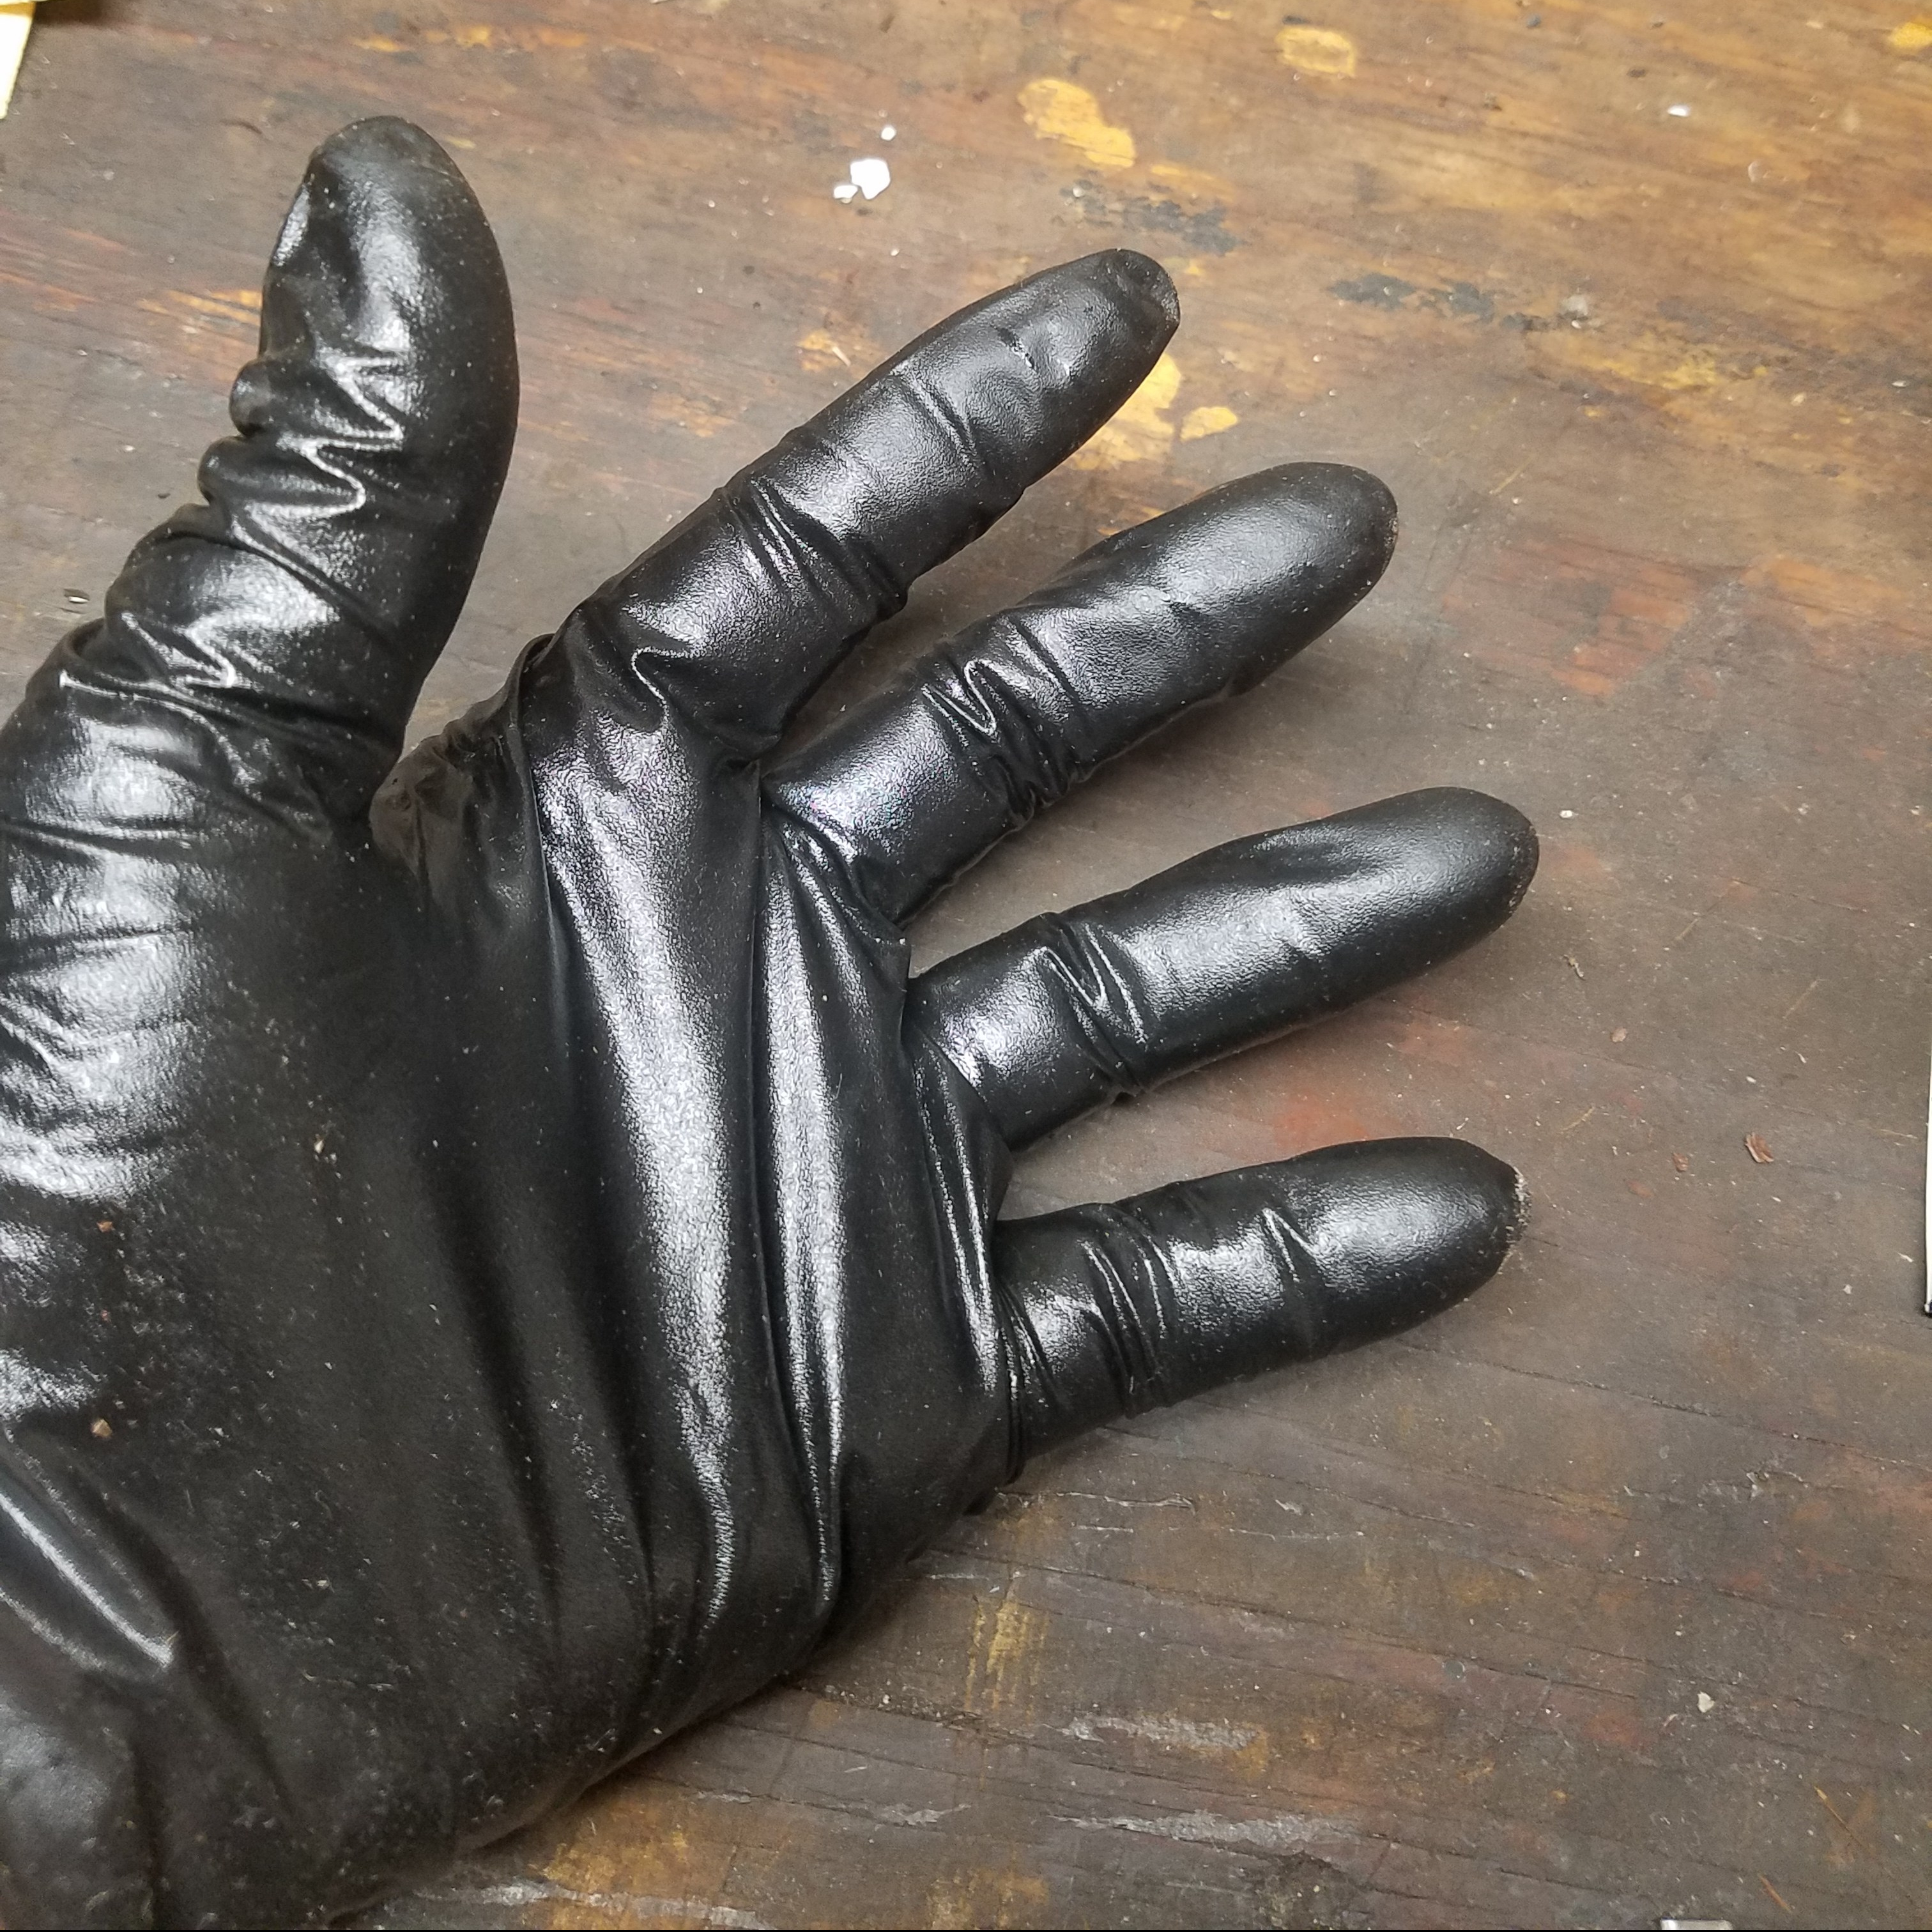
This time it’s a little different. I found these heavy-duty nitrile industrial gloves at Lowe’s a few weeks ago and was intrigued. For awhile, I was looking for something to replace my old exam gloves that would constantly tear while I was working. I tried using industrial latex gloves, but didn’t like how I couldn’t “feel” what I was doing so, I went back to the old stand by. When I saw these at Lowe’s, I opened a box, took a glove out and tried it on. Then I pulled on the glove while it was on my hand trying to rip it. It was a tough glove so, I bought the box hoping for the best.
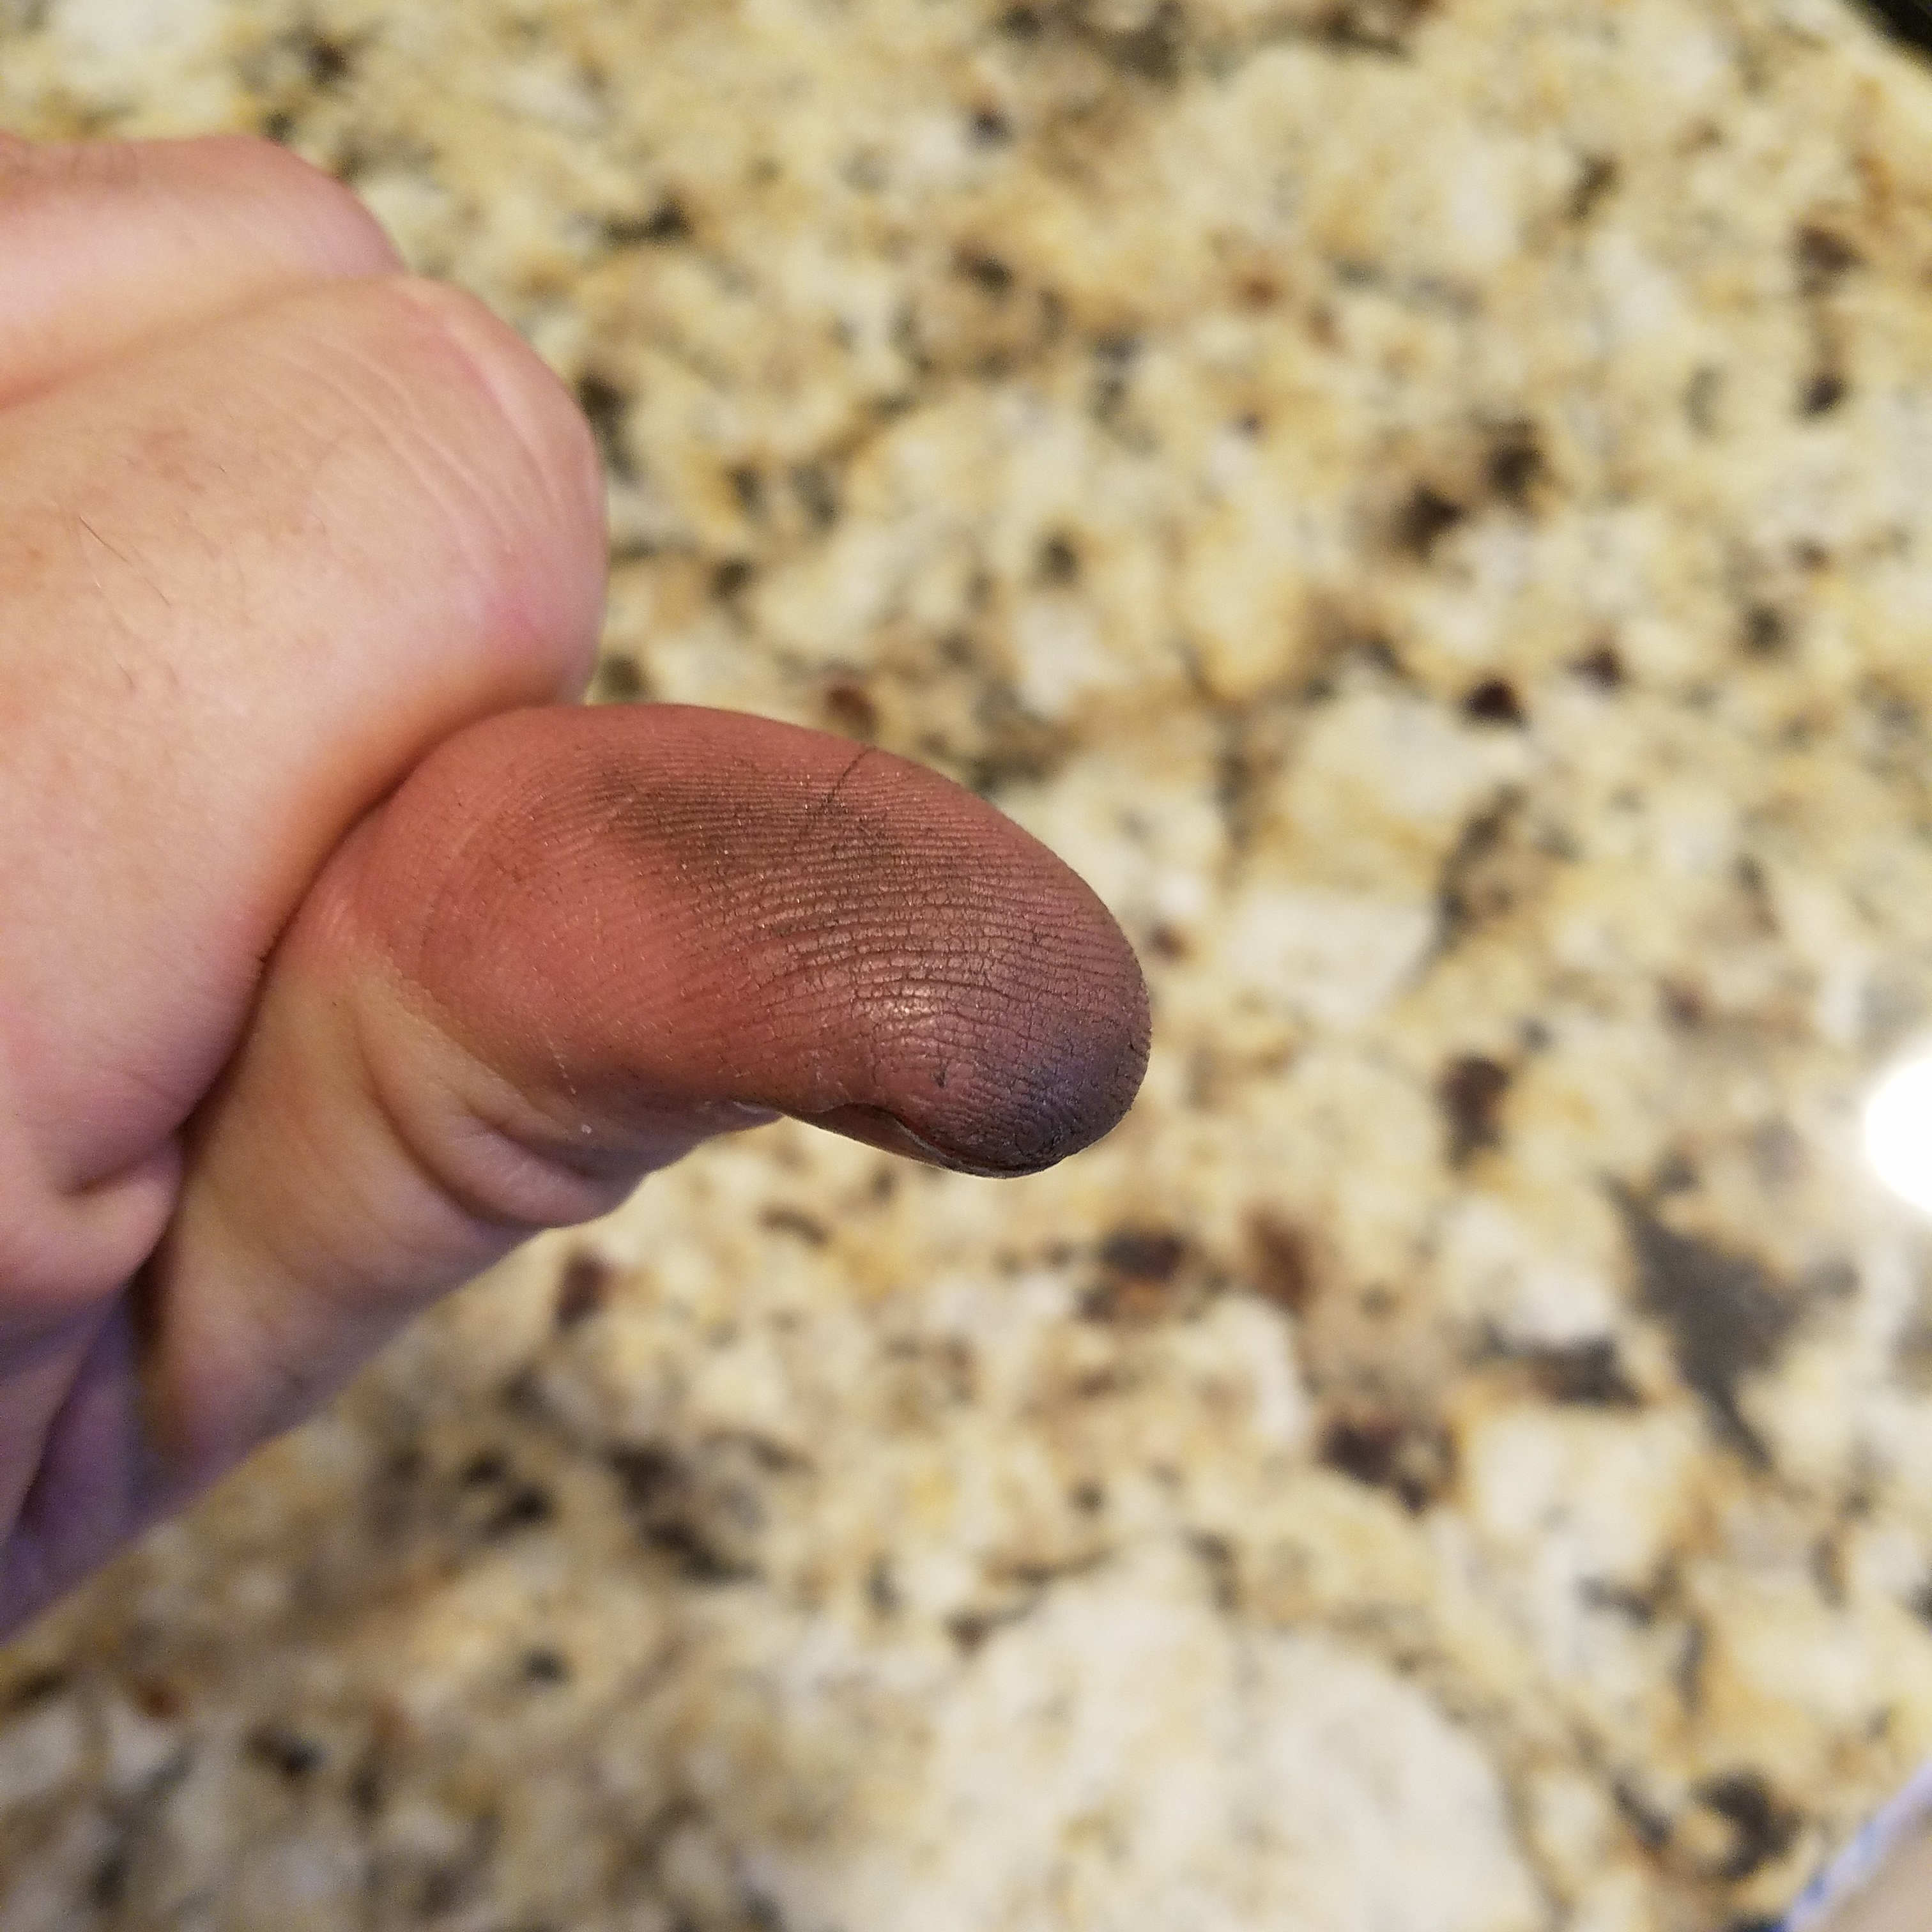
These are the nitrile exam gloves I used for years. For the price I couldn’t complain. Two boxes of 100 ran about $15.00. The problem is that I would go through three to four pairs when I spent the day sharpening. Worse yet, when they did tear, they often tore at the thumb turning my thumb black from the sharpening slurry completely defeating the purpose of wearing gloves in the first place.
Typical dirty thumb even after I washed my hand from sharpening slurry. If you sharpen without gloves or do any type of metal working, you’ve experienced this as well.
When I sharpen, I use my water-cooled sharpener along with 1000, 5000, and 12,000 grit water stones so, my hands are constantly getting wet.
These are some of the planes I sharpened within an afternoon. It took about two to three hours to do all of them wearing my new tough gloves.
After a dozen plane blades sharpened, the gloves took a lickin’ and kept on tickin’. No rips or tears and best yet, clean hands! If your Lowe’s doesn’t stock them, you can find them on Amazon.
A few weeks ago I stopped by the home office of Popular Woodworking to go to their Lie-Nielsen Hand Tool Event. It’s always fun to take a break out of my day to play around with their tools. While I was there, I tried their No 5 1/2 jack plane that cut such nice shavings it almost got me thinking of quitting restoring my old Stanley planes.
Along with Lie-Nielsen, Lost Art Press was there selling their books and apparel. I took a peek inside one of their newest offerings, “Chairmaker’s Notebook”, to see if it was something I wanted to open my wallet for. I love books about making chairs. I’ve read over a half-dozen of them over the years including John Alexander’s “Make a Chair from a Tree: An Introduction to Working Green Wood” as well as Drew Langsner’s “The Chairmaker’s Workshop”. In fact, if I was ever a professional woodworker, I’d probably be a chair maker. So, I decided to bite the bullet and purchase the book. Needless to say, I’m glad I did.
I read a few chapters a night as I wanted all the information to absorb. What I love about this book is that it takes you through all the aspects of building a chair. From buying a log at a sawmill, to setting up a chairmaker’s workshop, to modifying and sharpening your tools, to assembly and finish. Peter even gives you a scaled model of a “sightline ruler” so you can photocopy it and make one yourself. It’s by far the most complete woodworking book I’ve ever read. Absolutely nothing was missed when writing this book.
As an example of how well this book is written, in the beginning, Peter talks about buying a log from a sawmill and what to look for when picking a log. He tells you not to buy the veneer logs as they tend to be too expensive and go for a premium. He says you should ask for “veneer rejects” because those logs will work just fine for building chairs and will be a whole lot cheaper. He then goes on to recommend that you bring a chain with you to wrap around your log so that the guy on the forklift can gently lower it down on your trailer instead of slamming it down breaking your trailer in half. It’s first hand stories like this that really sets this book apart from other books I have read.
A few years ago I made a few Windsor chairs of my own, but I used kiln dried lumber because I had no idea how to go buy a log. Regretfully, had I owned this book at the time, I would have made my chairs a whole lot better.
Along with the excellent information in the book, Peter is also one hell of an artist as he drew all the pictures in the book. In fact, the pictures are so well drawn, that you know exactly what he is describing in his illustrations.
If you have ever been intrigued with building a chair, then I highly recommend that you add this book to your library. You can buy it from The Lost Art Press.
While scouring antique malls looking for tools, I ran across this nice rip saw stuck in the back corner of a booth. It’s a Disston D8 Thumb Hole saw and considering it’s age, it was in very nice condition. Even though it had some rust on the blade, I knew it would clean up just fine.
The first thing I did was take the saw apart and dip the blade in a bath of water with food grade citric acid. I let it sit overnight allowing the acid to eat all the rust off the blade.
While the blade cooked, I focused my attention on the handle. Using Soy-Gel paint stripper, I cleaned all the gook and grime off the apple wood handle using a steel wool pad.
Here’s the handle wiped off after just a few minutes of paint stripper on it.
In the morning, I took the blade out of the bath and wiped it down with a paper towel. The blade was clean from rust, but was dull from the cook. I grabbed some drywall sponges and lightly sanded the blade. I then polished it with a variety of Sand Flex sanding sponges.
Here’s the blade after the polishing was done. You can see how the blade was slightly pitted. Unfortunately because of the pitting, the etching was no longer present, but the saw will still make a fine user.
After applying a couple of coats of shellac to the handle and putting it back together, the saw looked far better than when I bought it.
Here’s a close up of the handle. You can see the crack at the bottom of the handle. A little bit of glue was all that was needed to fix it.
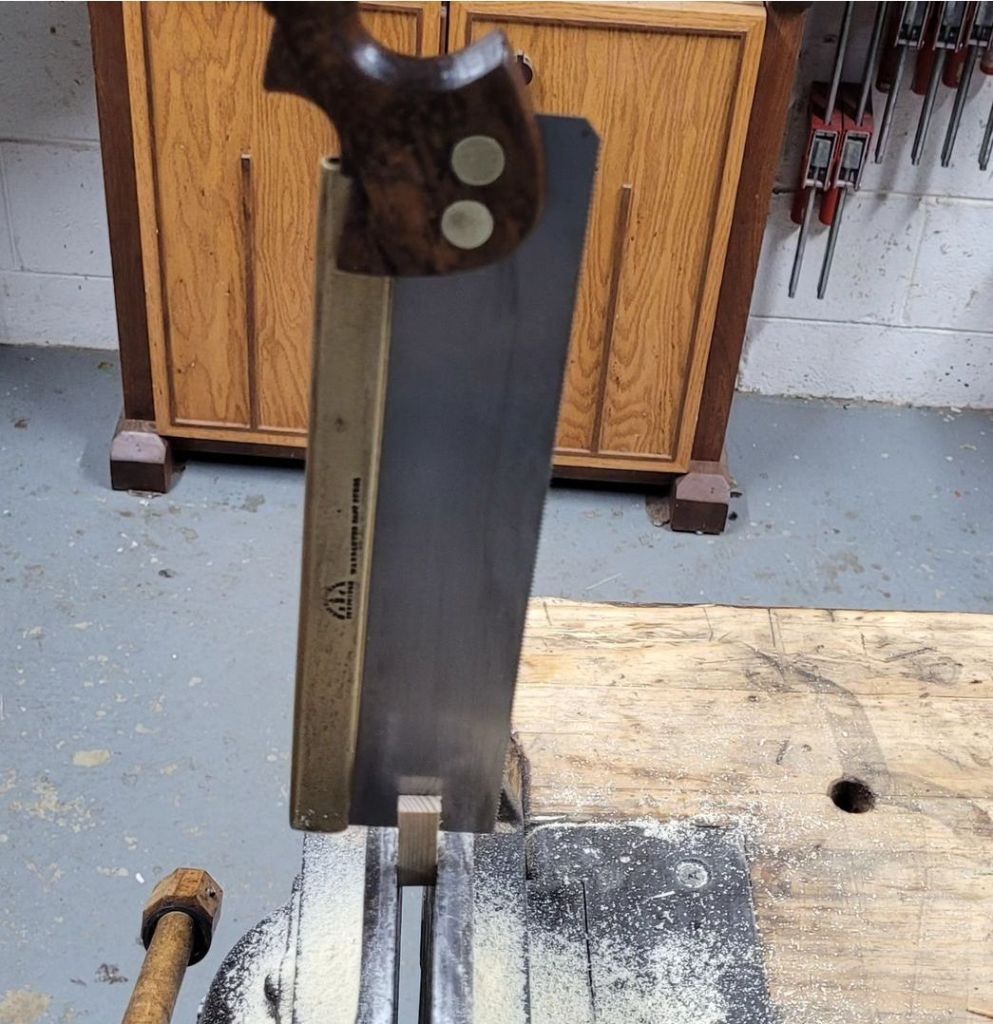
The saw looked nice, but it needed to be sharp in order to work well. I took some Dykem layout fluid and spread it over the teeth of the saw so that I can see what I was doing better when filing the teeth.
I used a file to joint the teeth flat then filed the flats away with a triangular file. If you’ve never attempted to sharpen a saw before, I recommend you start with a rip saw like this. It’s a pretty simple saw to sharpen and the big teeth are easy enough to see. For a video on how to sharpen a saw, you can look at this YouTube video of Frank Strazza of the Heritage School of Woodworking. The video is a little long, but Frank does a good job explaining the steps.
Here are the teeth after I sharpened the saw. I’m not the world’s best saw sharpener, but I can get the job done.
Here’s a picture of the saw performing in mid cut. It stayed straight on the line and cut the wood like butter.
Finally I made a short video showing the saw’s performance.
I bought a Millers Falls No 7 Jointer Plane a few weeks ago that had a pitted blade in it. While most people would look at a blade like this and immediately think that it belongs in the trash, I decided to see if I could get it to work well enough to slice thin shavings off a piece of cherry.
The first thing I do when I sharpen any of my blades is to whip out my Tormek sharpening wheel. I’ve owned the Tormek for several years now and have never regretted the coin I paid for it. I set the machine up to grind a 25 degree angle on the blade and go to town.
A few minutes on the Tormek puts a real nice edge on the blade. The problem is the back of the blade is still pitted causing the blade to cut ridges in the work piece while using it in the plane.
I used the side of the wheel of the Tormek to try to flatten the back of the blade, but after a few minutes I wasn’t really getting anywhere. It did help, but it would have taken hours to remove all the pits.
I decided to give the old ruler trick a try made famous by David Charlesworth and remove only the metal at the front of the blade. I stick a thin ruler at the back of the blade and sharpen the backside of the front of the blade by moving it back and forth on a piece of 320 grit sandpaper. This in theory changes the cutting angle of the blade by a few degrees, but honestly, who cares? There is very little difference between a blade with a 25 degree angle and one with 24 or 23 degrees. It may make a difference with hard exotics, but I normally use poplar, cherry, maple and southern yellow pine. I’m too cheap to buy hard exotic wood.
As you can see if you look closely, the ruler trick worked. The very front edge of the back of the blade is clean of any pitting and will hold an edge better.
I then switched to my water stones and hone the edge created on my Tormek. I use a combination stone of 800/4000 grit and a final 12000 grit stone. I use water stones as opposed to oil stones simply because the Tormek is a water stone. Oil and water don’t mix.
Here is my final sharpening of the blade. Pretty good if you ask me.
Here’s the blade in action cutting cherry. After a few adjustments with my plane, I was able to produce nice clean shavings. The cherry underneath was glass smooth after it was planed with the blade.
How thin were my shavings? About .003″ thin. Not too shabby for a piece of crap blade that most people would have never even given a second chance and would have just thrown in the garbage.