Replacing my Tormek Sharpening Stone

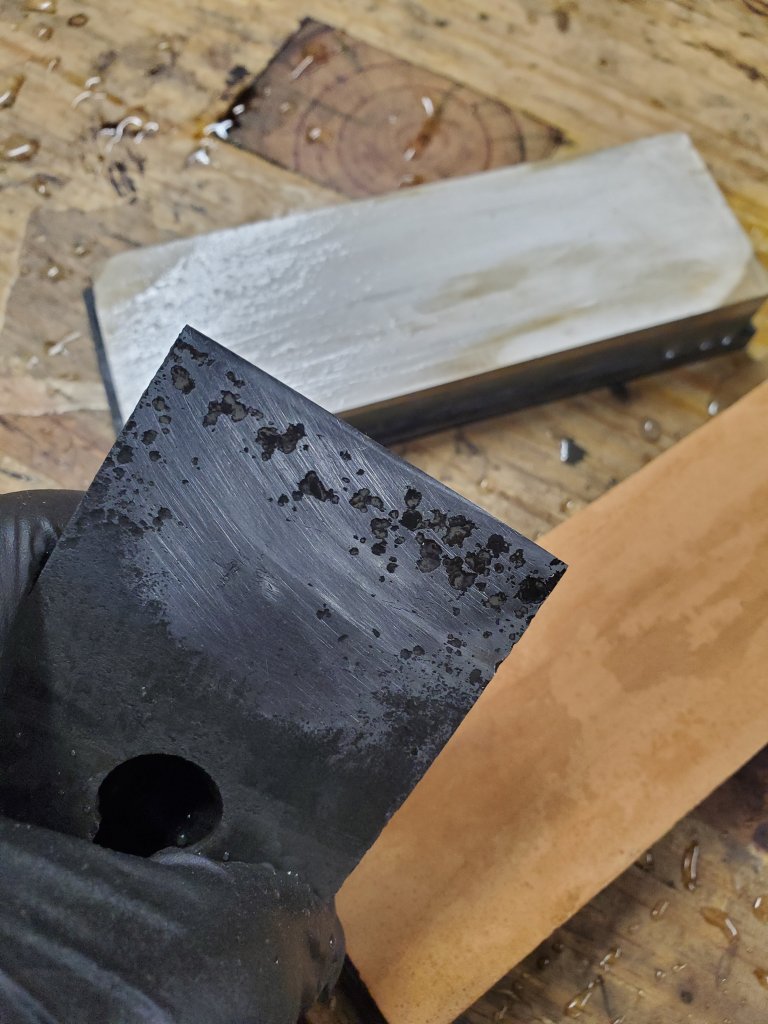
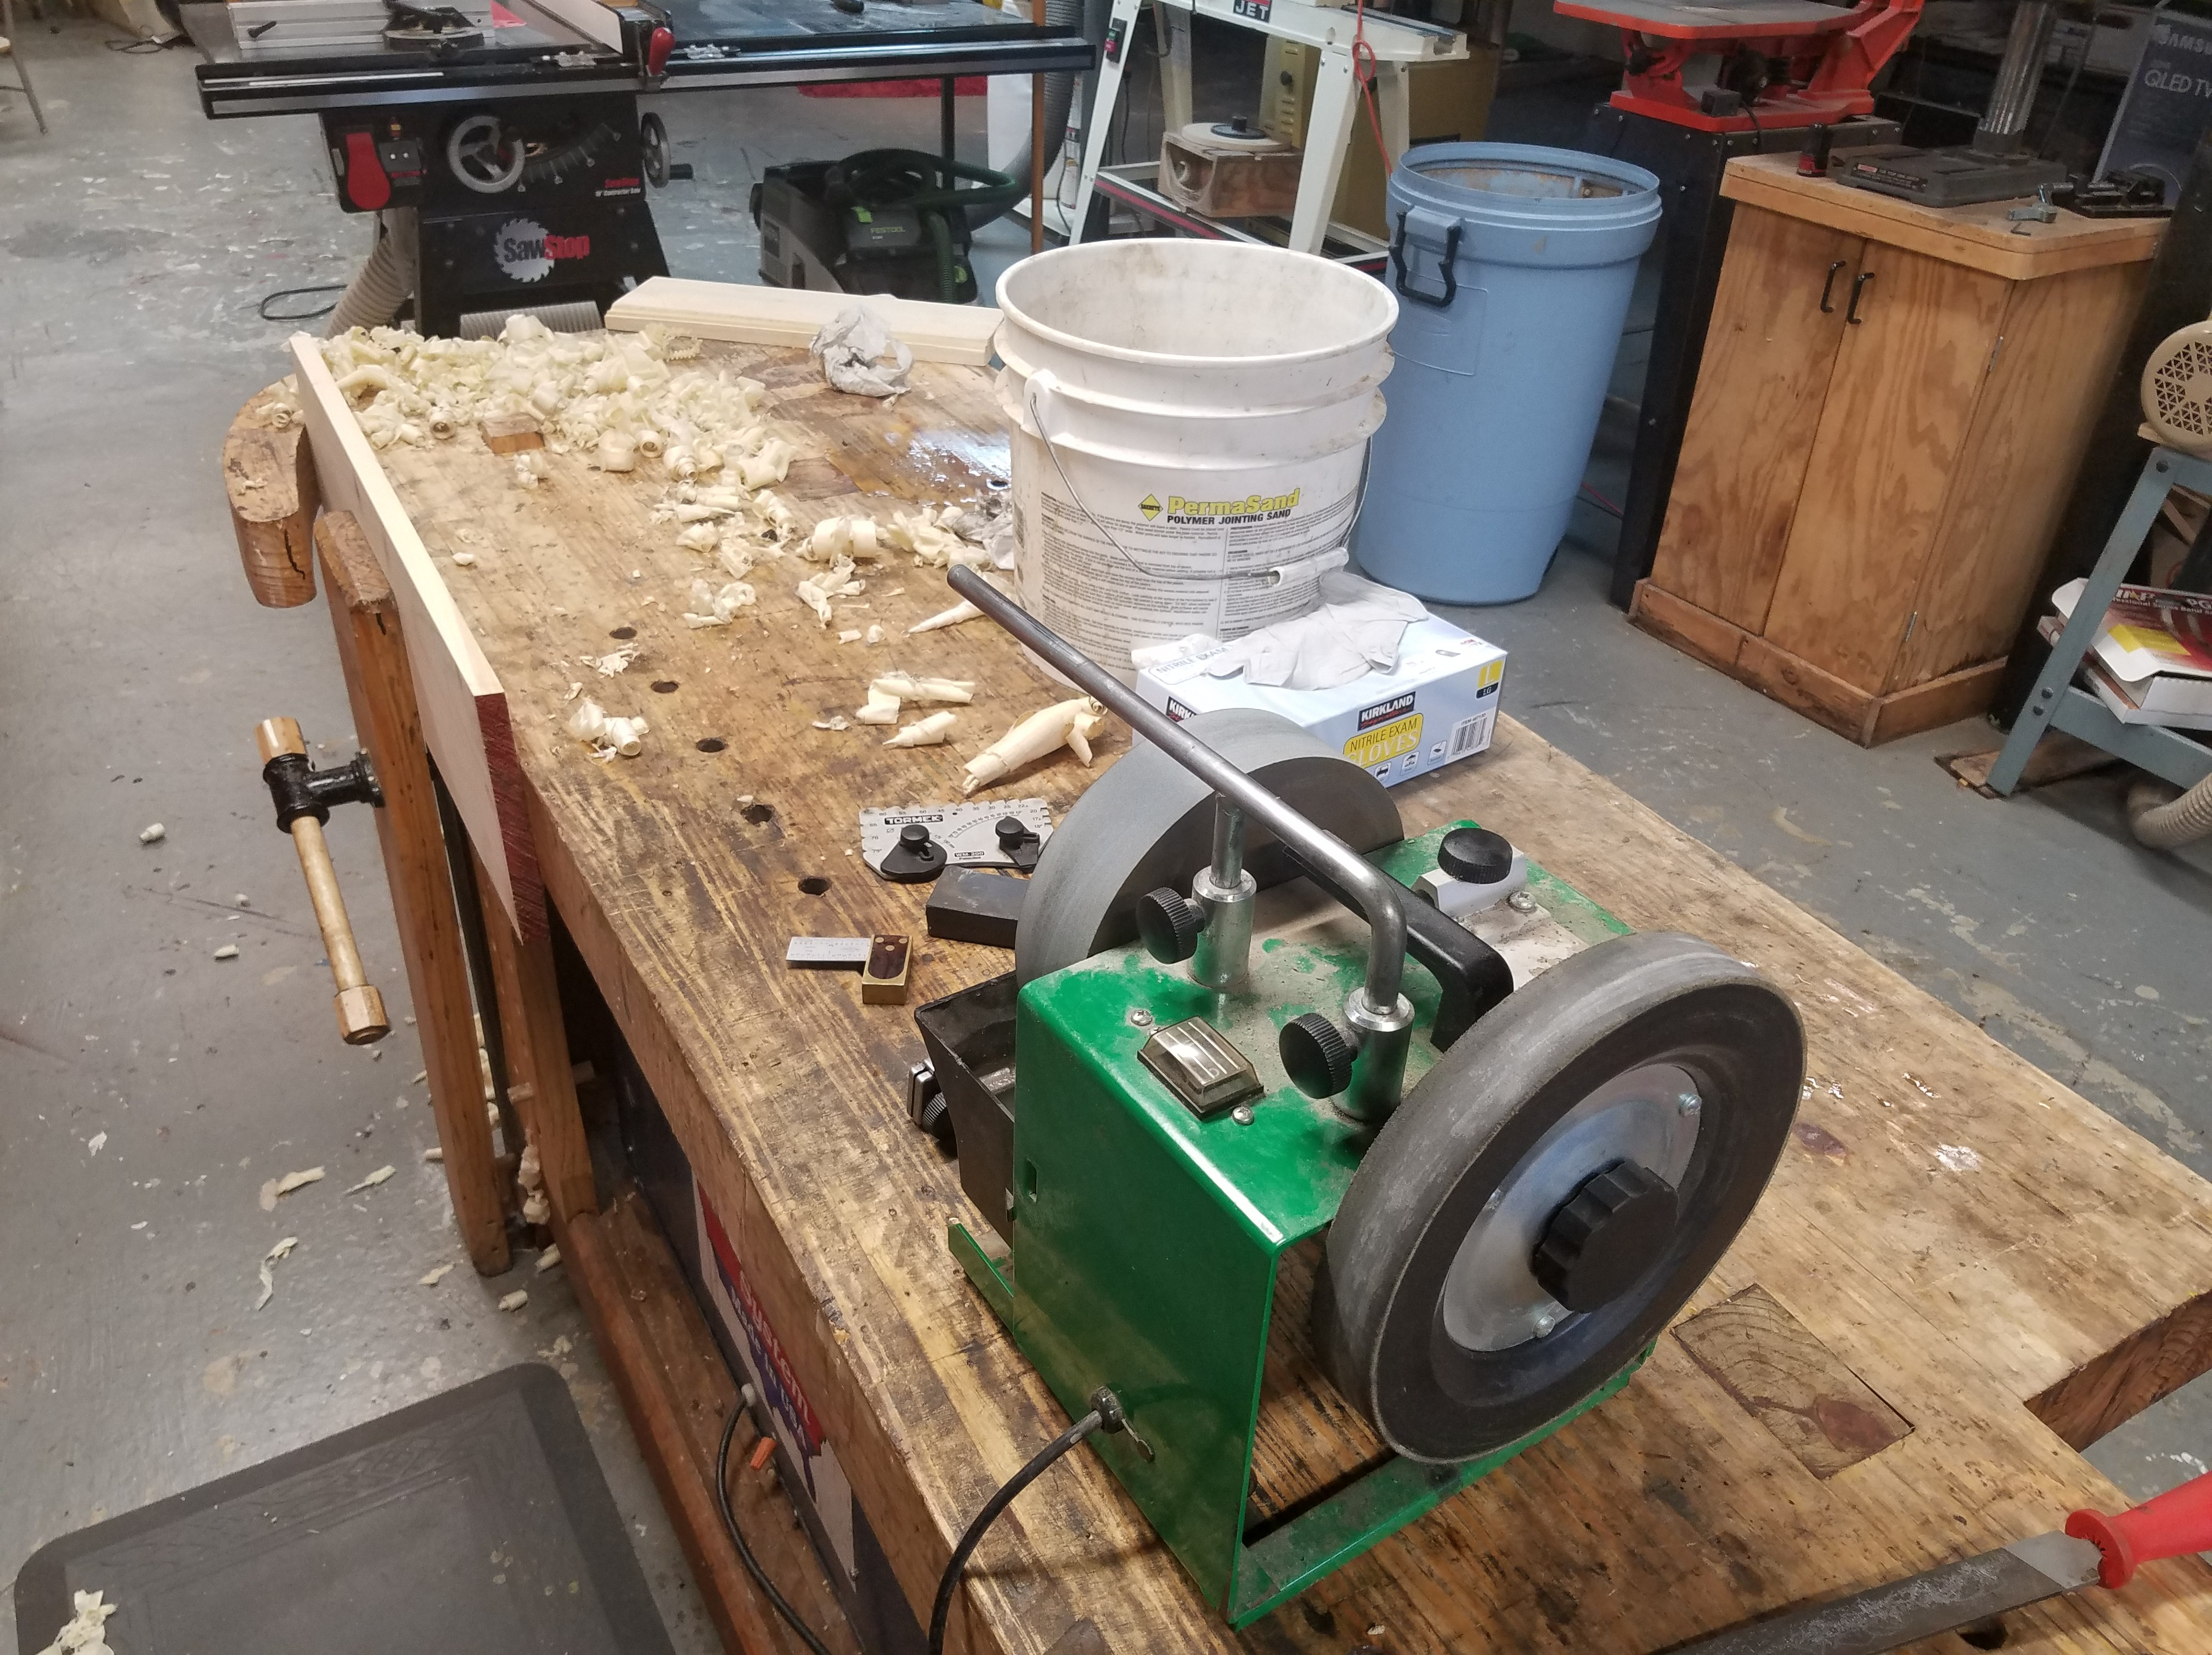
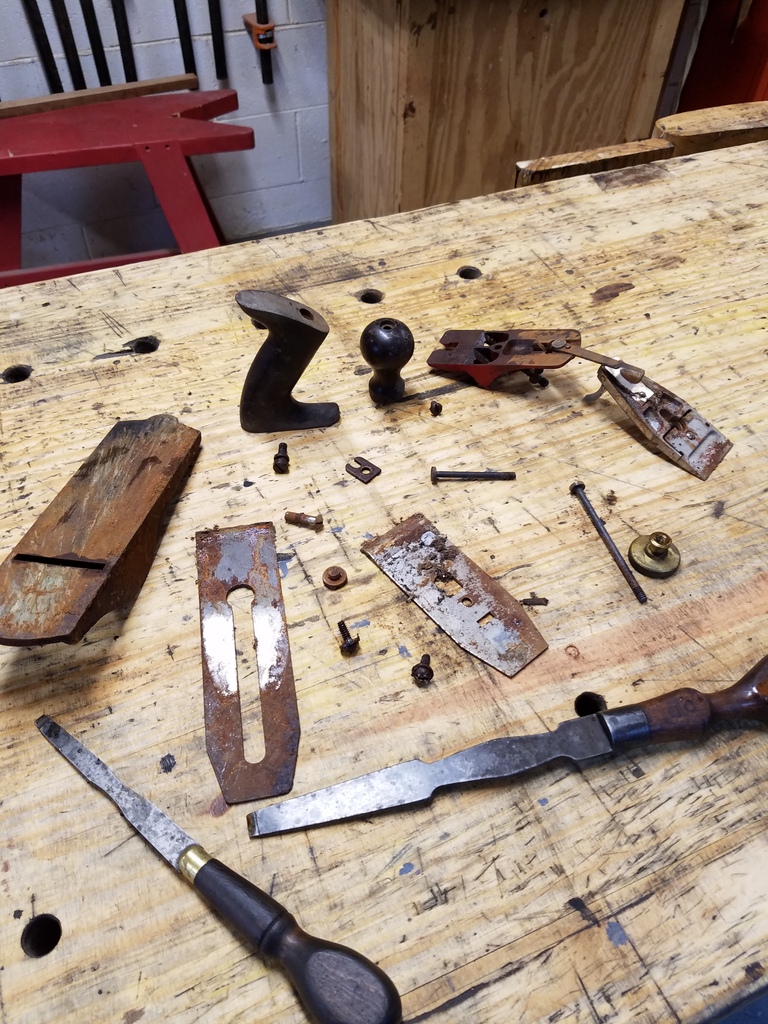
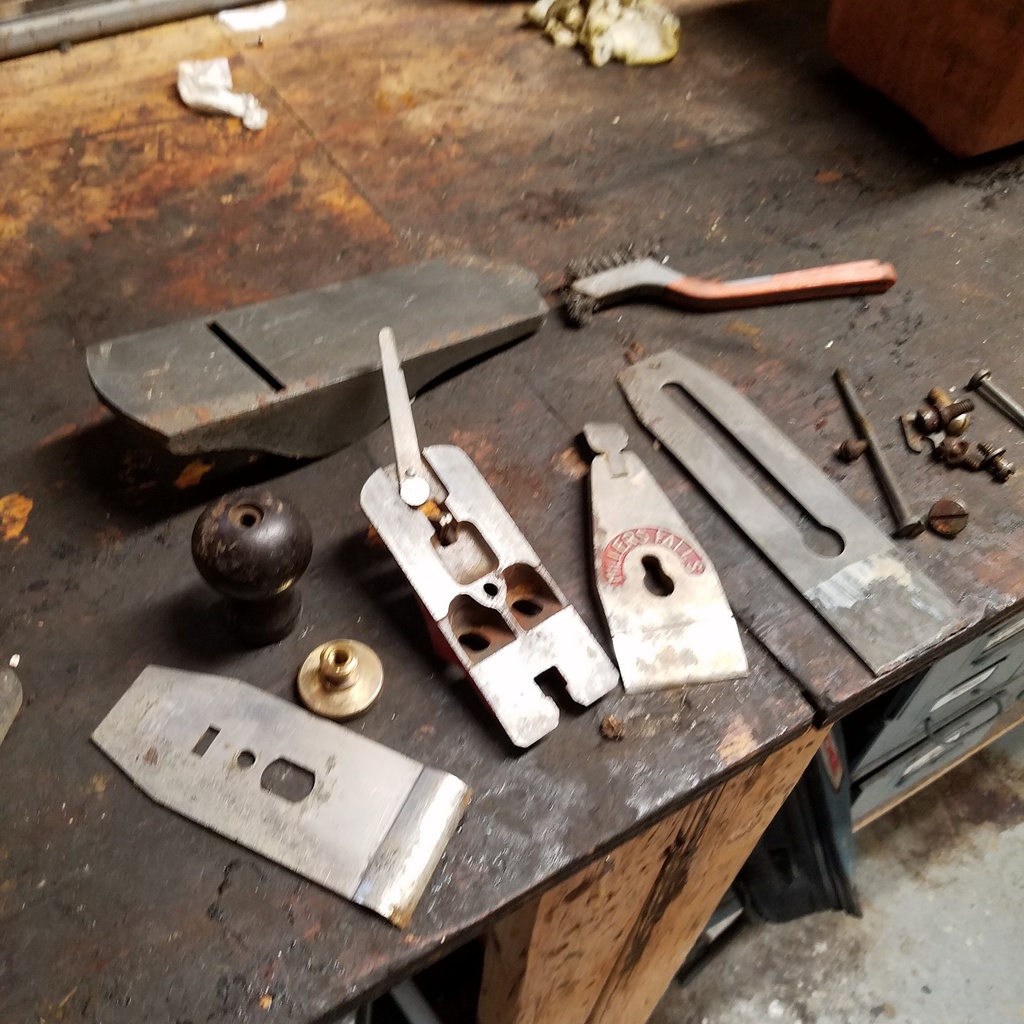
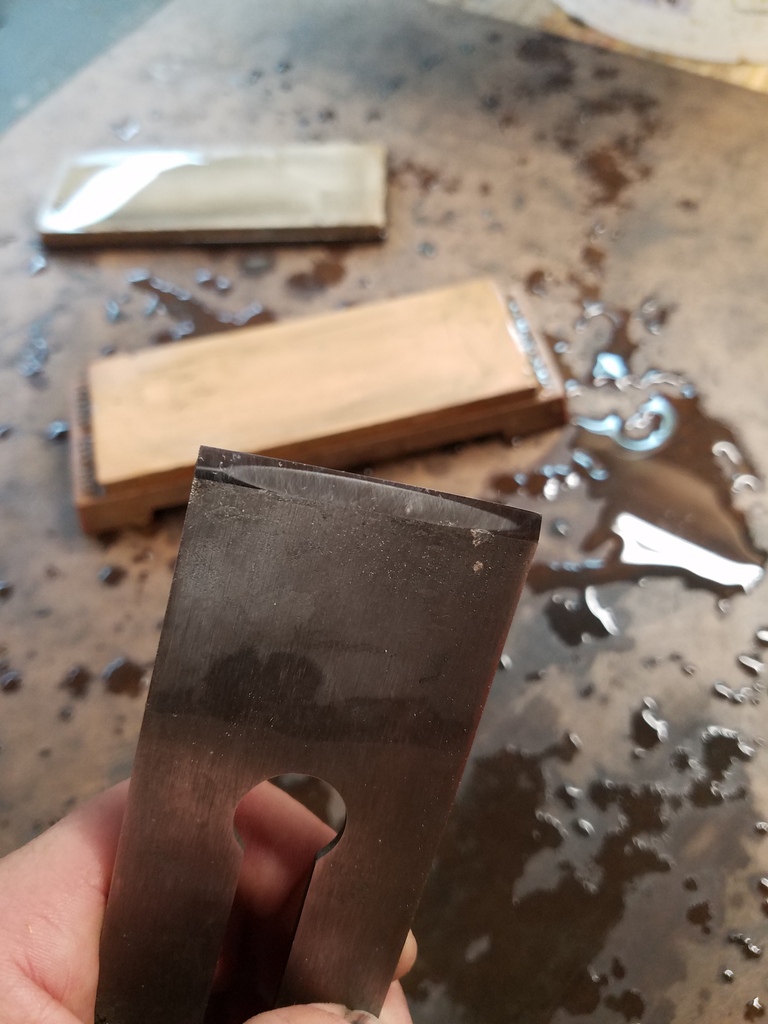
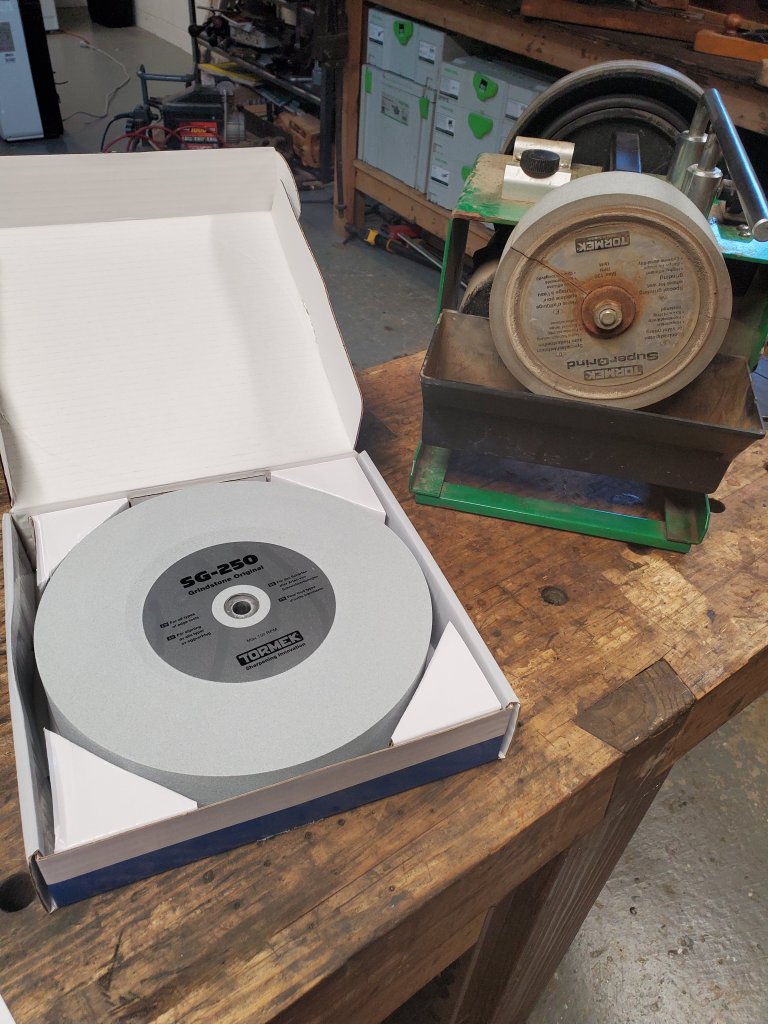
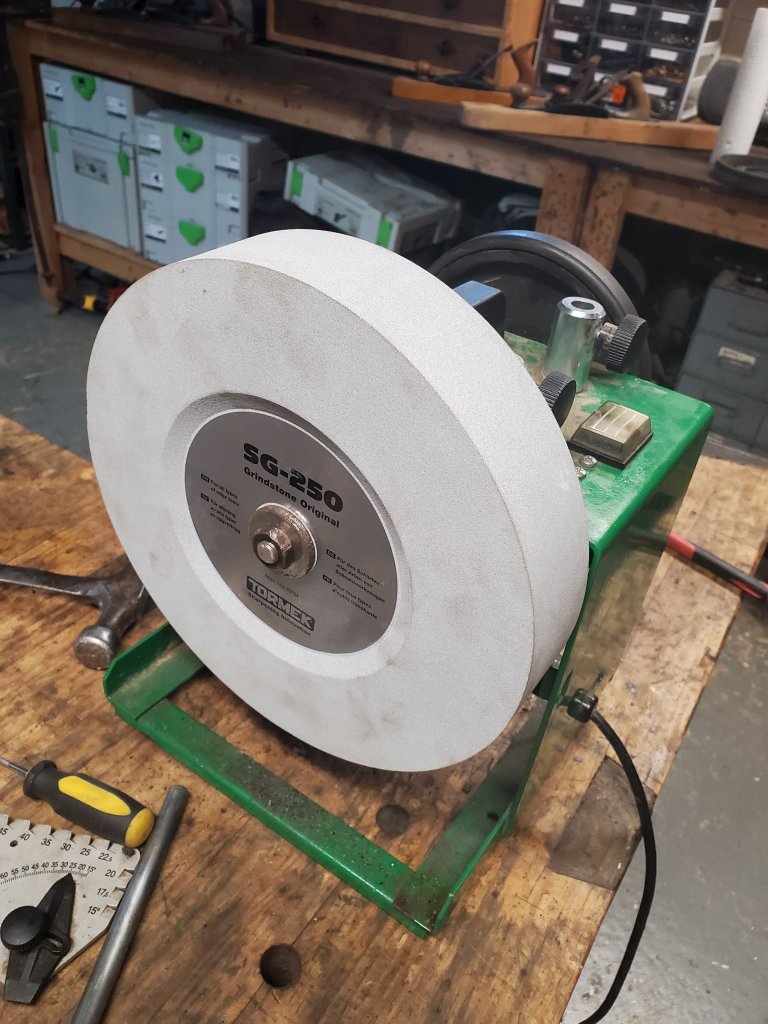
After using my Tormek sharpening machine for the past twenty years, it was time for a new stone. When I researched replacement wheels, I read all about the new CBN wheels on the market that stay flat and don’t require water to use. The one disadvantage I saw with these wheels, is that the side of the stones are prettty narrow. When I sharpen old plane blades, I like to flatten the back of them as well, so I often grind the back of the blade with the side of the stone. I was afraid that the narrowness of the CBN stones wouldn’t do the job as well as my original stone. I’ve been happy with the stone that came with the machine so, if it ain’t broke, dont fix it.

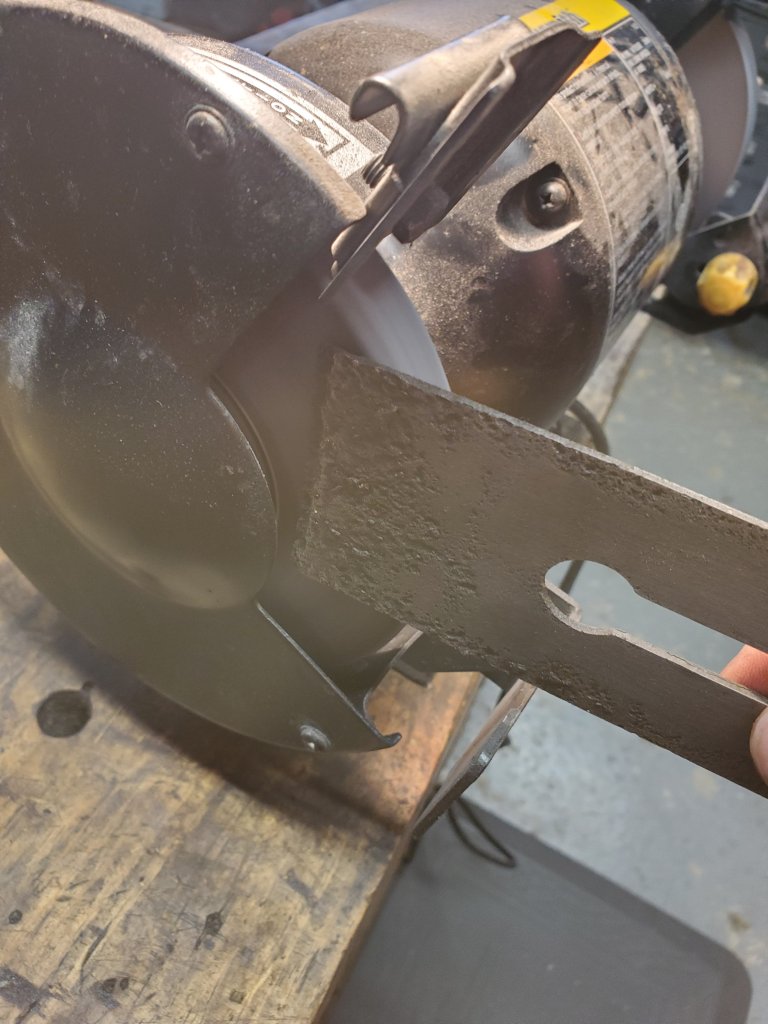
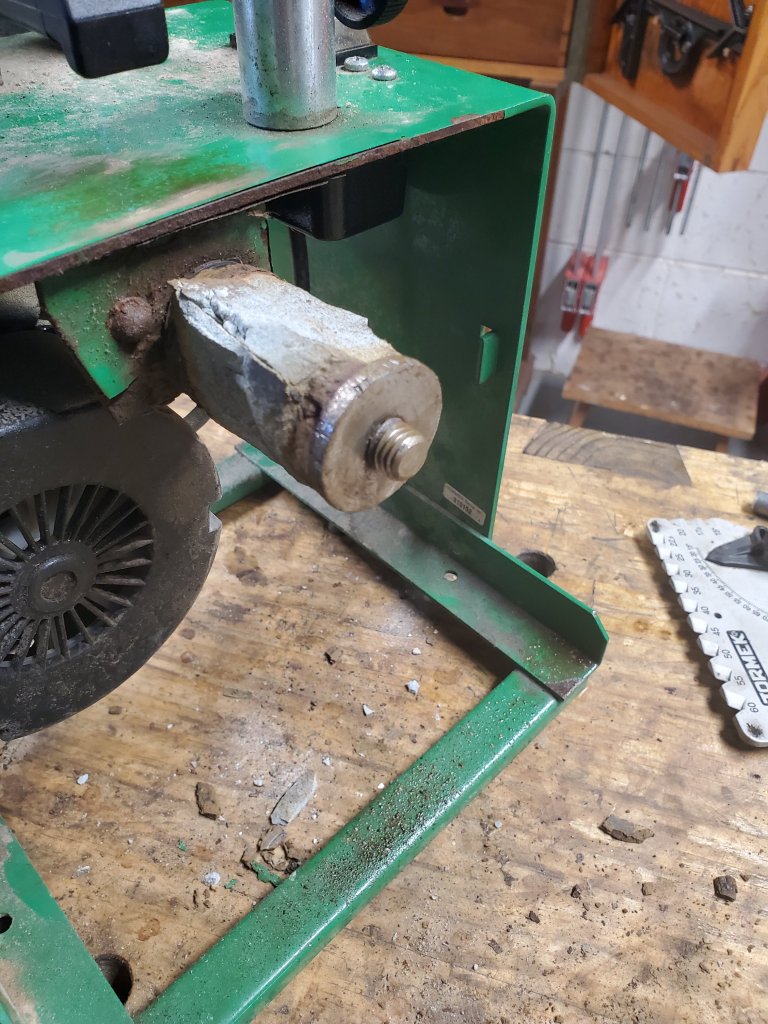
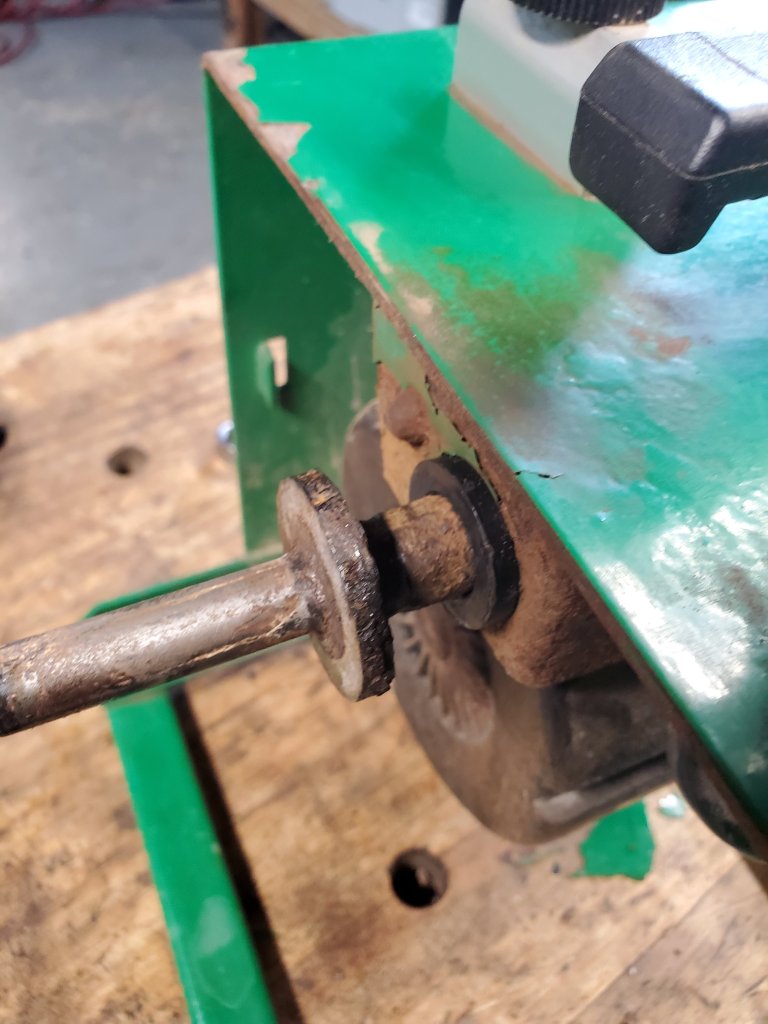
I knew the hard part of replacing the stone would be taking the old one off. I grabbed a 3/4″ wrench and tried like hell to unscrew the nut. I whacked on the wrench with a hammer as hard as I could hoping not to bend the shaft of the machine. It was so tough to get off, my stone cracked and fell apart.

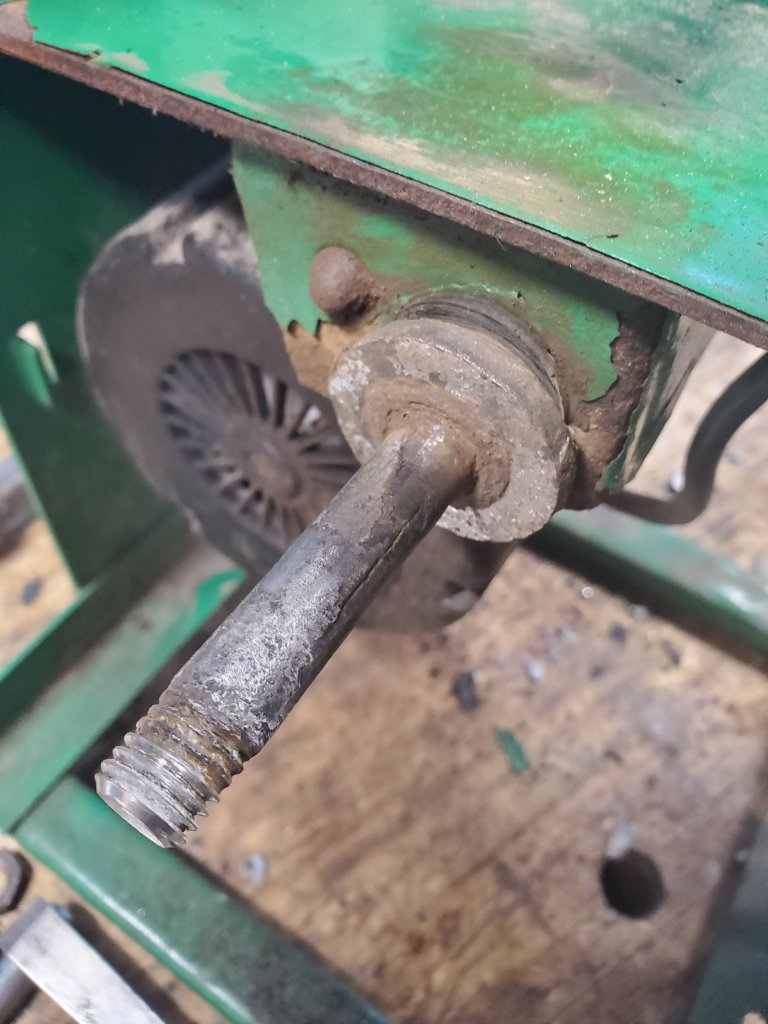
After about twenty minutes of cussing and using a half of a can of PB Blaster, the nut finally freed itself. Once I took the remainder of the stone off, I tried to put the new stone on, but the shaft was so rusted and corroded, I had to sand the shaft smooth in order for the new stone to slide on.

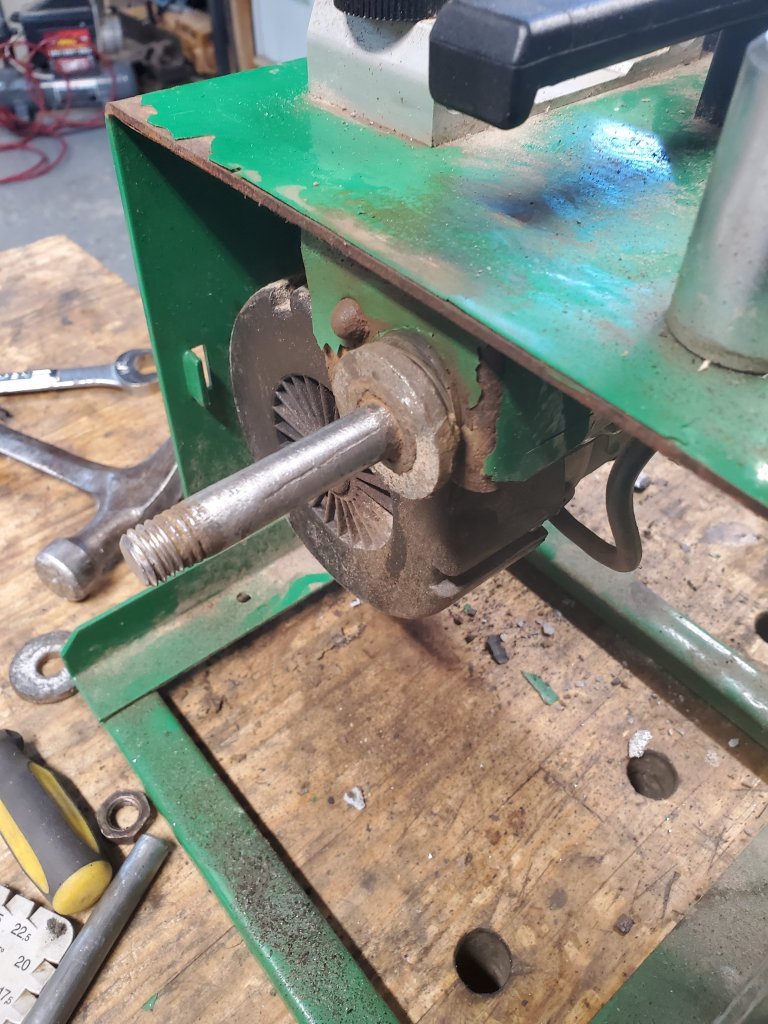
I slipped on the new stone and noticed that it moved up and down just a little bit. Curious, I removed it from the machine and also removed the stropping wheel on the other side so I could remove the shaft in order to get a better look at what was going on.

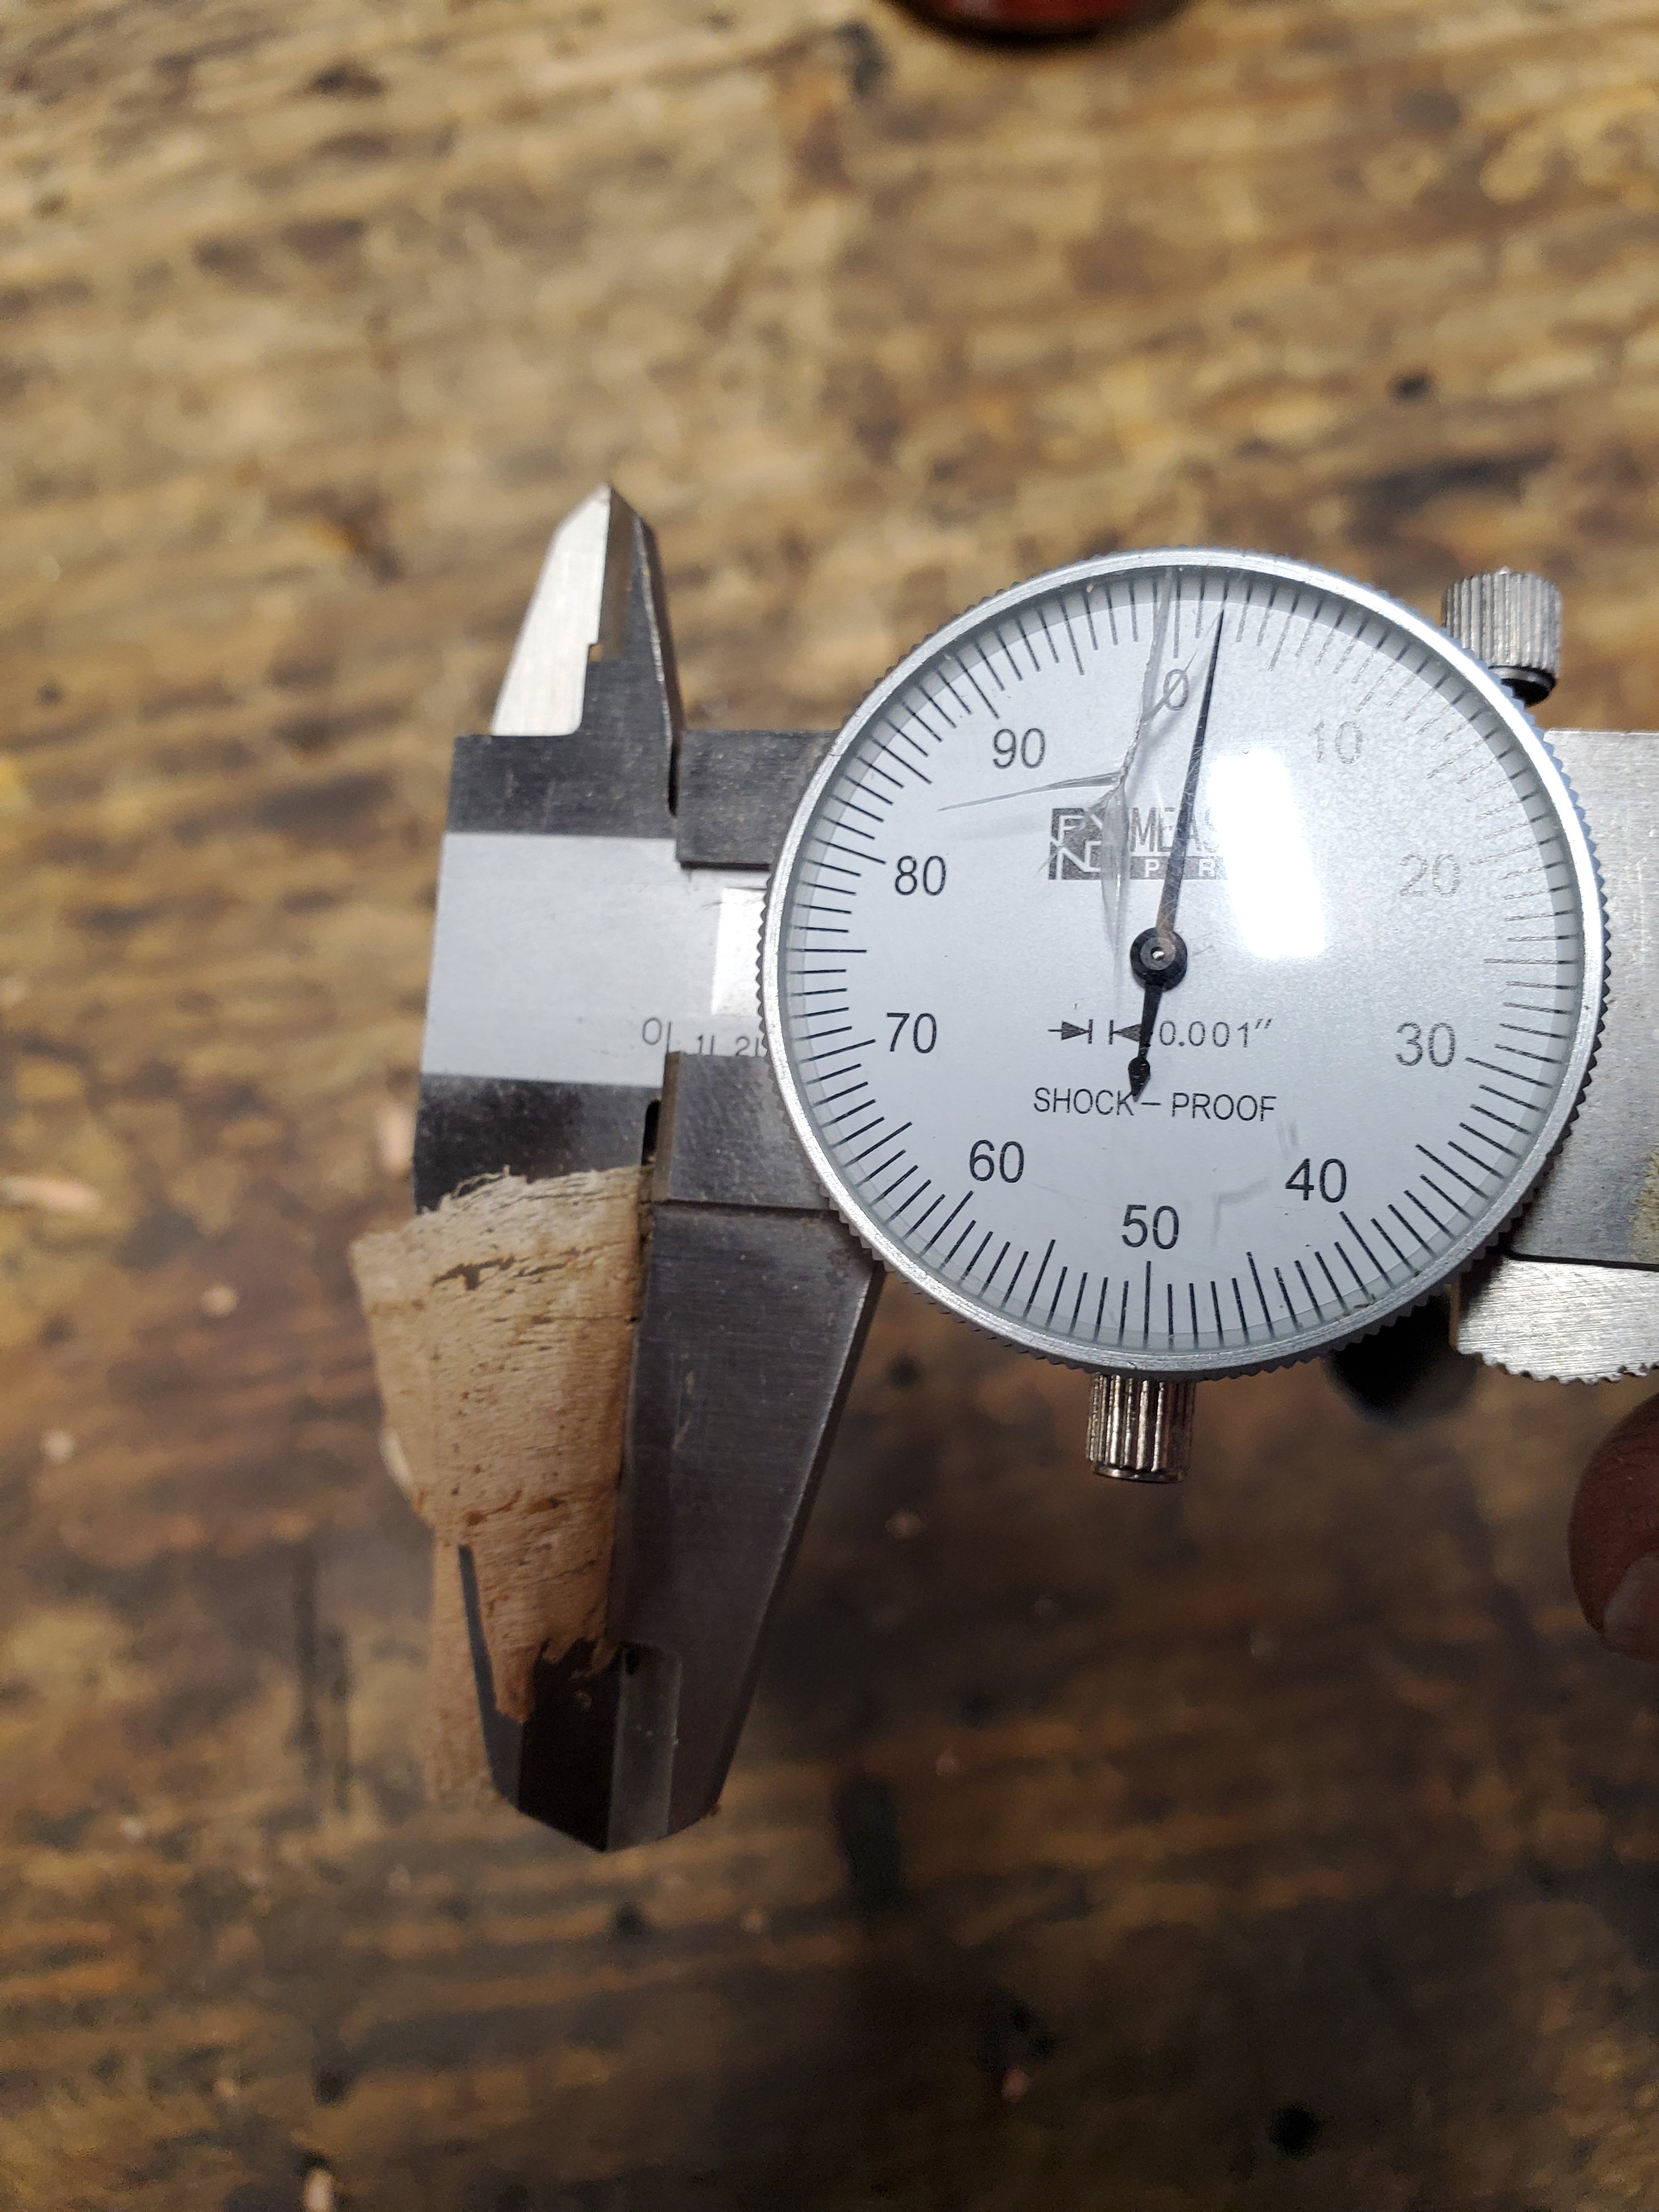
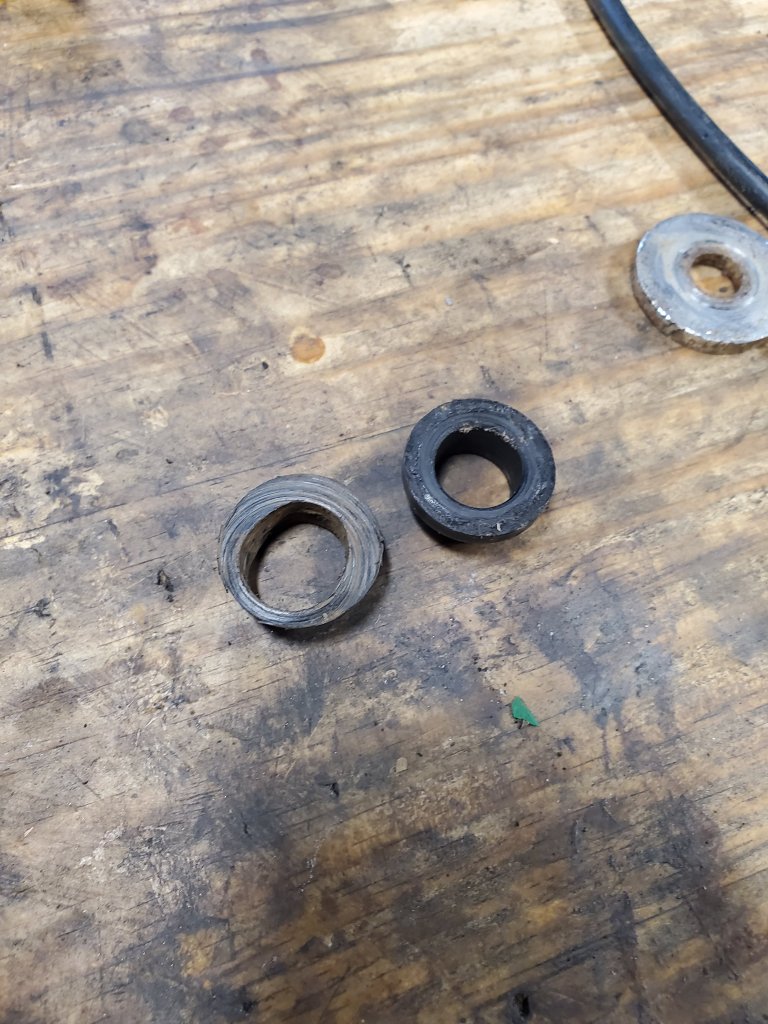
Sure enough, the plastic gasket that was next to the stone had wore a larger hole in it from use over the past twenty years. Not having a replacement gasket on hand, I simply switched the gaskets from eachother sides hoping they will still work.

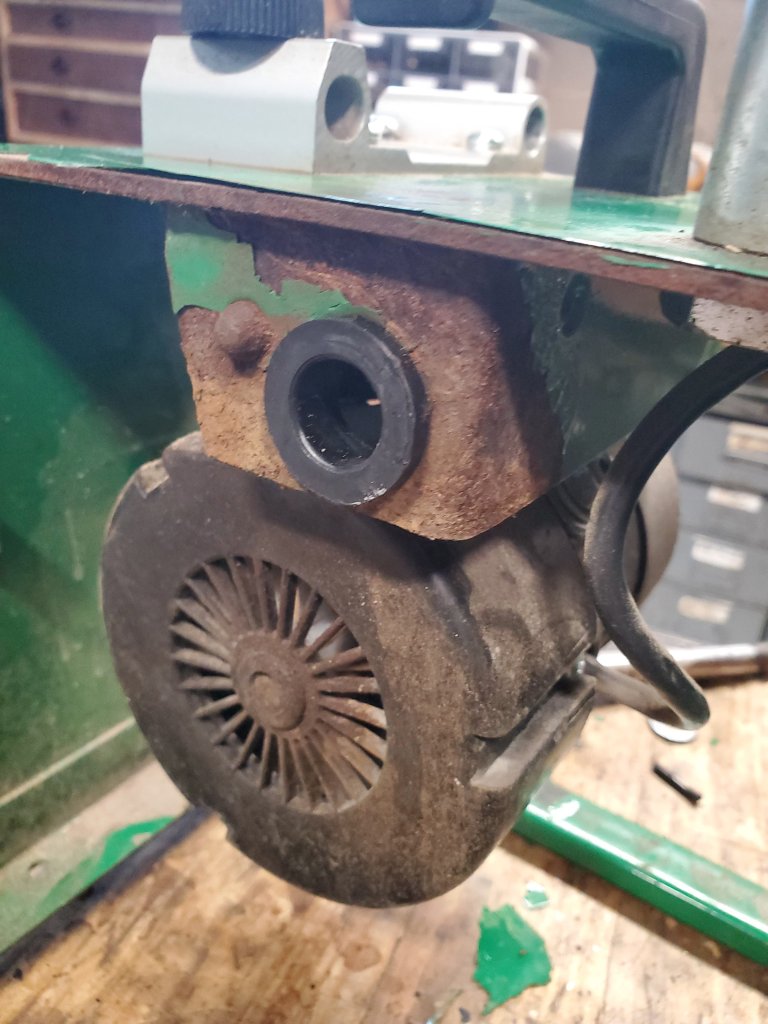
Now with a “new” gasket in place, the shaft wouldn’t fit into the hole because of all the corrosion on it so, I carefully filed and sanded the rust away. After a few minutes, I was able to get the shaft nicely seated in the machine.

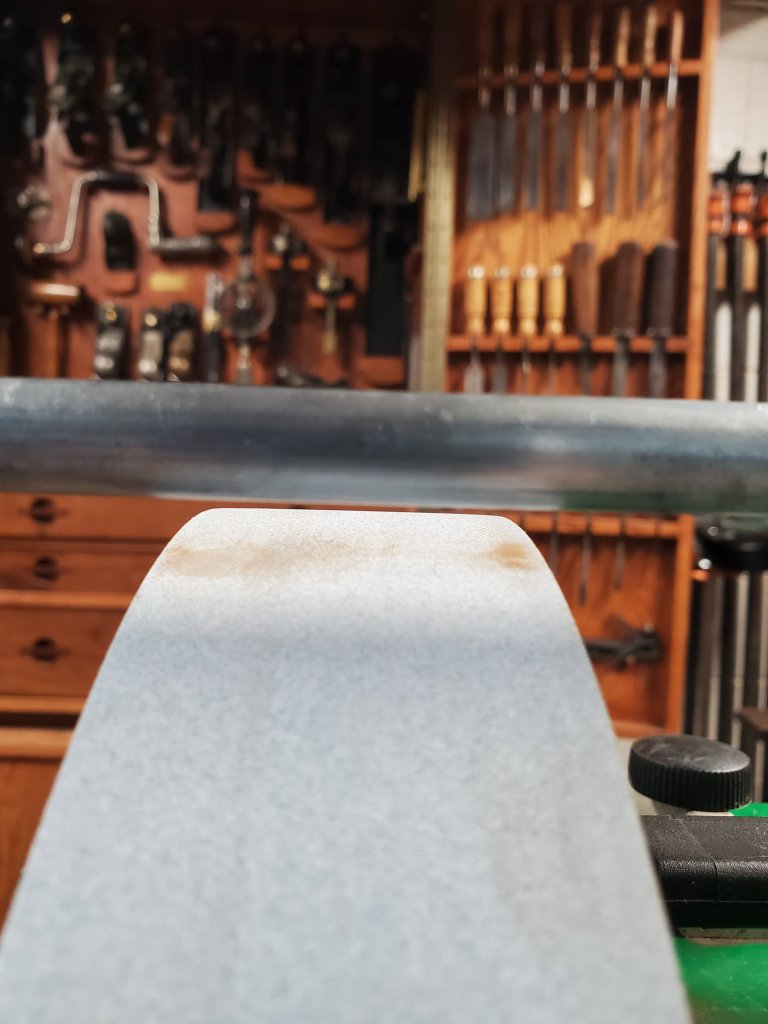
I checked the squareness of the stone to my crossbar and it looked much better than before. For years when I used the Tormek, it would cut slightly heavier on one side of the blade. I would compensate for this error by tilting the angle of my blade in the jig just a smudge. After messing around with the machine this afternoon, I finally understand why it would cut heavier on one side.

I turned the machine on and checked how everything was running. The stone wobbles just a touch but, from how hard I was hitting the wrench with a hammer in order to get that nut off, I’m not surprised. As long as the machine sharpens blades fine, I’m happy with it.

The Worst Plane Blade

Every once in awhile I’ll come across a plane blade that is so heavily pitted and corroded, the best thing to do is to simply throw it away. This blade that came off a Stanley No 6 plane was no different. The problem was that I didn’t have a replacement blade to go with the plane I was restoring, so I was forced to see if I could get the blade to work again.

The first thing I did was take the blade over to my 8″ speed grinder and grind the face and back of the blade to remove the corrosion. I paid special attention not to heat the blade up too much so, I occasionally cooled it off in a bucket of water. Fortunately, the blade’s face had about a 1/4″ of metal at the bottom that wasn’t pitted, so I was hopeful I could still get a good edge out of it.

I took the blade over to my Tormek and ground a 25 degree bevel on it and honed the face flattler on the side of the Tormek grinding wheel the same way as I did with my 8″ speed grinder.

After the grinding was finished, I took the blade over to my water stones and sharpened it just as I do with any other blade. When I was done, there was a clean line of light at the tip of the cutting edge so I was hopeful it could achieve a nice cut.

Placing the blade back into the plane, I tuned it up, and sure enough, this crappy blade cut pretty well. I took out my dial calipers, and the shavings measured .002″ thick. The blade will eventually need to be replaced, but at least the plane can function properly now.

The plane performed so nicely, I used it to flatten my workbench.

Venom Steel Nitrile Gloves

I normally don’t do product reviews. The reason is because often when someone writes one, they seek affirmation that they made the right decision with what they just bought. This is especially true with tool reviews. How many times do people buy a new tool, take it out of the box, use it, and then blog about how much of a piece of shit it is? Very rarely. It’s one of the reasons I don’t put much weight on reading tool reviews in woodworking magazines. The other reason I don’t write tool reviews is that often I don’t have anything to compare the new tool to. When I bought a new random orbital sander, my old sander was twenty years old and obsolete. I can’t compare my new one to the old. That wouldn’t make any sense. Also, when I bought my random orbital sander, I didn’t try out any of other sanders on the market to see how they stacked up to mine so, I just use it and move on with life.

This time it’s a little different. I found these heavy-duty nitrile industrial gloves at Lowe’s a few weeks ago and was intrigued. For awhile, I was looking for something to replace my old exam gloves that would constantly tear while I was working. I tried using industrial latex gloves, but didn’t like how I couldn’t “feel” what I was doing so, I went back to the old stand by. When I saw these at Lowe’s, I opened a box, took a glove out and tried it on. Then I pulled on the glove while it was on my hand trying to rip it. It was a tough glove so, I bought the box hoping for the best.

20190331_144400.jpg

These are the nitrile exam gloves I used for years. For the price I couldn’t complain. Two boxes of 100 ran about $15.00. The problem is that I would go through three to four pairs when I spent the day sharpening. Worse yet, when they did tear, they often tore at the thumb turning my thumb black from the sharpening slurry completely defeating the purpose of wearing gloves in the first place.

20190331_144412.jpg

Typical dirty thumb even after I washed my hand from sharpening slurry. If you sharpen without gloves or do any type of metal working, you’ve experienced this as well.

20190402_183251.jpg

When I sharpen, I use my water-cooled sharpener along with 1000, 5000, and 12,000 grit water stones so, my hands are constantly getting wet.

20190331_144440.jpg

These are some of the planes I sharpened within an afternoon. It took about two to three hours to do all of them wearing my new tough gloves.

20190331_144436.jpg

After a dozen plane blades sharpened, the gloves took a lickin’ and kept on tickin’. No rips or tears and best yet, clean hands! If your Lowe’s doesn’t stock them, you can find them on Amazon.

20190331_144425.jpg

Saving a Millers Falls No 9 Plane

Last month my wife and I were at an antique show in Columbus, Ohio when I passed by this Millers Falls No 9 plane. I looked at it and decided that the rust on the right side was too much to deal with, so I walked away. About ten minutes later, something told me to go back and examine the plane better to see if it was worth saving. I thought to myself if nothing else, it could be used for parts as the handles and frog were in good shape. I asked the dealer how much he wanted for it and he told me $10.00 so I handed him a ten-dollar bill and walked away.

img_20170304_120015_038

The first thing I do when restoring an old plane is to take everything completely apart spraying PB Blaster on the parts if necessary to break free the rust.

20170304_121257

Once apart, I soak the plane in a citric acid bath for a few hours. I use an old planter box as my tub and fill it half way up with water. Then I’ll scoop out about a cup of citric acid and spread it over the water. Sometimes you can buy citric acid at the grocery store in the spices section, but I buy mine by bulk on eBay. I buy about ten pounds worth for $30.00 which is much cheaper than the grocery store which is usually about $7.00 per pound.

img_20170304_155902_905

After a few hours, I take the parts out of the bath and use a wire brush to scrub the residue off the parts. The acid does a great job of removing the rust from the tool.

img_20170305_101028_318

I then polish all the parts with sanding sponges and apply my own homemade rust protection solution which contains, mineral oil, orange oil, and beeswax. I also steel wool the handles of the plane and apply a couple of coats of shellac to them.

20170305_200606

Once everything is cleaned and polished, I put the plane back together to see how it looks.

img_20170305_202015_812

If all the plane was to do is to sit on a shelf and collect dust, then I would be done. However, I want this plane to be used again, so I needed to focus on the blade. As you can see in the picture, the blade was roasted and desperately needed a new edge. Some people feel a blade that is in this bad of shape would automatically need to be replaced, but I like to see if I can get it to work again first.

20170401_102354

I took the blade over to my high-speed grinder and ground a new edge making sure not to overheat the blade making it lose its hardness.

20170401_103001

After the major grinding was done, I switched to my slow speed water-cooled grinder and worked on the edge some more. I also flattened the back of the blade on my grinder at the same time.

20170401_104744

After I was satisfied with the grinding process, I switched to my water stones to hone the edge. I sharpened the blade with a series of 800, 2000, and 5000 grit water stones.

20170401_105348

I set the cap iron about a 1/8″ from the edge of the blade and put it back in the plane. After adjusting the blade up and down, I was able to get the plane to cut off a nice thin shaving.

20170401_105936

I took one of the shavings and measured it with my calipers. The shavings produced were .002 of an inch thick.

20170401_110035

The shavings are nice, but the real proof is the way the plane leaves the wood with a nice sheen. No sandpaper needed. Not too shabby for a rusty $10 plane.

20170401_110434

Using a Lion Miter Trimmer

A couple of weeks ago I posted on a Facebook page called “The Collectors of Antique/Vintage Tools” about a Lion Miter Trimmer I just restored. A few people in the group replied to my post asking what the tool did. I was surprised that so many people weren’t aware of this tool, that I decided to talk about it here.

 photo mitertrimmer002.jpg

I’ve owned an AMT miter trimmer for over twenty-five years and love it. They are simple tools that were popular for people who made picture frames back in the day. You use it by swinging the arm pulling the knife through the piece of wood, slicing off perfect little curls precisely at whatever angle you set the fence at.

 photo mitertrimmer030.jpg

The miter trimmer has fences on each side that can be positioned between 90 -45 degrees. There are adjustable stops at 90 and 45 that can be fine tuned with a screwdriver. Once you swing the fence to whatever angle you want, you tighten the wing nut on top locking the fence in place. As you can see in the photo, this machine also has layouts for 60 and 67 1/2 degrees.

 photo mitertrimmer004.jpg

After fiddling with the machine for a few minutes, I positioned the adjustable stops precisely were they needed to be. As you can see, the stop is a little shy from the 45 degree scribe line on the bed. I’m not sure why this is, but the tool is probably over 100 years old, so it’s allowed to be off a little.

 photo mitertrimmer005.jpg

You can see how the tool slices off perfect little shavings. When I was restoring the tool, I took the knives off and sharpened them on my Tormek using the Tormek knife jig. Before I sharpened them, the knives couldn’t cut butter.

 photo mitertrimmer031.jpg

 photo mitertrimmer007.jpg

The main reason I love my miter trimmer is that it cleans up the cuts that are made from my miter box and saw. For safety reasons when doing delicate trim work, I like to use my little miter box instead of a powered miter saw.

 photo mitertrimmer022.jpg

However, the saw doesn’t leave the wood with a nice enough cut.

 photo mitertrimmer026.jpg

Not only that, the miter box doesn’t even produce a perfect 45 degree angle throwing the two pieces out of square.

 photo mitertrimmer025.jpg

Here are the two pieces after they’ve been trimmed up with the miter trimmer.

 photo mitertrimmer019.jpg

The proof is in the pudding here. All the joints fit nicely together and the frame is a perfectly square inside. No wonder why picture framers loved these things.

 photo mitertrimmer006.jpg

Another good use of a miter trimmer is doing outside corners like attaching molding to a bookcase or cabinet. Here is a piece of molding that I cut with one of my molding planes.

 photo mitertrimmer012.jpg

If I stick the piece in my miter trimmer and try to trim it up normally, you can see how the inertia of the cut pulls the molding off the bed. There’s simply not enough surface area in the front of the molding to keep the piece stable.

 photo mitertrimmer011.jpg

The cut it produces this way is garbage. Not only is it not 45 degrees, it’s not even a straight cut.

 photo mitertrimmer027.jpg

The way to get around this, is to take the body off a combination square and clamp it to the fence of the trimmer. Use a scrap piece of wood and cut a 45 degree angle to the end with the trimmer. Then use the cut as a gauge to accurately place the combination square under it. It’ll take a little time and a few test cuts, but once you have the combination square properly position, you’re ready to go. Note: You can buy an attachment from Grizzly for about $30 which does the same thing as this, but I’m not sure if it will work on old Lion Miter Trimmers.

 photo mitertrimmer010.jpg

Now you can use the bottom of the molding to rest against the fence for support and make a perfect 45 degree cut.

 photo mitertrimmer013.jpg

 photo mitertrimmer015.jpg

Repeat on the other side of the trimmer for the other side of the molding and you’ll get a super clean and accurate joint.

 photo mitertrimmer017.jpg

Unfortunately, the website for the original Lion Miter Trimmer no longer works which makes me believe they are no longer in business. http://www.lionmitertrimmer.com It’s a shame because the tool is truly an awesome piece of machinery.

Sharpening a Pitted Plane Blade

I bought a Millers Falls No 7 Jointer Plane a few weeks ago that had a pitted blade in it. While most people would look at a blade like this and immediately think that it belongs in the trash, I decided to see if I could get it to work well enough to slice thin shavings off a piece of cherry.

The first thing I do when I sharpen any of my blades is to whip out my Tormek sharpening wheel. I’ve owned the Tormek for several years now and have never regretted the coin I paid for it. I set the machine up to grind a 25 degree angle on the blade and go to town.

A few minutes on the Tormek puts a real nice edge on the blade. The problem is the back of the blade is still pitted causing the blade to cut ridges in the work piece while using it in the plane.

I used the side of the wheel of the Tormek to try to flatten the back of the blade, but after a few minutes I wasn’t really getting anywhere. It did help, but it would have taken hours to remove all the pits.

I decided to give the old ruler trick a try made famous by David Charlesworth and remove only the metal at the front of the blade. I stick a thin ruler at the back of the blade and sharpen the backside of the front of the blade by moving it back and forth on a piece of 320 grit sandpaper. This in theory changes the cutting angle of the blade by a few degrees, but honestly, who cares? There is very little difference between a blade with a 25 degree angle and one with 24 or 23 degrees. It may make a difference with hard exotics, but I normally use poplar, cherry, maple and southern yellow pine. I’m too cheap to buy hard exotic wood.

As you can see if you look closely, the ruler trick worked. The very front edge of the back of the blade is clean of any pitting and will hold an edge better.

I then switched to my water stones and hone the edge created on my Tormek. I use a combination stone of 800/4000 grit and a final 12000 grit stone. I use water stones as opposed to oil stones simply because the Tormek is a water stone. Oil and water don’t mix.

Here is my final sharpening of the blade. Pretty good if you ask me.

Here’s the blade in action cutting cherry. After a few adjustments with my plane, I was able to produce nice clean shavings. The cherry underneath was glass smooth after it was planed with the blade.

How thin were my shavings? About .003″ thin. Not too shabby for a piece of crap blade that most people would have never even given a second chance and would have just thrown in the garbage.