A few months ago, I bought this Woodriver No 1 Plane on eBay after missing owning my Stanley No 1 Plane that I bought at an antique show a couple of years earlier. I had to sell my Stanley No 1 because at the time, I needed the cash, but I still enjoyed using it for the short time I owned it.
I wanted to buy a Lie Nielsen No 1 plane, but those have shot up in price over the past couple of years as well. When I wrote my article about “Using a Stanley No 1 Plane,” you could buy a Lie Nielsen for about $200. Now, their prices fetch anywhere between $500-800 because apparently Lie Nielsen is no longer making them, and collectors are grabbing them up.
Woodriver No 1 planes are technically still available, but they have been on backorder from Woodcraft for over a year, which is why I had to hunt eBay for this little guy. Whether or not they come off backorder is anyone’s guess.
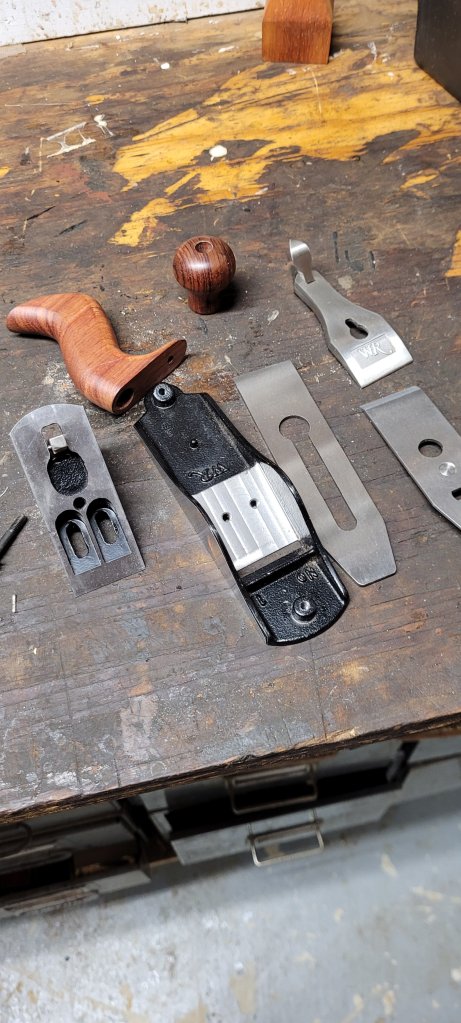
The plane needed a little cleaning, so I took it apart and polished all the parts, removing surface rust. I noticed the edges were sharp from the milling process, so I cut them down with a file and some 120 grit sand paper.
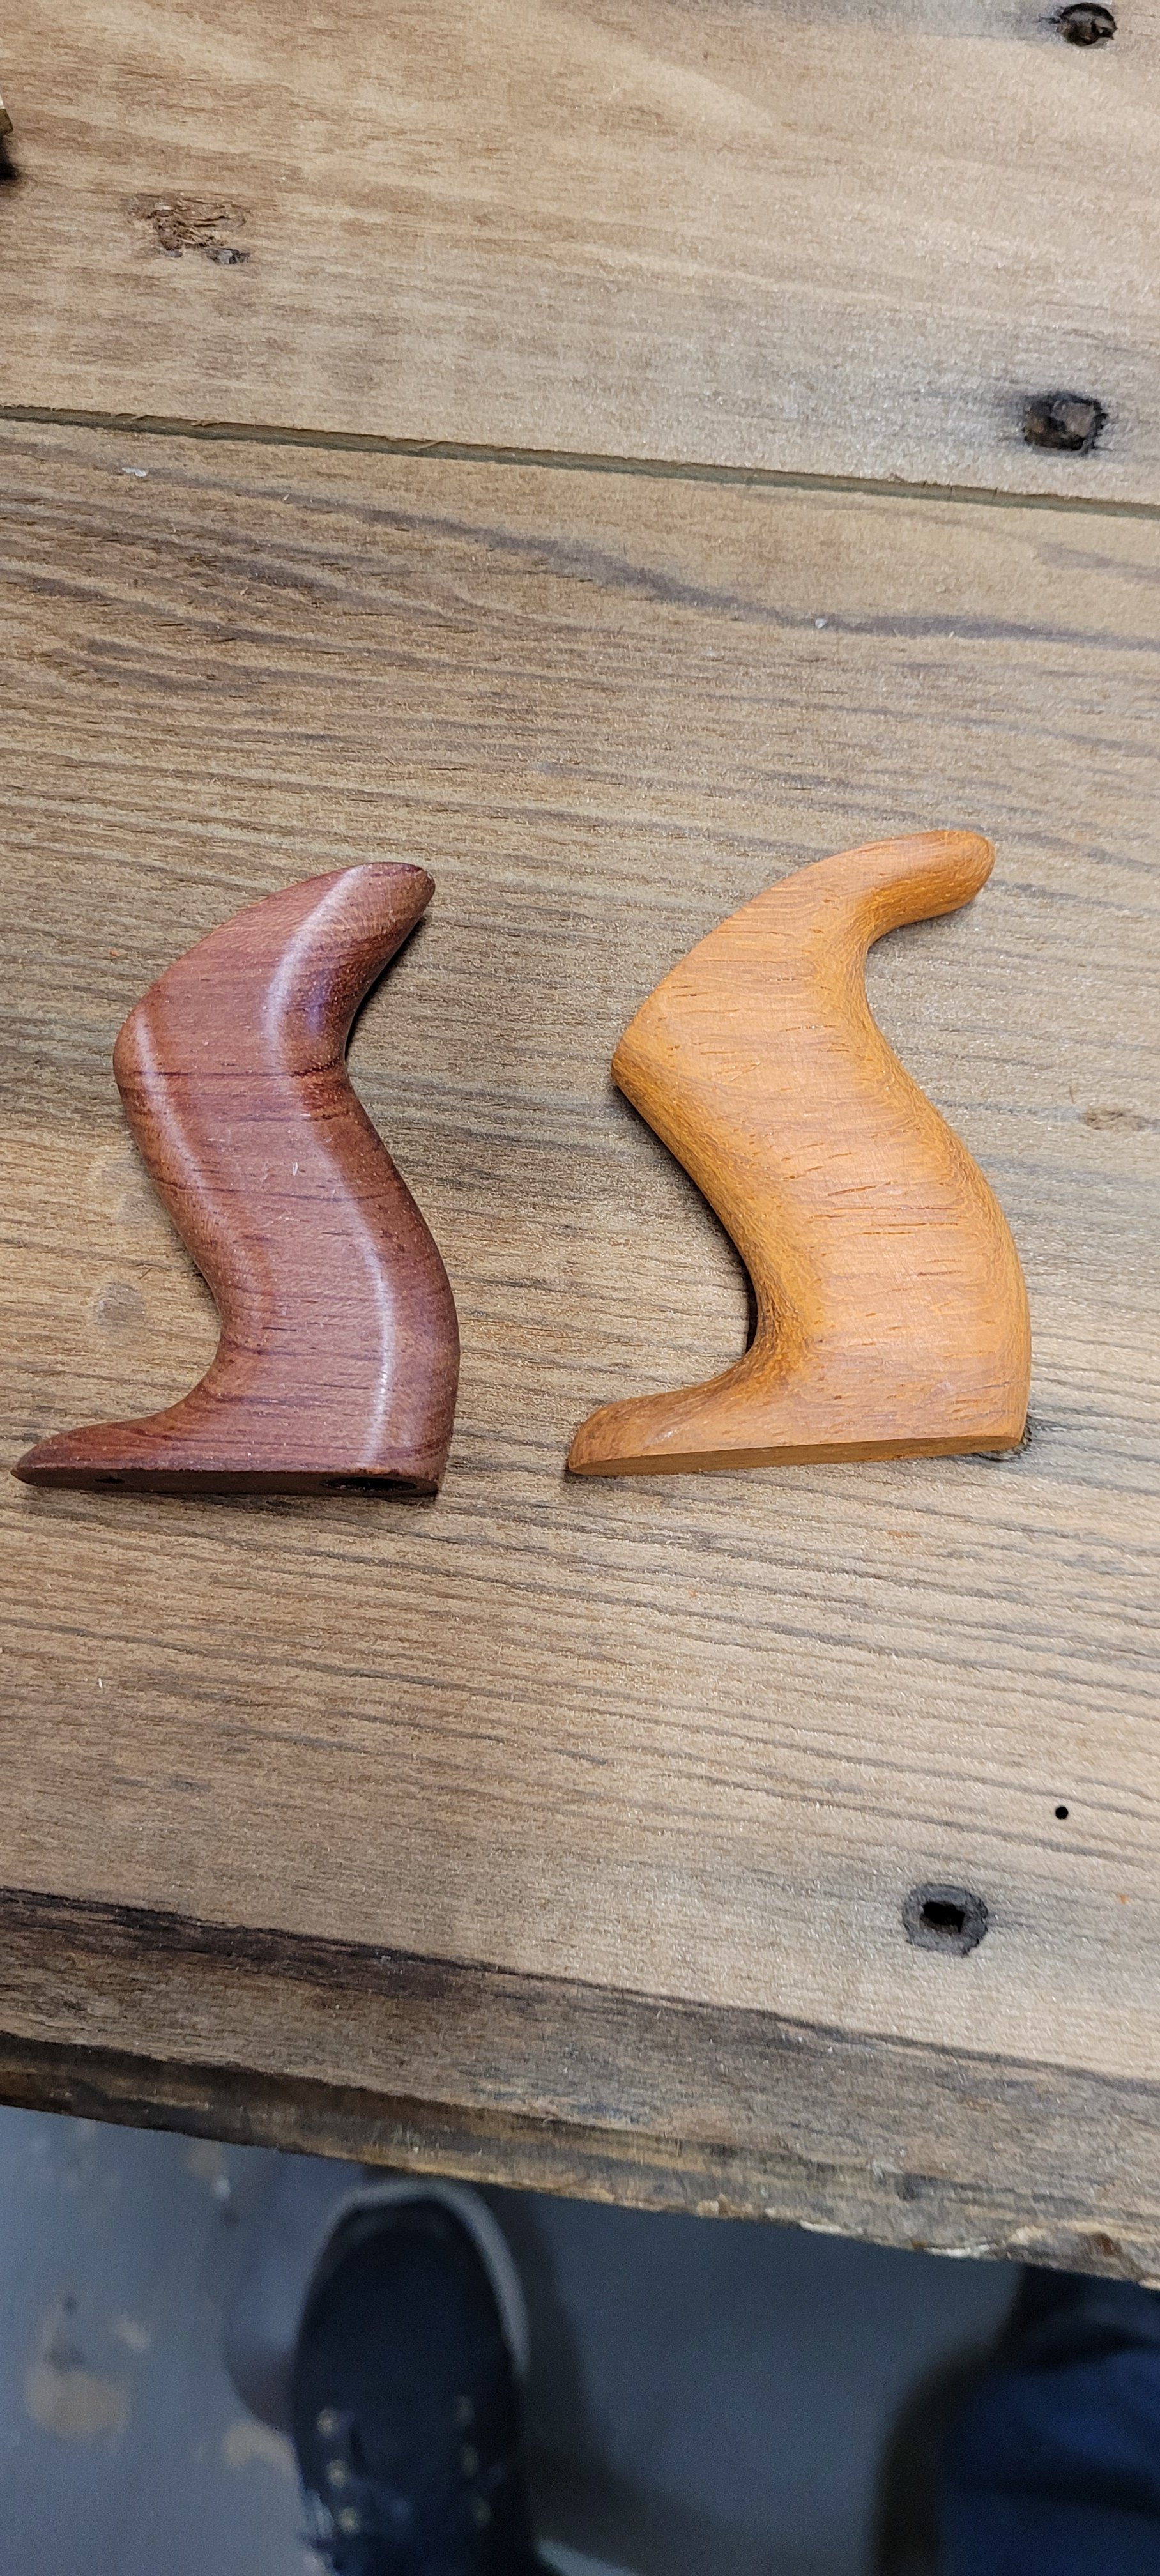
The one thing I didn’t like about the plane was the shape of the rear tote. I originally wanted to replace the handle with Brazialian Rosewood, but I couldn’t source a piece that was cheap enough, so I settled with a scrap piece of Paduak. I’m partial to the look of Stanley’s older totes, so I drew out a design that I thought looked close enough to the old Stanley planes.

I simply used chisels and files and rounded the edges of the tote. I played around with the overall shape of the tote a few times until I was satisfied with the overall look.
After the shaping was done, I had to drill the holes for the nut and threaded rod. I stuck a 1/8″ dowel through the Woodriver tote and transferred that angle onto my new tote. Then, I drilled the center hole through the body and larger holes on the top and bottom of the tote to fit the nut on top and the raised hump on the bed.

Once I put the tote onto the plane, I examined how it fit. I noticed that the front part of the tote was a little too tall for the brass adjustment screw to move freely. So I reshaped the front of the tote, giving the screw more clearance to move.
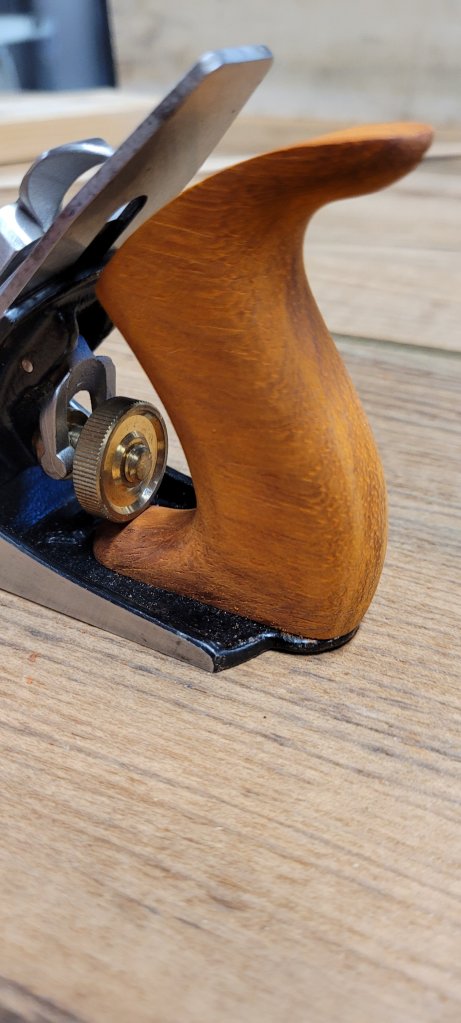
I sanded the tote smooth and applied dark walnut Danish oil on the tote to tone the reddish color down a little bit. I contemplated making a new knob as well, but I decided against it. I’m hoping that the color of the Paduak will darken over time and match the knob better in color.
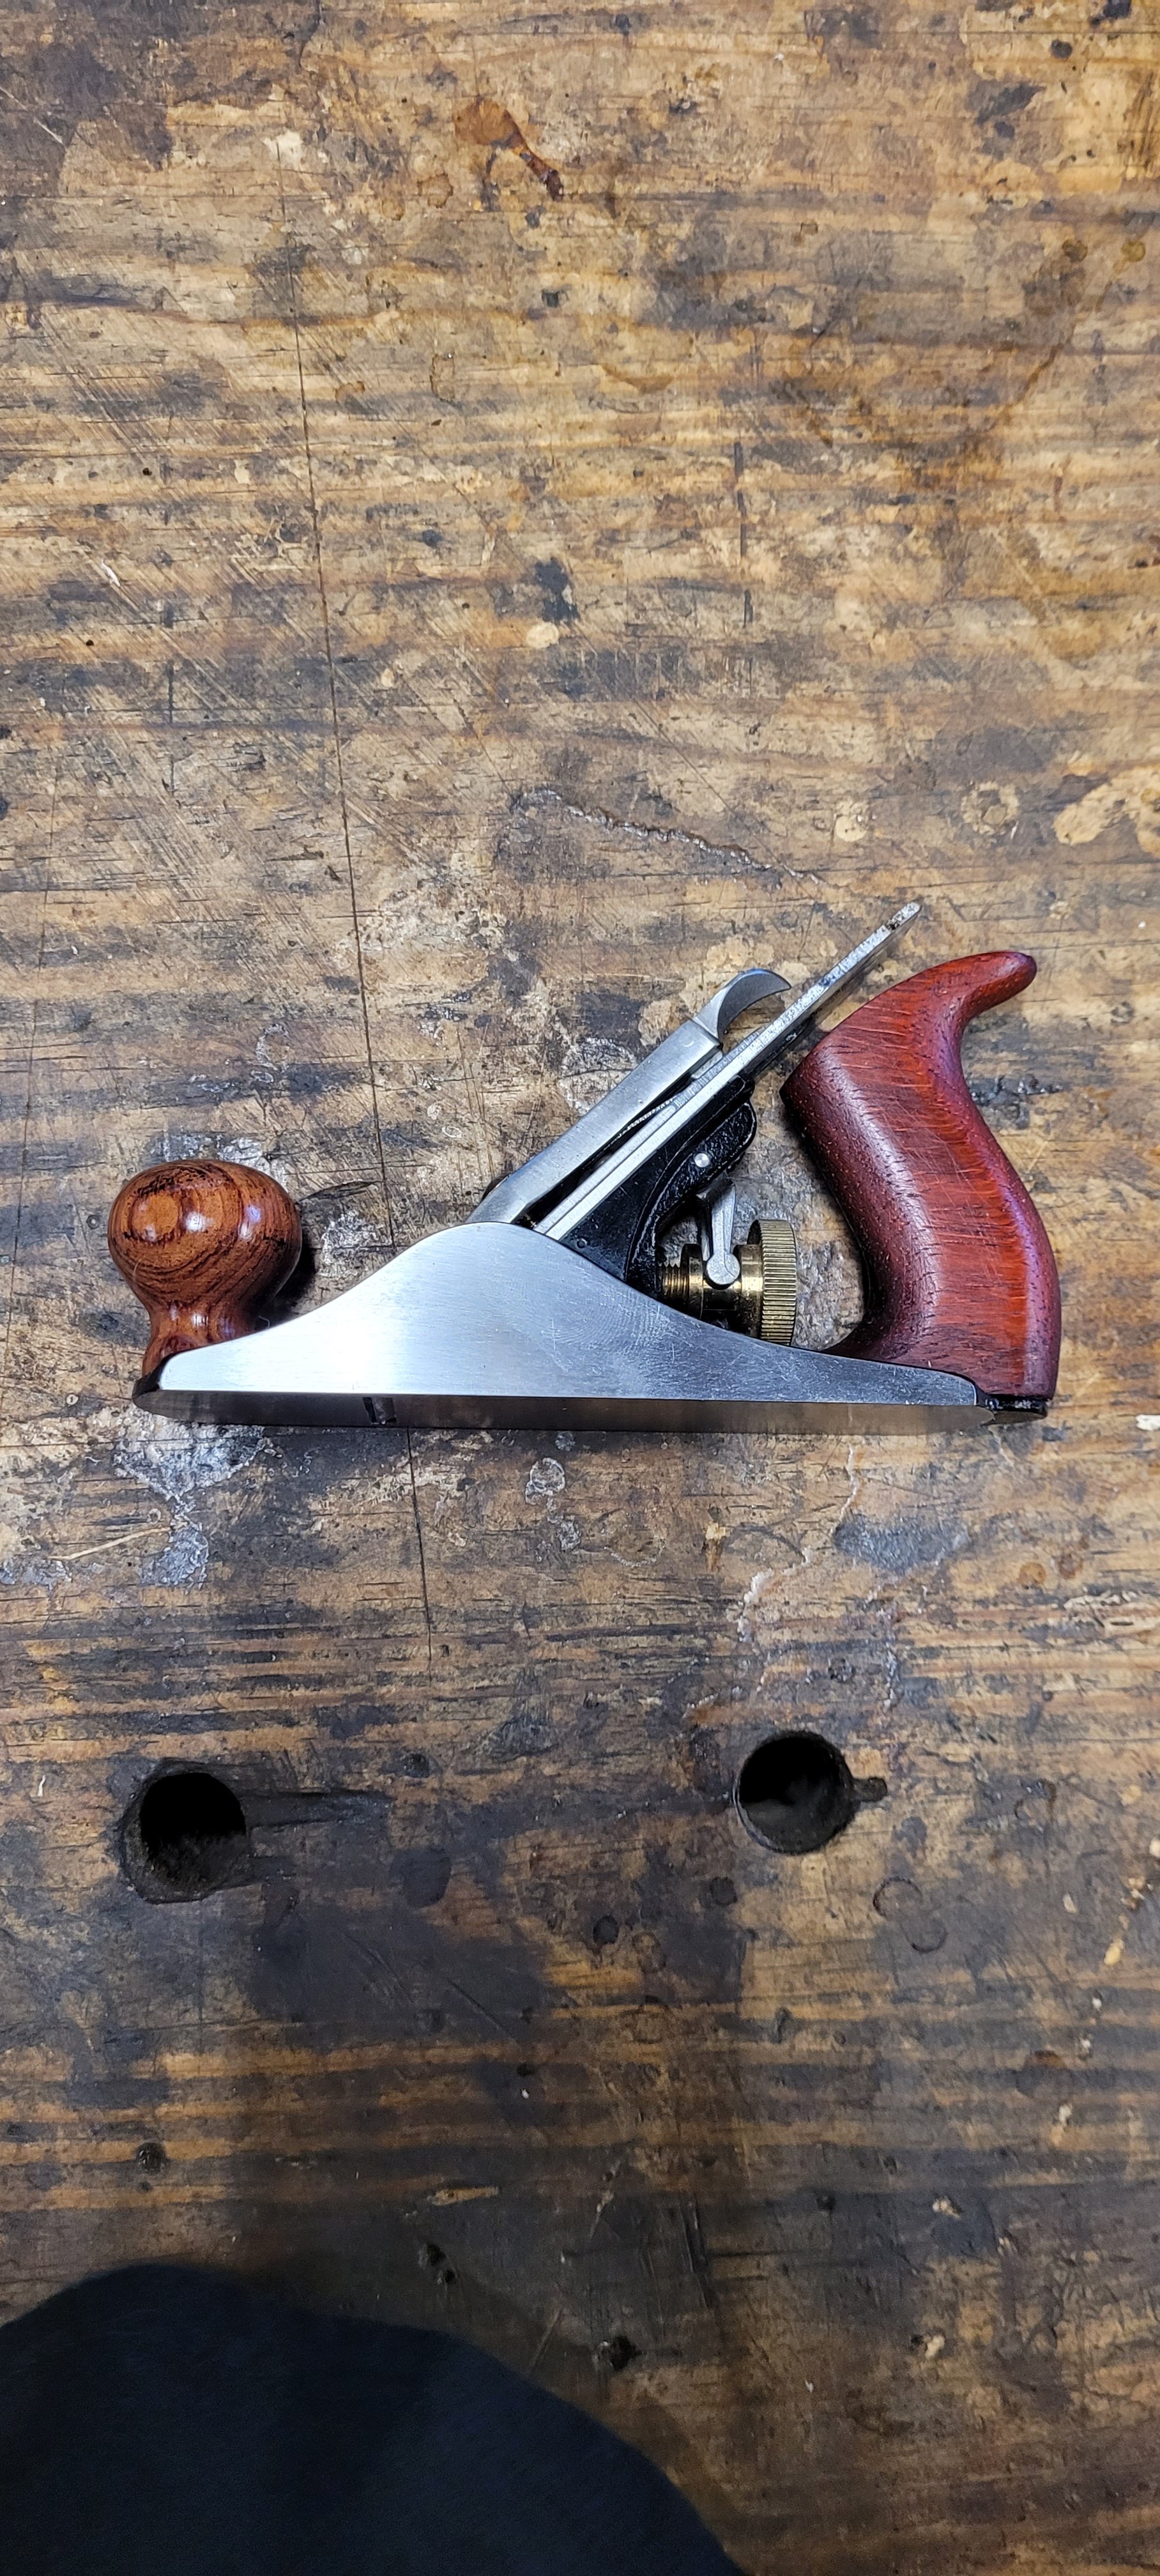
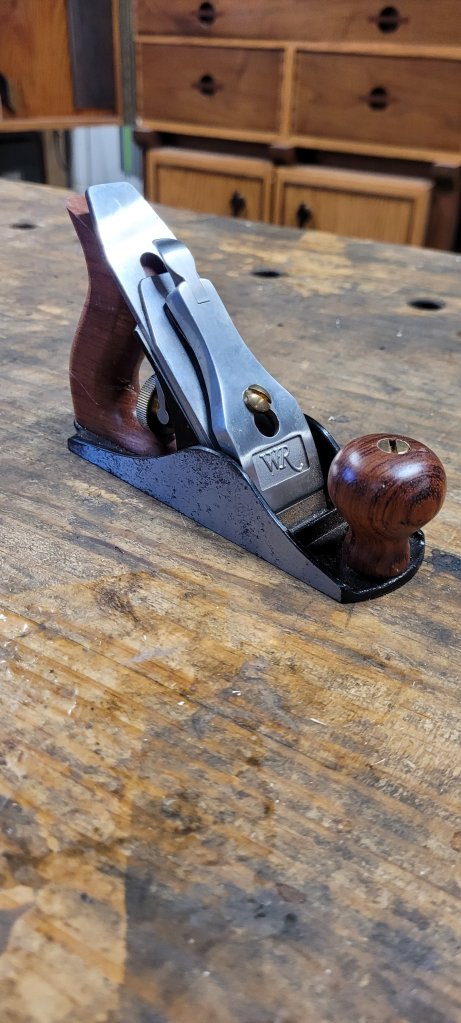
Here’s the plane all cleaned up with a new tote. Looks nice, but I still would like to make Brazialian Rosewood handles someday.

I sharpened the blade to see how it performed. I grabbed a scrap piece of birch with some swirly grain and went to work. The plane worked admirably. I really do think these little guys were made to clean up rough grain produced by larger planes.

I don’t think Woodriver No 1 Planes are as nicely machined as Stanley or Lie Nielsen planes, but for the price, they’re a good substitute.