Sometimes life gives you an opportunity you didn’t know existed.

My friend Tim called me last summer saying that he cuts the grass for our old Junior High Shop Teacher, Mr Morganroth, and he had some old tools he wanted to sell. Mr Morganroth was our shop teacher in the seventh grade. In class, we would make swordfish and ducks out of a piece of walnut, then attach painted metal for the fins and the wings. The class was the basics of woodworking, where we learned the simple steps of using surform files, grades of sandpaper, and cutting things out on the band saw. These simple steps got me hooked on woodworking, and I started to slowly build a shop in my parents’ basement when I was in high school.

Mr Morganroth said he was moving to Tennessee and wanted to get rid of some old tools he had been collecting asking if I would be interested in them. I told Tim I was but wanted to know what he had beforehand, so he sent me a few pics from his phone.

Tim sent me the photos, and I took a close look at them and I said I was interested, but I don’t want all of them since a lot were just common tools. Unfortunately, Morganroth wanted to sell them all at once, so I just let it go and forgot about it.

Then, a few weeks ago, Tim called me again and said Morganroth really wanted to get rid of them, so I contacted him directly and asked him to send me better pictures of what he had. Morganroth said he wanted to sell everything but the cooper’s tools as they were his grandfather’s.

Understanding that, we went back and forth for a few days, and I gave him an offer for the tools he wanted to sell (I really had my eye on the slick at the time). He responded that he would think about my offer.

Then last week he got back with me and said he’ll include the cooper’s tools as well and he’ll also throw in some woodworking books he had. I made him an offer higher than the first one I gave him, and he agreed to the price.

Friday, I went over to his house and picked up the tools. He had them hanging in his house for 30 years. He said his kids have no interest in them as neither of them work with wood, so he was glad they were going to a good home.

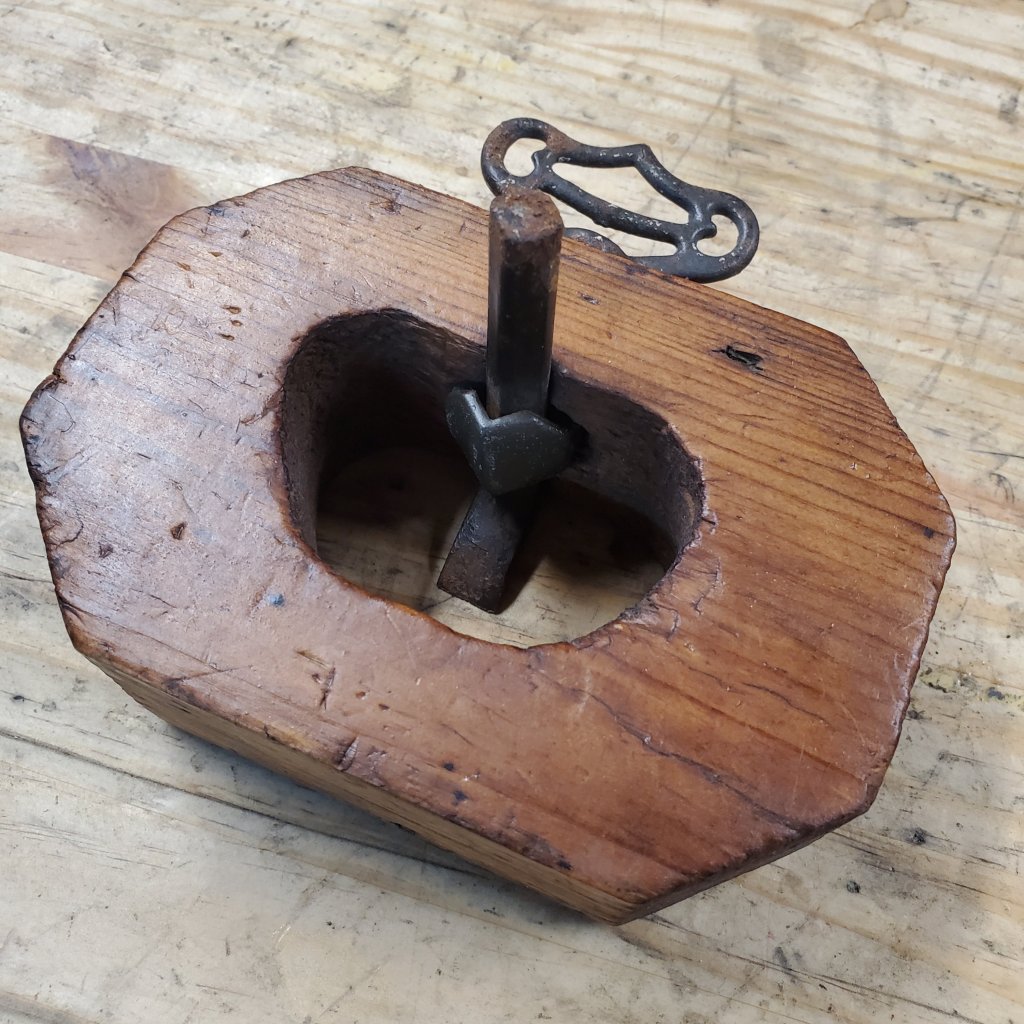
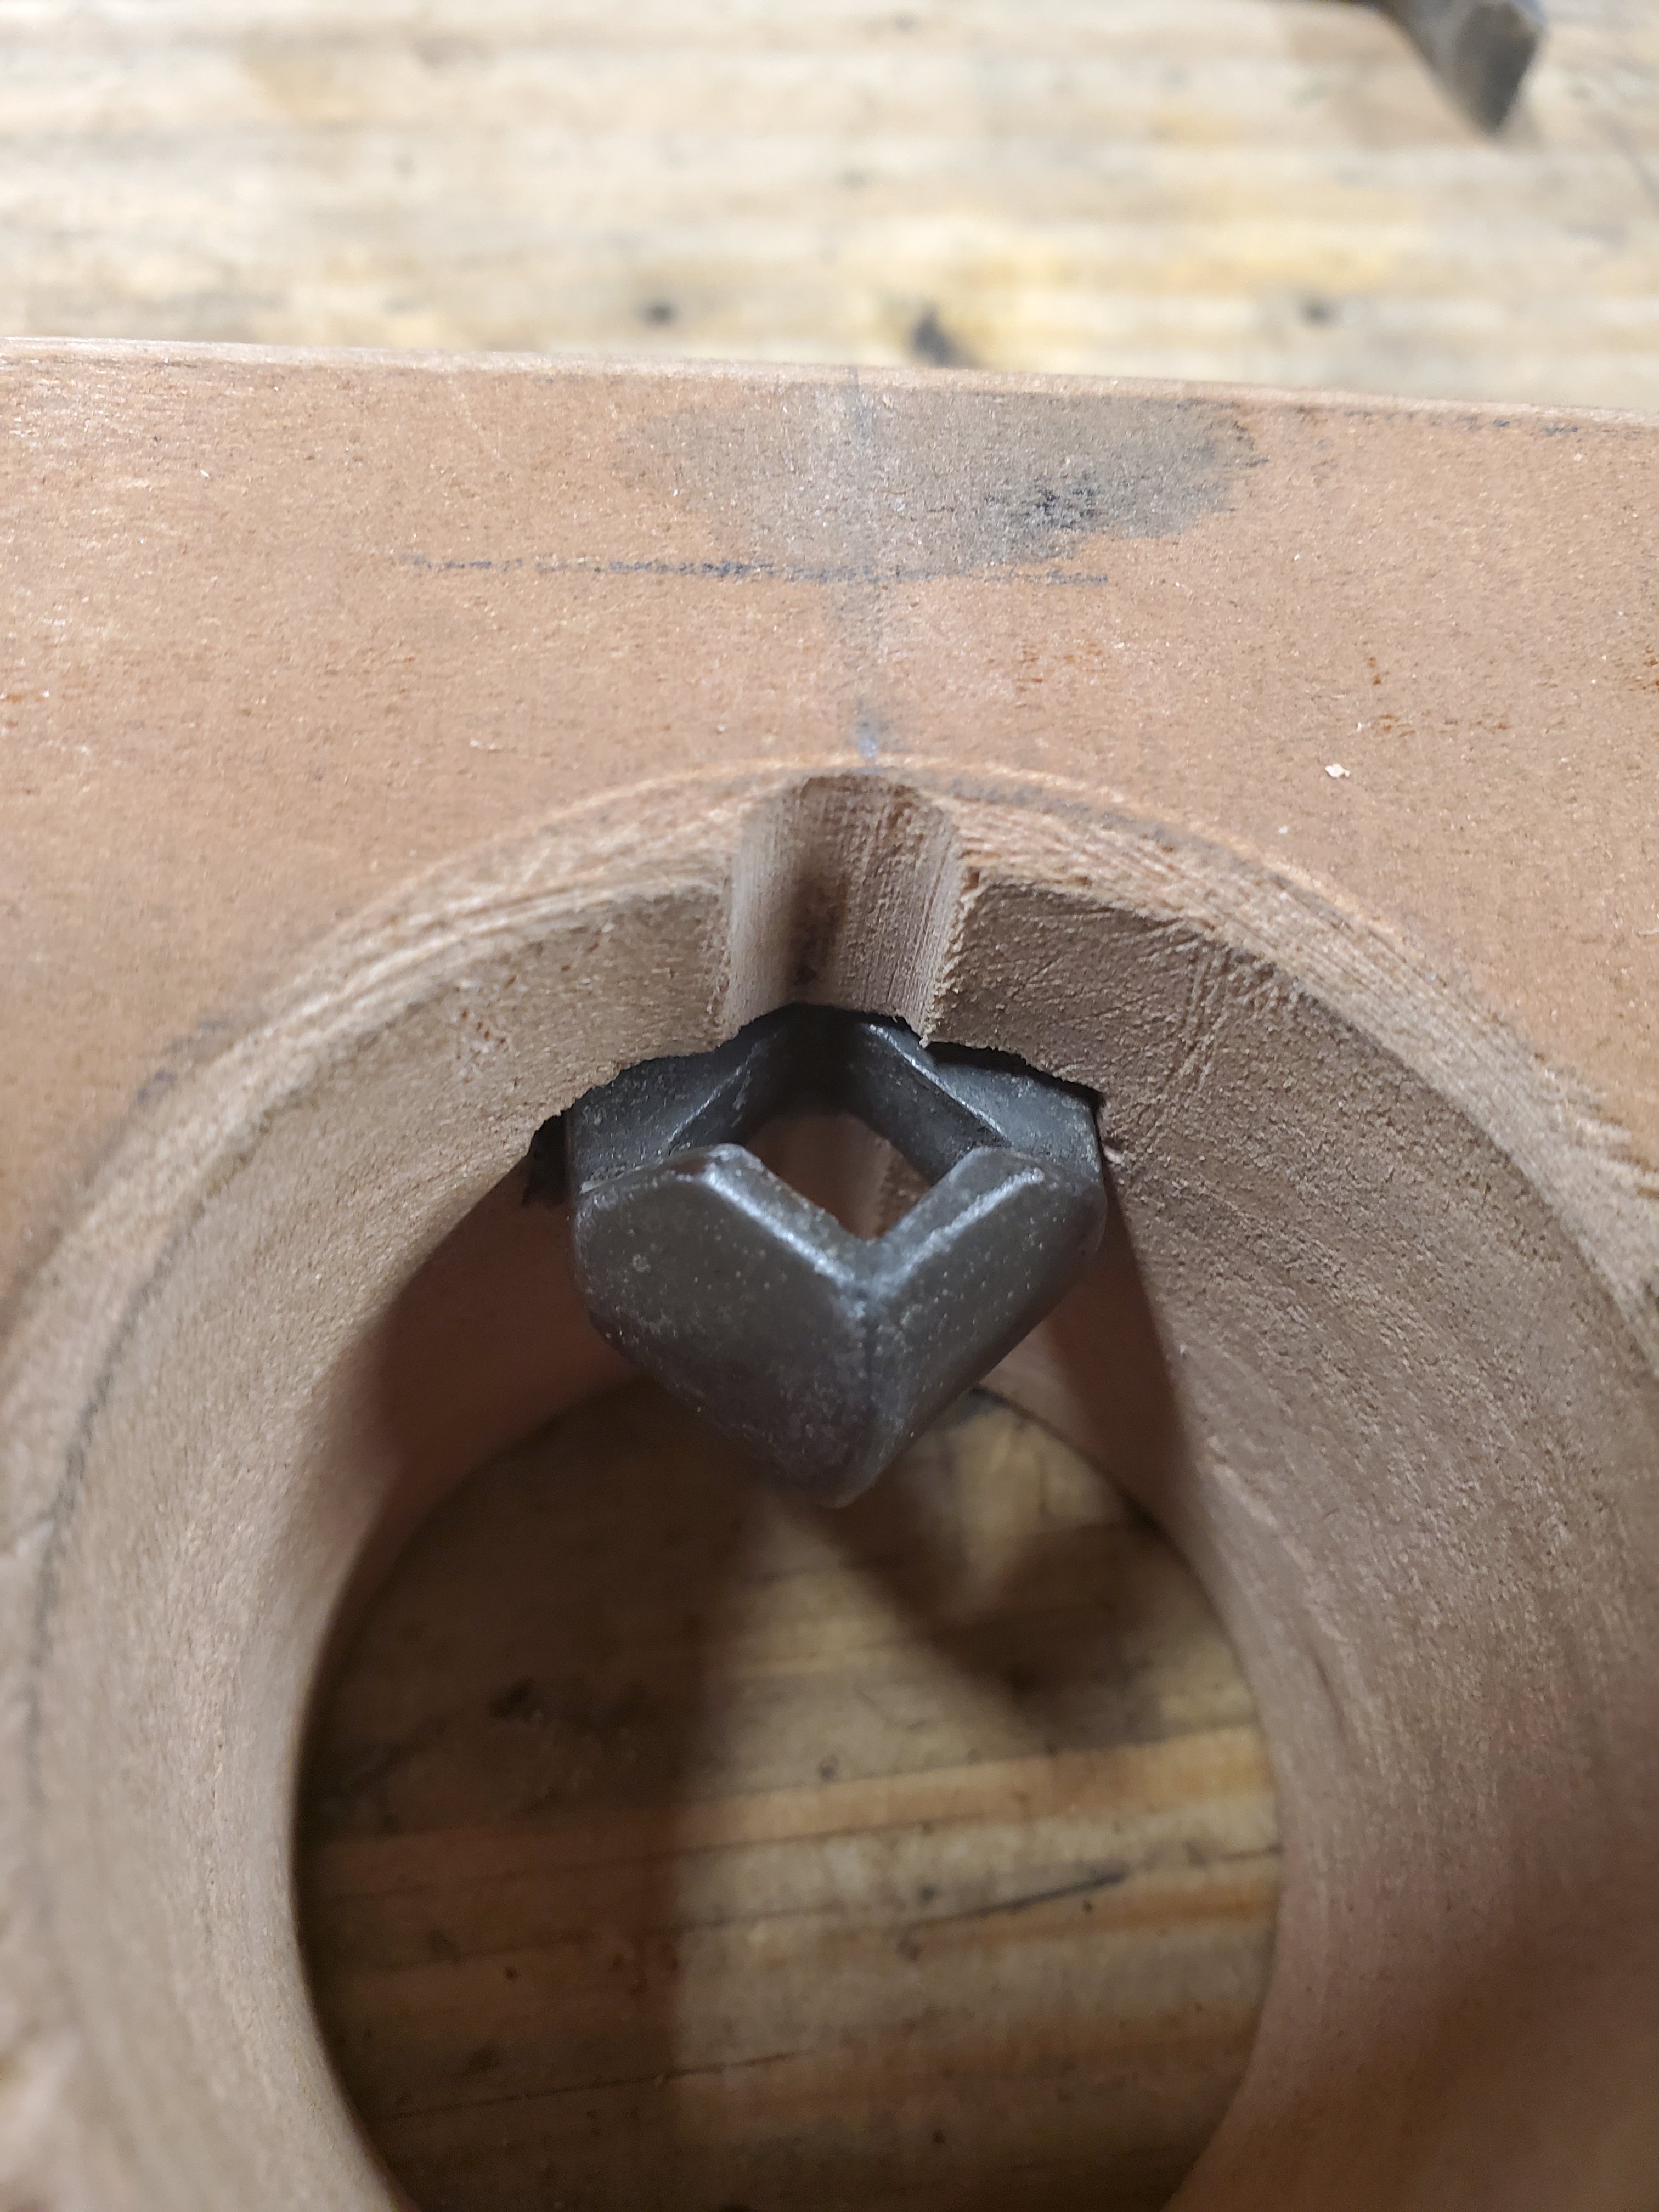
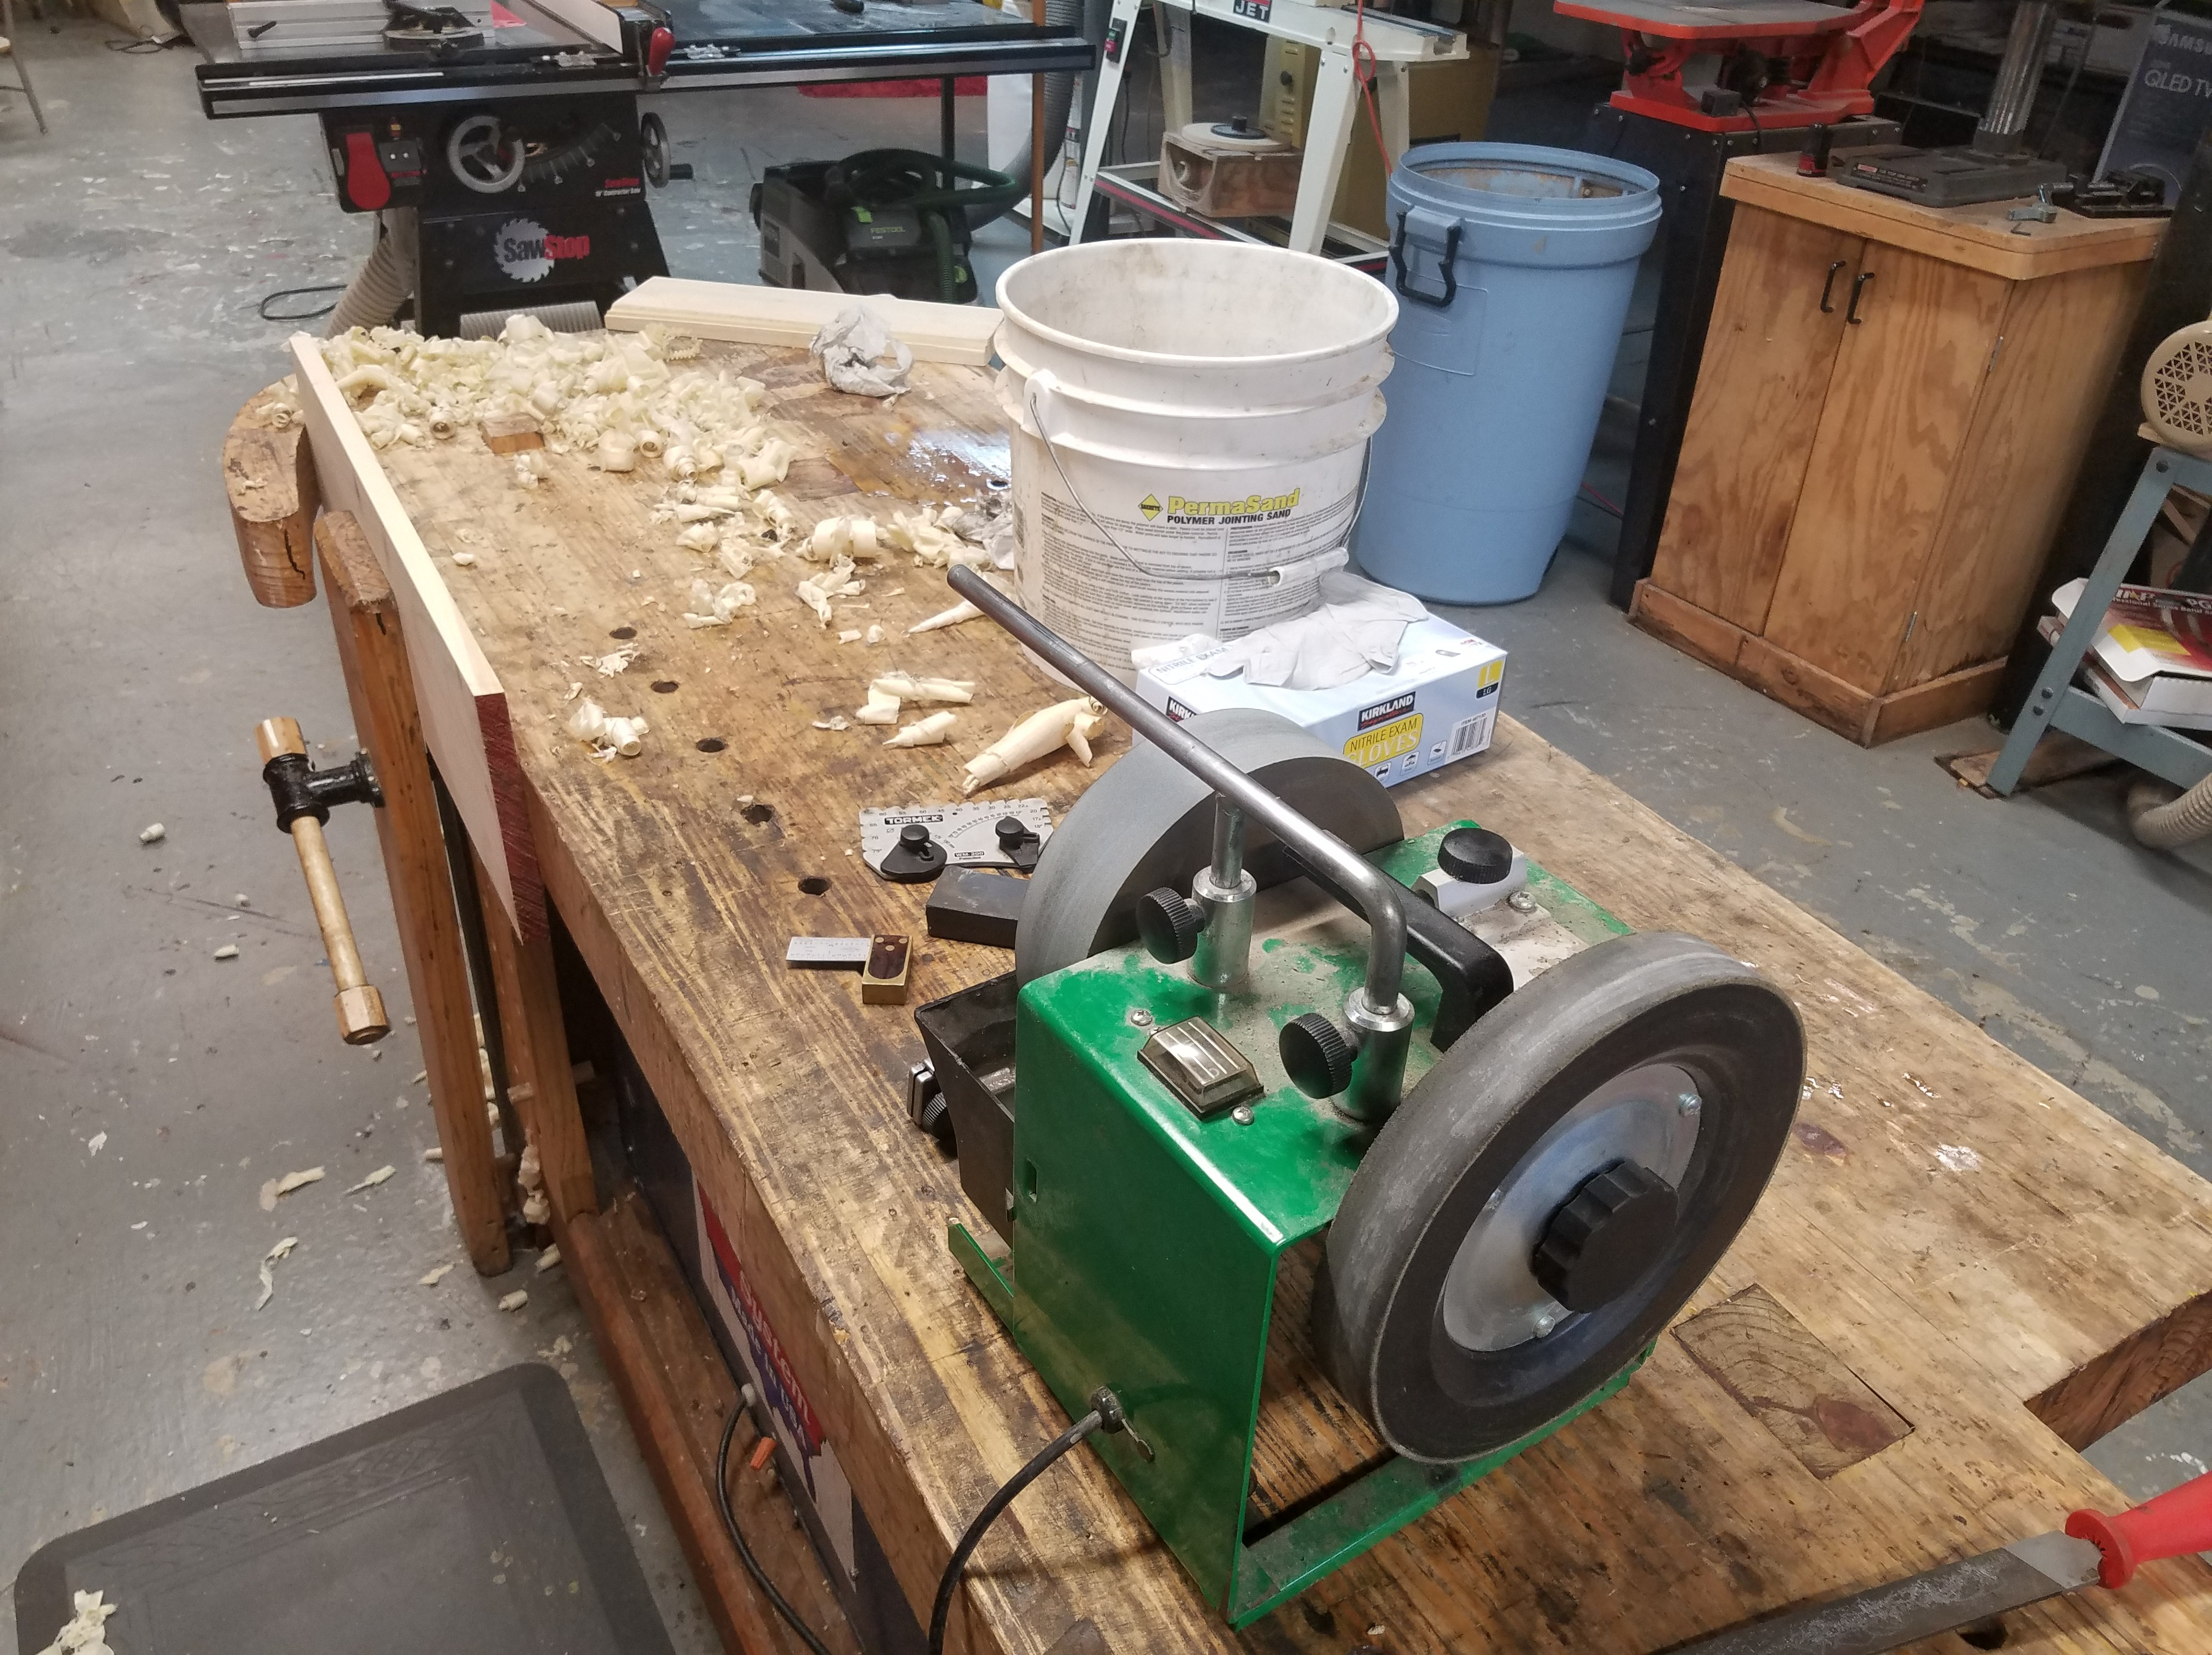
I brought them home and clipped them off the barn wood they were attached to to take a better look at them. The tools on the bench are the tools that his grandfather used when coopering. I plan on keeping them together as a set. I’m even considering making a tool chest for them.
It’s an incredible honor to buy old tools from the man who got me started in woodworking over 40 years ago.