J W Roof’s Tool Chest

Last weekend, I ventured out to an antique show in Urbana, OH. I got there around 8:00 am and walked around for a couple of hours buying a handful of tools. I was happy with what I bought as I just go to these antique shows because I enjoy going regardless of what I buy.

I decided to make one more pass around the fairgrounds when I decided to go down a little part that I didn’t visit before when I stumbled upon this guy.

A huge tool chest full of tools. The guy selling it said he took out of a house in Troy, OH from a woman who had it in her garage. It was her Dad’s tool chest. She had nowhere to keep it as she was moving into a retirement home, so she had to ged rid of it.

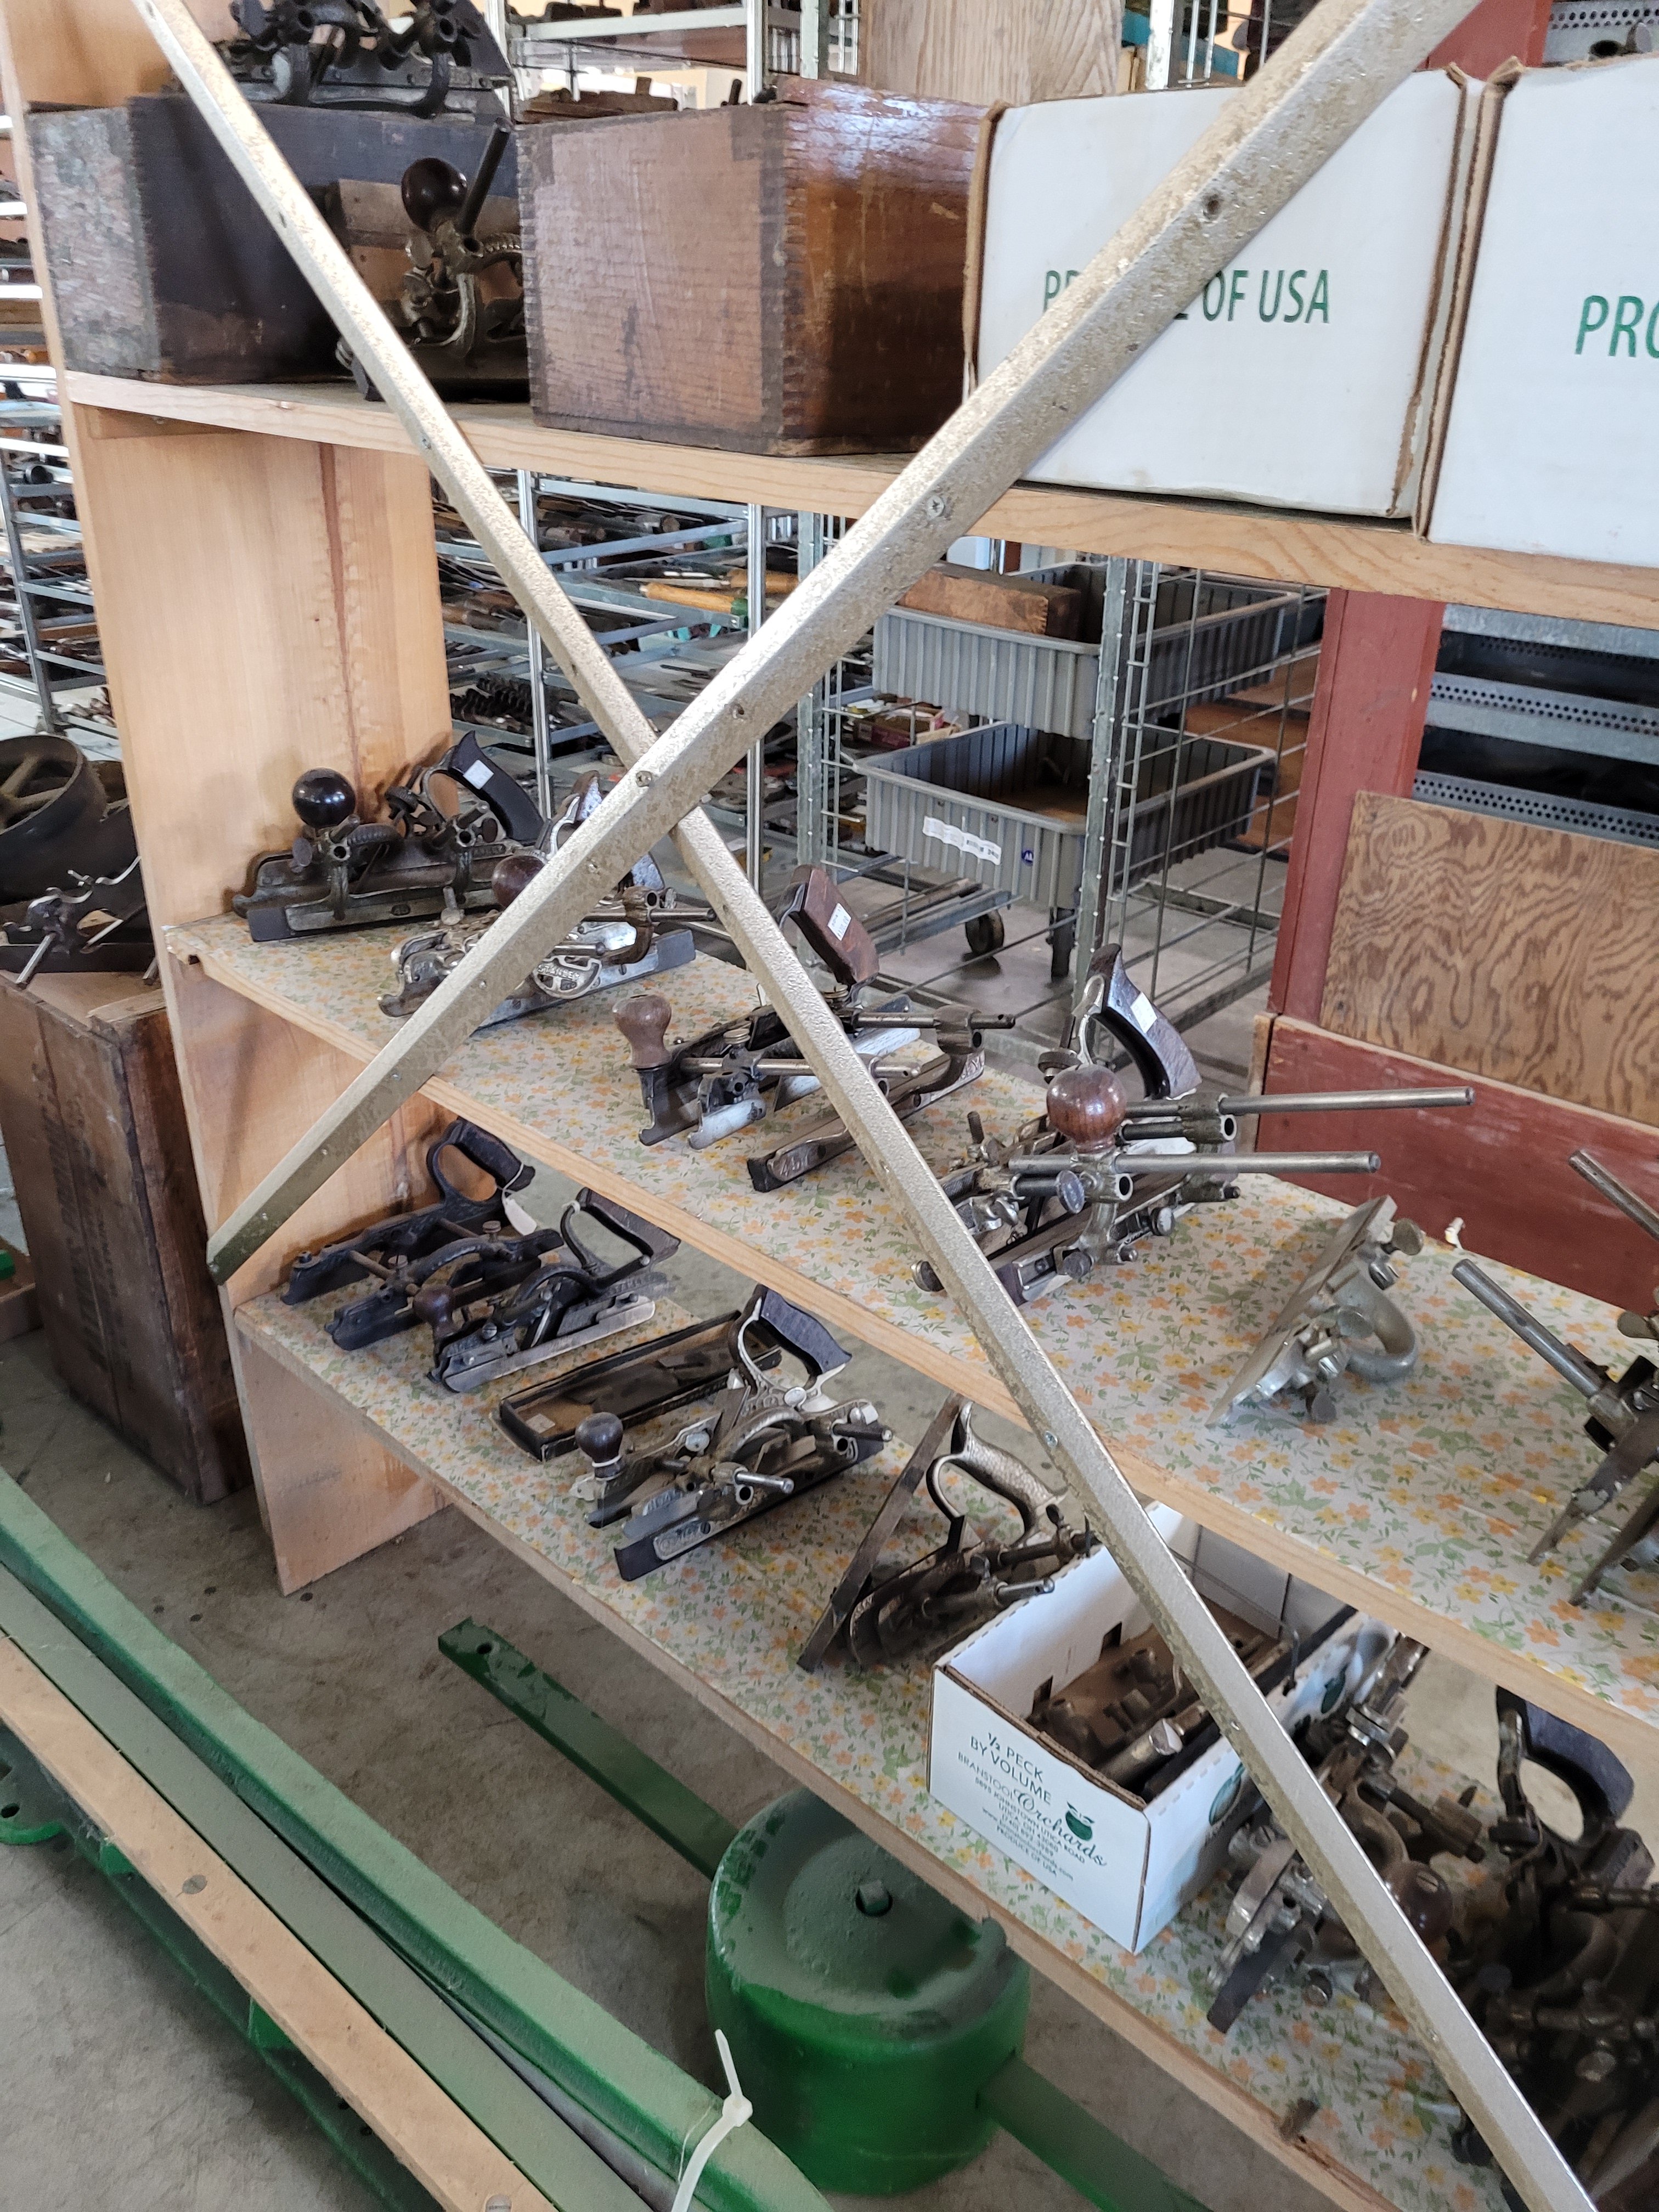
I looked inside at the tools and immediately noticed a Stanley No 8 and 5 Type 4 prelateral planes and an early version of a Stanley No 45 Combination plane. The guy told me he wanted $350 for the chest and tools and that he’s had a few offers for the chest alone. He then told me he’d sell all the tools in it for $200.  At this point, wheels were spinning in my head as to where I was going to put this thing as my shop is already overflowing with tools from the auction I went to a few months back.

Then the guy told me he’d take $300 for everything as he really wanted to get rid of it. At $300, I might as well buy the whole thing as the tool chest alone was worth more than a $100.  I told him I’d take, but I had to go to the ATM and get some cash.

I came back, gave him the money then drove into the fairgrounds to put it in my truck. I was stoked! In 35 years of collecting antique tools, I’ve never bought a tool chest, let alone one with a bunch of tools in it.

When I got home, I decided to look at the tool chest more closely. It was a pine box dovetailed together with brass hardware on the corners. Inside were mahogany tool bins with veneered banding on top.

Underneath the veneered bins were two tool totes for various tools and parts.

Removing those bins, were two more filled with auger bits and chisels.

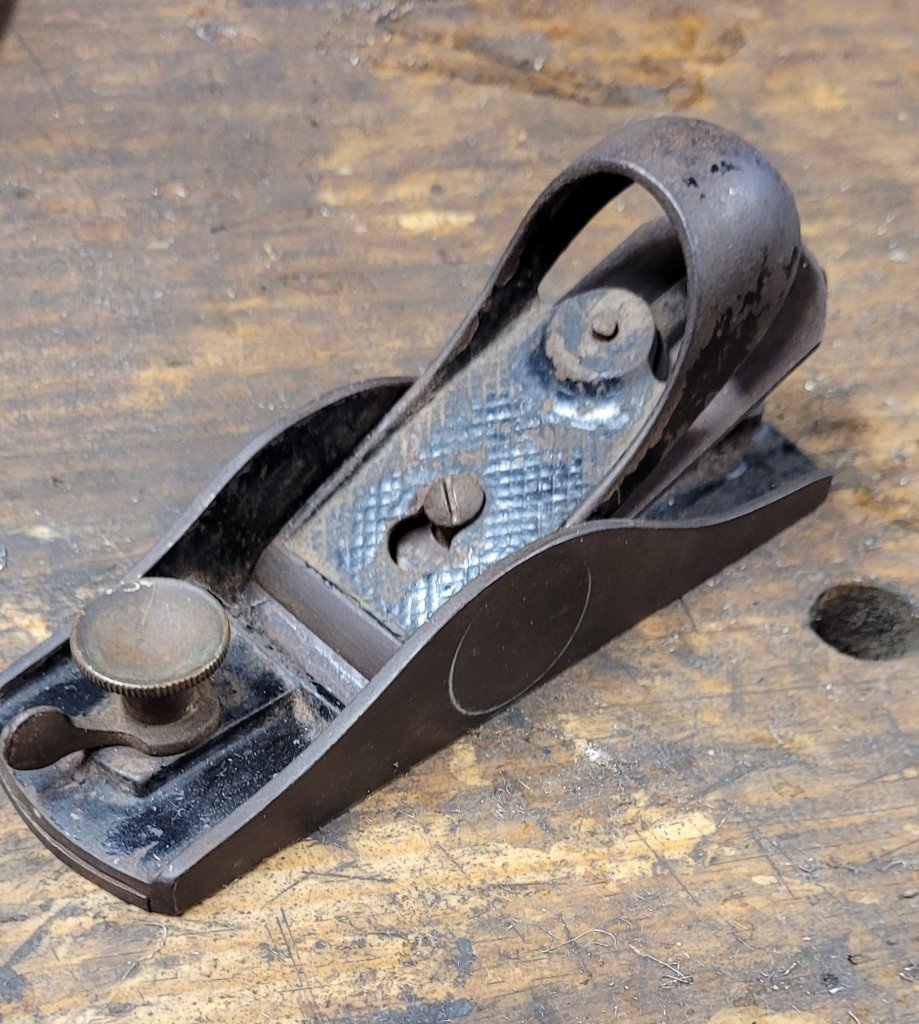
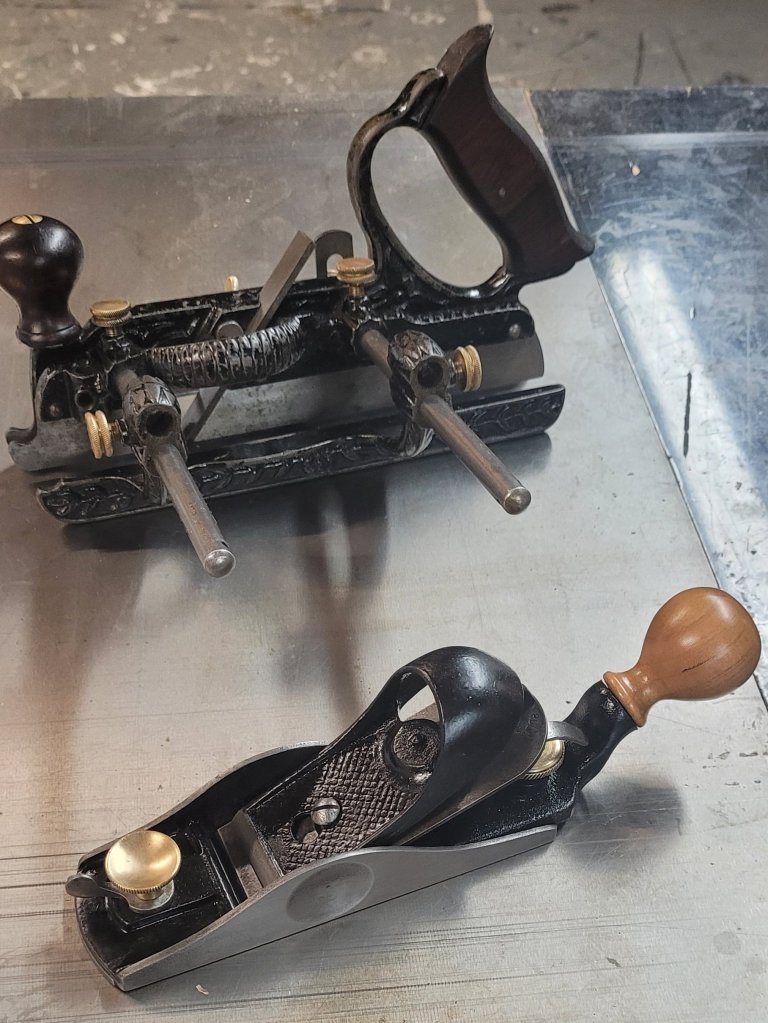
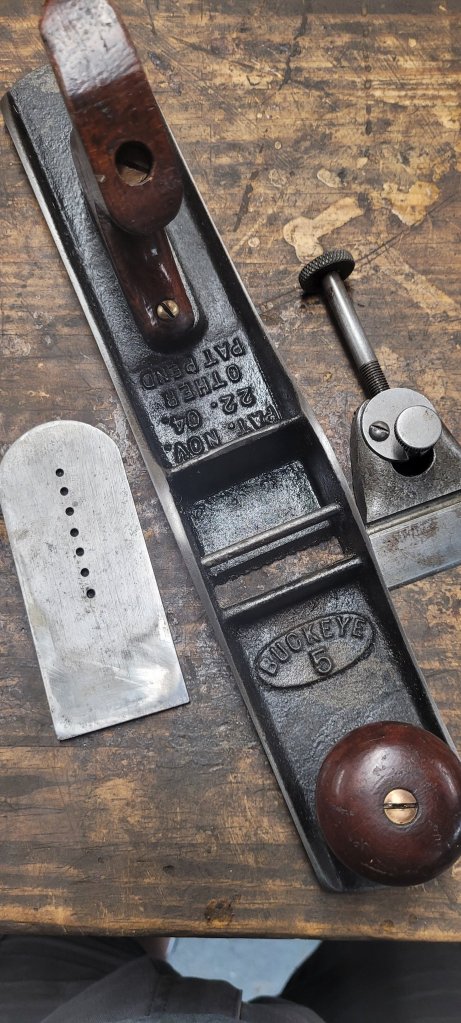
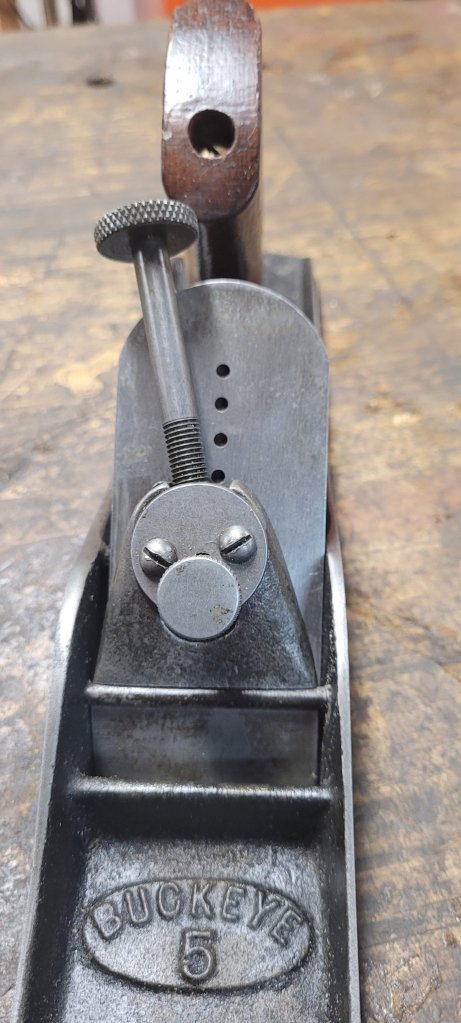
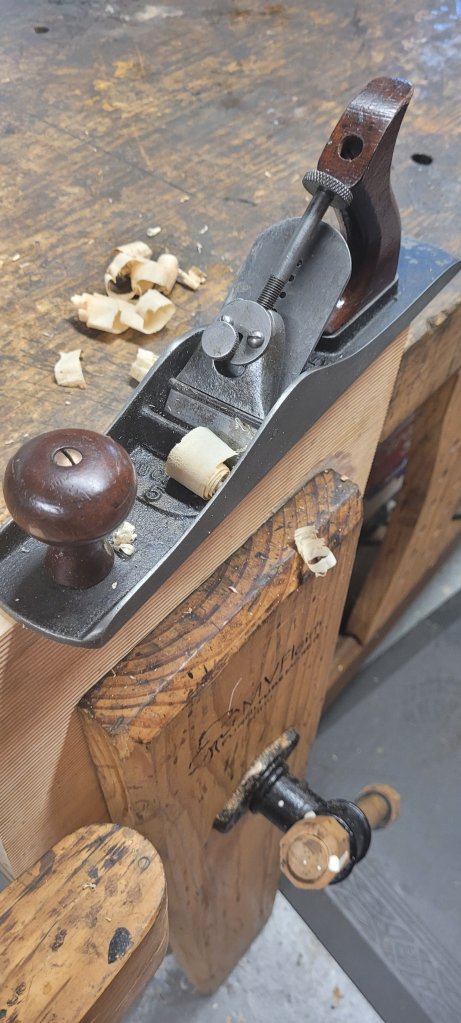
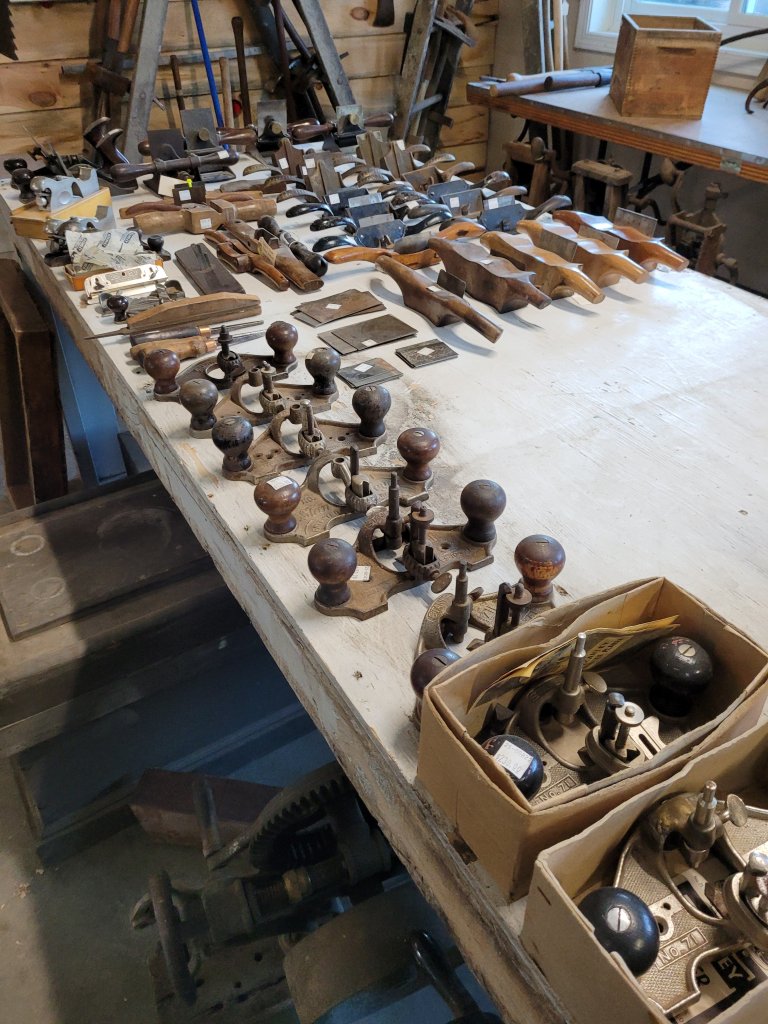
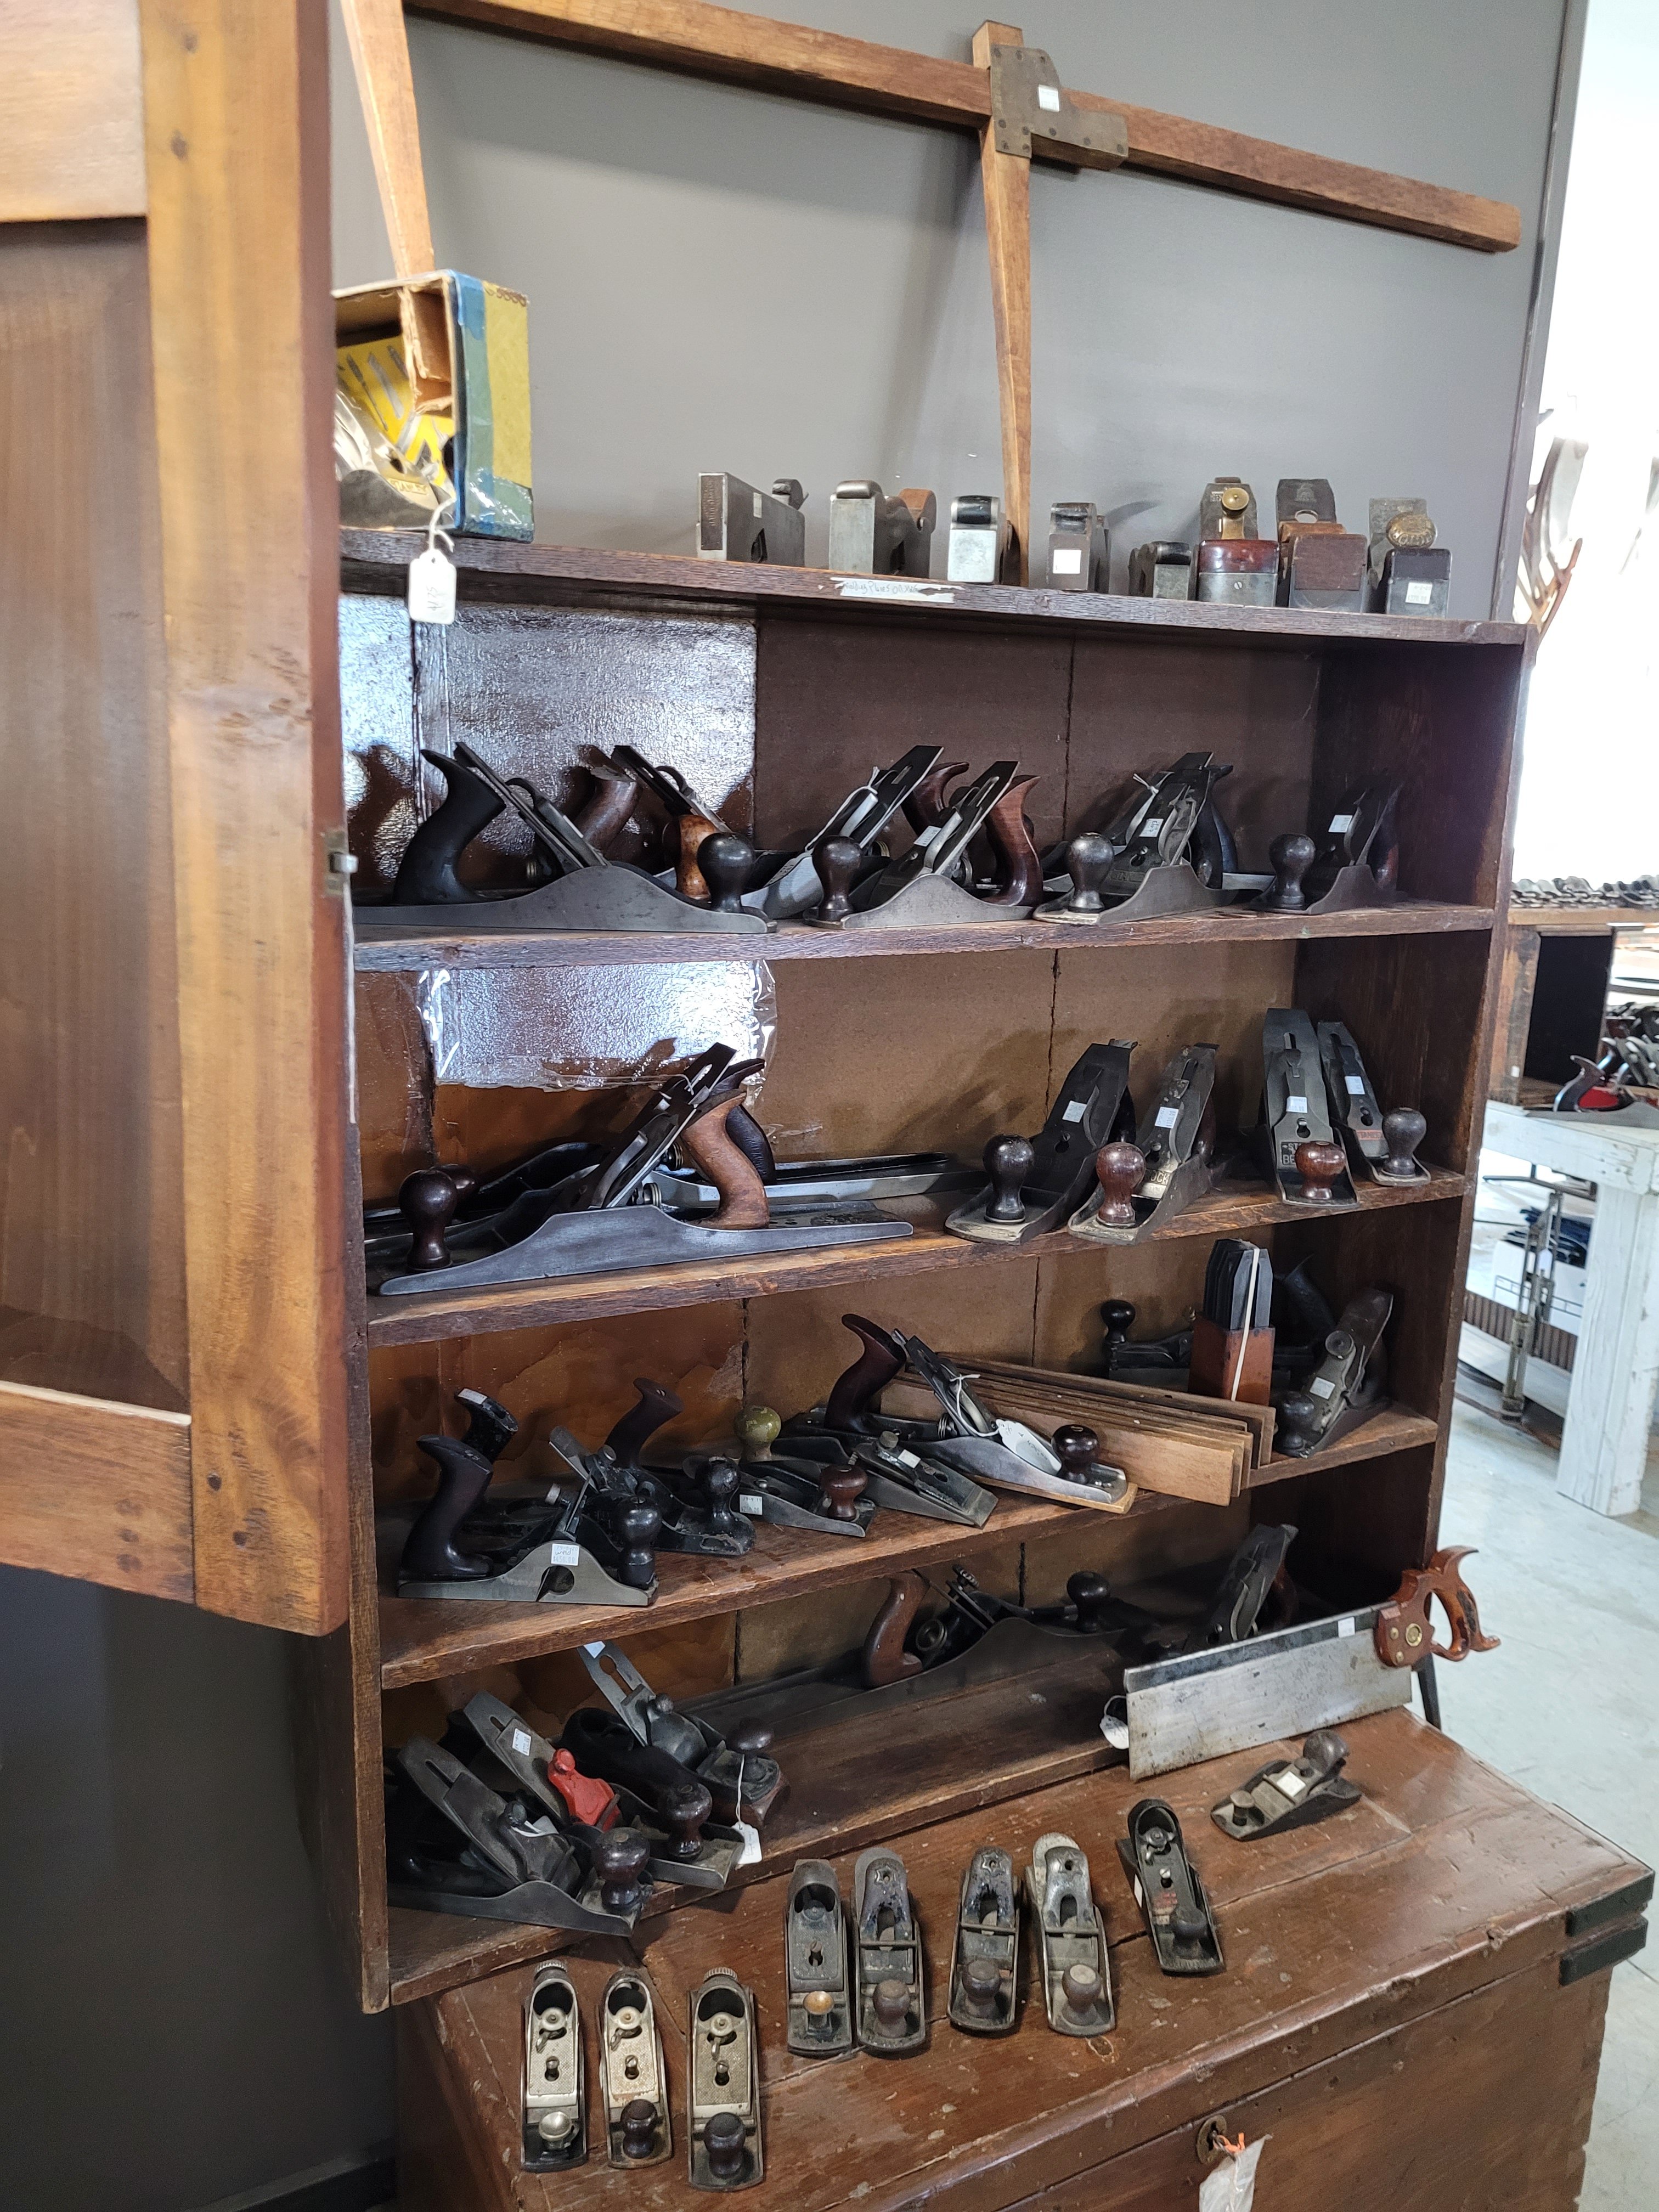
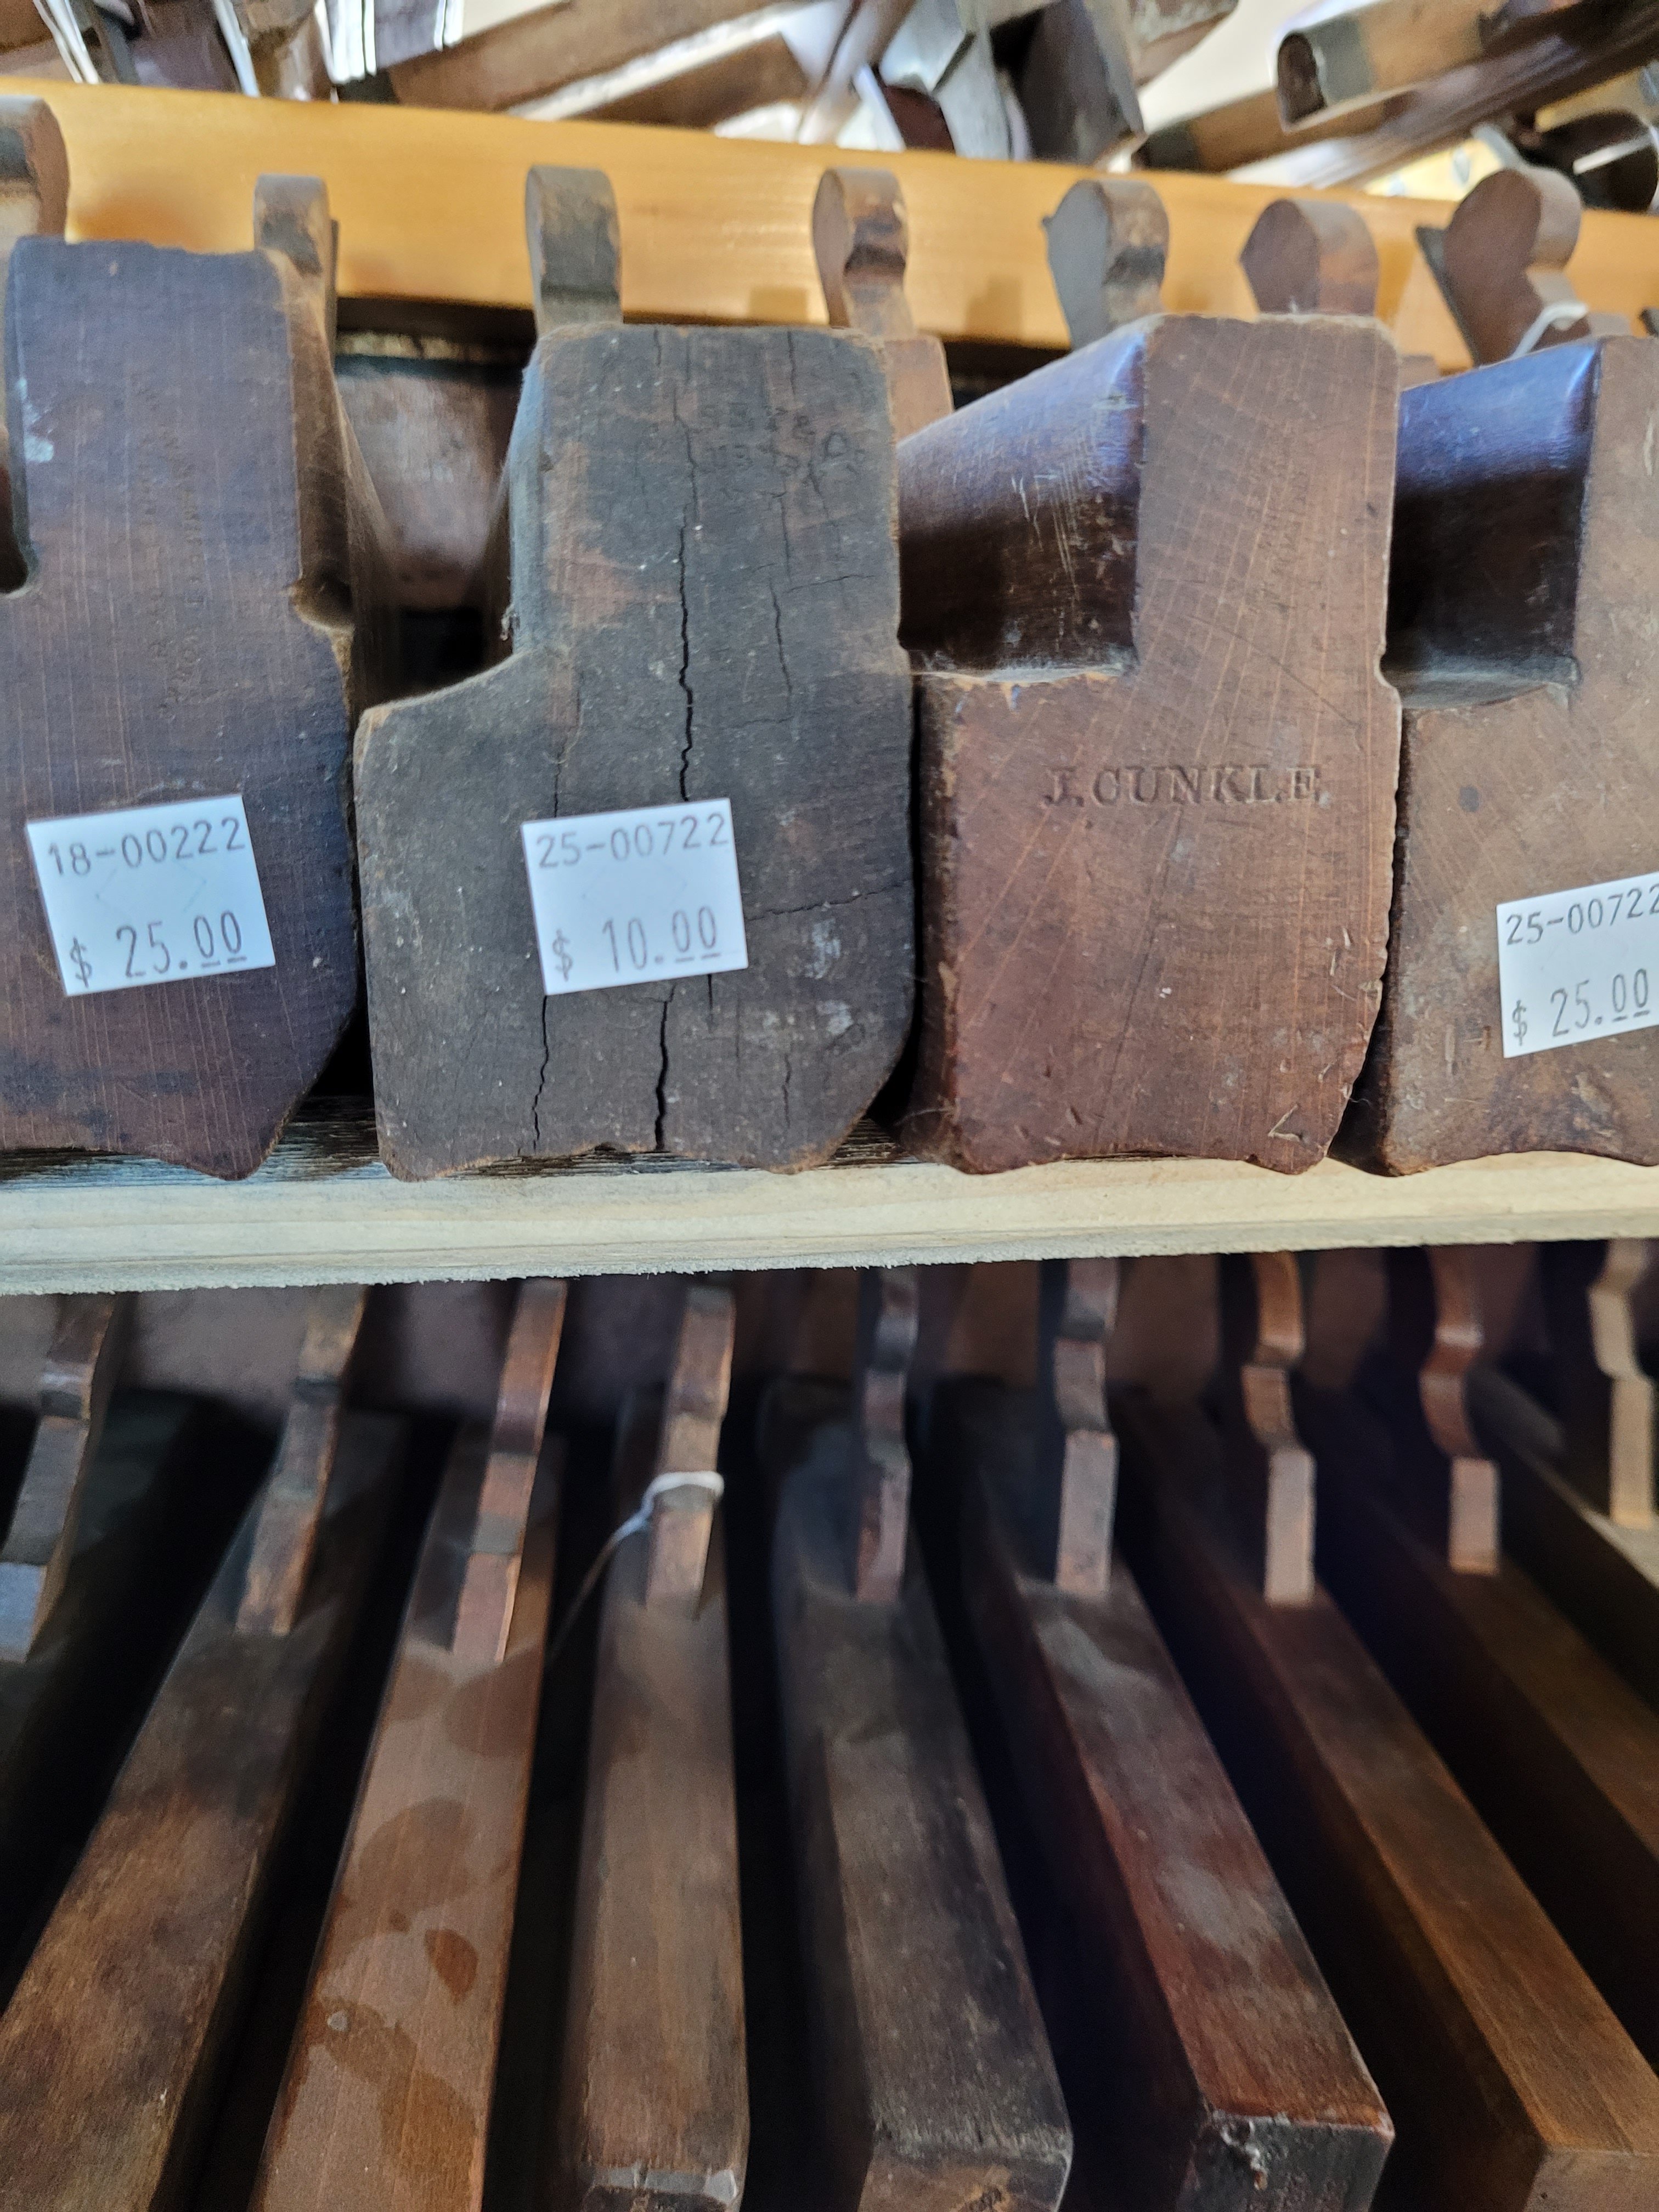
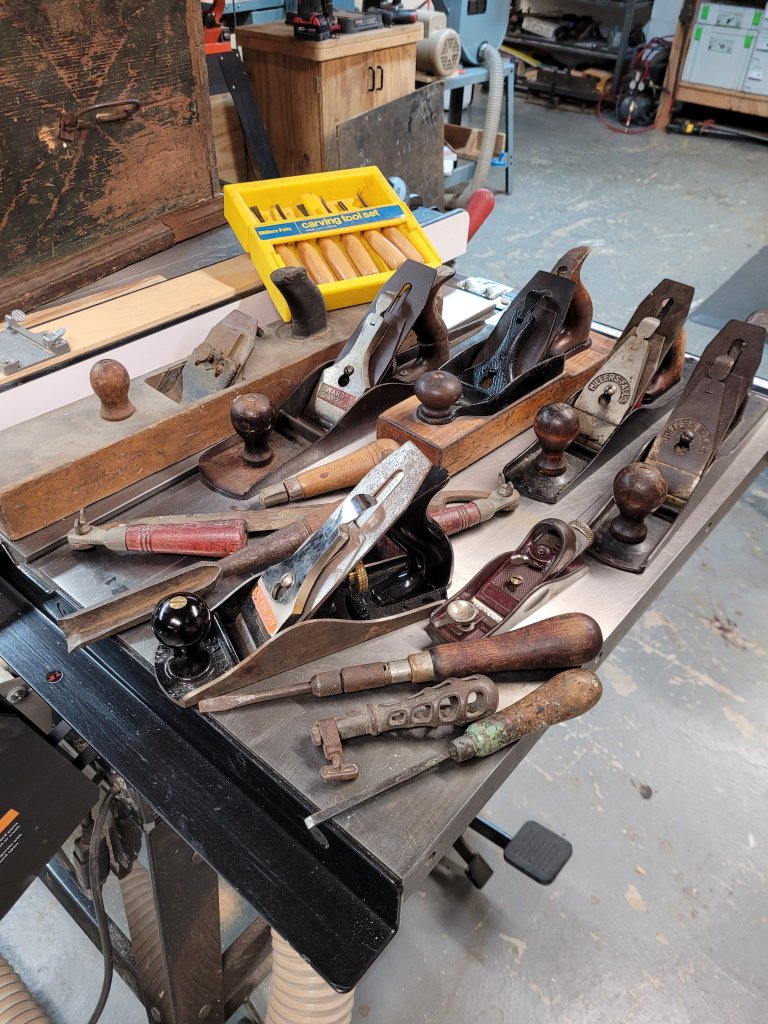
Underneath those is where the planes were. There were only two bench planes but he had a decent collection of molding planes with most stamped J W ROOF.

I brought everything in my basement and cataloged all the tools that were inside. There were over 100 with a lot of them being small drill bits and hardware. There were a nice collection on incannel gouges along with metal working punches and wrenches. I’m trying to figure out what he did for a living but it may be impossible to figure out as who knows what tools are missing and which tools were just thrown into the chest over the years. 

With the age of the Stanley planes, I estimating that the chest was made in the 1870 -80’s  Now I need to decide what to do with it.  Nevertheless, what a great Birthday present to myself!

World’s Longest Yard Sale 2025

I went on the World’s Longest Yard Sale again this year. We traveled five days traveling from Russel Springs, Ky to Eaton, Ohio, at the I -70 line. It seems harder and harder to find tools. Mainly because the same vendors have the same tools I picked through the previous year. Nevertheless this is what I got.

A couple of Milers Falls planes. These are getting pricier every year as more people realize how well they work.

A bunch of Stanley bench planes and one Craftsman No 5C for $5.00. I’ll buy the parts planes if the price is right as I usually have the correct part to make it complete.

Two Stanley No 48 tongue and groove planes. One is missing a blade, but they’re relatively easy to make. The other has a user made wooden fence that is too narrow to work.

I bought this lot for $20.00. The guy didn’t know what the sun plane body was. I believe the screw handle is from a mitre clamp.

An ivory slide rule and a 2 ft caliper rule I have never seen before. Plus, there are a few odds and ends.

I found the Holy Grail of paste wax. A full can of SC Johnson paste wax for a $1.00. I hit the lottery. lol.

I bought 600 sheets of sandpaper for $20.00. 300 each of 150 and 220. I love cheap sandpaper. The number one rule of sandpaper is to use it like someone else is paying for it.

I only spent about $250.00 for everything, but my wife, Anita, made out well. She bought a whole lot more and spent a whole lot more money than me. You can check out her Instagram page at mybuckeyehome to see what she bought.

Repairing a Saw Handle

I bought a Disston D8 Thumb Hole Rip Saw and wanted to restore it. The saw was in pretty good condition when I bought it. The only issue it had was that the back of the handle was broken with a chip missing from it.  It’s a pretty common issue as that is where your thumb and index finger ride when sawing, so it’s under a lot of friction.

I wanted to repair it, so I carefully carved out an area to glue a new piece of apple wood in its place.

After the glue dried, I shaped and sanded the wood to match the rest of the handle. It came out well , it just needed a little bit of wood putty to close up the gaps between the new wood and handle.

After the putty dried, I sanded the whole handle and applied a few coats of shellac to it. The handle looked nice, but the putty stood out like a sore thumb.

This is where I put my artistic hat on. Playing with a paint kit, I mixed up a few colors of red, brown, and yellow, mixing them around to get the best matching shade I could create. It wasn’t about creating the perfect color but laying three different colors down so that it would blend with the rest of the handle.

After a few minutes of painting, I was happy with how it turned out, so I let it dry.

The saw came out nice, and the broken end of the handle won’t dig into my skin when I’m using it. Now that is all left to do is to sharpen the blade and put it to use.

Another saw saved from the scrap heap.

Custom Block Plane Tail

When I bought my Tote Turner a few months ago from Woodyah, I picked up this block tail accessory at the same time. This, like the Tote Turner, is printed on a 3D printer and fits Stanley block planes.

However, I wanted to install it on my Ohio Tool Co O9 1/2 block plane. Similar in size, it’s nearly identical to a Stanley No 9 1/2.

Unfortunately, the threads on my Ohio Tool Co plane are not the same as a Stanley, so the brass hold down piece won’t work. Luckily, I have an old Ohio Tool Co brass blade adjuster wheel in my parts bin, so I cut the very bottom off of the brass wheel and filed four notches in it so I could turn it with a screwdriver.

My little homemade brass hold down screw was a little too small, so I used a washer underneath to hold down the tail better.

Everything worked, but I was not a big fan of the big black knob to the handle. I wanted something more historic and natural looking, so I decided to make a new knob out of cherry.

I turned a 2″ diameter knob on the lathe and added a 1/4″ tenon on the bottom.

Then I sawed the ball off the tail and drilled a 1/4″ hole to accept the tenon from my wood handle.

After I cleaned the rust off the block plane, I wanted all the parts to match in color and sheen, so I japanned everything during a hot day so I could use the sun as my oven.

After a couple of weeks, when the japanning dried, I put the plane together to see how everything turned out. As you can see, my japanning looks similar to the old Stanley 45 japanning behind it.

The only thing left to do was to sharpen the blade and try it out. The plane works fine. Ironically, the handle doesn’t make the plane cut any better, which begs the question, what was the purpose of them? The one thing I hear is that they were good for craftsmen who have arthritic hands, making the plane easier to hold.

Honestly, I don’t know how often I’ll use this plane as I already have a couple of my favorite block planes that I use, but it’s still a fun plane to own.

Craftsman Made Plane

Several weeks ago, I won this craftsman made hand plane on an auction site. When I first looked at it, I thought the body was made with three pieces of wood laminated together like a Krenov plane, but after studying it, I realized it was one single piece of wood. There are a couple of rivets through the body, but I don’t know what purpose they serve.

I’m not sure what the story of this plane is, but it looks like the craftsman owned a Sargent plane that broke, so he made a custom wood body out of mahagony and turned his plane into a transitional plane. You can see the chisel marks as he dug out for the frog, which adds a cool factor to the plane.

For whatever reason, he used four screws to hold down the frog to the body. It allows for very little advancement of the frog, but the plane still functions fine.

The owner also grounded the face of the lever cap down, which seems odd. You would think the original lever cap screw would have worked just fine, but maybe this screw is a replacement.

Luckily, I know the name of the craftsman of the plane (at least the last name). C Heiland is the person who made the plane. I googled “C Heiland Woodworker,” hoping I would find some information about him but had no luck. It would be awesome to have some provenance on the plane.

It’s a neat plane to look at, but I wanted to see how it performed, so I sharpened the blade and put it to work. The plane performs admirably. It was much better than the Buckeye plane I tried out from a few weeks ago.

Buckeye No 5 Plane

Several weeks ago, I won this Buckeye No 5 plane at auction. The look of the plane was something I had never seen before. I wanted to see how it would perform, so I took a closer look at the plane’s functions.

Buckeye planes were made by the Buckeye Saw Company, which was in business from 1904-1929, and they are known for this patented plane by John Muehl, who more likely sold his patent to The Buckeye Saw Co.

The plane has no frog. The blade simply rests on the casting of the bed, and the Norris style adjuster, pins into holes on the blade.

The lever cap acts as the cap iron as well, which usually is not a good sign for quality. The Norris style adjuster swings from left to right in order to adjust the blade from side to side.

The simplicity of the plane makes it impossible to adjust the gap in the plane’s mouth to produce a thin shaving.

I sharpened the blade to see how it performed. Because the plane is so primitive and basic, I couldn’t get a nice shaving out of it even after messing with it for a few minutes. At best, the plane would only be good for rough carpentry work, like trimming a door and not for fine cabinetmaking.

In the end, my opinion about the quality of this plane is……it sucks!

the.antiquetool.restorer

A few weeks ago I was at work at the Sakrete plant putting Belgard A Frames in my truck when one of them slipped and fell on top of my phone that was laying on my tailgate. It immediately cracked the screen and my phone became completely useless unable to swipe anything on the home screen.

So, the next day, I run out and get a new Samsung phone, and luckily, I was able to transfer all my data from my old phone to the new phone through the cloud. I had to log back into all my accounts but at least they were still active. Everything but Instagram.

When I try to log into my mvflaim_furnitutemaker Instagram account on my new phone it wanted me to put in my access codes. I wrote down access codes several months ago just in case someone hacked my account and I could retrieve it back. My wife has known a lot of people who’ve had their Instagram accounts hacked and suggested I get access codes in case it happened to me.

None of the access codes that I wrote down worked so, I decided to log in through my Facebook account. When I did that, it still asked for the six digit login codes. It then said that you could get these codes from a third party Duo Mobile or Google Authenticator software you set up on your phone.

So then I installed Google Authentication software on my phone which would give me a random six digit code every 30 seconds. When I try to log in and put those codes in, it still didn’t work.

So now I’m pissed screwing with Instagram for several days trying to get back into my account. I tried to log back in to get help and clicked “get support” which asks me if I have a picture of myself. I don’t take many, if any, selfies of myself but do have a few photos of me on my feed. It then has me take a 360 degree video of my face so it could recognize it was me. Every time I tried, it emailed me back saying it can’t verify the video is me. I took over two dozen videos of my head over the past few weeks and everytime, the AI software still will not recognize my face.

It’s so bad that now, the software won’t even pull up when I try to take another video of me saying there is a bug with the software. So basically, I’m fucked.

So, I bit the bullet and decided to create a new Instagram page and call it the.antiquetool.restorer. But now I have to start all over again gaining followers.

It took me nine years to get over 4k followers as I’m not a tech savvy social media guru. It just sucks so bad. All that hard work getting all the followers is just pissed away simply by getting a new phone.

UPDATE: After a few months of the.antiquetool.restorer, I said, “screw it,” and changed my name to “mvflaim.” But I’m still pissed I can’t get back into my old account.

A visit to Colonial Homestead

A couple of weekends ago, my wife and I drove up to Millersburg, OH to check out the fall colors and the antique malls up there. We visited Millersburg a couple of years back only to find out after we left, that there is an antique tool store in town. I saw Colonial Homestead on Instagram when we got home and couldn’t believe I missed it so, this time I knew I had to put it on our list of stops.

The building is about ten minutes outside of town and is a really big. Inside there are thousand of tools laying on tables and bookshelves. I immediately took a step back just to absorb everything I was looking at. There’s a table in front with a bunch of Stanley planes that are restored and ready for use.

Every tool you could imagine in this joint with some rare and unusual pieces. The prices on the tools are equivalent to eBay pricing, so don’t expect to get a steal. At least it’s not for me as I’m a picker so there was no meat-on-the-bone with the pricing on the tools. He was asking $2100 for the Stanley No 1 which was way above my budget. It looks like it’s sitting on the original box but I don’t remember noticing the box when I was looking at it.

He did have a real nice selection of molding planes with prices that were in my budget however, he only takes cash and I didn’t have any on me so, it was pretty much a few minutes of browsing.

He also had a nice closet full of woodworking books. There were a lot of out of print books along with Lost Art Press favorites. I looked for the 2nd edition of the Stanley Tool Collecting book by John Walter but, there was none to be found.

After twenty minutes of browsing, I said goodbye and went on my way as my wife was waiting in the truck. The weekend wasn’t a total lost as I was able to find tools in my budget in antique malls in Berlin, and Walnut Creek, OH. The prelateral Stanley No 37 Jenny’s Plane was my favorite pick of the trip.

Replacing my Tormek Sharpening Stone

After using my Tormek sharpening machine for the past twenty years, it was time for a new stone. When I researched replacement wheels, I read all about the new CBN wheels on the market that stay flat and don’t require water to use. The one disadvantage I saw with these wheels, is that the side of the stones are prettty narrow. When I sharpen old plane blades, I like to flatten the back of them as well, so I often grind the back of the blade with the side of the stone. I was afraid that the narrowness of the CBN stones wouldn’t do the job as well as my original stone. I’ve been happy with the stone that came with the machine so, if it ain’t broke, dont fix it.

I knew the hard part of replacing the stone would be taking the old one off. I grabbed a 3/4″ wrench and tried like hell to unscrew the nut. I whacked on the wrench with a hammer as hard as I could hoping not to bend the shaft of the machine. It was so tough to get off, my stone cracked and fell apart.

After about twenty minutes of cussing and using a half of a can of PB Blaster, the nut finally freed itself. Once I took the remainder of the stone off, I tried to put the new stone on, but the shaft was so rusted and corroded, I had to sand the shaft smooth in order for the new stone to slide on.

I slipped on the new stone and noticed that it moved up and down just a little bit. Curious, I removed it from the machine and also removed the stropping wheel on the other side so I could remove the shaft in order to get a better look at what was going on.

Sure enough, the plastic gasket that was next to the stone had wore a larger hole in it from use over the past twenty years. Not having a replacement gasket on hand, I simply switched the gaskets from eachother sides hoping they will still work.

Now with a “new” gasket in place, the shaft wouldn’t fit into the hole because of all the corrosion on it so, I carefully filed and sanded the rust away. After a few minutes, I was able to get the shaft nicely seated in the machine.

I checked the squareness of the stone to my crossbar and it looked much better than before. For years when I used the Tormek, it would cut slightly heavier on one side of the blade. I would compensate for this error by tilting the angle of my blade in the jig just a smudge. After messing around with the machine this afternoon, I finally understand why it would cut heavier on one side.

I turned the machine on and checked how everything was running. The stone wobbles just a touch but, from how hard I was hitting the wrench with a hammer in order to get that nut off, I’m not surprised. As long as the machine sharpens blades fine, I’m happy with it.

Stanley No 68 Rabbet Spokeshave

Yesterday, I went to an antique show and picked up the Stanley No 68 Rabbet Spokeshave in it’s original box. I’ve heard about the tool, but I don’t think I’ve ever seen one in person. The price the guy was asking was too good to pass up so I took it home.

When I got home, I noticed a fence inside the box. At first, I thought it didn’t belong with the spokeshave but after looking at it for a few minutes, I saw that it clips on the back. The fence looks crude as if it was made by the original user, so I looked in John Walter’s Stanley book, but saw no mention of a fence that came with the tool.

When looking online for more information for this spokeshave, I saw that the vast majority of them have no fence. Then I came across this photo on WorthPoint where it shows a similar fence as mine, except this fence has a screw to tighten it while mine has a bolt. So, I’m not sure if this was a user tip that people saw in magazines that they made themselves or not.

Here’s the spokeshave in action. It works quite well with the fence. I posted this video on instagram and people said that the spokeshave was used by boat builders and carriage makers which would make sense. Definitely an interesting tool.