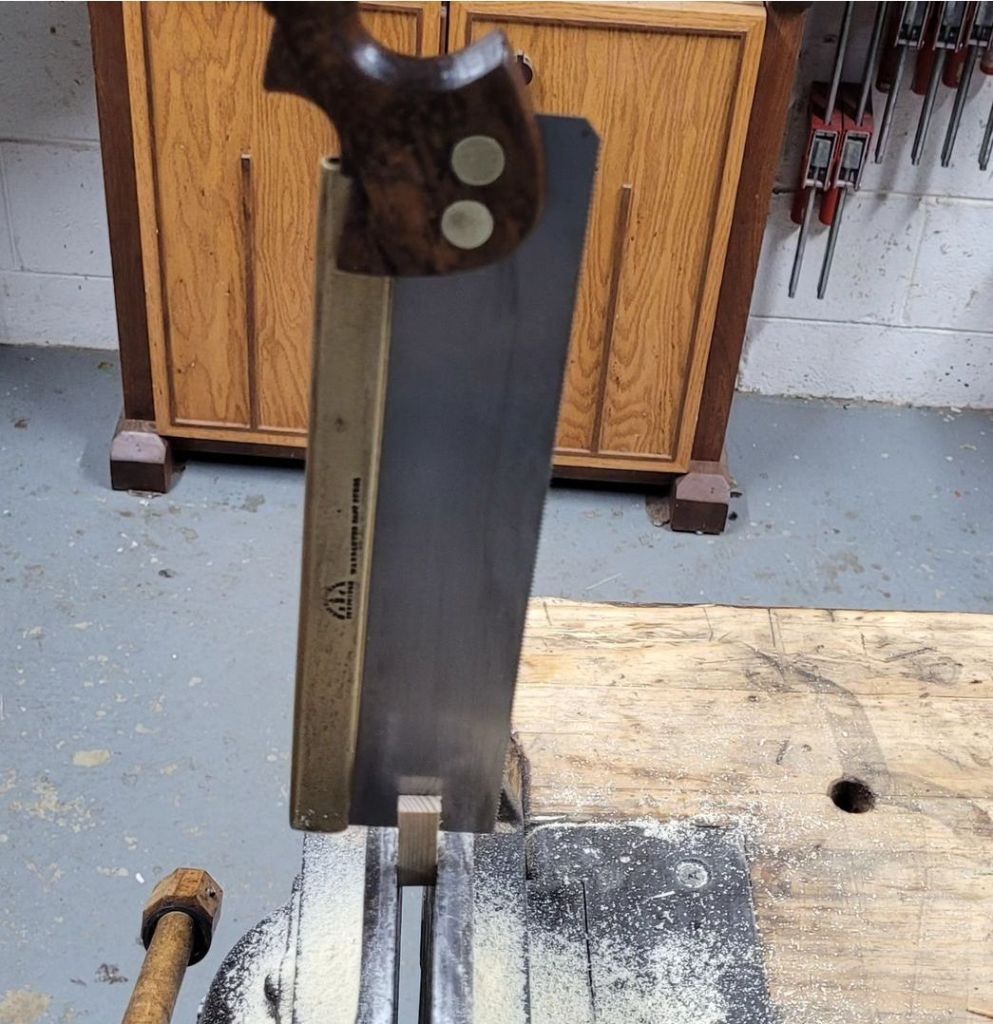
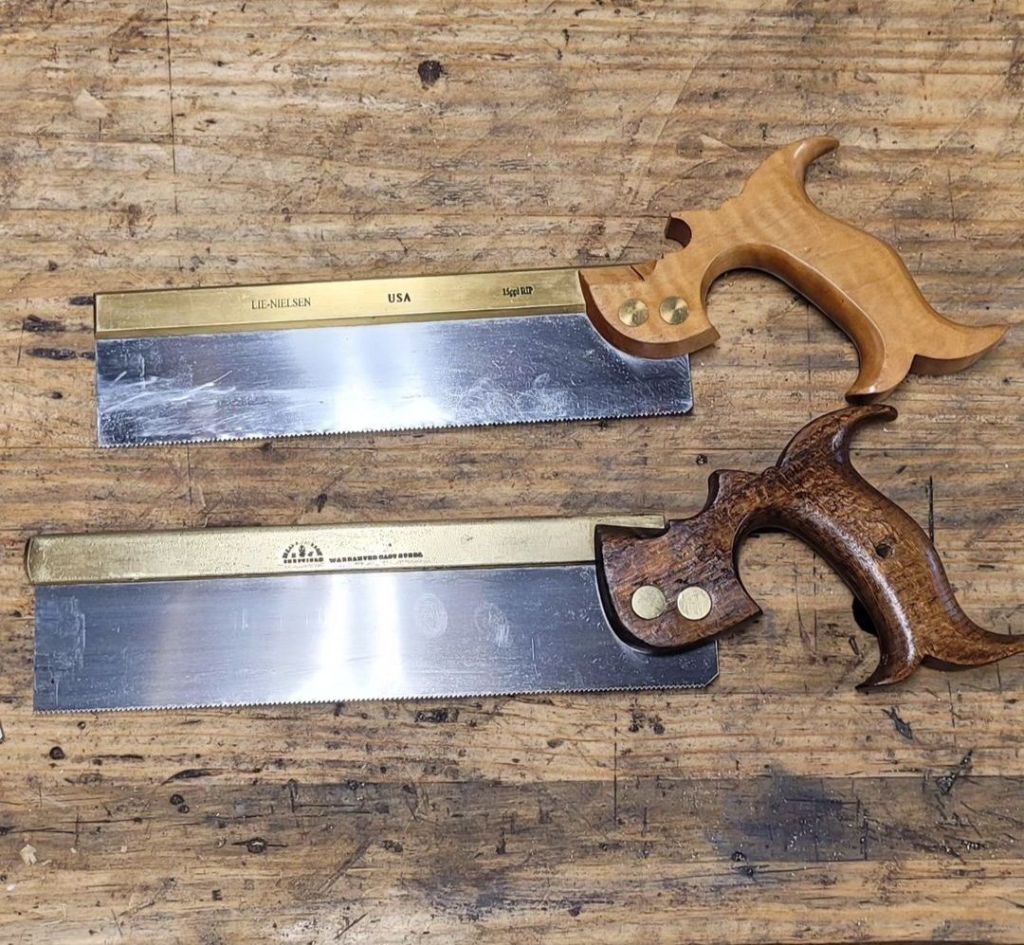
I bought a Disston D8 Thumb Hole Rip Saw and wanted to restore it. The saw was in pretty good condition when I bought it. The only issue it had was that the back of the handle was broken with a chip missing from it. It’s a pretty common issue as that is where your thumb and index finger ride when sawing, so it’s under a lot of friction.


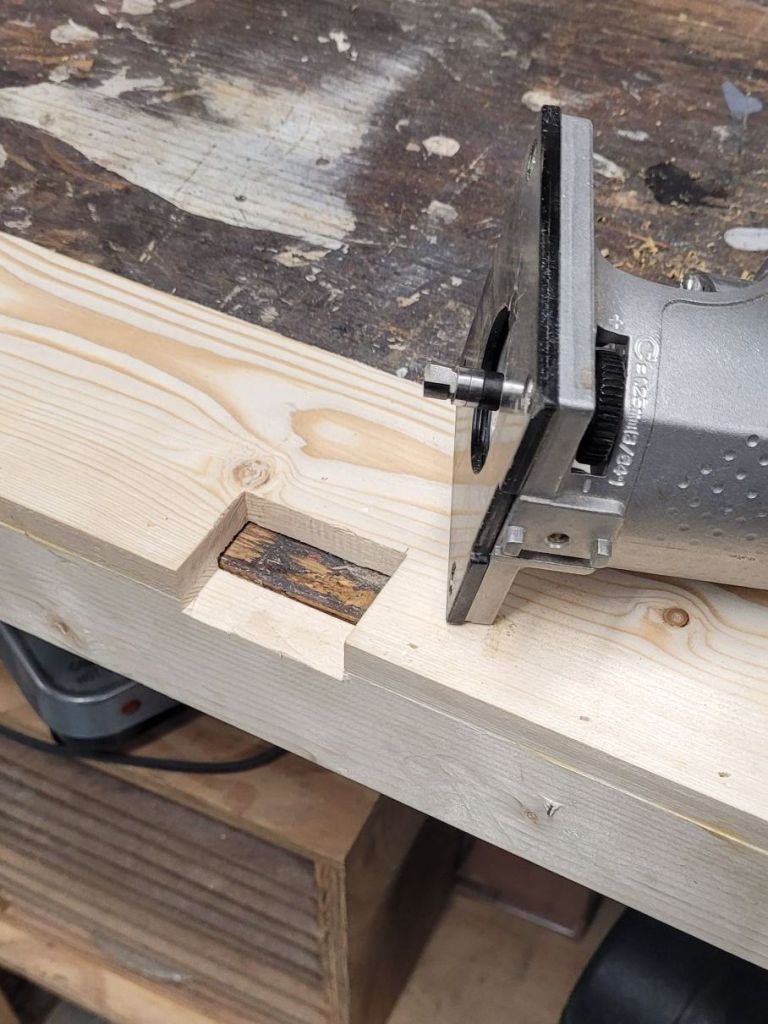
I wanted to repair it, so I carefully carved out an area to glue a new piece of apple wood in its place.


After the glue dried, I shaped and sanded the wood to match the rest of the handle. It came out well , it just needed a little bit of wood putty to close up the gaps between the new wood and handle.


After the putty dried, I sanded the whole handle and applied a few coats of shellac to it. The handle looked nice, but the putty stood out like a sore thumb.


This is where I put my artistic hat on. Playing with a paint kit, I mixed up a few colors of red, brown, and yellow, mixing them around to get the best matching shade I could create. It wasn’t about creating the perfect color but laying three different colors down so that it would blend with the rest of the handle.

After a few minutes of painting, I was happy with how it turned out, so I let it dry.


The saw came out nice, and the broken end of the handle won’t dig into my skin when I’m using it. Now that is all left to do is to sharpen the blade and put it to use.

Another saw saved from the scrap heap.