This year, my Roubo workbench turns fifteen years old. All I can say is that it’s one of the best things I’ve ever built as it has held up a lot better than I thought it would. It’s pretty beat up with a bunch of tool marks and stains, but it looks like every antique workbench I have ever seen in the wild, so I must be doing something right.

The bench is designed based off two Roubo workbenches, one from Roy Underhill in his book Working Wood with Wedge and Edge and Christopher Schwarz’s book Workbenches. Made from 2x material and 6×6 pressure treated wood for the legs, the bench is incredibly beefy and does not wrack when I’m planing or doing any other task on it.

The leg vise is still strong and tight, and the crochet at the end has never let the wood slip when I jammed my board into it.

Amazingly, the top is still level even after all these years. I did have to flatten the top a year or so after I first made it, but the wood is now stable and is done drying out.


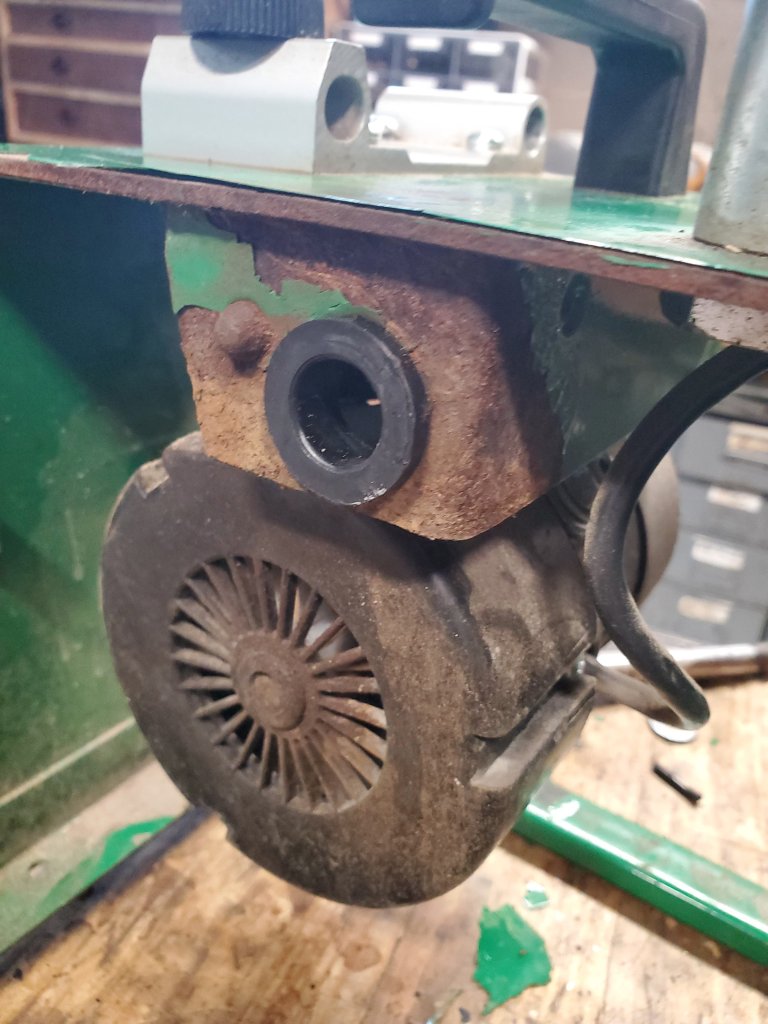
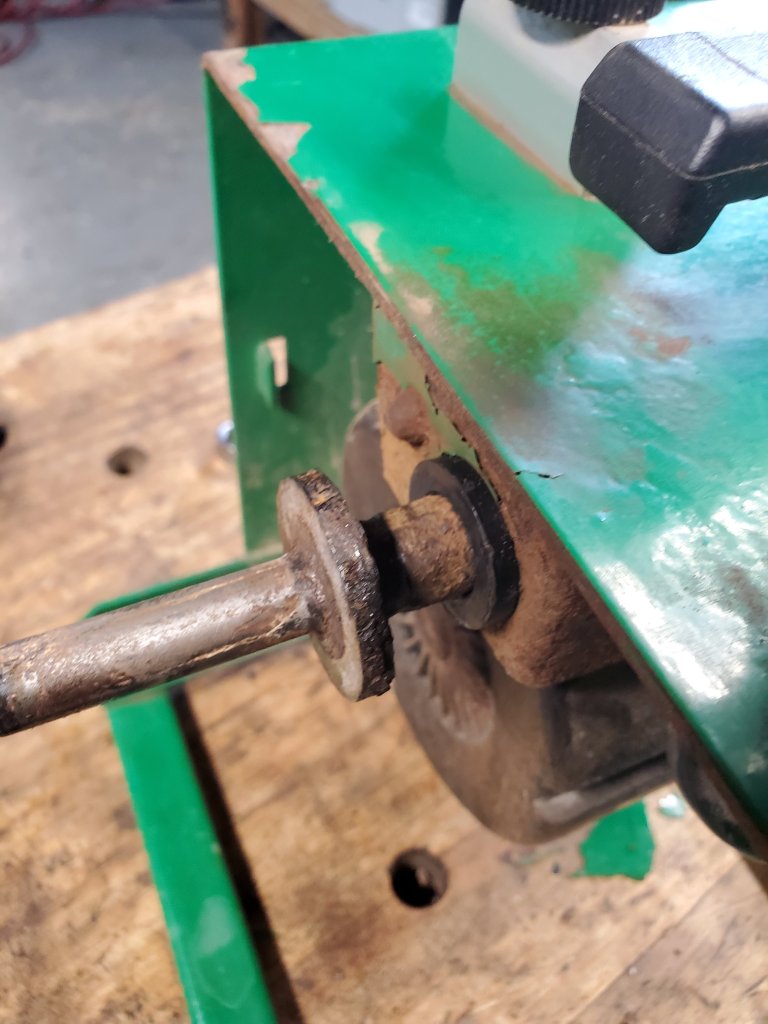
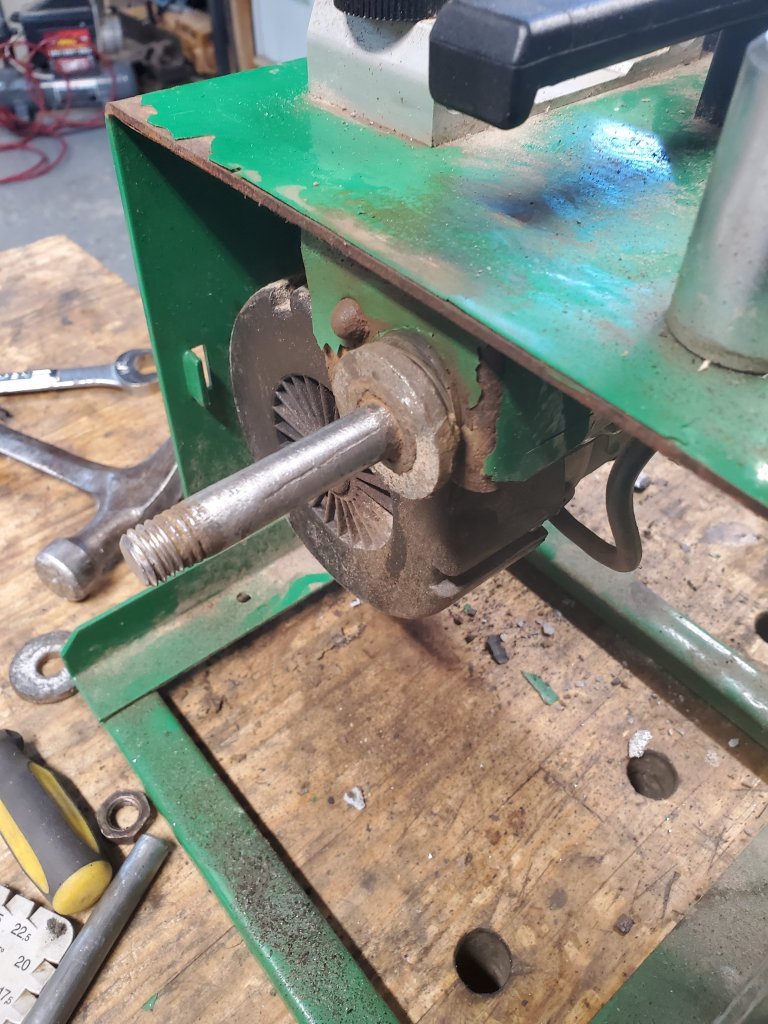
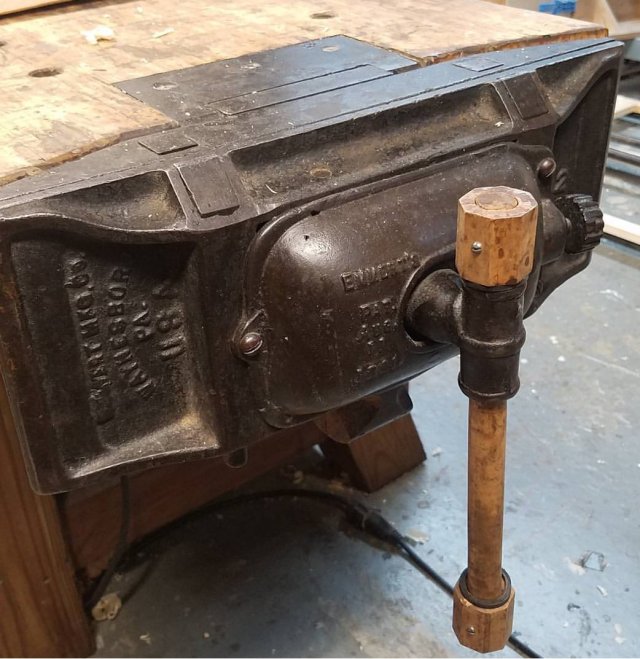
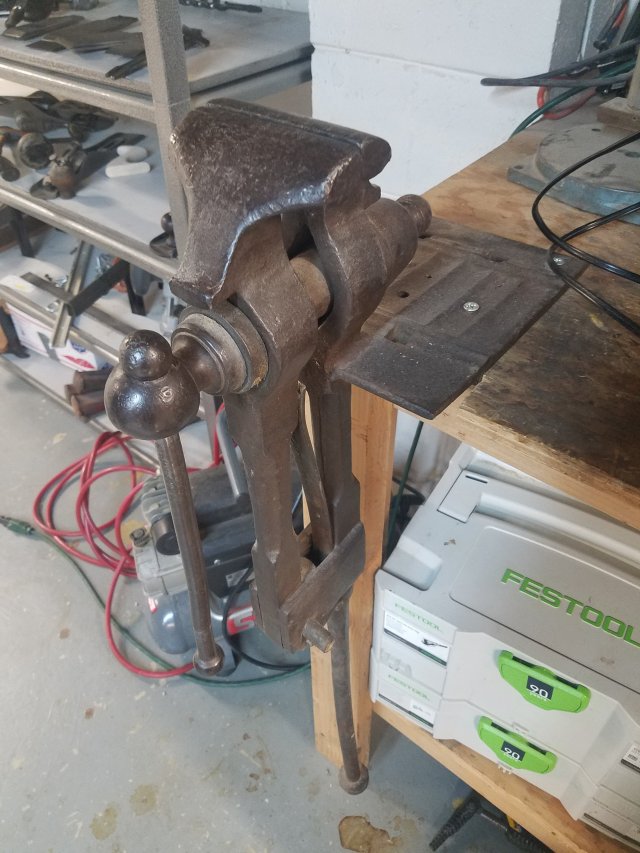
The king of the bench is my Emmert Patternmakers Vise. It’s by far the best antique tool I’ve ever bought as it is extremely versatile, holding wood at various angles. I can even swivel the jaws 90 degree to raise my work pieces height higher so I can cut dovetails easier without having to bend over.

I restore a lot of tools and do a lot of sharpening, so the top is constantly dirty. I occasionally will break out my random orbital sander or even plane and remove all the gunk when I’m sick of looking at it. The downside to all the dirt and grease on top is that if I don’t lay down a protective sheet on top of the bench, the workpiece will get dirt marks on it. (which brings me to grab my sander and clean the top).
The drawer I built to go under the top is full of miscellaneous tools that I use, like pencils, hold fasts, bench cookies, etc. It’s also full of sawdust that falls through the holes on top.

I’m getting old (50), so more light is always a plus. Last year, I bought an old desk lamp at the thrift store for $8.00 and use it so I can see what I’m doing.

My fancy sliding double dovetail is still holding strong. It’s not pretty enough with my sloppy joinery and wood shrinkage to be featured in a magazine, but it has never let me down.

The bench can be disassembled so I can move it out of my shop when I eventually move someday. If I take off the Patternmakers vise, I’m hoping the top can be moved upstairs without too much trouble, but I’ll cross that bridge when I come to it.