
I had some reclaimed barn wood flooring lying around in my shop for a few months that I wanted to get rid of. I originally bought the lumber to use for a farm table, but I decided the wood was too thin to use for the top so, I decided to make a 3′ long nesting box out of it.

I used my Stanley No 8 jointer to plane the edges square and straight so they could be glued together.

After I planed the edges true, I glued the pieces together to make the nesting box wider. I didn’t bother planing or sanding the sides as I wanted the box to have a rustic look.

I cut the top sides of the box to an angle of 14″ which is the total width of my leftover pieces. I then nailed the sides to the bottom with my 15 gauge pneumatic nail gun.

Next I installed the front rails to the box simply nailing it on. I didn’t even use glue as I really don’t care.

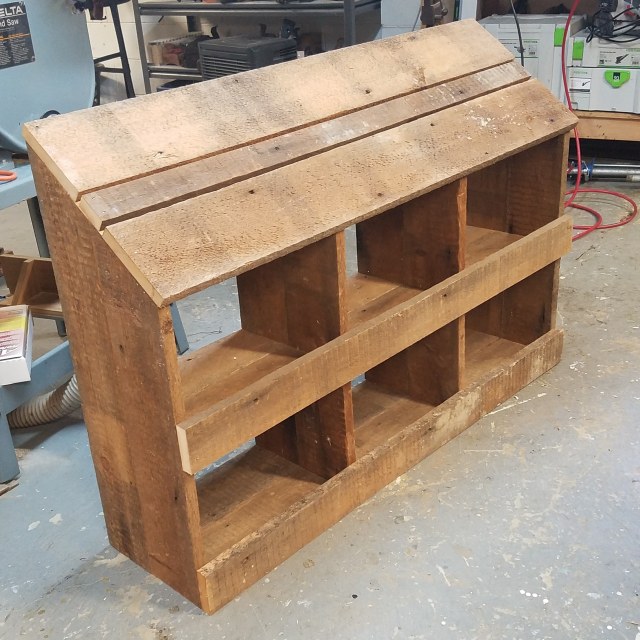
No fancy dados to fit the inside walls to the box. I simply toe nailed the wood to the bottom of the shelf.

The finished nesting box came out well. Looks old and rustic which should appeal to the shabby chic crowd out there for design purposes.
These things are so easy to build that I built another one an hour later. No real milling of lumber, no sanding, no gluing. Just cut and nail. Definitely an entry-level woodworking project. I’m just glad I have $50k in woodworking tools to build them. haha

