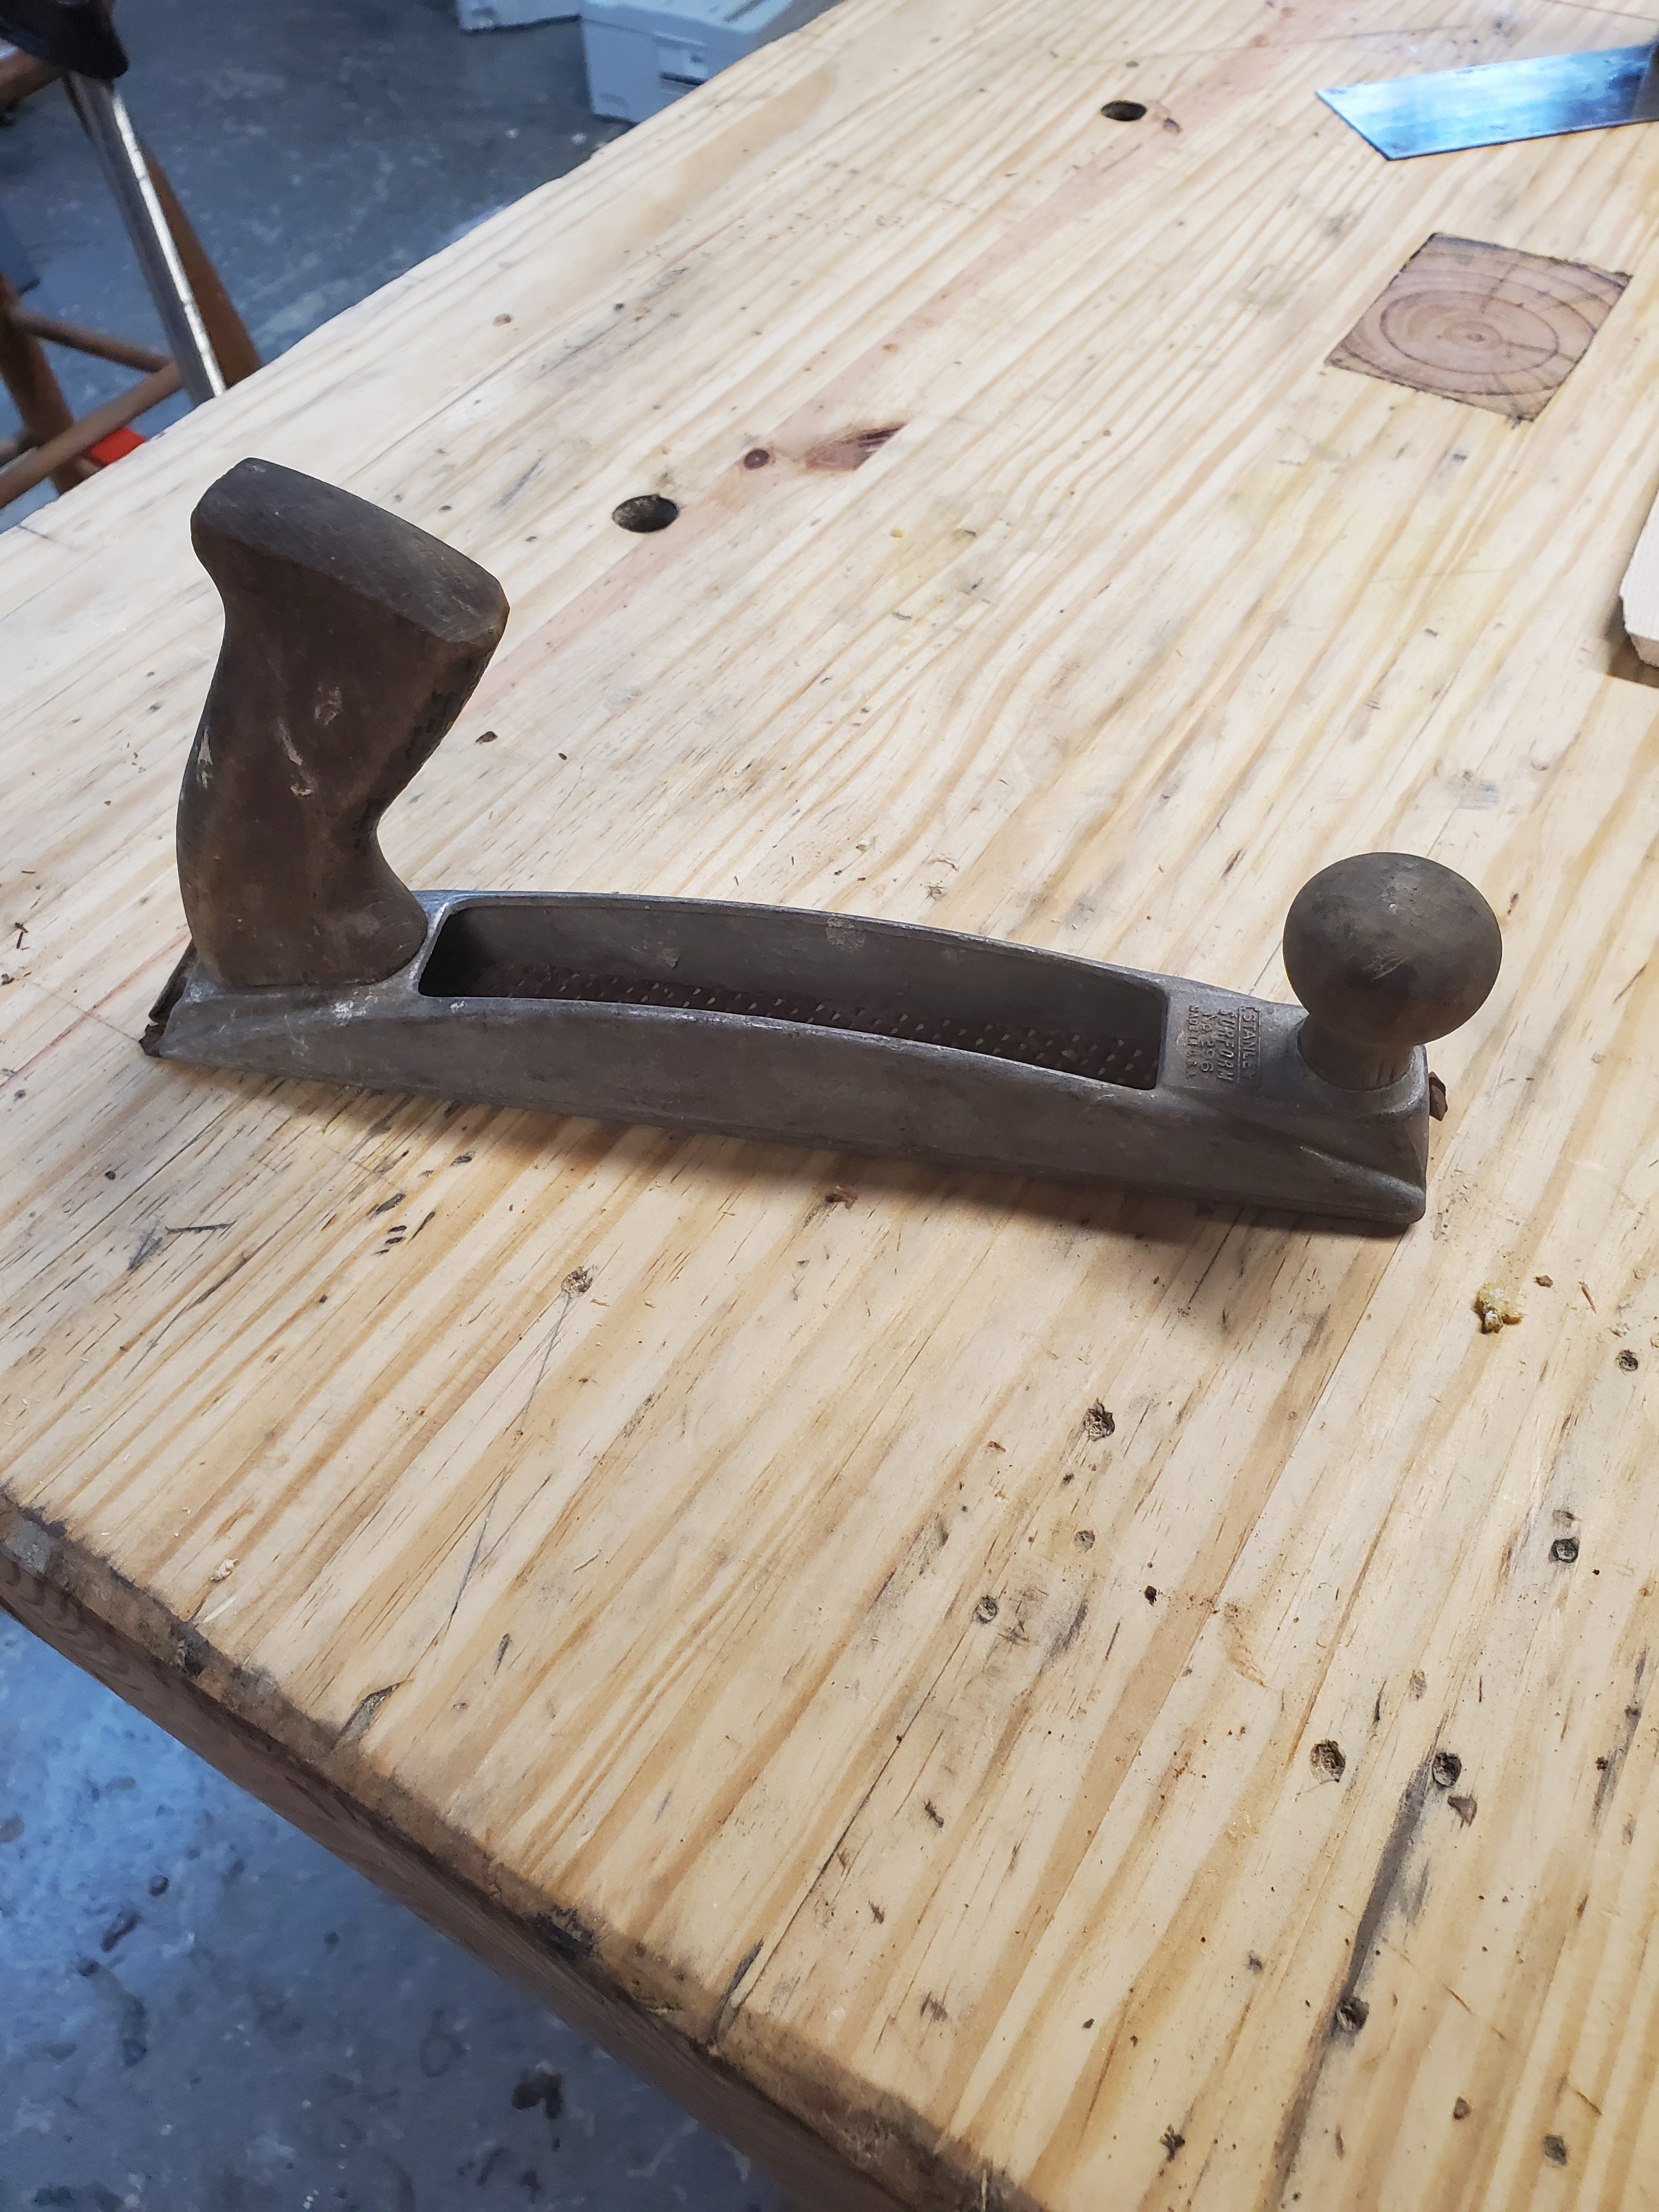
A few weeks ago, I stopped by an antique store in New Paris, OH across the state line from Richmond, IN and bought a Stanley No 5 1/4 plane strictly for the parts. The plane was missing the blade and lever cap but the price was right so I took it home.
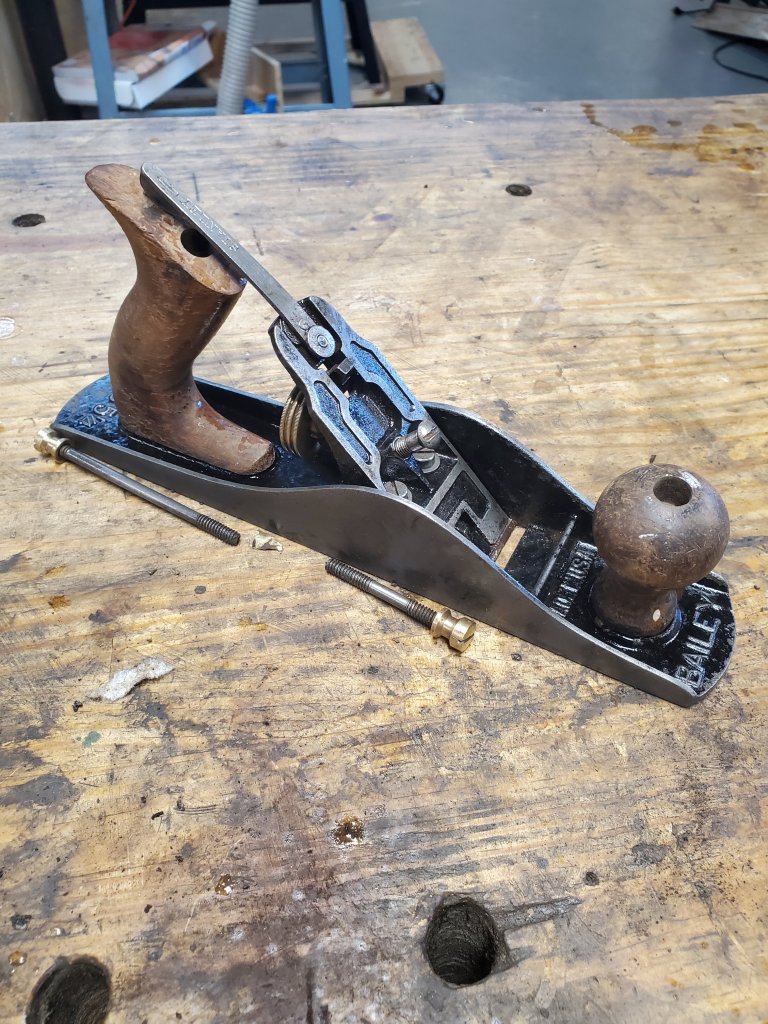
When I cleaned up the plane a little bit, I noticed it was stamped Cincinnati Public Schools. I thought that was pretty cool since I live in Cincinnati, even though I went to Sycamore High School and not CPS. After thinking about it, a light bulb went off in my head.

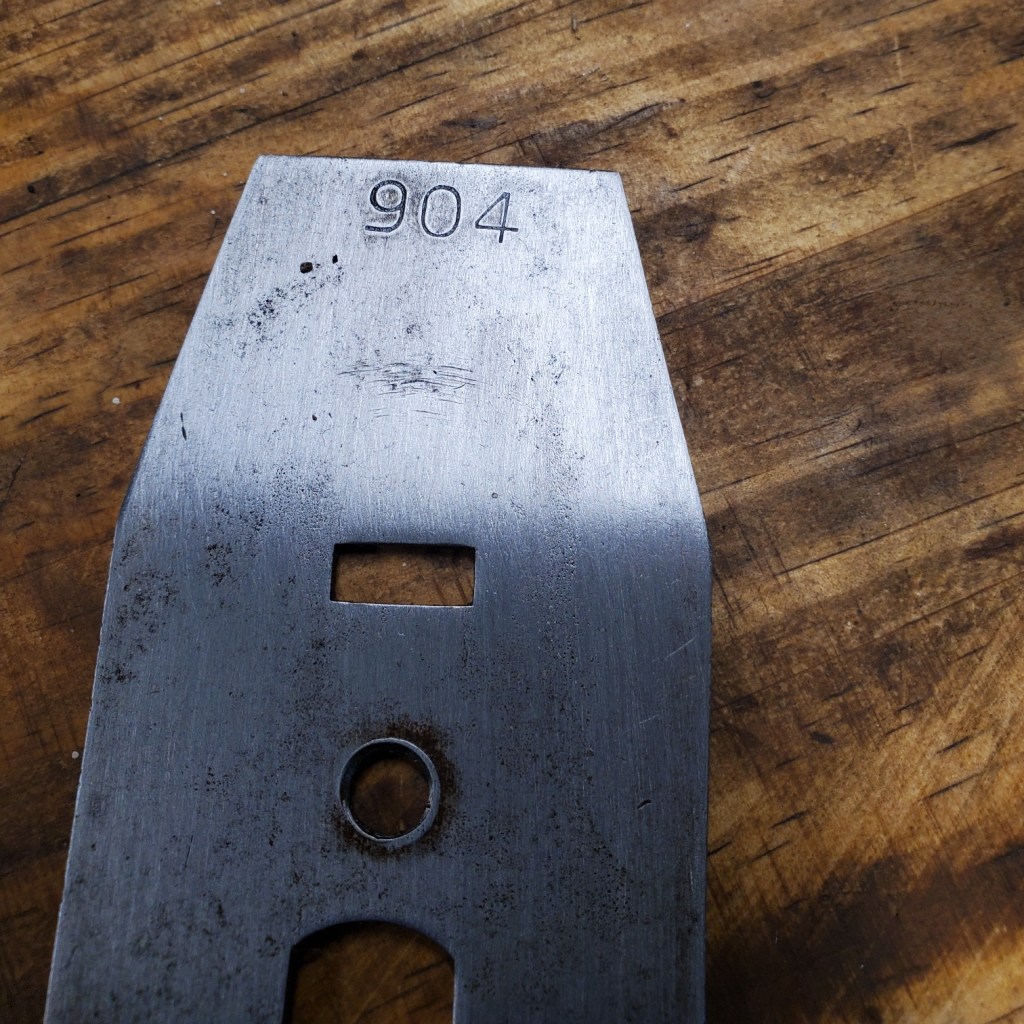
I’ve owned this Stanley No 5 1/4 ish plane for years however, the plane is not marked 5 1/4 on the bed. I think it was either a Four Square plane or maybe a plane that came with a tool cabinet kit. I use it from time to time and it works well, it just sucks that it’s brazed on one side. I’m not sure where that lever cap came from as it looks like a transitional plane lever cap.

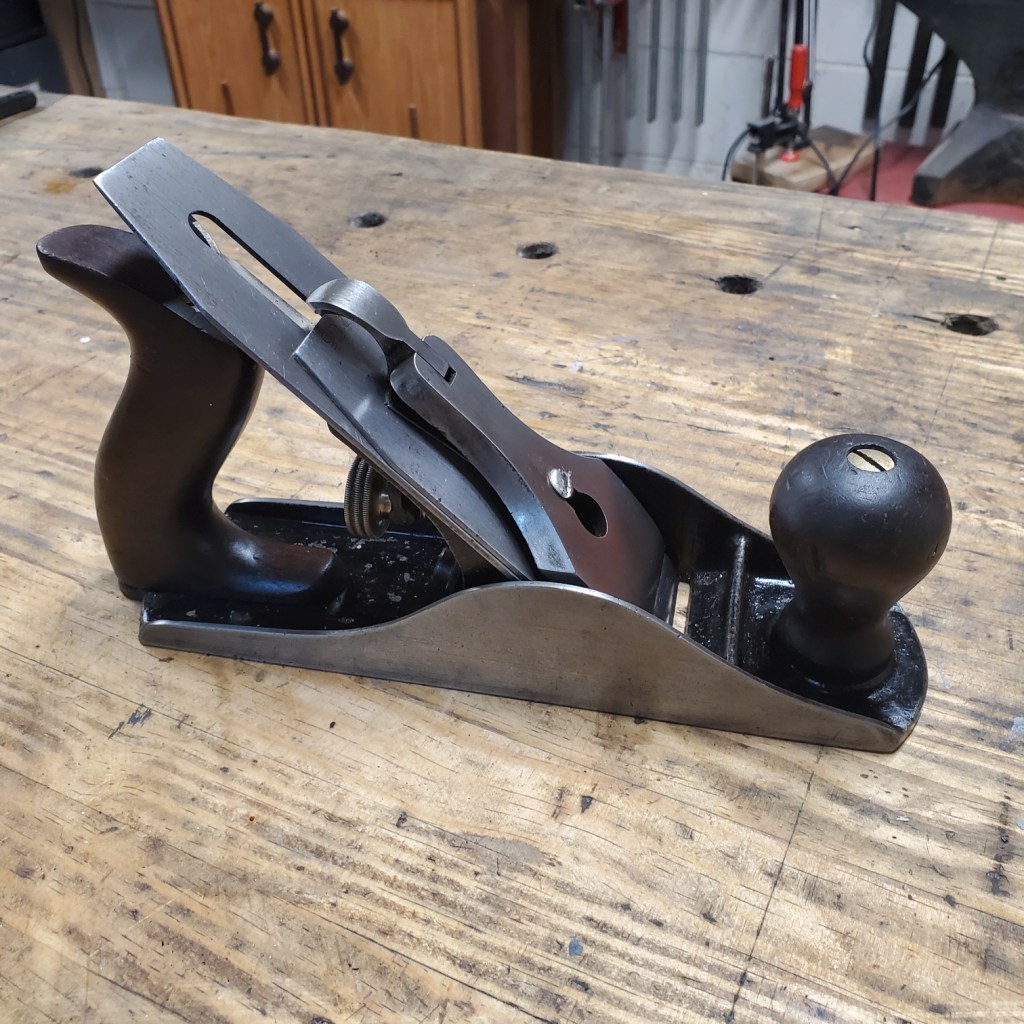
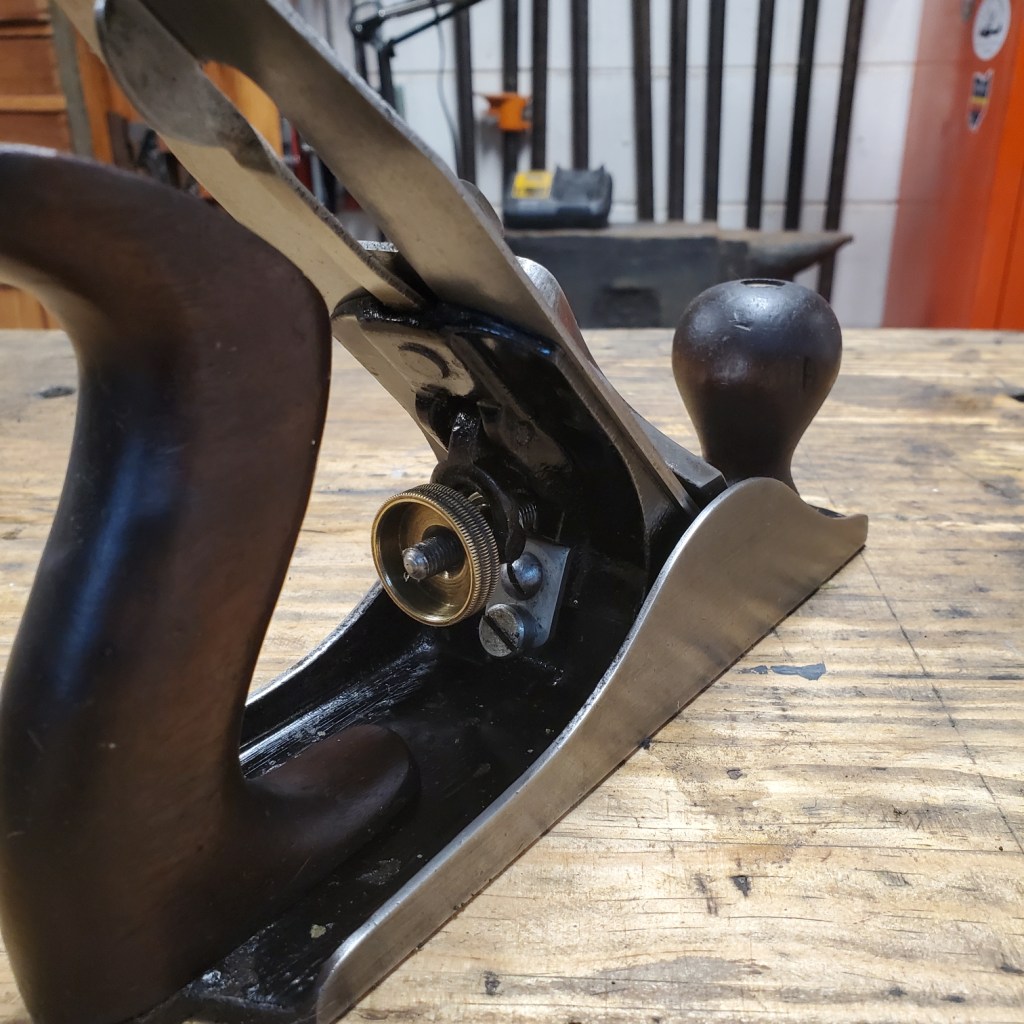
I ended up deciding to take the blade and lever cap from the old plane and put it on my new 5 1/4 plane and keep this one in my tool cabinet bidding the old brazed bed goodbye. After I cleaned all the parts, the plane came out pretty nice.
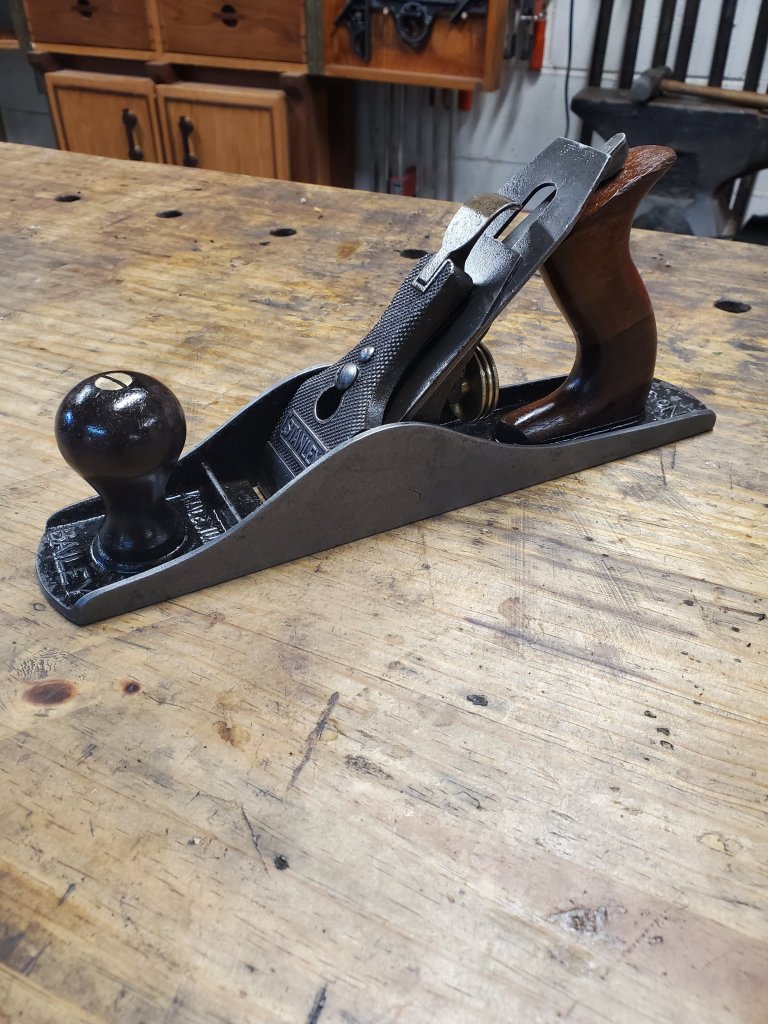
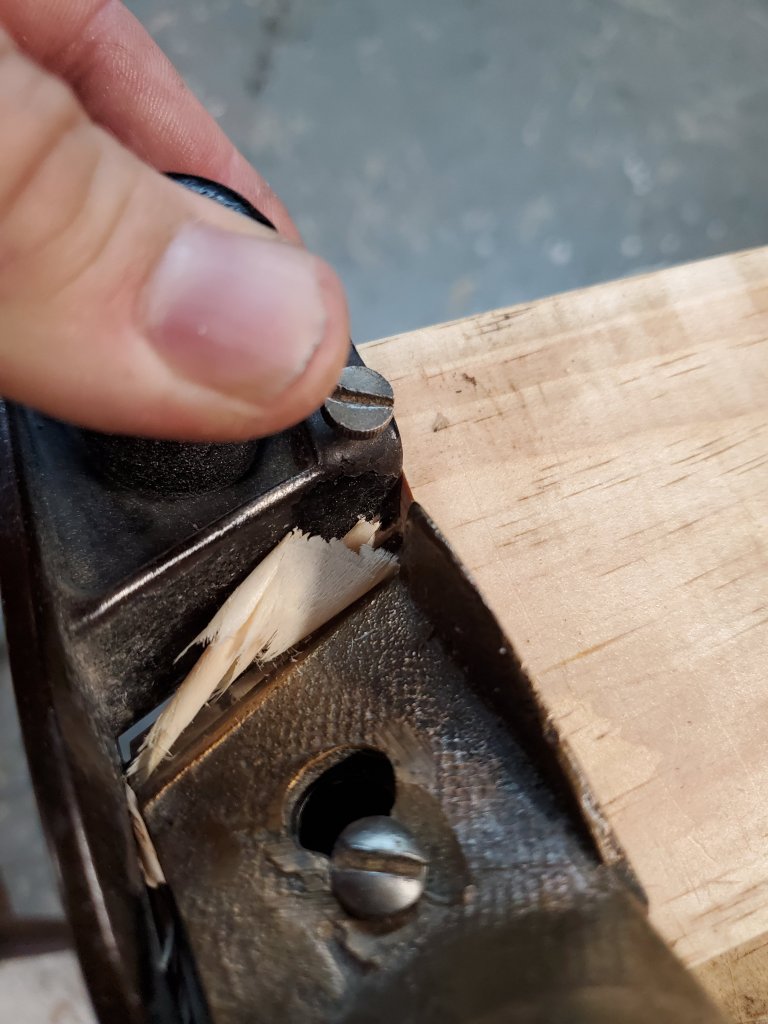
I used the plane right away to see how it cut. It worked okay but I decided to see if the bed needed to be fettled so I gtabbed some sandpaper and an old window sill to act as a surface plate and went to work.

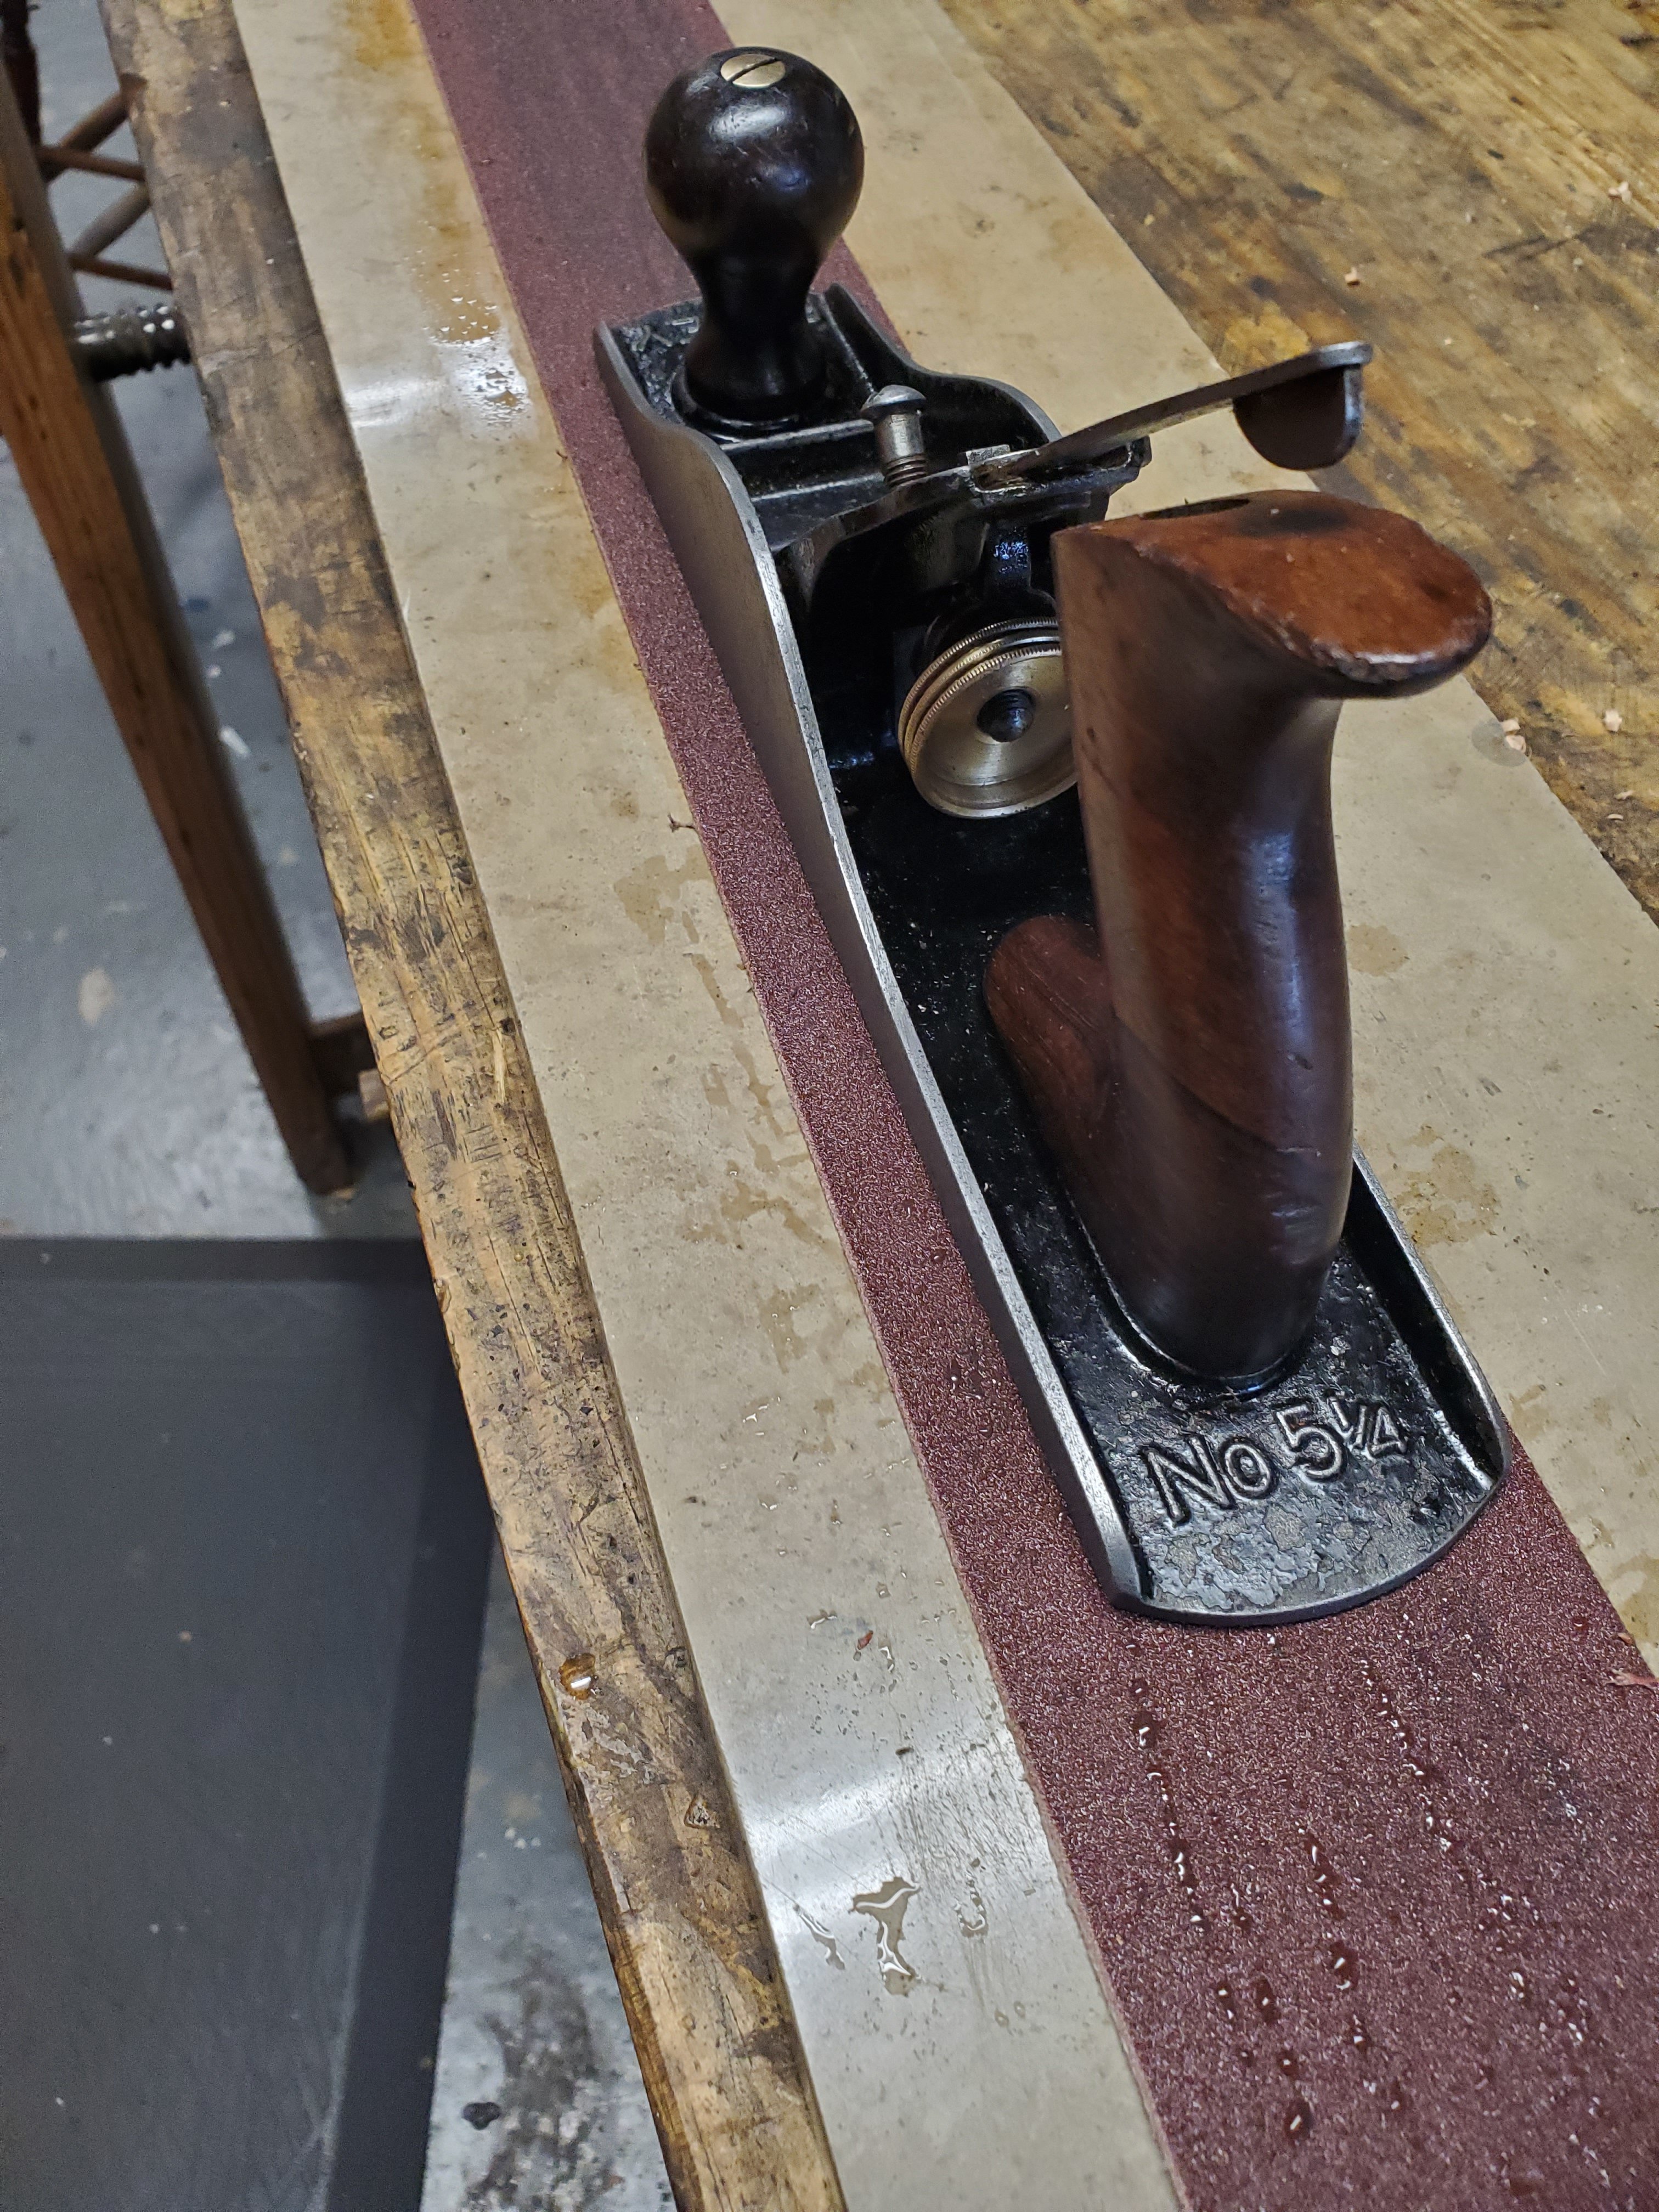

After several minutes of fettling and changing the grits, I was happy with the outcome. Some people fettle their beds until there are no pits left on the bed and it obtains a mirror finish, but I don’t have the patience for that. As long as the front of the bed, the front and back of the mouth, and the back of the bed are even with eachother, I’m happy.

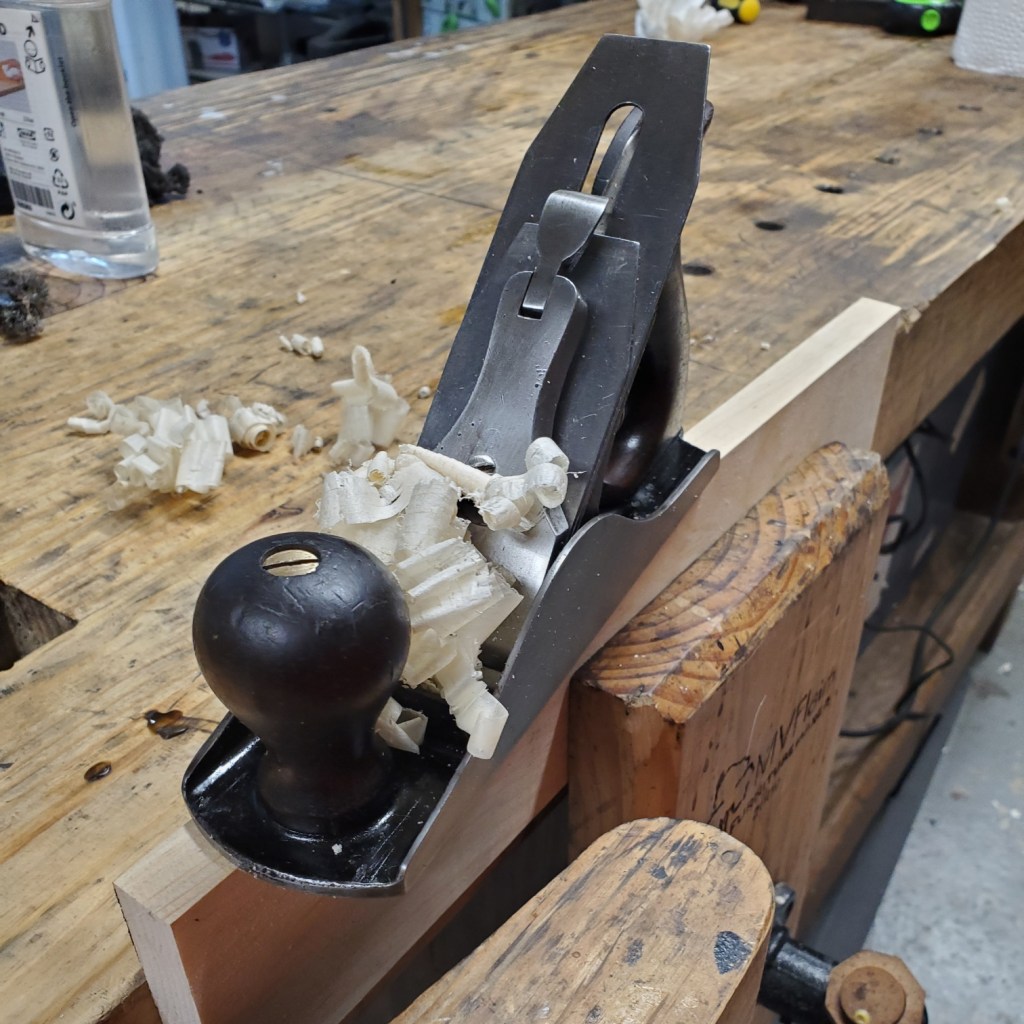
I went back to the board to see how the plane cuts and it works like a dream. Now I have a new Stanley No 5 1/4 with the provenance from my back yard.

Some people may wonder what the intended purpose of a 5 1/4 plane is, and for that, I’m not entirely sure. It’s a little too big to excel as a good smoother and a little too small to be a good jack plane. If I had to guess, I think Stanley made this size plane as well as a No 2 size plane for kids. Kid’s hands are much smaller than adults so smaller planes work well for them. The fact that this plane was marked Cincinnati Public Schools, it was more likely used by little kids in shop class. Nevertheless, I still enjoy using this plane in case one of my other planes is not set up right or it’s blade is dull.