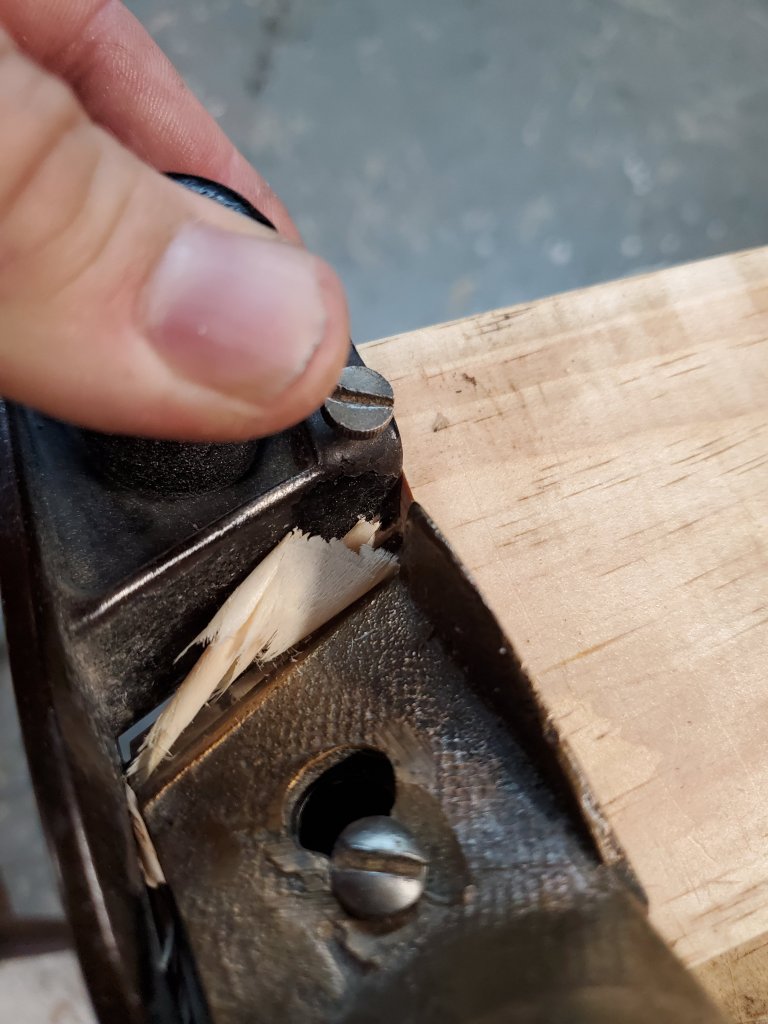
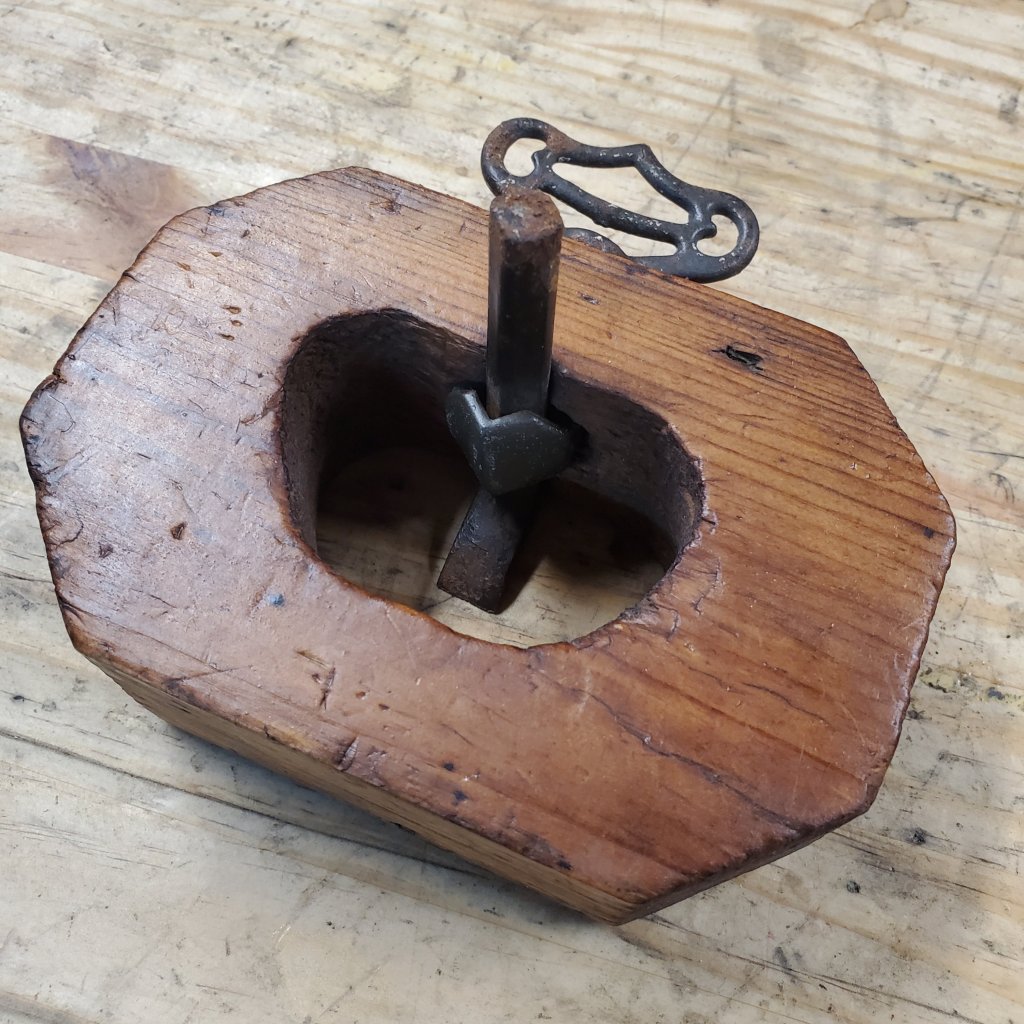
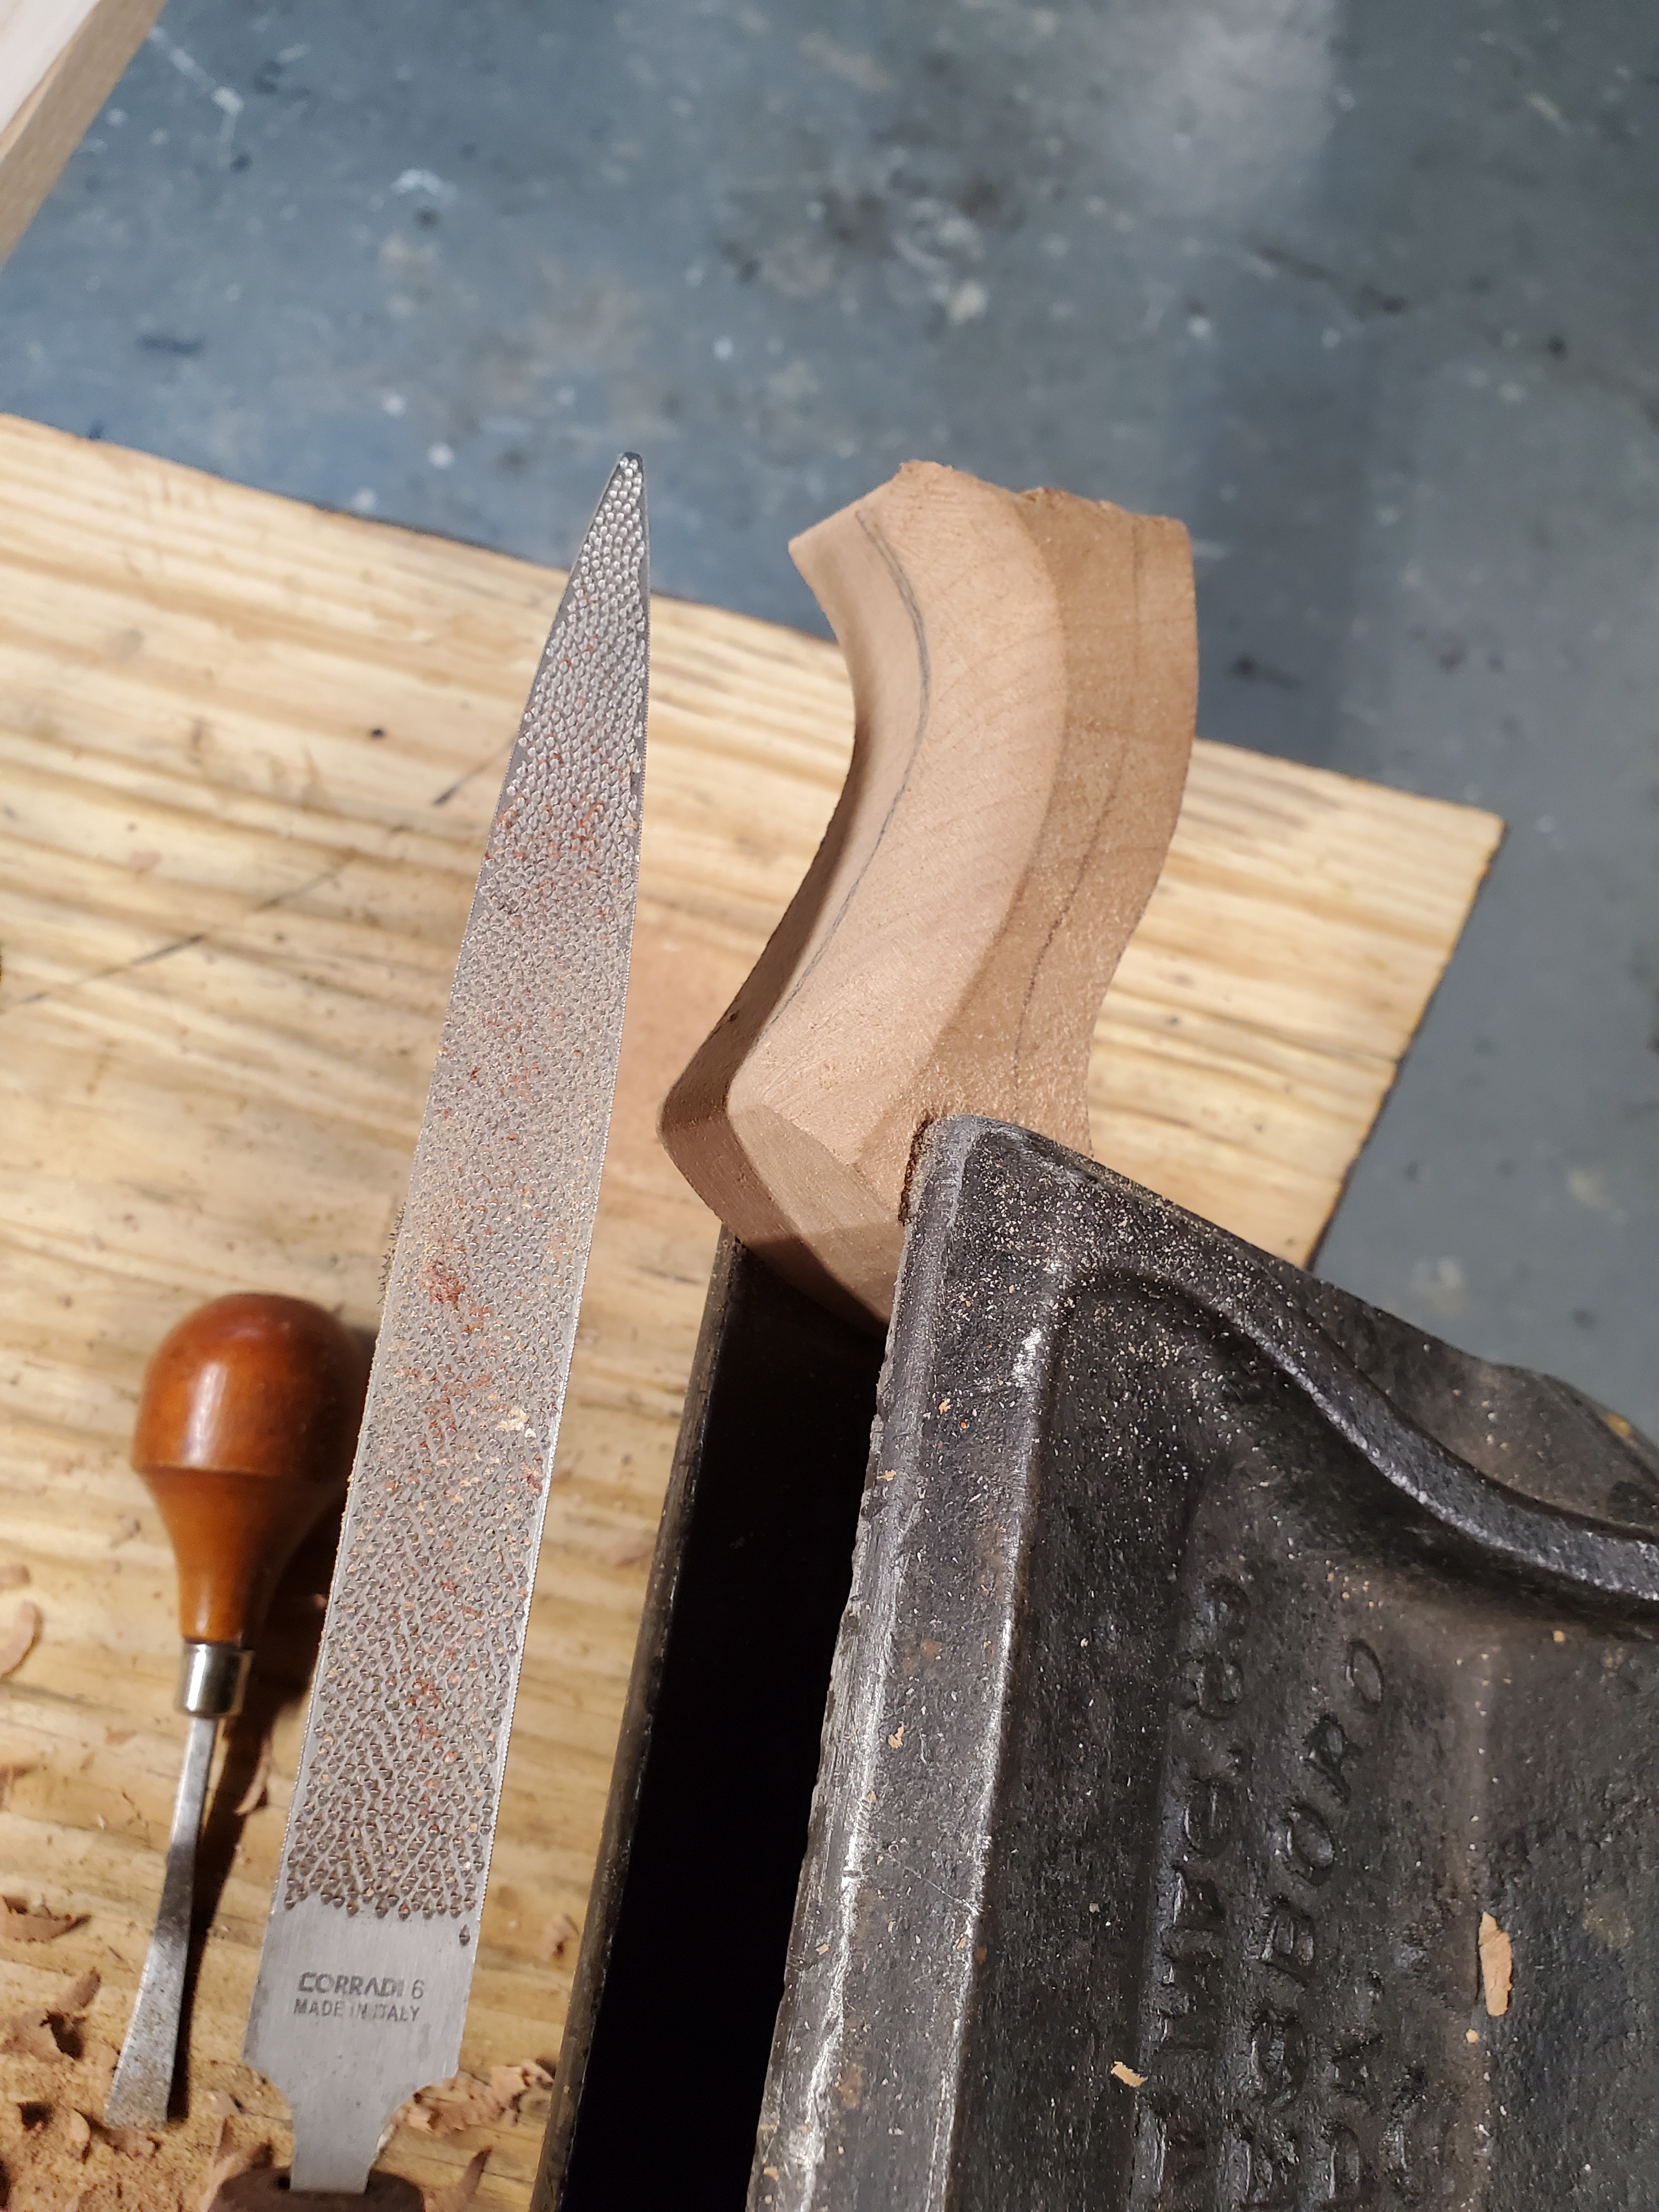
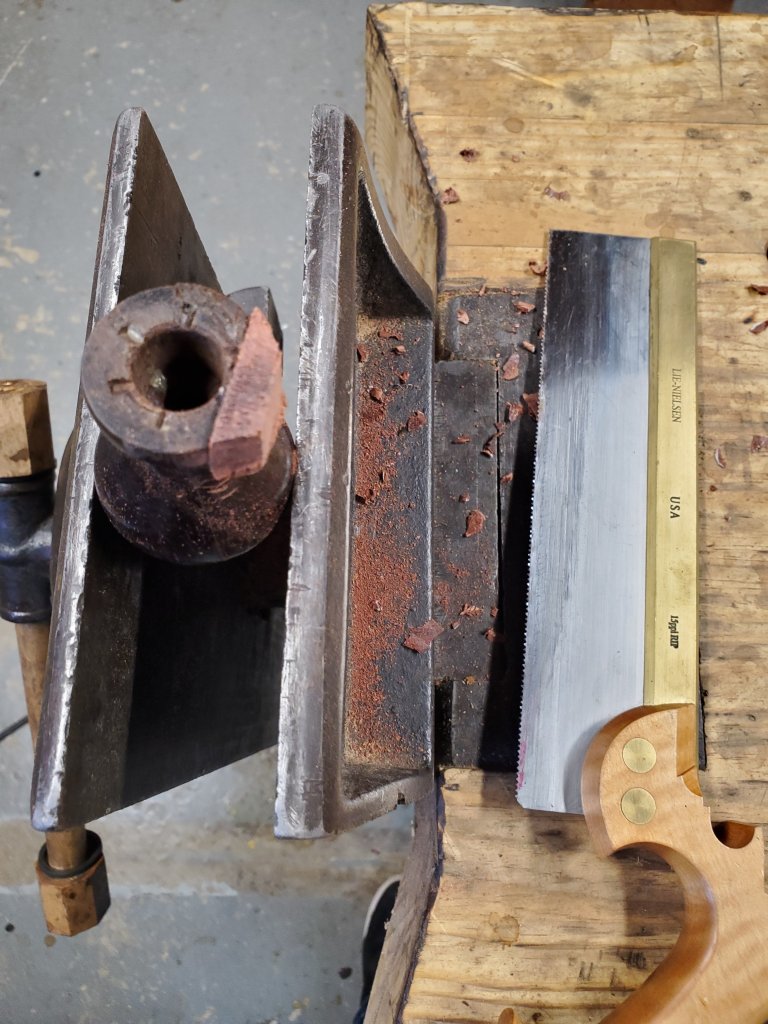
Sometimes when buying a plane, all the parts will be in good shape until you look at the front knob and see a big chunk missing from the bottom. I’ve repaired dozens of totes over the years, but I’ve never really tackled a knob as it looked like a big pain in the ass. So, I decided to give it a go and see how it turns out.
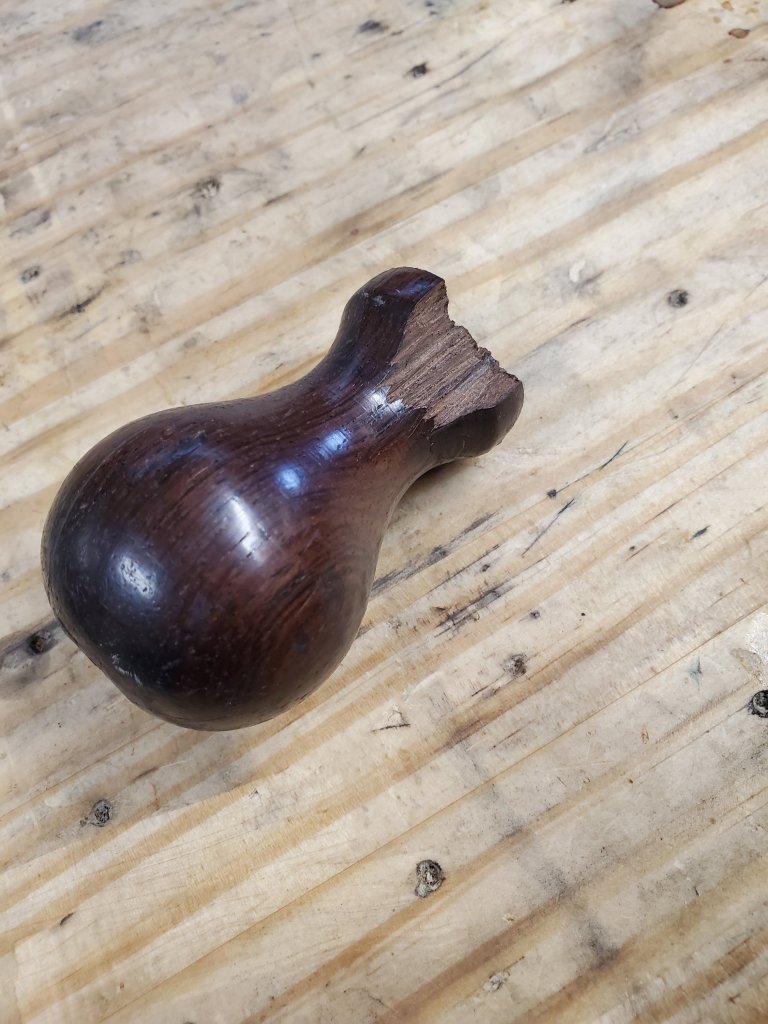
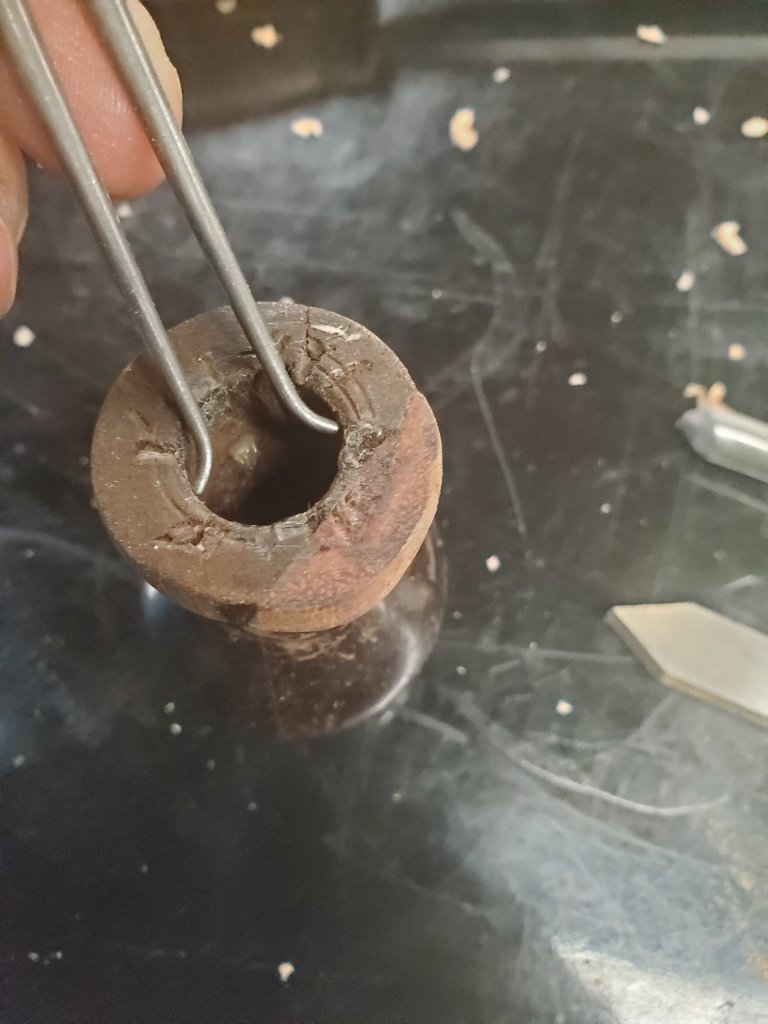
The first thing I did was shave the broken area smooth with a bastard file. It didn’t have to be completely clean, just good enough to hold some glue.

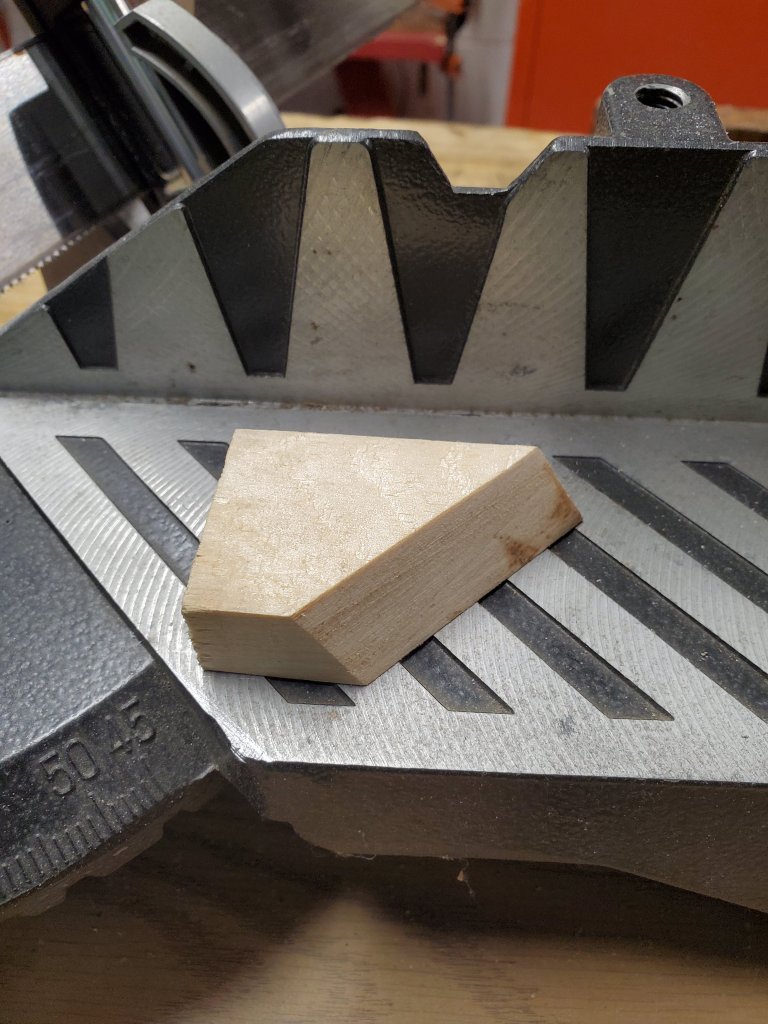
Then I took a piece of cocobolo scrap wood and glued it to the surface of the break. I paid careful attention to the orientation of the grain so the repair would look nicer. I used Gorilla Super Glue Gel as it works well gluing all type of rosewood woods together.

Once the glue dried, I cut off the excess with a dovetail saw and shaved the thick areas away with some chisels and gouges.

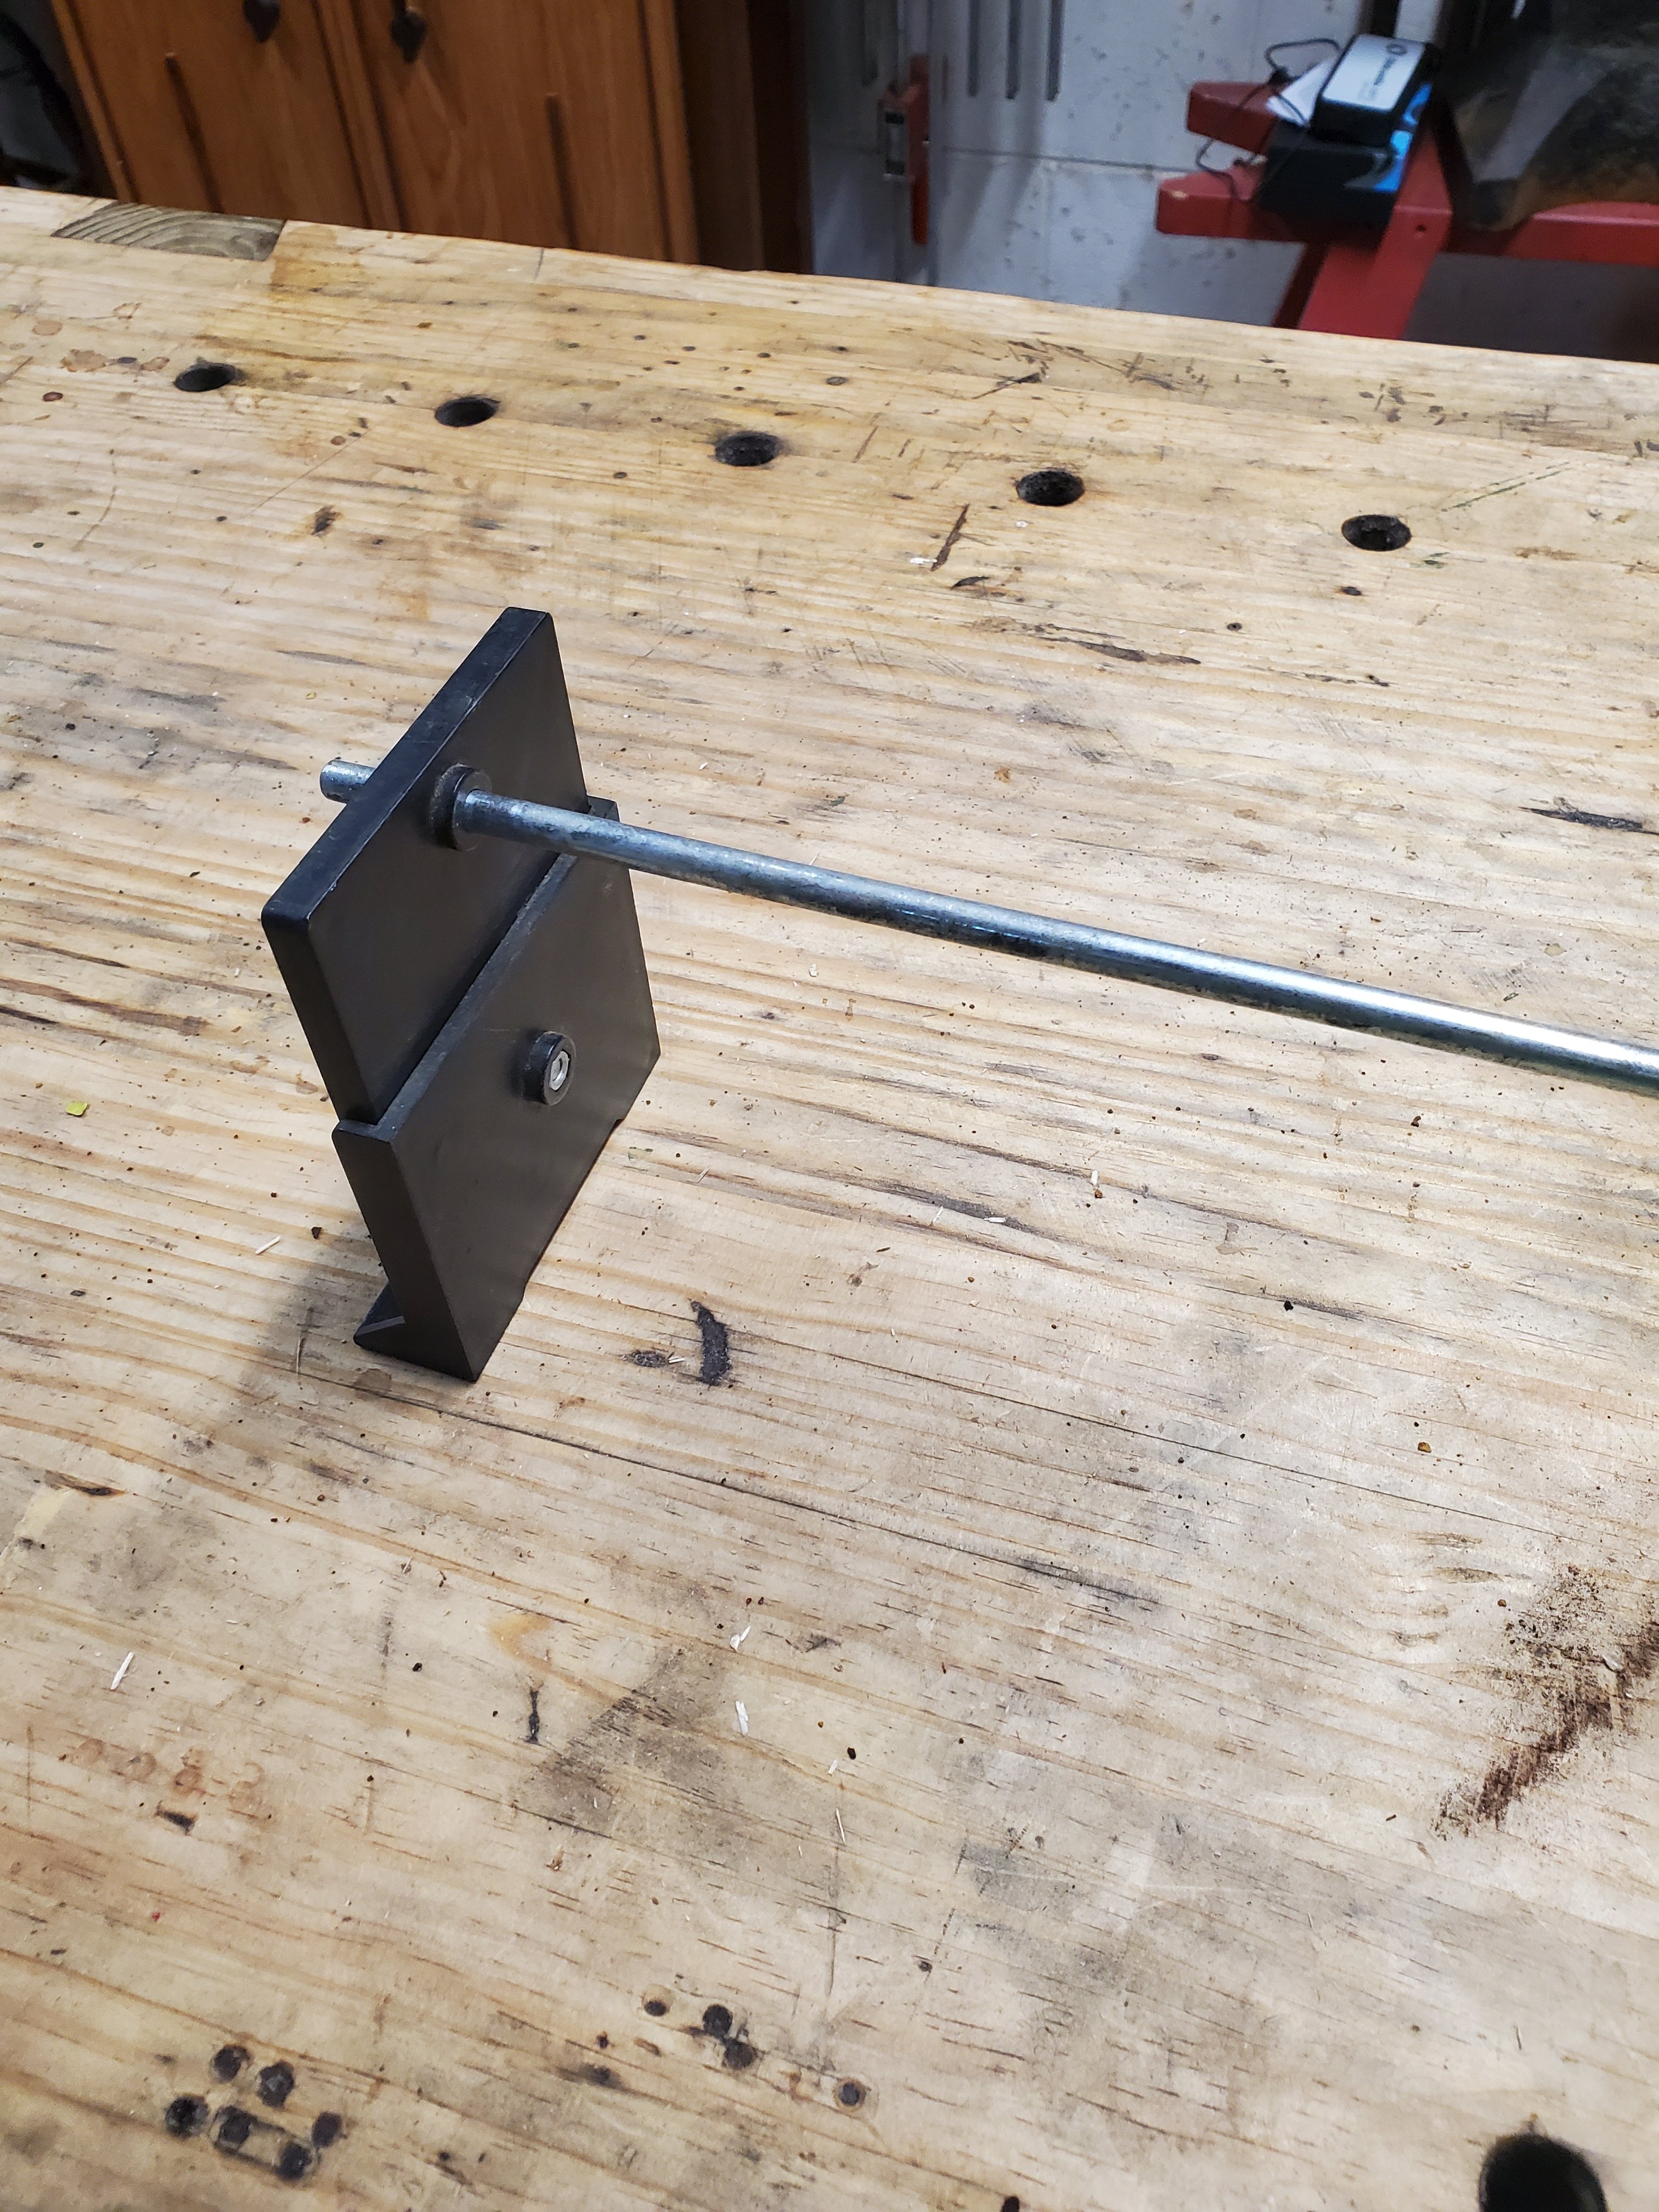
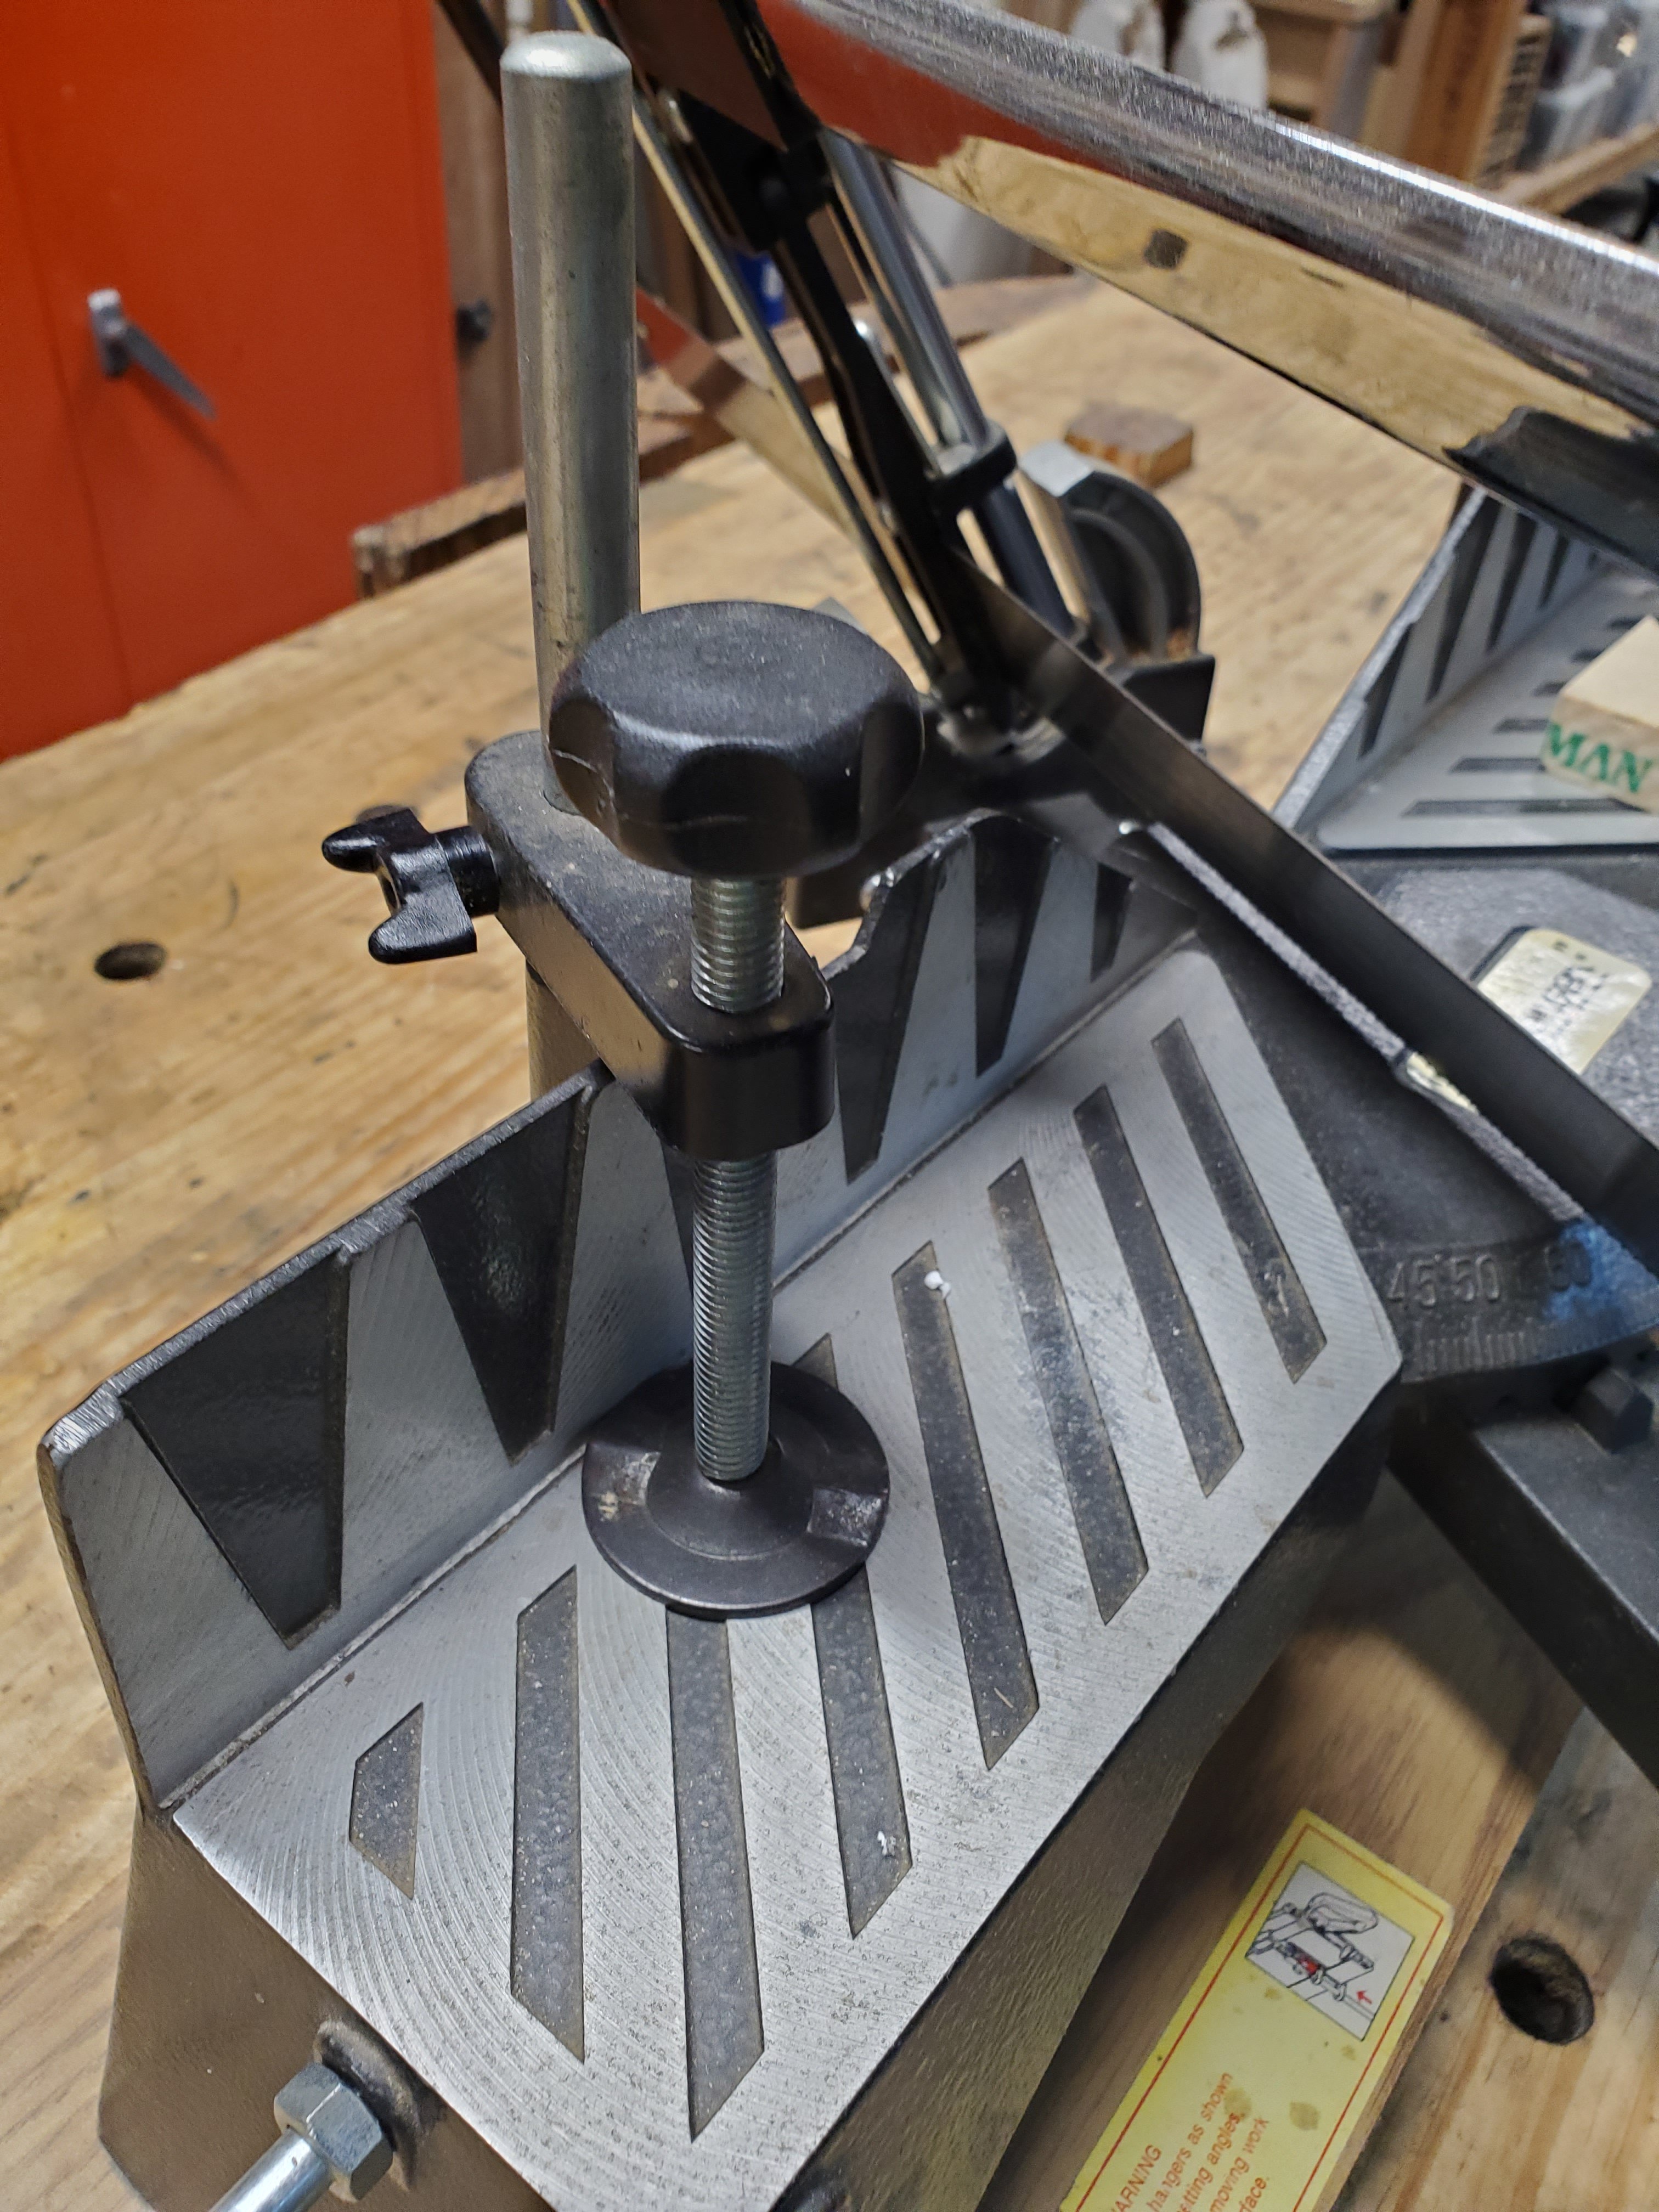
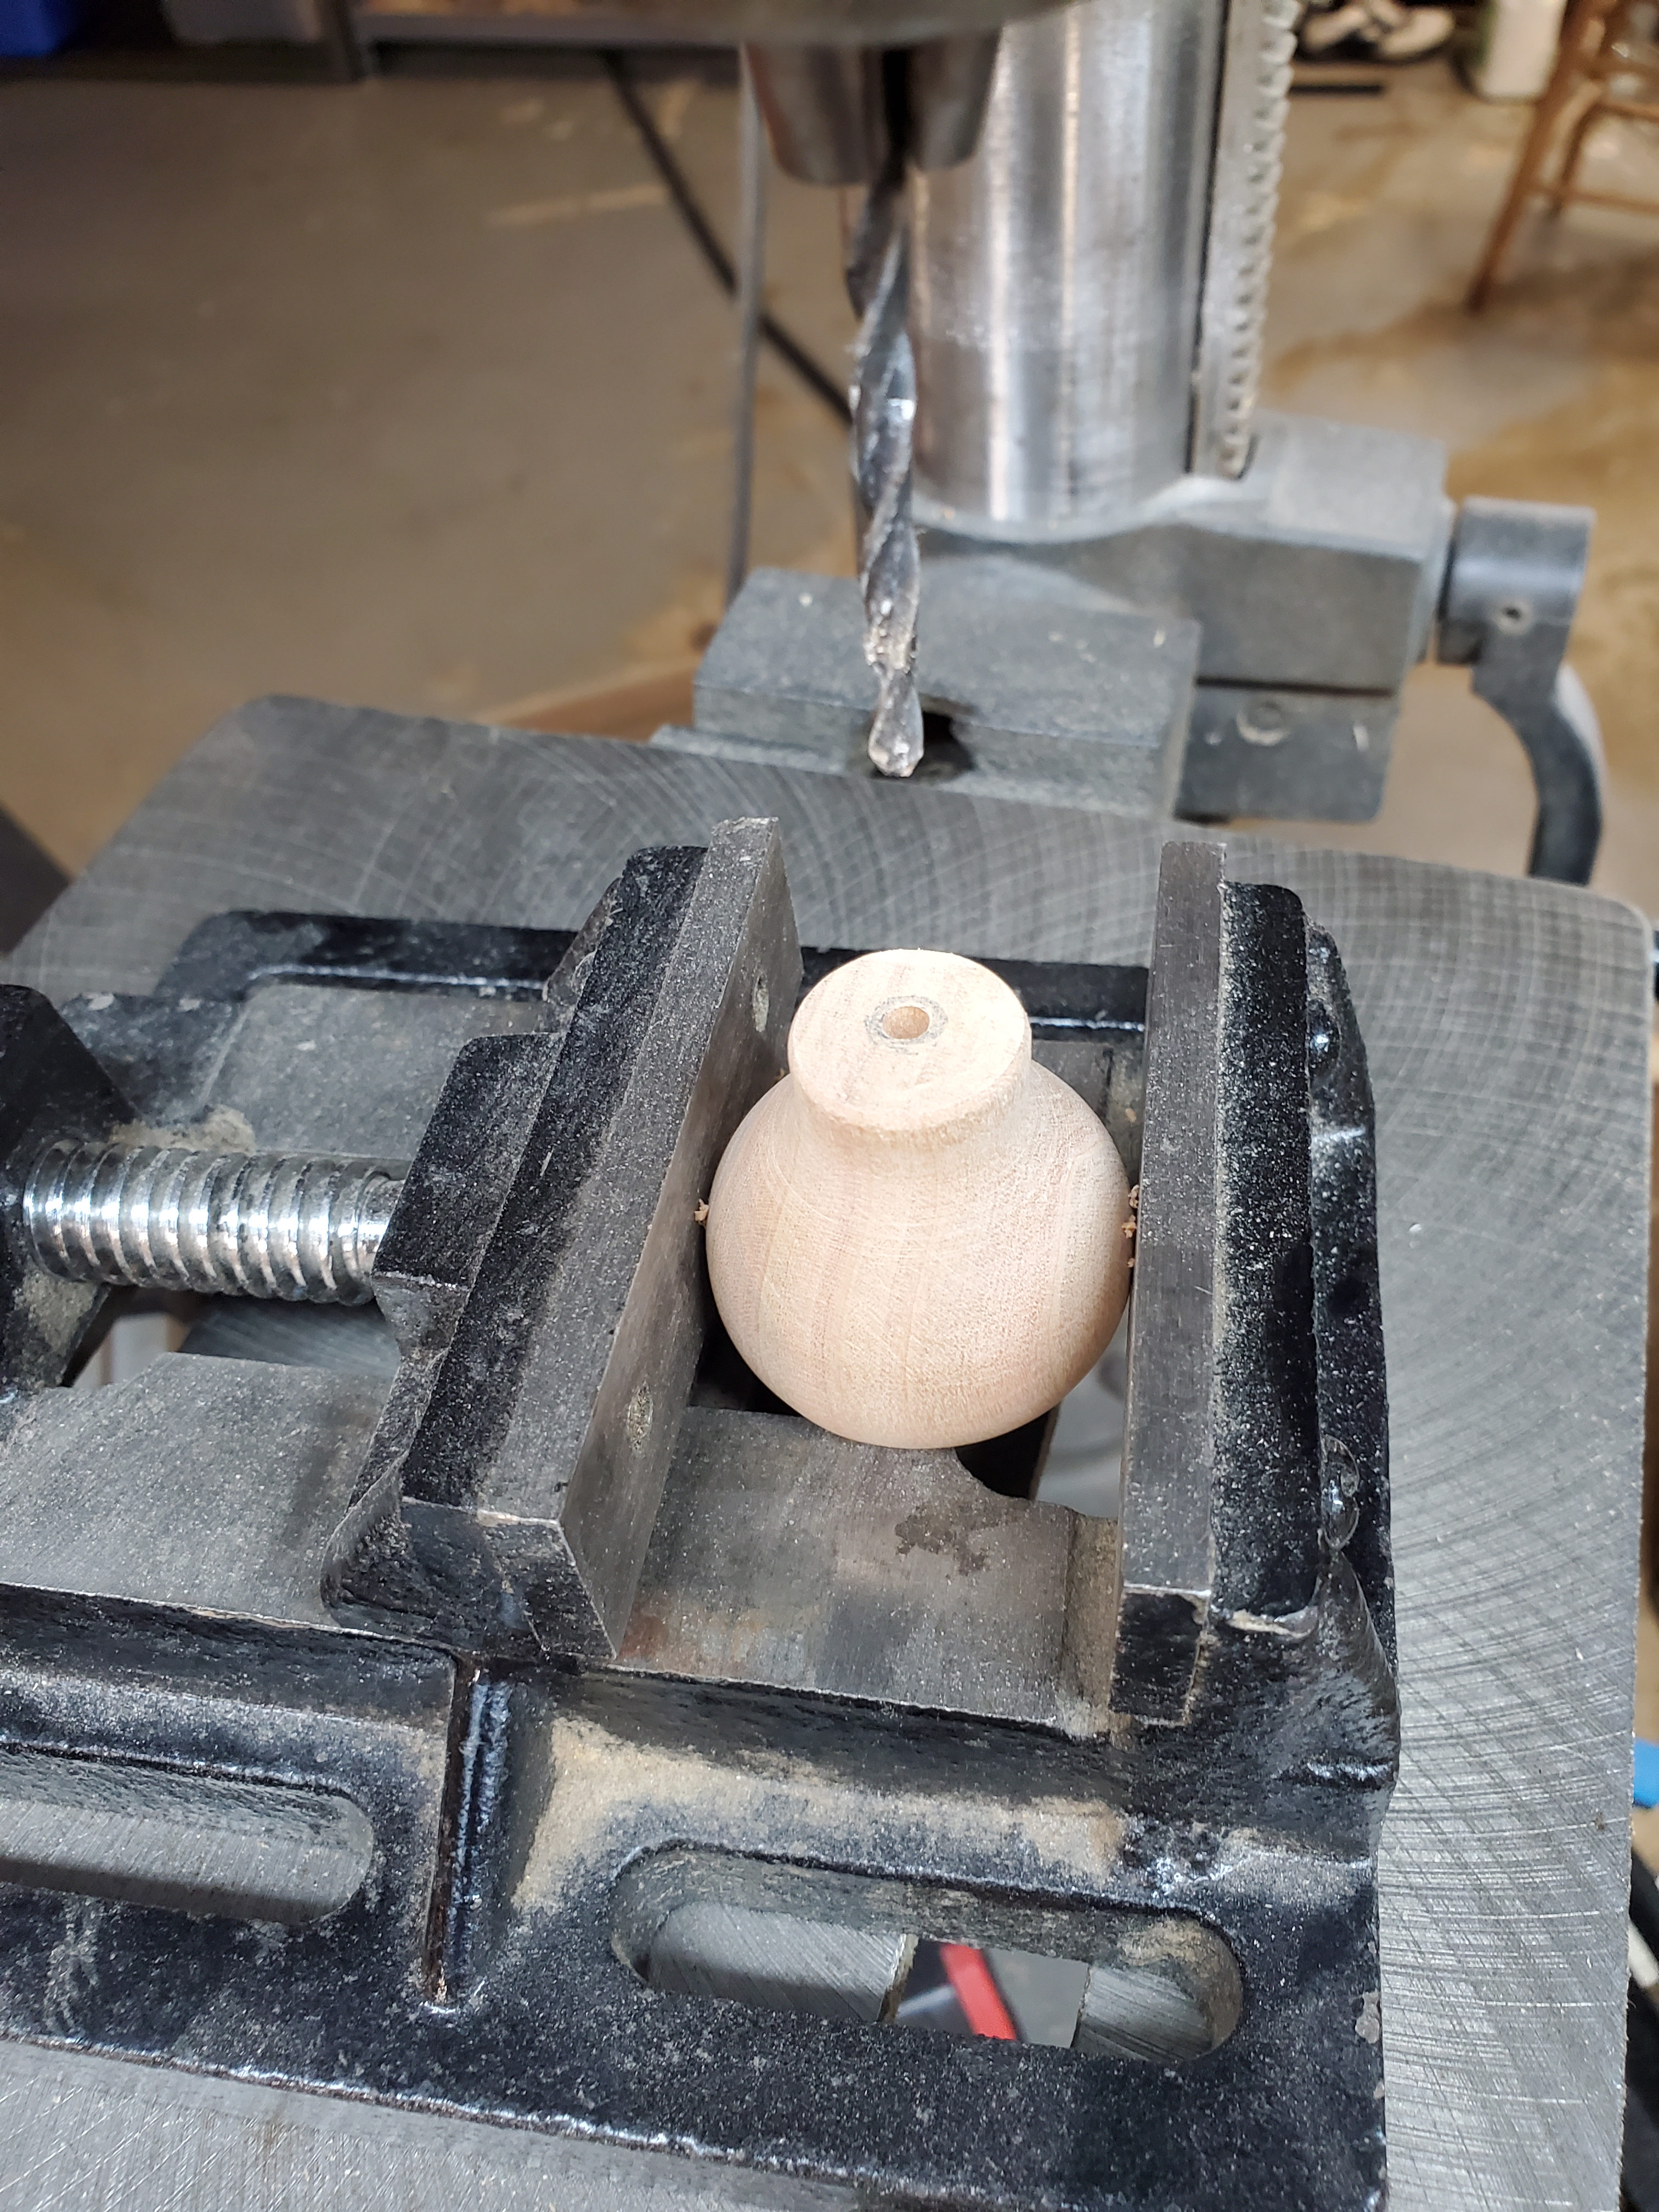
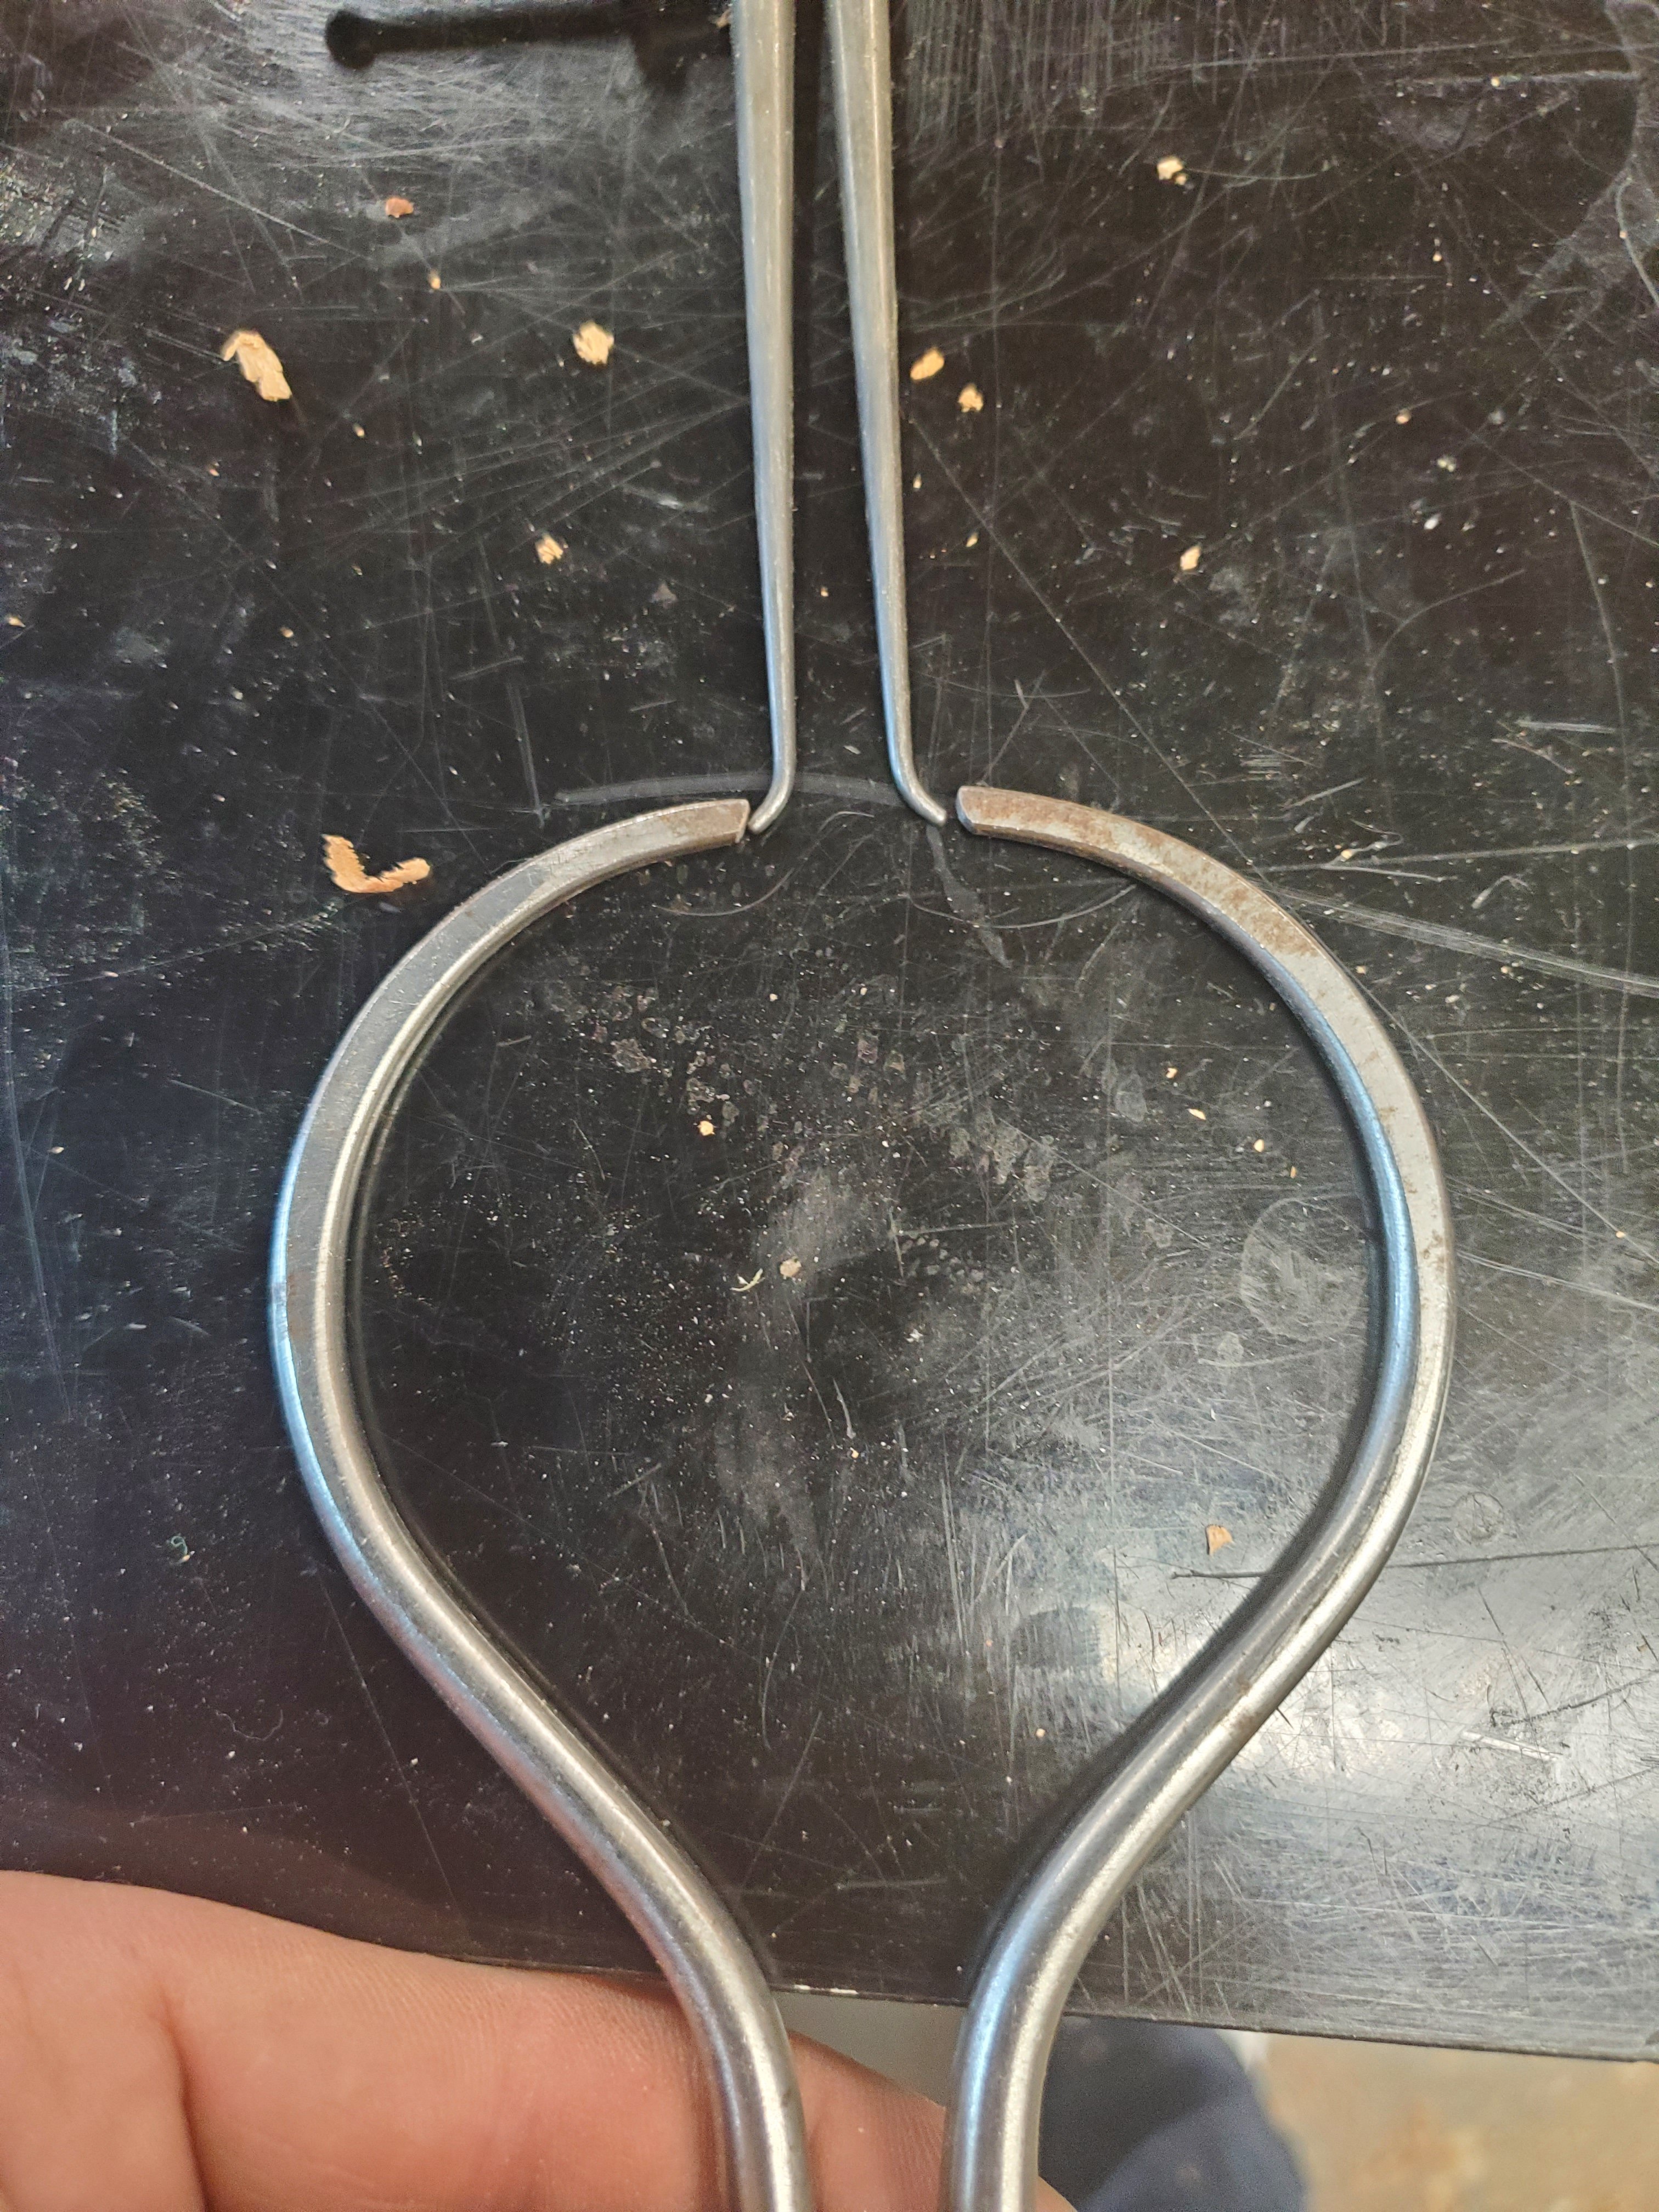
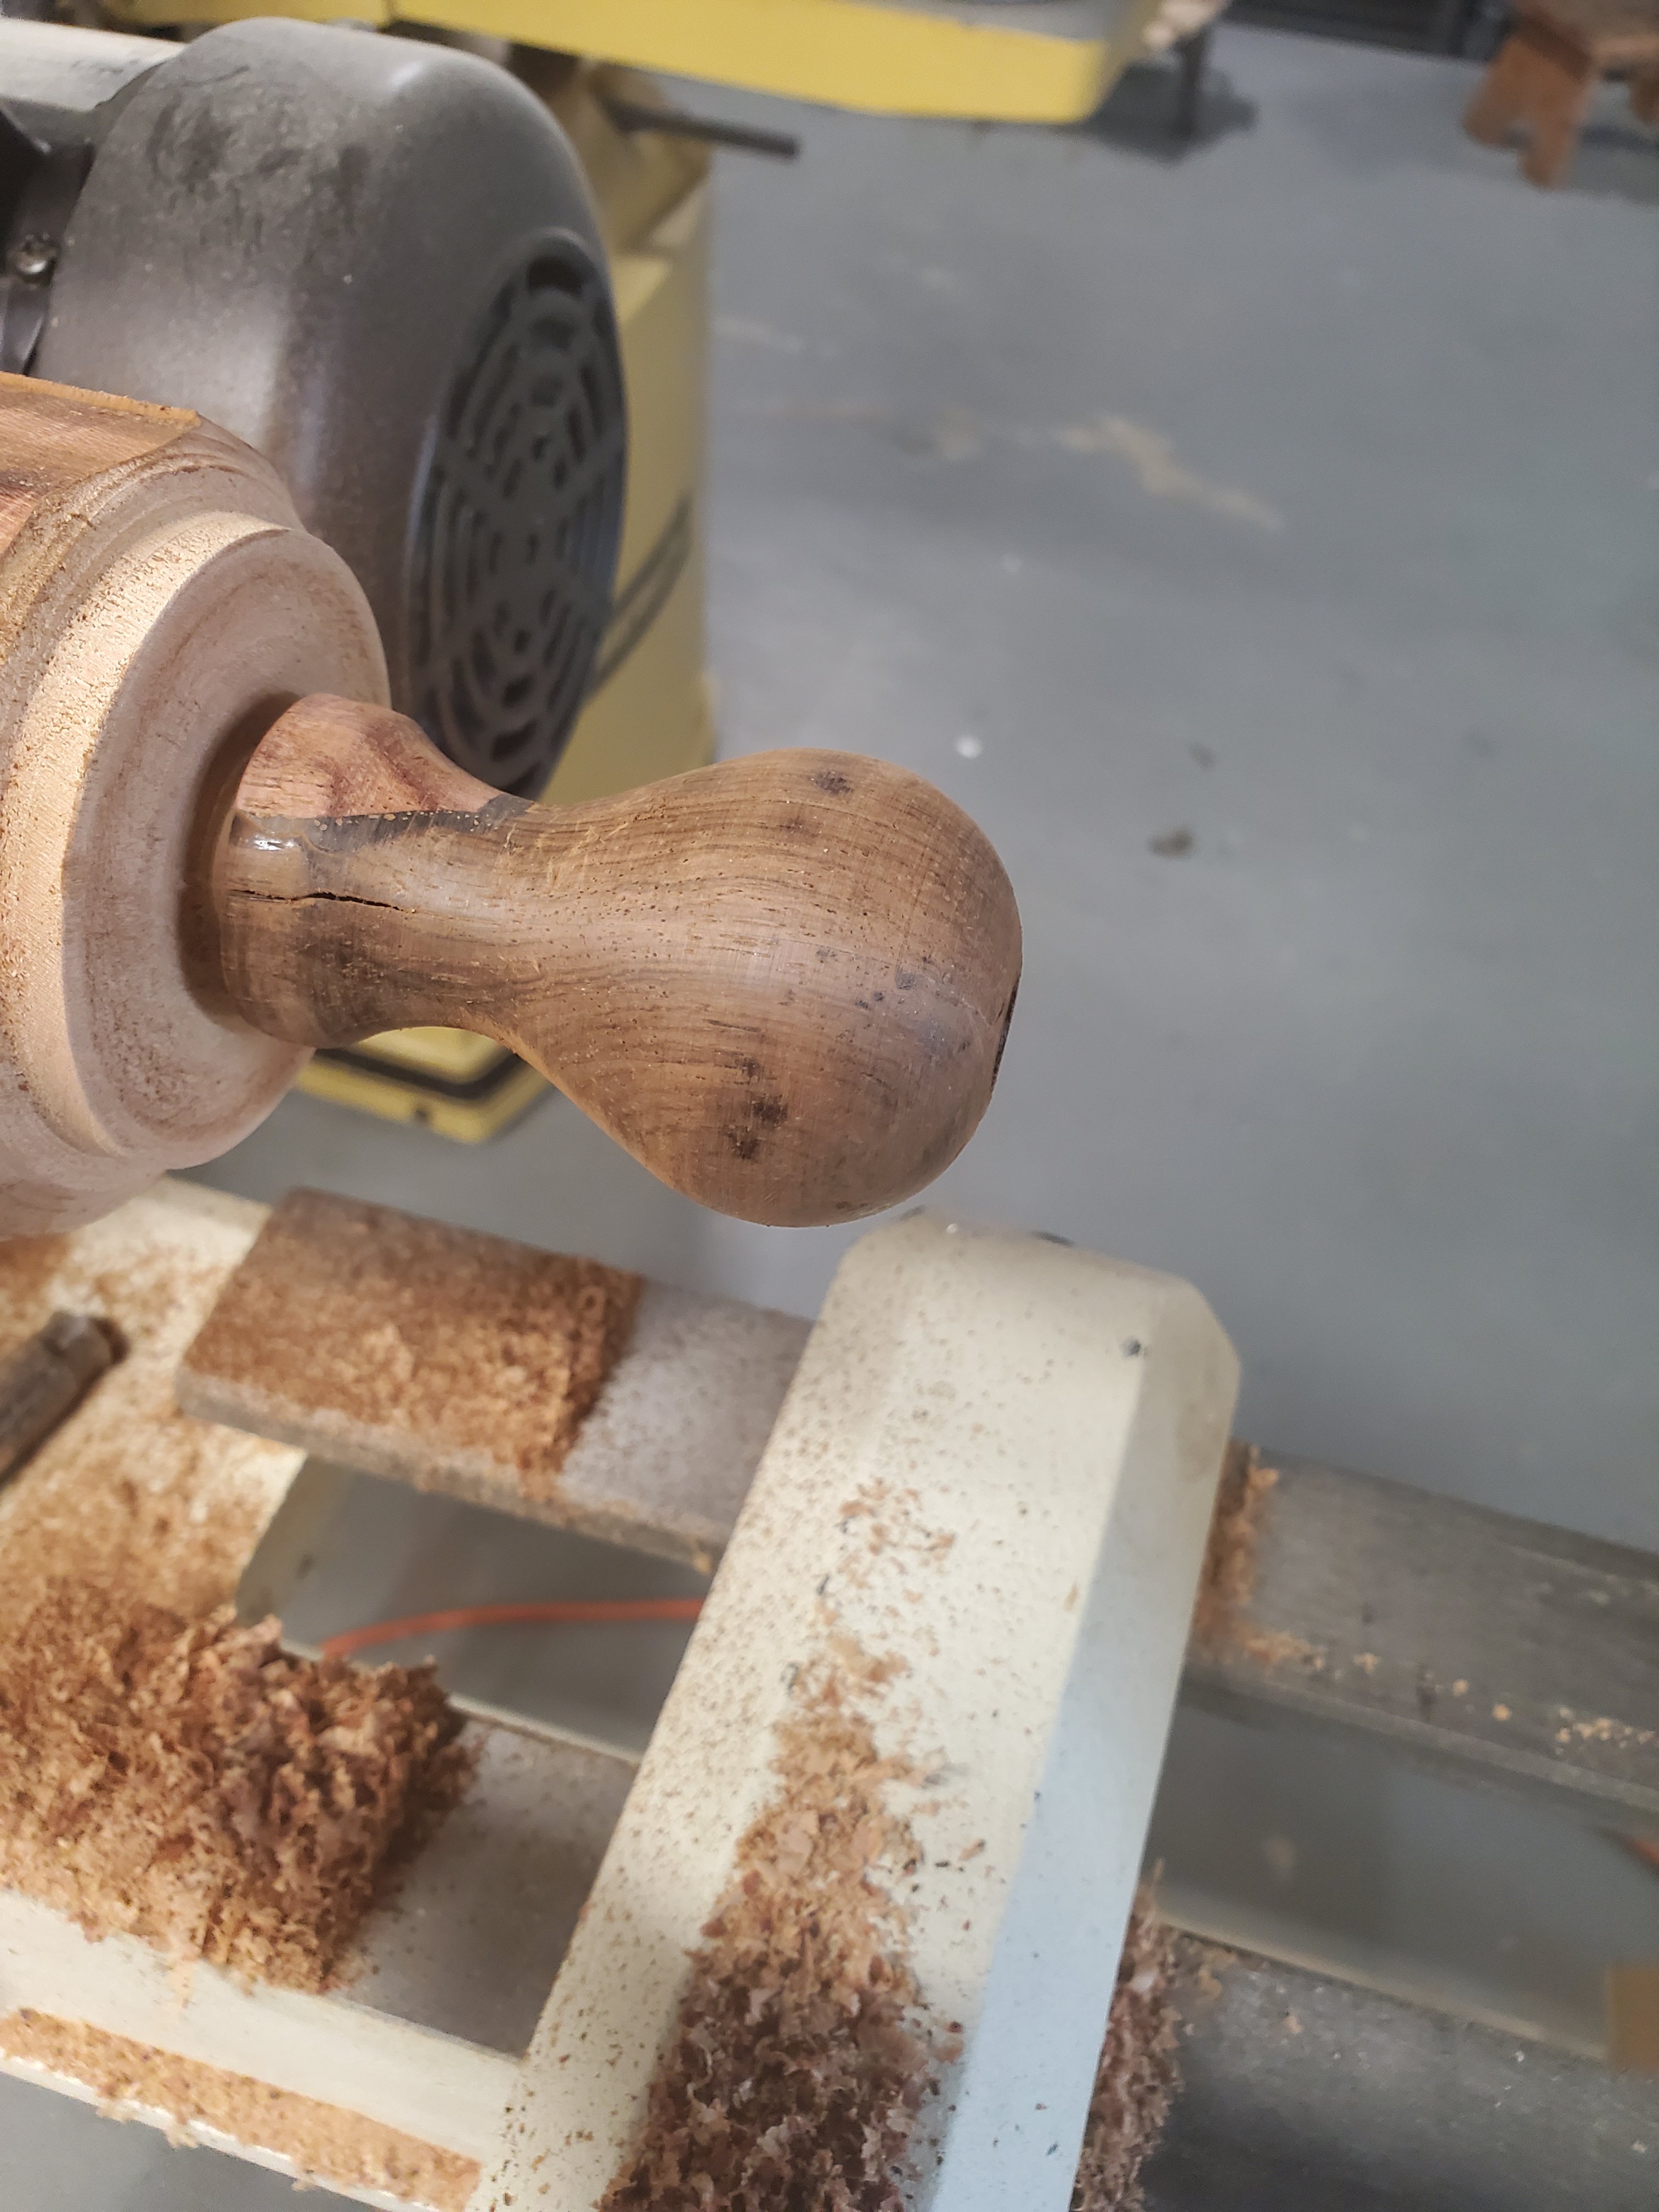
I wanted to shape the new area perfectly round with the rest of the knob so I created a little holding jig to be used on my lathe.
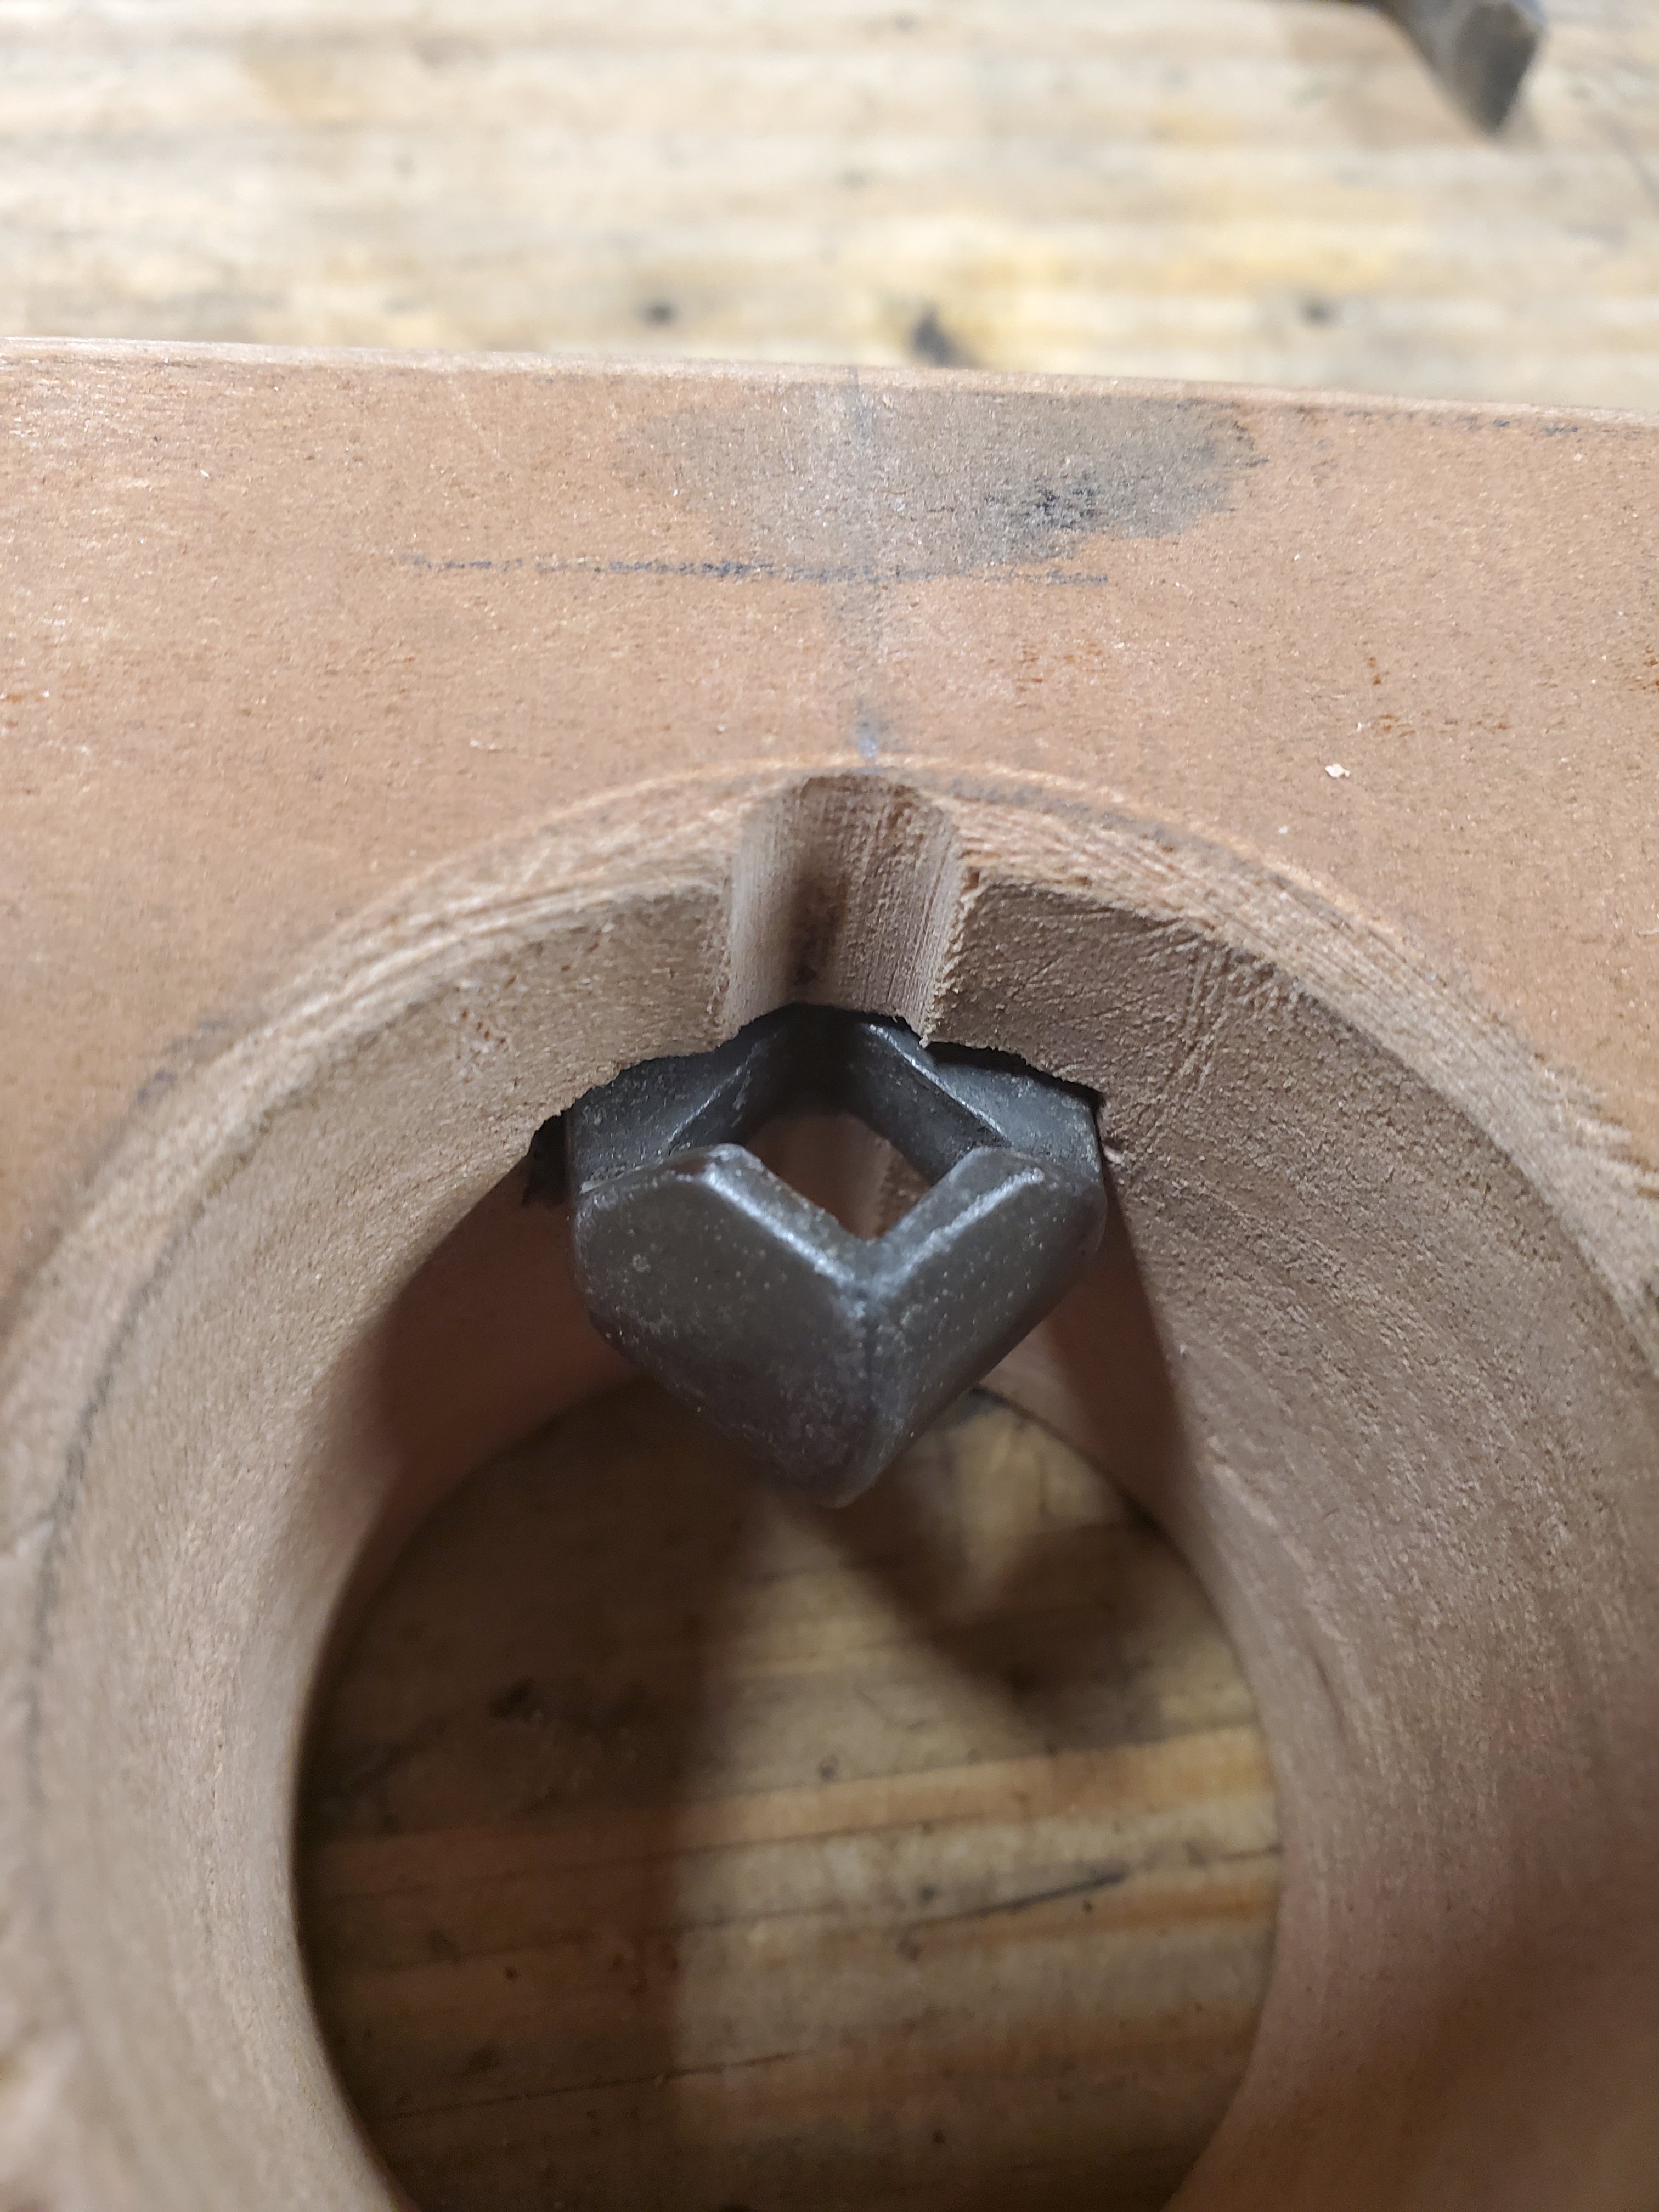
I measured the inside diameter of the knob’s mounting hole with inside calipers and transferred that measurement unto outside calipers, then turned a tenon to the measurement. Then I stuck the knob onto the tenon and stabalized the top of the knob with the lathe live center point.
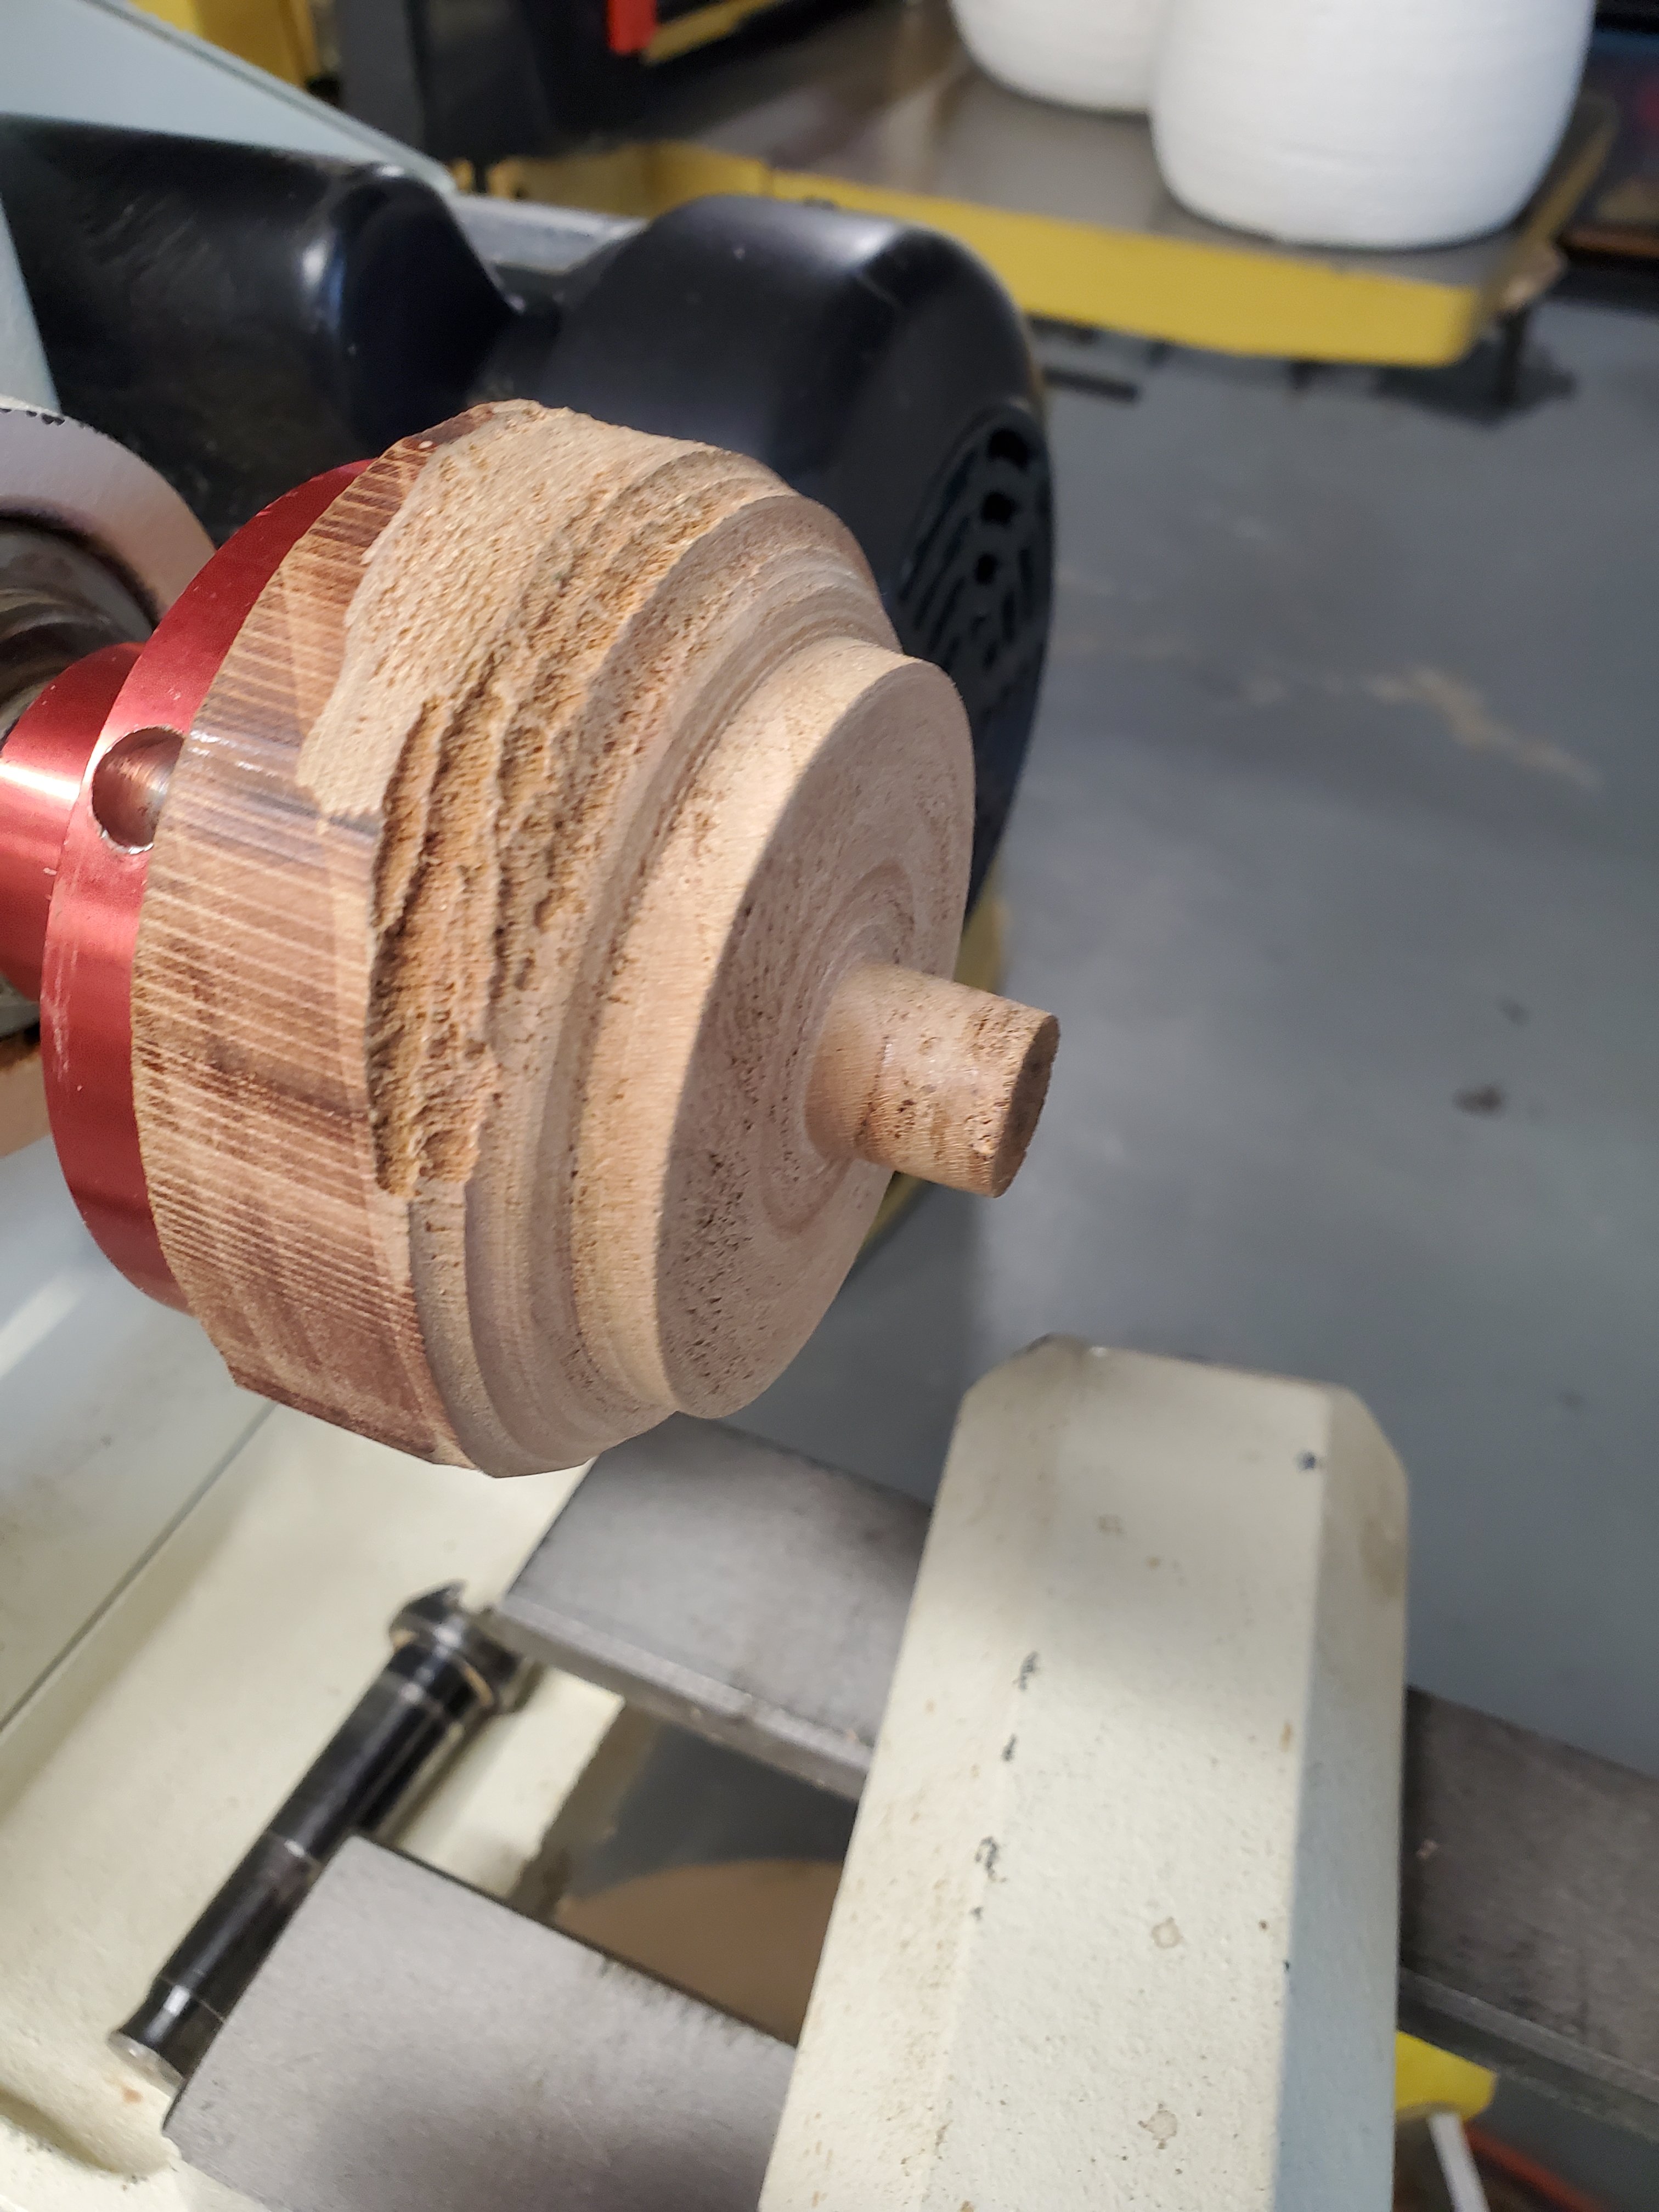
With the knob spinning nice and true, I carefully used a round scraper and gently turned the new piece of wood concentric with the knob. After a few minutes, and a little bit of sanding, the knob was finished.
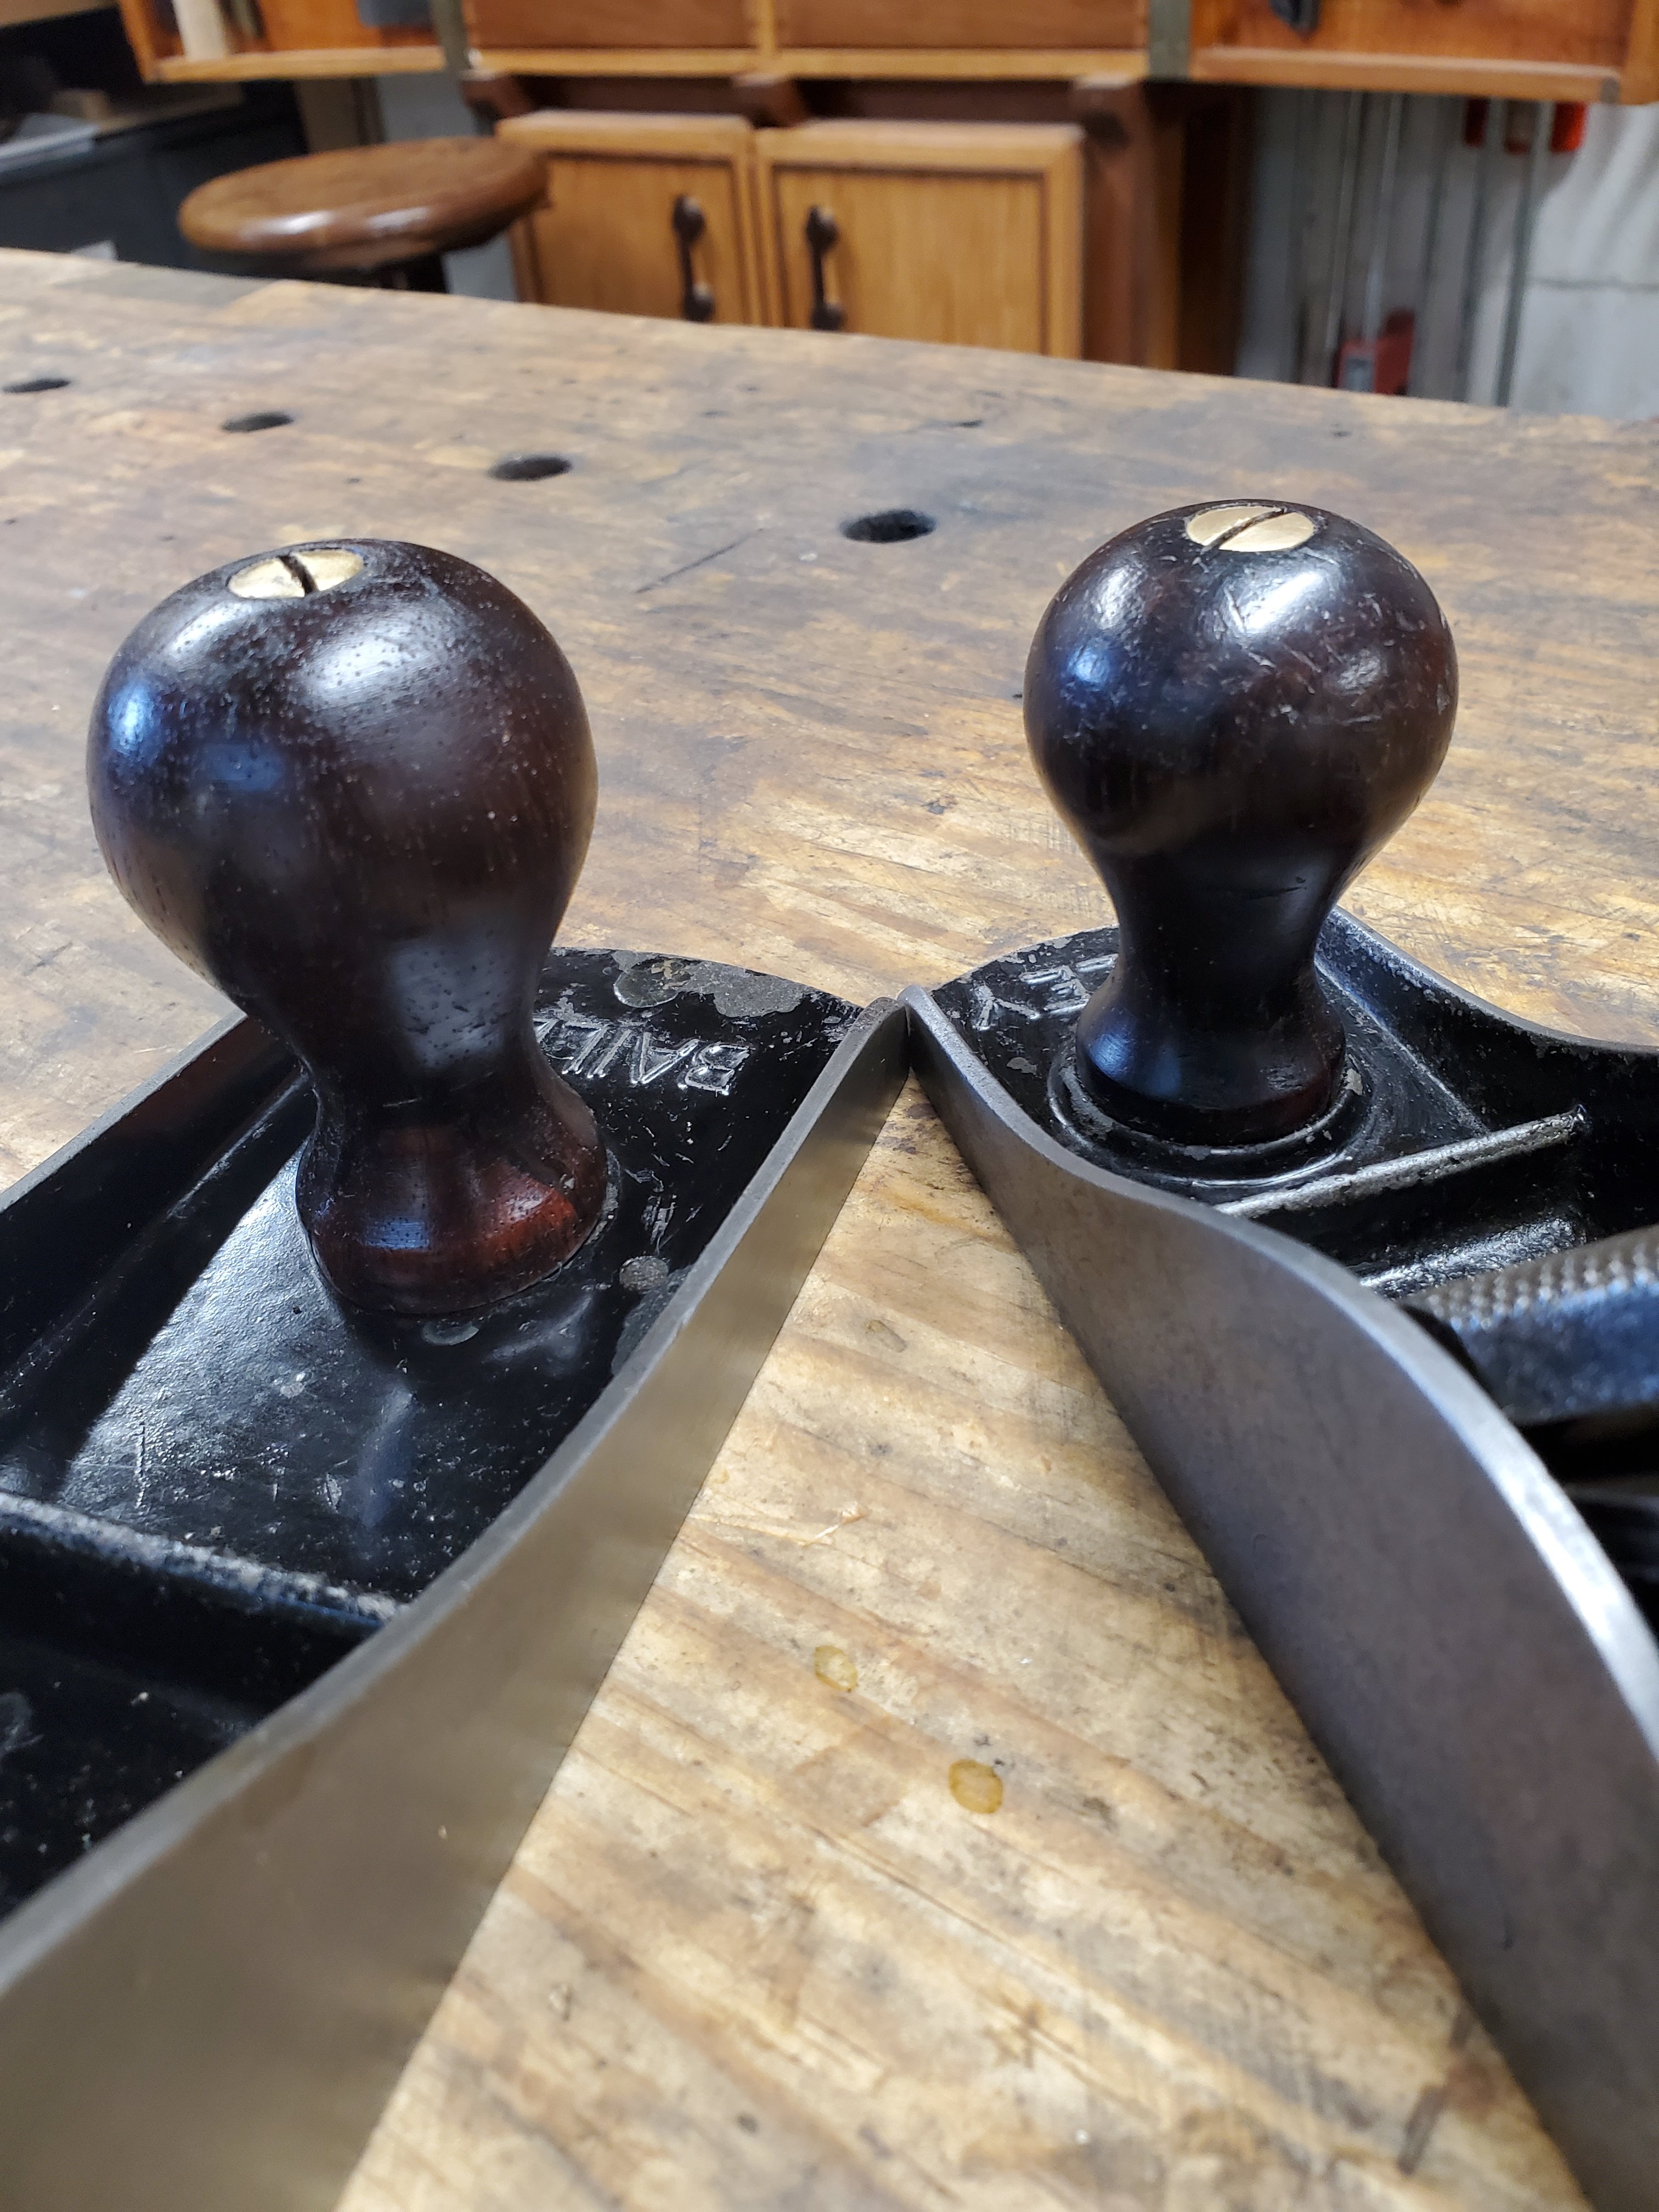
I noticed that the knob had split just a little bit while it was turning, so I applied more super glue gel to the bottom of the knob to stabalize the wood.

The final step was to apply a couple coats of shellac to the knob and stick it back on the plane. Because the piece of cocobolo was a little lighter in color than the rosewood, I colored the cocobolo darker with a black Sharpie marker then wiped off the excess with some fine steel wool.
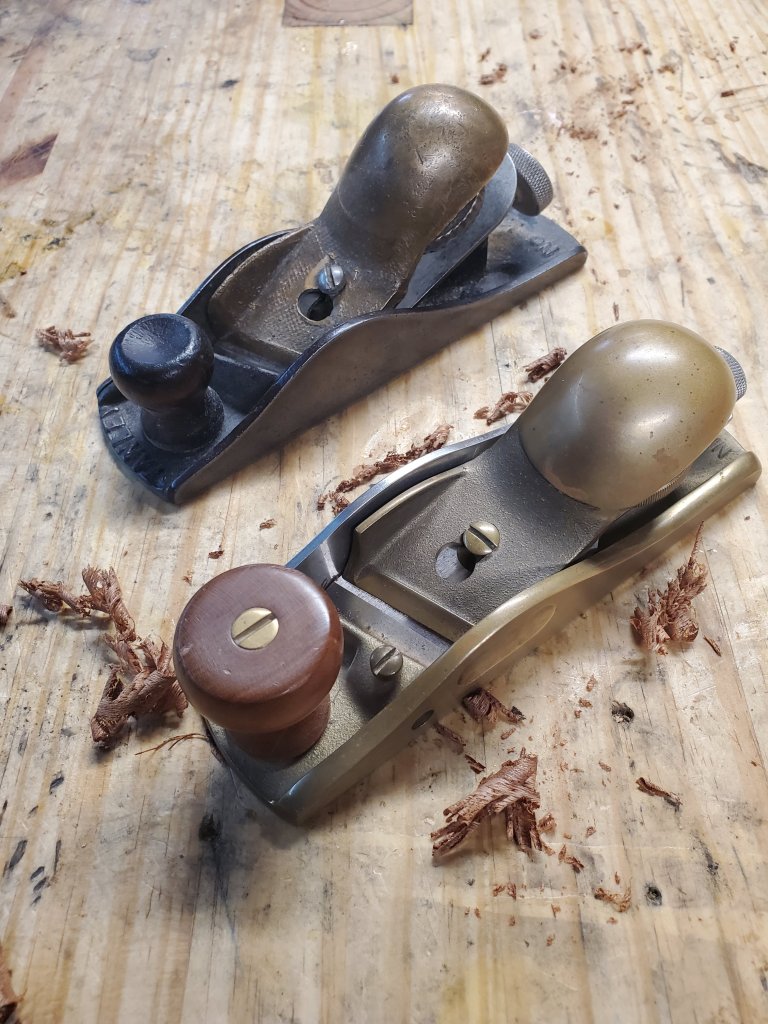
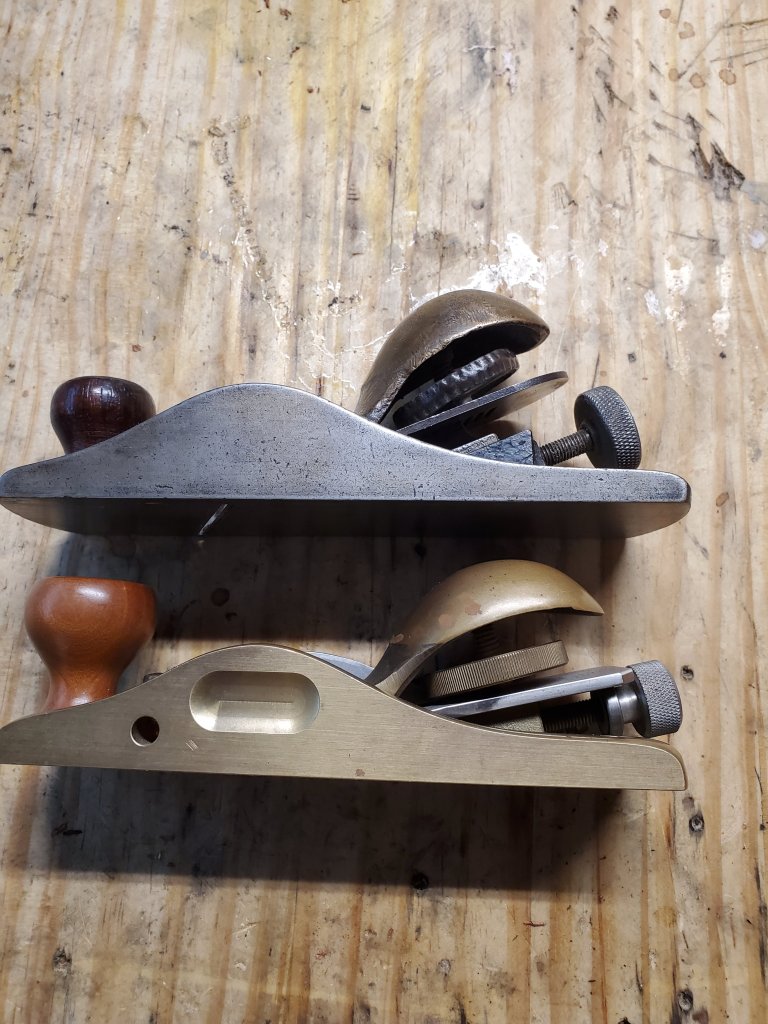
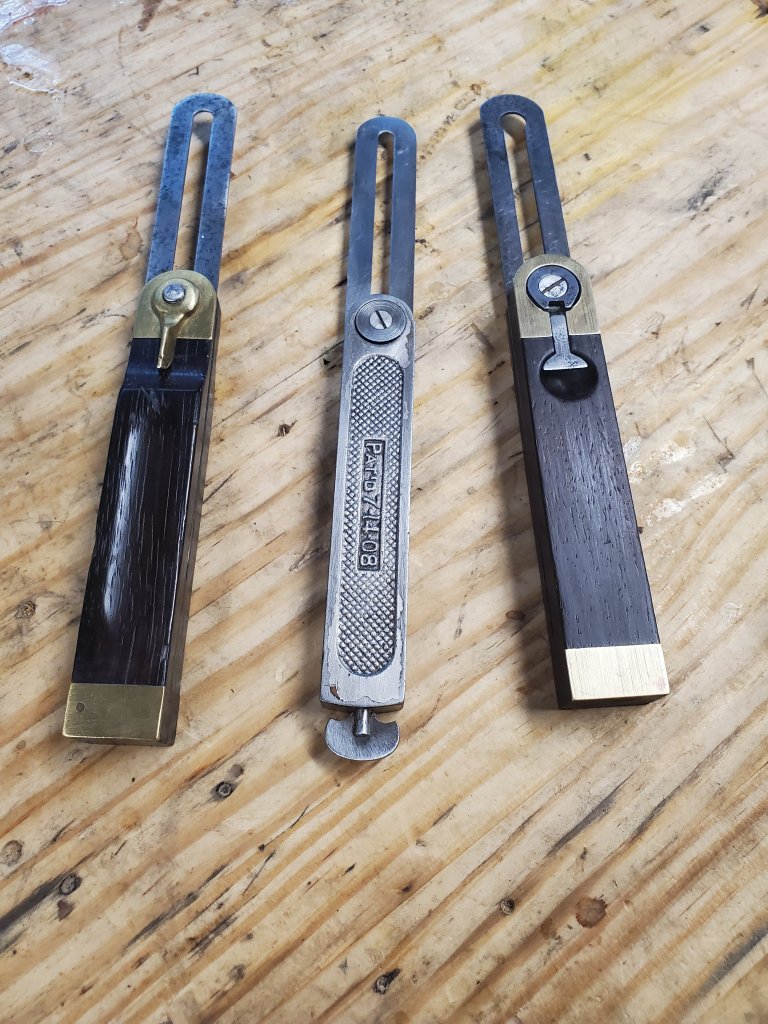
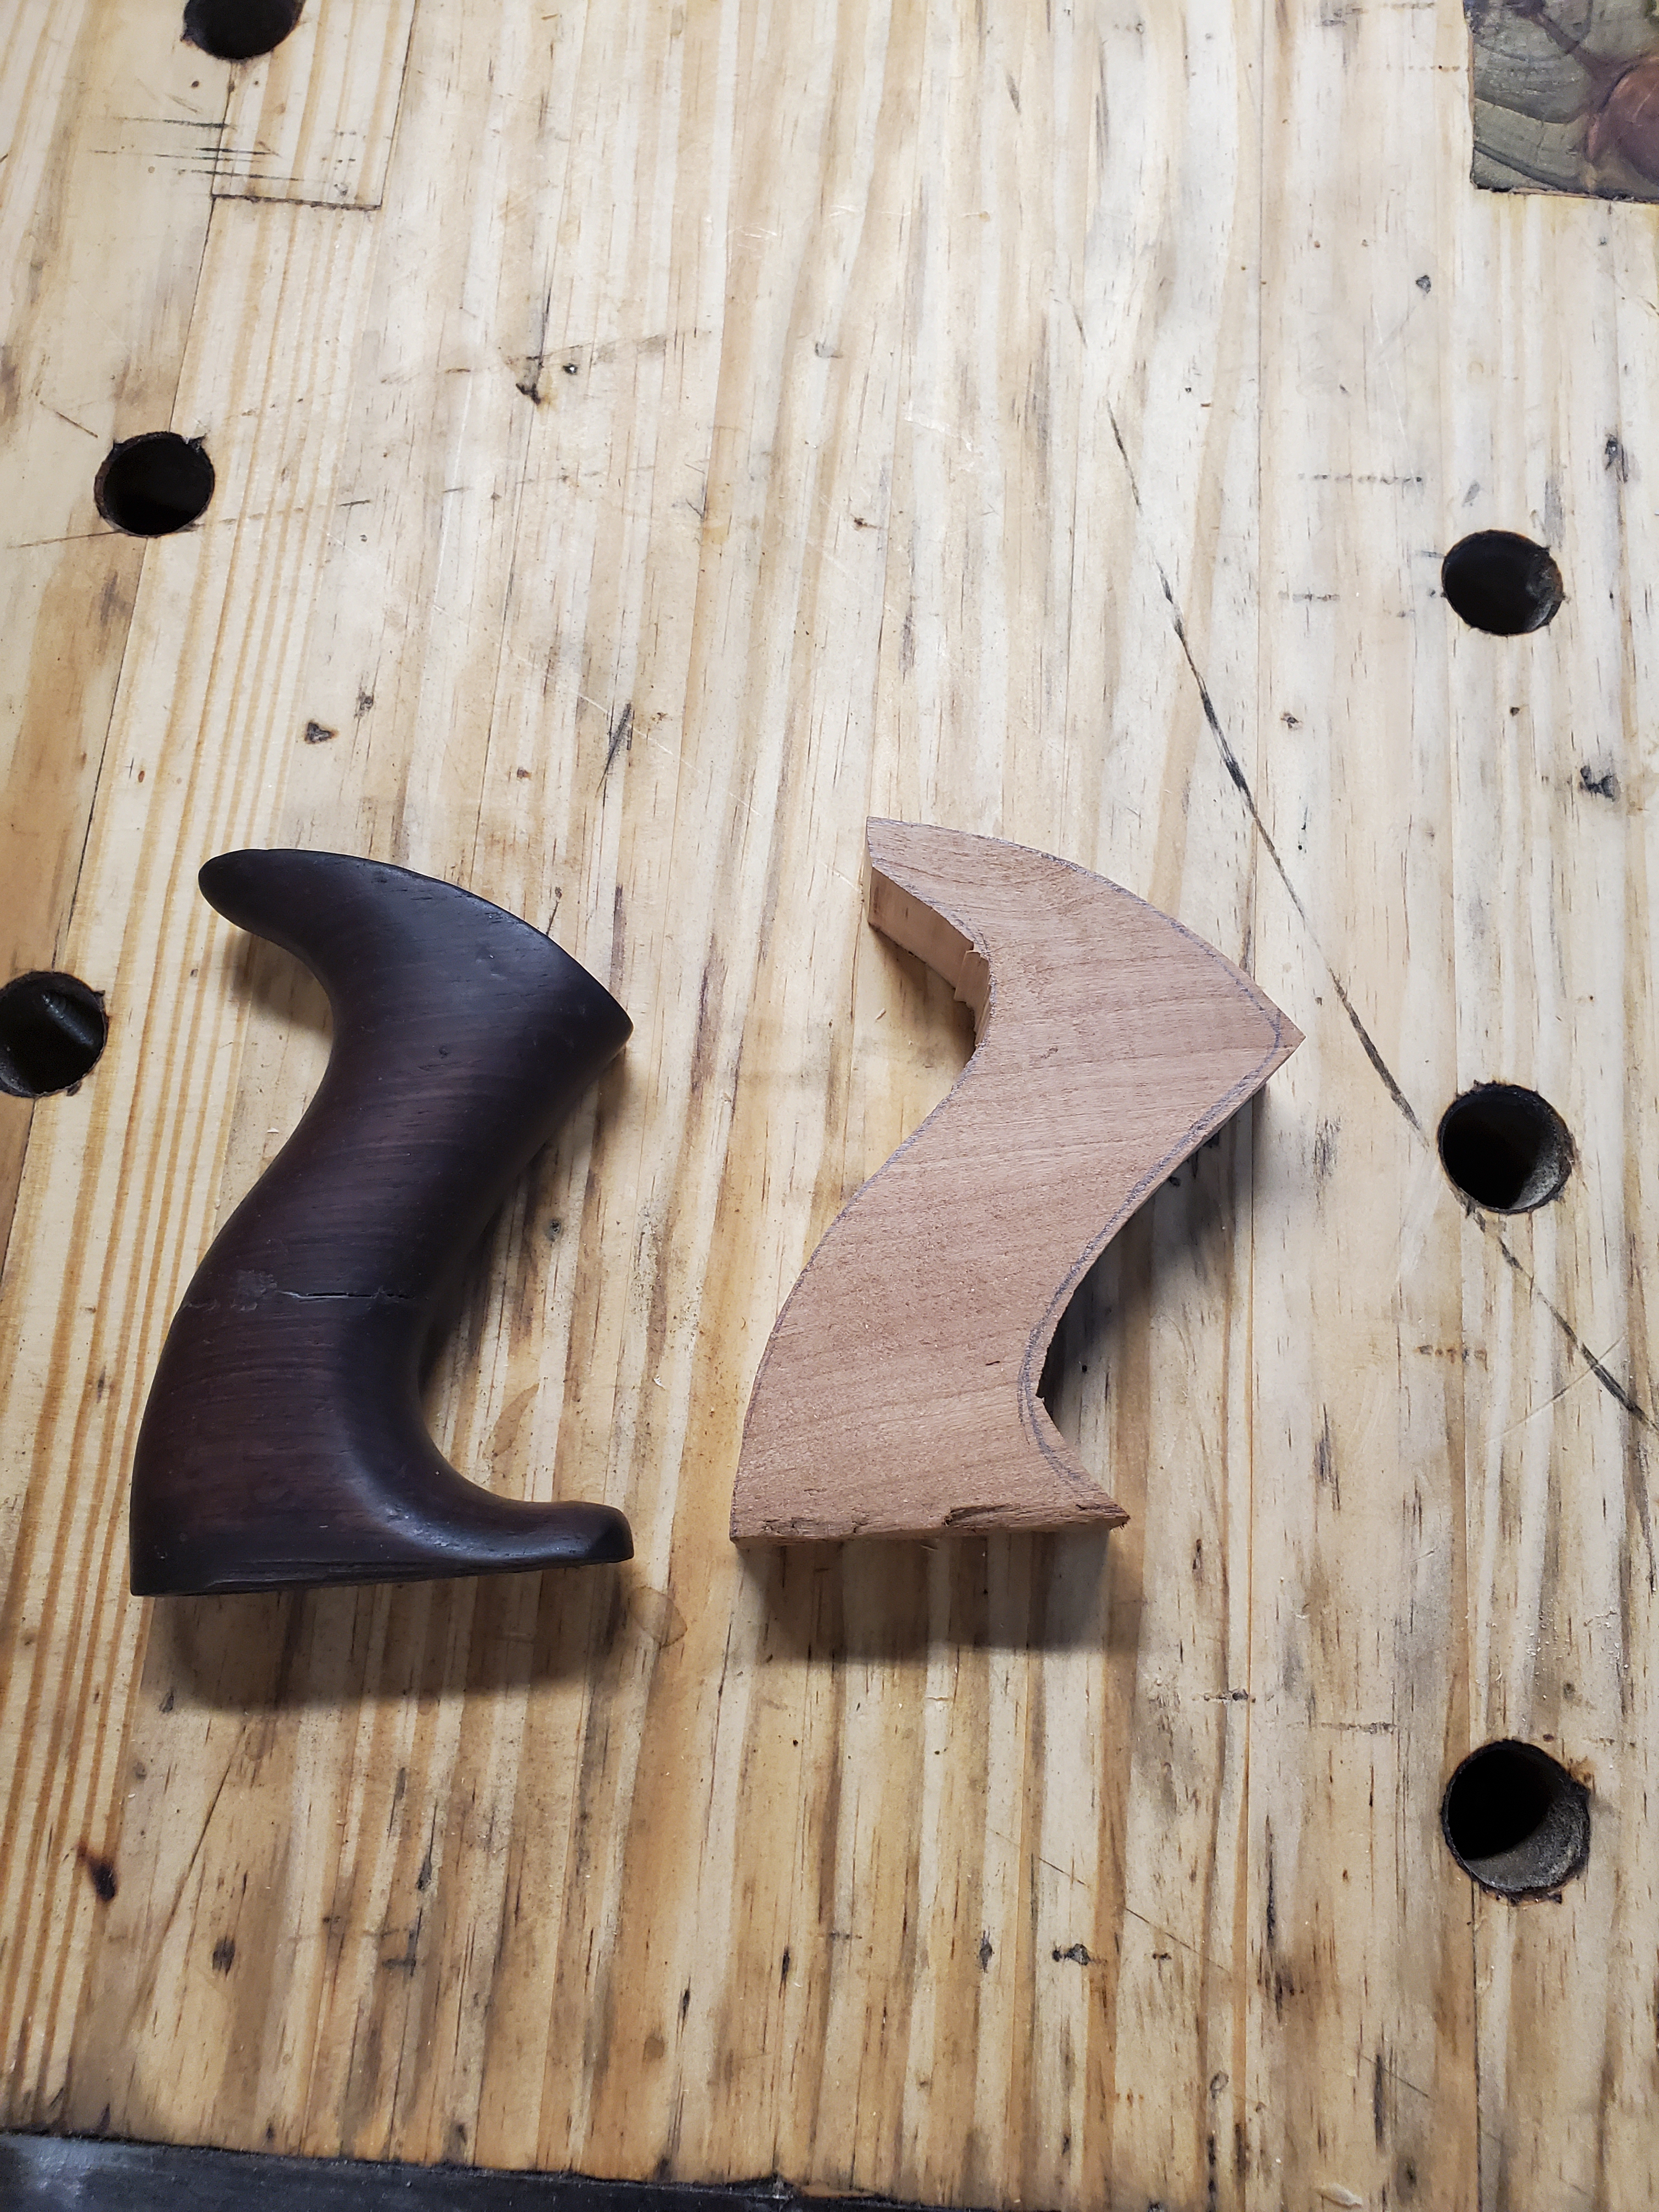
The end result came out fine. The knob looks complete and you can only notice the repair if you really look at it. In fact, the knob on the right was also repaired the same way, and you can hardly see it. Looks like I’ll have to start repairing more knobs from now on.