This weekend I had the opportunity to buy the first ten issues of Fine Woodworking at an antique mall in Northern Ohio. When I saw them laying on a magazine rack, I couldn’t believe what I was looking at. Even more so was the price of each issue. A mere $0.50 each. Unbelievable!
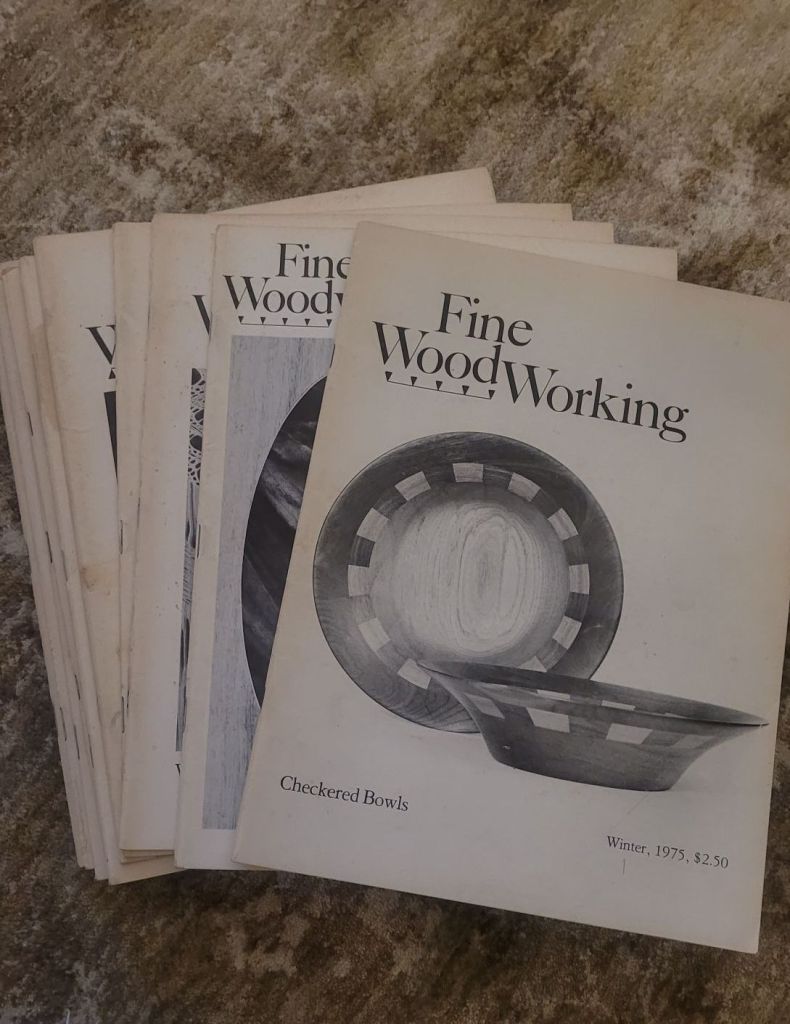
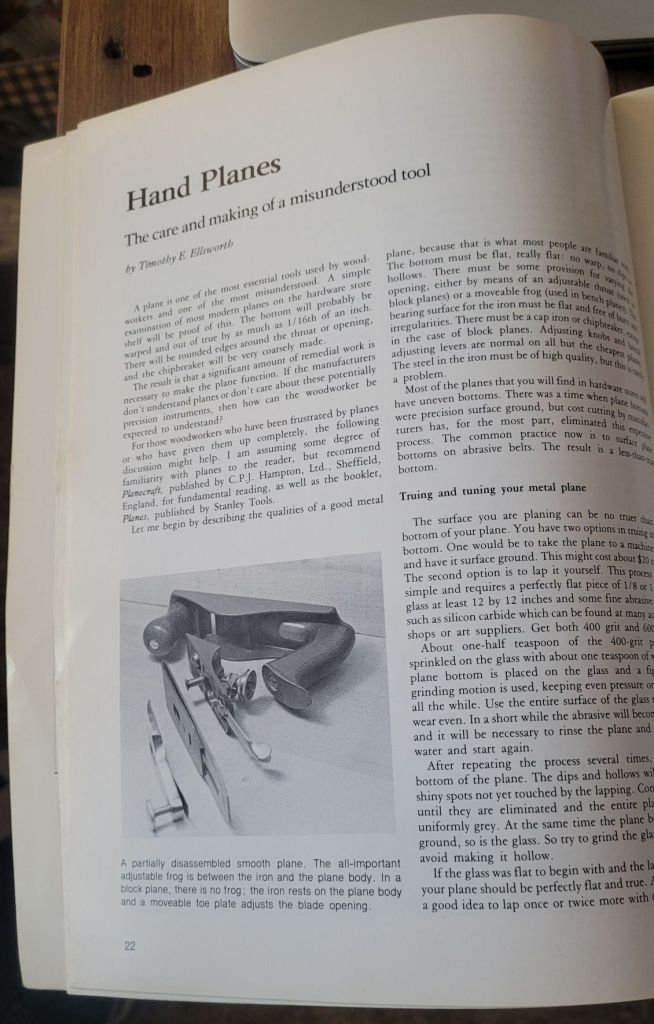
When I got home, I looked through the issues and read some of the articles. The first issue of Fine Woodworking had an article near and dear to my heart. Hand planes, with the caption “The care and making of a misunderstood tool.” This shows you how this was the very beginning of a magazine dedicated to woodworking if the common woodworker thought of a hand plane as being a weird foreign object.
Scanning the magazines, I saw Tage Frid was an early contributor with several articles he wrote in first few issues.
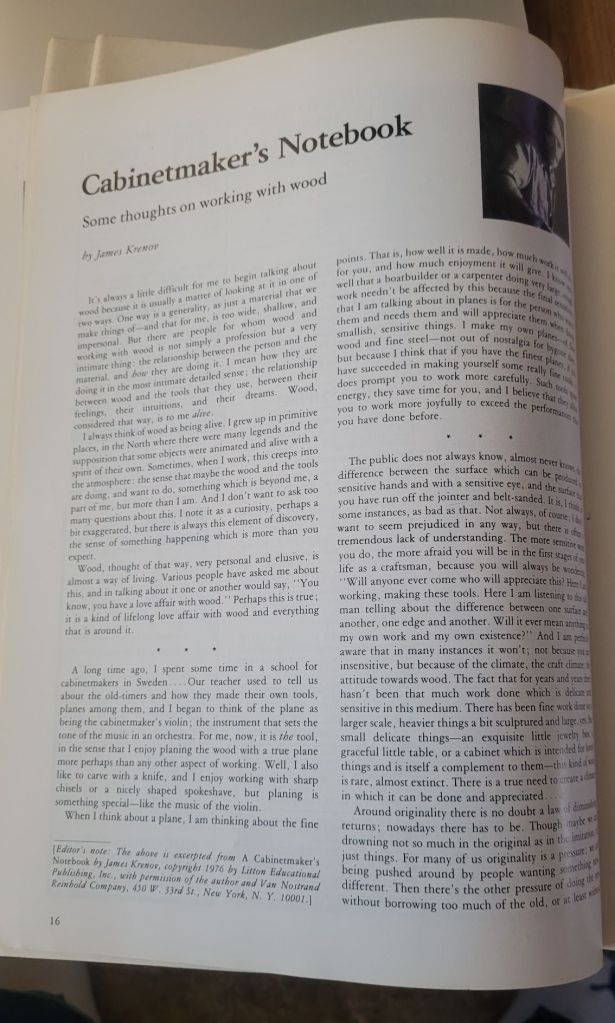
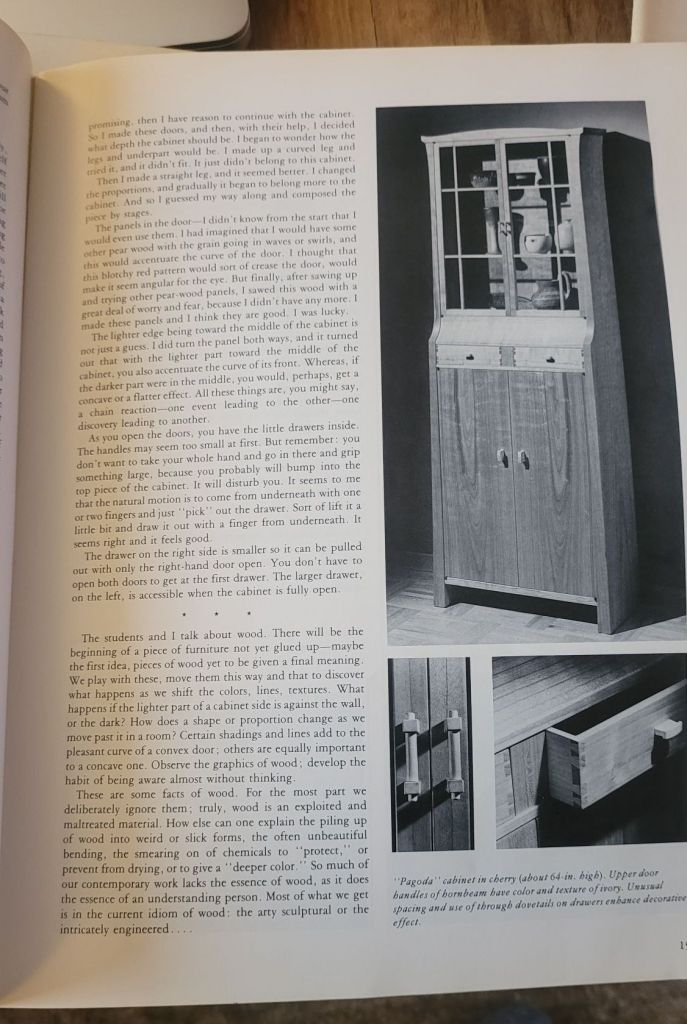
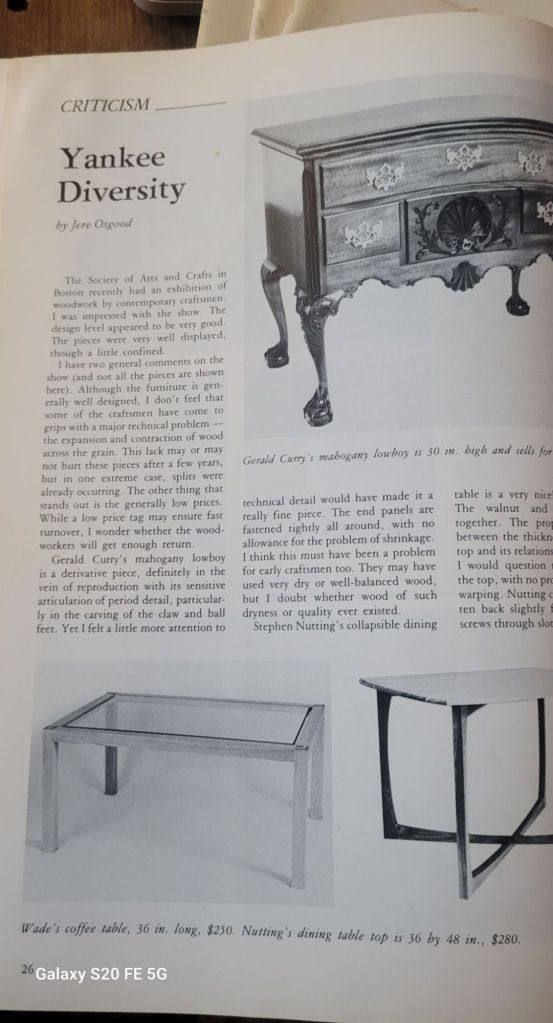
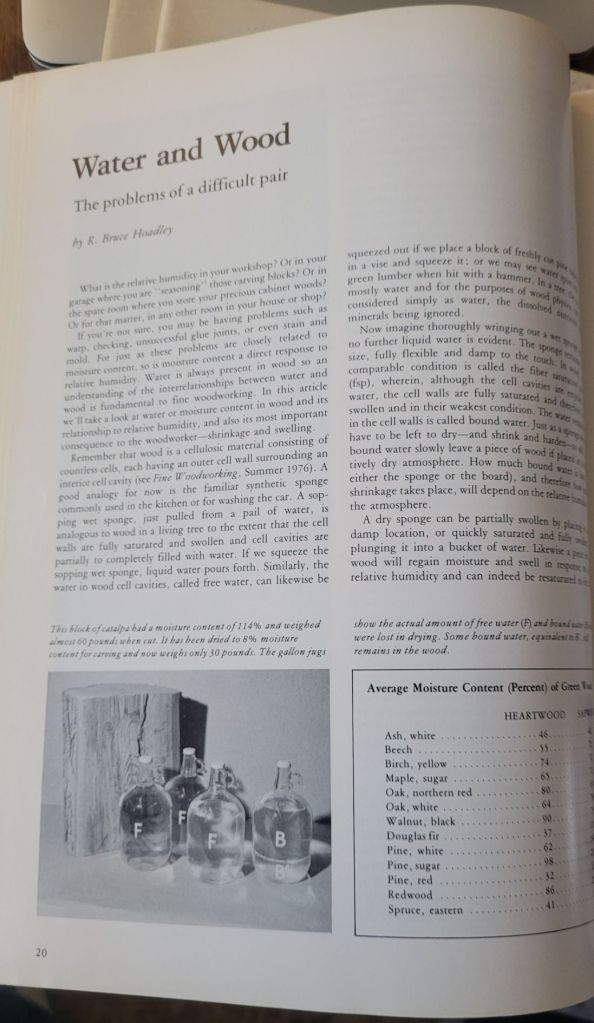
Along with Frid, there are articles by James Krenov, Jere Osgood, and Bruce Hoadley. A basic who’s-who of 20th century woodworkers.
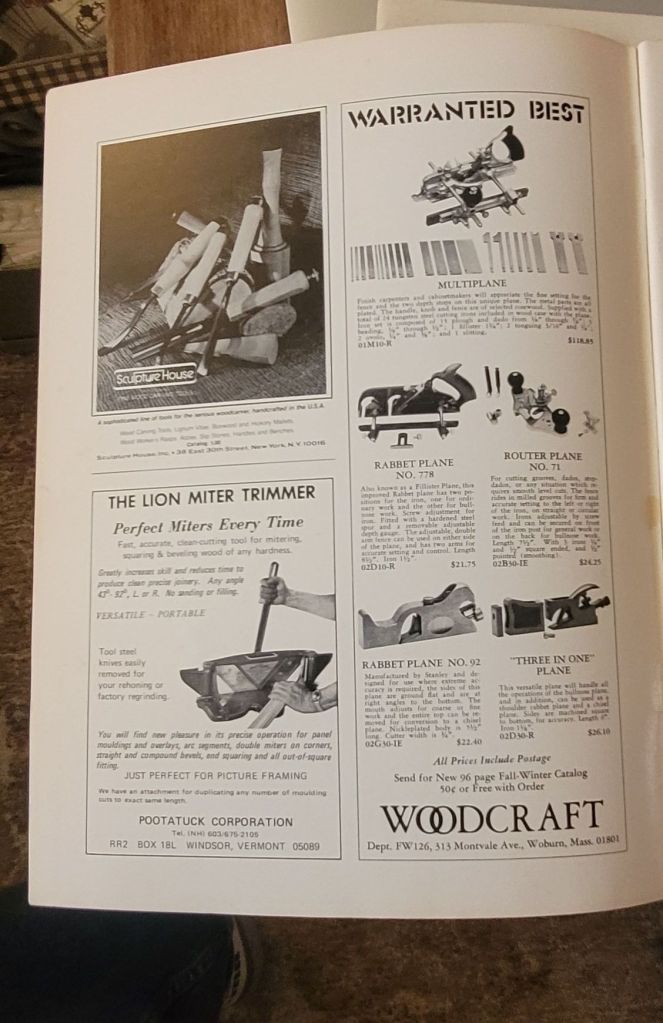
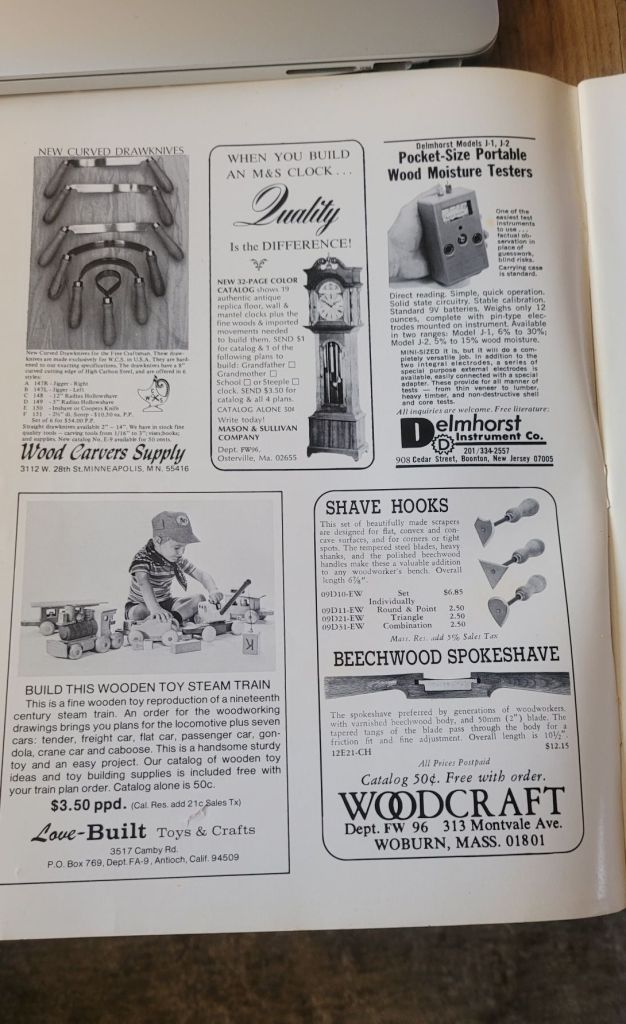
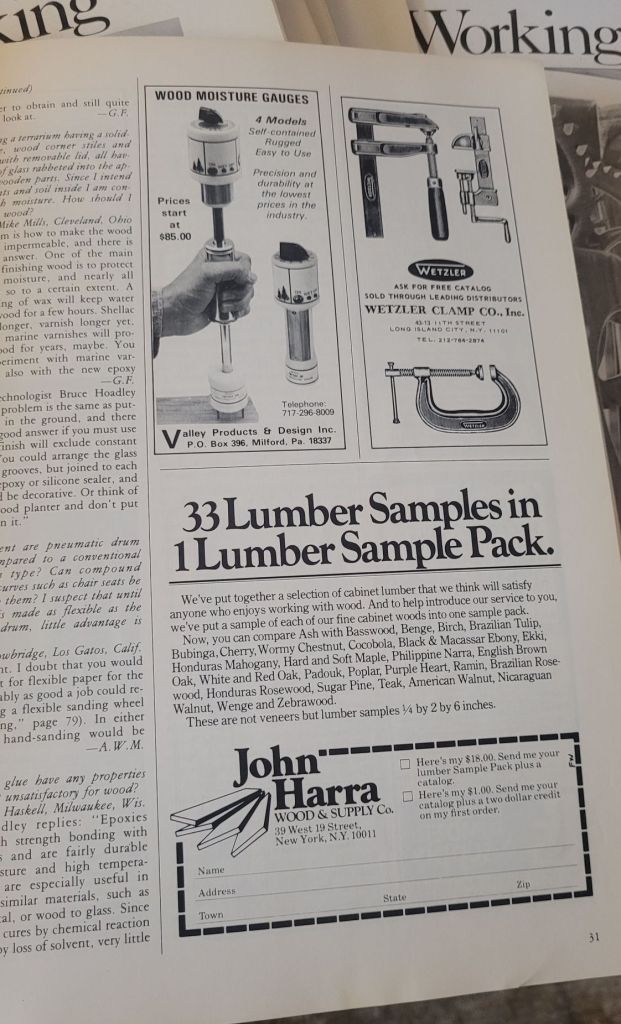
The first issue had very few advertisements, but the magazine quickly grew thicker in a couple of years as woodworking companies saw the opportunity to reach their audience by placing an ad in their pages.
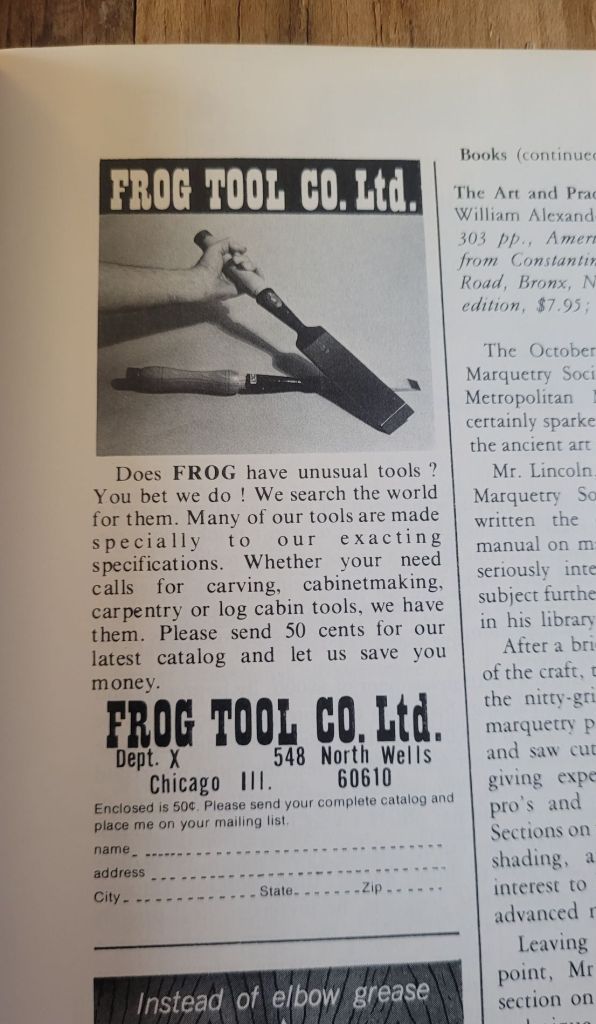
It’s interesting, but a bit sad to see the companies that were thriving 50 years ago, only to go bankrupt or be acquired over the years. The issues are full of now defunct woodworking companies.
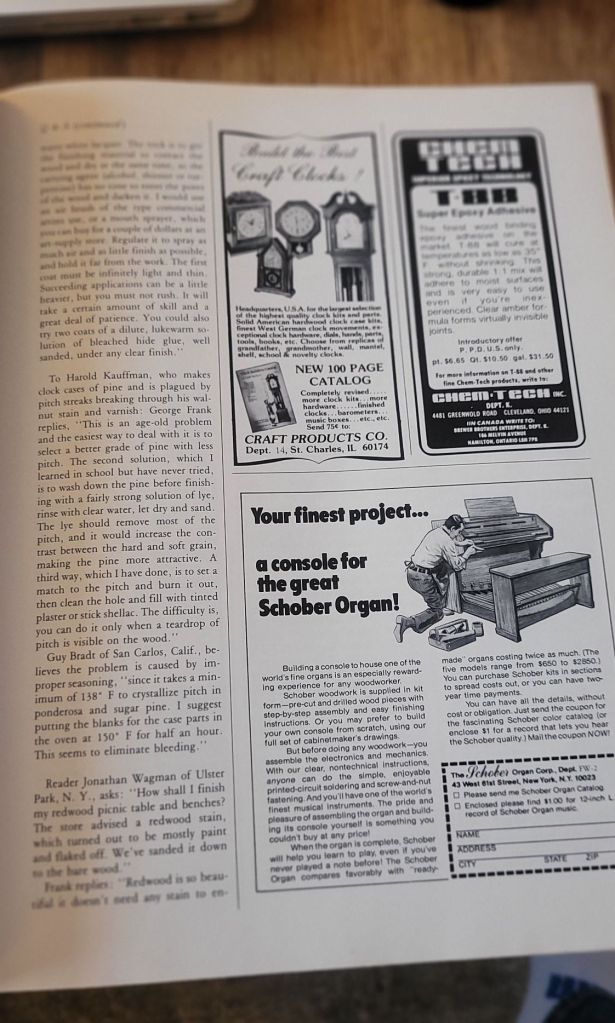
I’m still in the process of reading all the articles, but there is a wealth of knowledge with these issues. The one thing I did notice is back in the early days, the magazine focused a lot on wood carving and occasionally had articles on blacksmithing. Something that you would rarely find in today’s issues.
I checked eBay to see what these magazines might be worth. They’re actually worth a lot less than I would have thought. You can currently buy the first 12 issues for around $40.00. Of course you can buy all the issues of Fine Woodworking online if you don’t mind having a digital copy. I’m old school and still like holding a magazine in my hand instead of on my phone.