Making Black Shellac

Several years ago I heard about making black shellac out of an old 78 record. At the time, I didn’t have an old 78 around so I never gave much thought about it, but a few weeks ago, my Dad gave me some old records he had lying around his garage. In the pile were some old 78’s that were broken. I thought this would be a good opportunity to try to make black shellac.

wp-1543171785140.jpg

The first thing I did was make sure that the 78, even while broke, wasn’t worth anything. I scanned eBay to see what a good condition Darktown Strutters Ball was going for. At $3.00 plus shipping, it wasn’t worth much, so I was willing to destroy the record. I would only try this with broken 78’s that aren’t worth anything. Doing this to a 78 that is in good shape is considered sacrilege to audiophiles. Plus, you can only do this with old 78’s. Any newer records are made of vinyl and won’t work at all.

Screenshot_20181125-134856_eBay.jpg

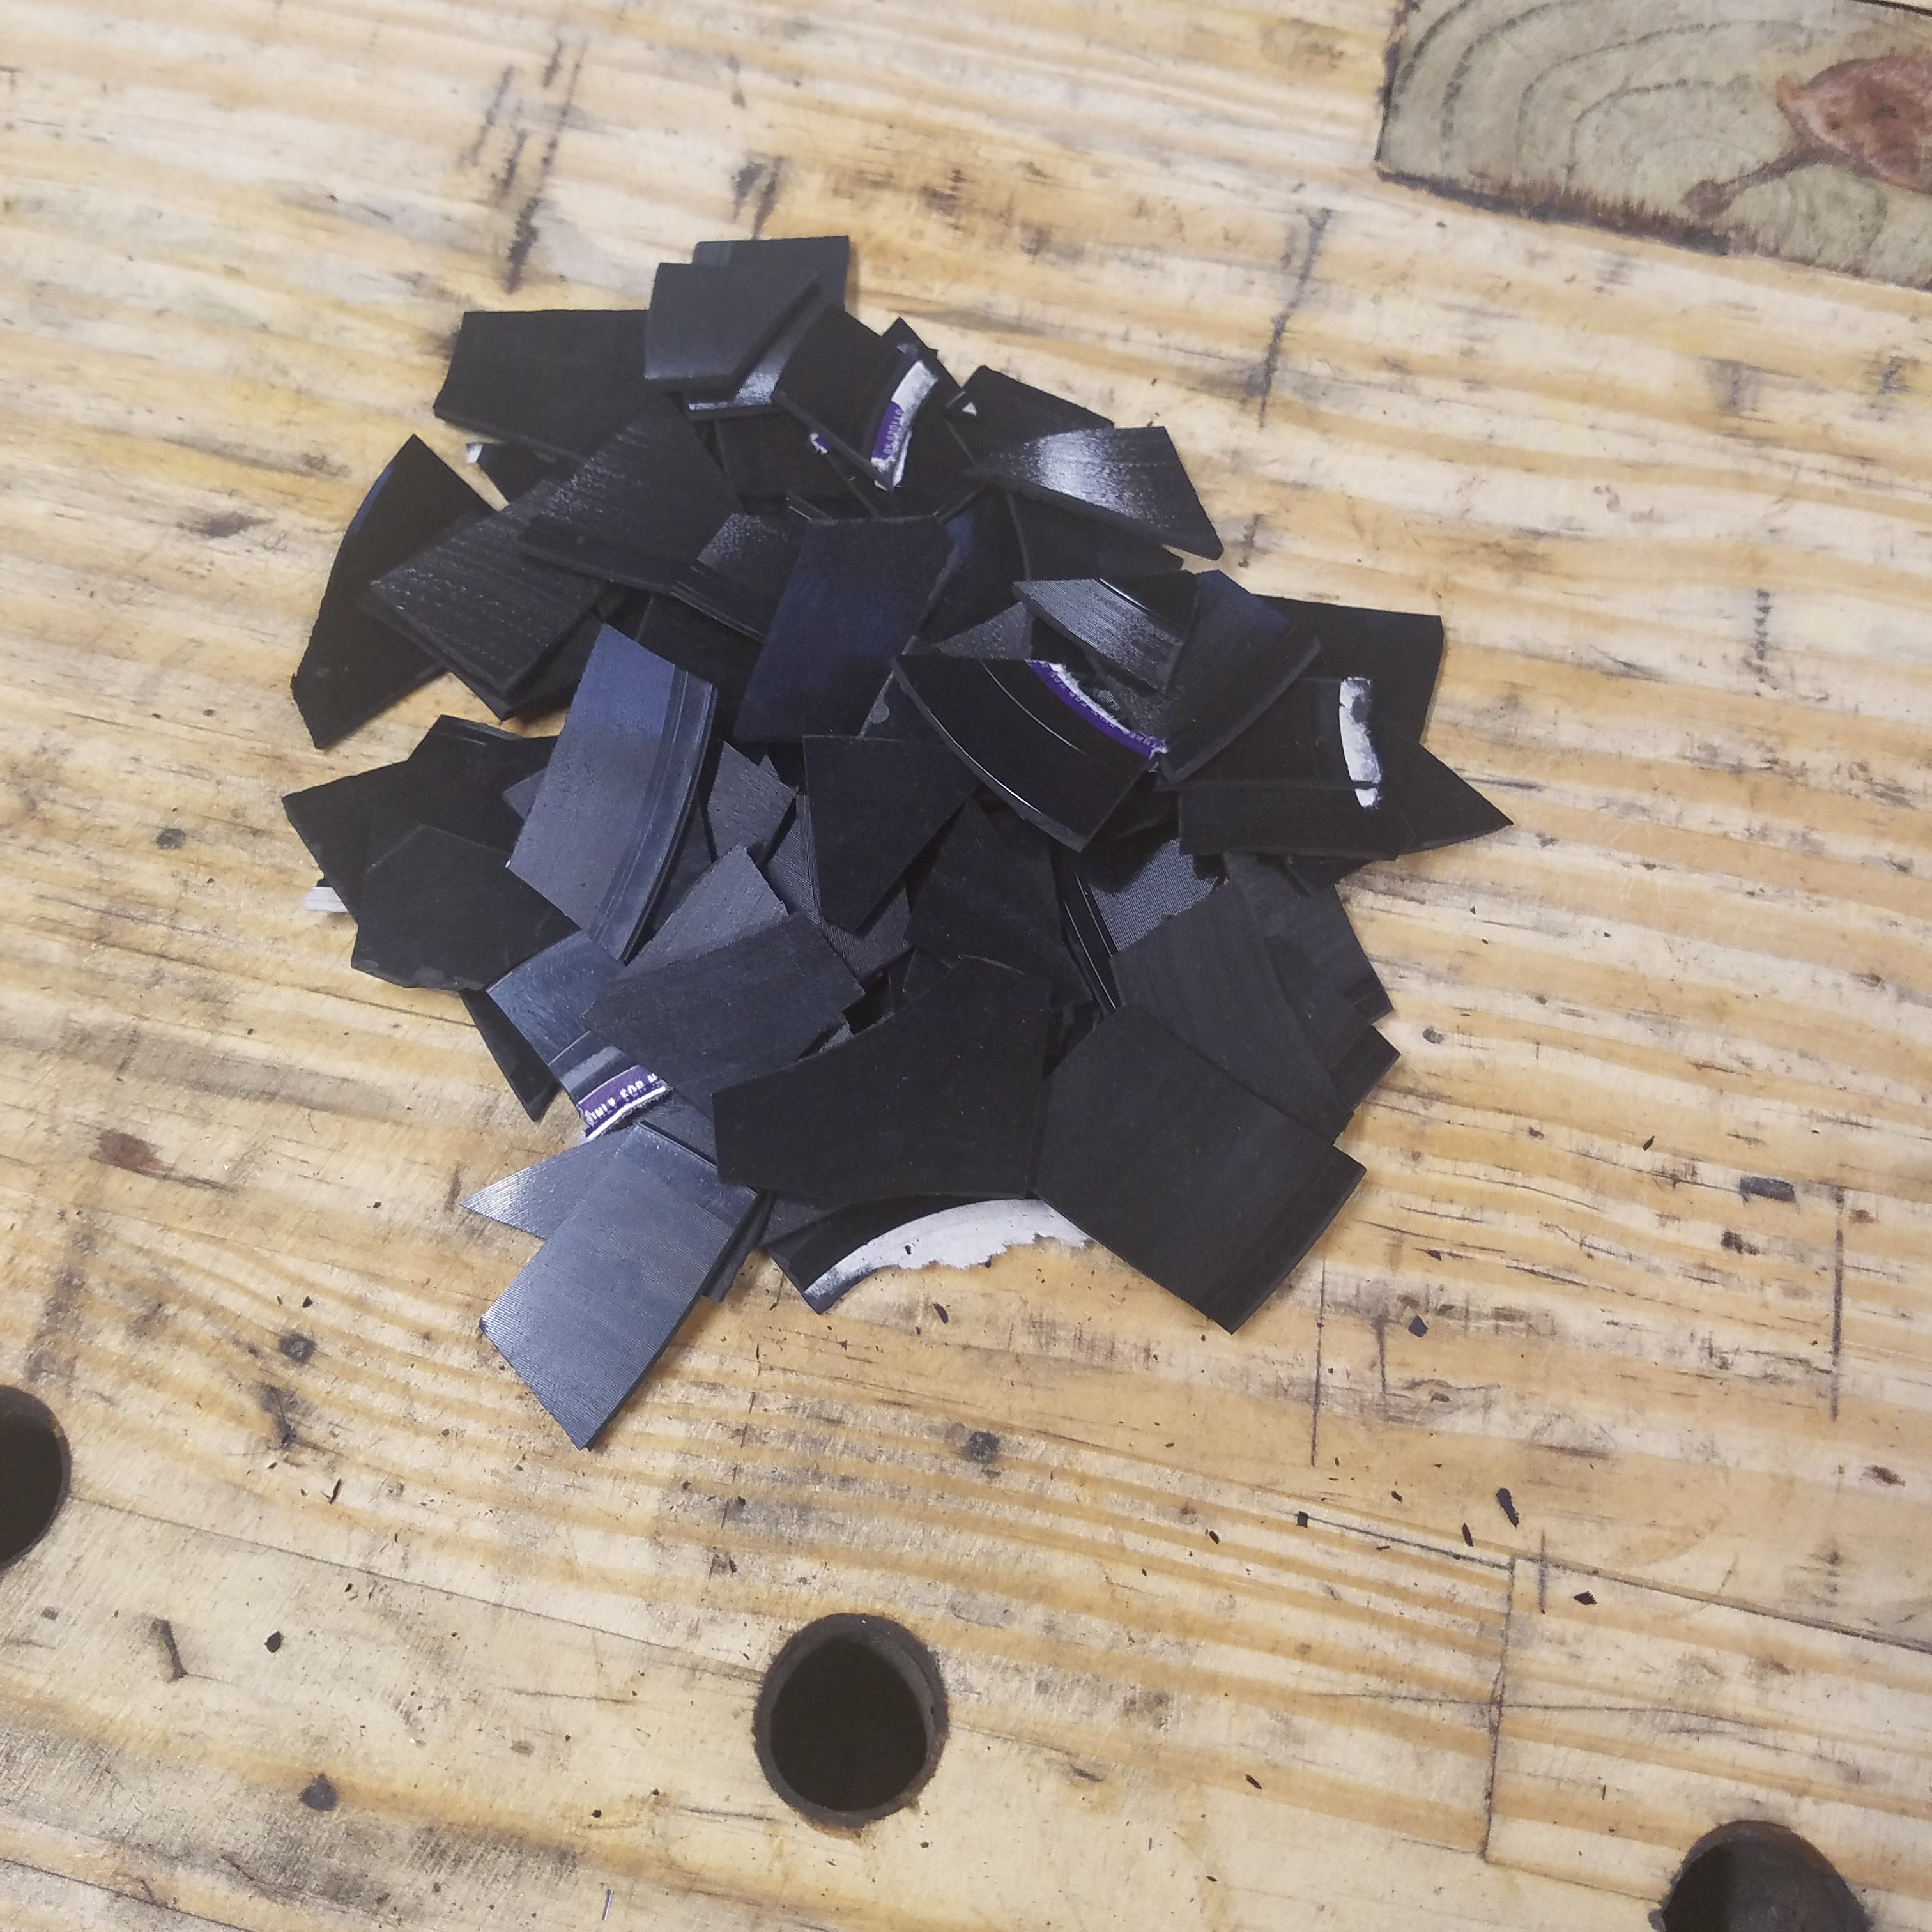
I broke the record apart like snapping a KitKat. I couldn’t believe how easily it snapped in half. I then stuck all the pieces into a plastic bag and crushed it more with a hammer.

20181125_151218.jpg

20181125_151900.jpg

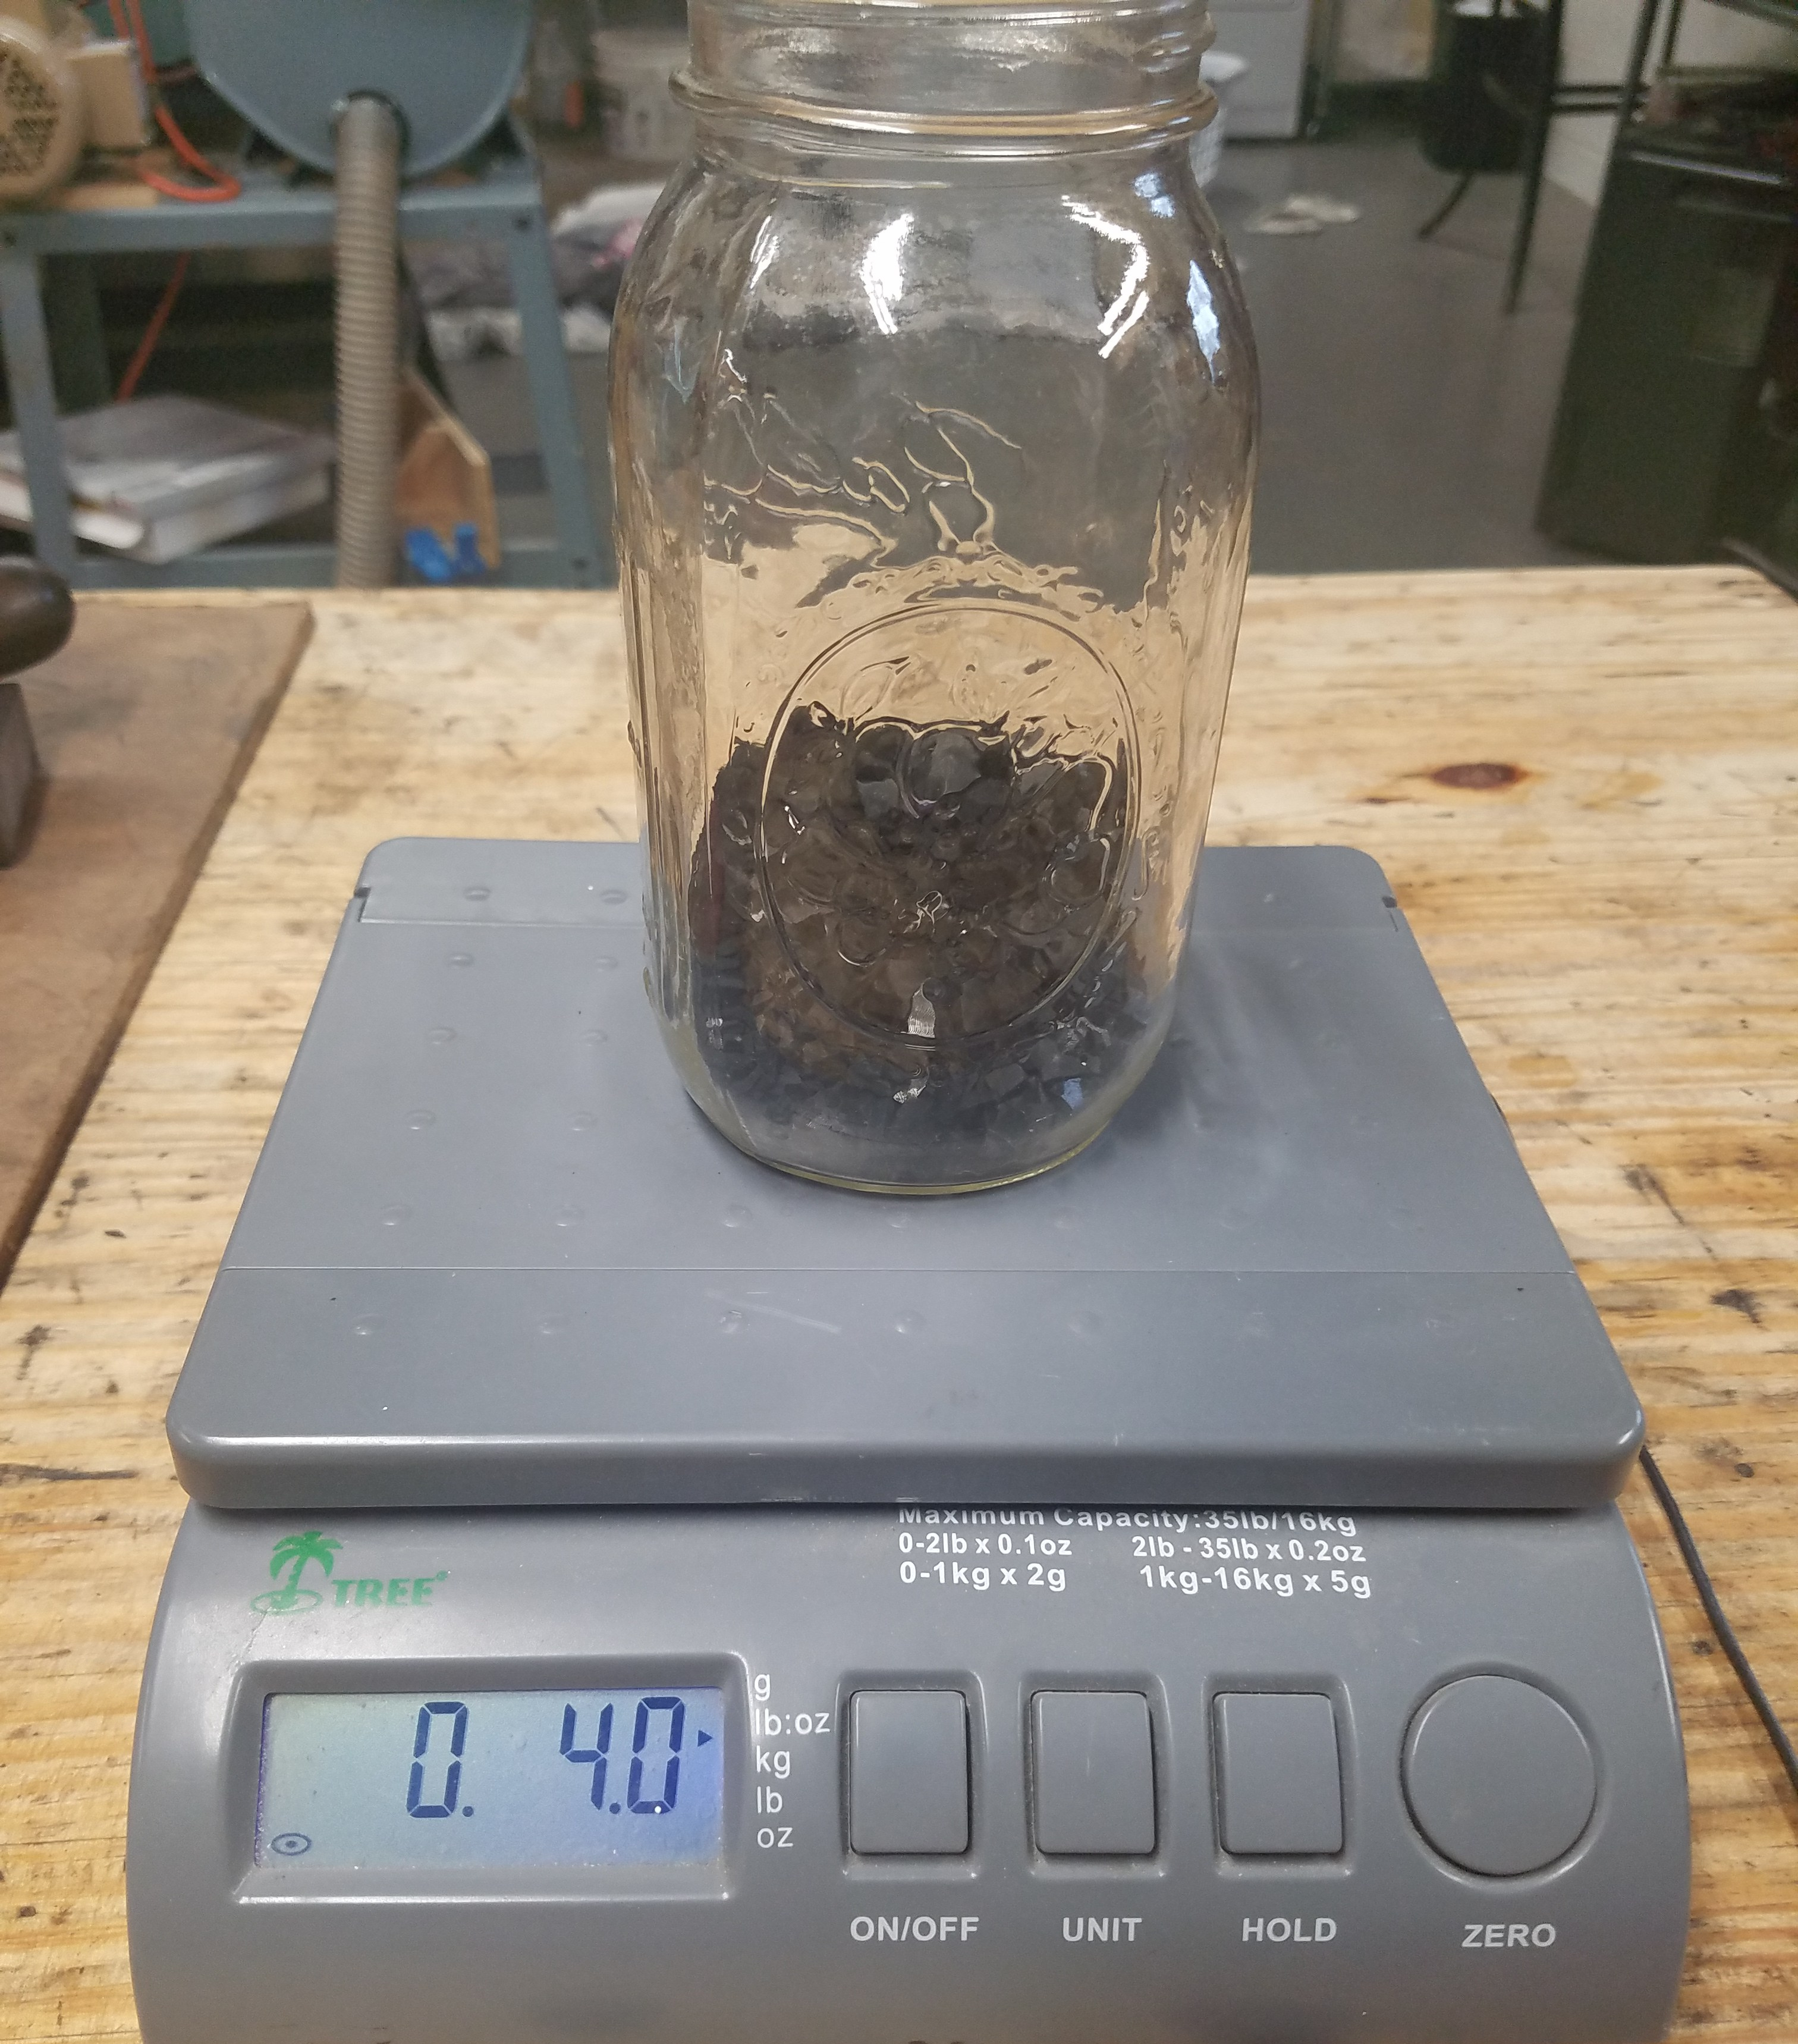
Next, I weighed the pieces into a mason jar and measured out 4 ounces of shellac since I was making a two pound cut with 16 ounces of denatured alcohol

20181125_152248.jpg

20181125_152401.jpg

If you get confused on much shellac flakes you need for certain pound cut of shellac, here’s a simple chart I’ve been using for years. Since I make 2 cups of shellac, I double the amount of flakes I need for a two pound cut on the chart. Pretty simple.

20181125_153115.jpg

Like any other shellac, I let the solution set for a day or two stirring the mix every few hours to help break it down. With the black carbon in the old 78 record, there will always be a sludge at the bottom of the jar. I shake and stir the black shellac before I use it to make sure the black dye is mixed well in the solution.

20181215_202955.jpg

Below is a sample of three coats of black shellac on four different species of wood. You can see how the soft maple and red oak look a bit muddy however, the southern yellow pine and poplar highlight the early wood and late wood of the grain. As of right now, I’m just playing around with the shellac. I need to see how it performs on a project I make. What I like about the shellac so far is that it’s very quick to add more coats not having to wait very long between coats as the shellac dries very fast.

20181215_102324.jpg

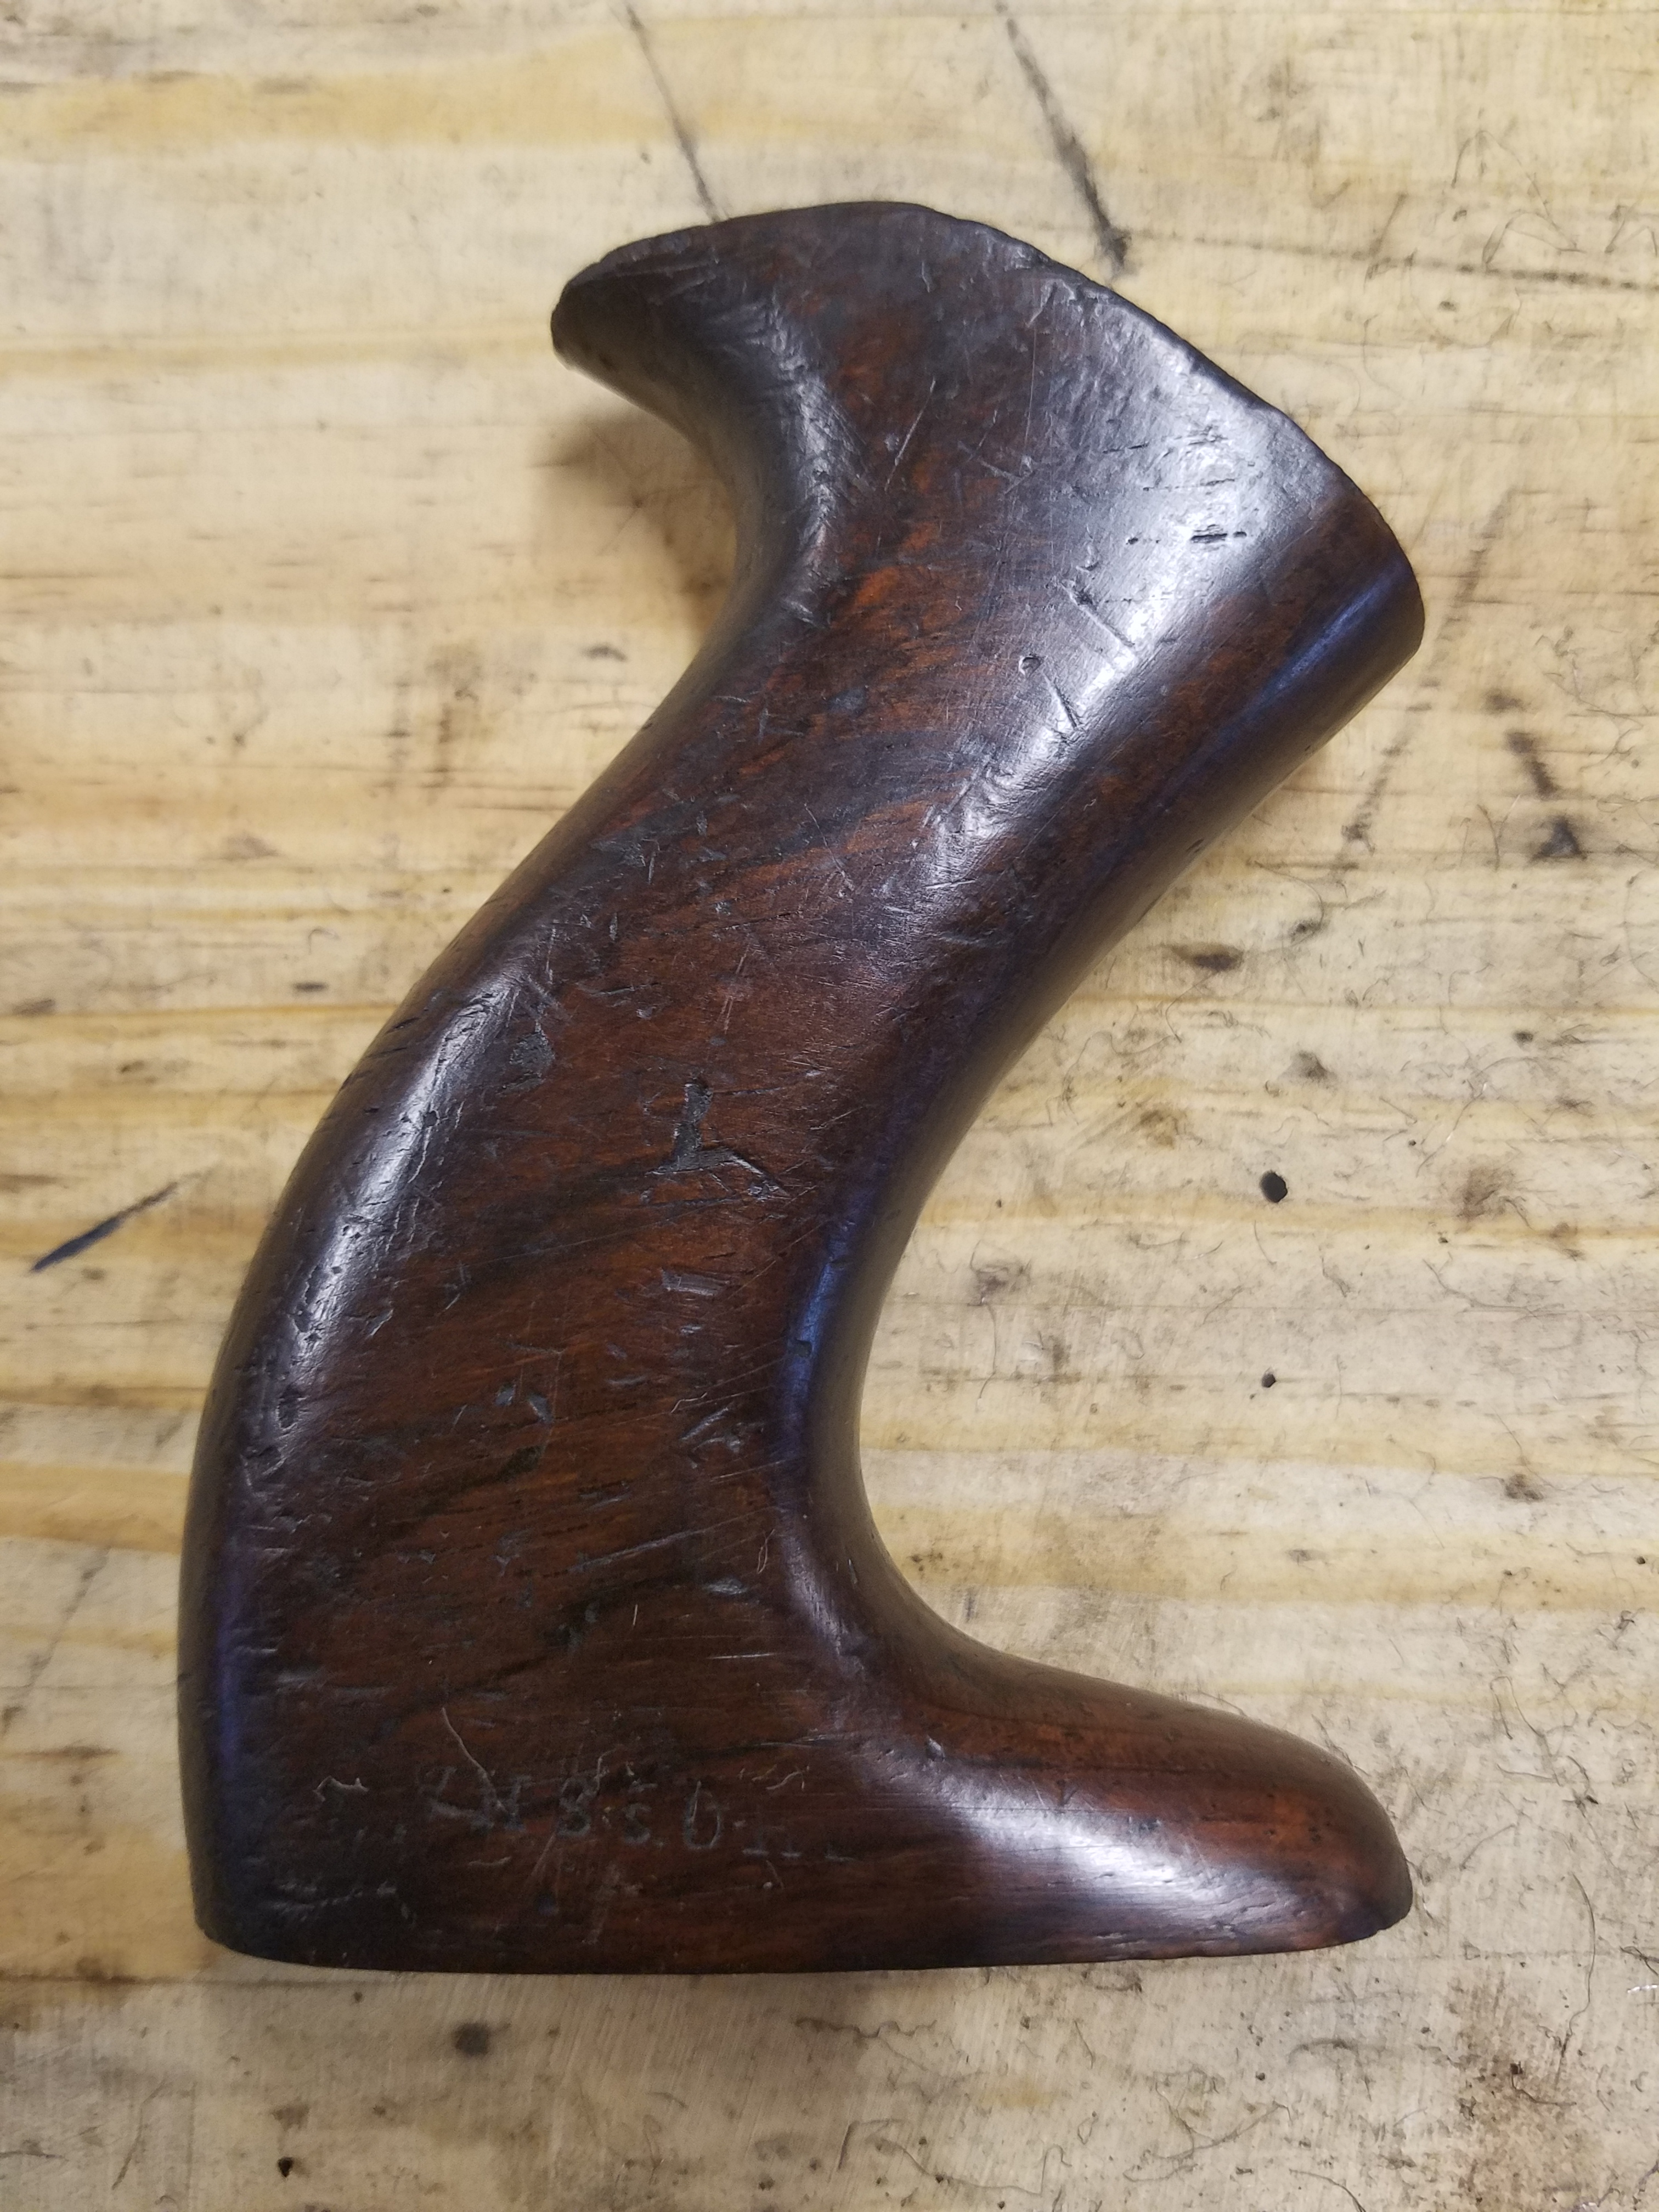
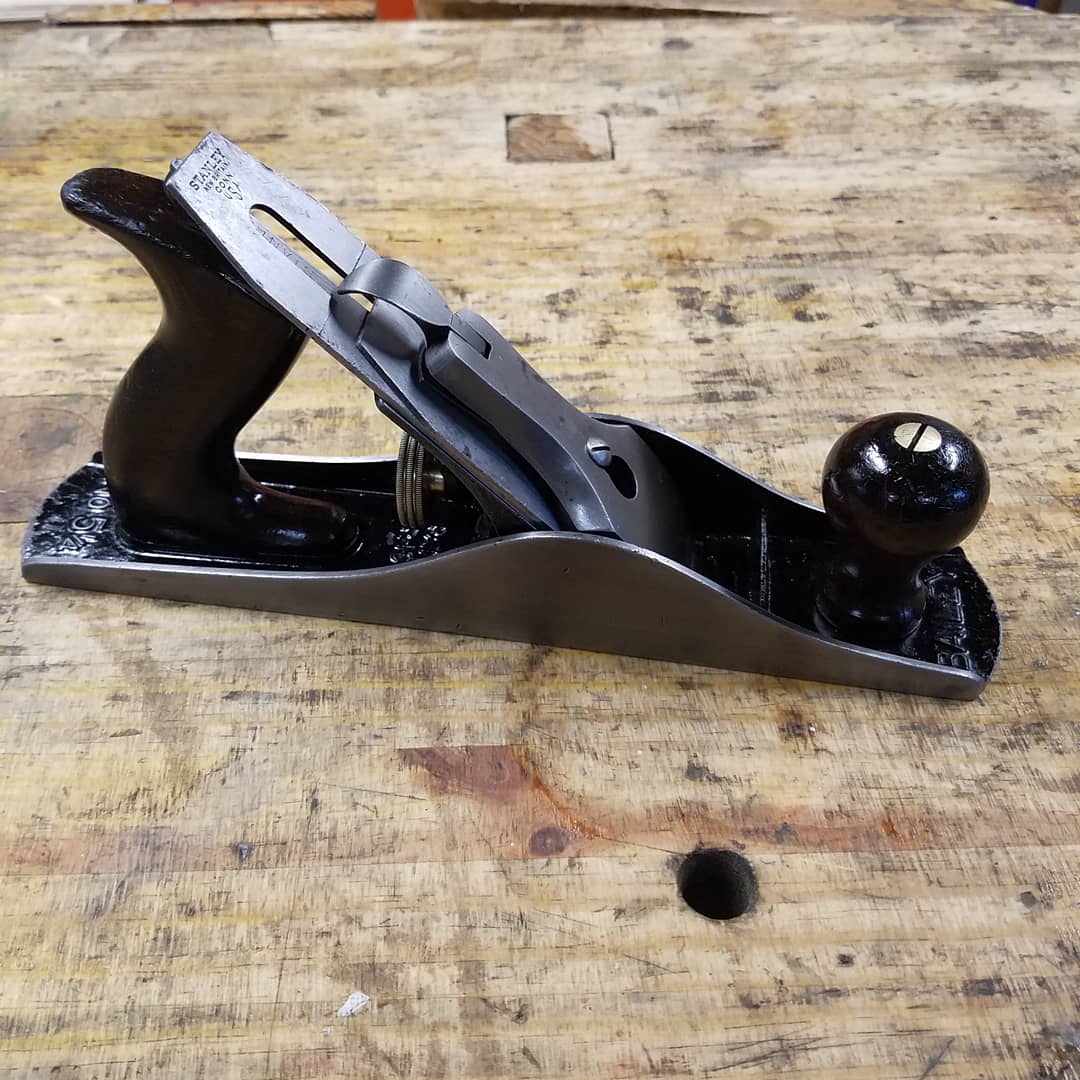
This is one side of an old rosewood tote from a Stanley plane with normal blonde shellac applied to it. Below is the other side of the tote with a coat of black shellac. Even though, the blonde shellac pops the grain, you can see how the grain on the black shellac is much more subdue and looks more natural. It’s all in what your intentions are.

20181127_090230.jpg

20181127_090152.jpg

Have you ever played around with black shellac? Let me know what you think about it.


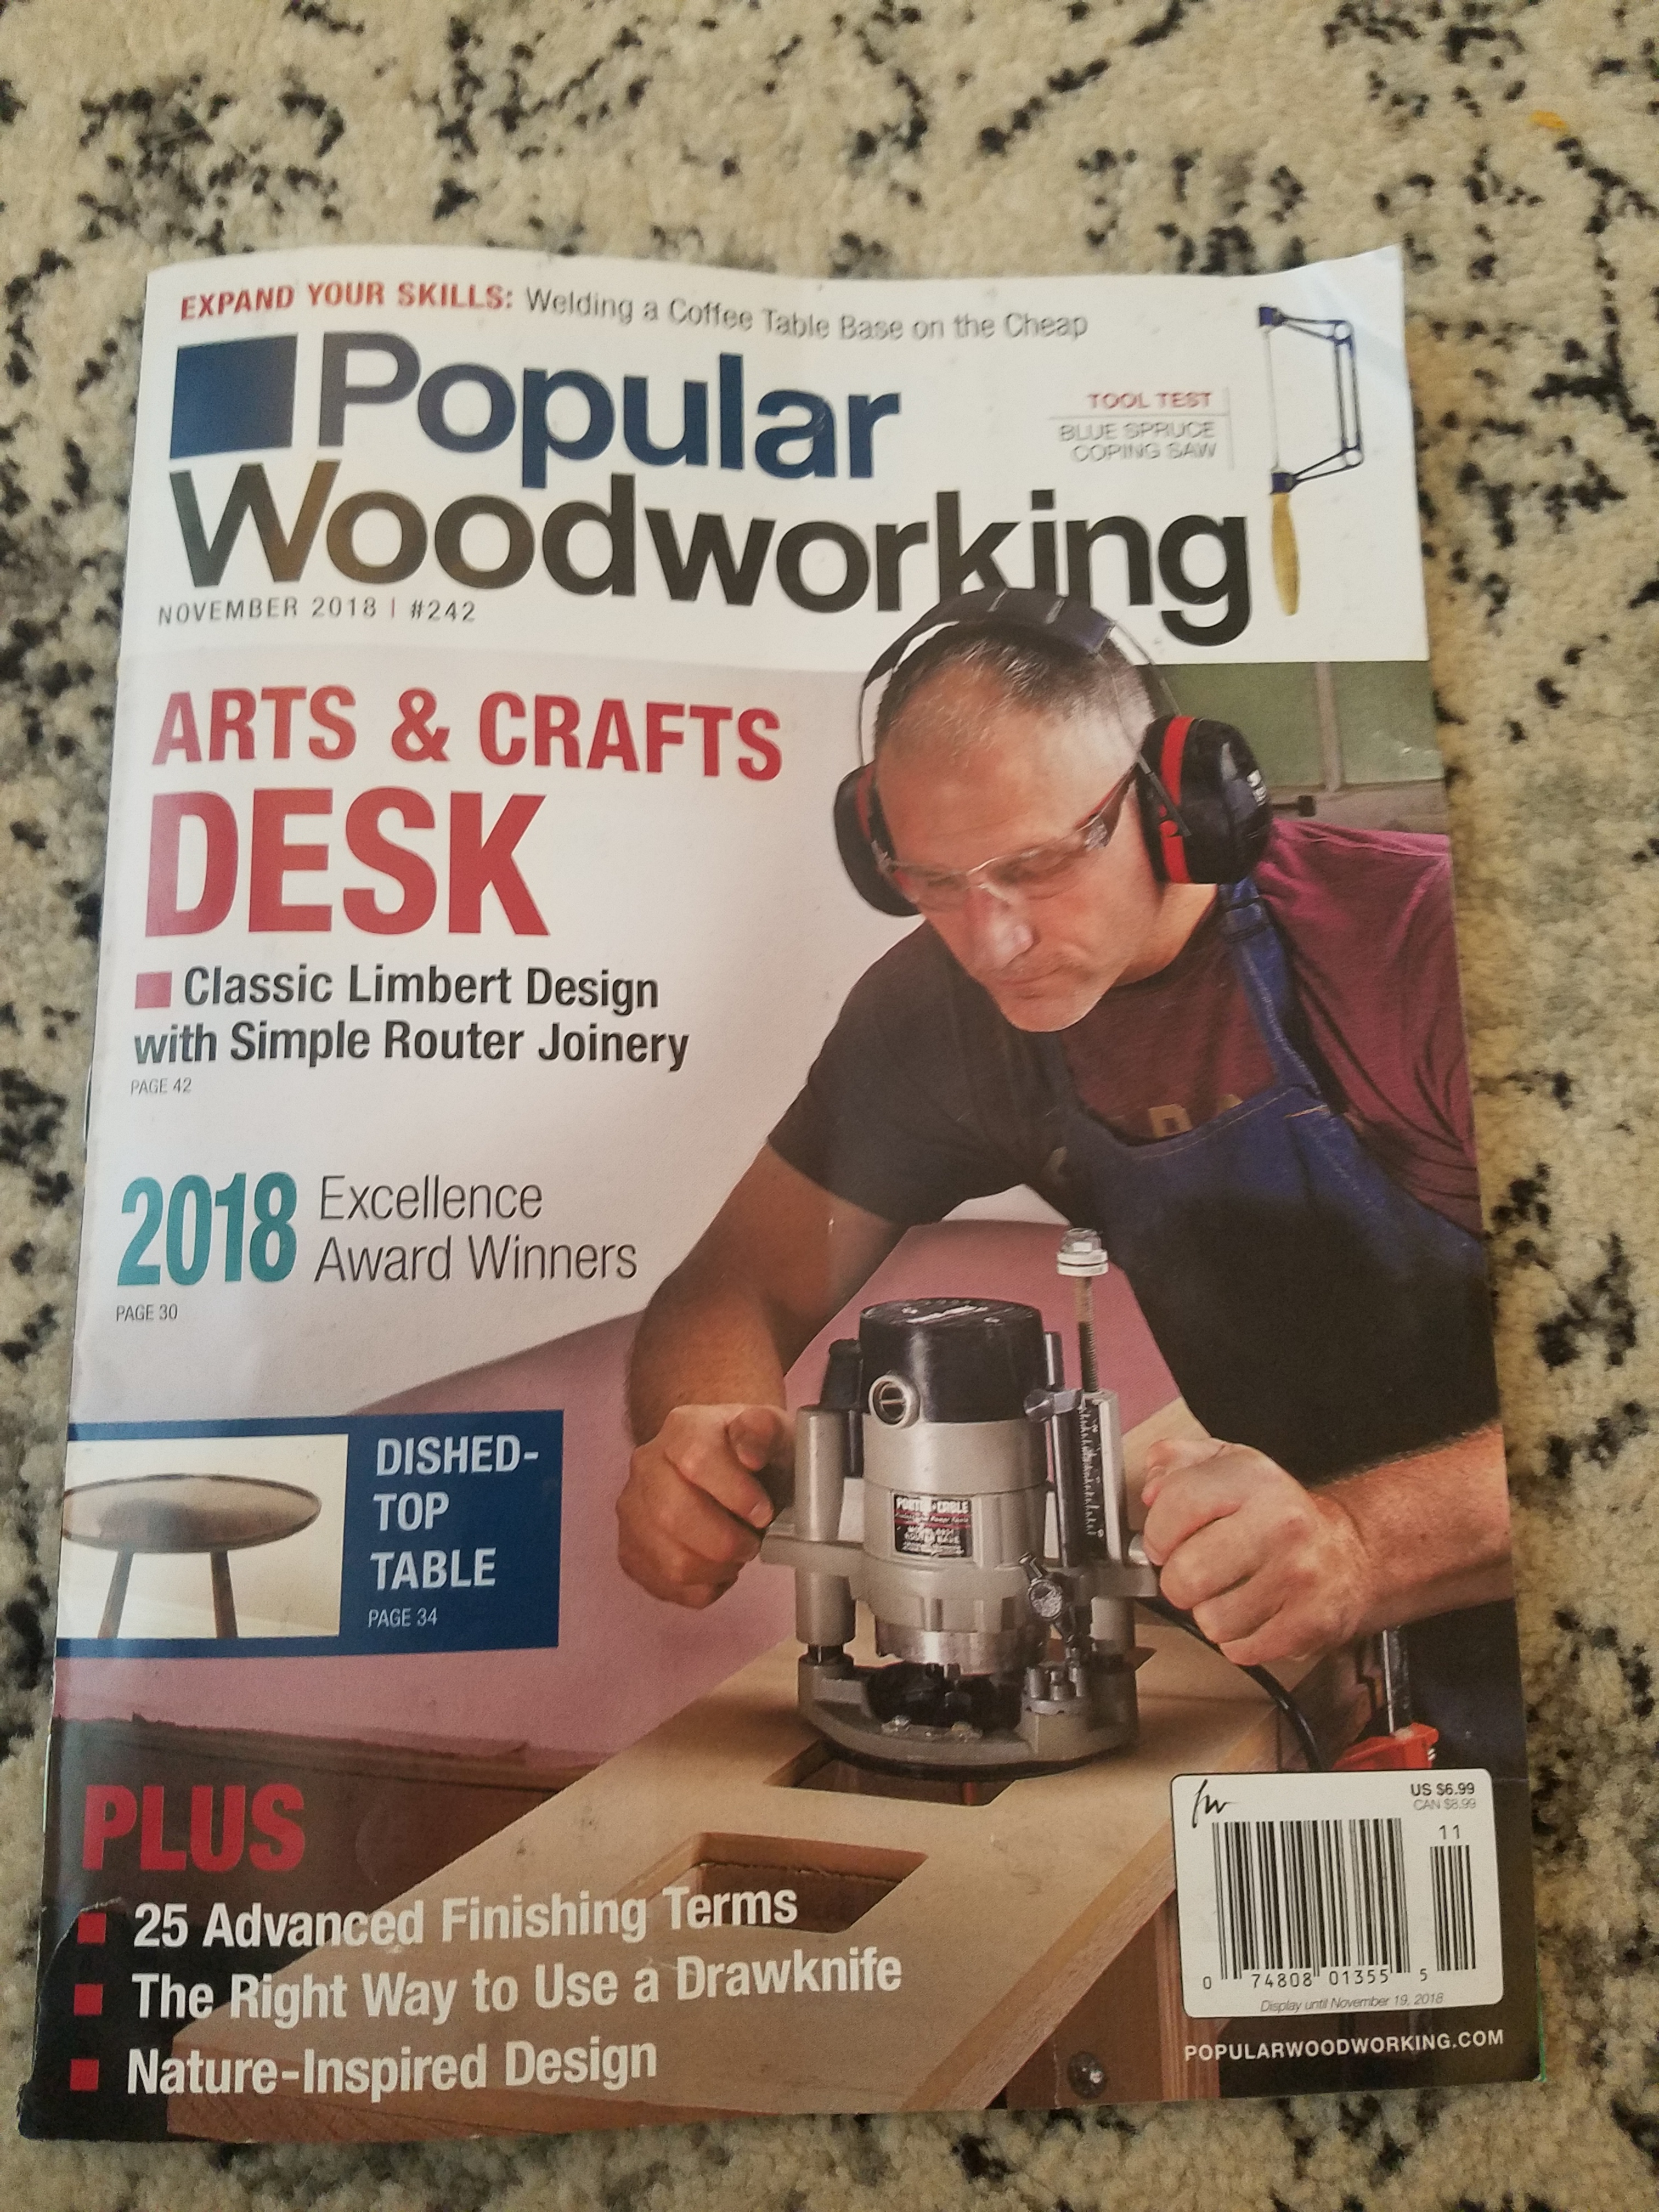
Popular Woodworking’s New Look

I received the latest issue of Popular Woodworking today. As soon as I saw the cover, I knew things had changed big time with the magazine. I read on Lost Art Press blog a few weeks ago that Chris Schwarz will no longer write articles for them. That, and the fact that since a lot of the old contributors like Megan Fitzpatrick, Bob Lang, and Glen Huey are long gone, the magazine is a complete a new rag.

20181015_172954.jpg

The new look just looks like a typical run of the mill woodworking magazine that appeals to the masses. Something like a Woodworker’s Journal or American Woodworker. It definitely lost its old hand tool feel charm. As far as the projects inside, don’t get me started. I asked my wife about the projects in it (basically two of them) and she said “who builds this shit? Why don’t they put furniture in there that people want to make?” It’s been an ongoing conversation with us for years about why I subscribe to woodworking magazines with uninspiring projects in it.

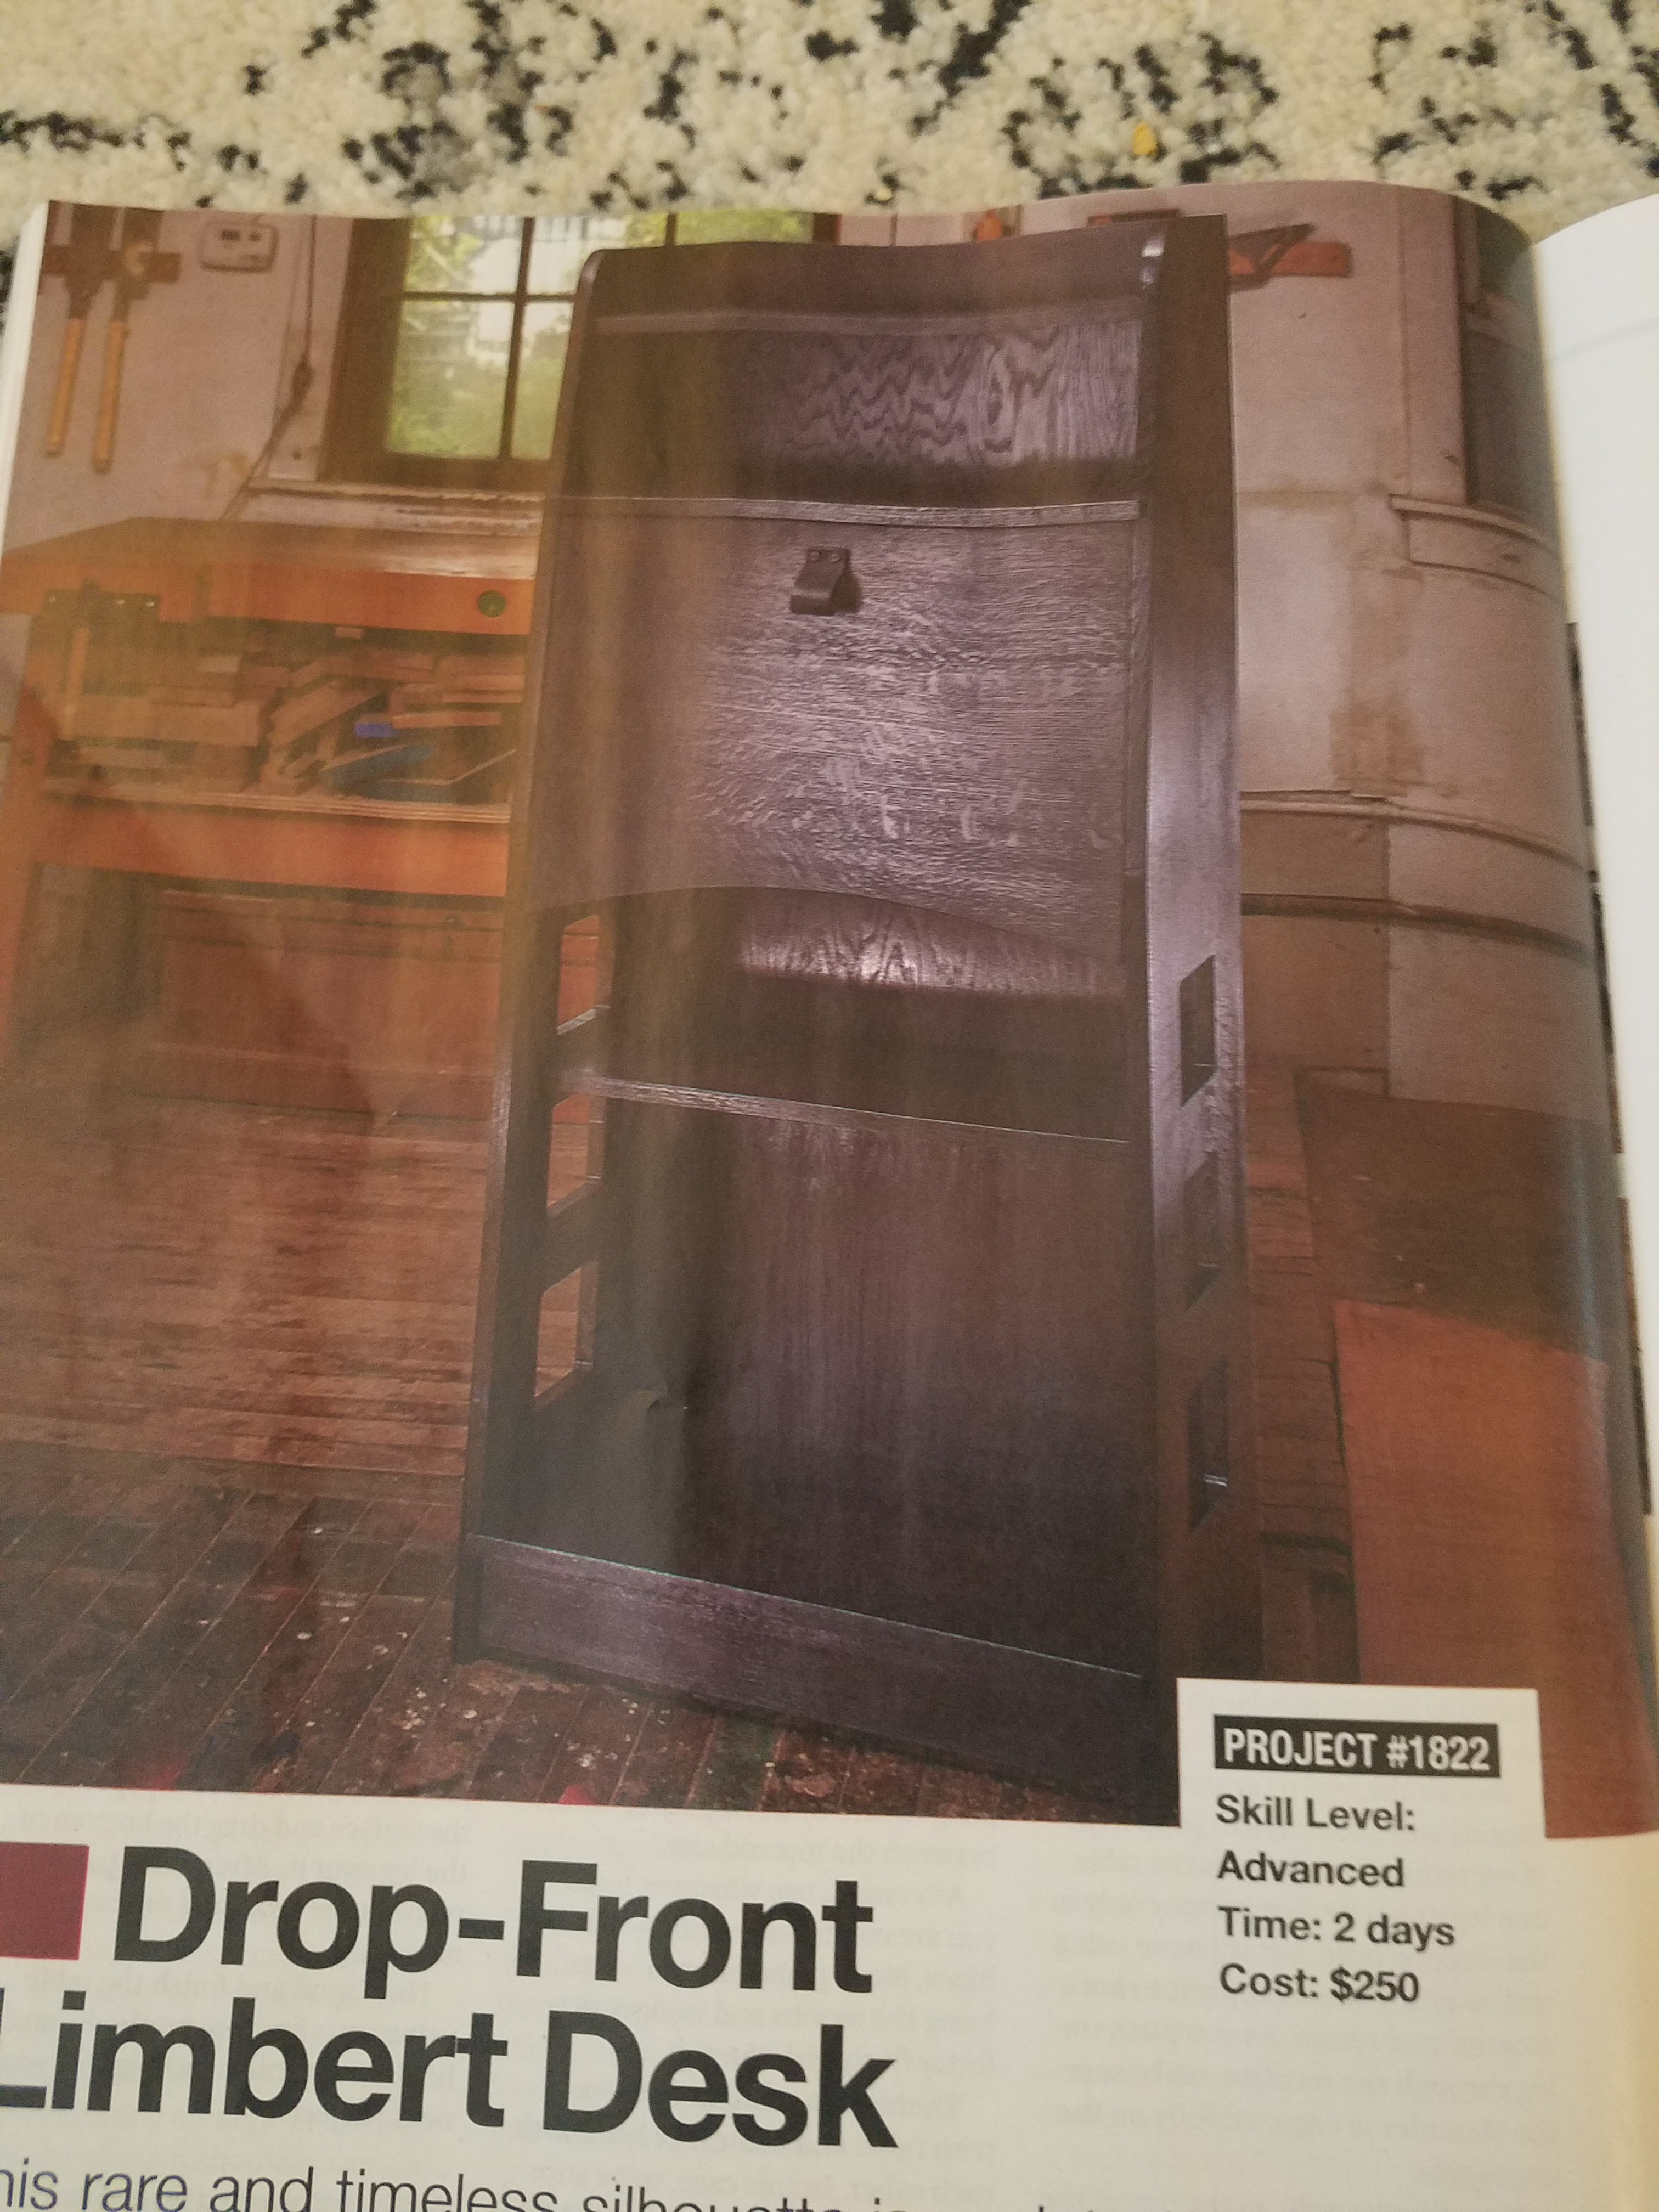
20181015_181409.jpg

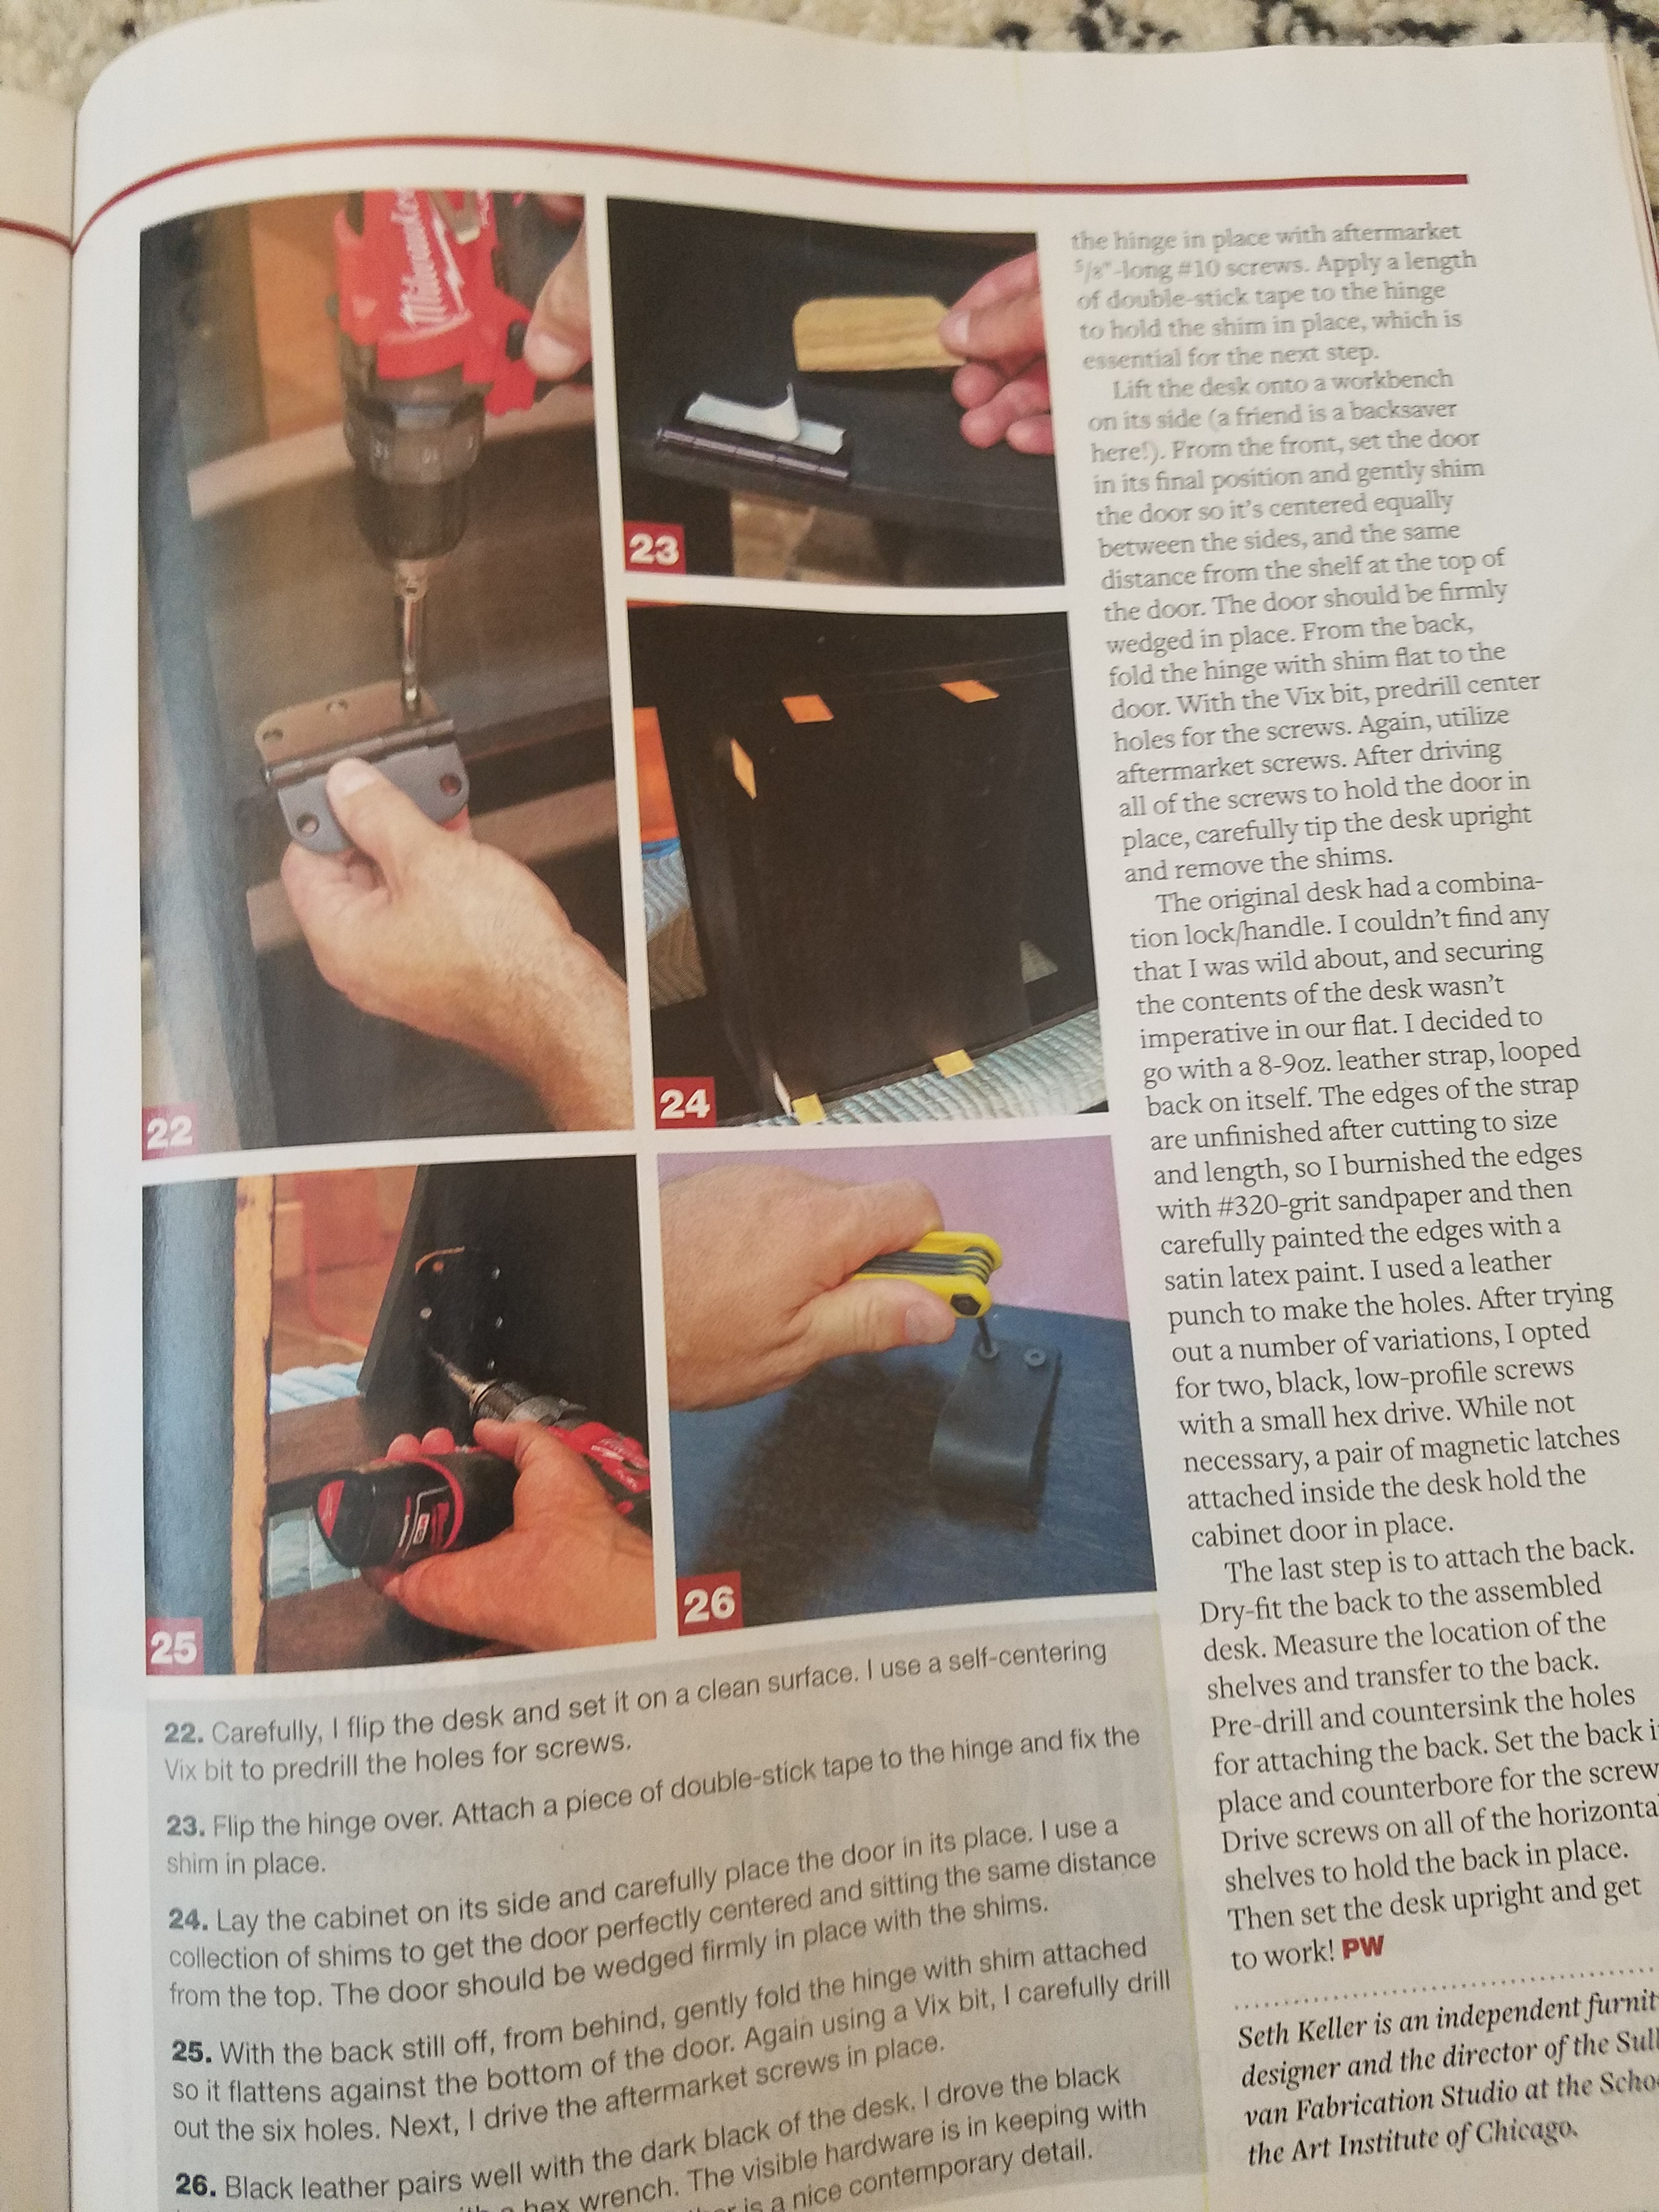
The new look has a lot of photo boxes where they describe what’s going on in the picture. Not a bad idea as it’s kind of the same idea of how I write this blog, but the layout seems a bit impersonal. On the plus side, they did have an article about welding. I’ve always thought that woodworking magazines should focus more on mixed mediums. Plus, Peter Follansbee’s Arts and Mysteries and George Walker’s Design Matters are still there.

20181015_173001.jpg

I also noticed there are a lot of ads in the magazine for people who are old. From hearing aids, to walk in tubs, to a plethora of ads for medications. Don’t get me wrong, I actually don’t mind ads. If anything I learn from the good ones, but damn, don’t make me feel like I need to go get my dentures fitted.

20181015_173044.jpg

Did you get your copy? If so, what do you think? Am I being too harsh? Are the days of the old Popular Woodworking concentrating on hand tools techniques long gone? It’s frustrating because Popular Woodworking was my favorite magazine. I guess I’ll have to start subscribing to Mortise and Tenon instead.

Fixin’ Up a Buffet

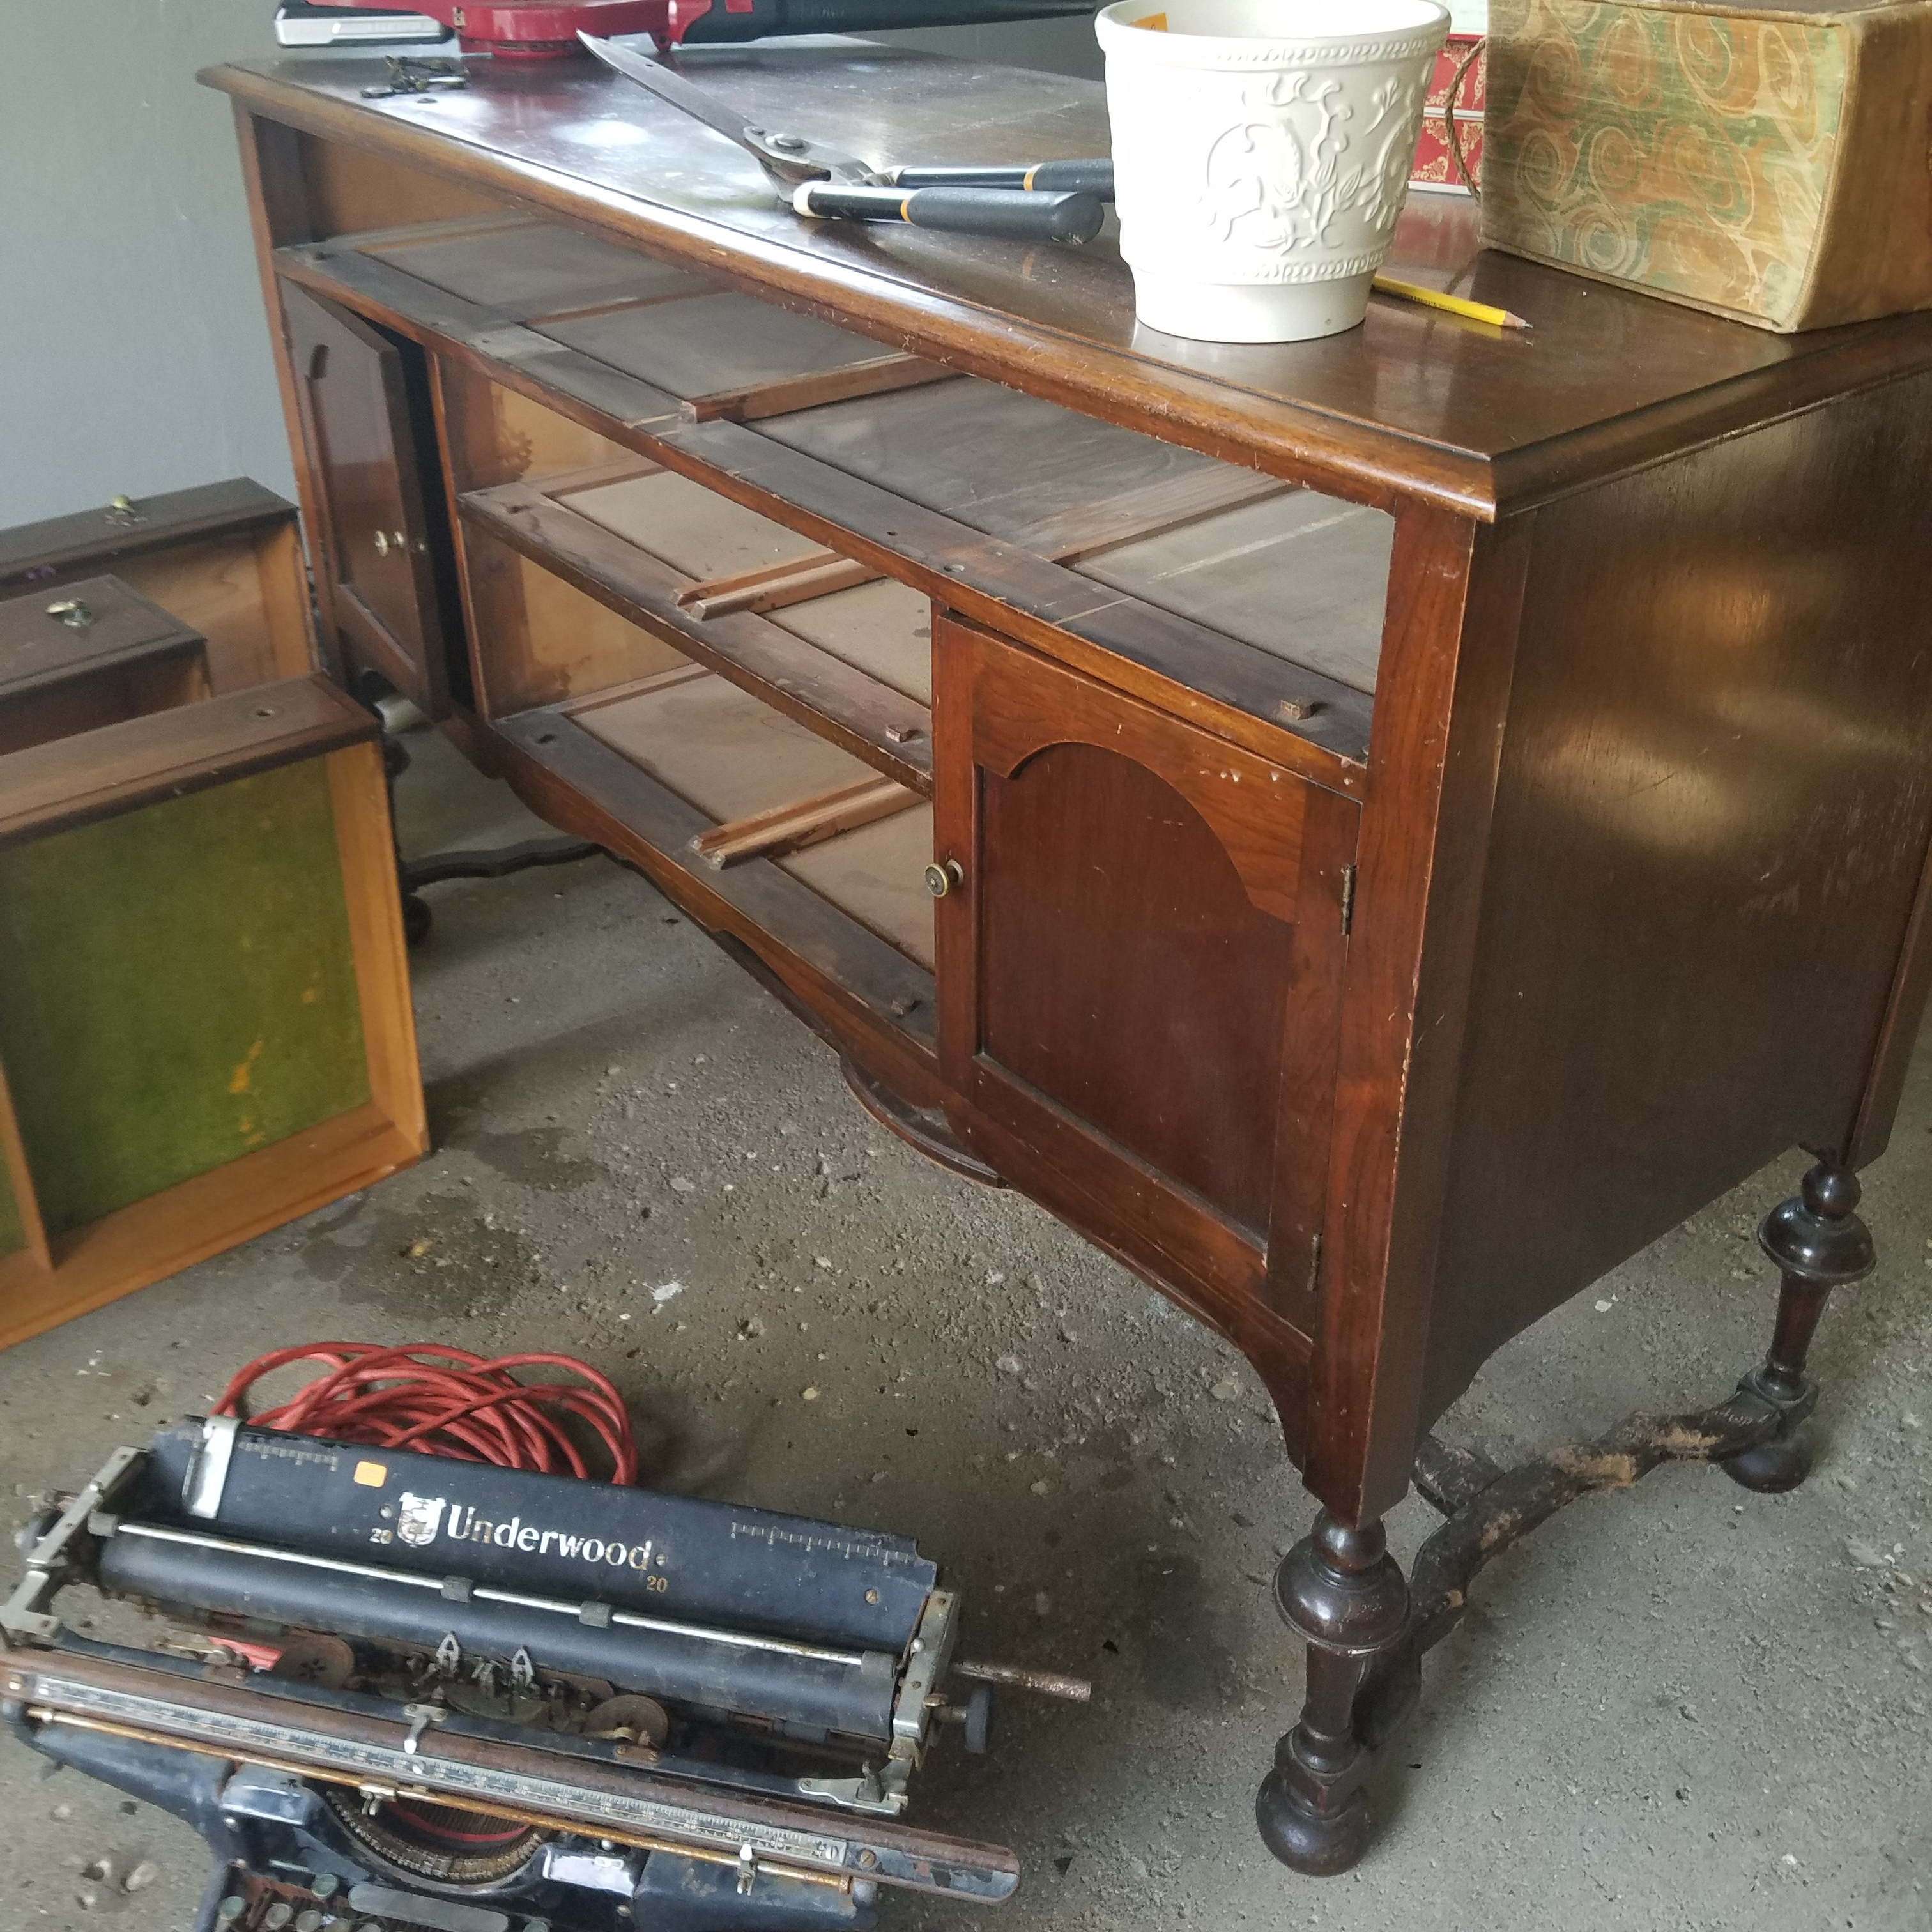
If you follow my blog, then you know that my wife and I have a couple of booths in antique malls where we buy and sell antiques. Occasionally we’ll buy old furniture and fix it up. This is a buffet we found at a yard sale for dirt cheap. It had some issues, but the price was too good to pass up, plus I knew I could make it usable again.

20180827_180939.jpg

The first issue I had to take care of was the stretcher on the bottom looked like a dog gnawed on it.

20180827_180950.jpg

The easiest thing to do was simply cut it off. Since Anita was going to paint the piece, I wasn’t too concerned about the dowel cut offs showing. Removing the stretcher didn’t cause the buffet to lose any stability.

20180827_181429.jpg

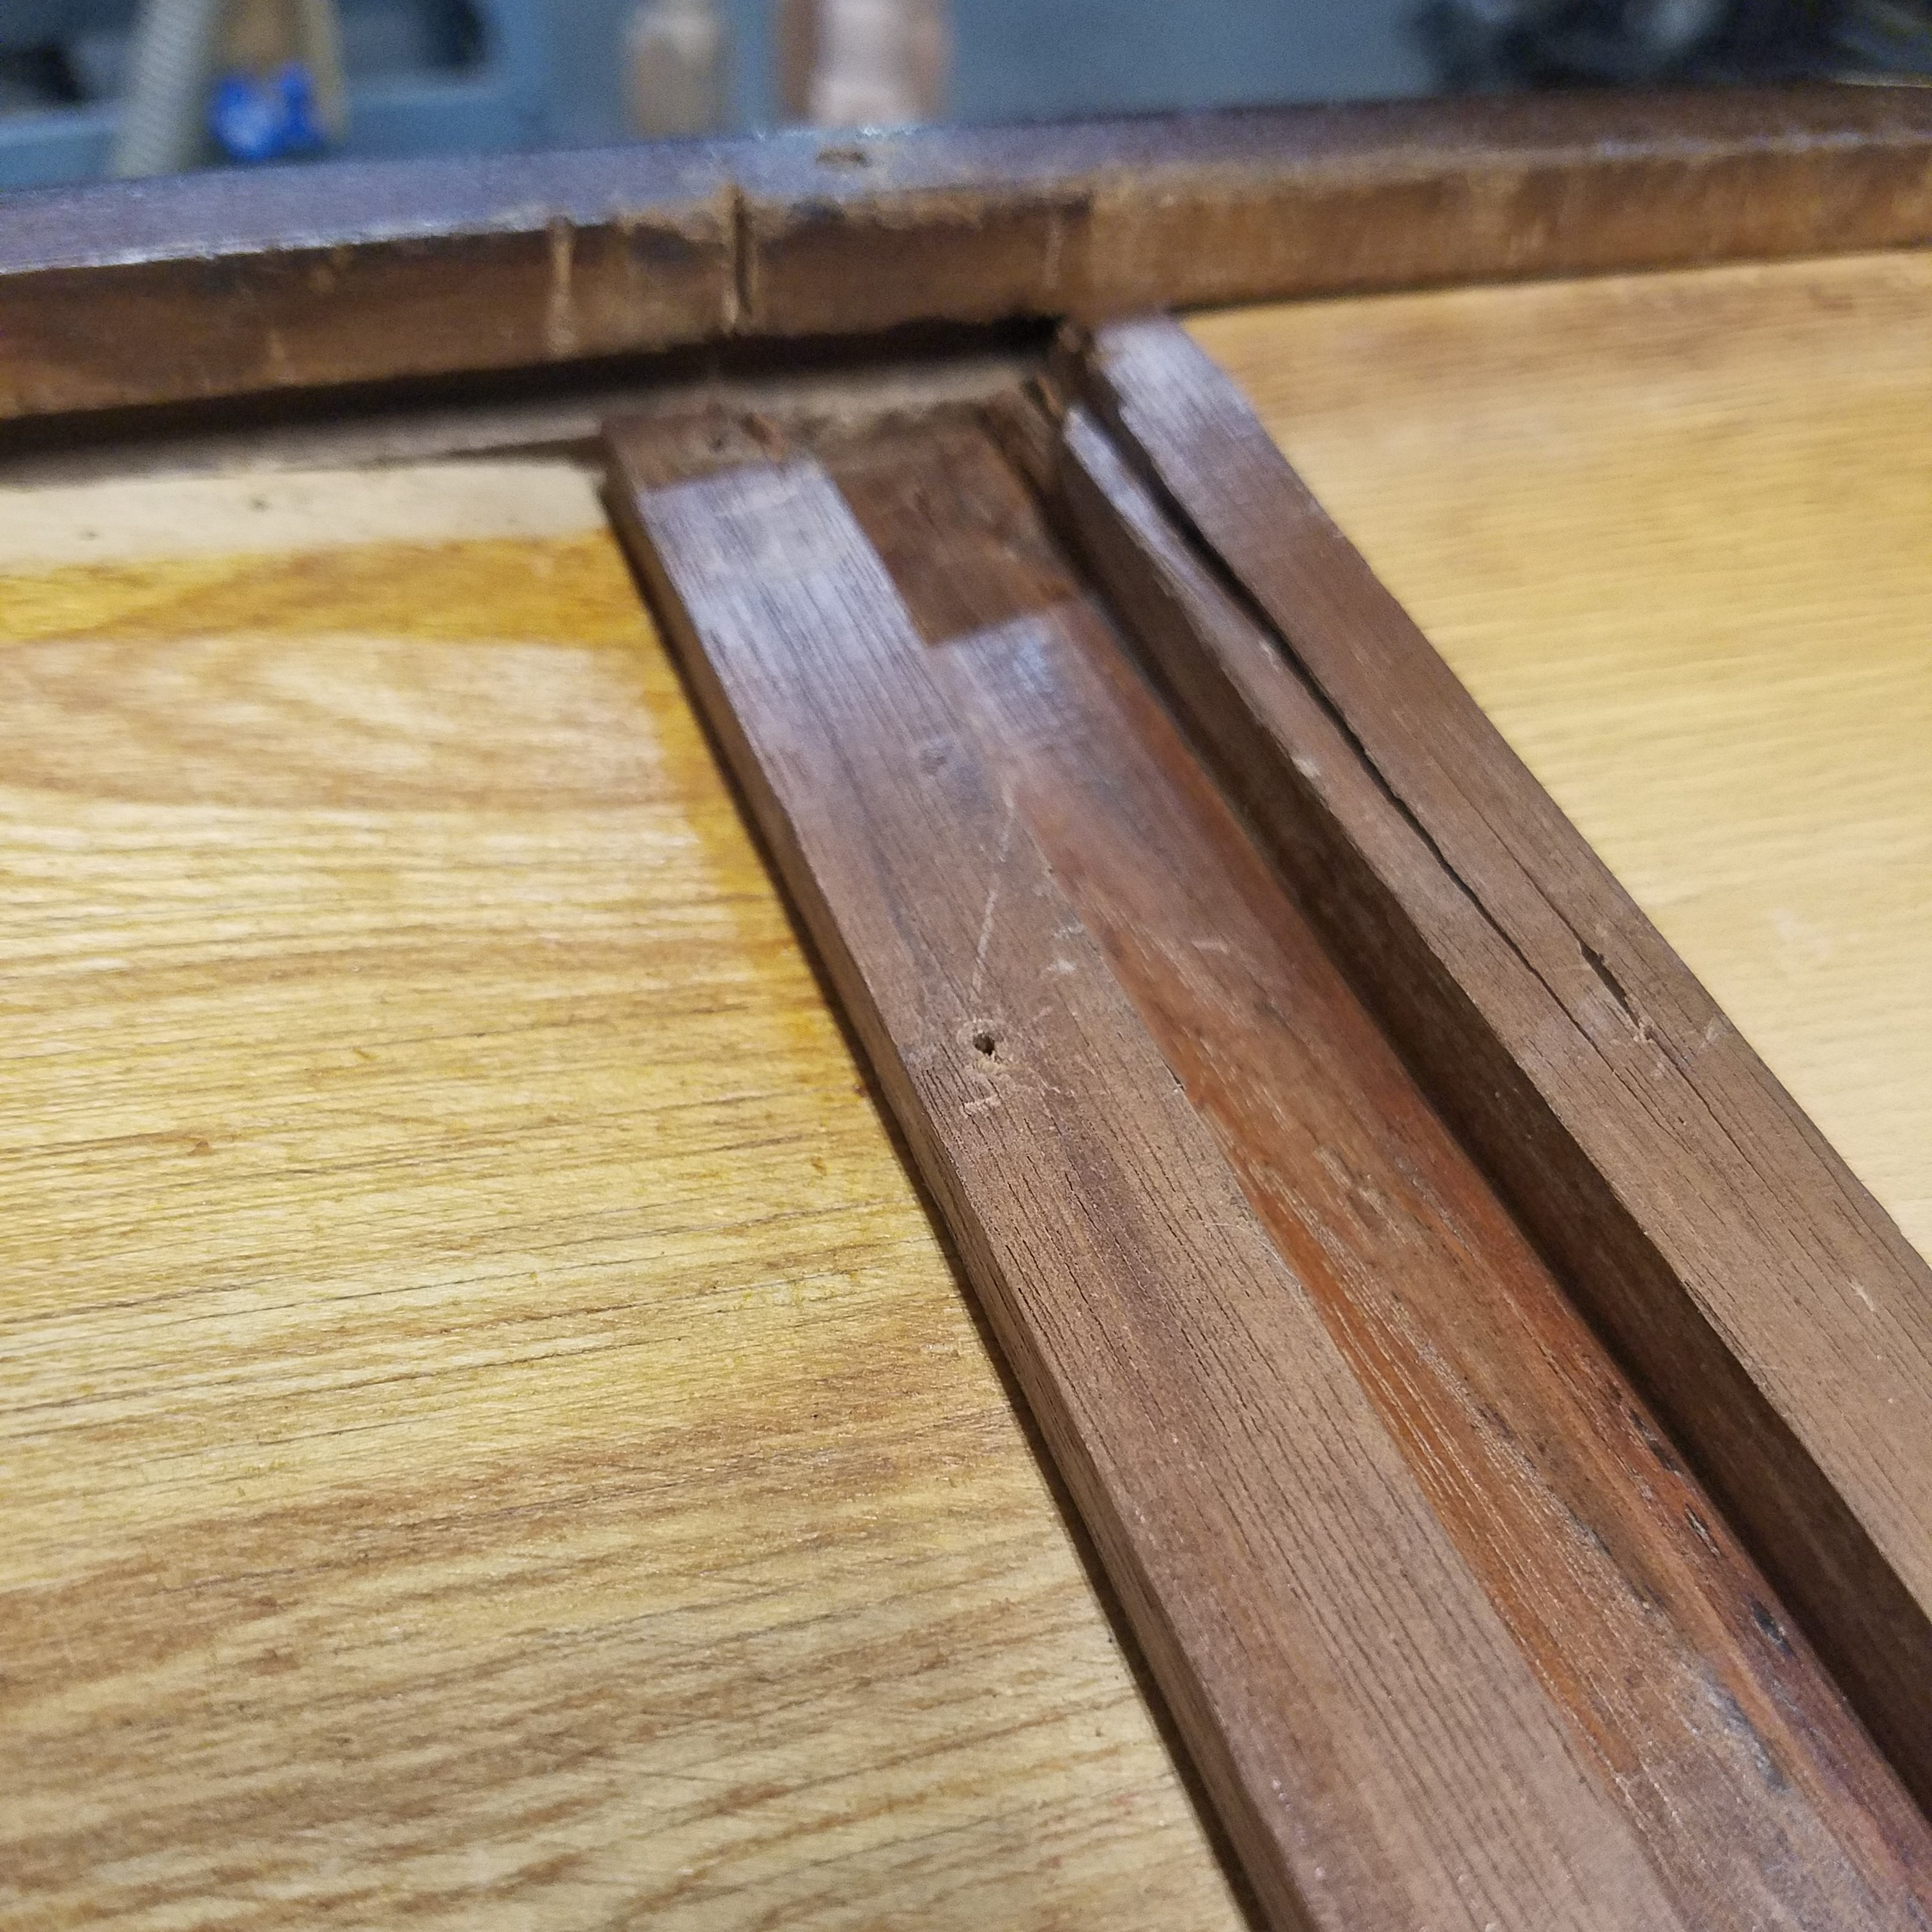
The biggest issue the buffet had was the runner on the large drawer on top was  completely broken off. There was no way  to properly repair it so I decide to make a new one out of some scrap wood.

20180827_181907.jpg

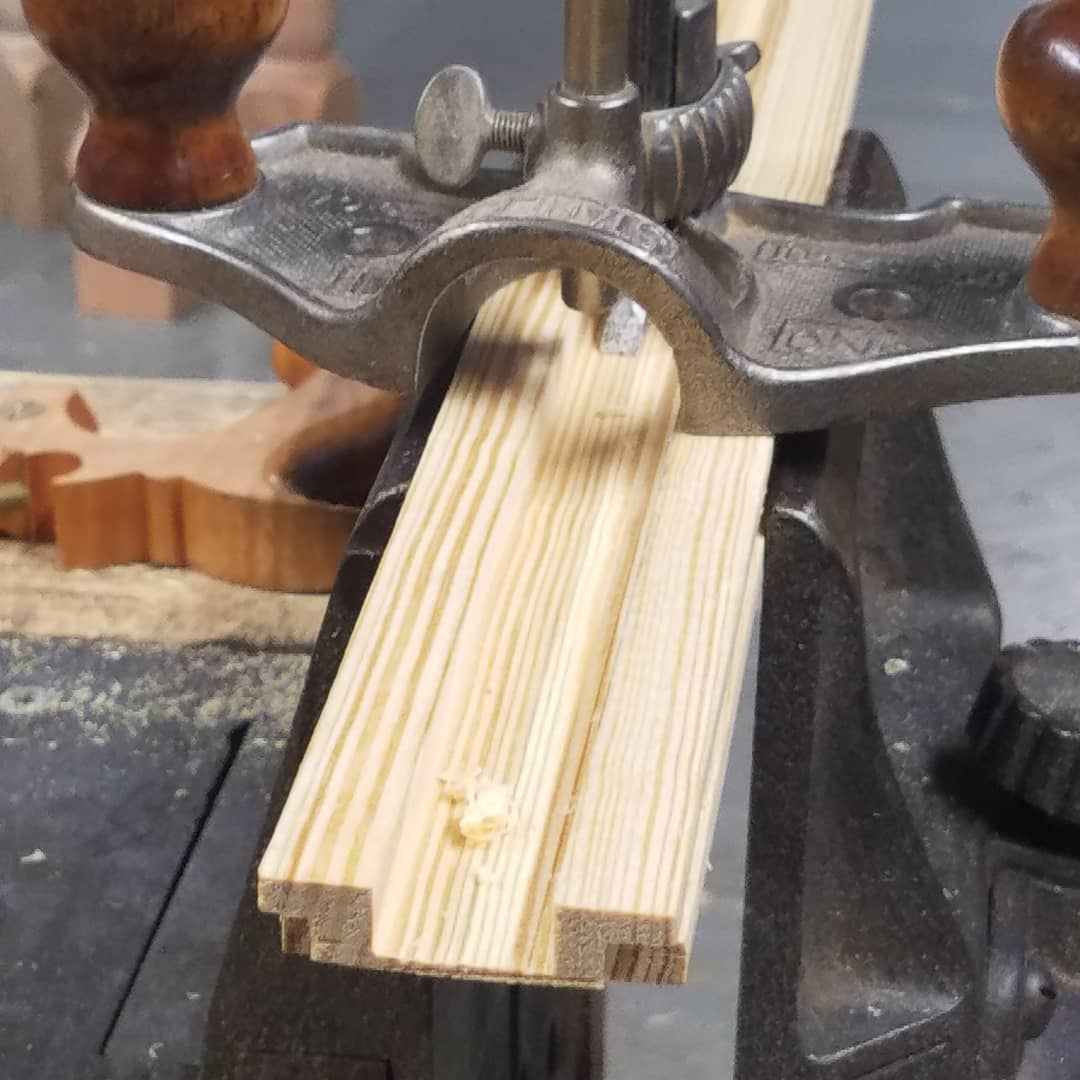
I milled a new piece to size and then used my Stanley No 45 plane to plow a 1/4″ groove down the middle on both edges.

IMG_20180827_192515_937.jpg

I then cut a wide groove down the face of the piece with my table saw and cleaned it up with my router plane.

IMG_20180827_192515_930.jpg

With a tenon cut on the end of the piece and a rabbet cut on the other end, the new piece worked perfectly in the old drawer. I tacked down the runner to the back of the drawer with a couple of small nails.

20180827_190817.jpg

After the drawer was fixed, I shaved down the edges of the doors with a block plane so that they would close better. Once the buffet was functional again, Anita painted the piece with milk paint.

20180916_192155.jpg

You can see how the milk paint gives the buffet old world character. This piece should sell quick in the booth.

20180916_192201.jpg

Hillbilly Tool Stand

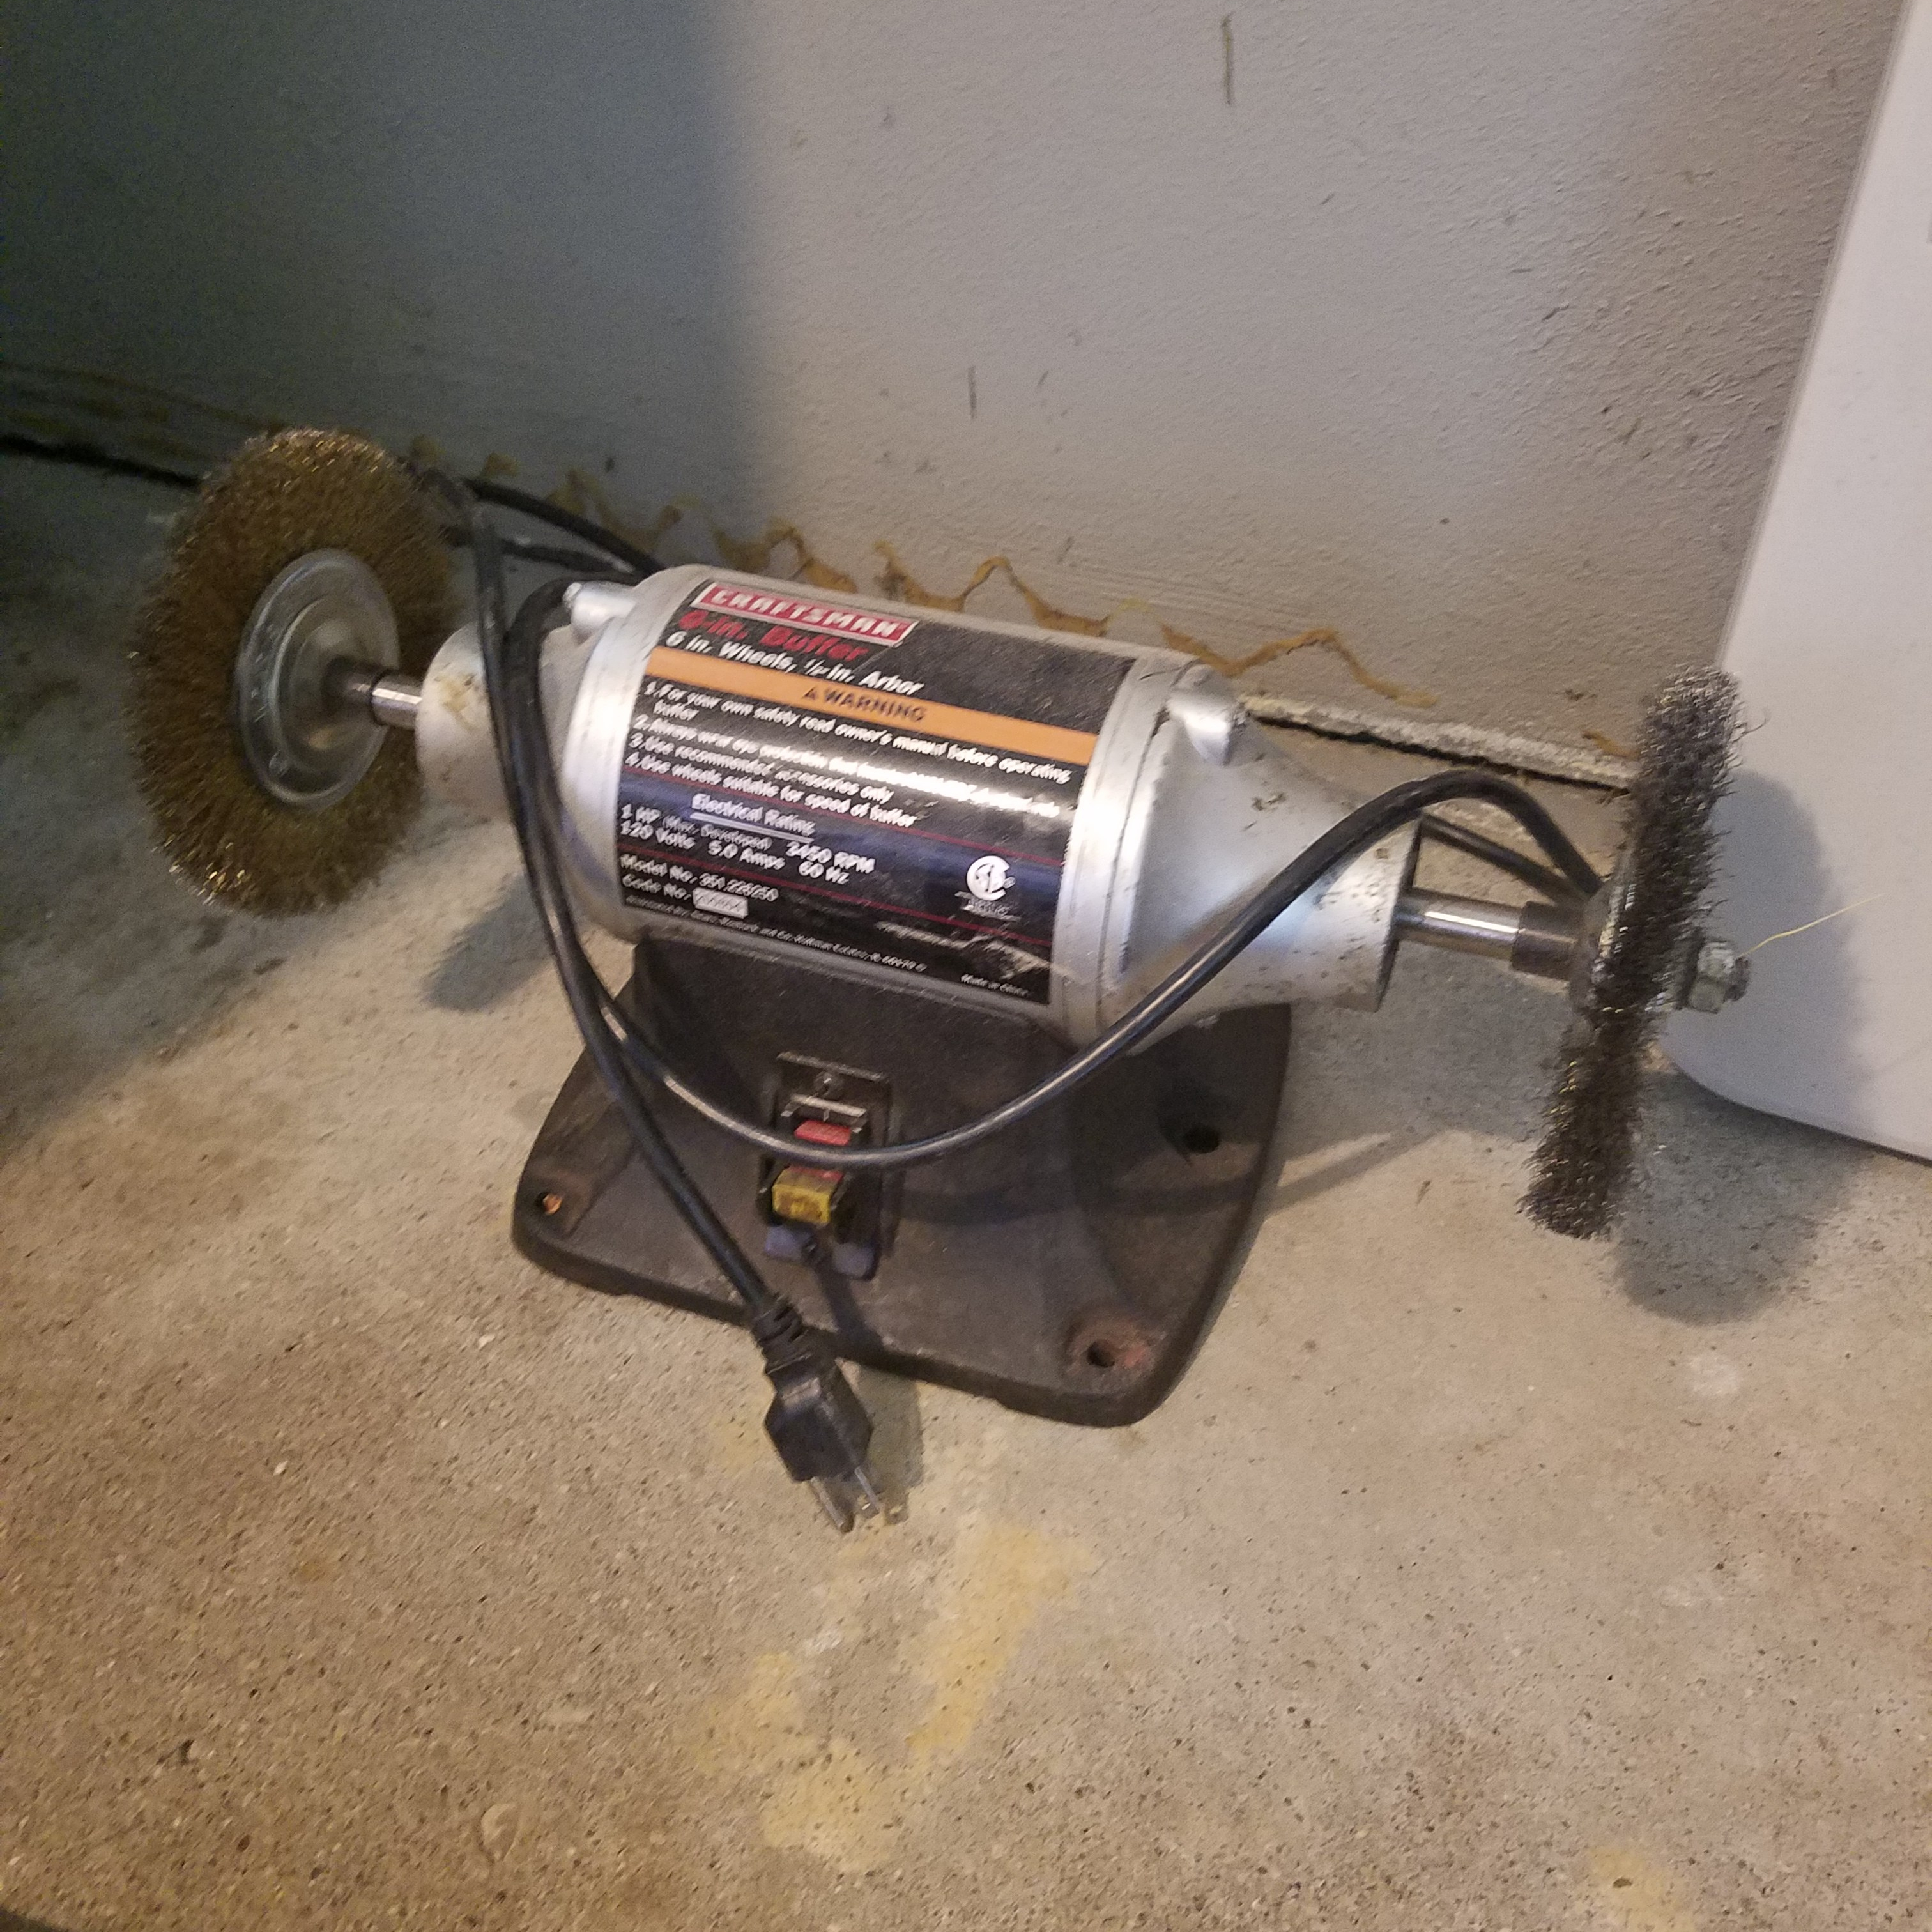
My wife hates this thing. She hates the noise it makes as well as the little wire bristles that fly off the wheel and land onto the floor only to be stepped on with bare feet. Can’t say I blame her as I too have had the fun of pulling a wire out of my foot from time to time. So, it’s been delegated to the garage from now on. The problem was when I used the thing in the garage, I had to step on the end of it with my foot so it wouldn’t spin away, and then bend over to clean my tool parts. Not exactly ideal working conditions.

20180902_114700.jpg

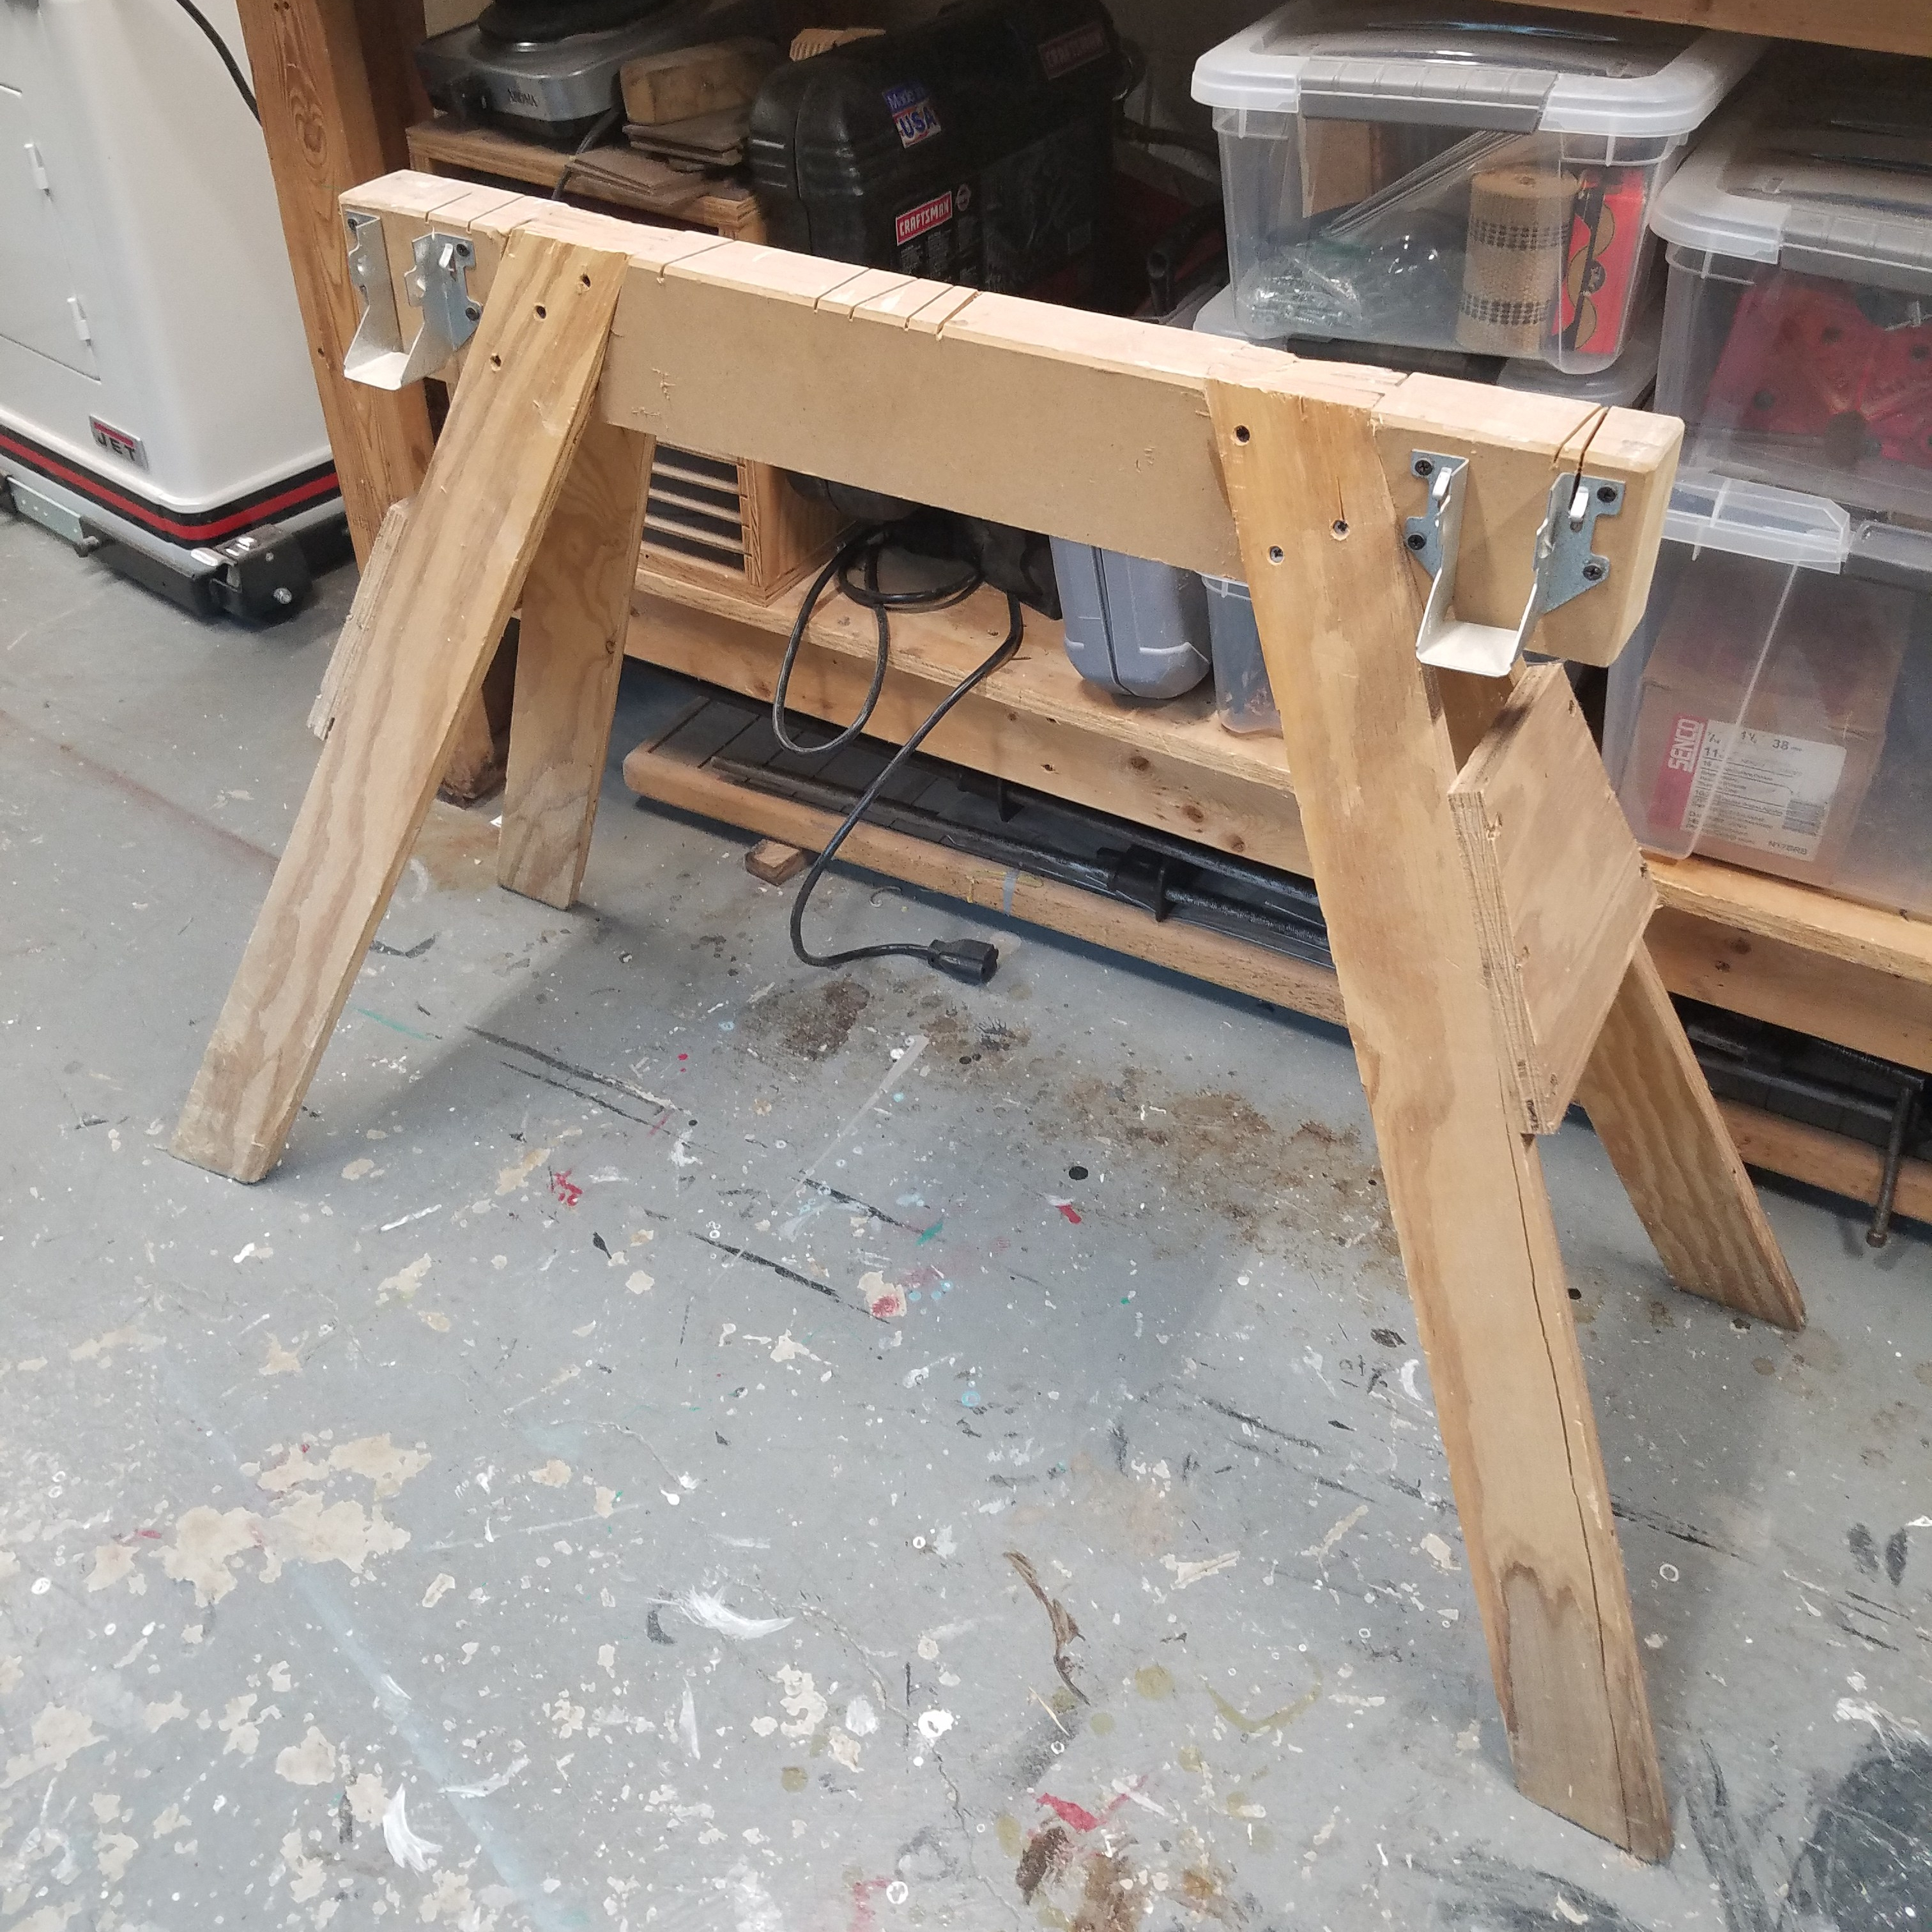
I was going to buy a tool stand from Harbor Freight for $40 but, I was too cheap to buy one. Seems like the money was never available since it’s been tight around here for awhile. I kept thinking of what else I could use as a tool stand when it dawned on me to use one of my old sawhorses.

20180902_114725.jpg

I simply took three 3/4″ boards that were 6″ wide to lift the buffer to a comfortable height, and laminated them together. Then took two more to straddle the side of the sawhorse and bolted the buffer onto a base. So simple it’s stupid, but it works.

IMG_20180902_161821_320.jpg

I guess if I worked for a woodworking magazine, I’d make this fixture out of nice cabinet grade maple plywood and stainless steel woodworking screws, but since I don’t, I just whipped it up with some scrap wood and drywall screws. Terrible I know. If you want, you could probably submit this tip to a magazine and win a cordless jigsaw. haha. You can thank me later.

Restoring a Chisel/Slick

Apparently, my last restore was somewhat lame, so I’ll step up my game a little bit and show you how I restored this slick.

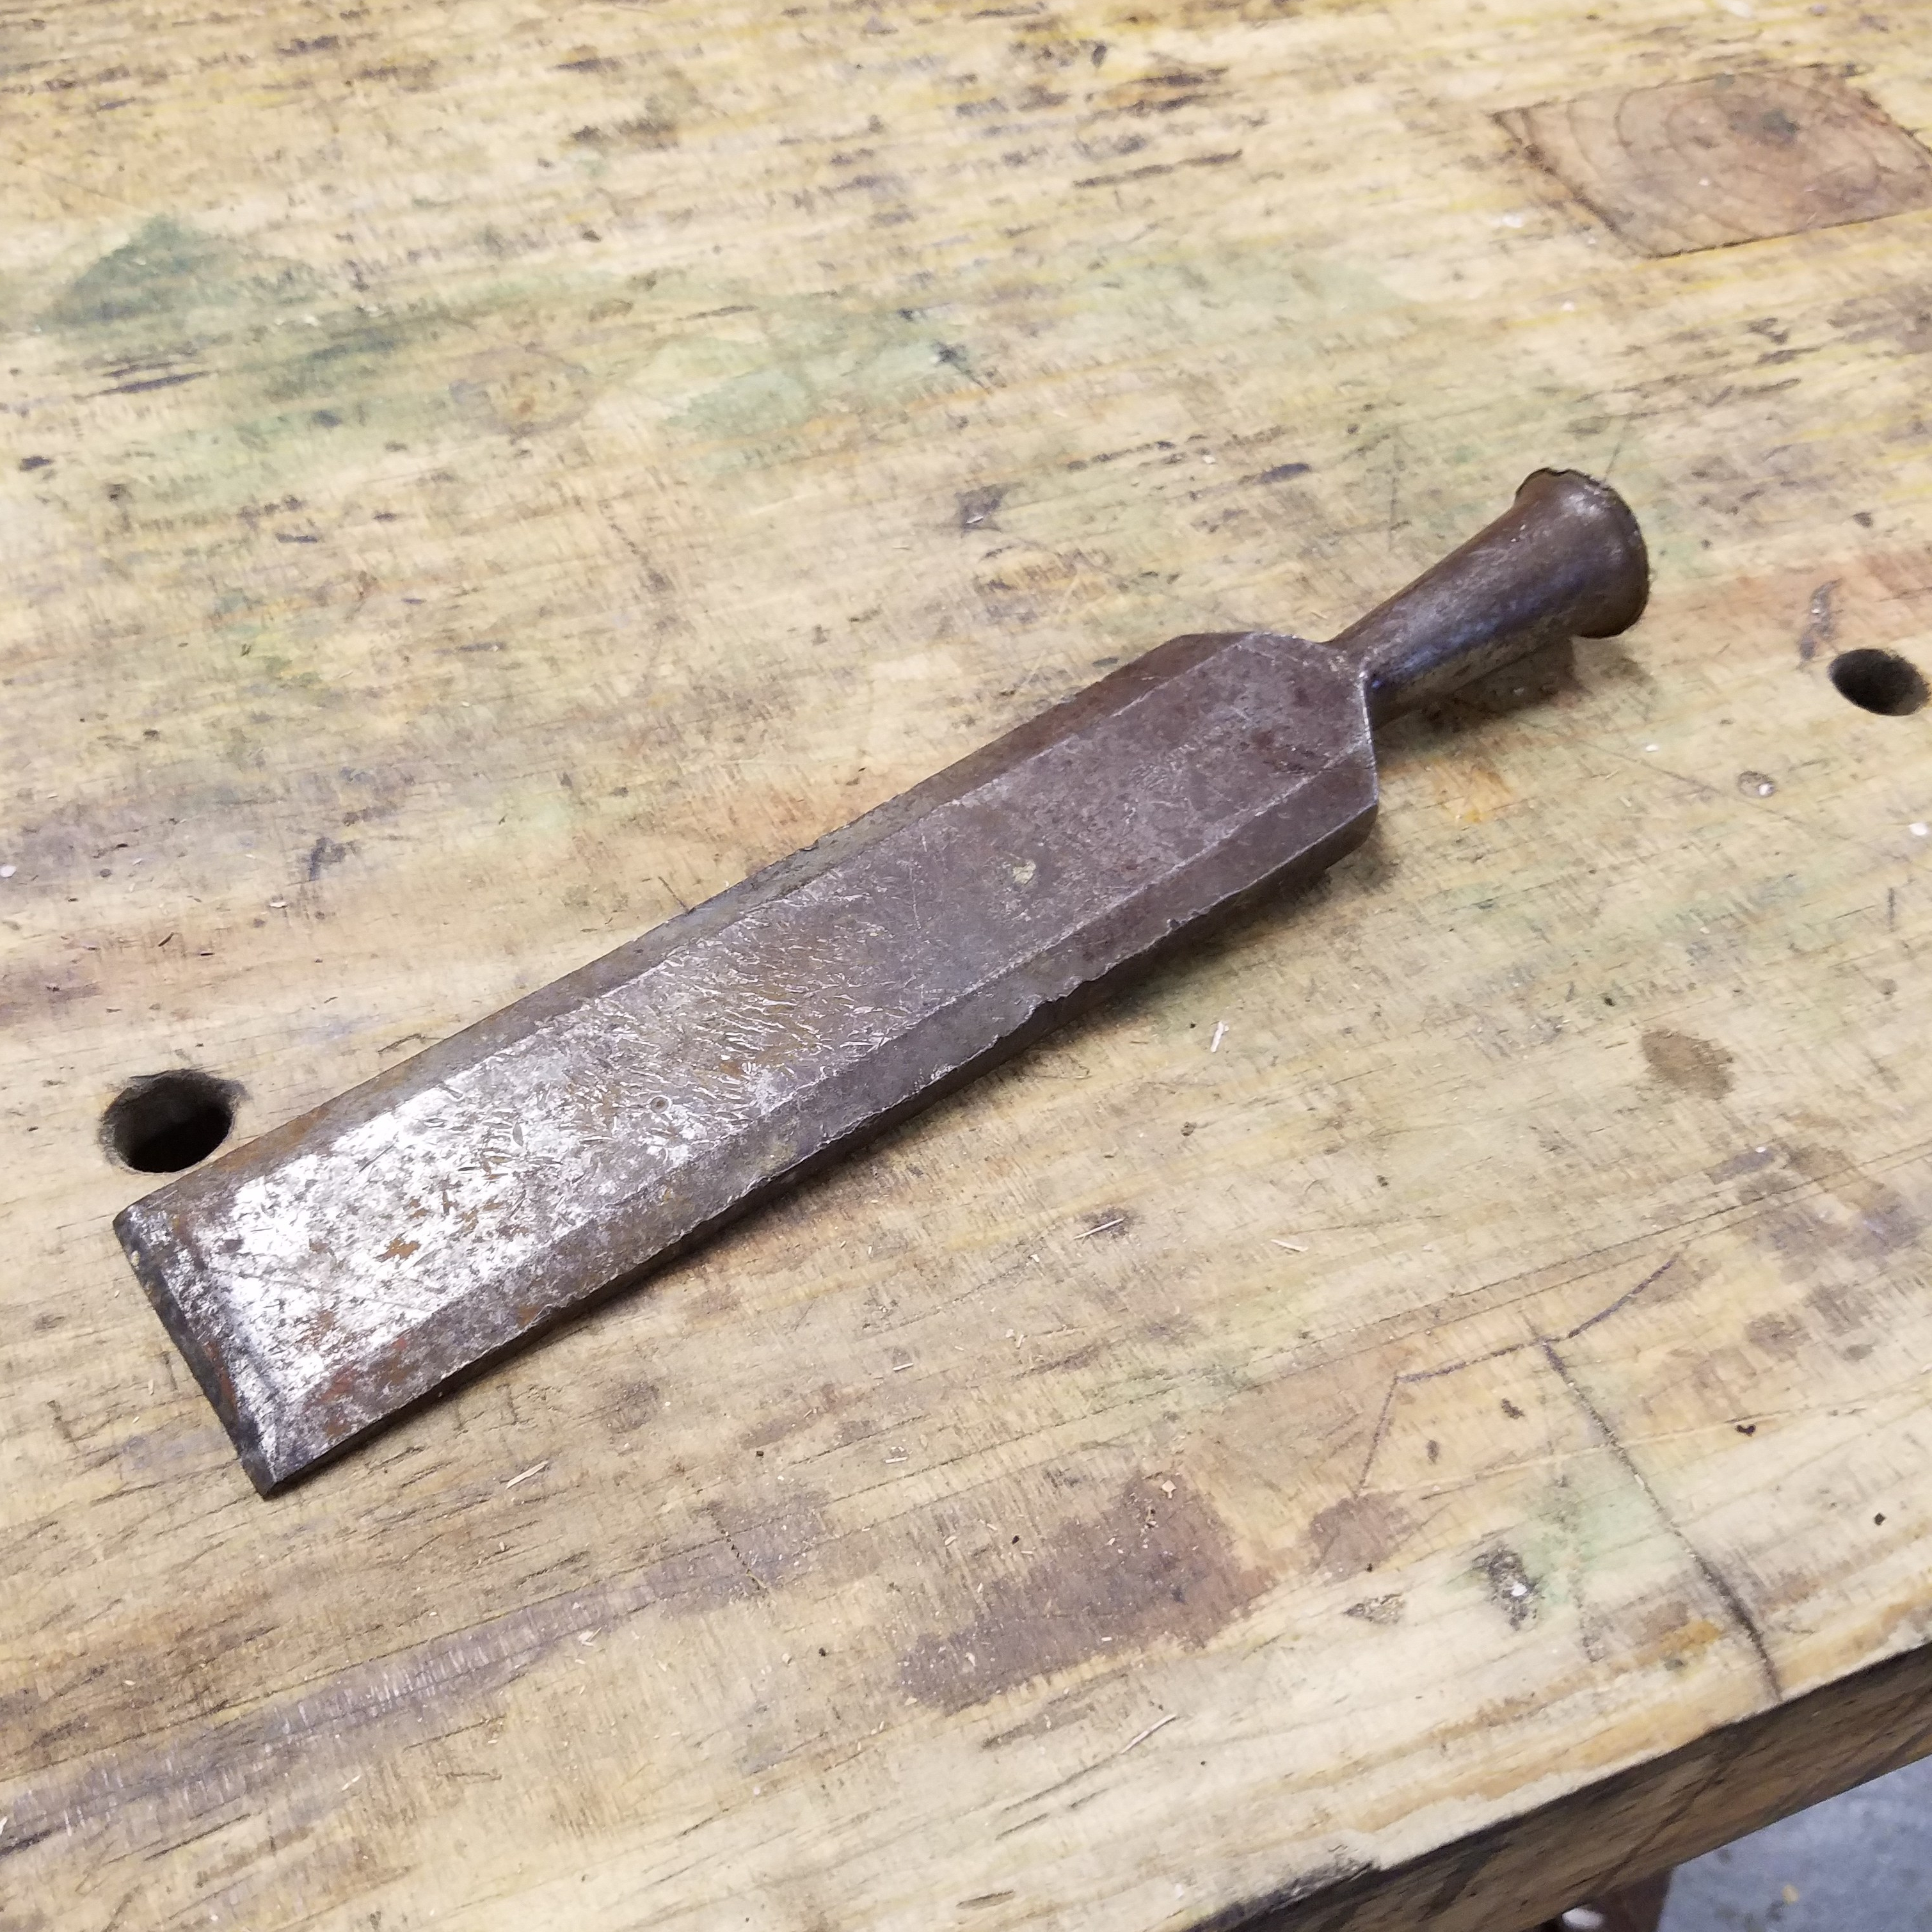
I bought this blade on the Worlds Longest Yard Sale a couple of weeks ago. I saw it on the ground and thought it was just a big ass chisel. The guy selling it told me he got it from the Amish. I noticed it was made by the Ohio Tool Co, so I bought it figuring it wouldn’t be too hard to make a new handle for it. When I got home, I examined it next to my other chisels when I realized that I probably had actually bought the blade for a slick.  It was 2 1/2″ wide x 6″ long and much thicker than any of my 2″ firmer chisels. The top of it was mushroomed and the blade was blunt like someone used it as a cold chisel, but I was confident that I could bring it back from the dead.

20180805_152301-1.jpg

I started cleaning the slick the same way I start all my restores, by soaking it in a citric acid bath for a few hours, then cleaning up the metal with a brass wheel on a buffing machine.

20180814_173357.jpg

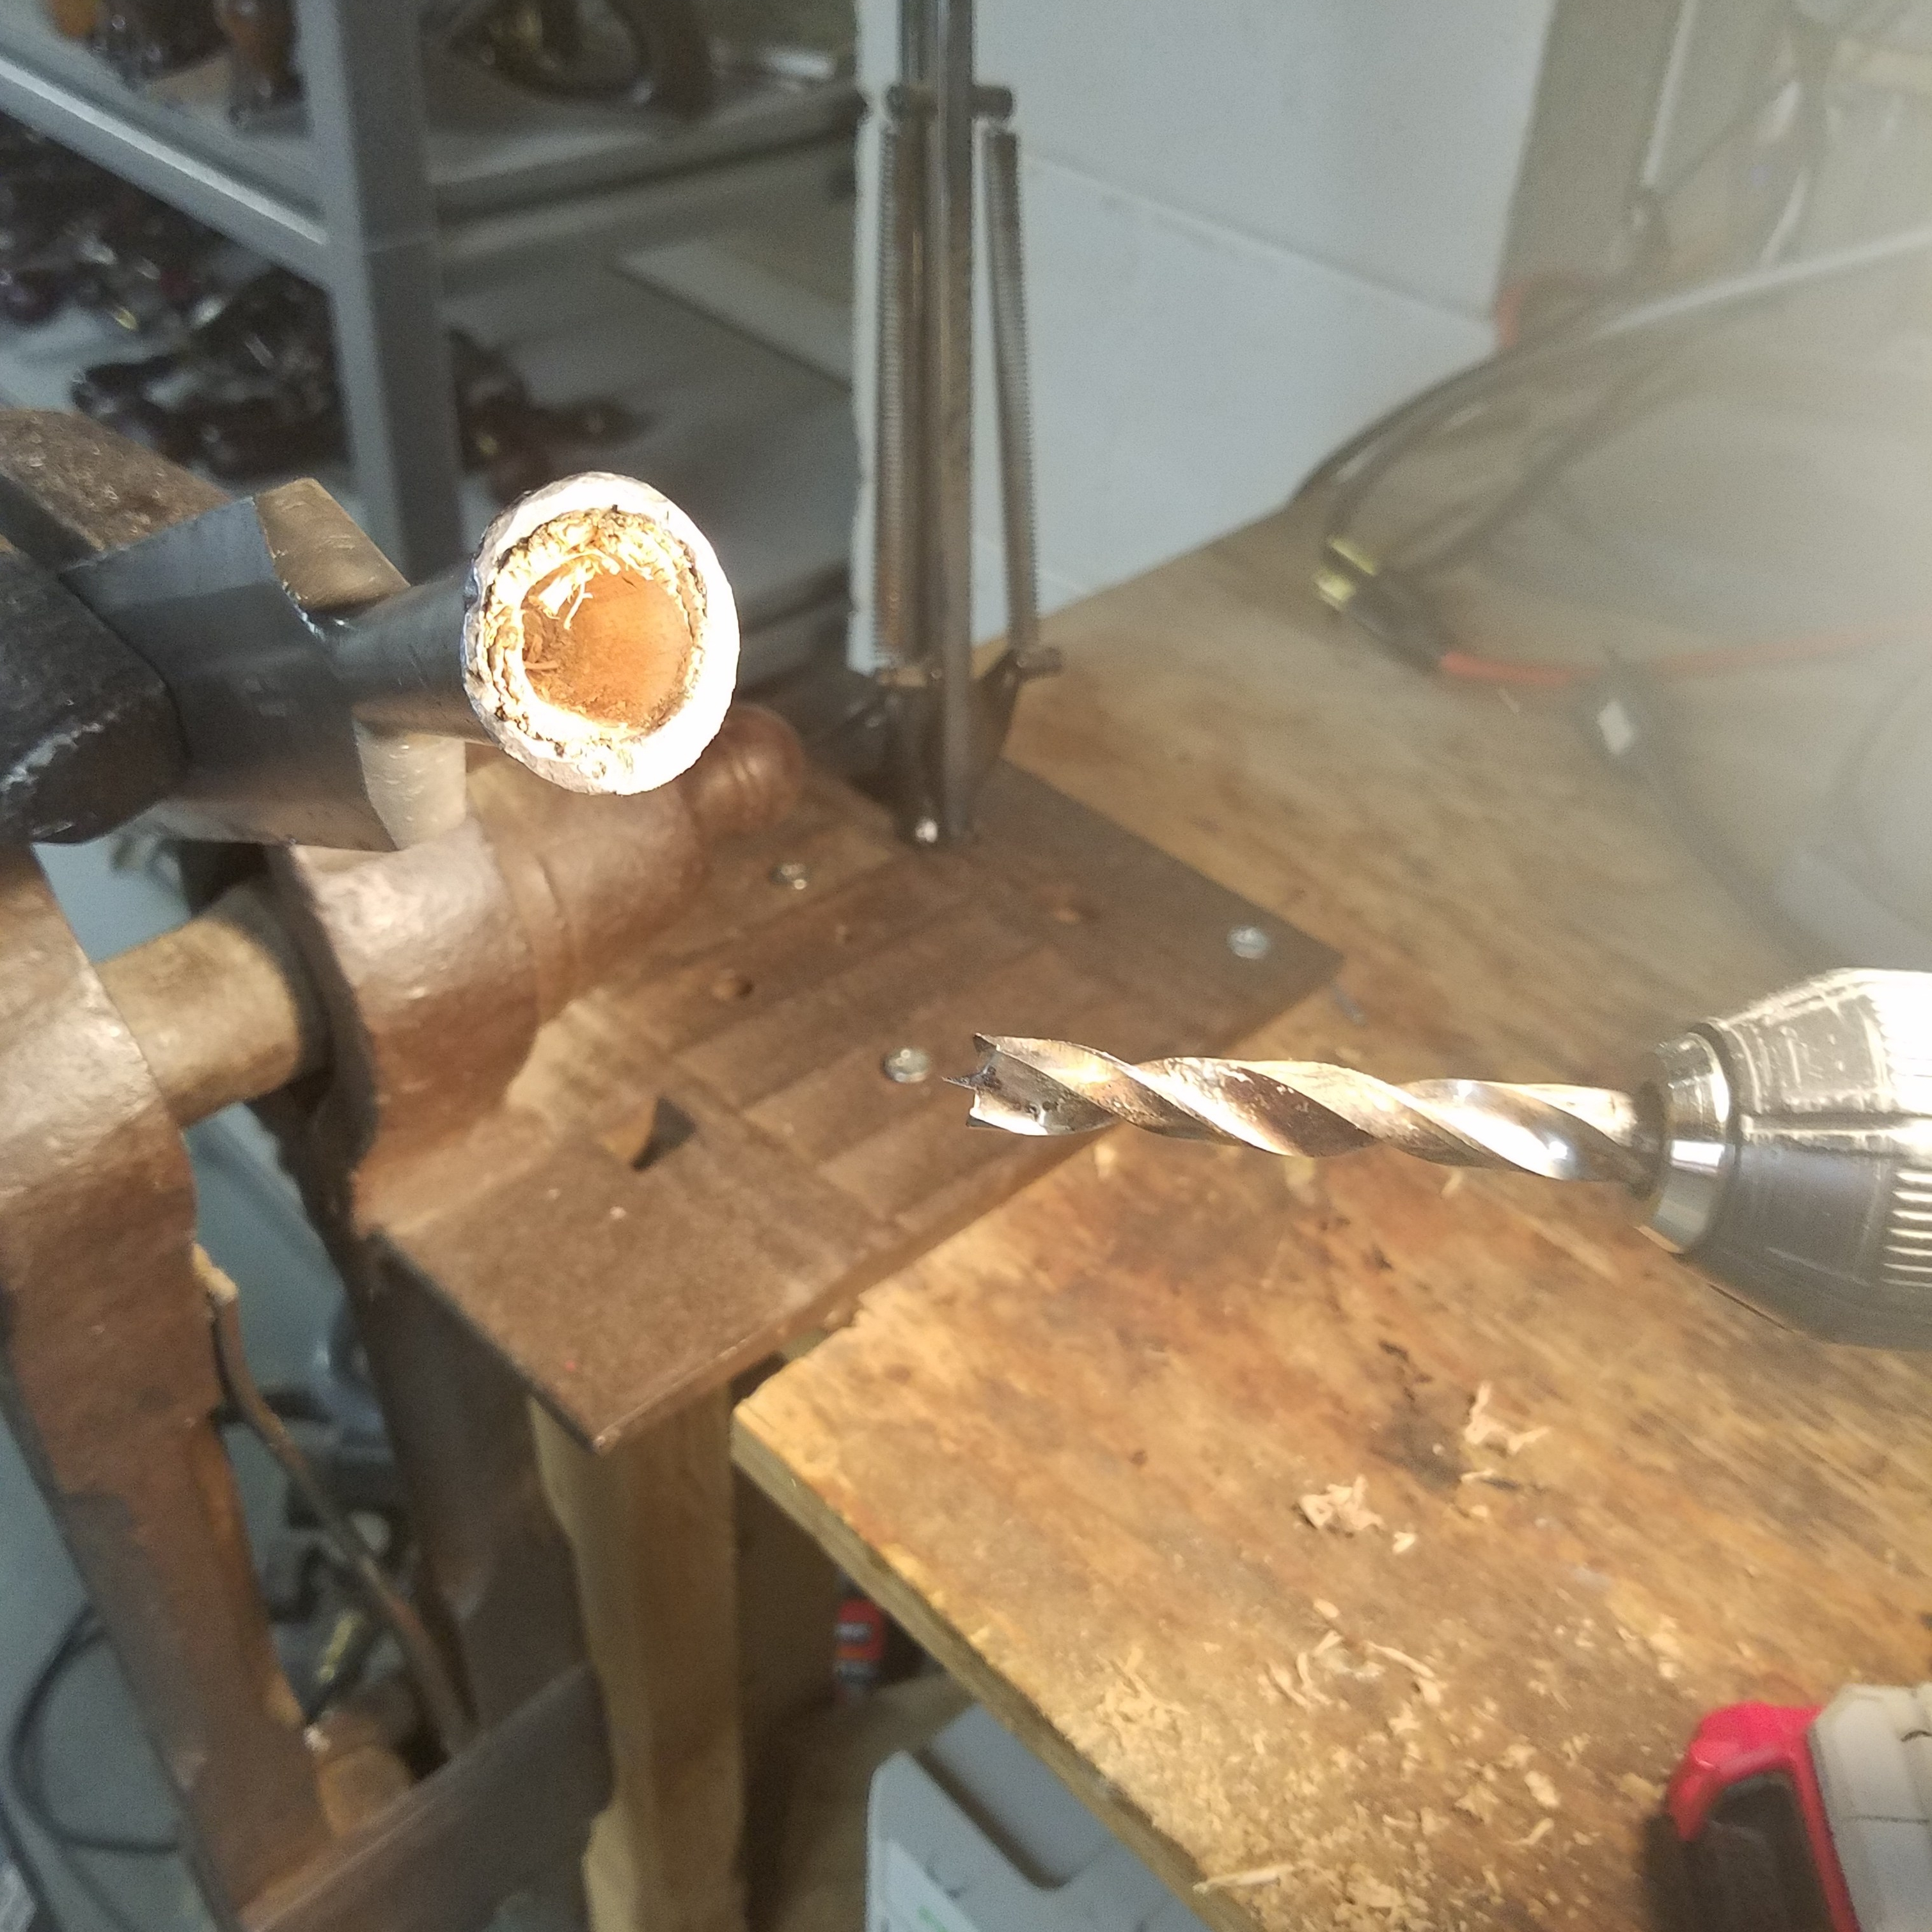
The pieces of the handle still remained inside the socket of the slick, so I had to drill it out in order for the new handle to fit.

20180814_173748.jpg

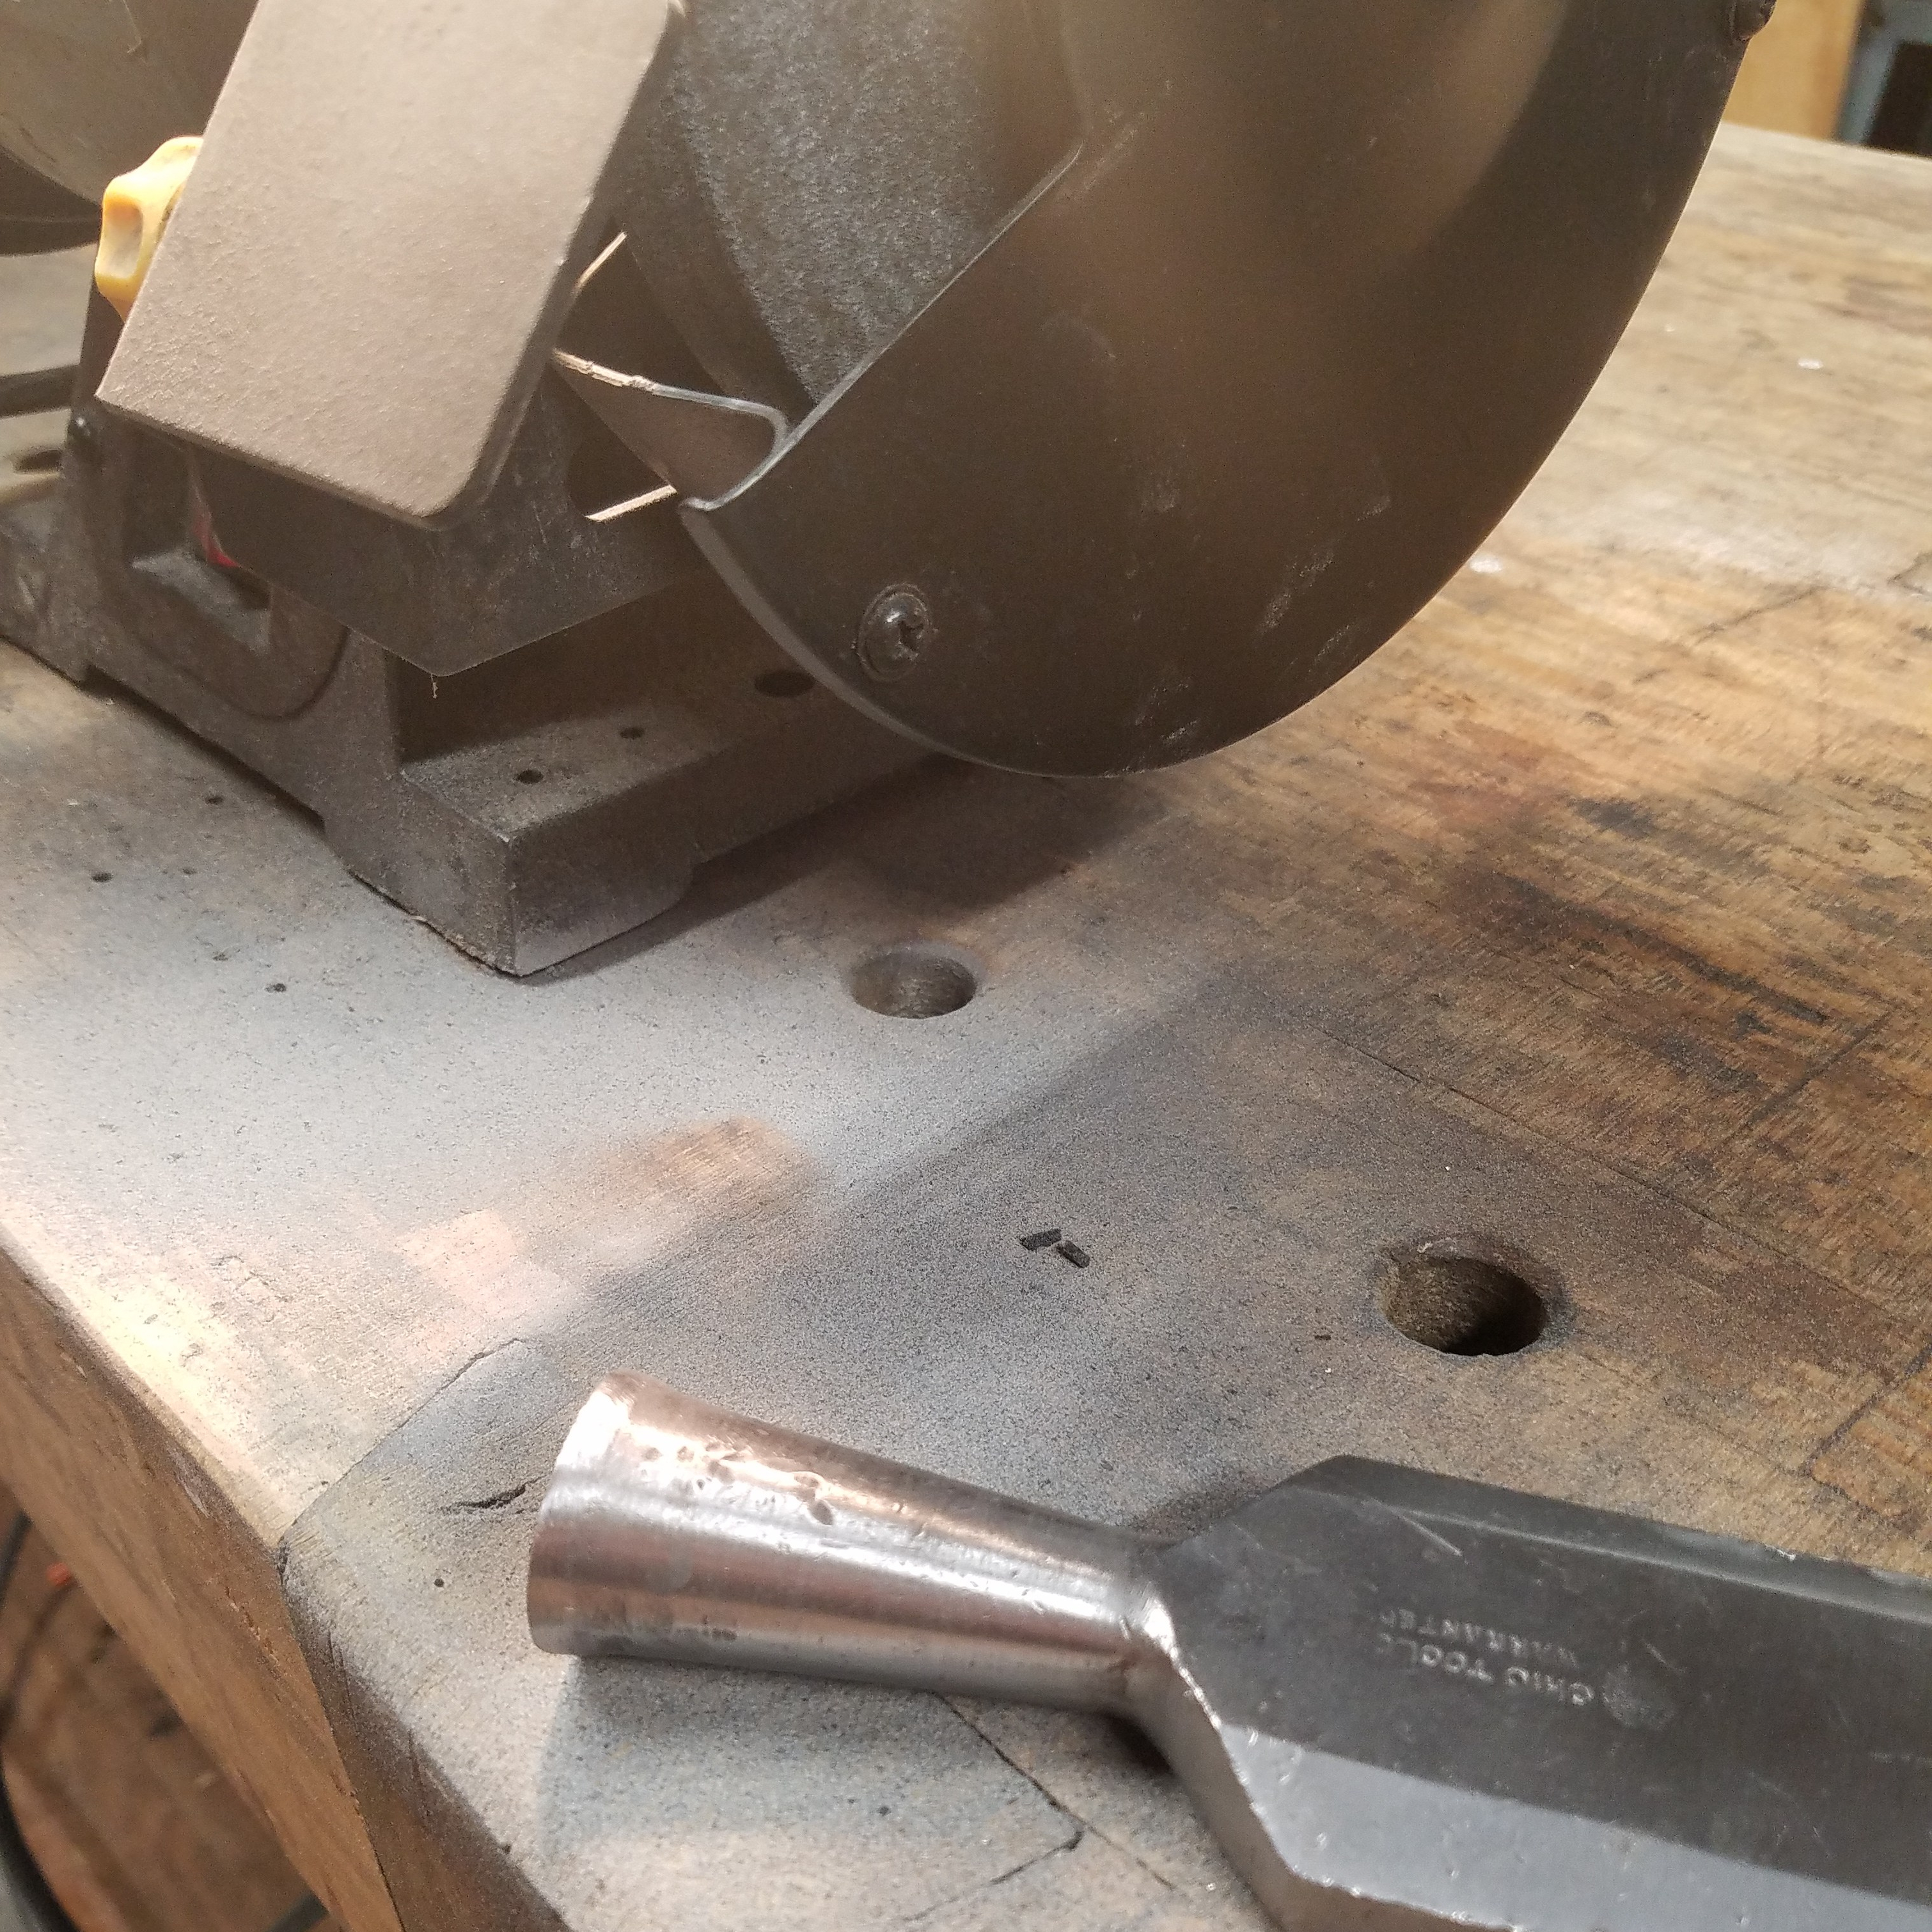
In order to get rid of the mushroomed socket, there was no way I was about to heat up the end of the slick and reform the socket, so I decided just to grind the mushrooming away on my bench grinder. I figured I lost about a 1/4″ to 3/8″ of the total length of the socket grinding away the mushrooming.

20180814_175348.jpg

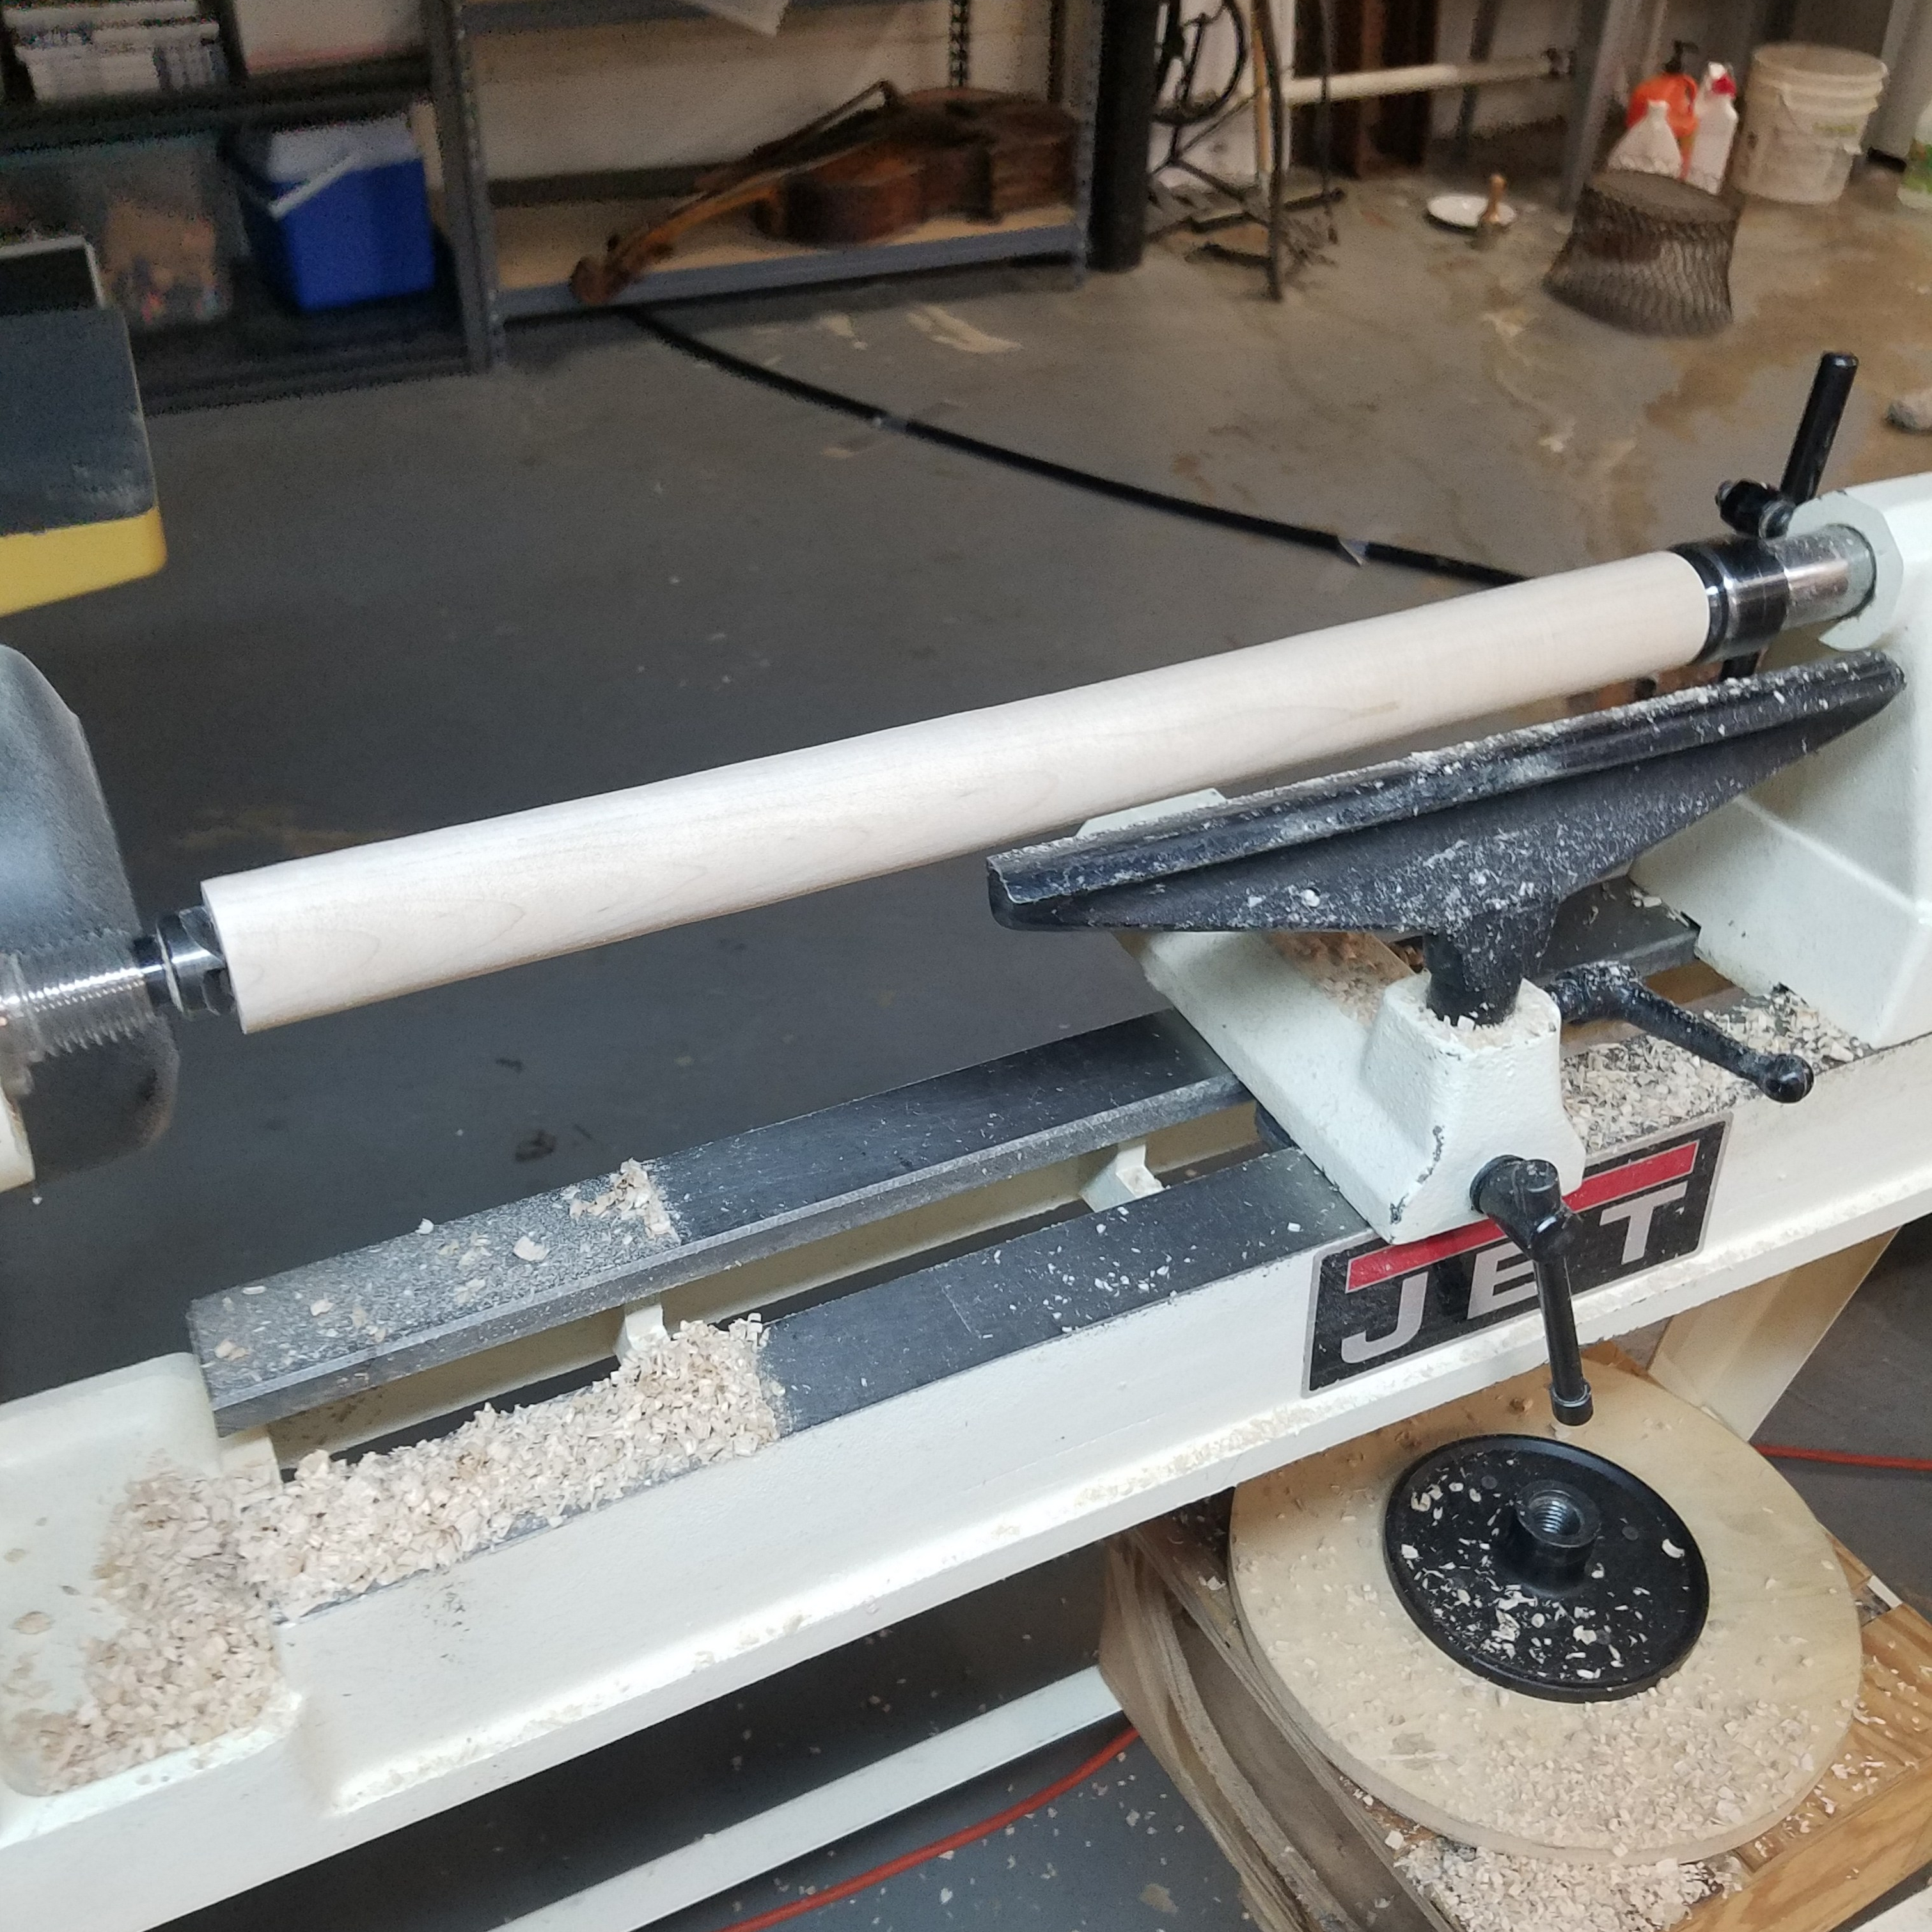
I grabbed a piece of 1 1/2′ maple and turned a handle that was about 16″ long. I looked in an antique tool catalog for a picture of a slick’s handle that I could use as a pattern. It was a very simple design with a knob on the end and a slight curve in the middle. This photo is the wood before I turned it to shape.

20180814_181112.jpg


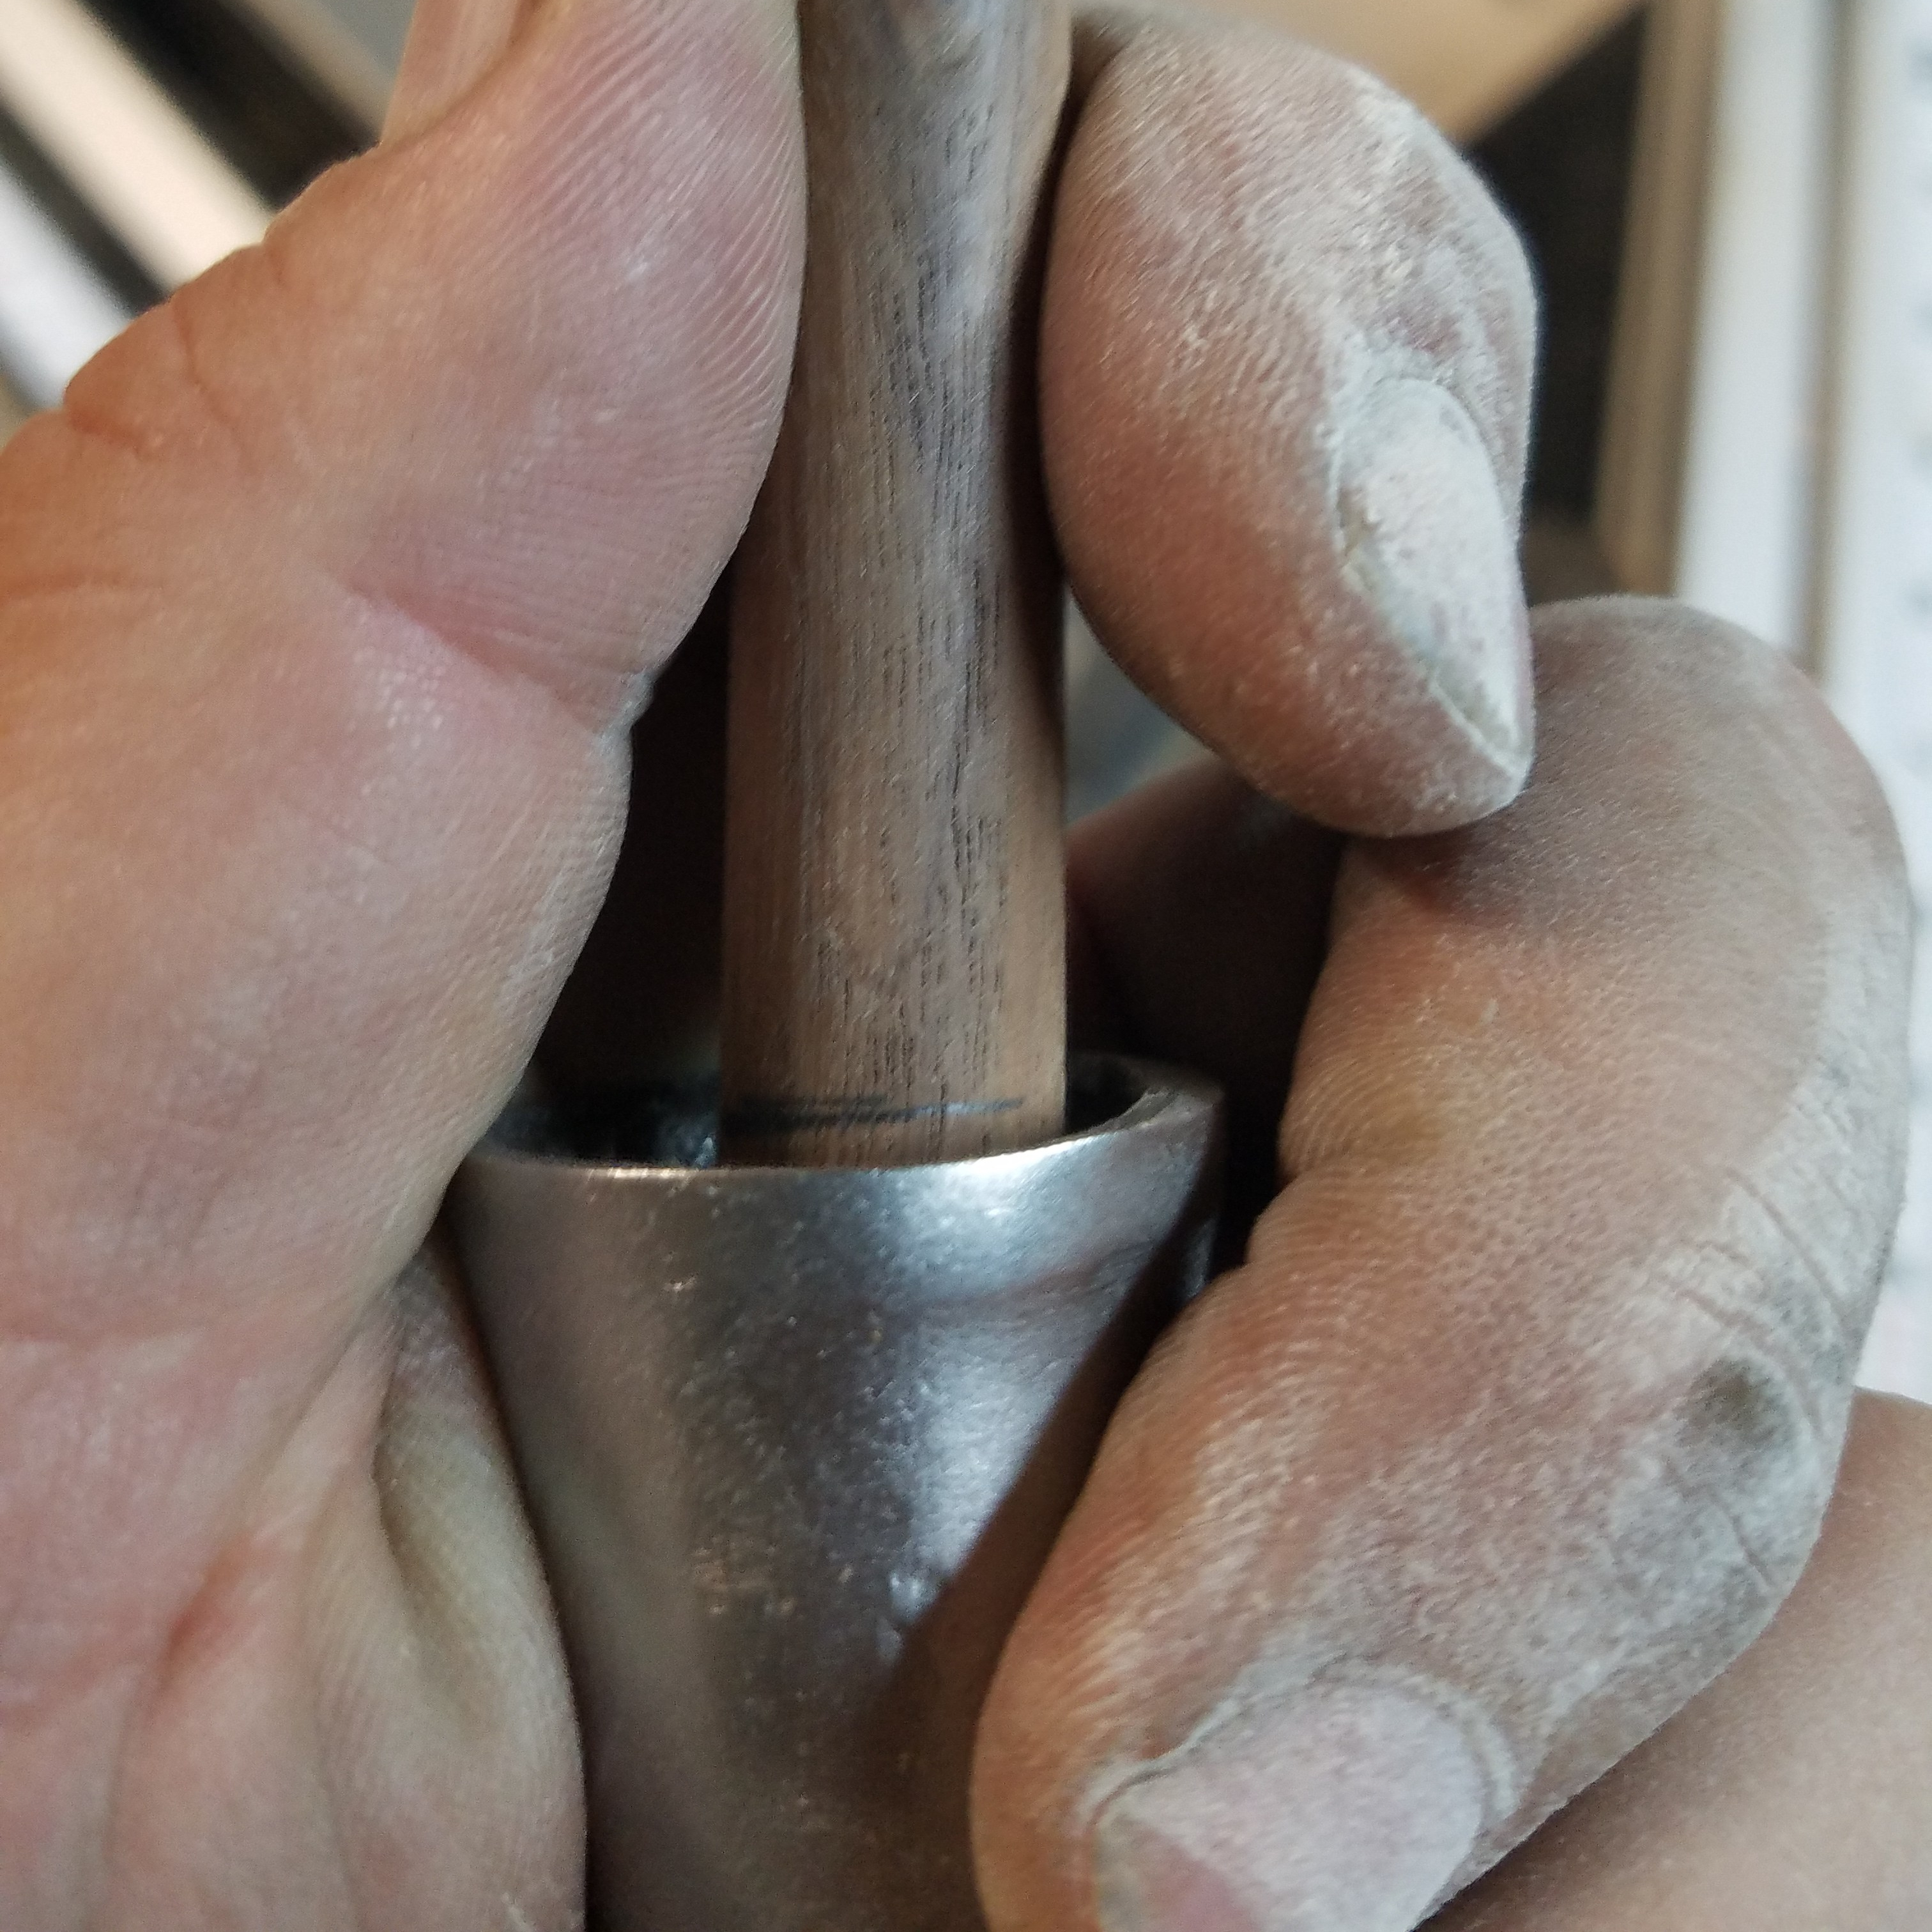
The trickiest part about making a new handle for a chisel or slick is to measure the angle and thickness of the taper to properly fit in the socket. I took a 1/2″ thick dowel and placed it down the center of the socket and marked the top with a pencil. This gave me the length of the taper.

20180814_183209.jpg

Setting my calipers to  1/2″ to turned the bottom of the handle until the calipers slipped by.

20180814_183640.jpg

Next, I measured the diameter of the hole at the top of the socket and set my calipers to that measurement, then shaved down the wood until the calipers slid pass. This gave me the length and the proper shape of the inside of the socket.

20180817_204138.jpg

20180814_183826.jpg

After I cut the handle from the lathe, I sanded the end of the knob and hit the handle down into the socket with a wooden mallet. This is the trickiest part of the operation as you really don’t get a second shot. Once the wood seats inside the socket, it’s not coming out. The socket was slightly oval inside from all the whacking by the Amish guy, so the handle was tough to fit all the way down, but it still solidly seated in there.

20180814_185124.jpg

Next, I focused on the blade and sharpened it on my grinder and honed the edge with my water stones. I used 1000, 6000, and 12000 grit water stones respectfully.

20180814_185934.jpg

I bet it’s been a long time, if ever, since this blade has been this sharp. You can see how the top of the blade is all chewed up. It’s as if the guy used the top of the blade as a plate for tin punching.

IMG_20180814_201332_996.jpg

I flattened the back with my water stones as well. I didn’t go over board with the flattening. Just enough to give a good cut.

20180814_195432.jpg

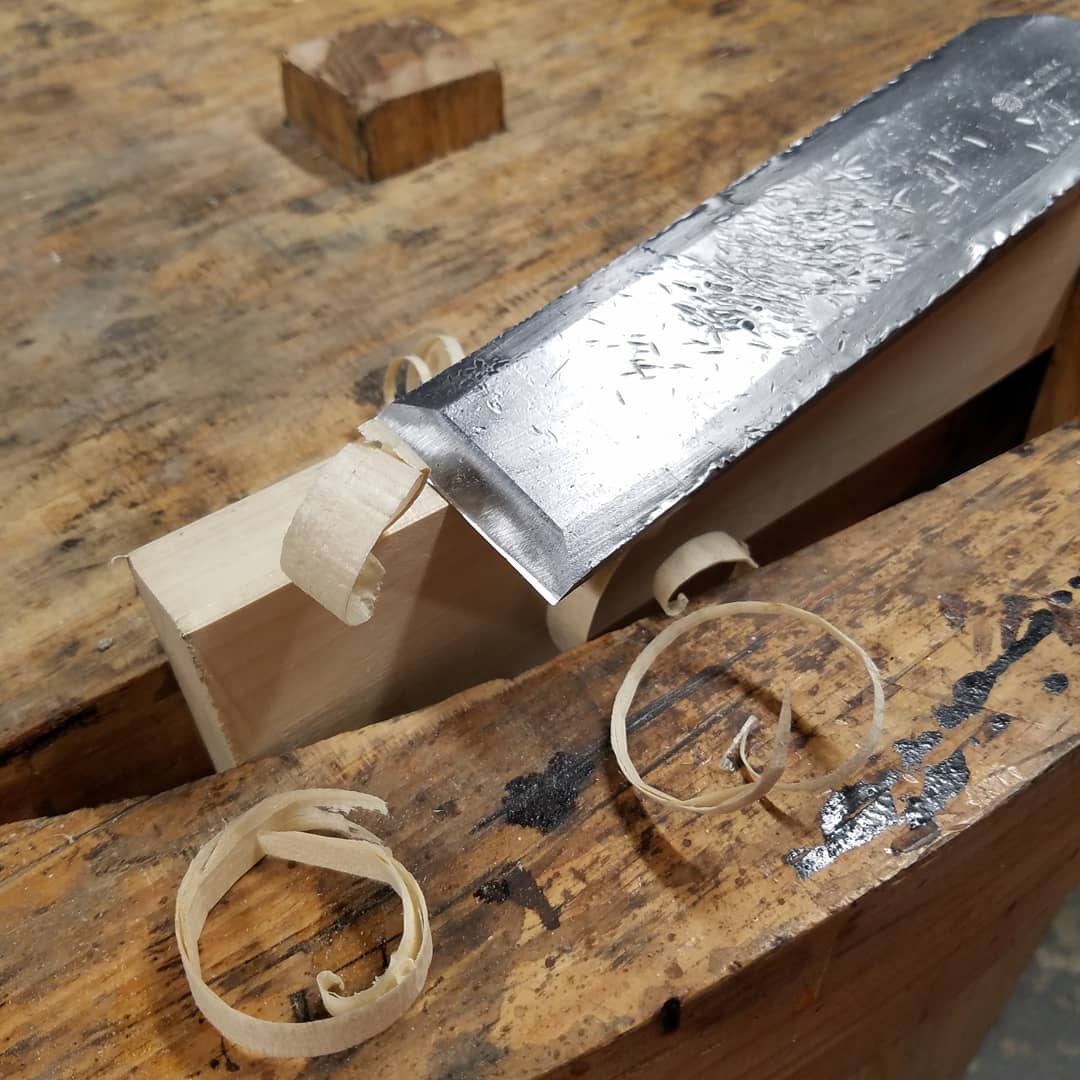
Here’s the slick in use. It cuts wood like butter.

IMG_20180814_201333_006.jpg

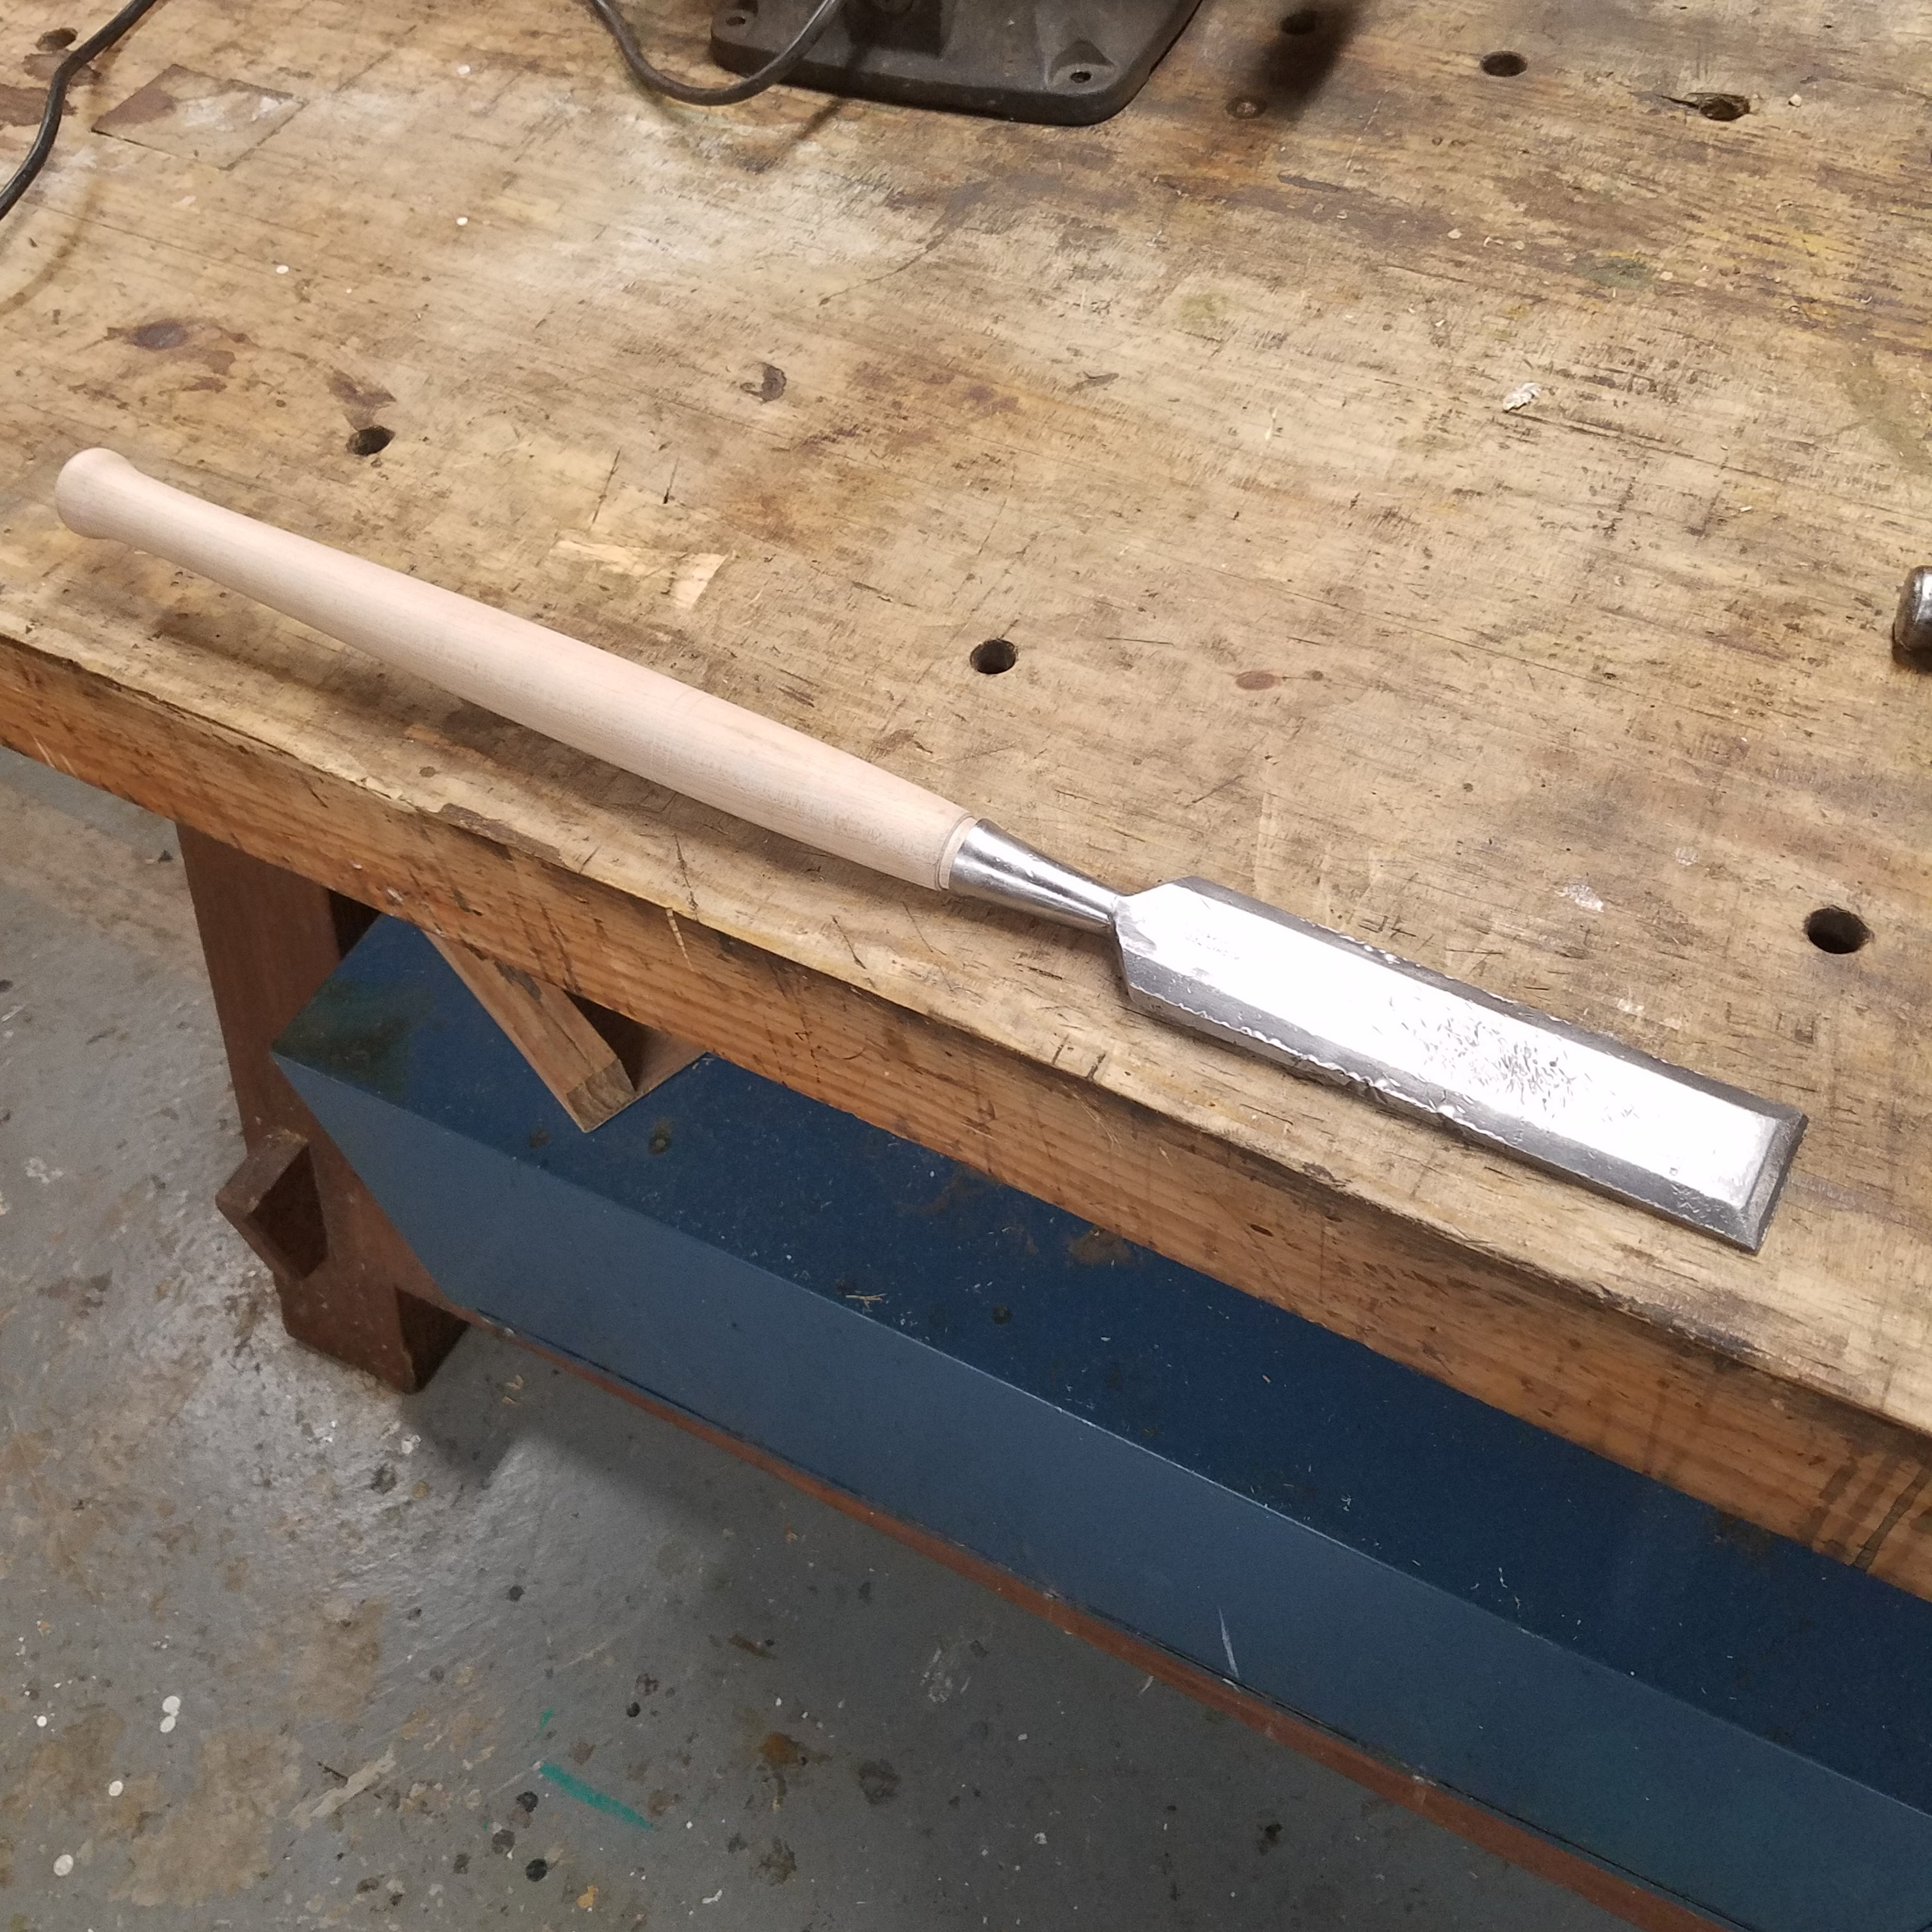
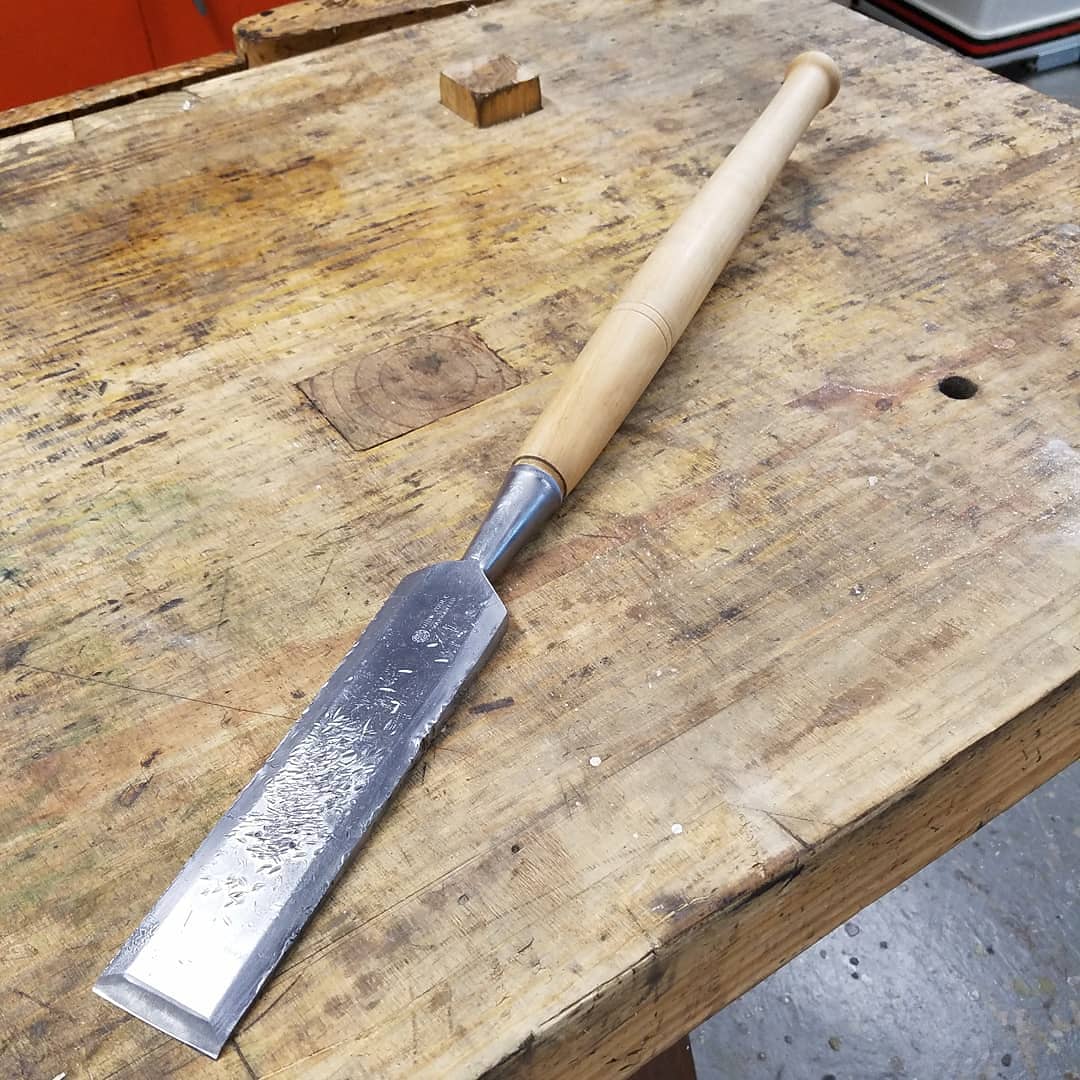
I added hemp oil to the handle to give it some protection. I’m not sure if I will ever use this slick, but it’s nice to have it in case I do.  The best part is restoring it wasn’t that hard as it only took a couple of hours, but the tool will last me a lifetime.

IMG_20180814_201332_990.jpg

My $1.00 Plane

A couple of weekends ago, I went on the World’s Longest Yard Sale on US 127 looking for old tools and other things to sell. Sunday, I ran across a guy selling junk just north of Cincinnati and saw this plane on a table. The guy told me that his prices were negotiable so I asked what he wanted for this plane. He told me $2.00, but I countered that I would give him a buck for it and he accepted. I really didn’t need it, but I wanted to buy something during the day. The blade was marked Van Camp which I believe was a hardware store back in the day however, the plane was more likely made by the Sargent Tool Company.

20180805_151950.jpg

Every time I restore a tool, I start by sticking the parts in a tub of water with a cup of citric acid. I let the parts soak for about an hour and then wipe them clean once I take them out of the solution.

20180811_161149.jpg

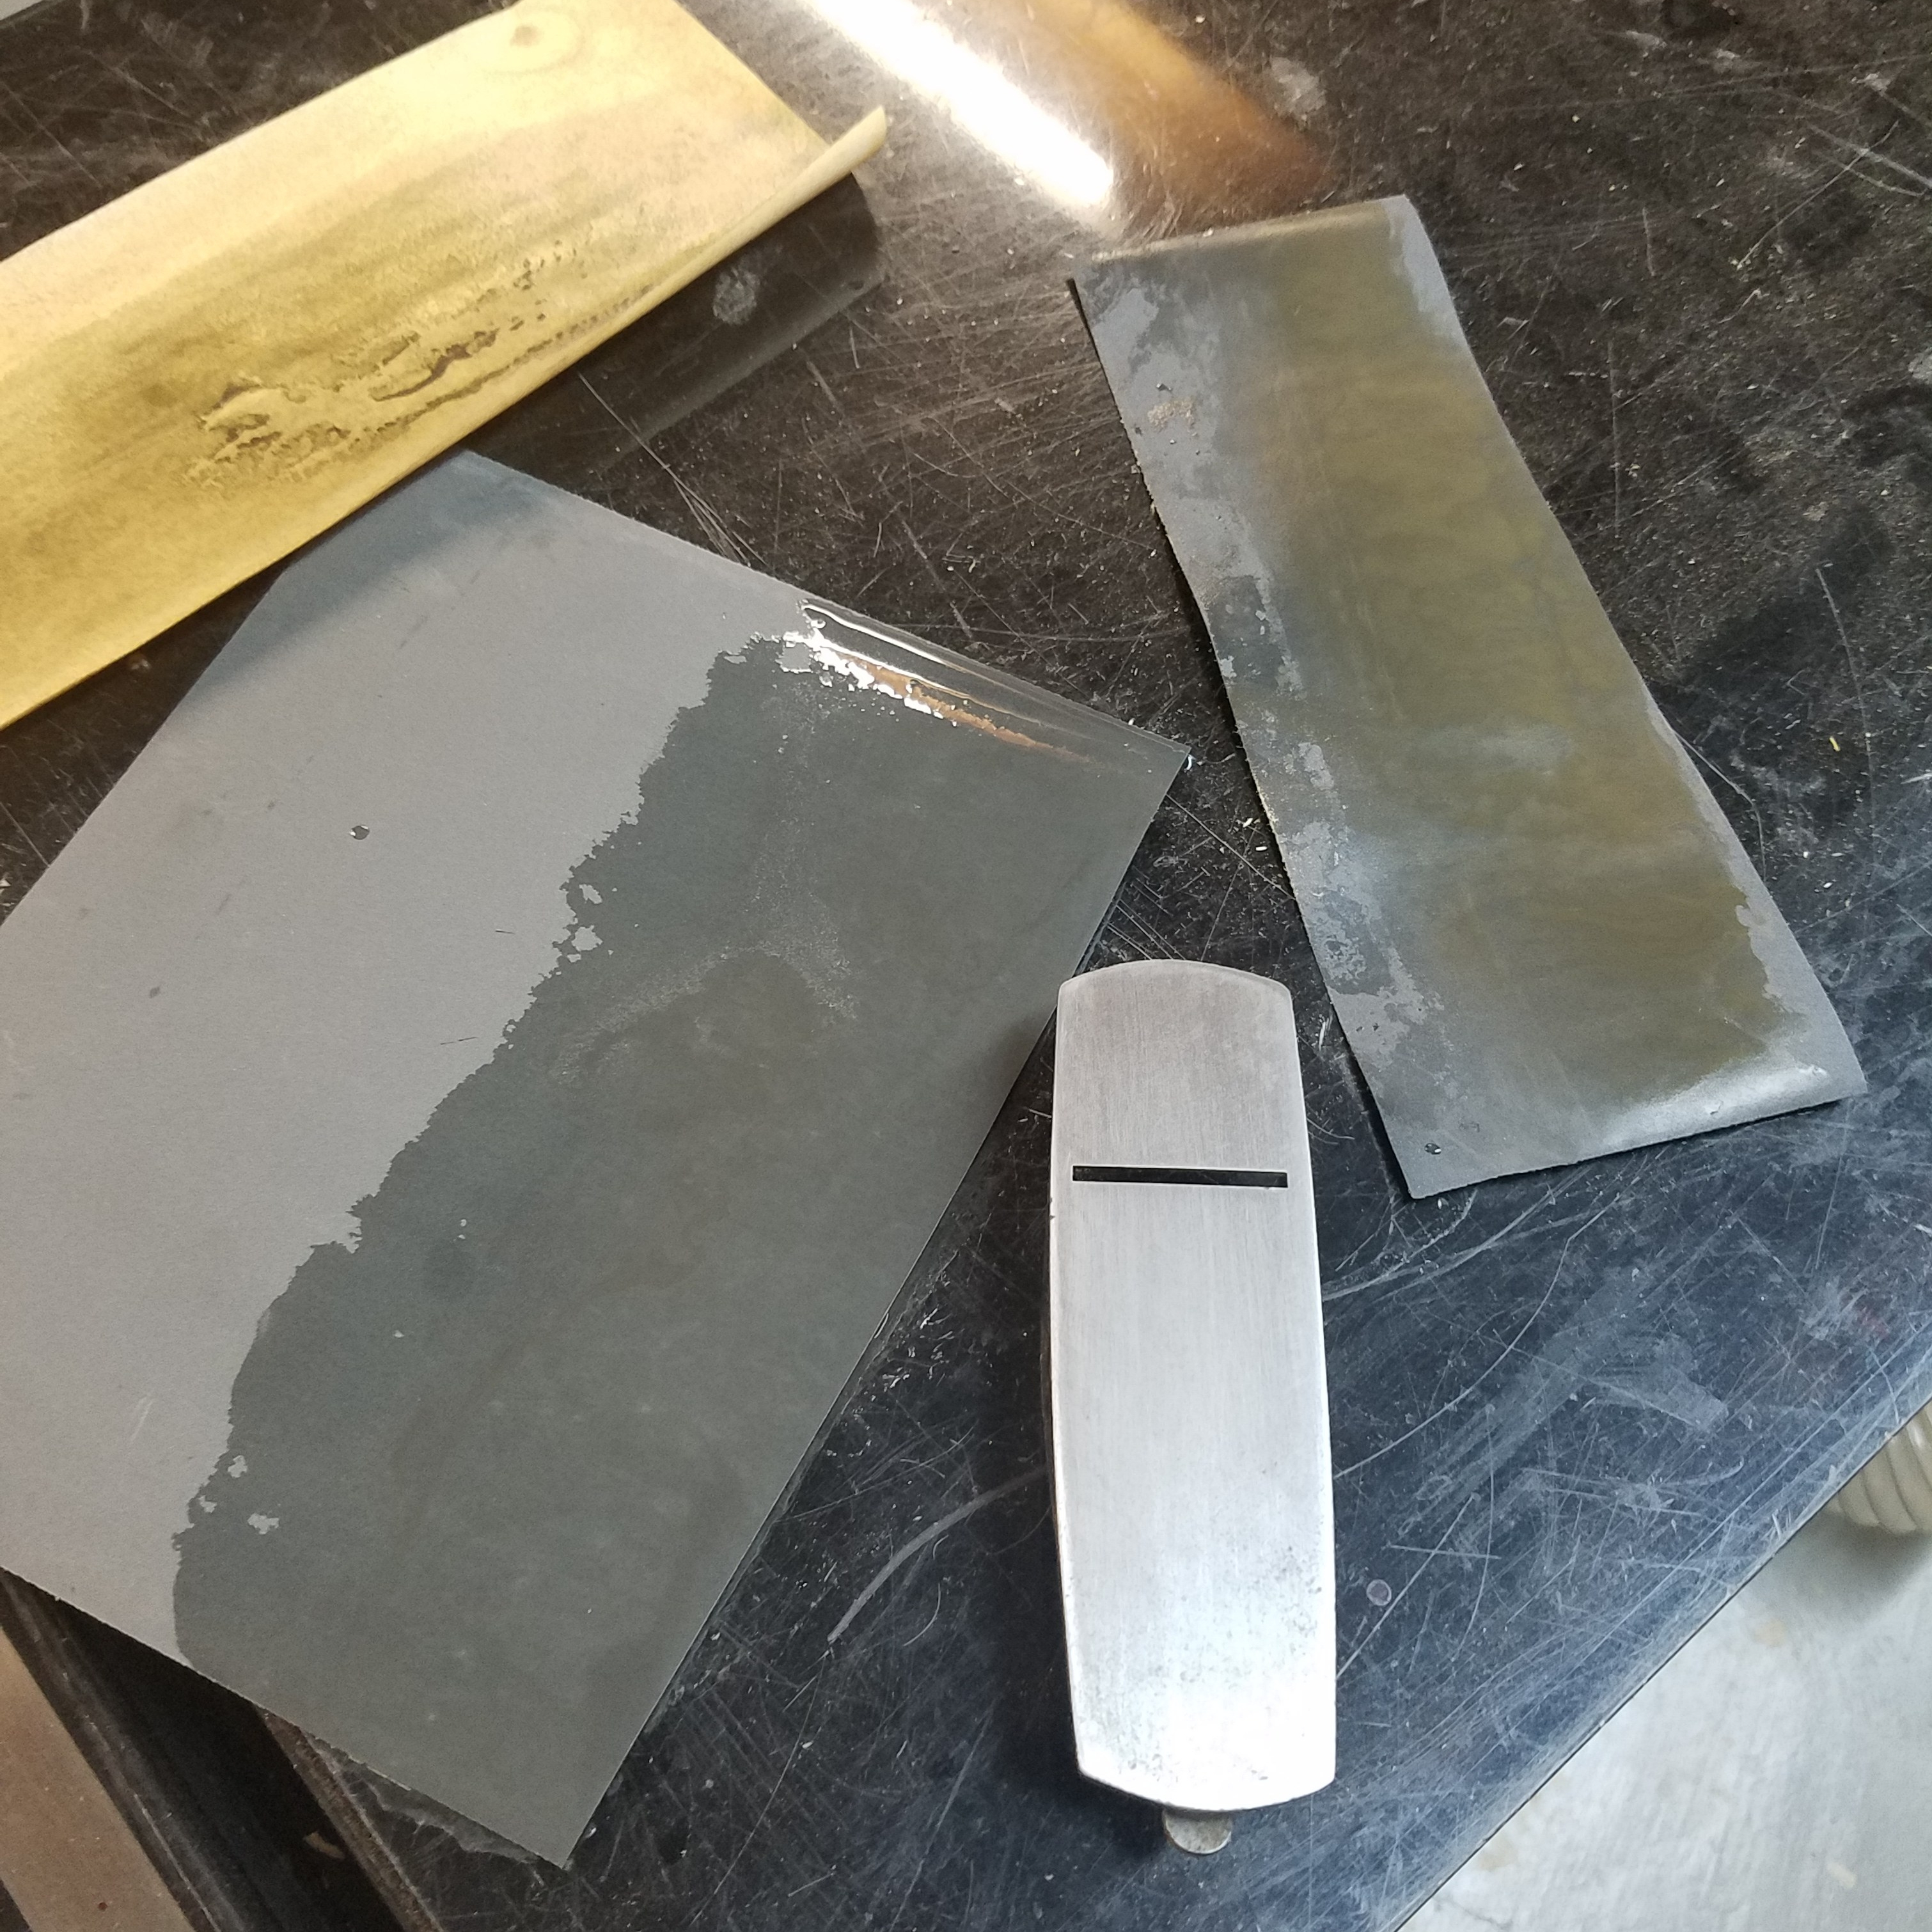
I took the time to fettle the bed since the plane’s body was so small. Honestly, I don’t think the bed was that bad to deserve to be fettled, but I was in the mood. I went through a series of wet sand paper grits, from 220 to 500 to 1000 grit.

20180811_162631.jpg

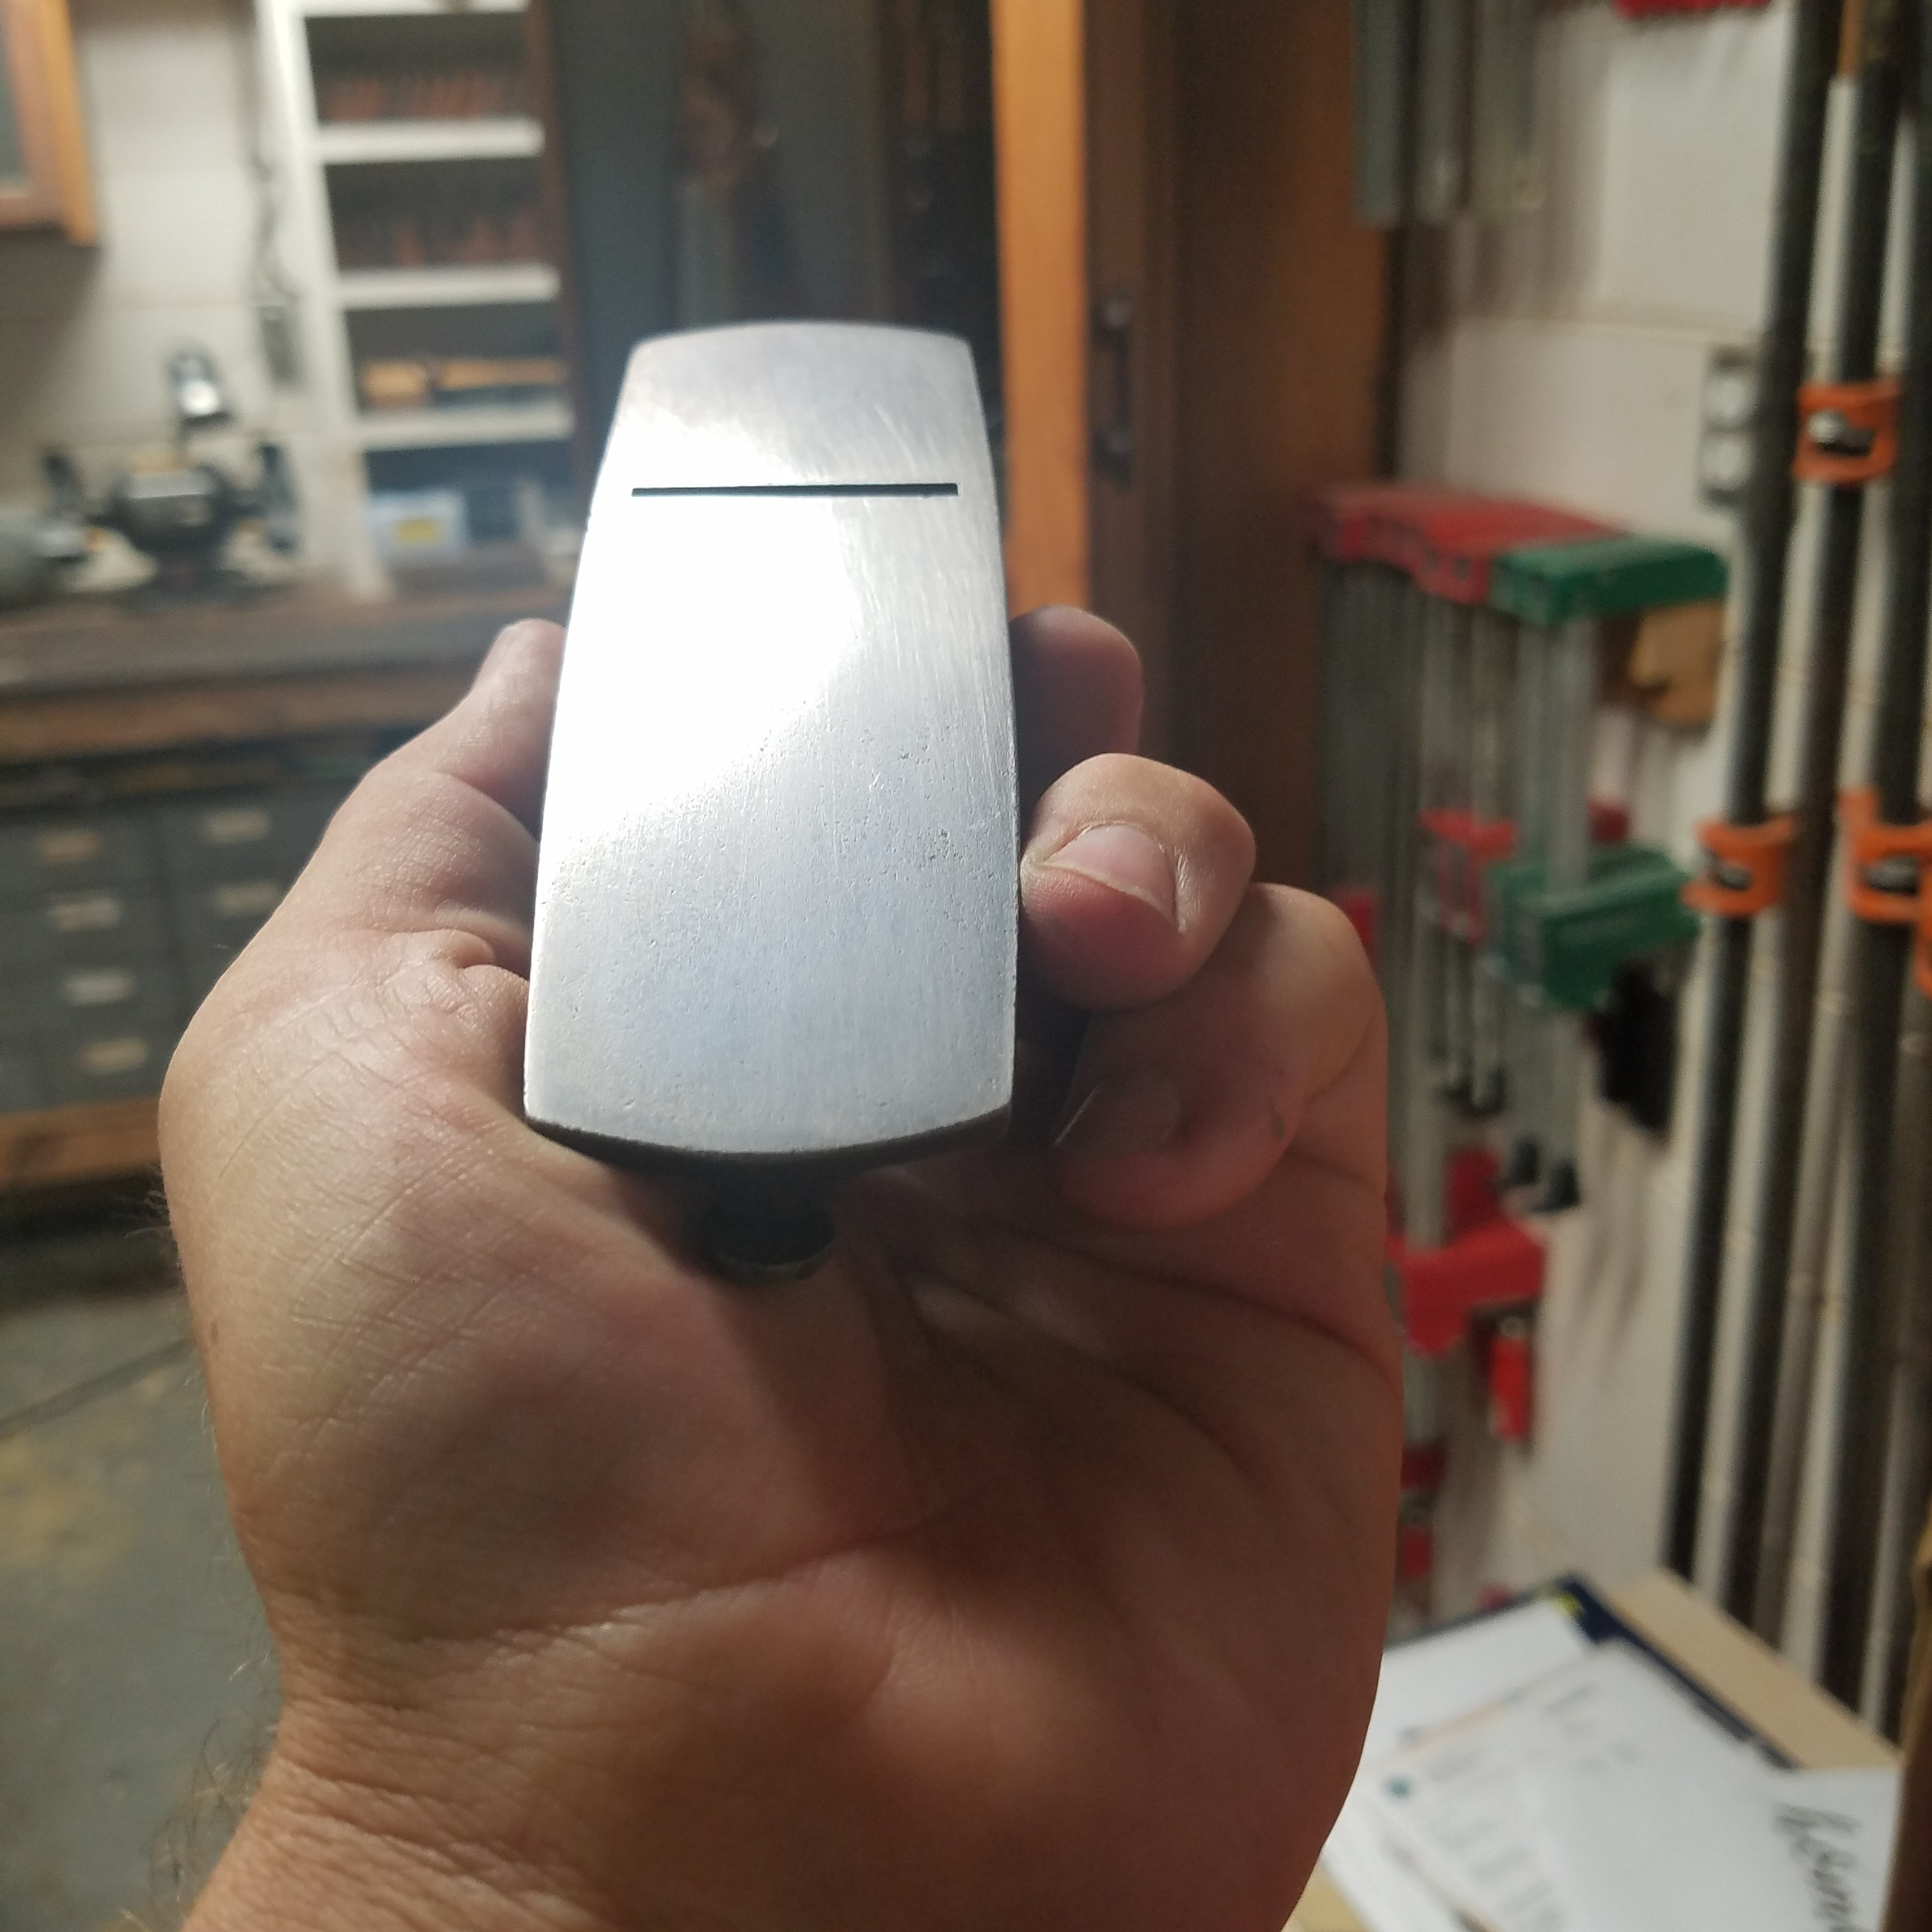
You can see the smoothness of the bed when shown through the light. The bed doesn’t have to be completely free of pitting, just flat enough from front to back.

20180812_165832.jpg

After the bed was fettled, I soaked all the parts of the plane with my custom solution of mineral oil, orange oil, and melted bees-wax.

20180811_163717.jpg

Next, I sharpened the blade by using my Tormek sharpening system and a set of water stones. I was able to shave the hairs on my arm with this blade.

20180812_165801.jpg

All tuned up, the plane takes nice curly shavings. Not bad for a buck.

20180812_180847.jpg

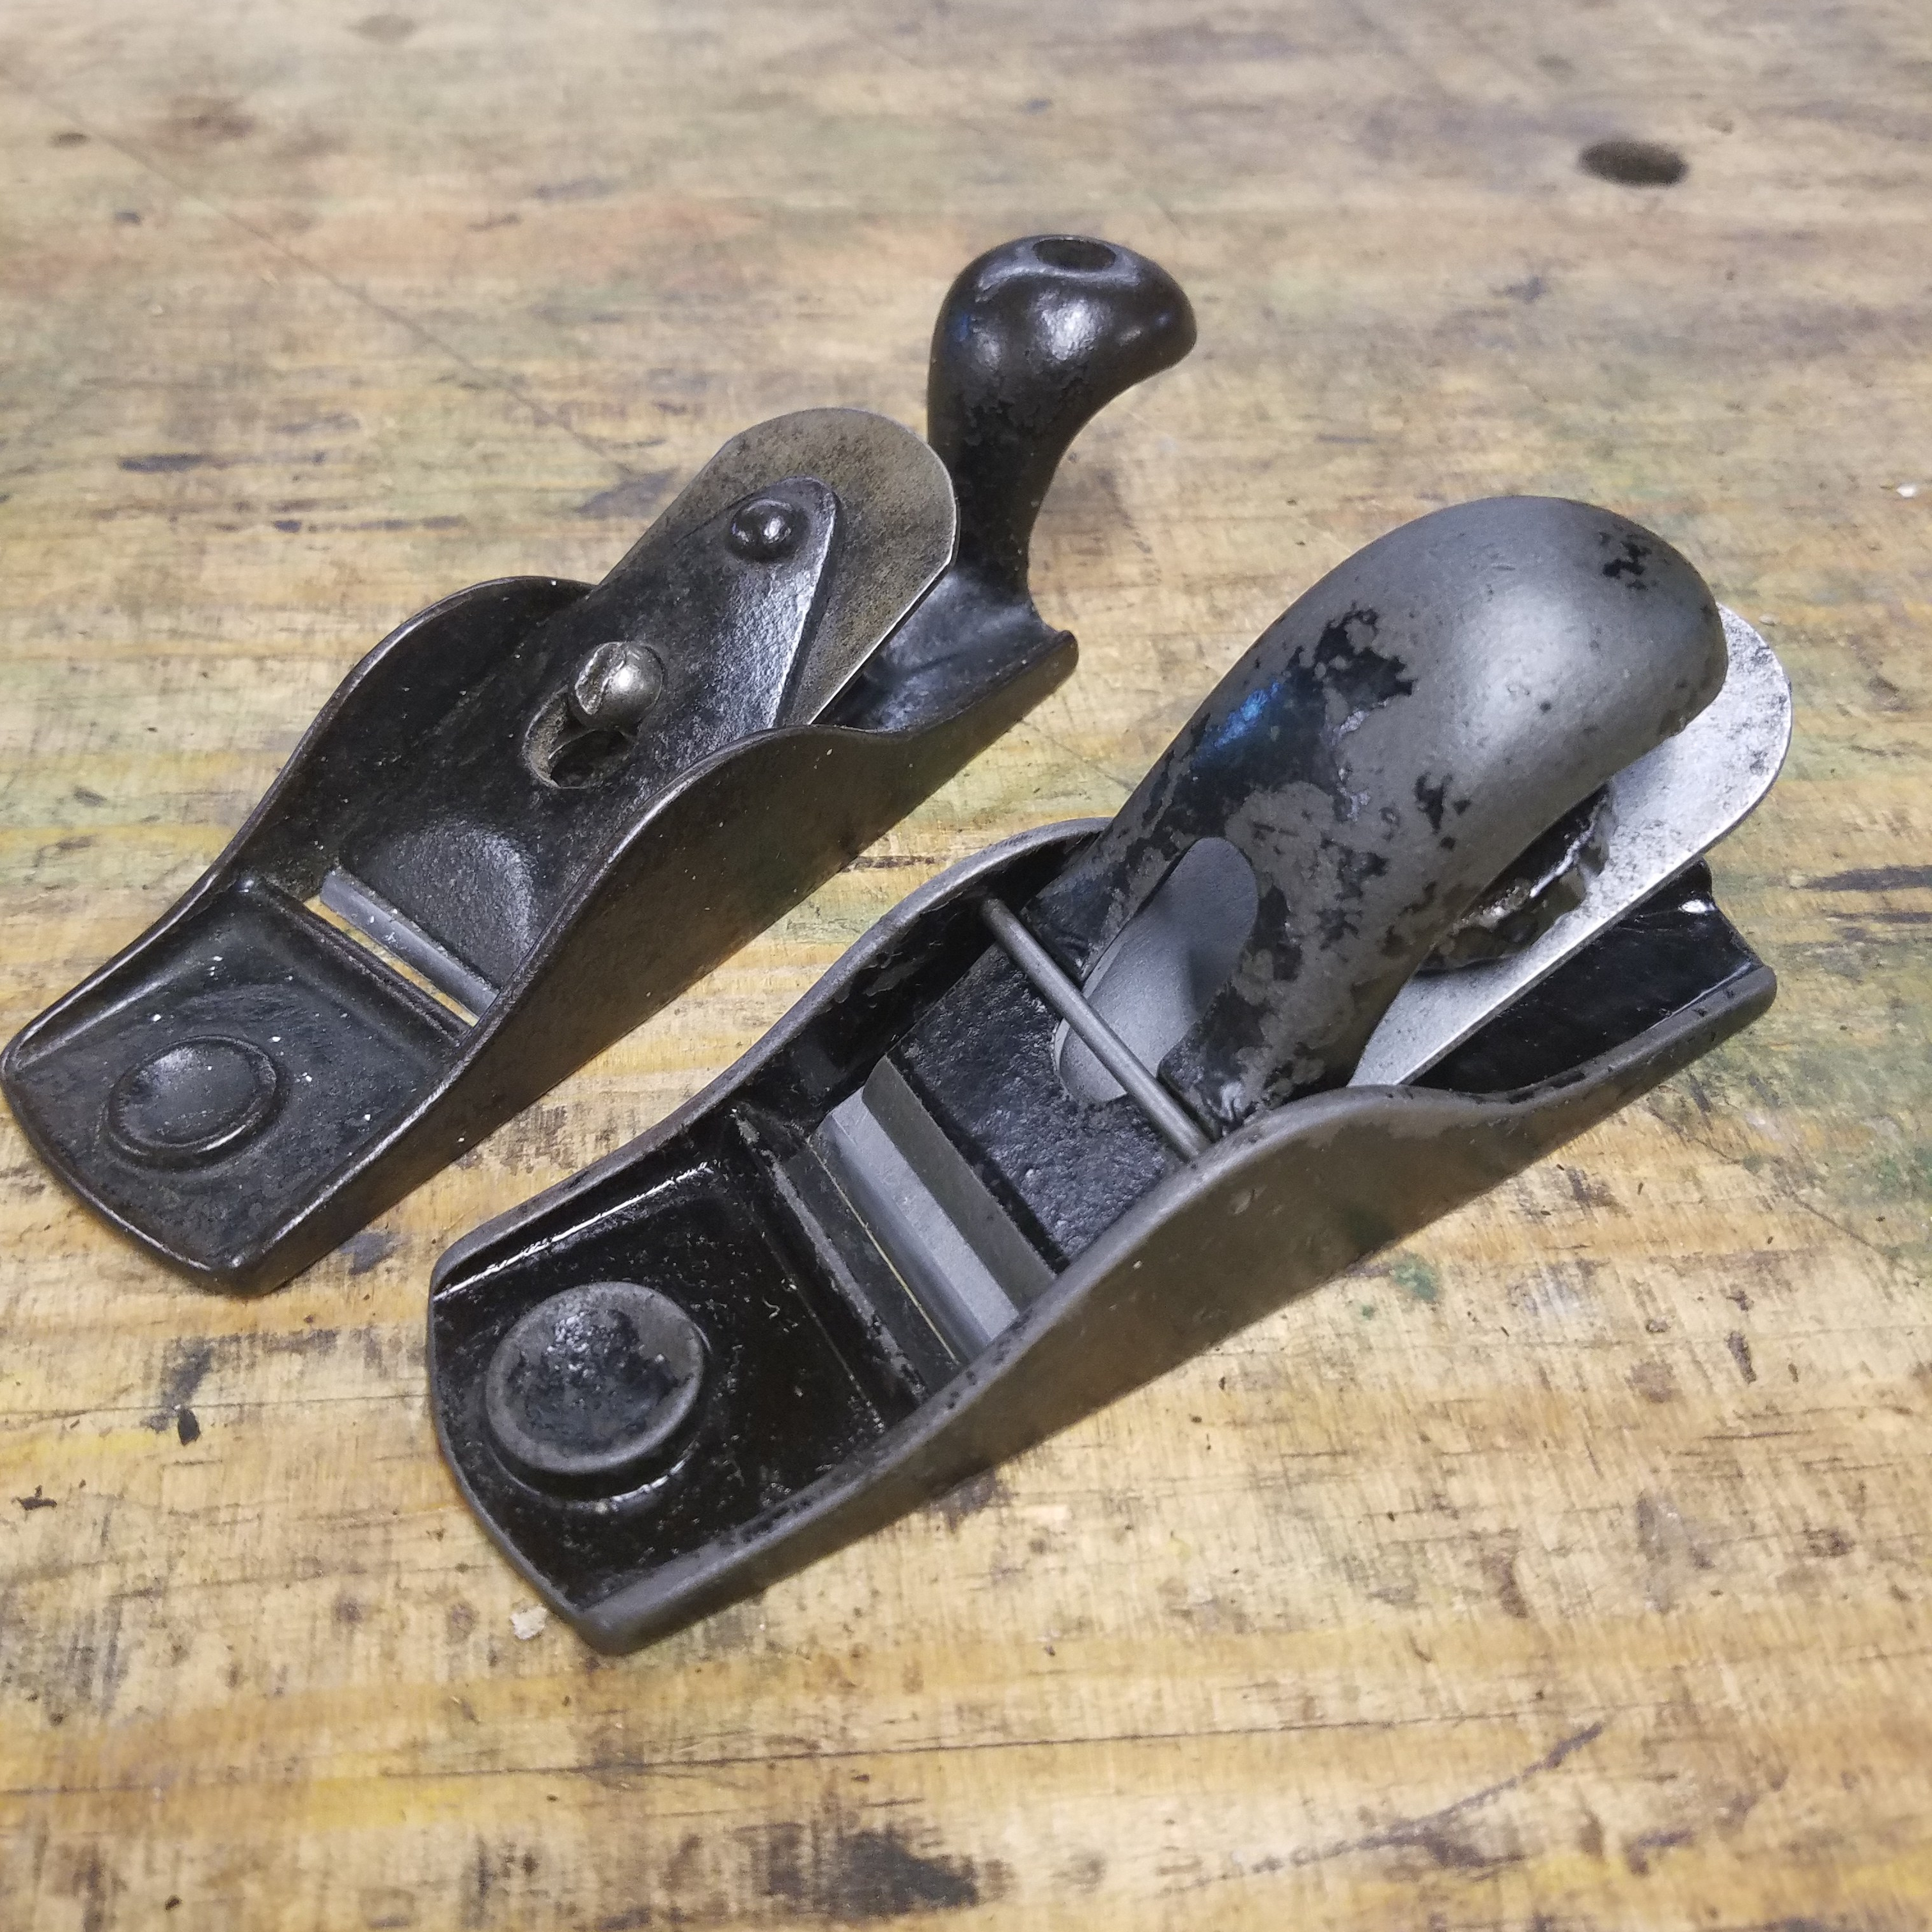
For years I used this squirrel tailed plane. It works okay but the shavings are not that clean and it’s a pain in the ass to set properly with the screw and cap.

20180812_165945.jpg

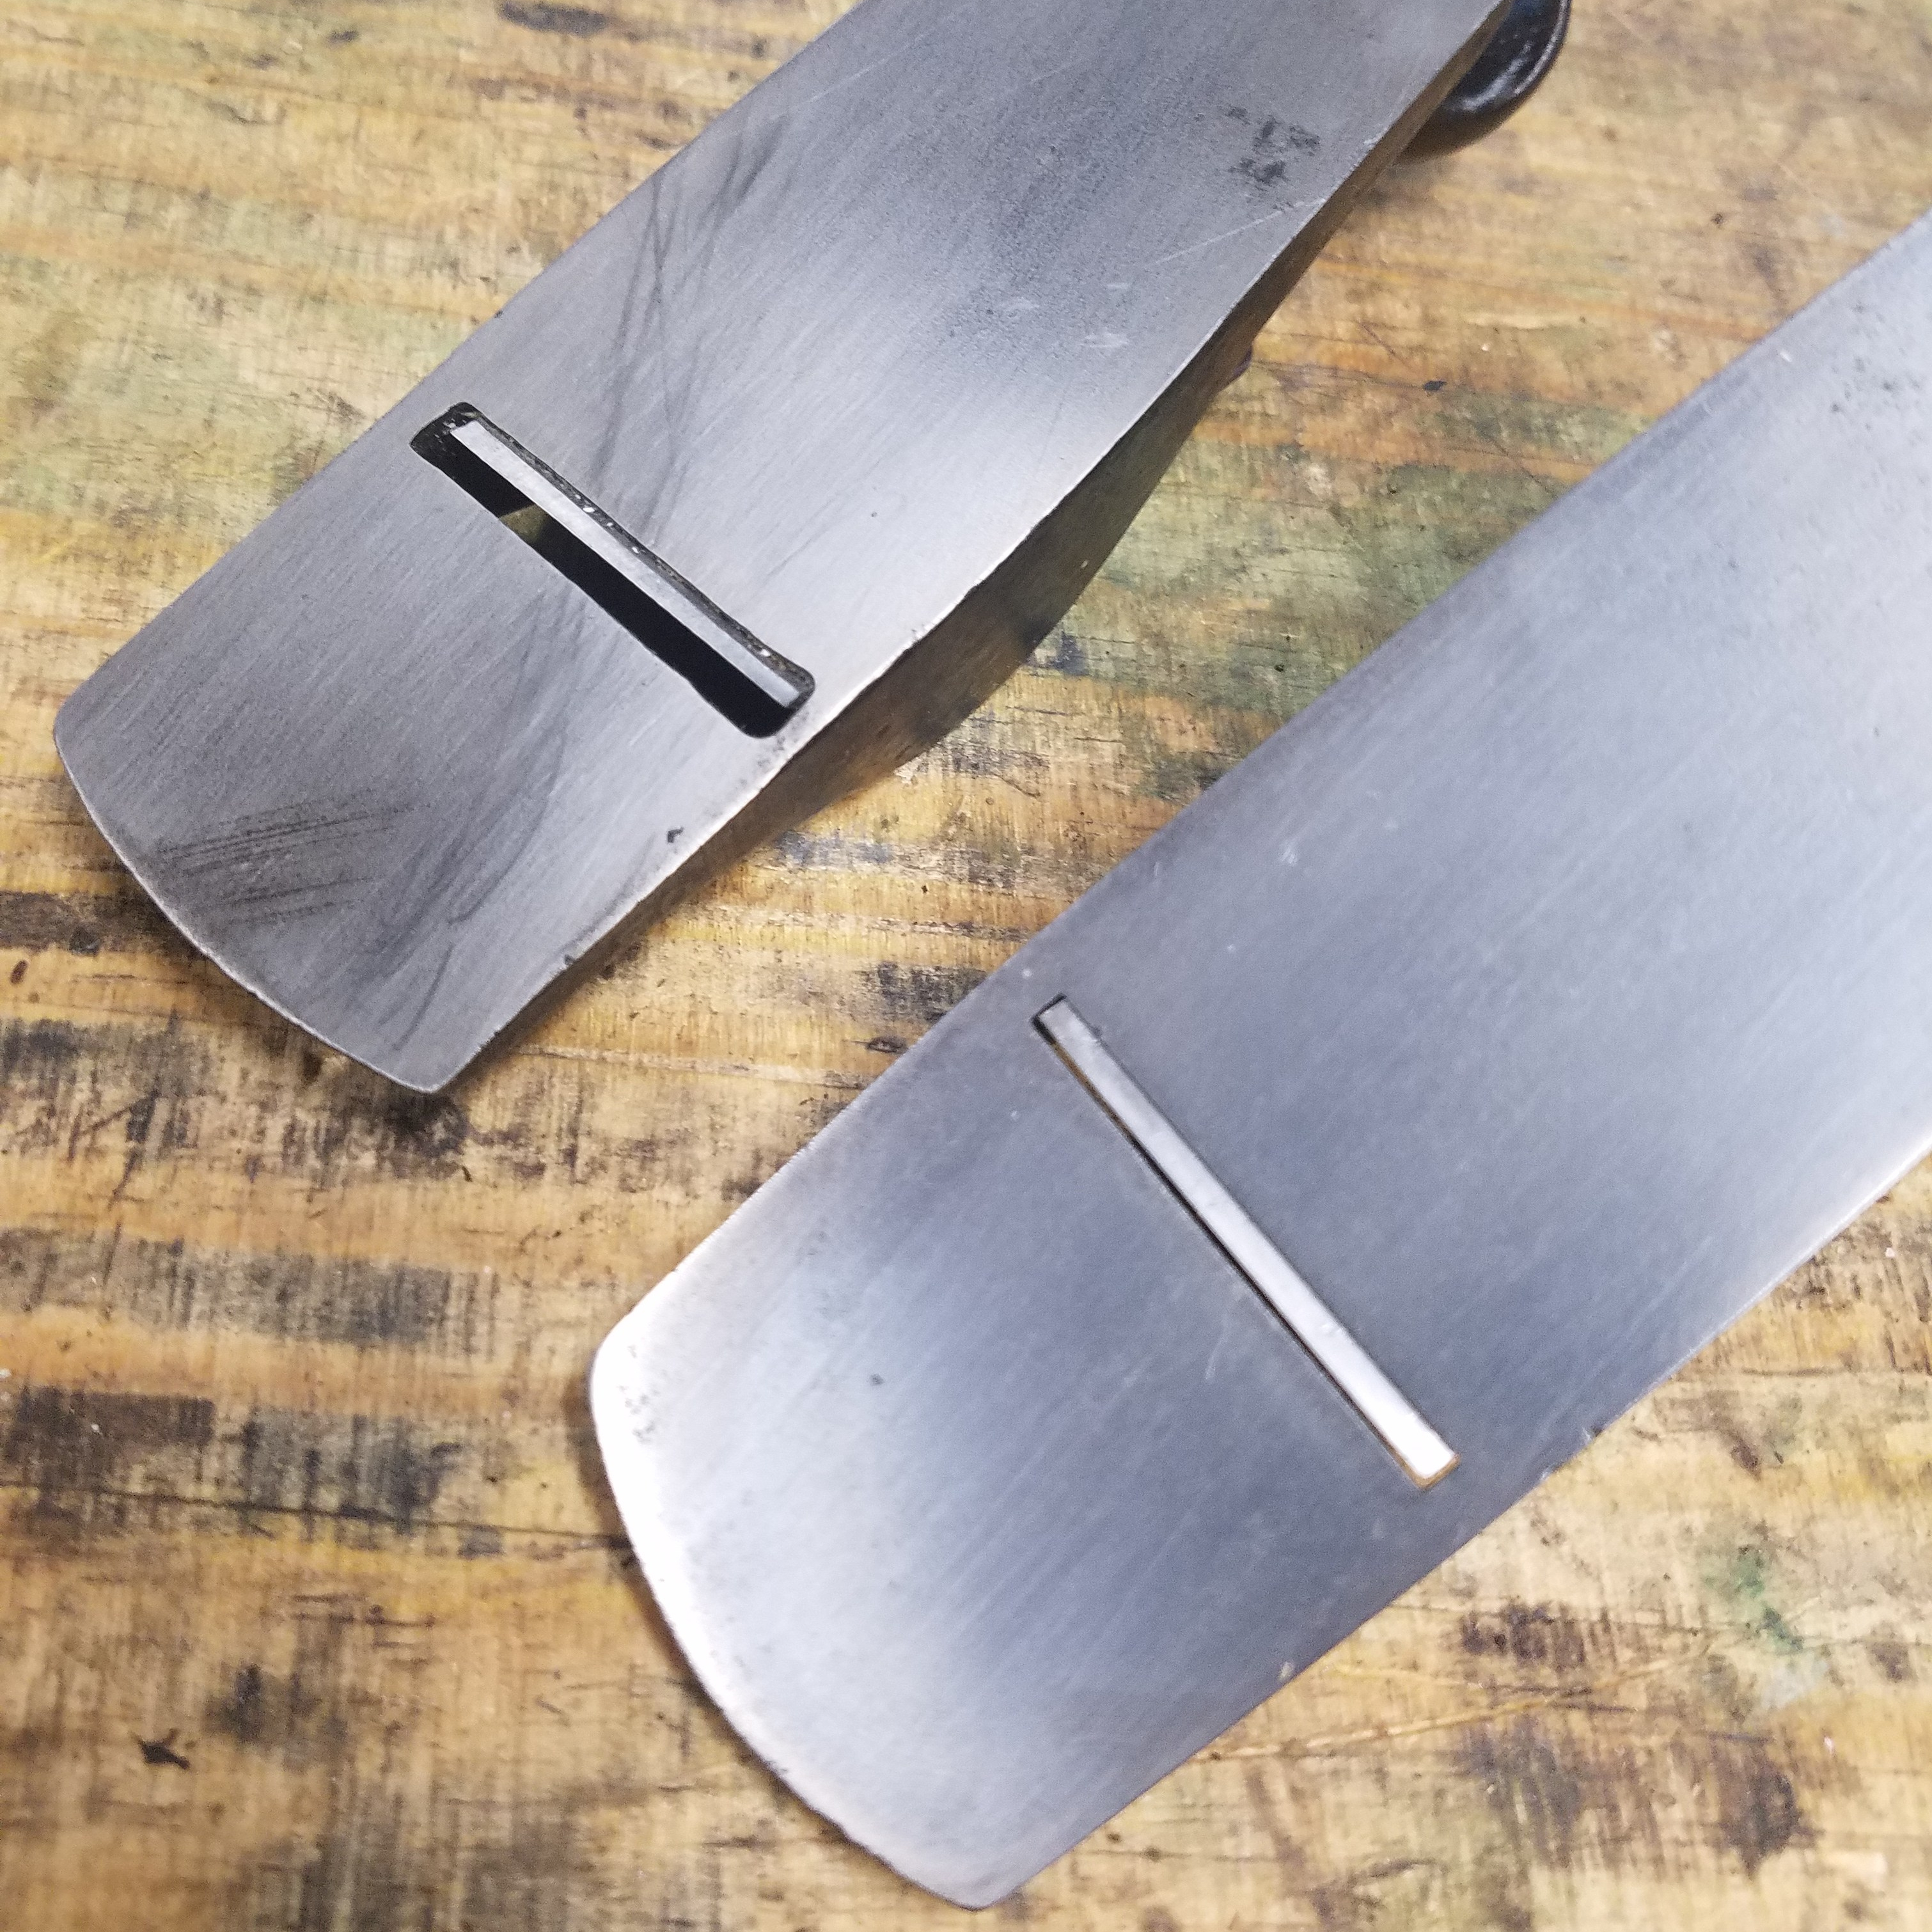
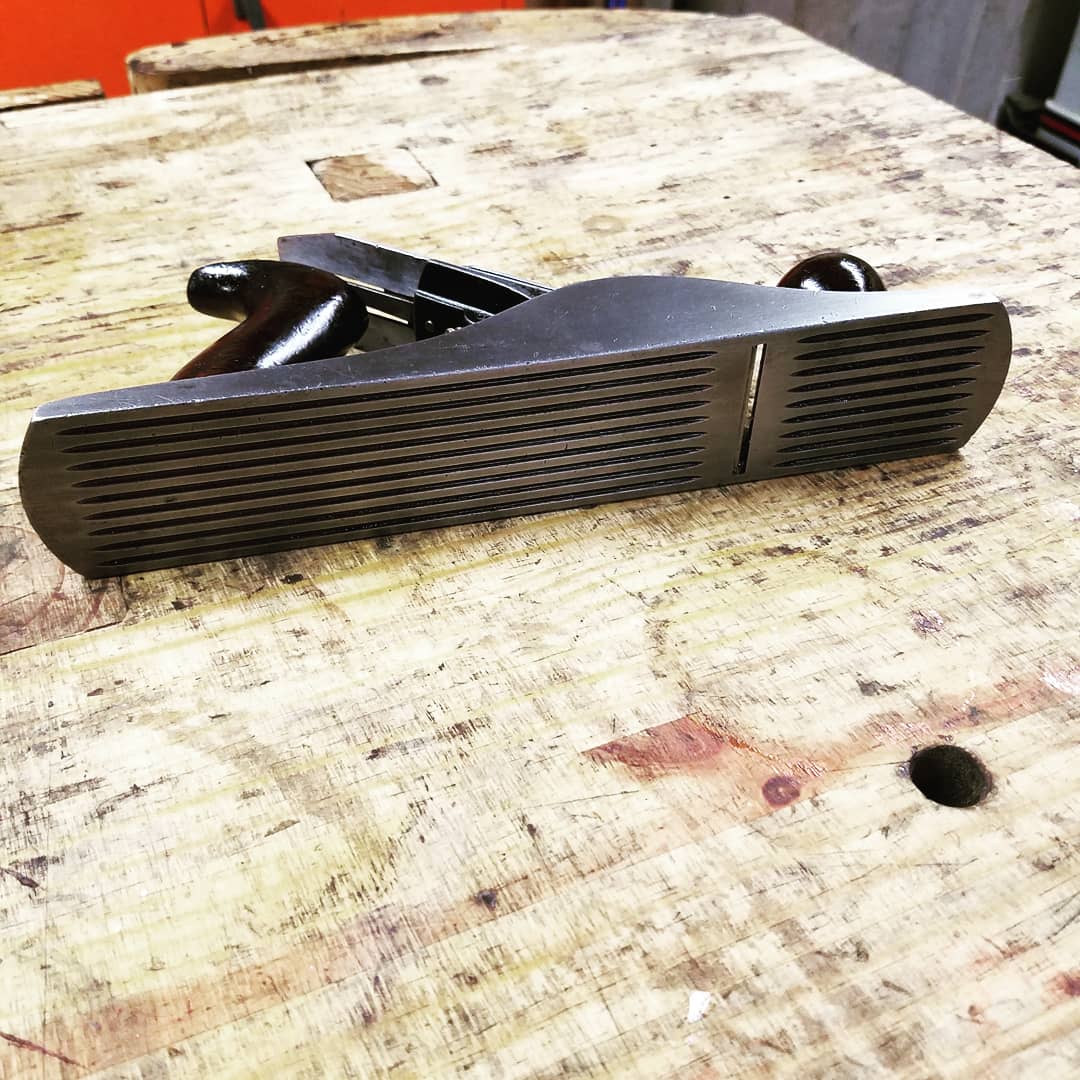
You can see the difference when you flip the two over. The area of the mouth is a lot tighter on my buck plane than the squirrel tail plane. The tight mouth keeps the wood fibers pressed down just until they hit the edge of the blade giving me a nicer shaving.

20180812_170008.jpg

My new plane still fits nicely in the holder where my old squirrel tailed plane sat. Maybe I should have given the guy $2.00. haha

20180812_180731.jpg

The World’s Longest Yard Sale 2018

This weekend, my wife and I went back on the World’s Longest Yard Sale. If you’re not familiar with the sale, it runs the first weekend in August on US 127 from Michigan down to Alabama. In years’ past, we would head down to Chattanooga, TN to stay the night, then work our way home staying another night in Lexington, KY, but this year we decided just to make day trips and head back home at night.

This banner hangs in Mainstrassa Village in Covington, KY just a few blocks from the Lost Art Press. Many years ago, the yard sale started here, but in recent years Ohio and Michigan started to participate.

img_20180803_092048_113.jpg

Heading down US 127, there will be areas set up every few miles down the road with vendors. Since we’ve done this sale for years, we know where the good stops are, but some of the smaller areas may have some of the best deals as those are true yard-salers selling their crap and not professional antique dealers selling their prize possessions for top dollar.

20180803_121834.jpg

You’ll get a bit of everything at this sale. From antiques, to used tires, to baby toys, to a whole bunch of used clothes. It is after all a yard sale, so take your normal Saturday afternoon yard sale and times it by 690 miles.

20180803_171112.jpg

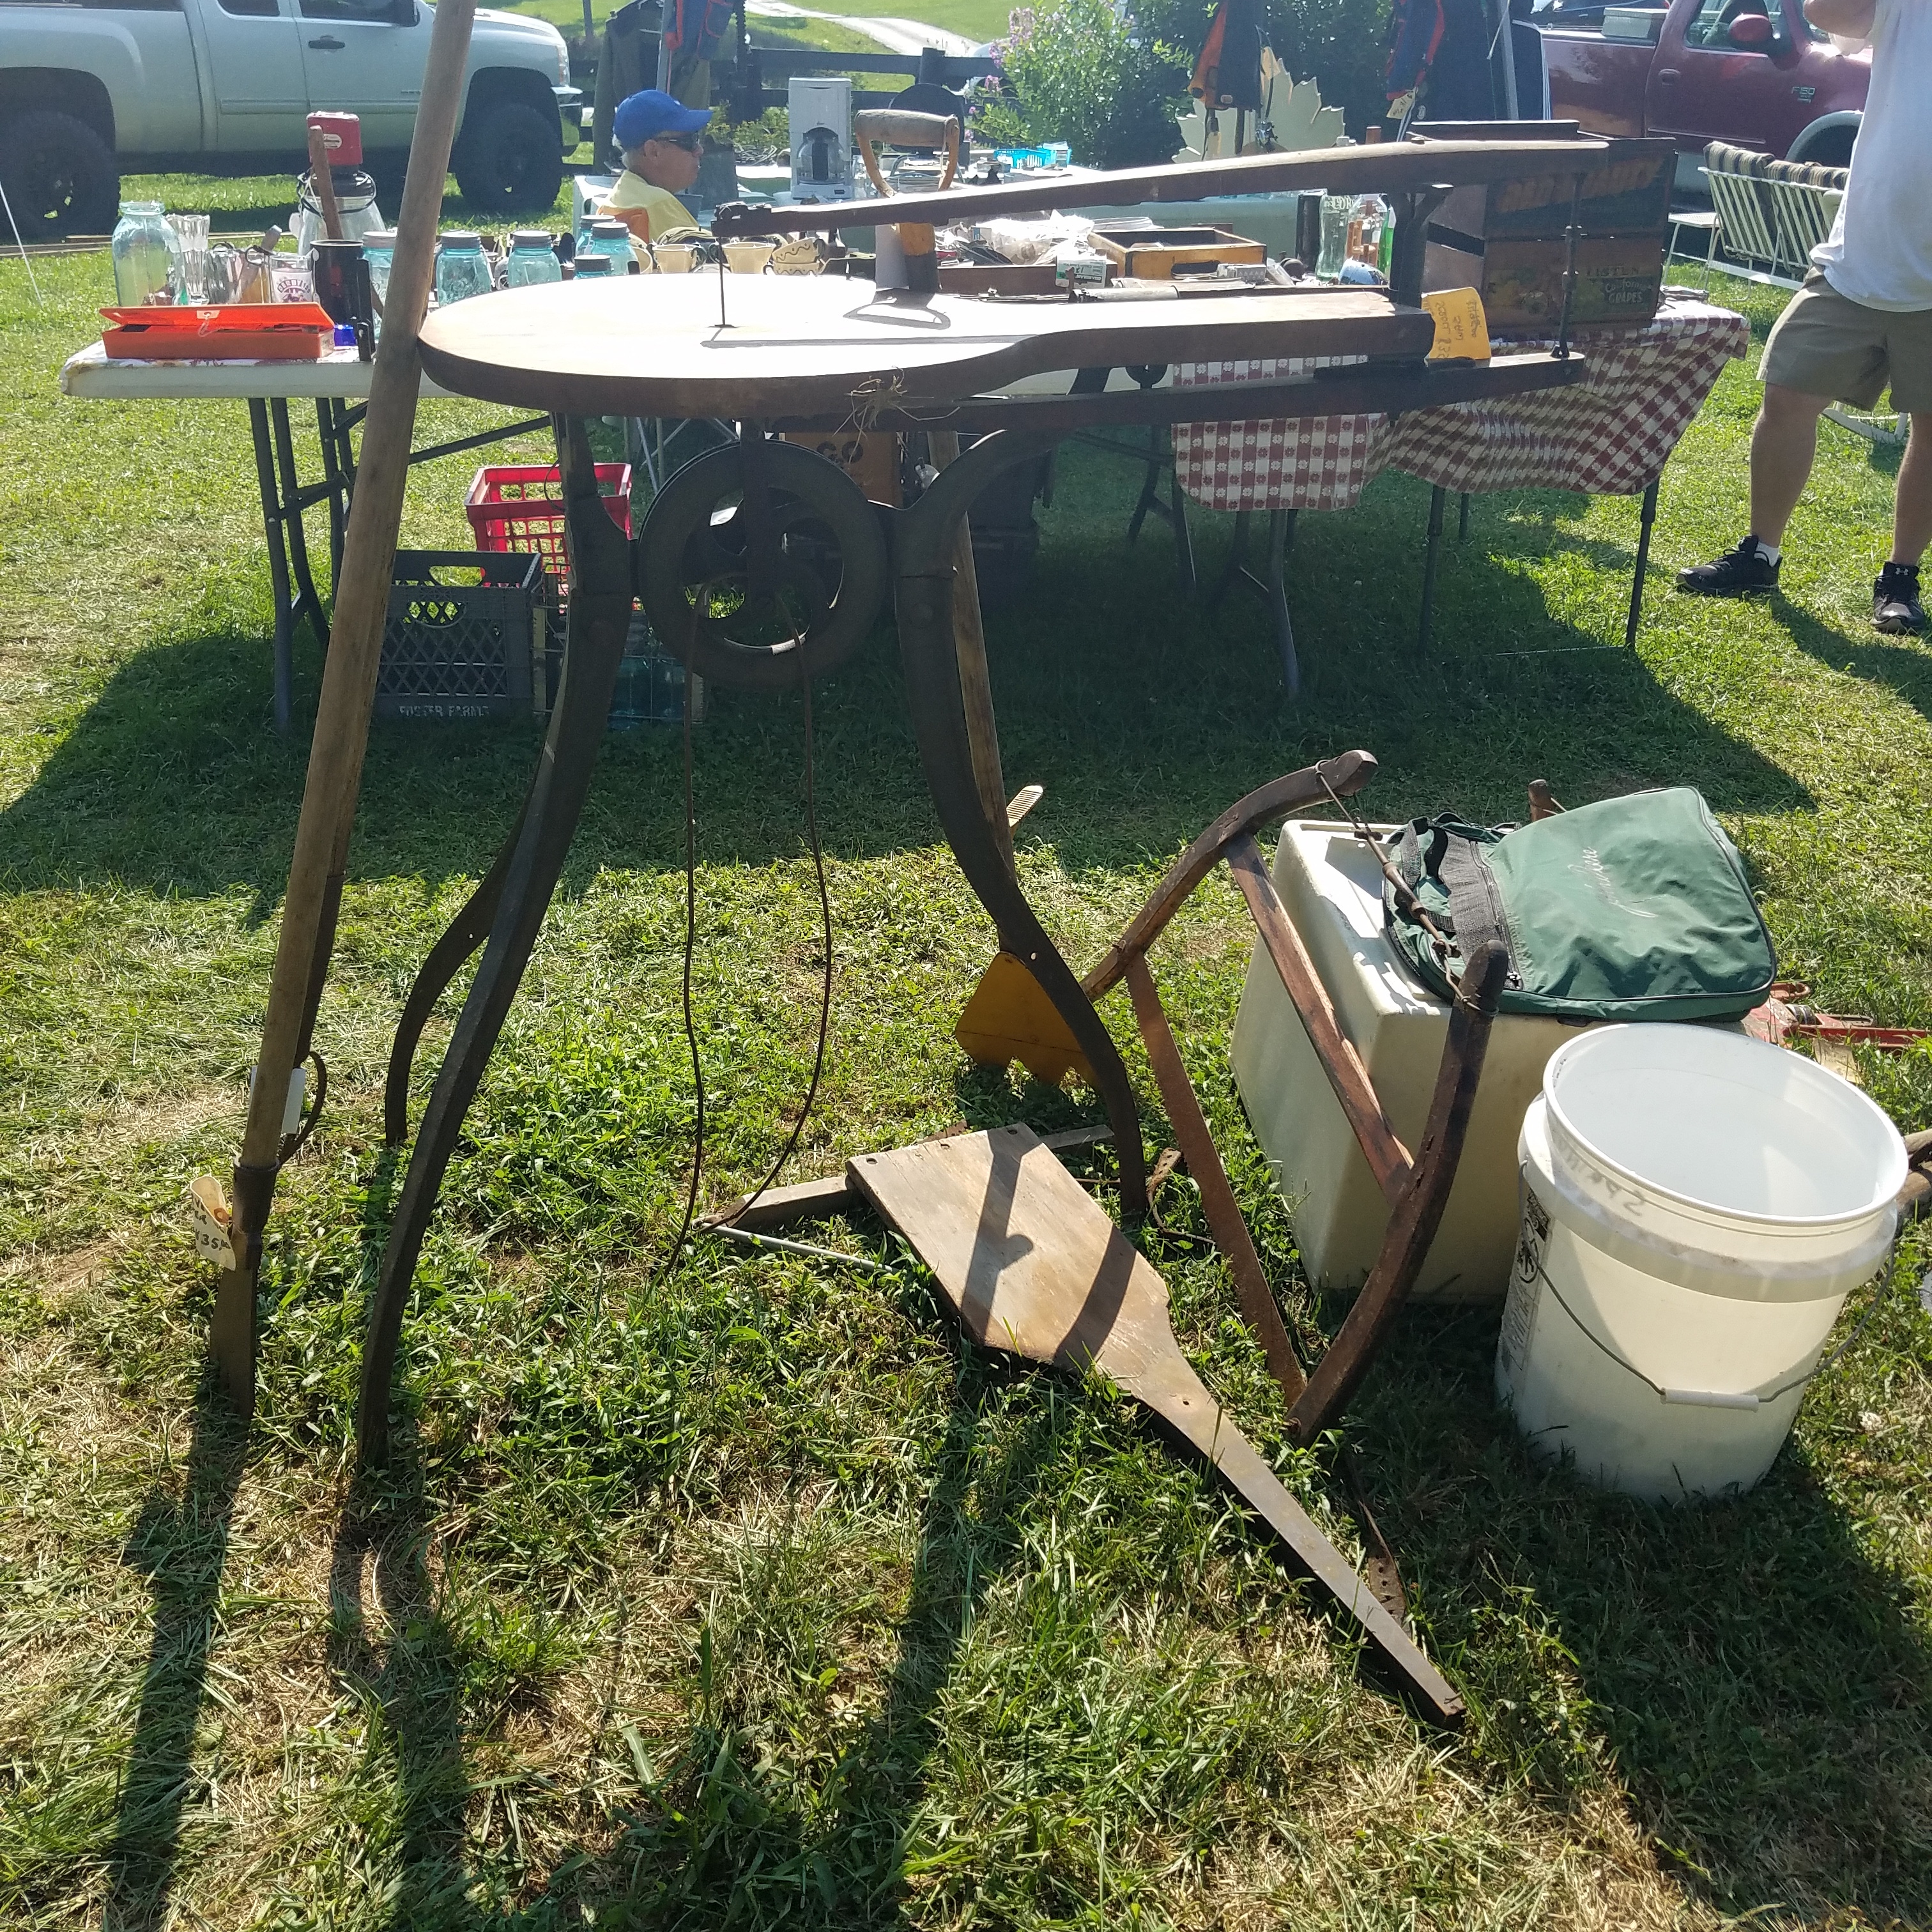
Since we stayed away from the antique dealer mega stops, I didn’t see many antique tools from collectors. I did spot this old scroll saw in central Kentucky with a $350 price tag on it. Probably not a bad buy, but I wasn’t in the market for one, so I passed on it.

IMG_20180804_124224_048.jpg

The most unusual piece I saw was this picture frame miter saw box just north of Cincinnati. There was no manufacturer’s name on it but it looked professionally made. I assumed it sat on top of a three-legged stand because of the length of back, but that is just a guess.

20180805_125521.jpg

It came with a Disston saw, but there was no way for me to date it. If I had to guess, I’d say it was late 1800’s early 1900’s from the look of the screws.

20180805_125529.jpg

The weather was nice, hot but nice. Every year it usually rains as we have to walk and drive around in the mud which is no fun. Everyday this weekend it was in the 90’s and humid as hell. We started at 8:00am and by 6:00pm we were suffering from the three B’s. Beat, Burnt, and Broke.

20180803_173957.jpg

At the end of the weekend, this is what I came home with. A few Stanley planes, a veenering plane, Langdon miter box with a Disston saw, a set of Stanley No 105 forstner style bits, Millers Falls eggbeater drill, and a 2 1/2″ wide Ohio Tool Co chisel/slick. Not too bad considering what I paid for everything. There are a few hard to find tools in the group.

20180805_151229.jpg

The prize of the bunch is the Stanley 5 1/4 C corrugated plane which is one of the rarest planes Stanley ever made. I found it in booth in Ohio from a young couple who were just selling random stuff. It was the only tool they had in their booth so I have no idea where they got it. They told me they looked up its value on the internet, but they were just trying to get rid of it, so I gladly took it off their hands.

IMG_20180807_085053_741.jpg

I already spent the last couple of days cleaning it up. I already own a Stanley No 5 1/4 so I doubt I’ll use it. It’ll more likely be one of my top shelf tools.

IMG_20180807_084653_796.jpg

A Quick Harvest Table

My wife, Anita, wanted me to make another farmhouse table for her. She sold the last one I made several months ago and missed how it looked in her booth. So, I went to Home Depot and bought three 2×12’s and two 4×4’s.

20180609_164634.jpg

Two of the 2 x 12’s I bought, I planed down to 1″ with my surface planer. It did a fine job, but I had three garbage cans full of shavings that I had to burn in my fire pit in order to get rid of.

20180609_191531.jpg

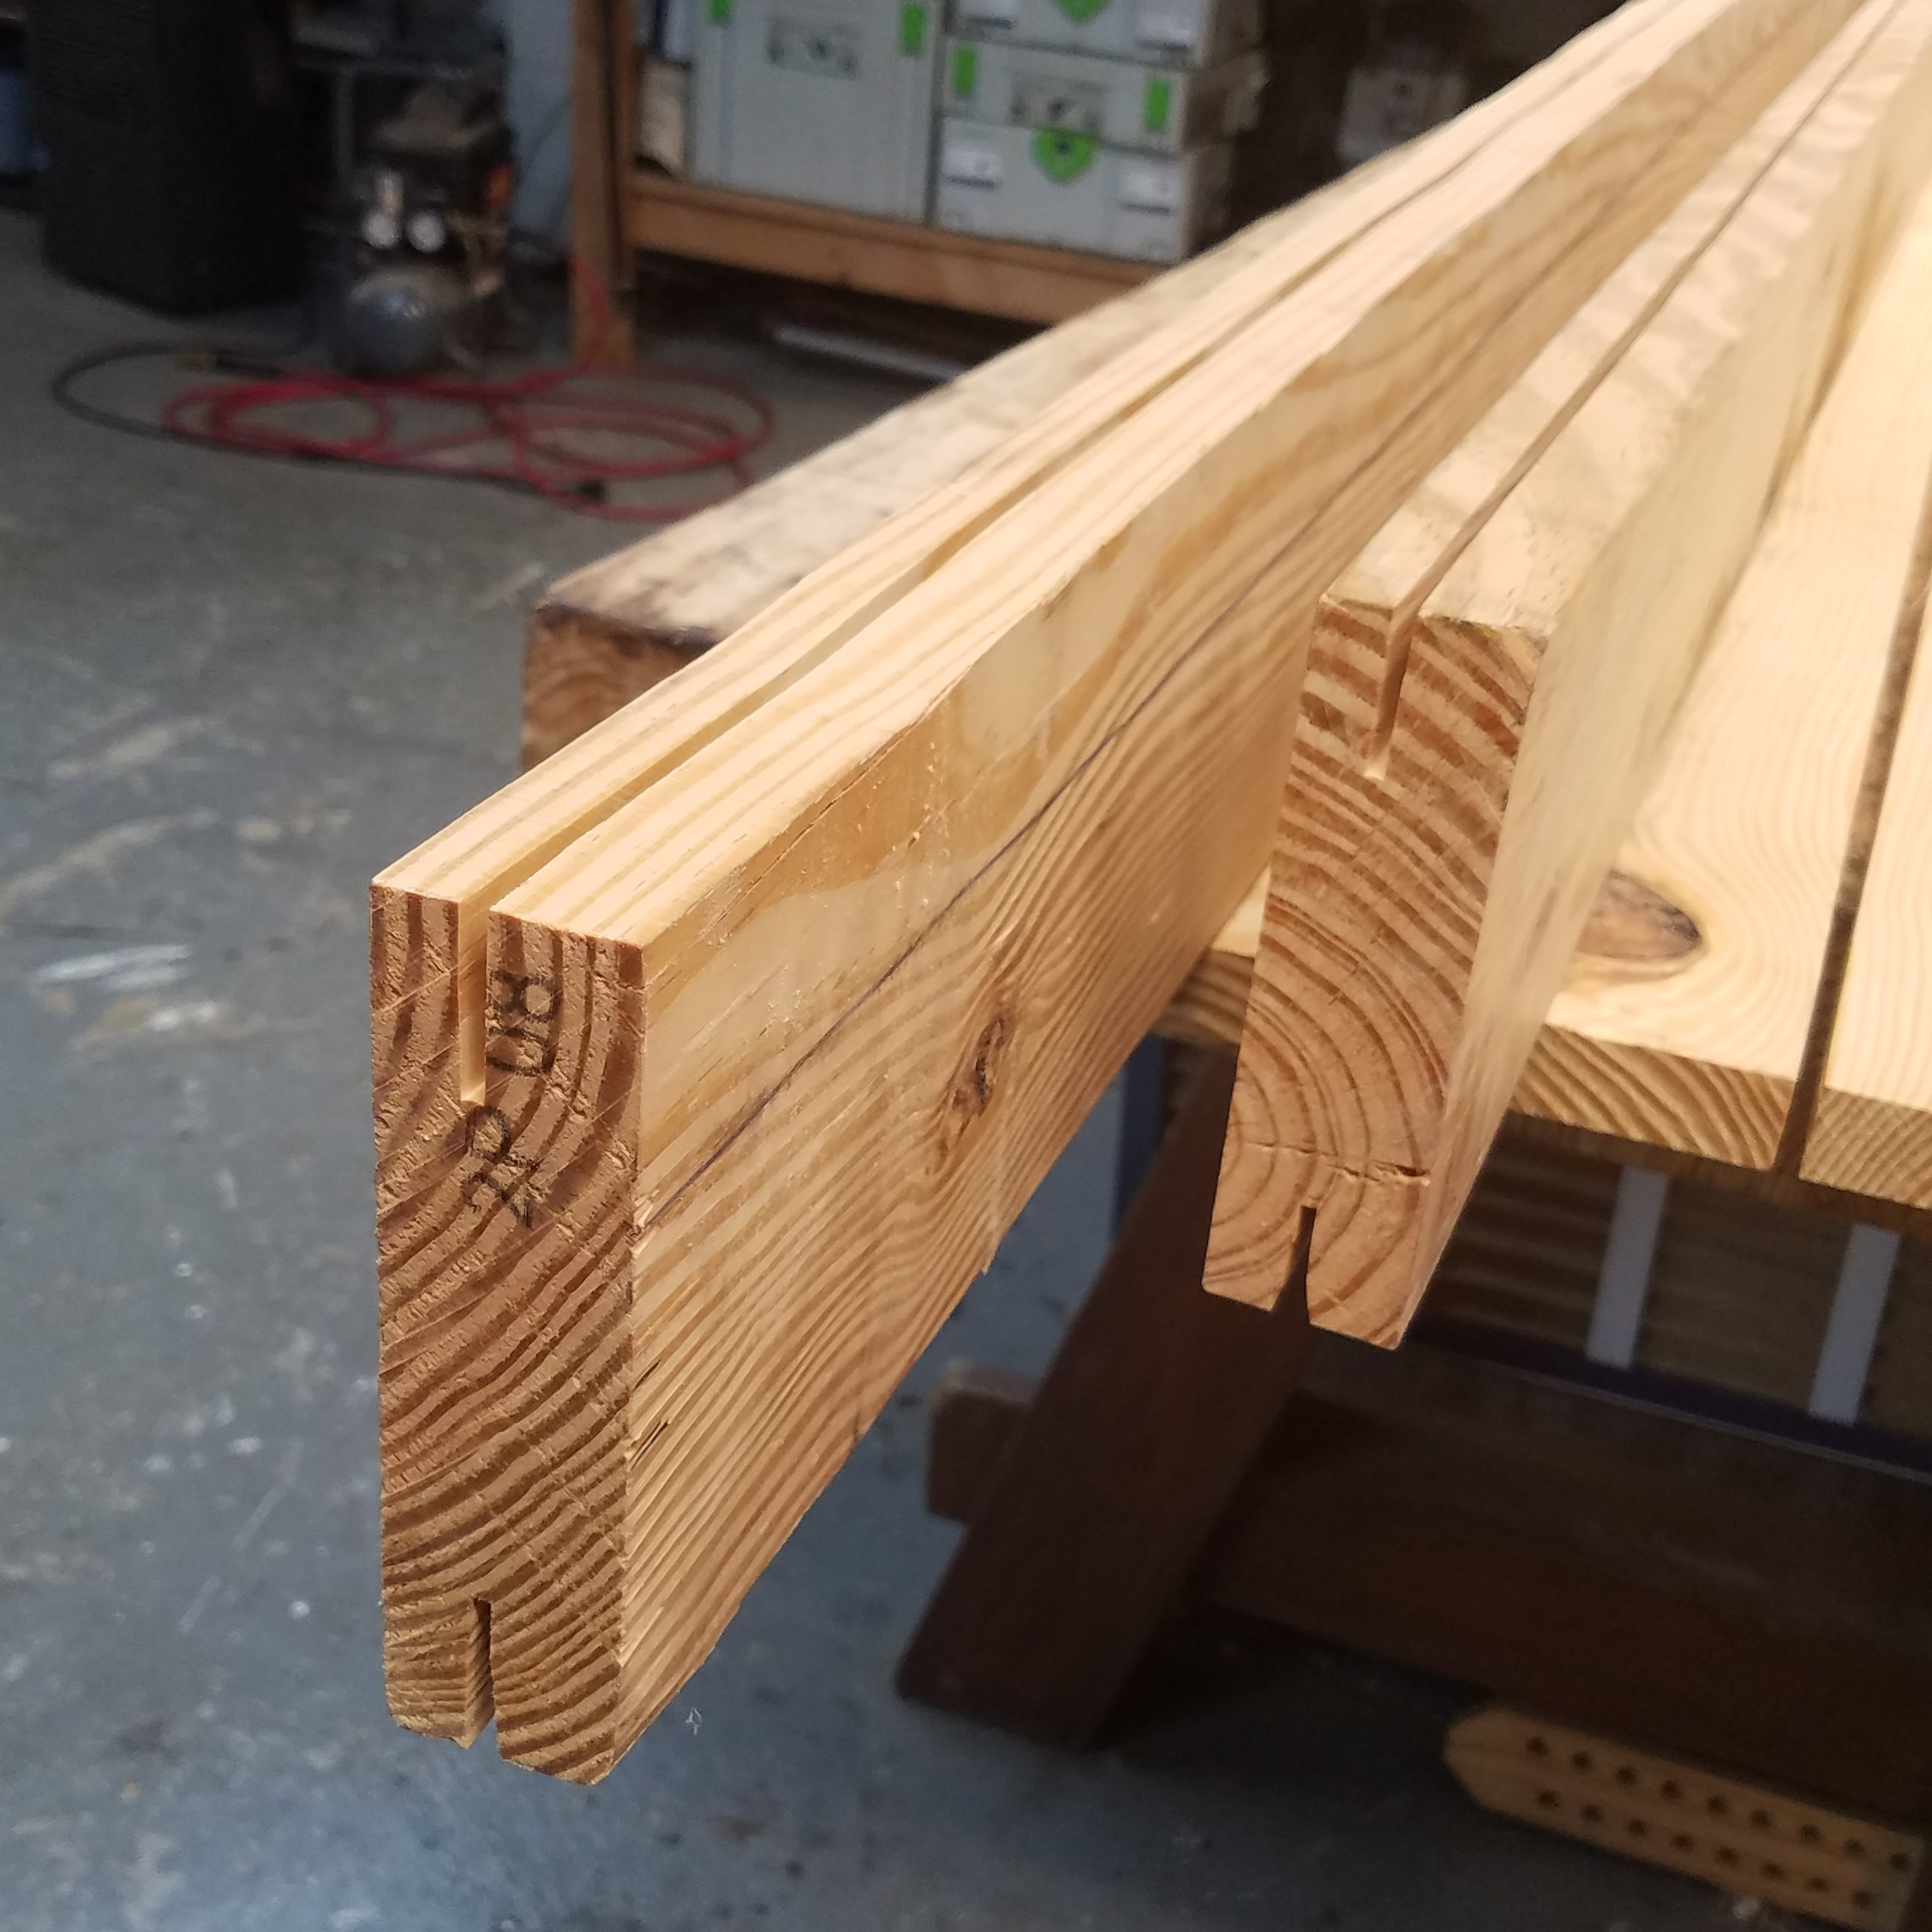
I ripped the last 2×12 in half on my band saw, then ran kerfs down each side on my table saw 7/8″ wide so I could use them for the frame of the table. Ripping them down to 7/8″ would allow me to plane one of the pieces to 3/4″. Then I took the 1/2″ off cuts and glued them together to create a 1″ thick stock to mill down to 3/4″ back at the surface planer.
20180610_165822.jpg

In the past, I ripped kerfs down the sides of the board and then take it over to the band saw to finish up the ripping. However, this board gave me some real trouble as it kept binding up the band saw blade. Frustrated, I tried everything, even giving it a go with my rip saw, with no luck.

IMG_20180610_185551_180.jpg

I was so disgusted I threw up a picture of my struggles on Instagram and then a follower of mine gave me the idea of finishing the ripping with a sawzall. Curious, I gave it a shot and sure enough, it worked perfectly only taking me ten minutes. Social media is awesome!

20180611_173657.jpg

With the ripping done, I was ready to get back to business milling and gluing up the off cuts so I could still use them to build the frame of the harvest table.

IMG_20180611_192452_845.jpg

With the wood gluing, I turned my attention to the legs. Taking the 4×4’s I cut them to 30″ and turned a leg that my wife was pleased with.

20180616_155059.jpg

I then repeated the steps of the first leg to the next three. I ended up with four legs that were identical enough to one another.

IMG_20180616_184003_730.jpg

I wanted to use mortise and tenon joinery to attach the frame to the legs. so I set my mortising gauge to 3/8″ wide, the same width of my mortise chisel.

20180617_122228.jpg

I ran my mortising gauge down the side of the leg where I wanted a mortise and used the chisel to chop out a shallow area.

IMG_20180617_180210_104.jpg

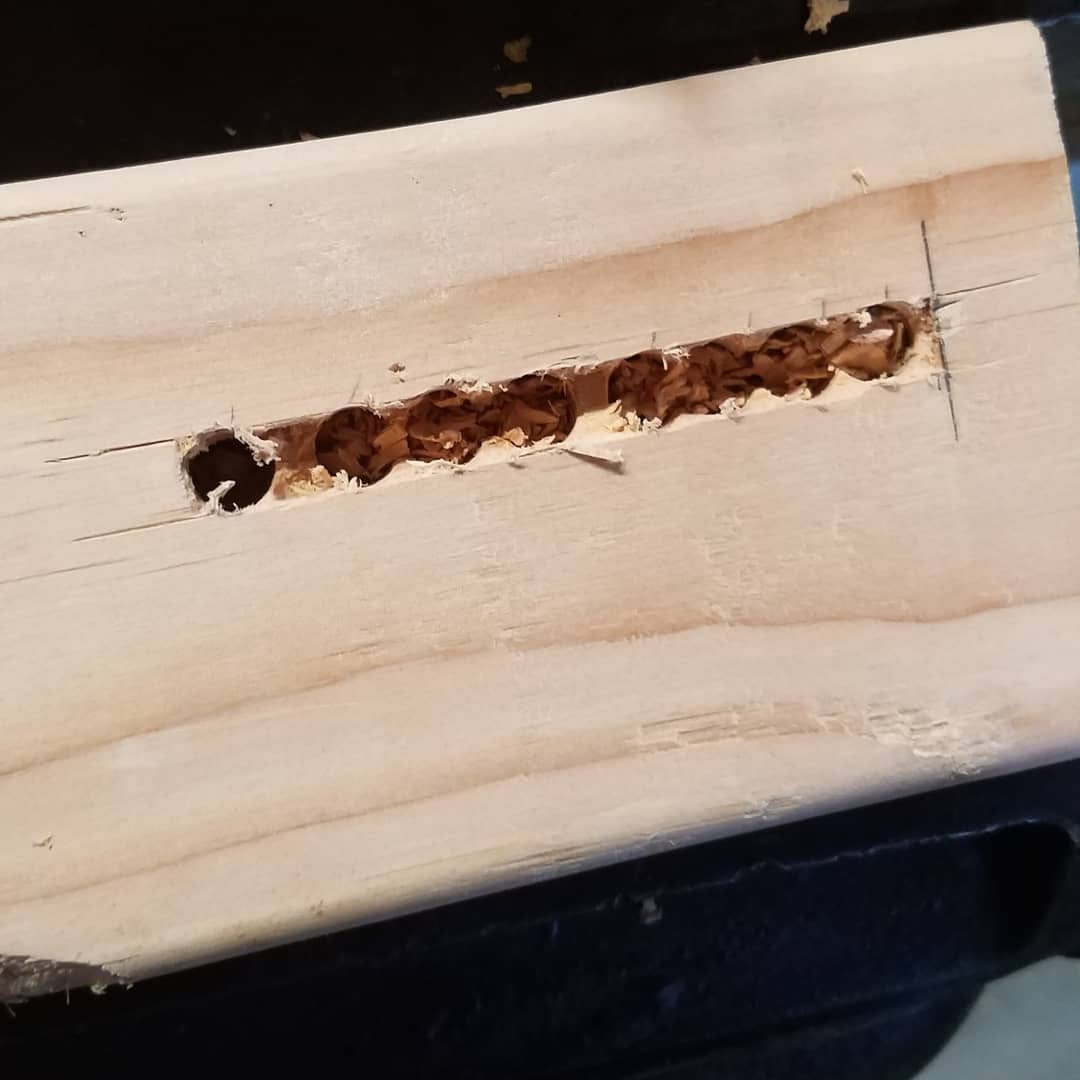
Next I used a 3/8″ forstner bit and drilled down the depth of the mortise. Doing the mortise this way allowed me to not have my drill bit sway outside the mortised area.
IMG_20180617_180210_115.jpg

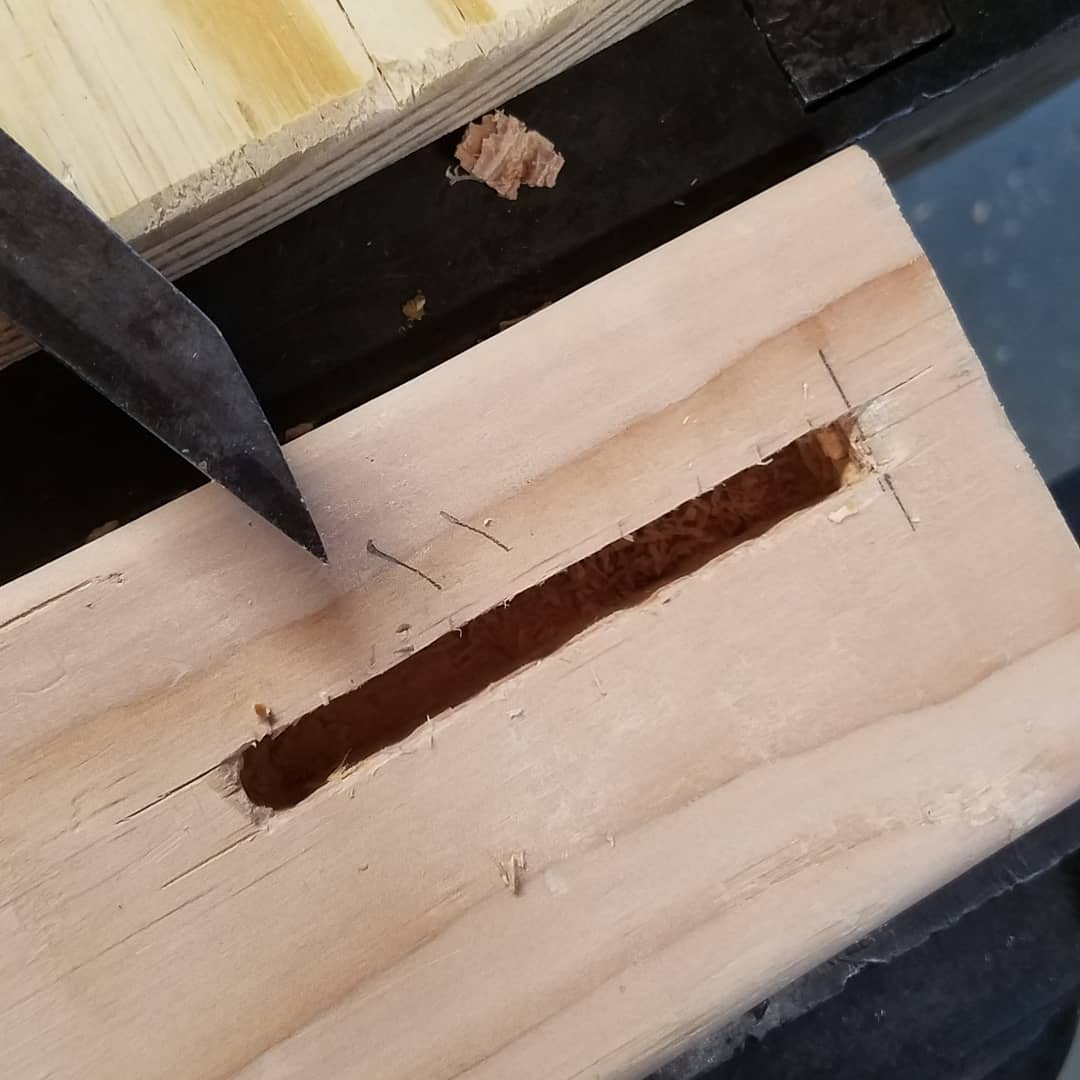
I then finished up the mortise back with my chisel making the ends of the mortise nice and square. This is an unconventional way to make a mortise,  but it allowed me to remove a lot of the waste much quicker than with the chisel alone.
IMG_20180617_180210_105.jpg

Test fitting the joint, I was pleased with the results. It took me less than an hour to cut all eight mortises.

IMG_20180617_180210_095.jpg

Using one of my beading planes, I planed a 3/8″ bead down the bottom of the frame boards. Cutting a bead on a seven-foot long board takes a bit of patience.

IMG_20180622_094900_433.jpg

Using pocket holes, I glued and screwed the frame to the legs and top. My wife wanted this table to be quick and easy which it was.

20180623_115851.jpg

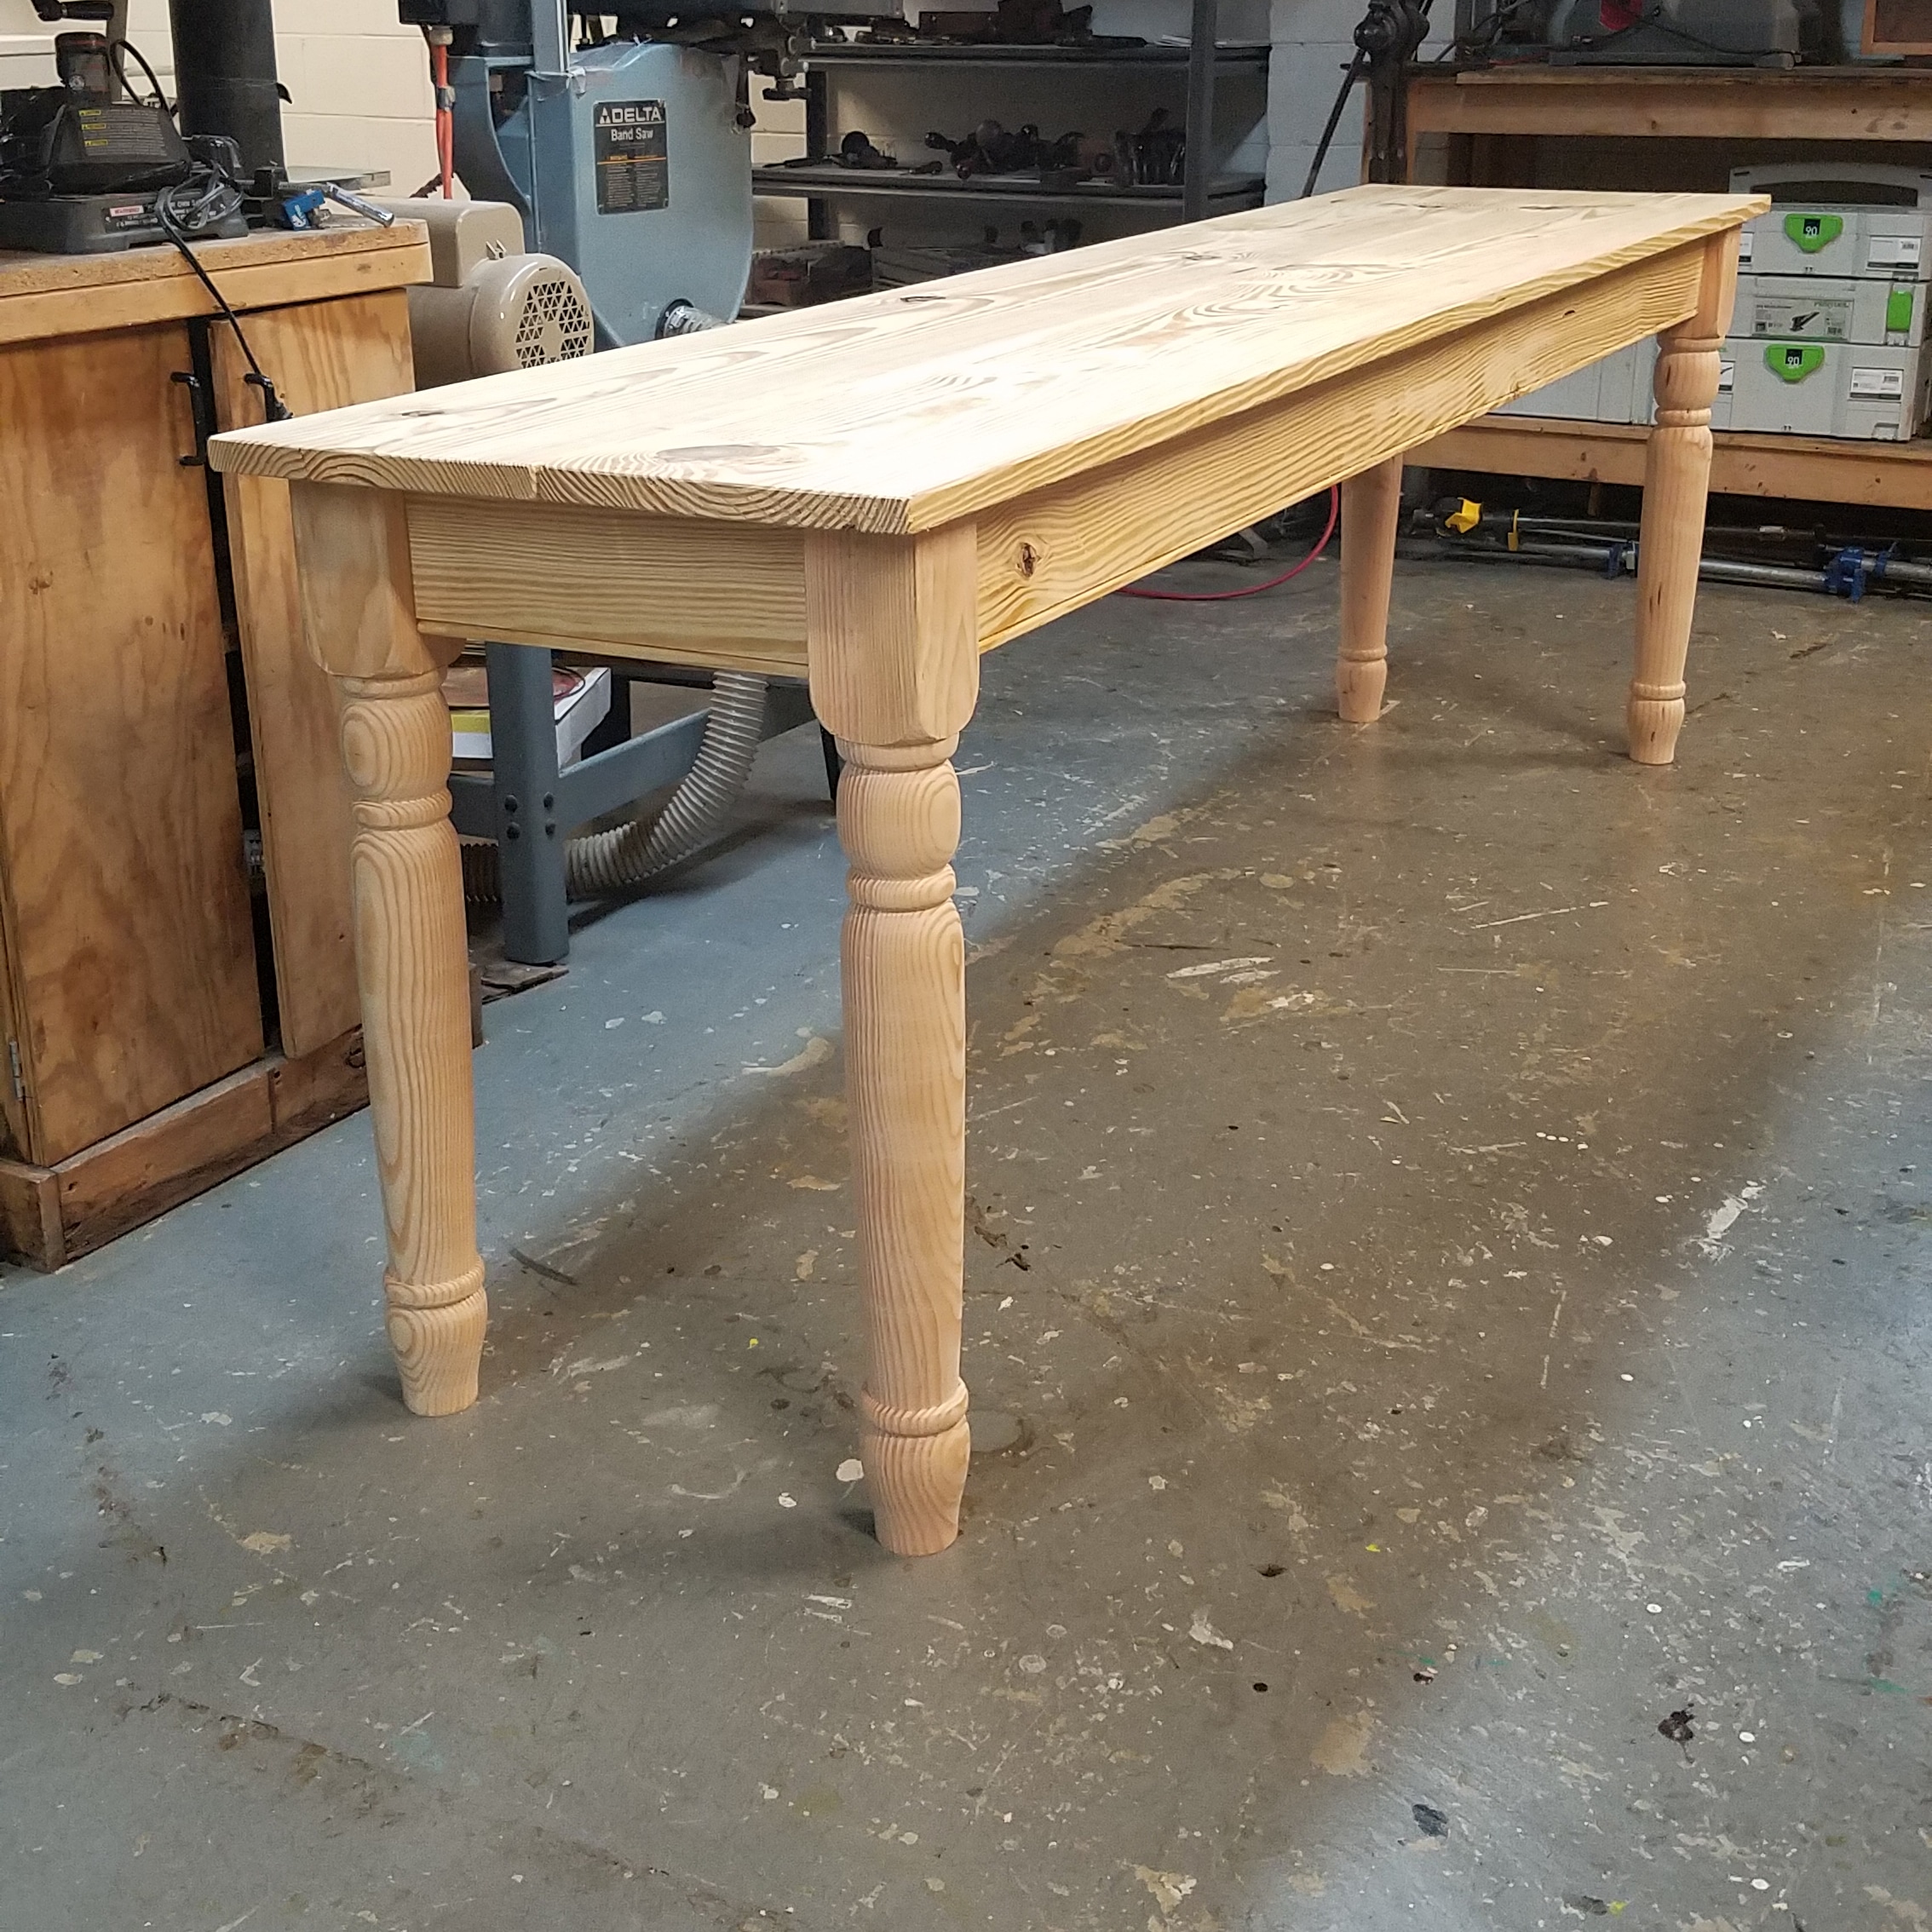
I flipped the table over and was happy with my work. The top is just two boards lying next to each other, not even being glued together.
IMG_20180623_133140_732.jpg

My wife stained the wood with steel wool and vinegar solution and then applied a couple of coats of milk paint to give the table an old world look.

IMG_20180630_112756_543.jpg

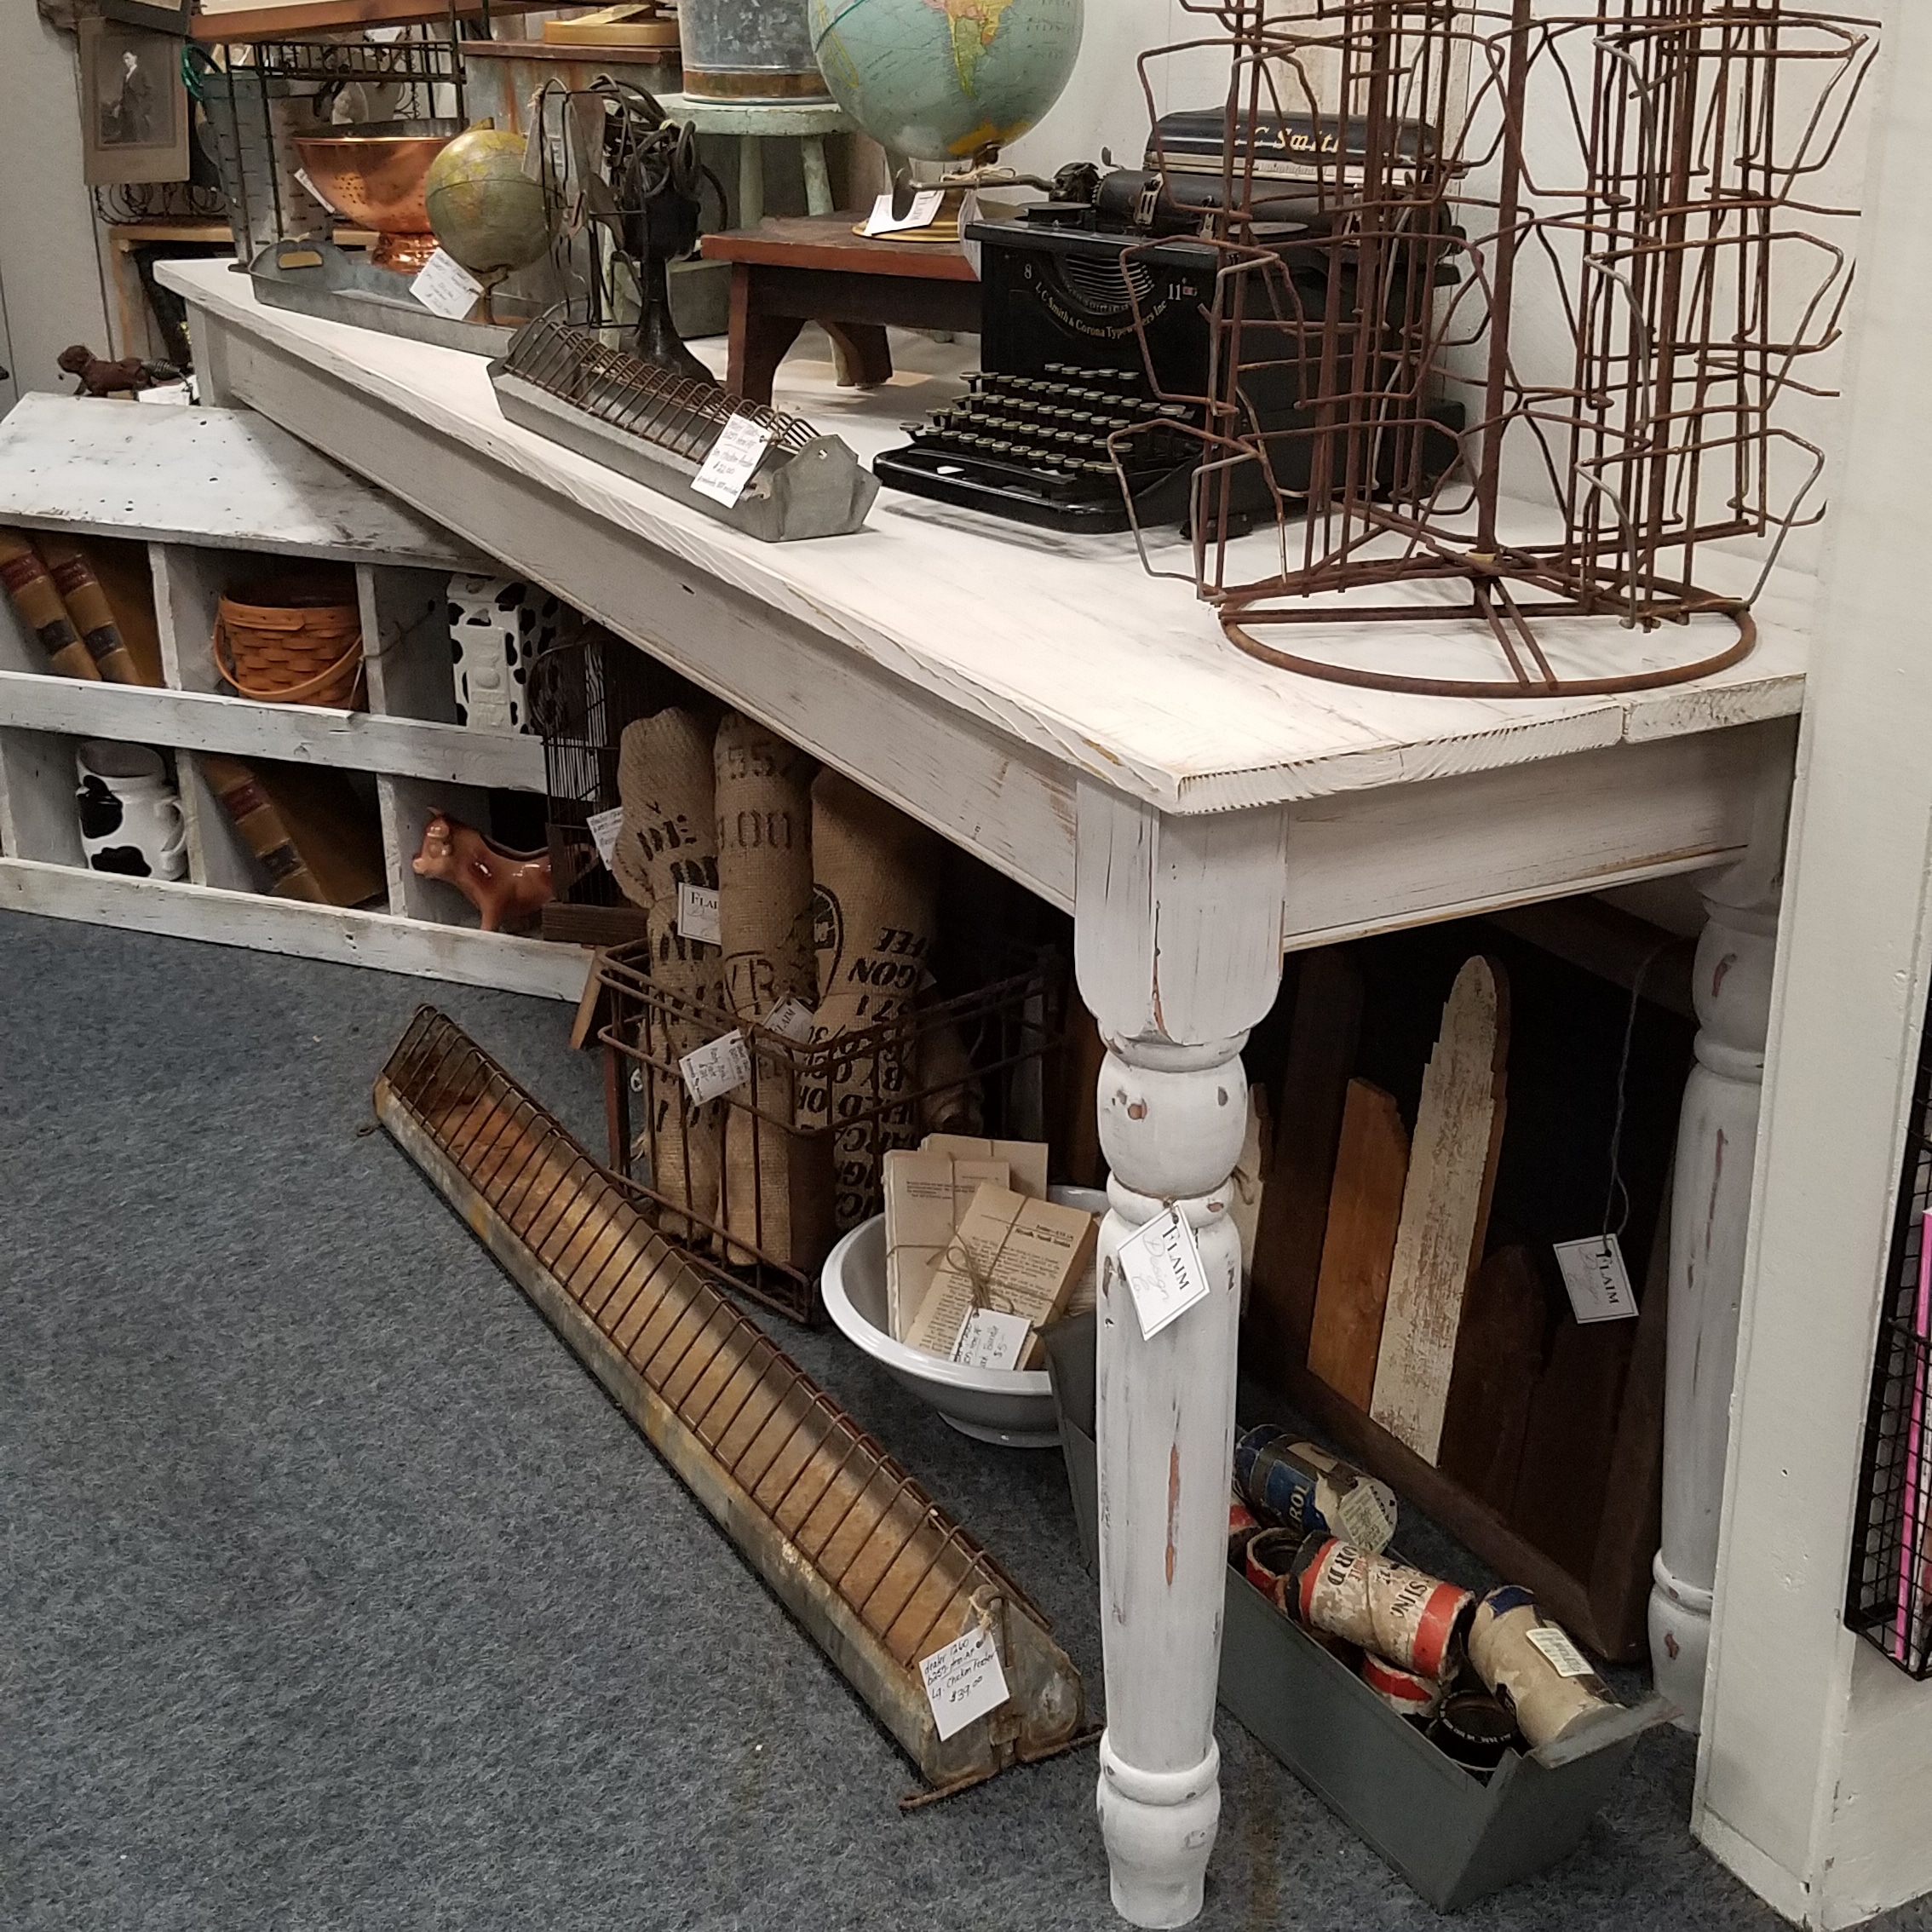
Here’s the table in her booth with some of her antiques on top. Quick and easy.
IMG_20180701_101137_655.jpg