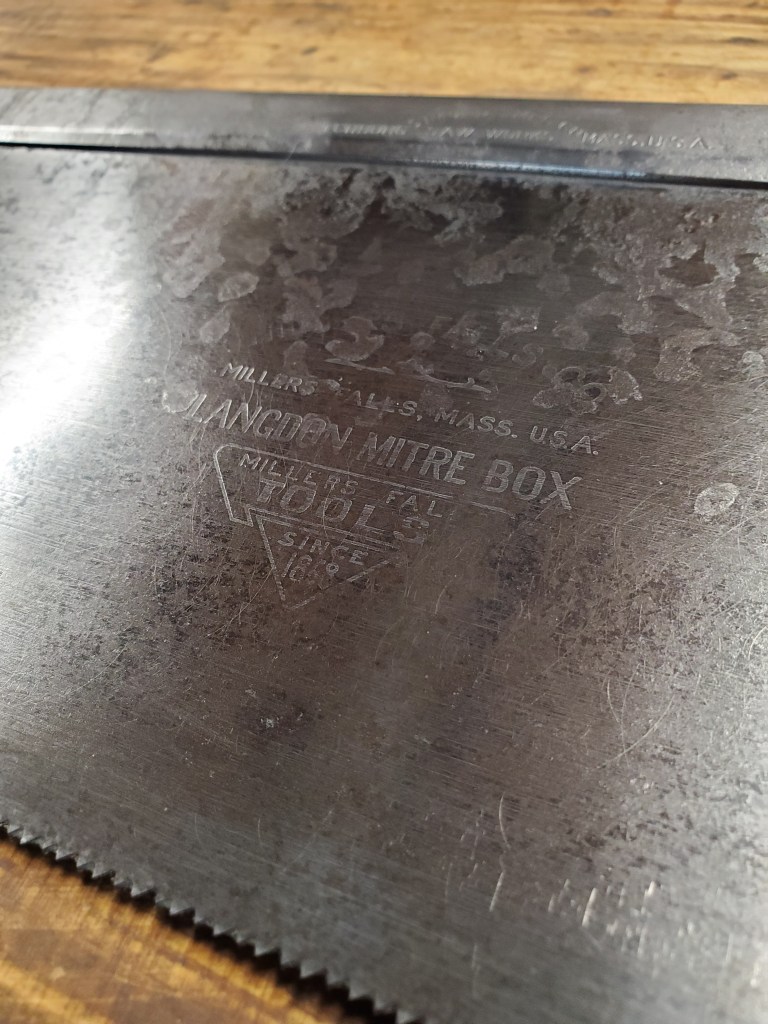
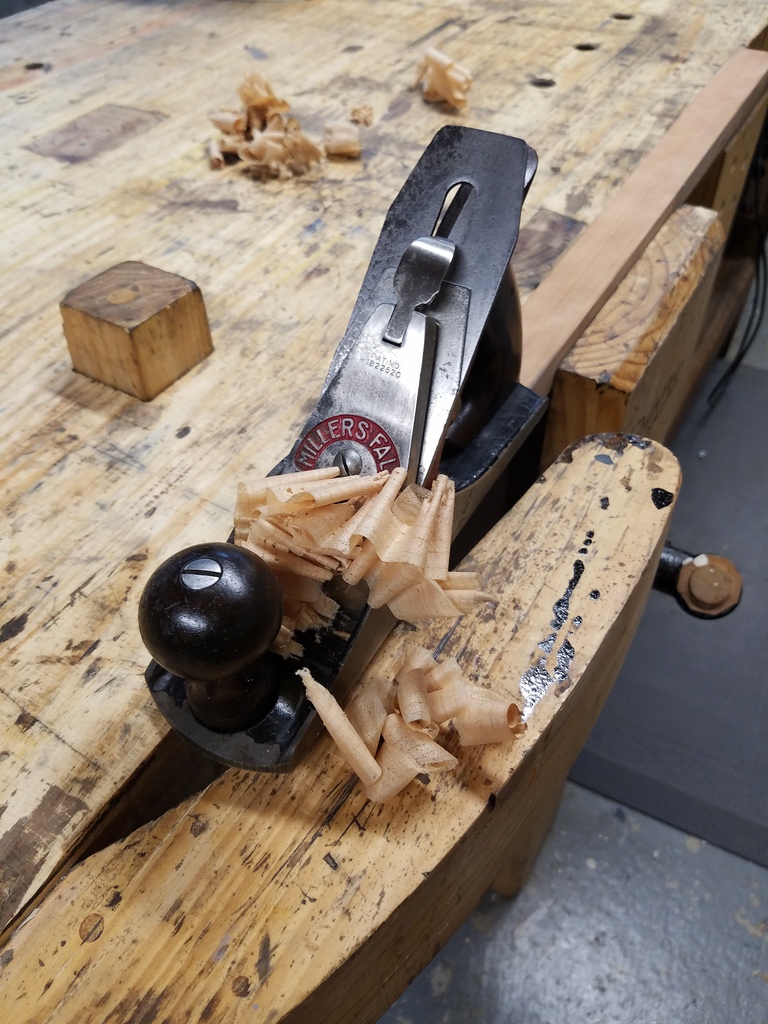
Last weekend, my wife and I were antiquing in Dayton, Ohio, when we stopped in an antique store in Tipp City. I went into the back of the store when I saw this thing sitting on the shelf. I immediately knew exactly what it was as I owned one of these tools many years ago. It’s a No 40 Langdon Millers Falls Portable Mitre Box.

When I was a kid, I went to an Ohio Tool Collector Association meet-up and saw one of these miter boxes on a silent auction table. I thought it was cool as it was something I had never seen before. I put a silent auction bid of $20.00 and hoped for the best. Sure enough, I won the auction! The guy selling it wasn’t too happy about the price it received as he said that’s what he paid for it.

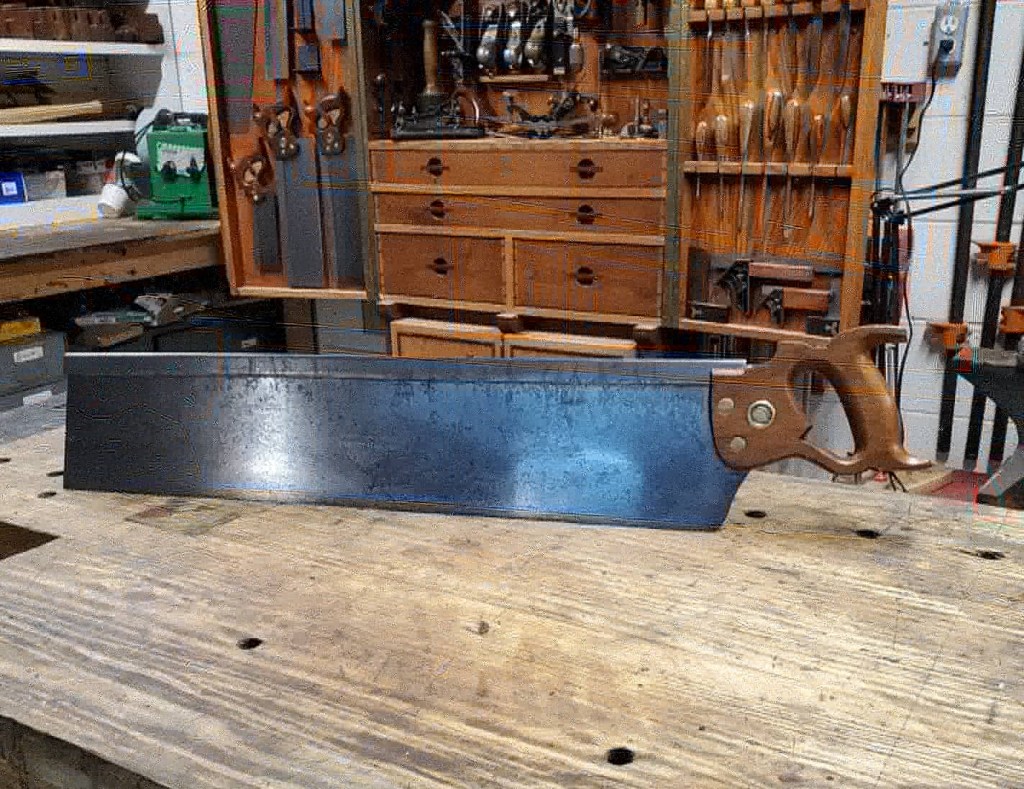
The tool is simple in its concept. There’s a fence that you clamp to a board and disc that you turn and set your angle with positive stops. You can even adjust the accuracy of the angle by adjusting the two screws on either side of the positive stop.

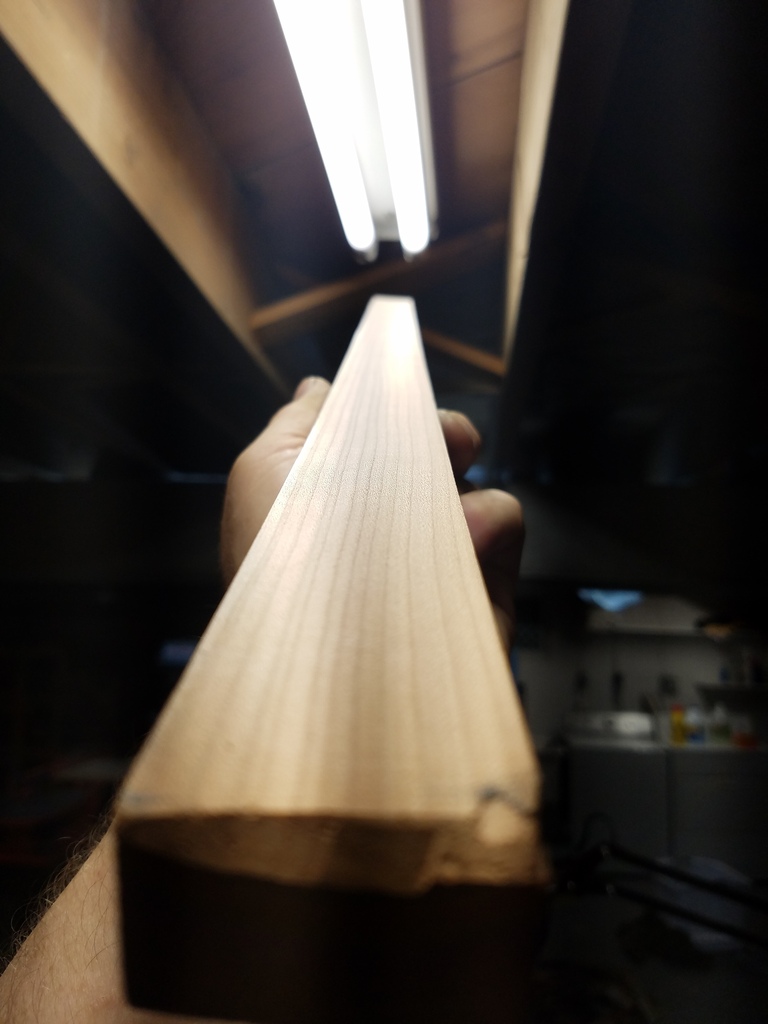
I wanted to try it out, so I grabbed a piece of scrap wood and clamped the miter gauge to it, then swung the fence to 45 degrees.

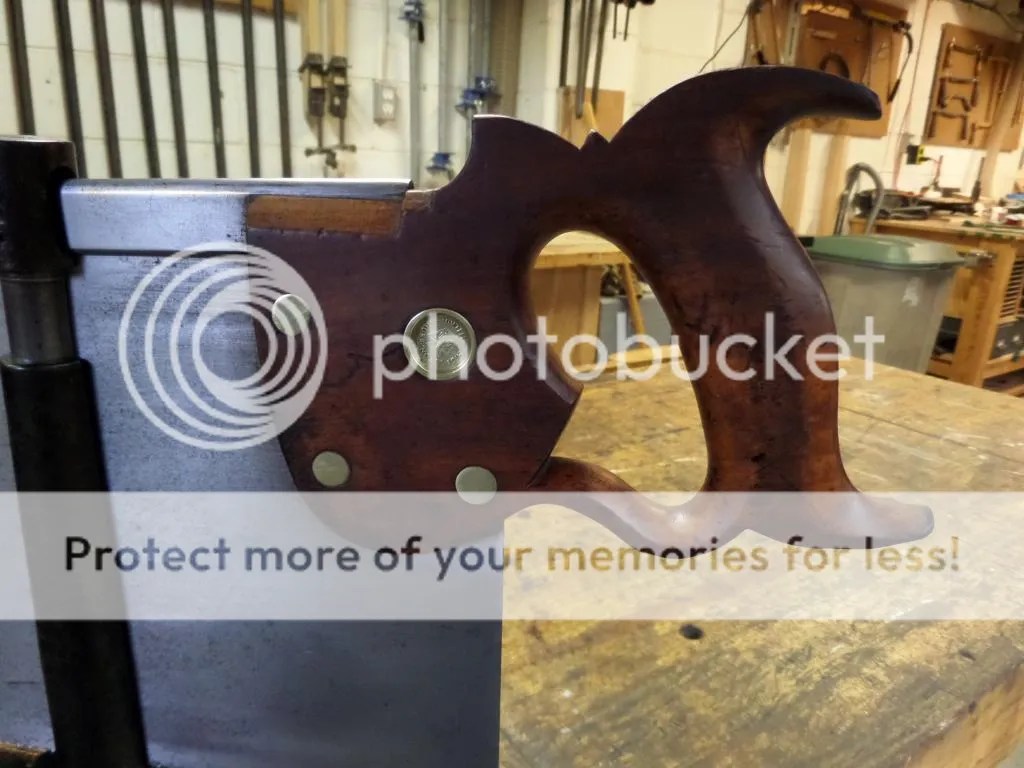
Since it’s made to be portable, the craftsman would just use a panel saw and cut the board while on the job site. The miter box is small enough that it would easily fit in a toolbox.

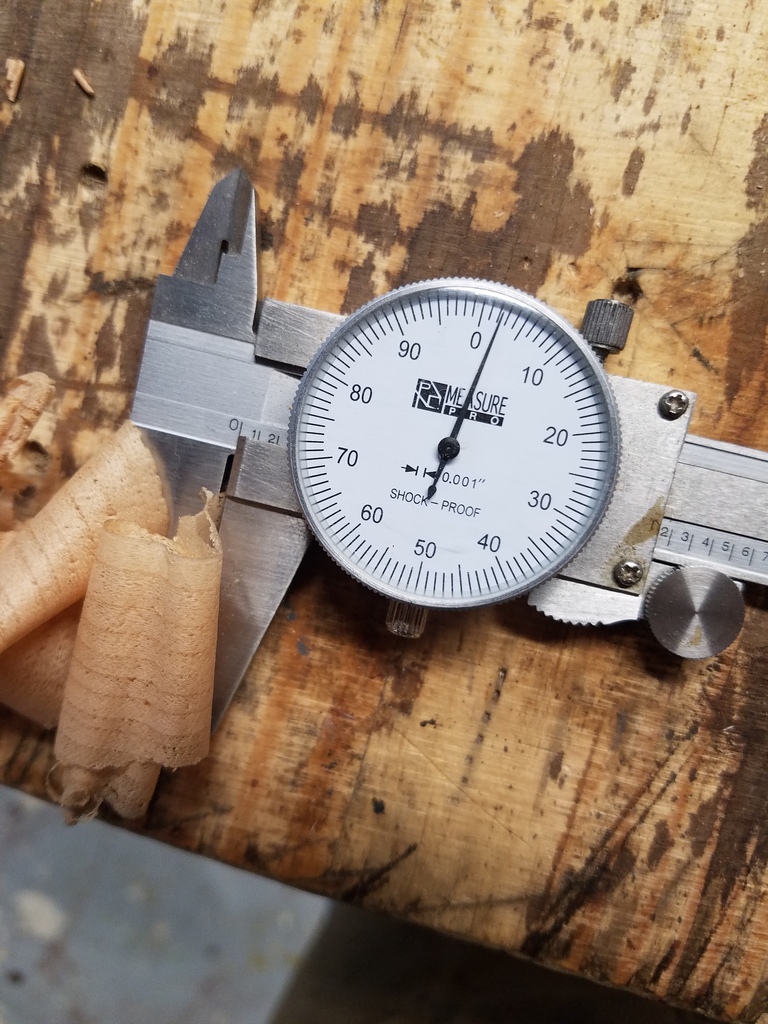
After I took a cut, I was surprised how accurate it was. That’s a pretty good 45 for trim carpentry work on a house.

Millers Falls made a compound angle version of this tool called the No 41, but I have never seen one in the wild.

I paid $15 for this miter box, which is cheaper than what I paid for the first one 35 years ago. People don’t know what these things are, so if you find one in the wild, chances are you’ll pick it up for a good price. I sold my first one years ago when I was unemployed and needed money. I really didn’t want to sell it back then as I thought I would never find another. Maybe the antique tool gods like me.