Refurbishing an Old Chest

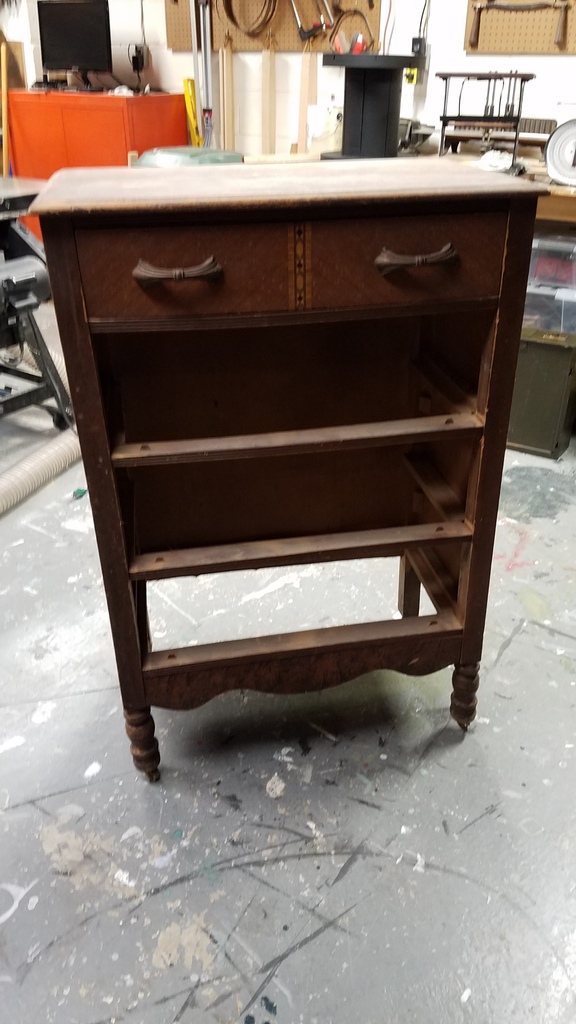
My wife came home from Florida with this old chest she bought off Facebook Marketplace for $20.00. She liked it because it was made from pine and had an old-world look to it. She asked me if I could repair it so it could be used as a coffee table.

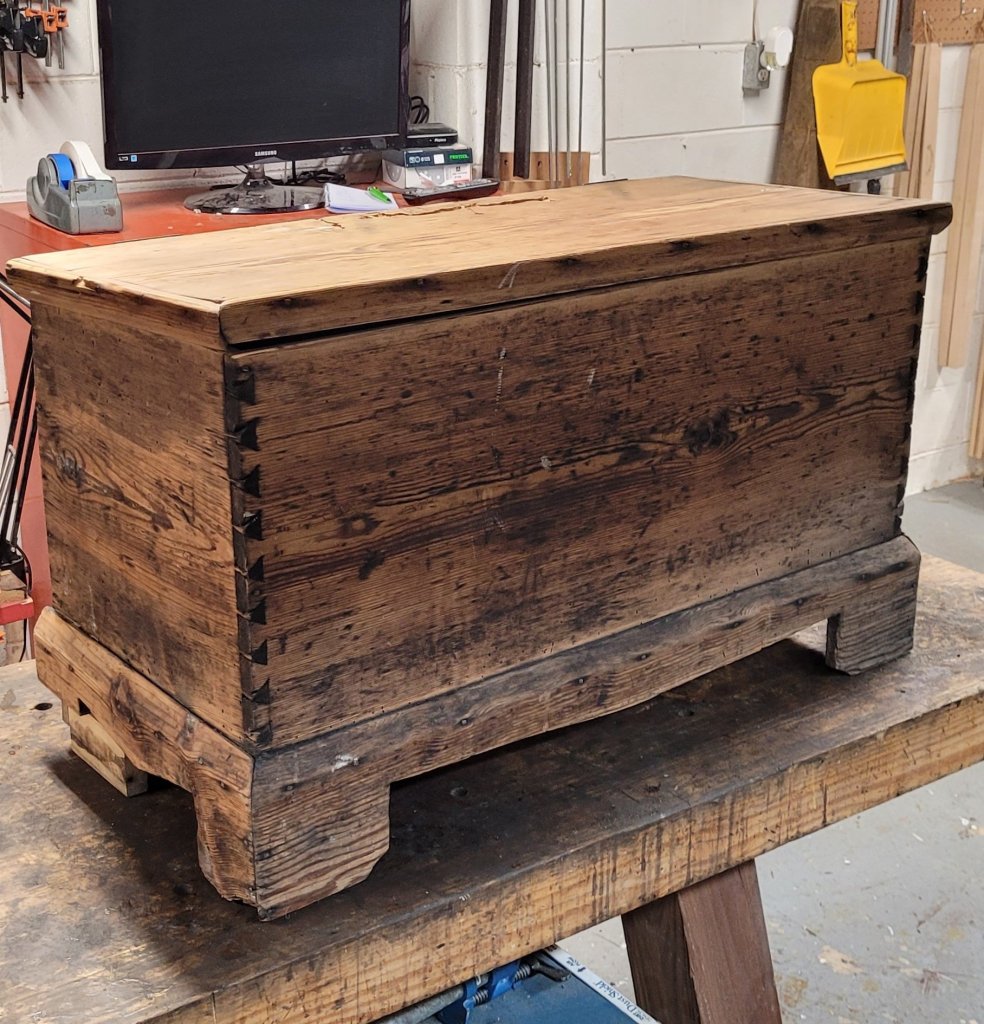
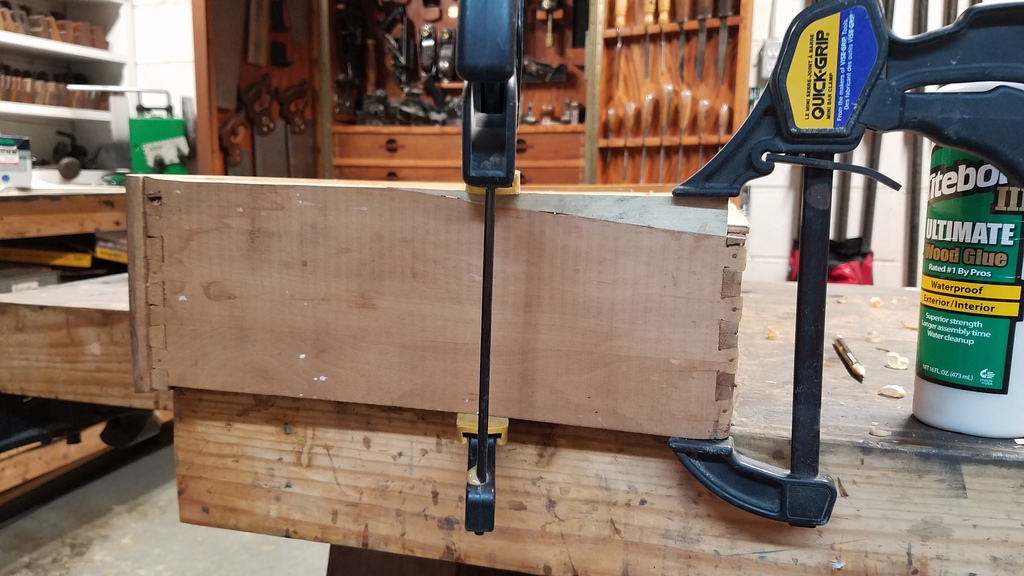
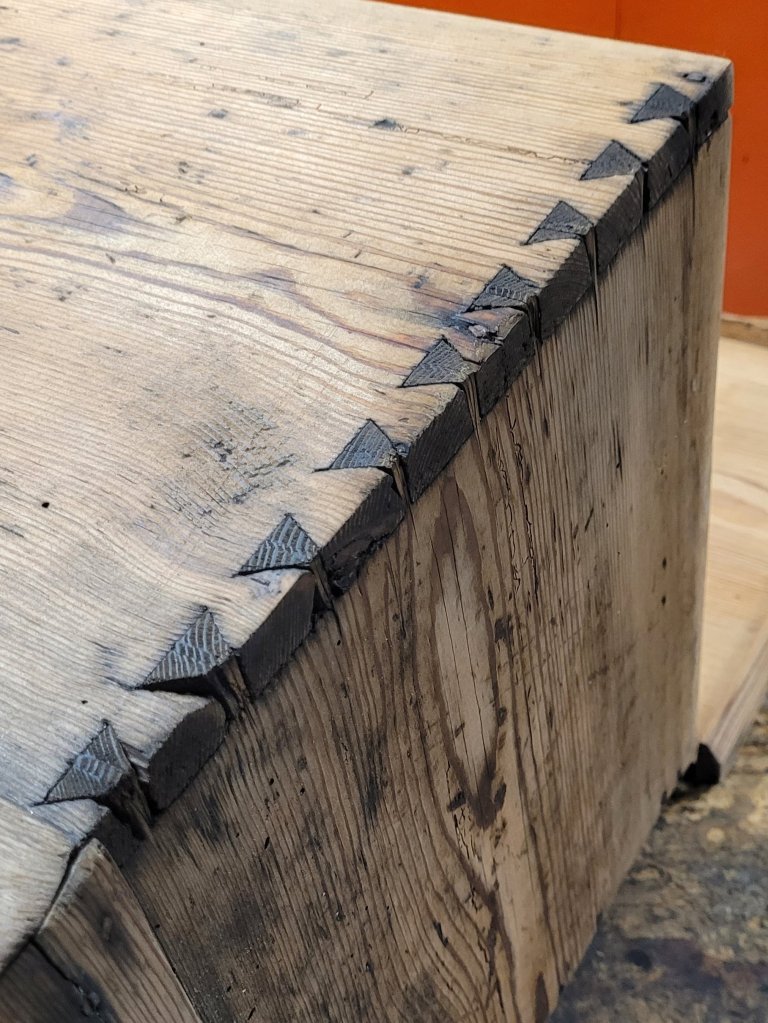
The chest had nice handcut dovetail joints on the front with really steep angles. So steep, they look like equilateral triangles. However, the back of the chest is just fastened together with a rabbet and some cut nails. I guess the craftsman who built the chest was tired of cutting so many dovetails that he opted for something easier for the back.

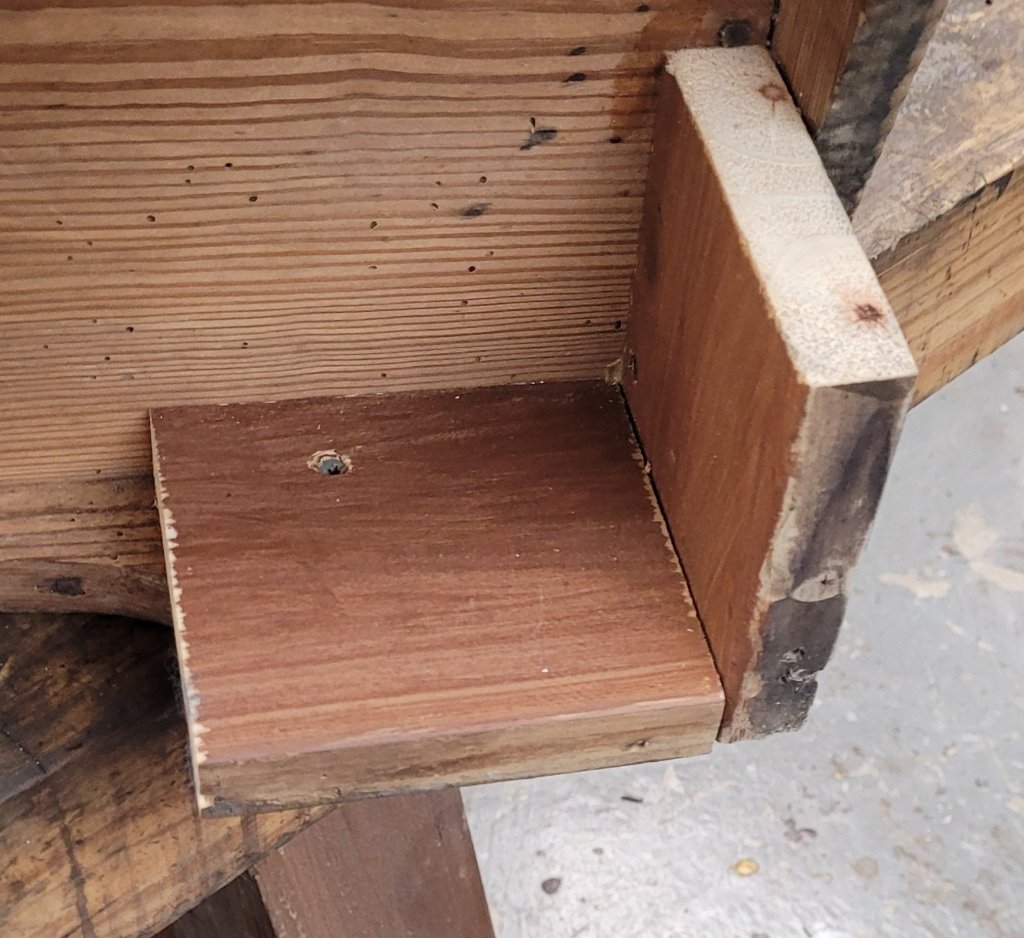
The bottom of the chest had a horrible repair to the back. Because the base was so tall, the wood failed and broke away. Somebody came in and simply installed L wood brackets to the back and screwed them in place with drywall screws.

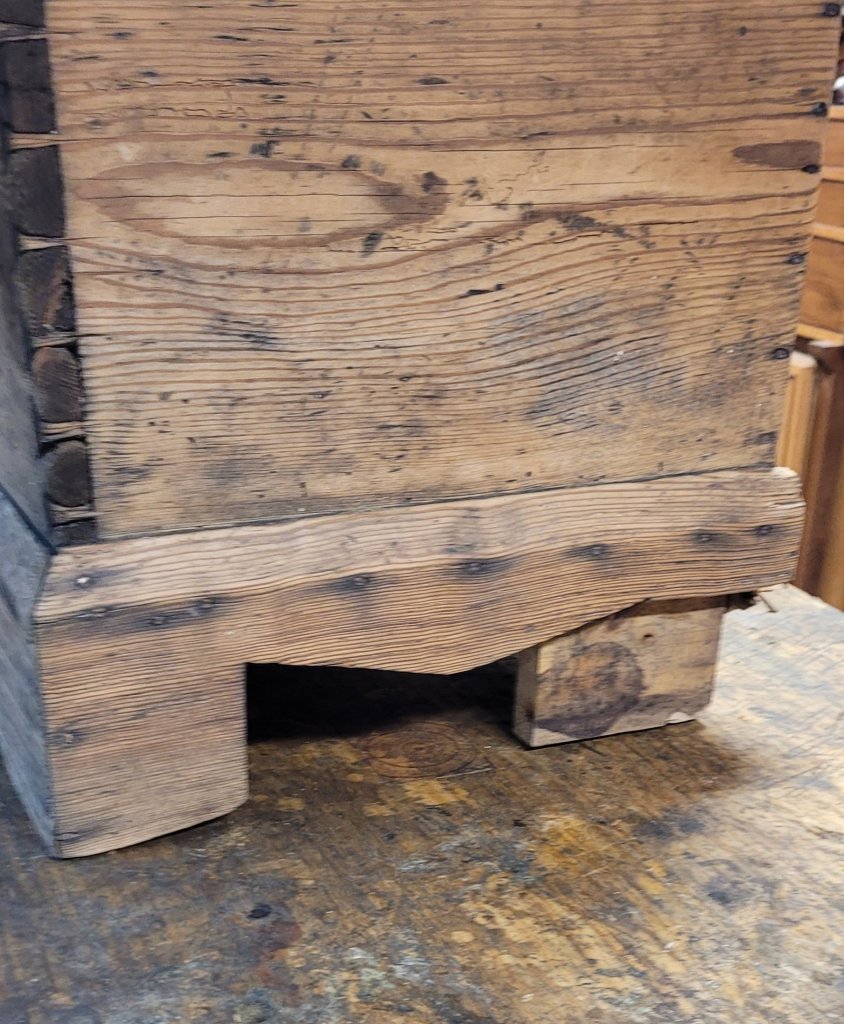
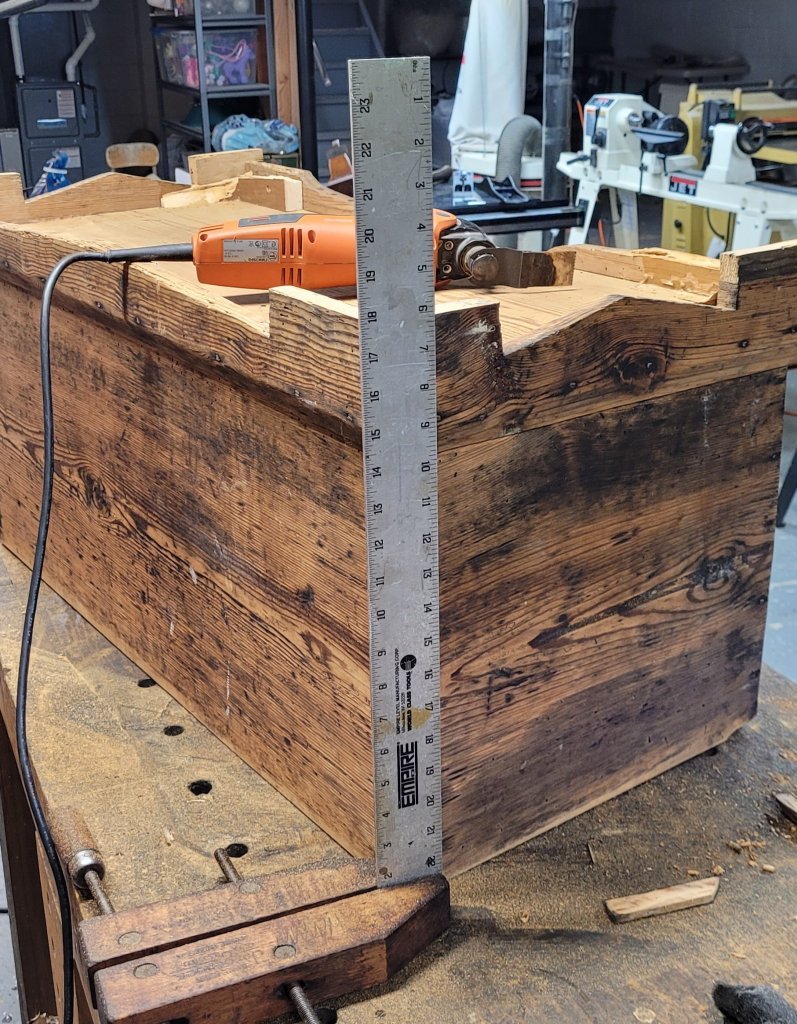
Flipping the chest on its top, I broke off the terrible repair and cut the front feet of the chest to 18″ tall. I then took the off cuts and glued them to back of the feet that were missing.

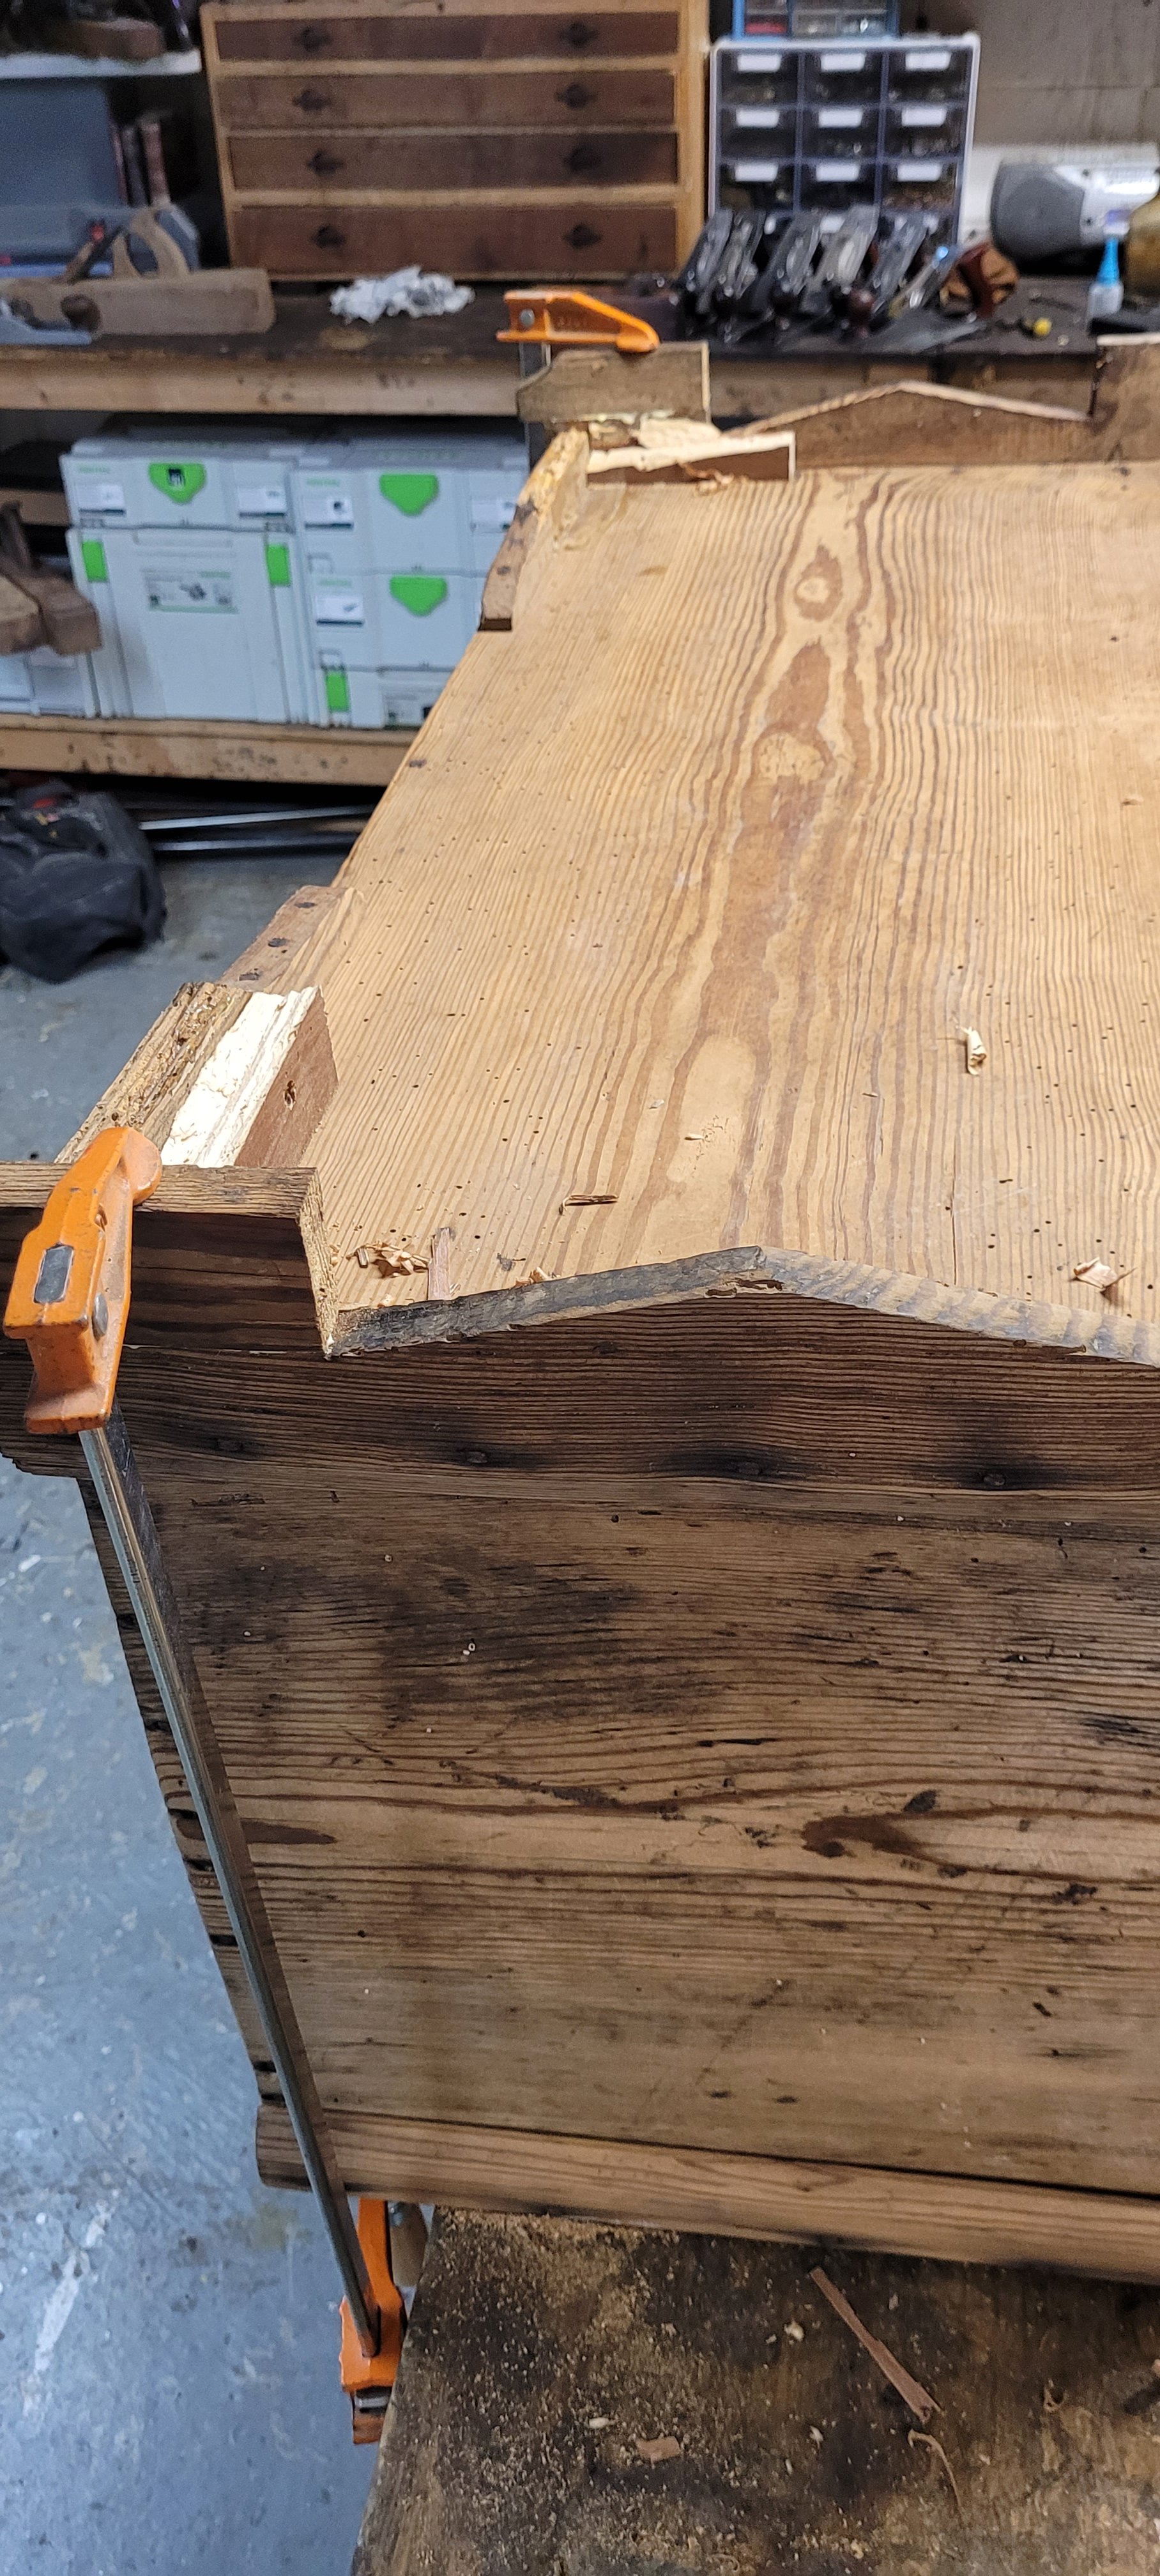
Once everything was glued, I flipped the chest back over on its feet and checked how it looked. The narrower base was more pleasing to the eye and less prone to breaking since the feet were no longer so tall.

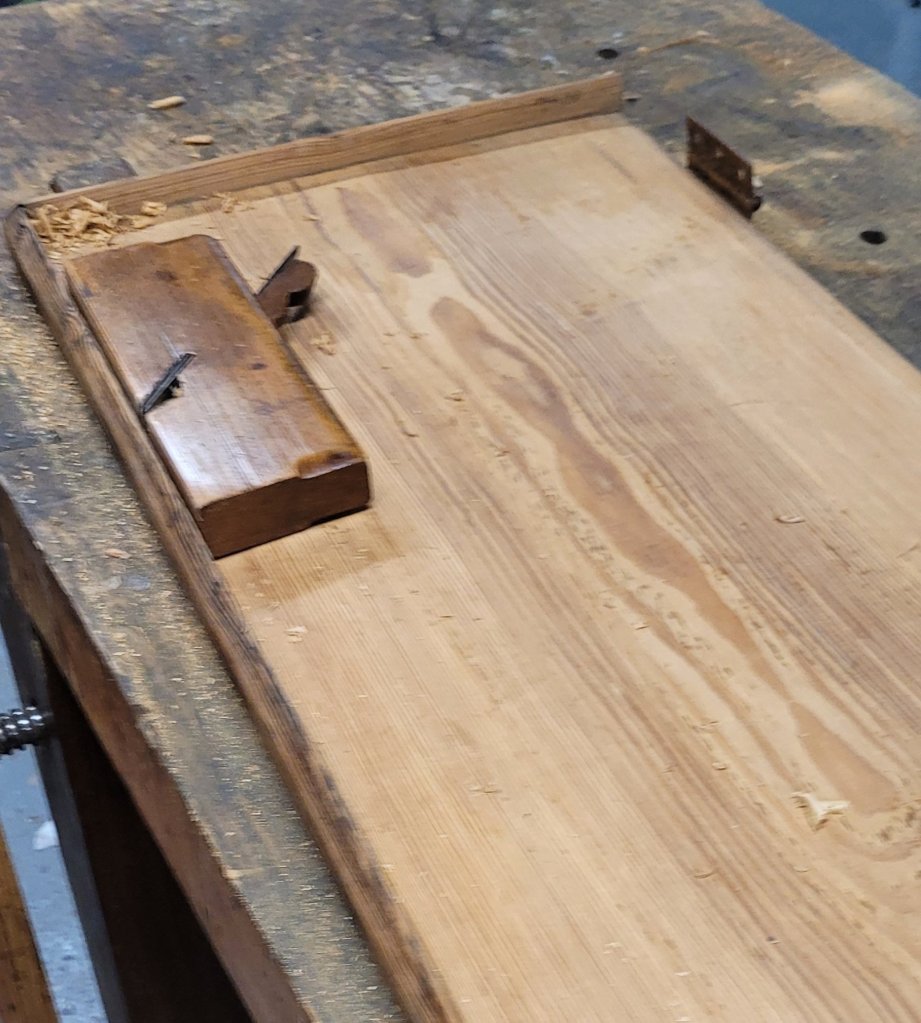
I then worked on the lid shaving away the inside of the front trim so that it would close around the chest. After a few minutes of shaving, the lid closed fine when I reinstalled it.

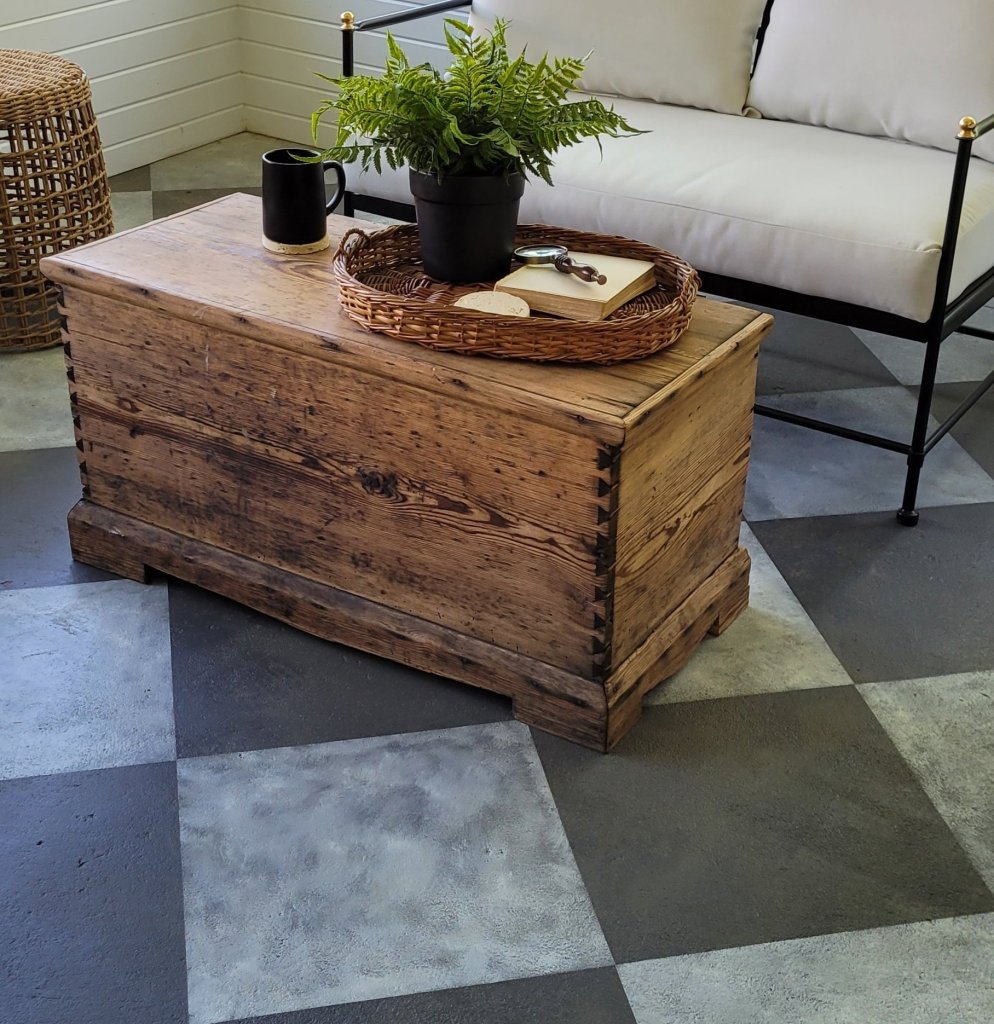
The chest now serves us well as a coffee table in our screened in porch. Hell of a coffee table for $20.00, and you can barely notice it has been repaired. Anita is ordering old looking chest handles for the sides as we both feel it would look nicer with them.

Refurbishing a Dresser into a Wine Cabinet

Back in the summer, my wife bought a dresser from a couple in Kentucky on the Longest Yard Sale for $20. The dresser wasn’t in the best shape as most of the drawers were beat up , but we decided to buy it anyway because we knew we would be able to re-purpose it into something other than a dresser.

20170114_175247

We decided to turn the dresser into a wine cabinet so I had to remove the rails from the middle of the case. I grabbed my Fein MultiMaster and cut off the tenons that attached the rails to the frame.

20170114_182131

I cleaned up the middle of the case and strengthened the case where it needed with glue and clamps.

20170114_183046

The cabinet opening was 25 1/2″ square so I designed the inside to accommodate as many wine bottles as possible. I played with different measurements until I decided on 4″ square holes to fit the wine bottles.

20170114_192909

While building a couple of grids, I test fitted them to make sure they would hold a wine bottle without falling through. I made the grids from southern yellow pine and each bar is about 3/4″ square, 12″ long with a chamfer on the front.

img_20170115_131238_044

I built the rest of the grids and tested their fit again. The cabinet would be able to hold 25 wine bottles.

img_20170115_143857_253

Since the bottom of the cabinet was now open to the floor, I added a piece of 1/4″ plywood to the base of the cabinet.

20170115_163753

And because I added the plywood to the bottom, I had to trim a 1/4″ off the bottom to all my grids. Using my panel cutter and a hand clamp, I was able to cut all the grids to the same length.

20170115_163758

After test fitting everything together, all the grids came together nicely. I installed a 1/4″ piece of plywood to the back of the grids so that the wine bottle wouldn’t fall through the back.

img_20170115_165248_517

Satisfied with the grids, I turned my attention to the drawer and glued a new piece of wood to the bottom of one side as it was damaged. The drawer wasn’t opening smoothly so this repair helped out a lot.

20170115_173721

Because the grids were freshly cut wood, I wanted to age them to match the piece, so I brushed on an apple cider vinegar and steel wool solution to darken them up.

img_20170116_165959_411

My wife painted the inside of the case black and the outside grey with milk paint to let some of the original finish show through. She then stained the top with a gel stain and applied three coats of Waterlox varnish. This cabinet is now ready for years of use under its new life.

img_20170120_171649_577