
Back in the summer, my wife bought a dresser from a couple in Kentucky on the Longest Yard Sale for $20. The dresser wasn’t in the best shape as most of the drawers were beat up , but we decided to buy it anyway because we knew we would be able to re-purpose it into something other than a dresser.

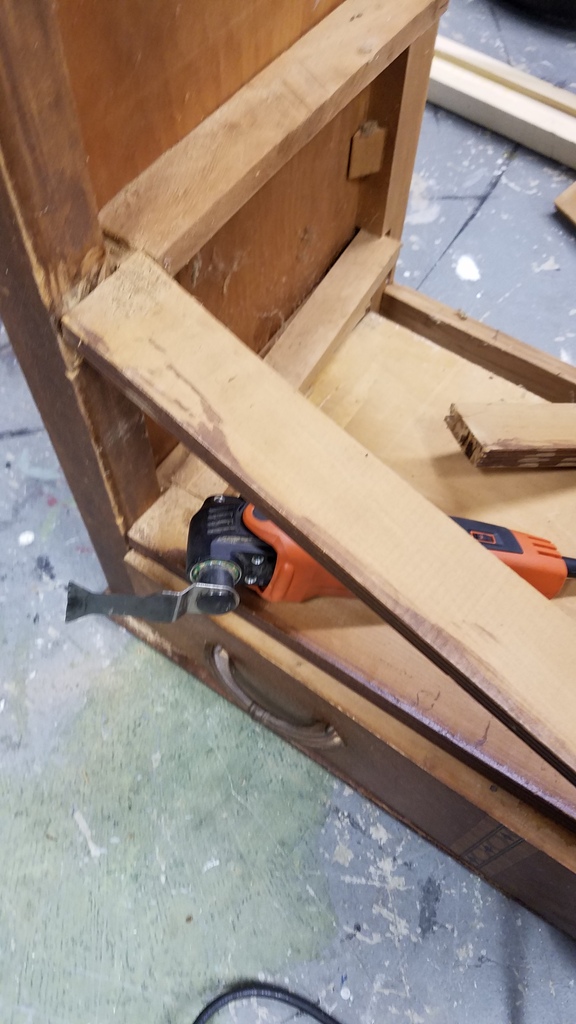
We decided to turn the dresser into a wine cabinet so I had to remove the rails from the middle of the case. I grabbed my Fein MultiMaster and cut off the tenons that attached the rails to the frame.
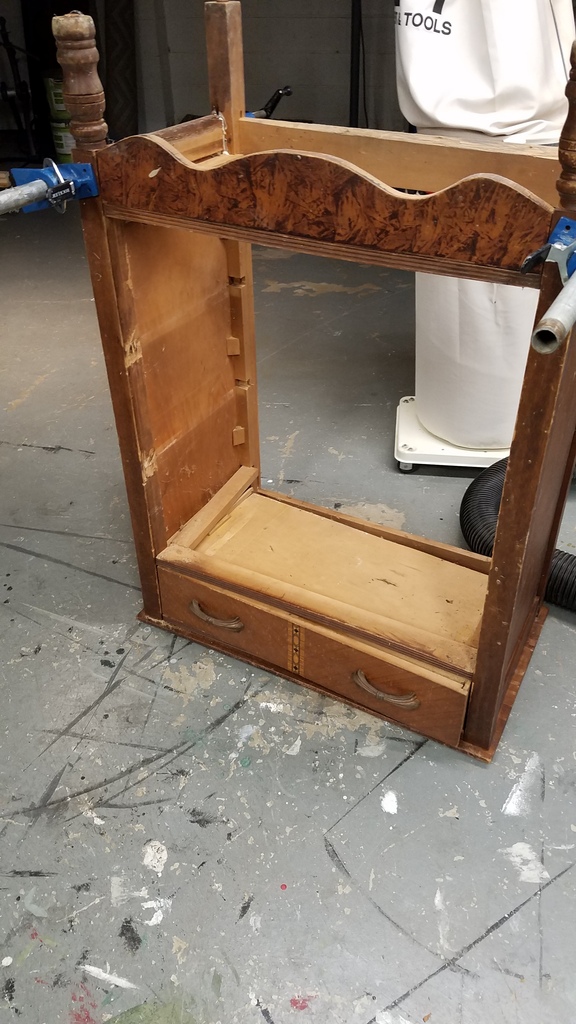
I cleaned up the middle of the case and strengthened the case where it needed with glue and clamps.
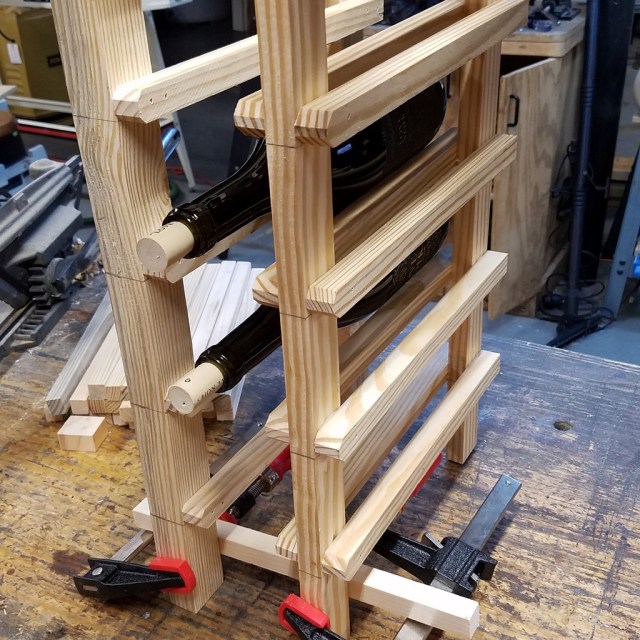
The cabinet opening was 25 1/2″ square so I designed the inside to accommodate as many wine bottles as possible. I played with different measurements until I decided on 4″ square holes to fit the wine bottles.

While building a couple of grids, I test fitted them to make sure they would hold a wine bottle without falling through. I made the grids from southern yellow pine and each bar is about 3/4″ square, 12″ long with a chamfer on the front.
I built the rest of the grids and tested their fit again. The cabinet would be able to hold 25 wine bottles.

Since the bottom of the cabinet was now open to the floor, I added a piece of 1/4″ plywood to the base of the cabinet.

And because I added the plywood to the bottom, I had to trim a 1/4″ off the bottom to all my grids. Using my panel cutter and a hand clamp, I was able to cut all the grids to the same length.

After test fitting everything together, all the grids came together nicely. I installed a 1/4″ piece of plywood to the back of the grids so that the wine bottle wouldn’t fall through the back.

Satisfied with the grids, I turned my attention to the drawer and glued a new piece of wood to the bottom of one side as it was damaged. The drawer wasn’t opening smoothly so this repair helped out a lot.

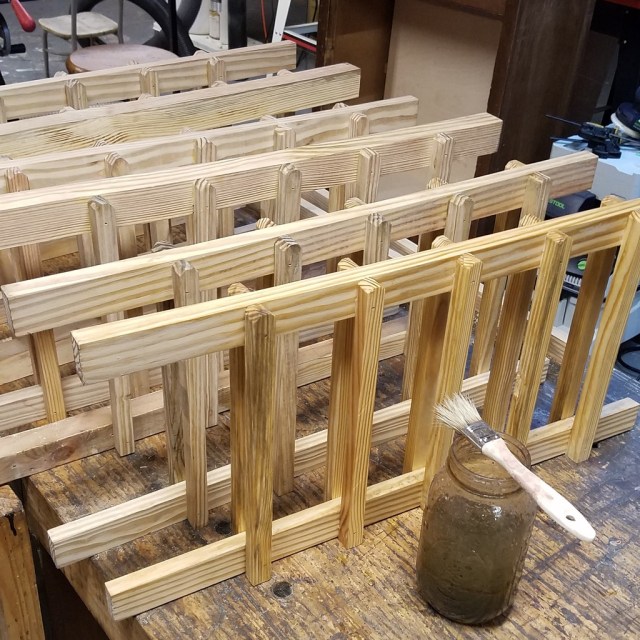
Because the grids were freshly cut wood, I wanted to age them to match the piece, so I brushed on an apple cider vinegar and steel wool solution to darken them up.
My wife painted the inside of the case black and the outside grey with milk paint to let some of the original finish show through. She then stained the top with a gel stain and applied three coats of Waterlox varnish. This cabinet is now ready for years of use under its new life.

