A couple of weeks ago, my wife and I were antique hunting in Dayton, Ohio, where I ran into this old level in the back of a barn. I figured it was a Stanley Rule and Level Co level, but the amount of brass in the front intrigued me as it wasn’t the usual design I see all the time.
I really don’t restore levels too often, but I decided to ask how much it was as I thought it would be a fun little restoration project. After the lady told me $10.00, I took it home.
Restoring it was pretty straightforward. I applied some citrus based paint stripper on it to remove the old grime, then washed it off with a soapy dish liquid. Then I applied elbow grease to buff out brass with steel wool and liquid brass cleaner. Then, coated the level with a few coats of shellac.
You can see on the side that it’s faintly stamped 11, which I figured makes it a Stanley No 11. Stanley made No 11’s in mahagony and rosewood. When I was cleaning the wood, I got excited thinking the level was made from rosewood, but I’m pretty sure it’s mahagony. The fact that the brass is only the corners and not completely covering the end makes it an older level.
You can see the Stanley Rule & Level Co. so it’s possible it’s before they acquired their plane line.
I’m not sure how to date the level as I am unaware of a type study on Stanley Levels, but if I had to take a guess, I’d say it’s around 1860-80’s in age. And it’s in pretty nice shape for being as old as it is.
Does anyone know how old it is? Drop a comment and let me know.
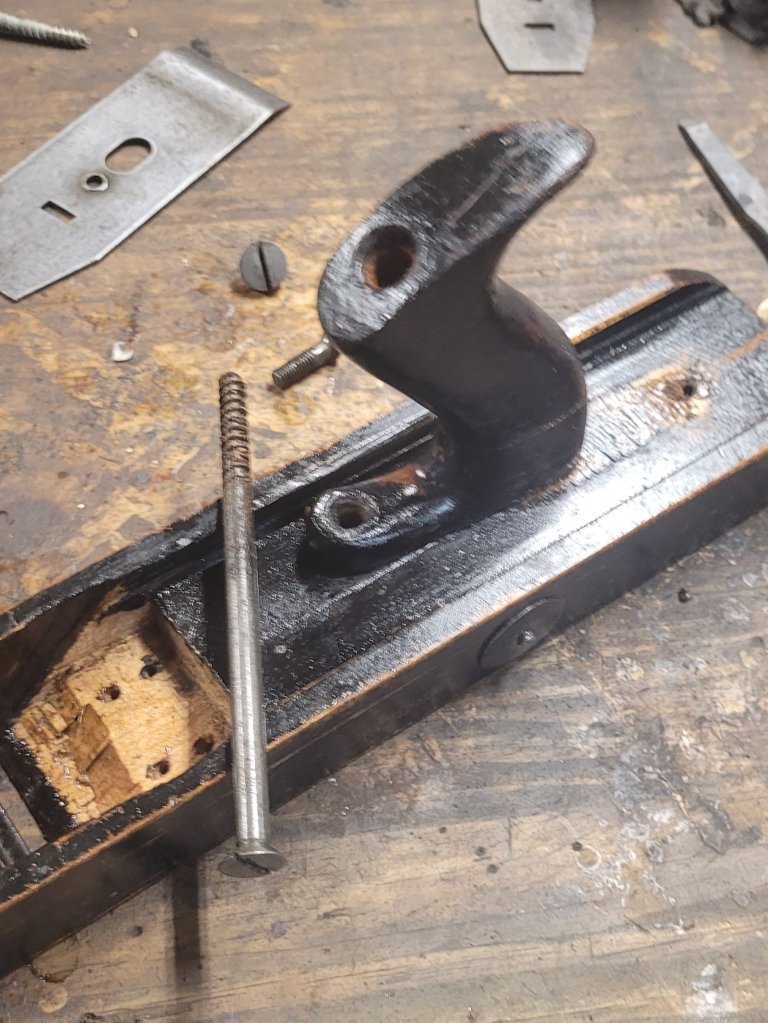
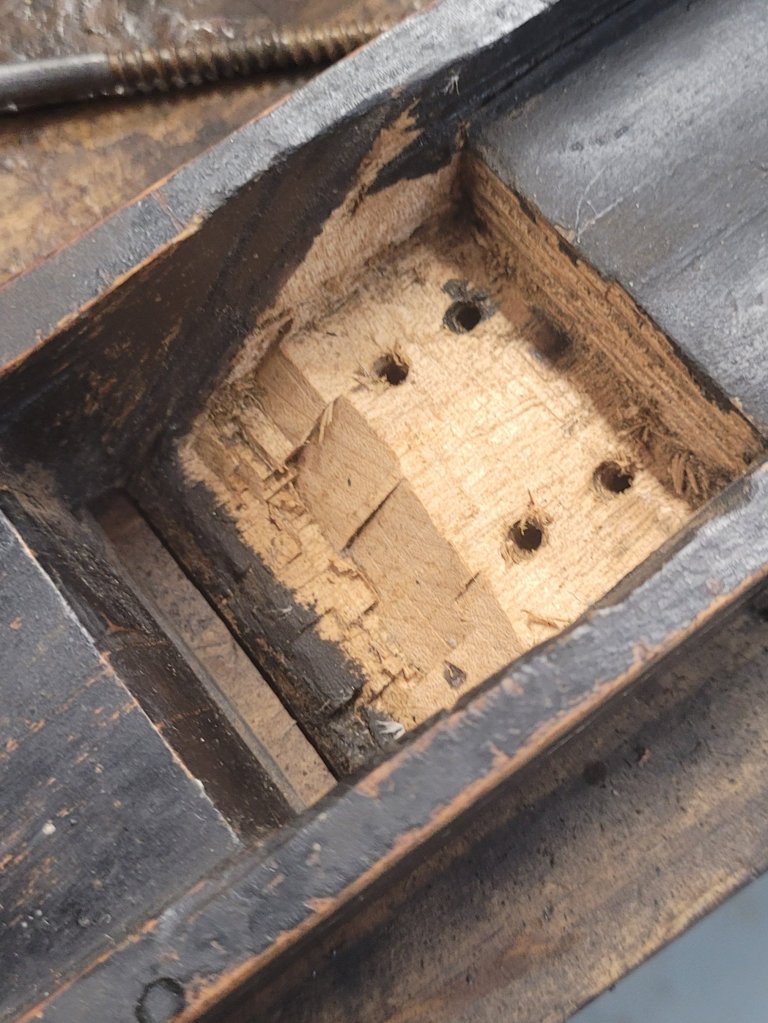
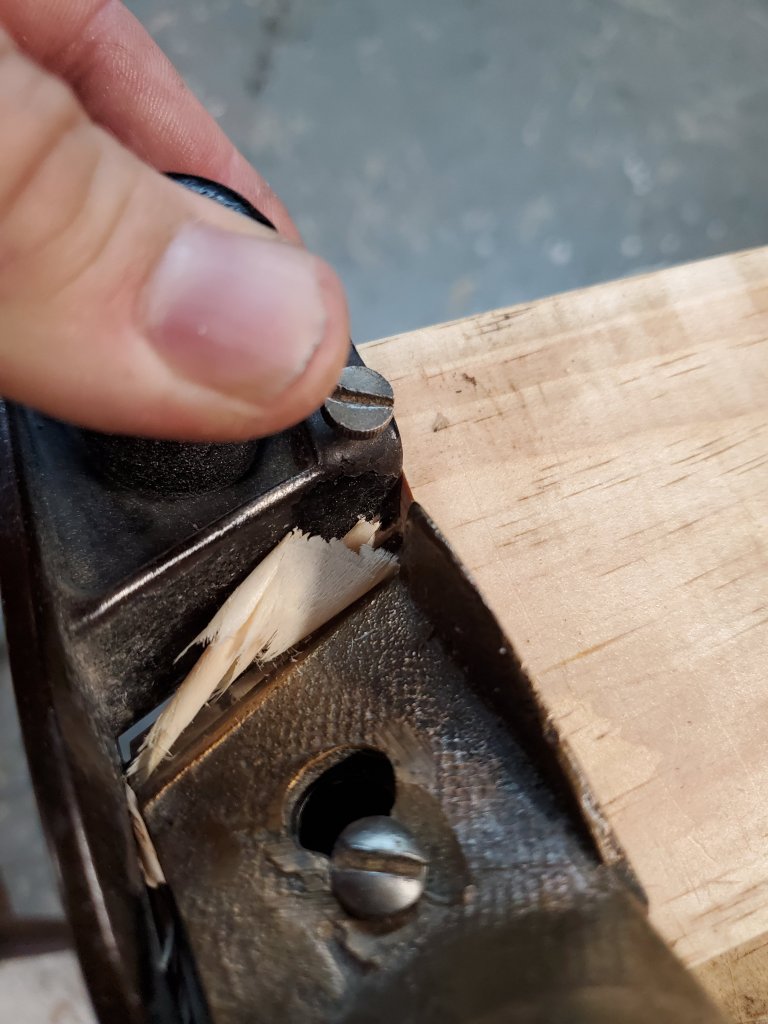
Several weeks ago, I won this craftsman made hand plane on an auction site. When I first looked at it, I thought the body was made with three pieces of wood laminated together like a Krenov plane, but after studying it, I realized it was one single piece of wood. There are a couple of rivets through the body, but I don’t know what purpose they serve.
I’m not sure what the story of this plane is, but it looks like the craftsman owned a Sargent plane that broke, so he made a custom wood body out of mahagony and turned his plane into a transitional plane. You can see the chisel marks as he dug out for the frog, which adds a cool factor to the plane.
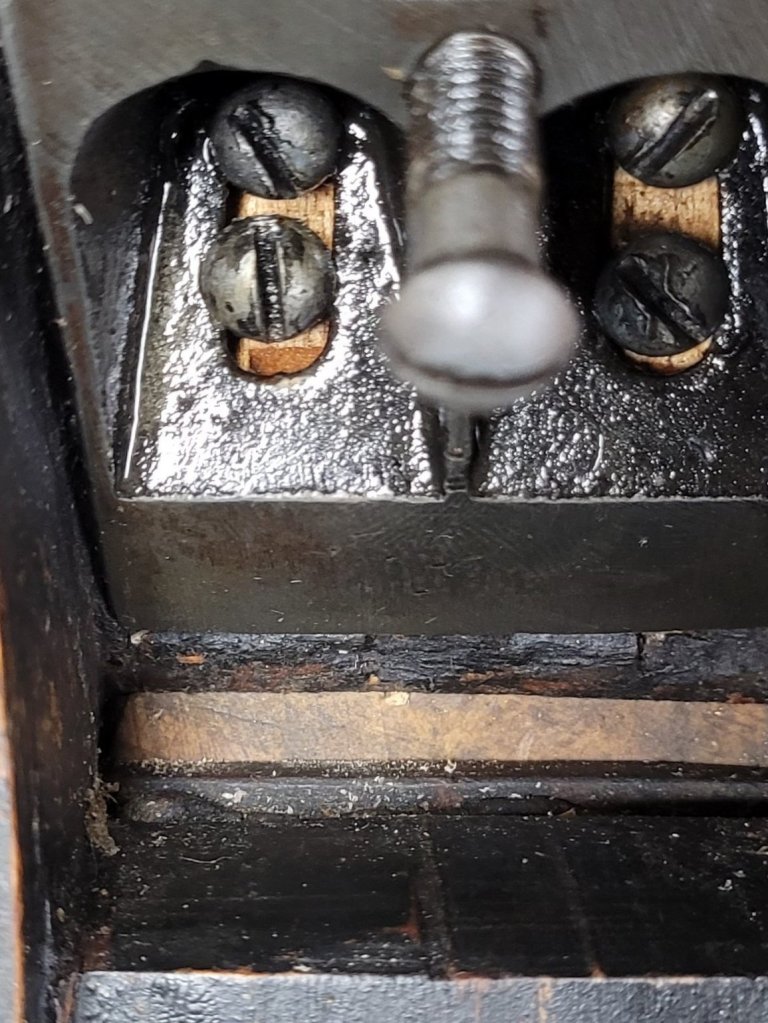
For whatever reason, he used four screws to hold down the frog to the body. It allows for very little advancement of the frog, but the plane still functions fine.
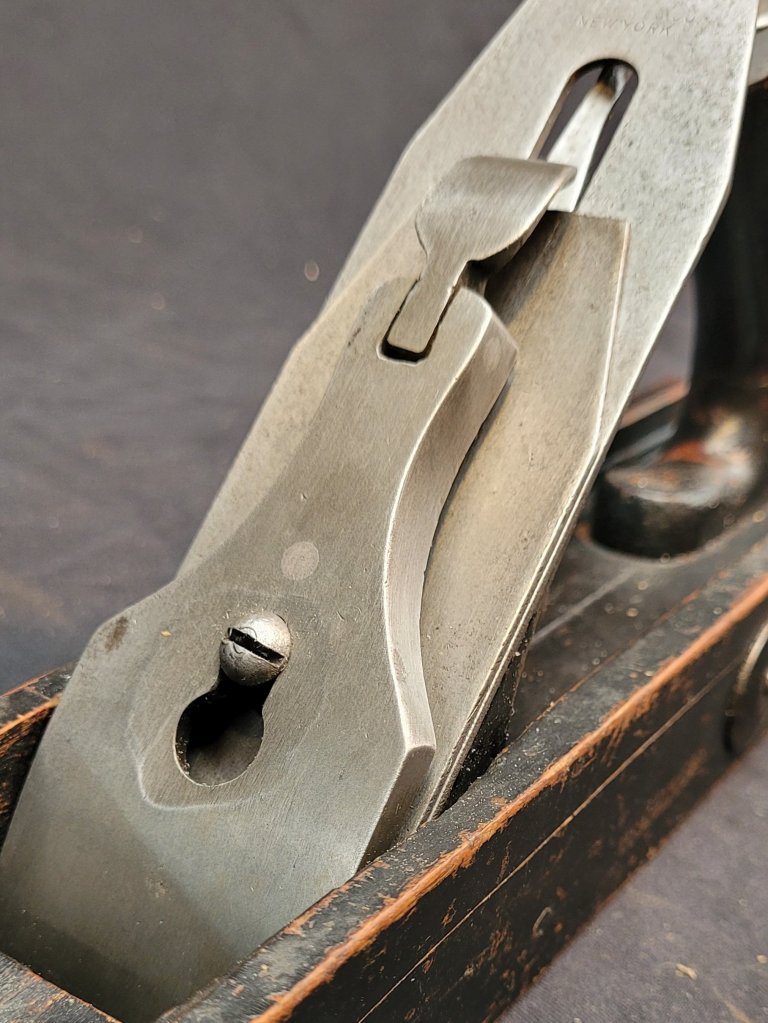
The owner also grounded the face of the lever cap down, which seems odd. You would think the original lever cap screw would have worked just fine, but maybe this screw is a replacement.
Luckily, I know the name of the craftsman of the plane (at least the last name). C Heiland is the person who made the plane. I googled “C Heiland Woodworker,” hoping I would find some information about him but had no luck. It would be awesome to have some provenance on the plane.
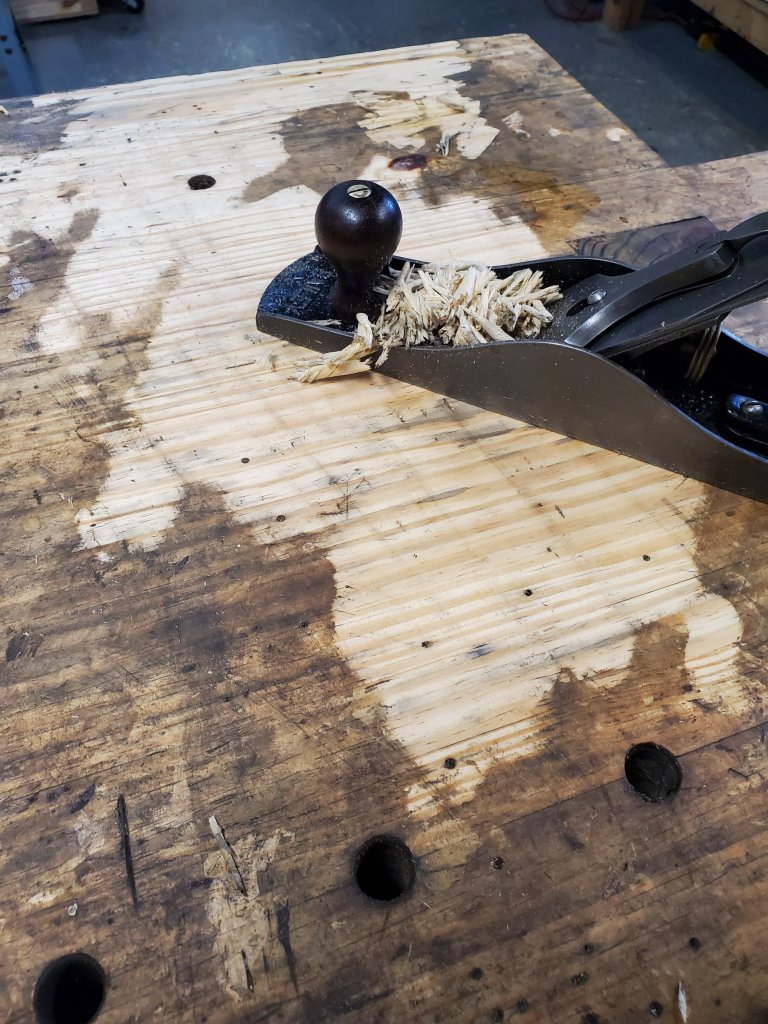
It’s a neat plane to look at, but I wanted to see how it performed, so I sharpened the blade and put it to work. The plane performs admirably. It was much better than the Buckeye plane I tried out from a few weeks ago.
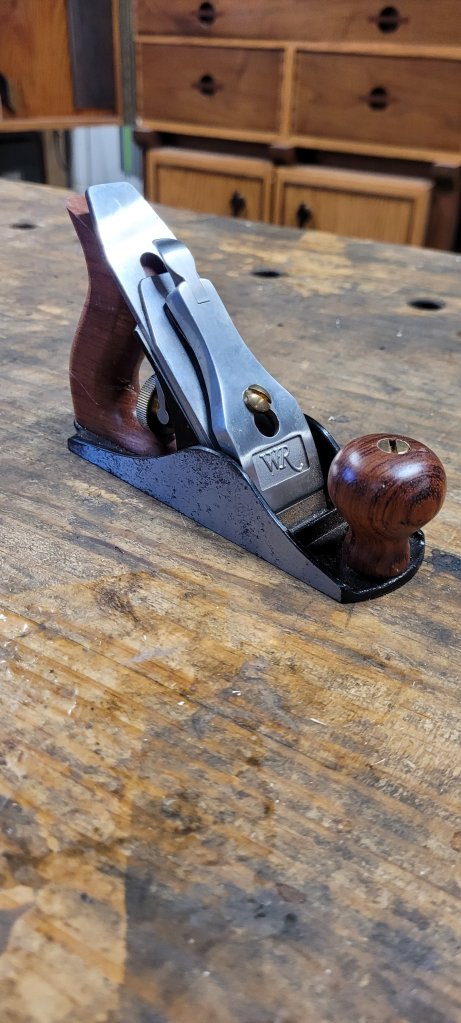
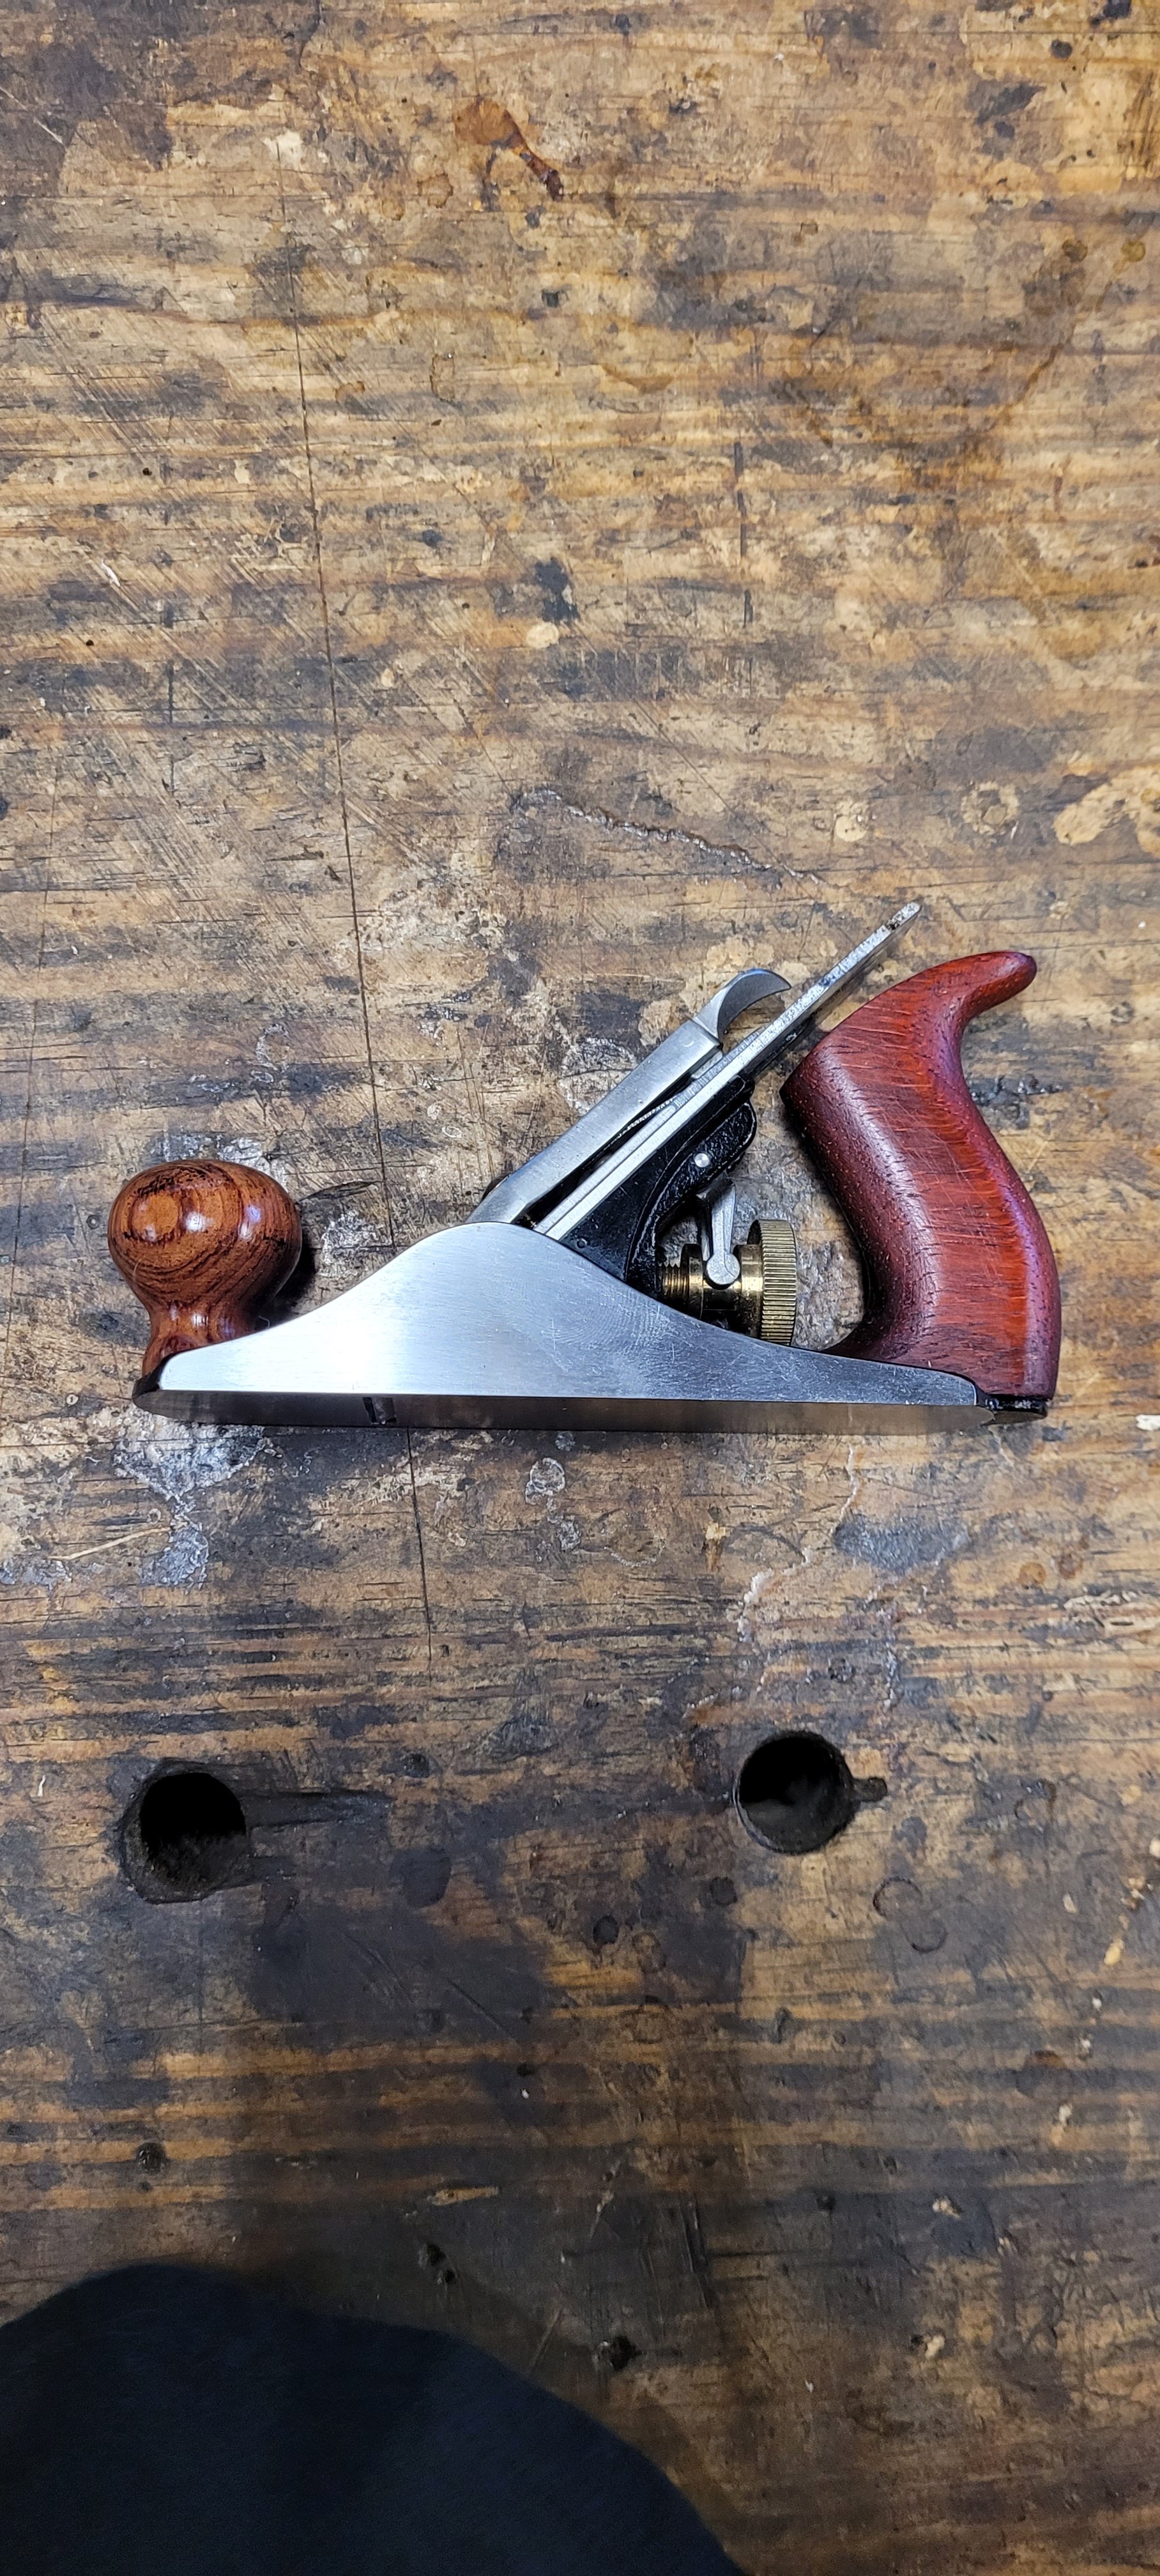
A few months ago, I bought this Woodriver No 1 Plane on eBay after missing owning my Stanley No 1 Plane that I bought at an antique show a couple of years earlier. I had to sell my Stanley No 1 because at the time, I needed the cash, but I still enjoyed using it for the short time I owned it.
I wanted to buy a Lie Nielsen No 1 plane, but those have shot up in price over the past couple of years as well. When I wrote my article about “Using a Stanley No 1 Plane,” you could buy a Lie Nielsen for about $200. Now, their prices fetch anywhere between $500-800 because apparently Lie Nielsen is no longer making them, and collectors are grabbing them up.
Woodriver No 1 planes are technically still available, but they have been on backorder from Woodcraft for over a year, which is why I had to hunt eBay for this little guy. Whether or not they come off backorder is anyone’s guess.
The plane needed a little cleaning, so I took it apart and polished all the parts, removing surface rust. I noticed the edges were sharp from the milling process, so I cut them down with a file and some 120 grit sand paper.
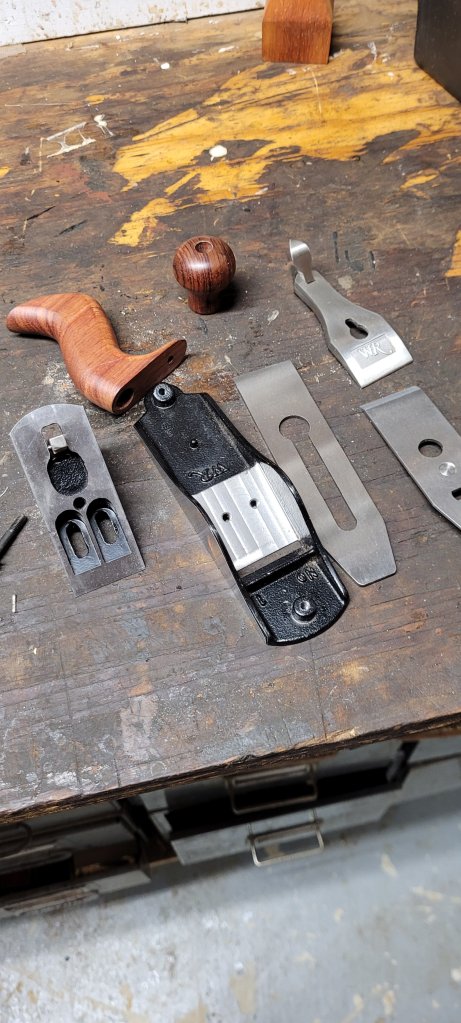
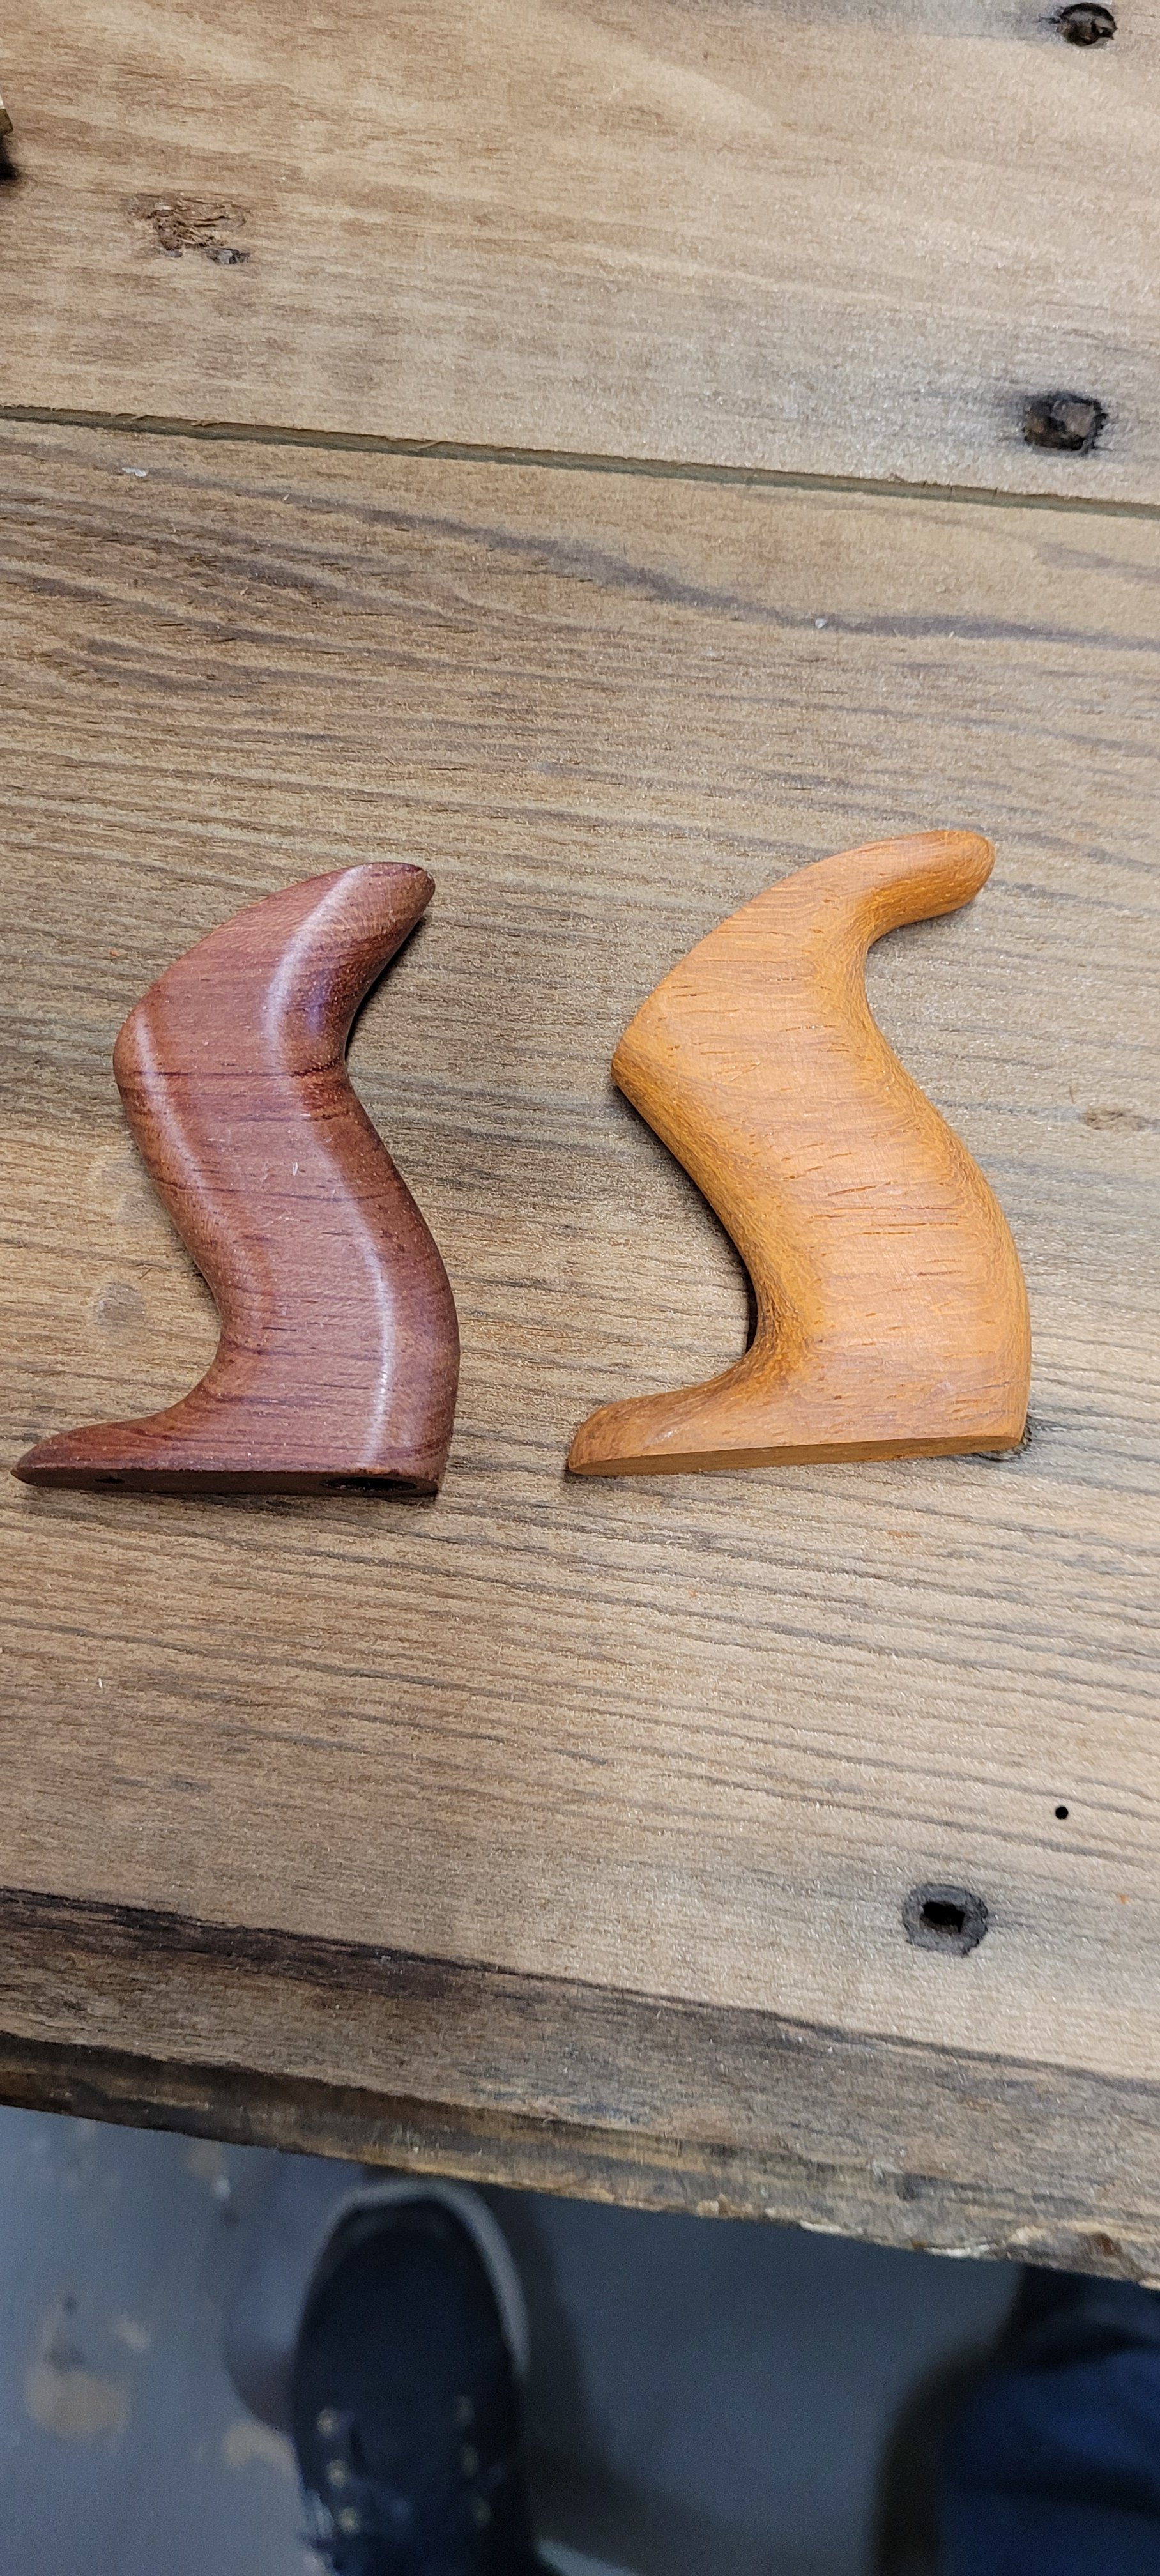
The one thing I didn’t like about the plane was the shape of the rear tote. I originally wanted to replace the handle with Brazialian Rosewood, but I couldn’t source a piece that was cheap enough, so I settled with a scrap piece of Paduak. I’m partial to the look of Stanley’s older totes, so I drew out a design that I thought looked close enough to the old Stanley planes.
I simply used chisels and files and rounded the edges of the tote. I played around with the overall shape of the tote a few times until I was satisfied with the overall look.
After the shaping was done, I had to drill the holes for the nut and threaded rod. I stuck a 1/8″ dowel through the Woodriver tote and transferred that angle onto my new tote. Then, I drilled the center hole through the body and larger holes on the top and bottom of the tote to fit the nut on top and the raised hump on the bed.
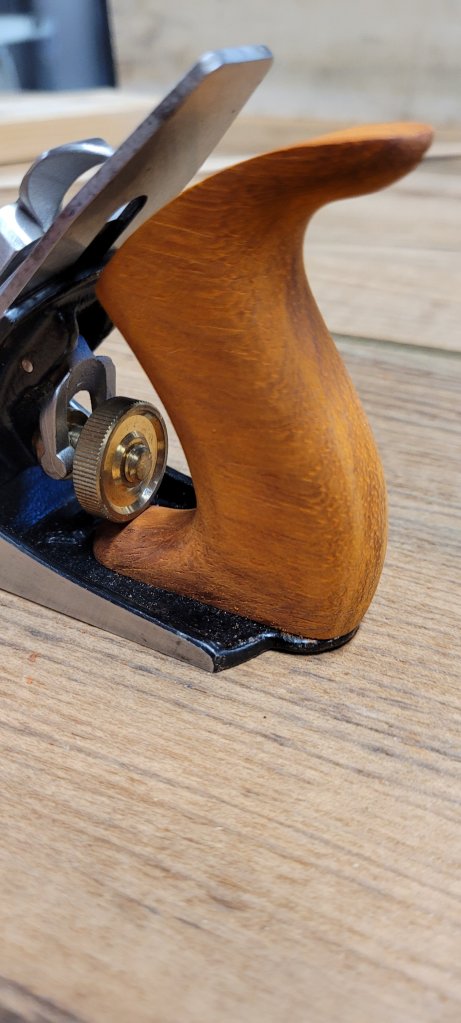
Once I put the tote onto the plane, I examined how it fit. I noticed that the front part of the tote was a little too tall for the brass adjustment screw to move freely. So I reshaped the front of the tote, giving the screw more clearance to move.
I sanded the tote smooth and applied dark walnut Danish oil on the tote to tone the reddish color down a little bit. I contemplated making a new knob as well, but I decided against it. I’m hoping that the color of the Paduak will darken over time and match the knob better in color.
Here’s the plane all cleaned up with a new tote. Looks nice, but I still would like to make Brazialian Rosewood handles someday.
I sharpened the blade to see how it performed. I grabbed a scrap piece of birch with some swirly grain and went to work. The plane worked admirably. I really do think these little guys were made to clean up rough grain produced by larger planes.
I don’t think Woodriver No 1 Planes are as nicely machined as Stanley or Lie Nielsen planes, but for the price, they’re a good substitute.
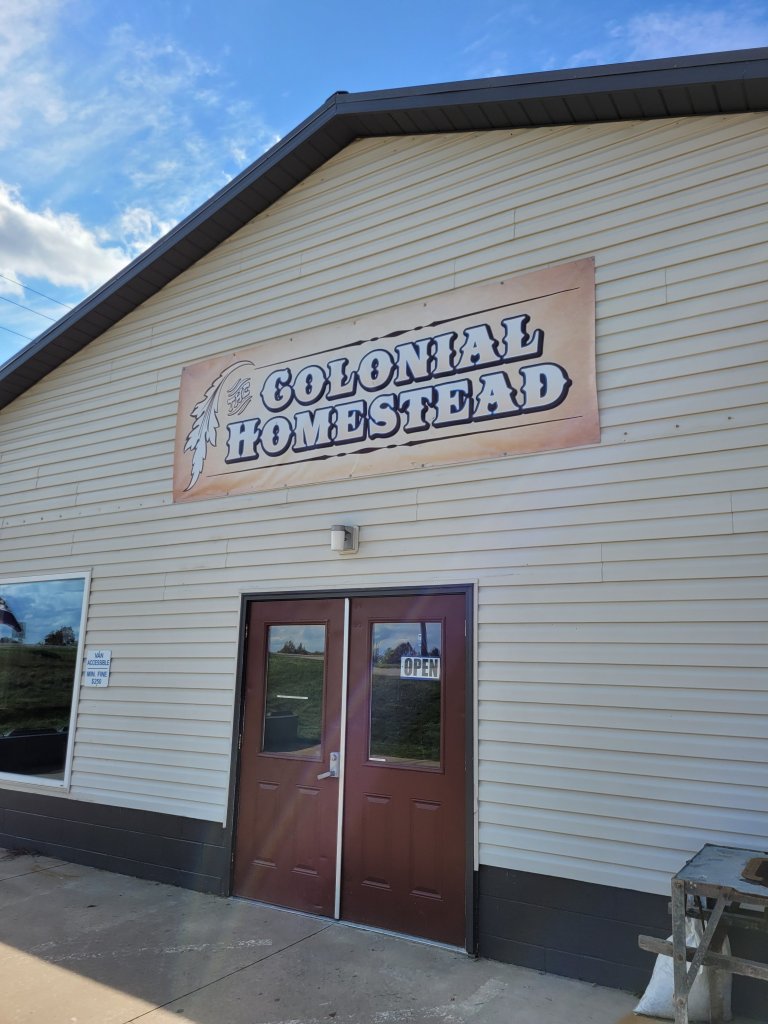
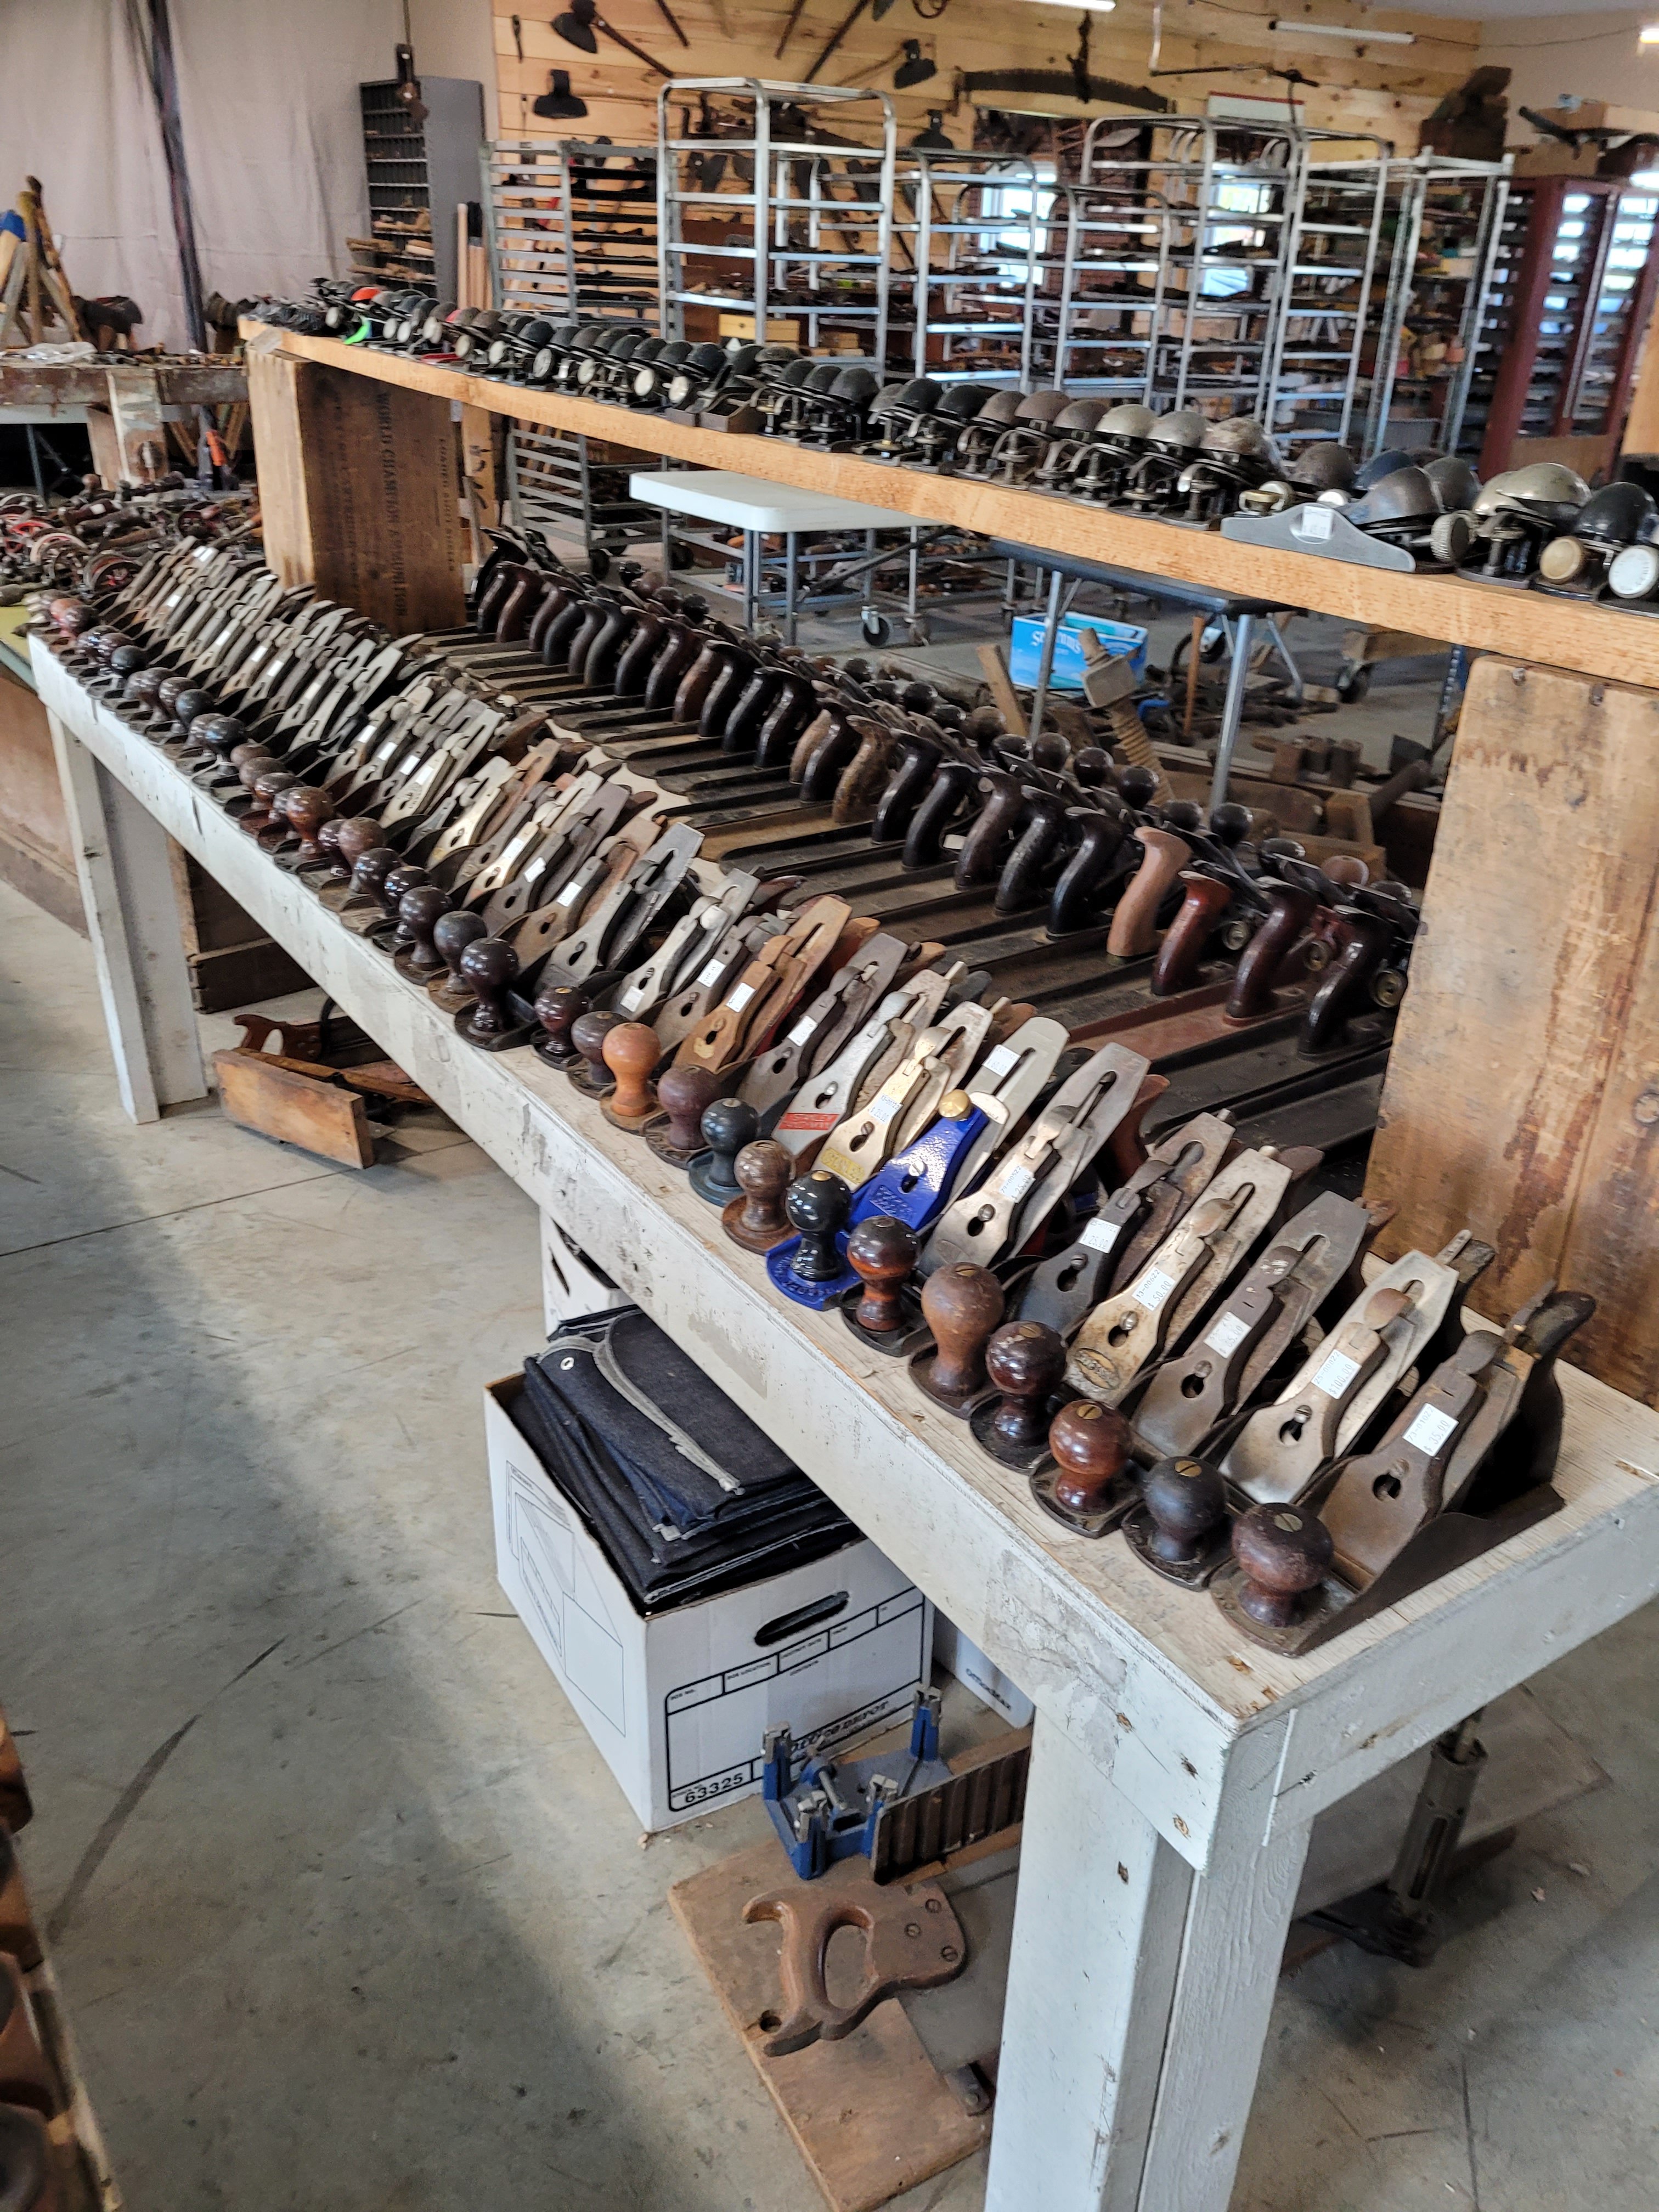
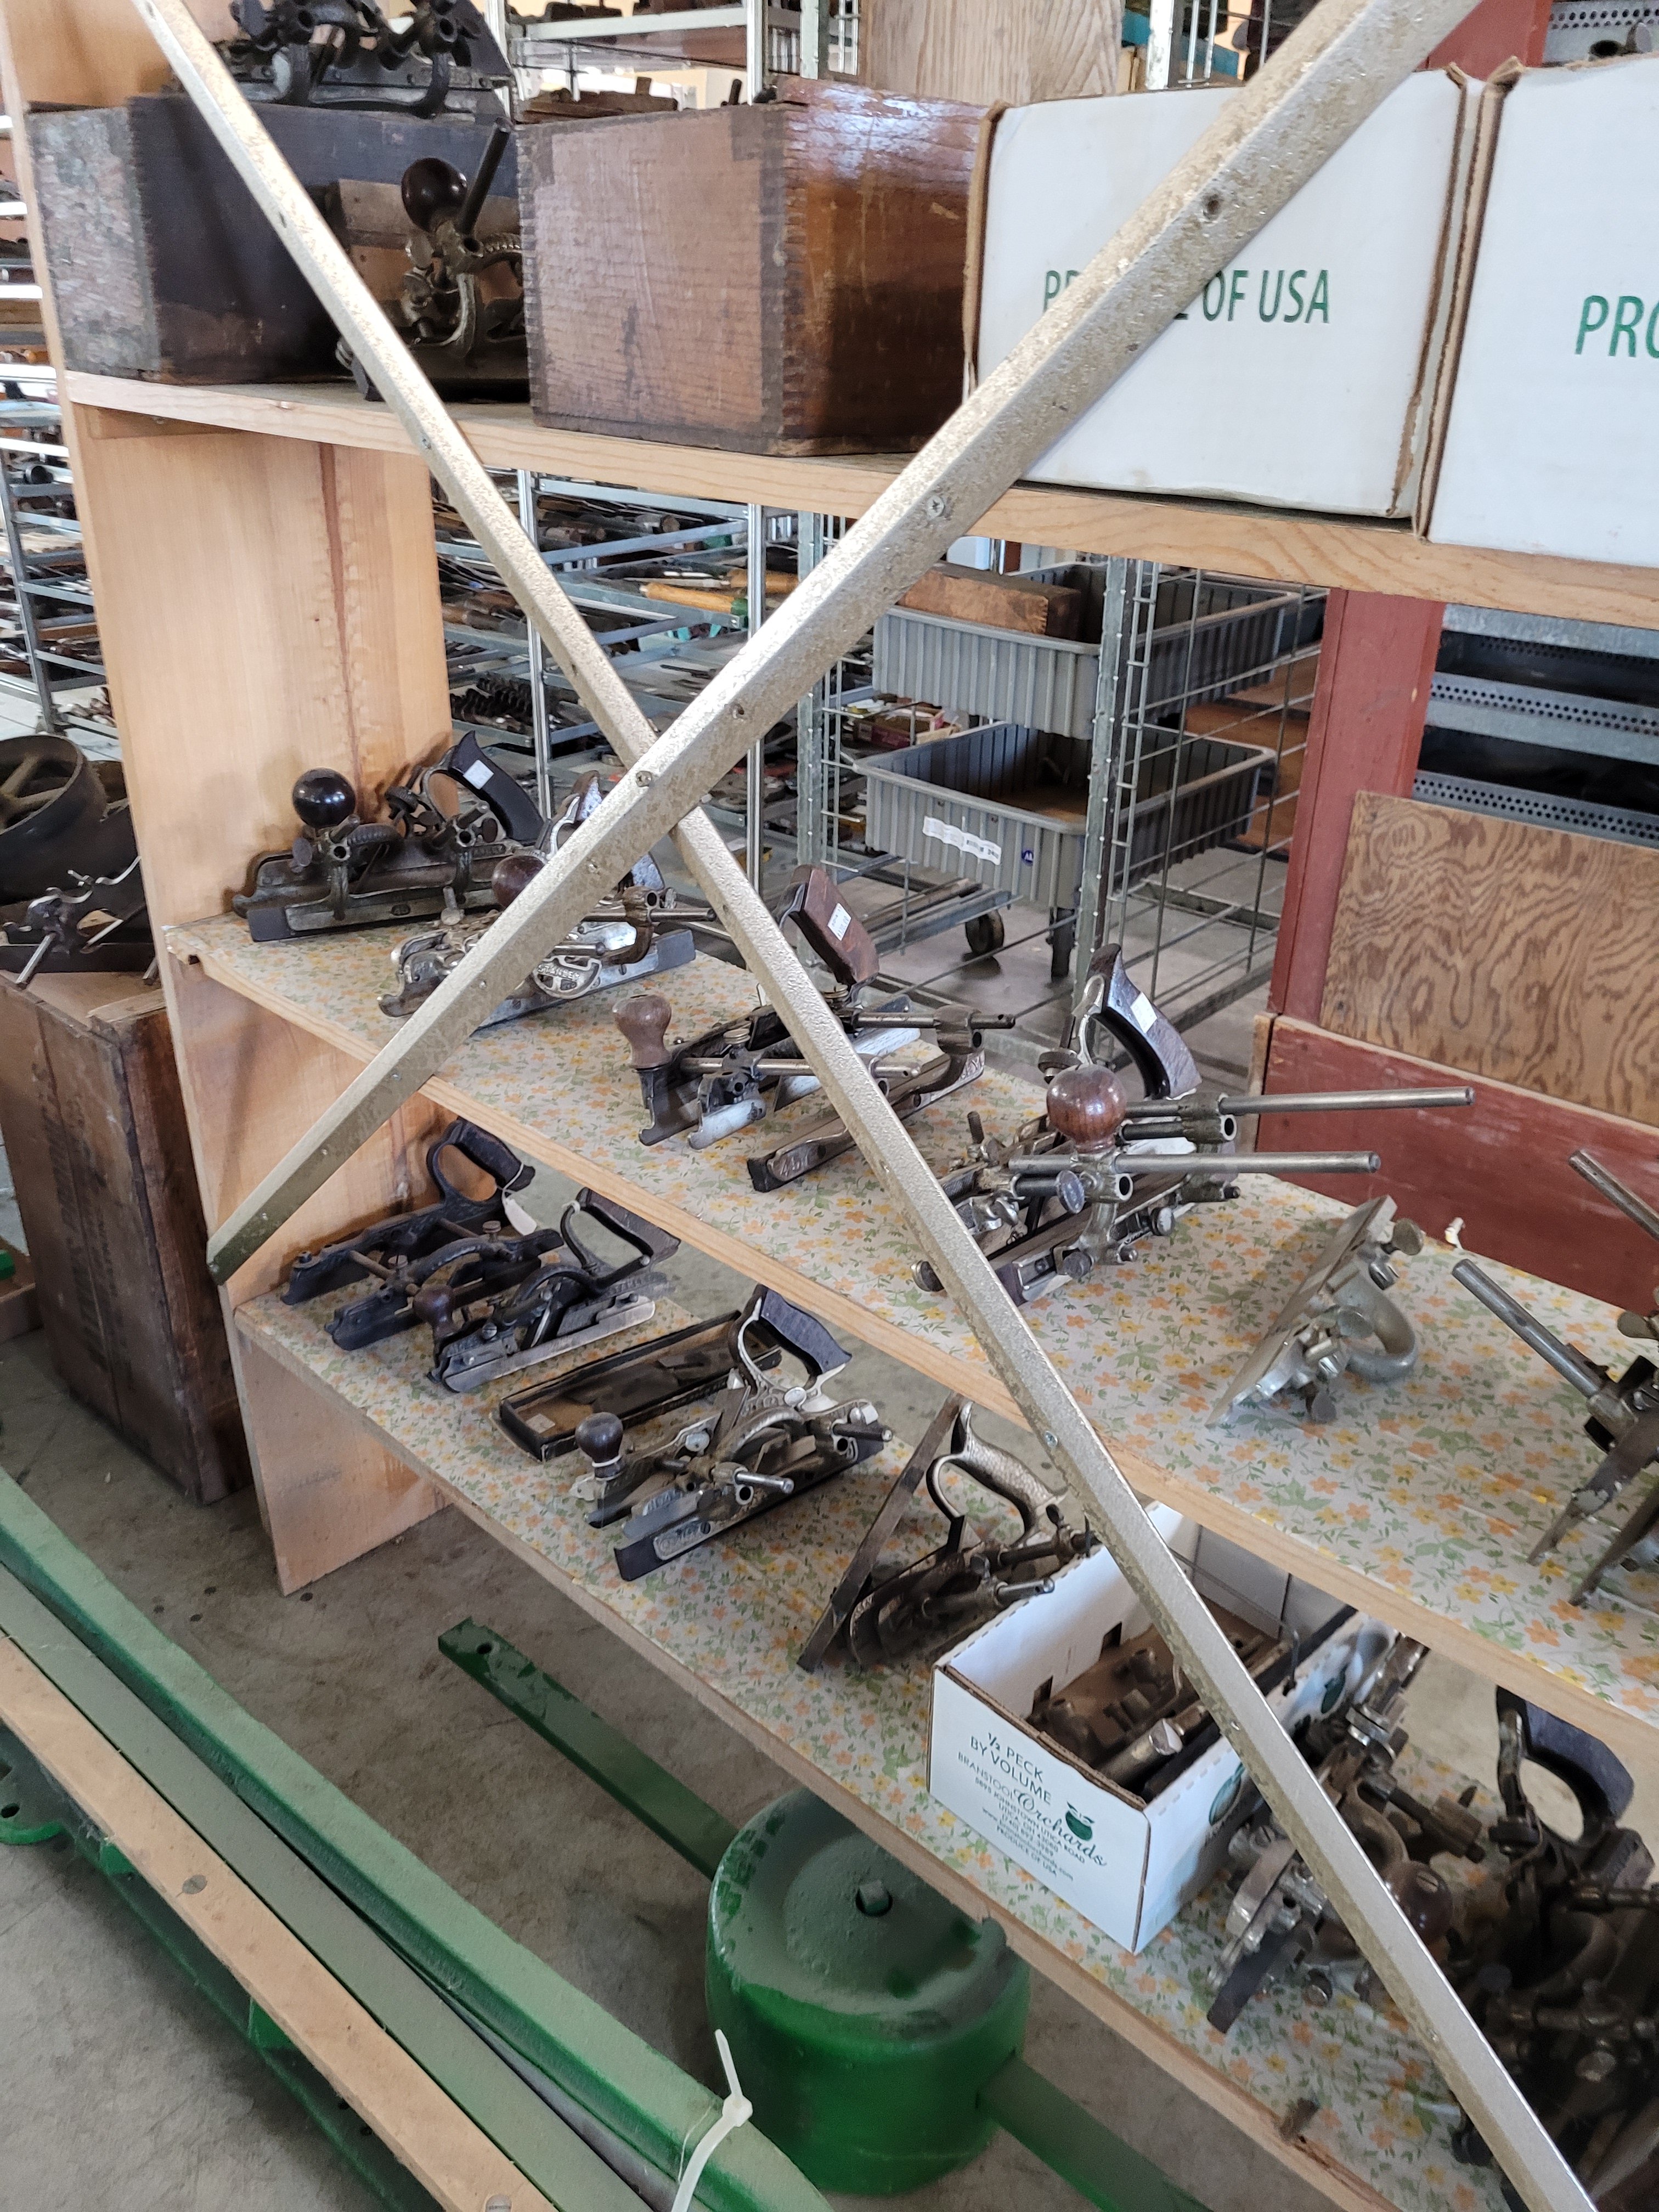
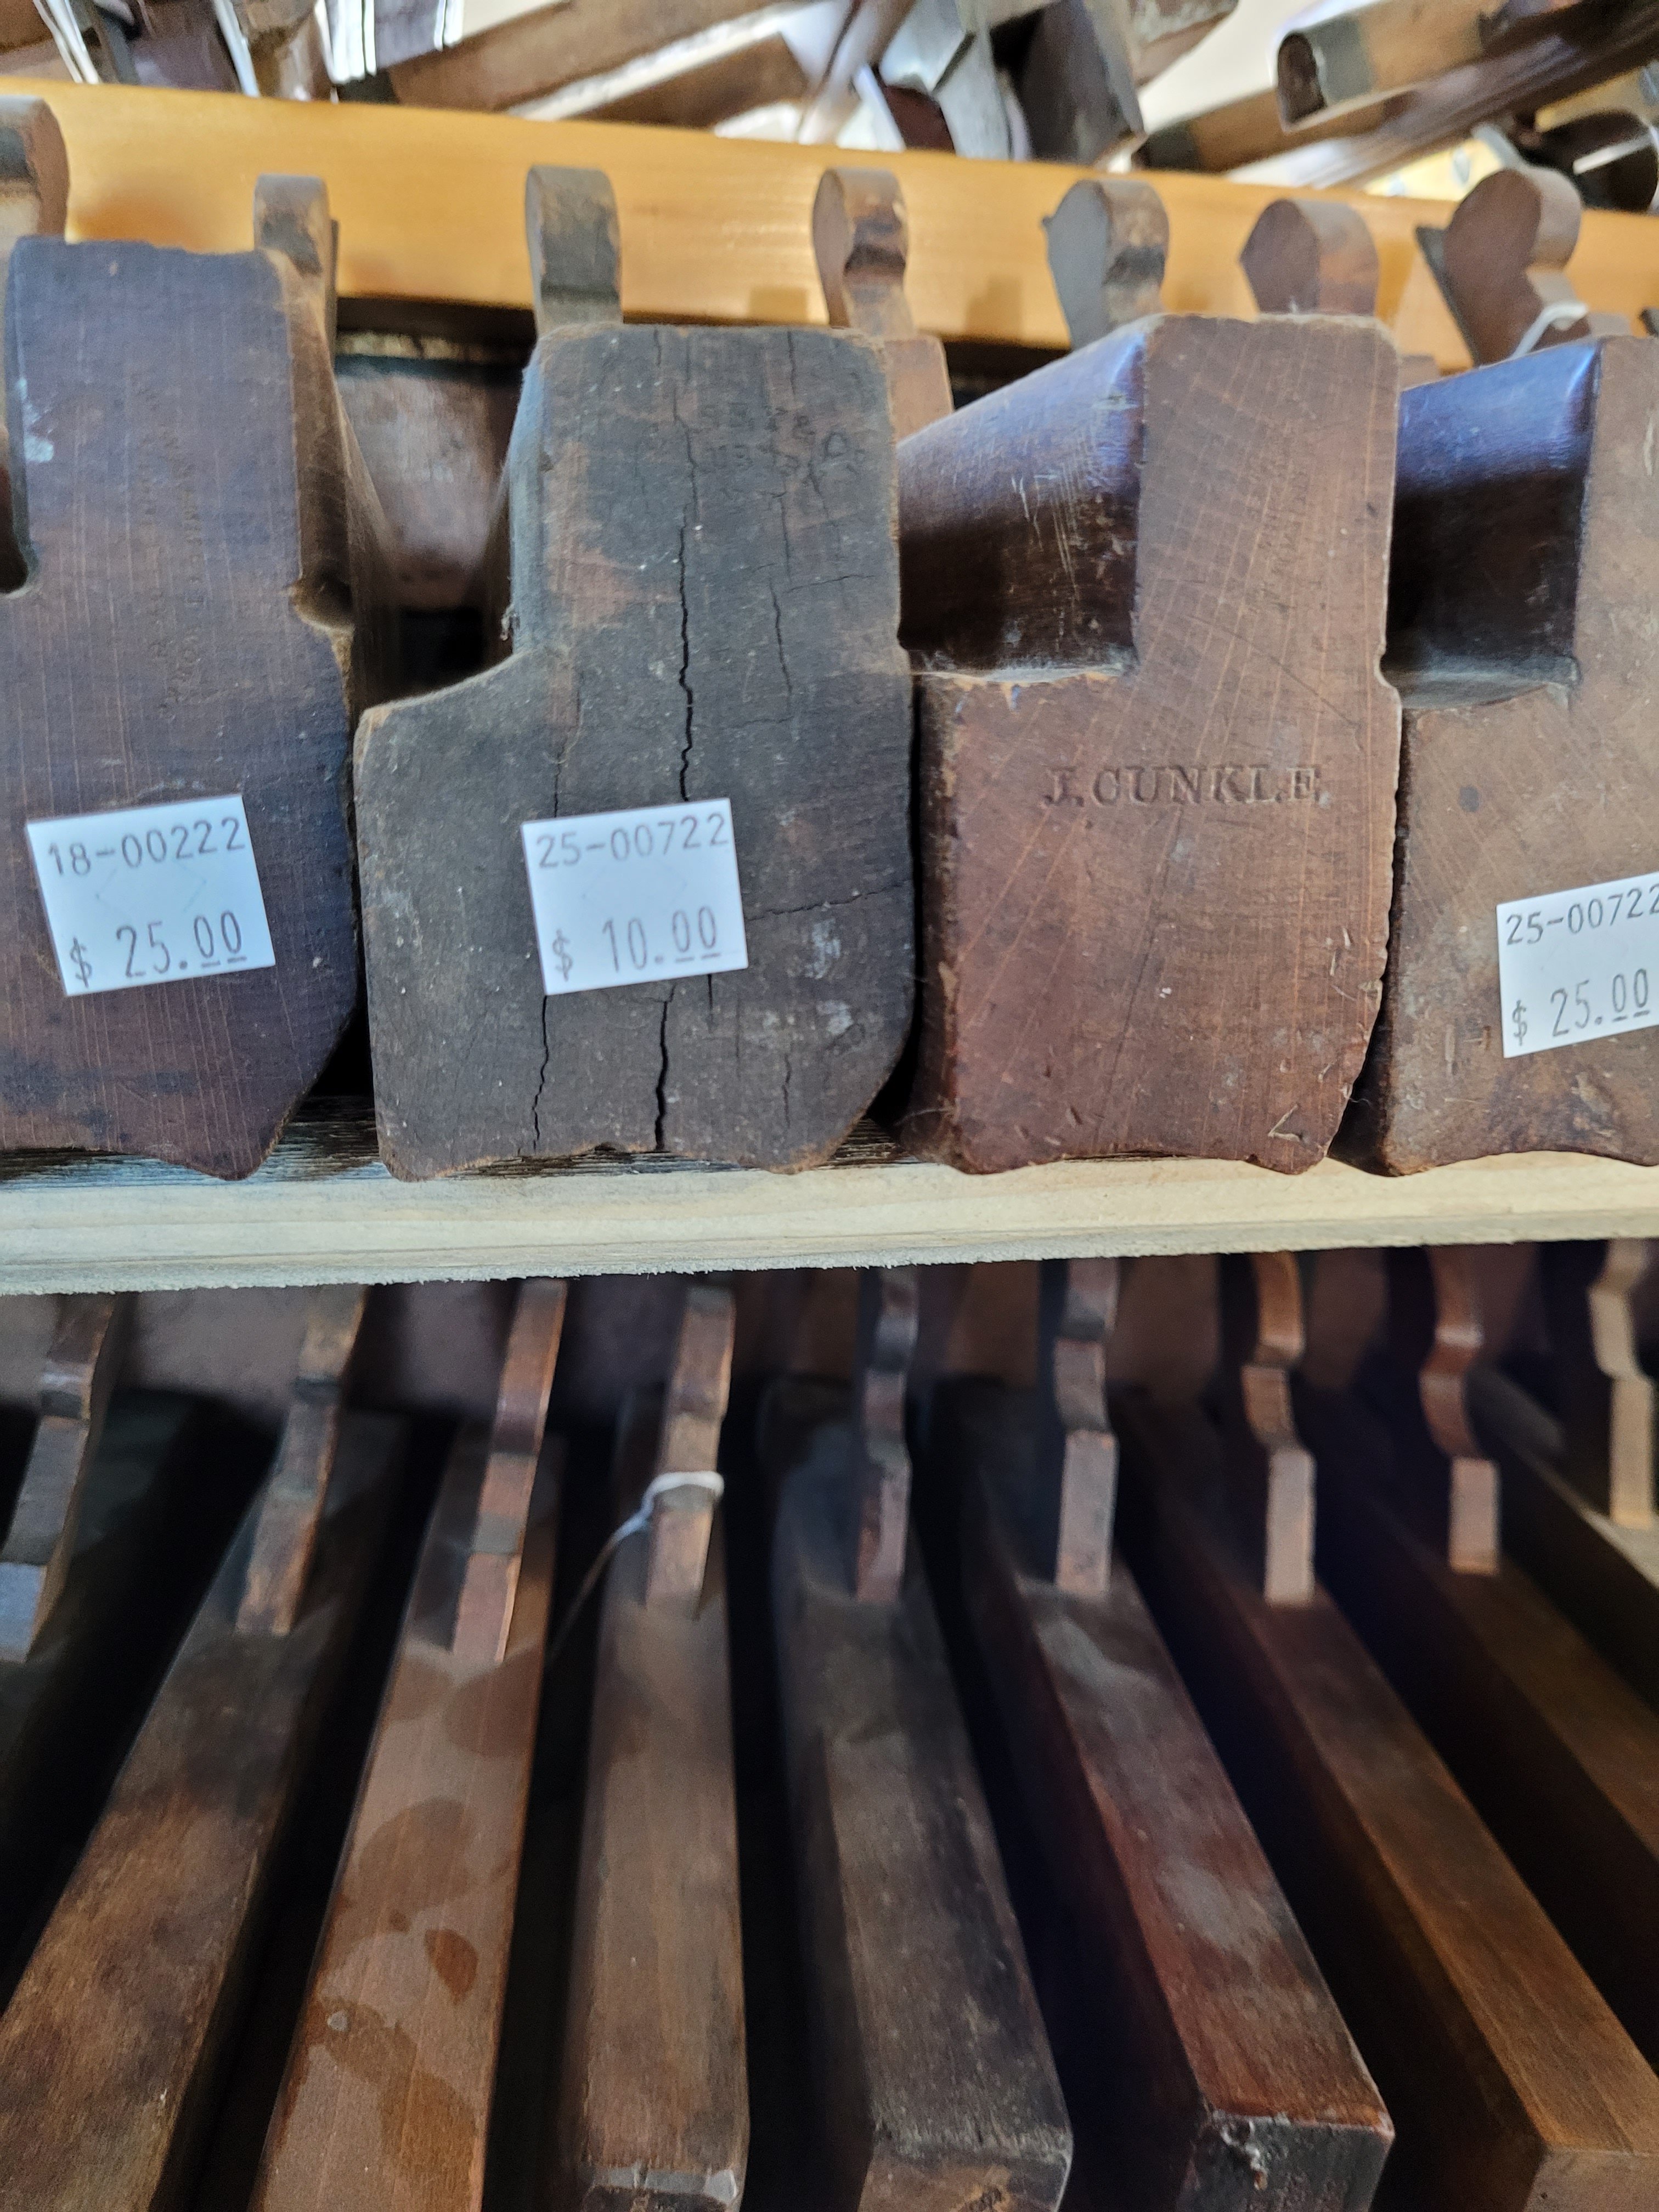
A couple of weekends ago, my wife and I drove up to Millersburg, OH to check out the fall colors and the antique malls up there. We visited Millersburg a couple of years back only to find out after we left, that there is an antique tool store in town. I saw Colonial Homestead on Instagram when we got home and couldn’t believe I missed it so, this time I knew I had to put it on our list of stops.
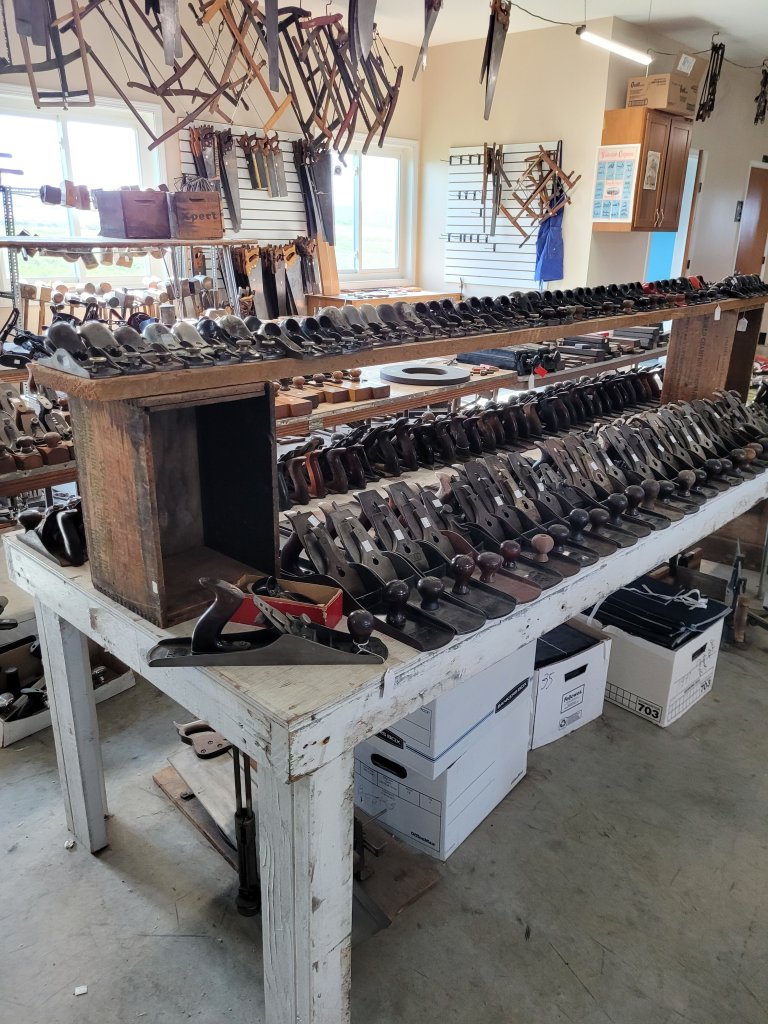
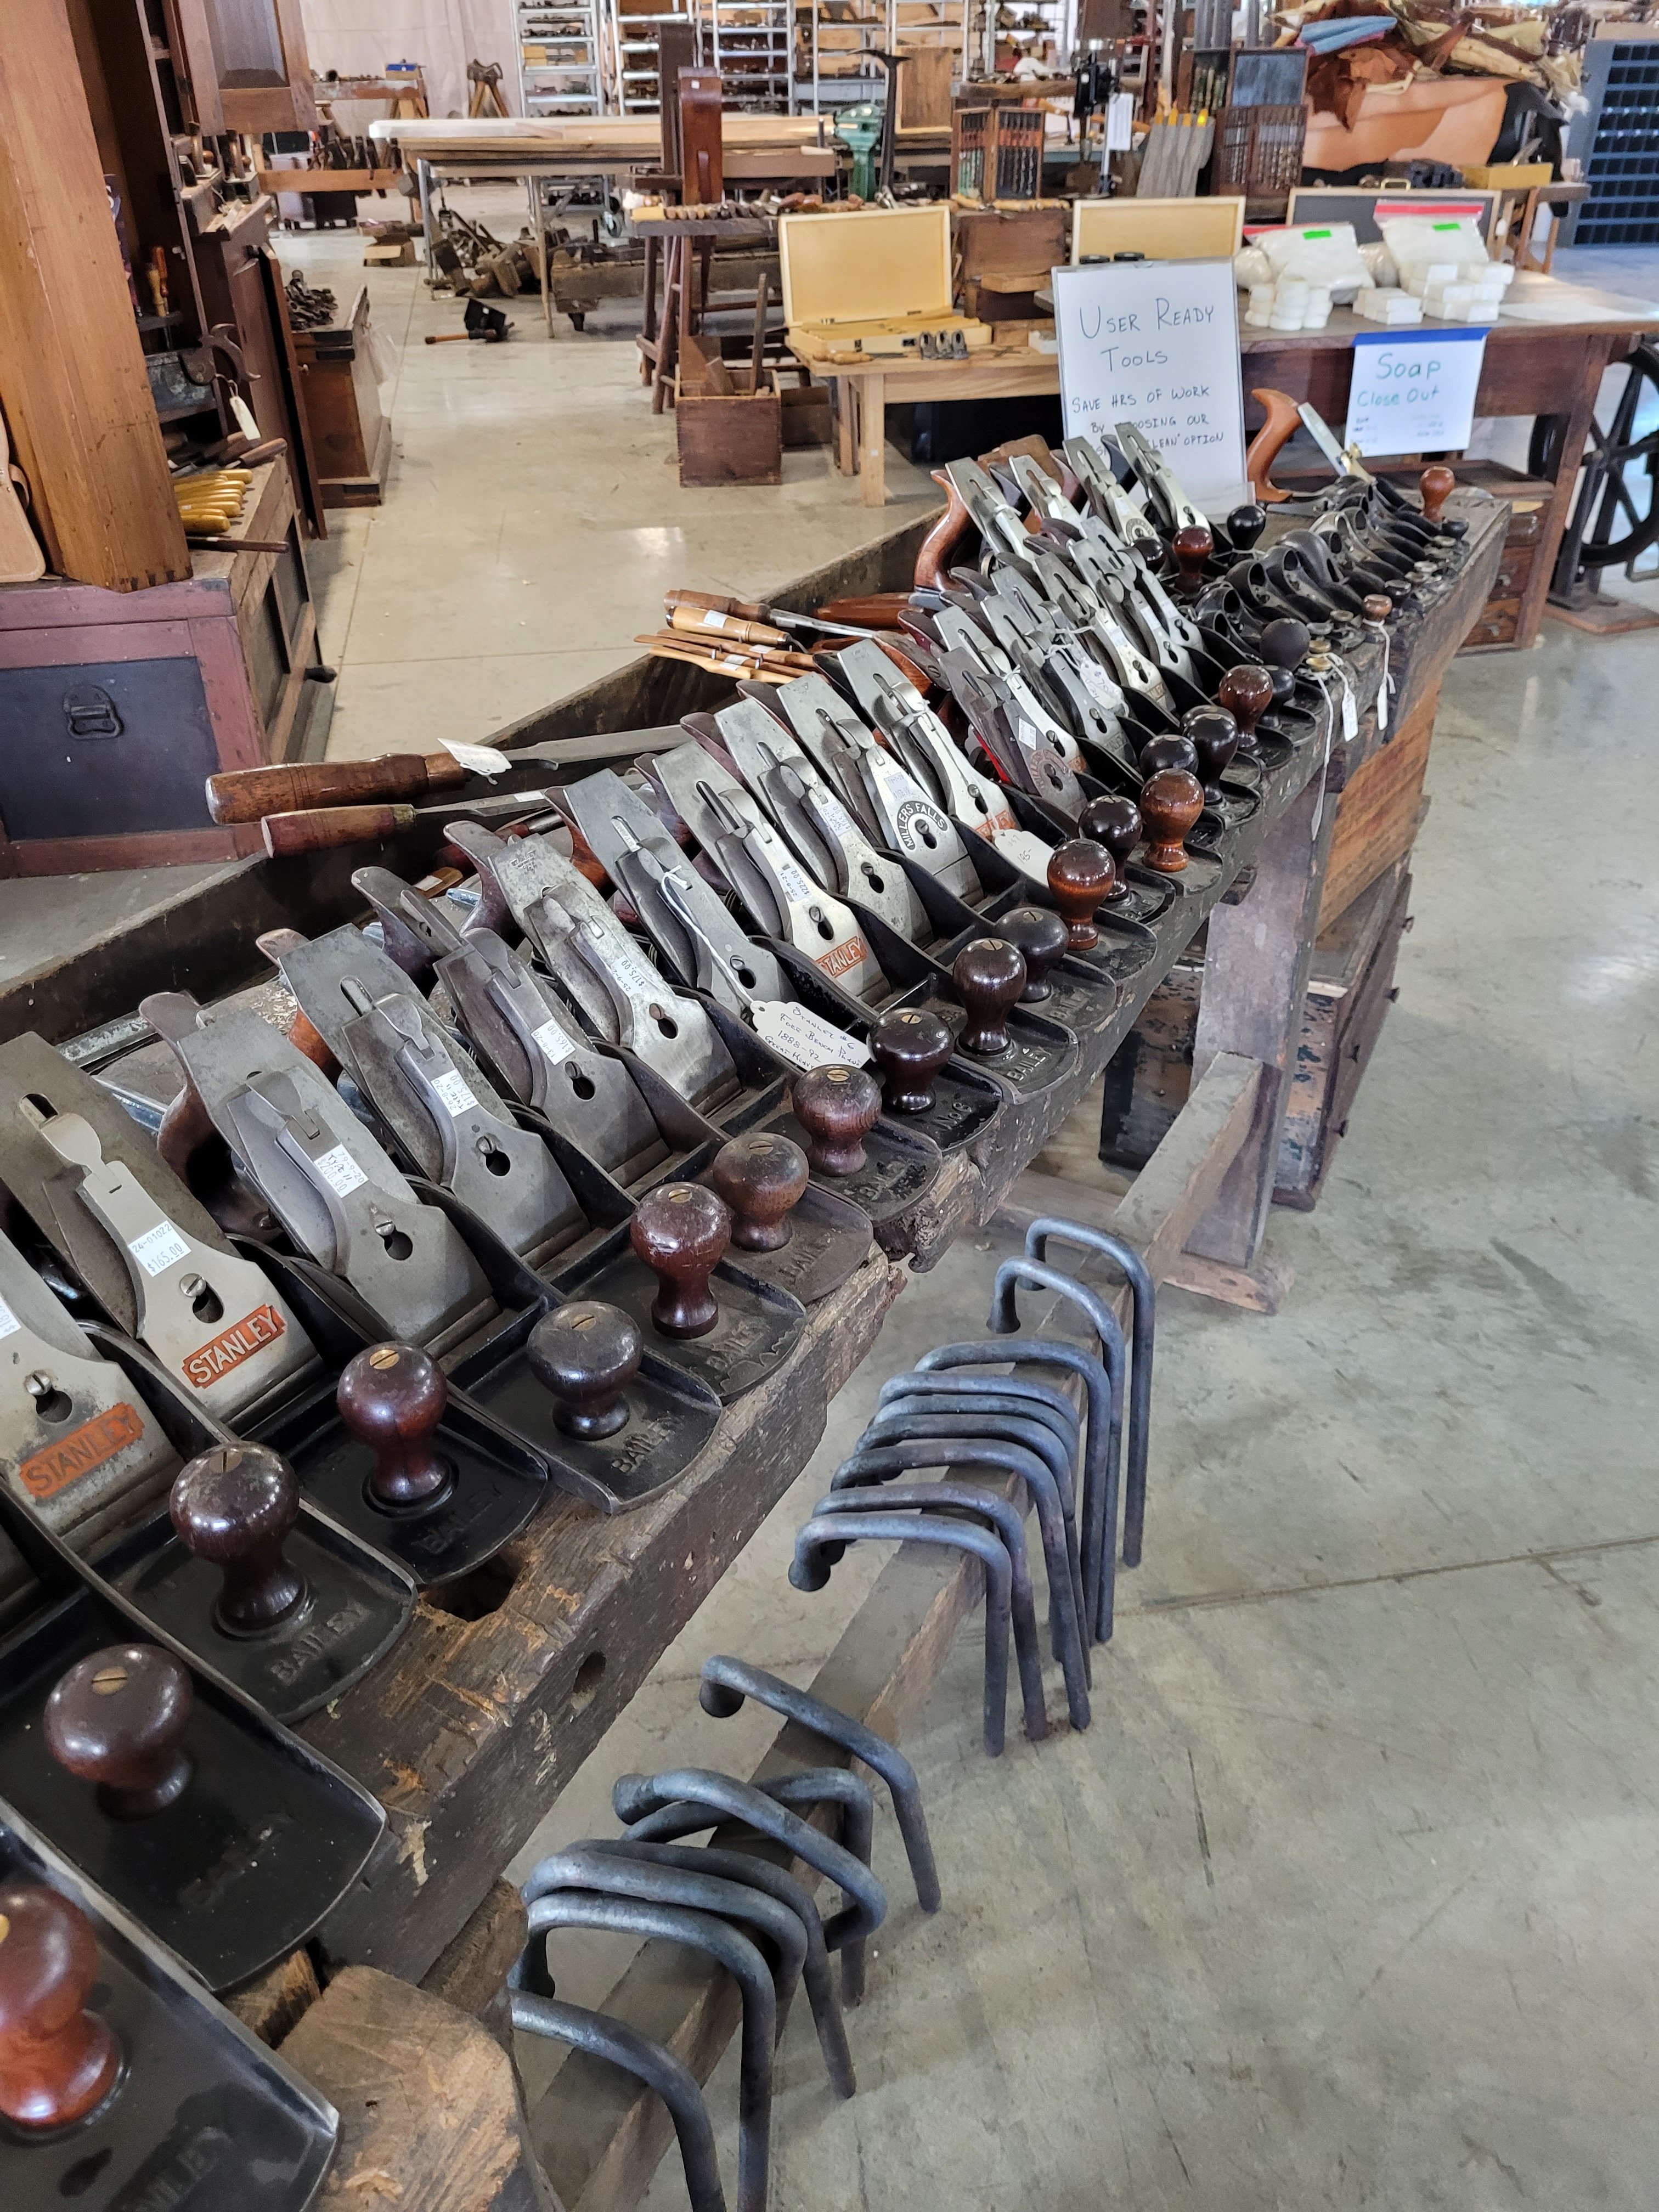
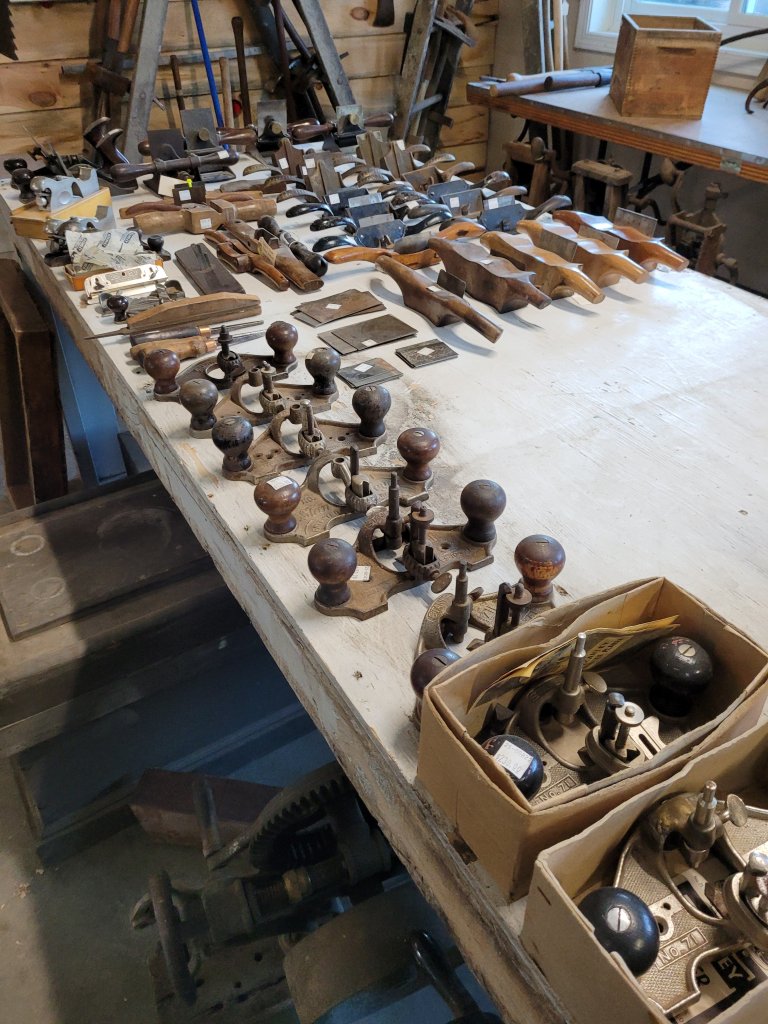
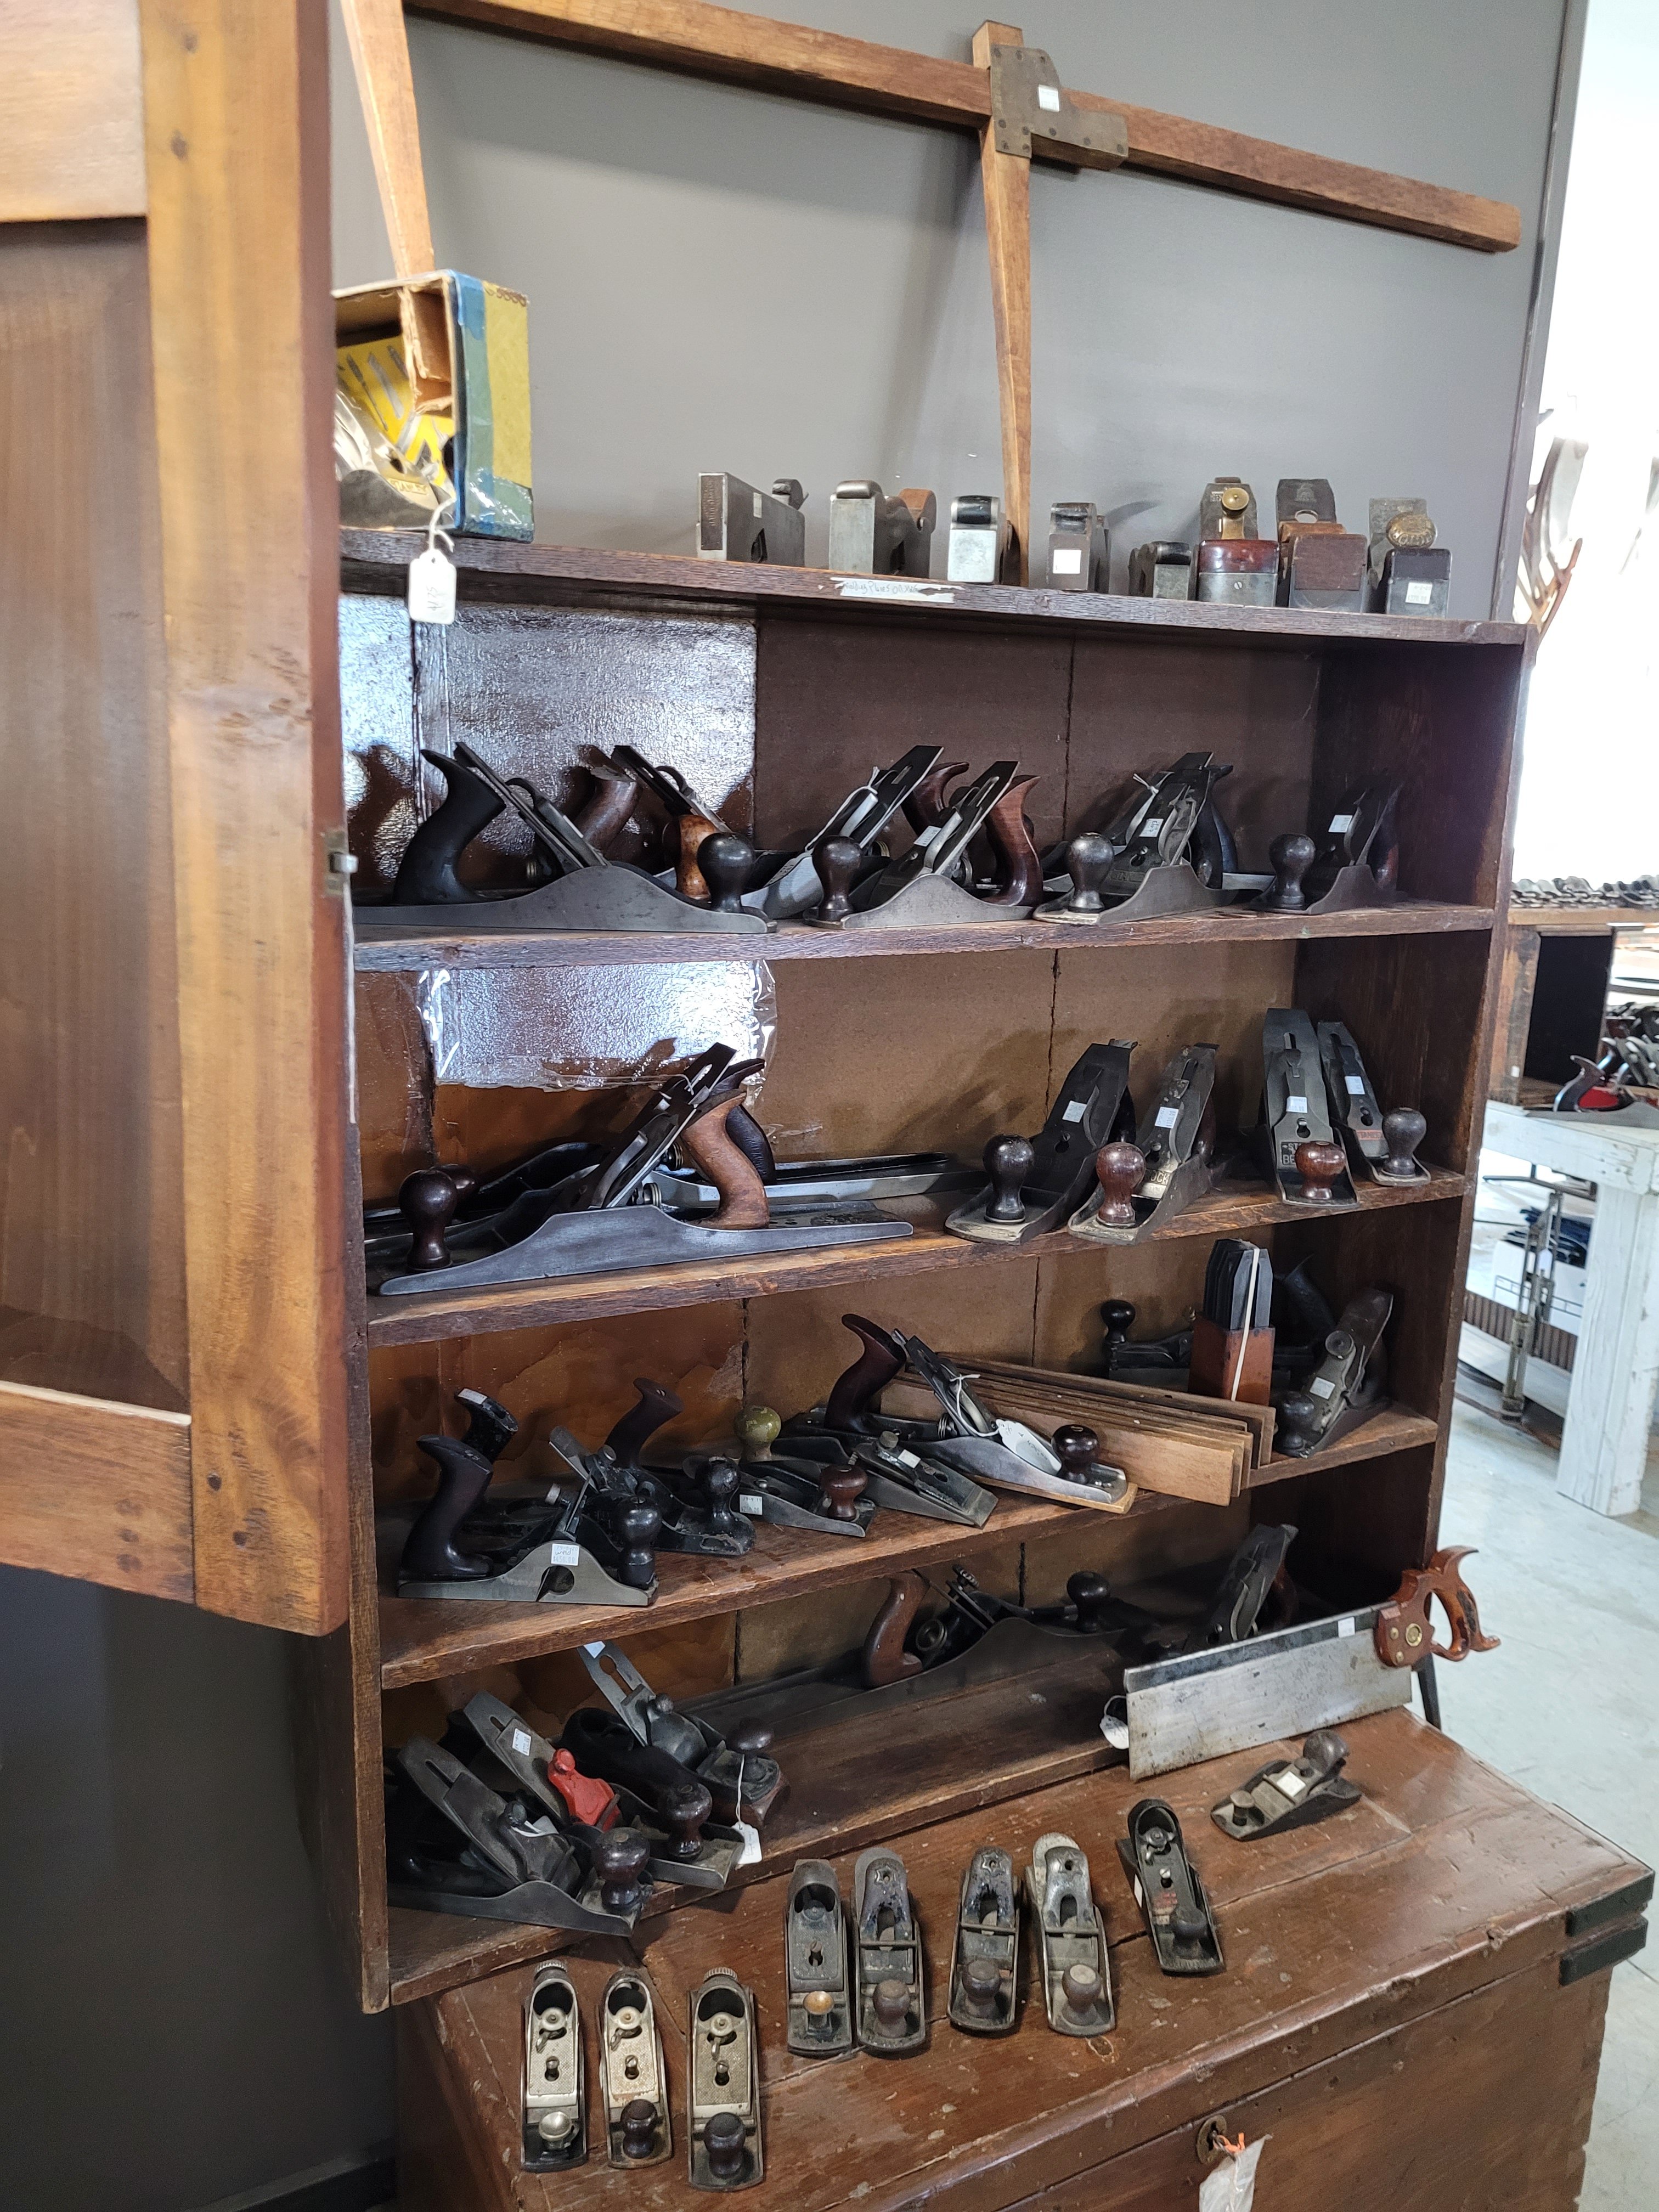
The building is about ten minutes outside of town and is a really big. Inside there are thousand of tools laying on tables and bookshelves. I immediately took a step back just to absorb everything I was looking at. There’s a table in front with a bunch of Stanley planes that are restored and ready for use.
Every tool you could imagine in this joint with some rare and unusual pieces. The prices on the tools are equivalent to eBay pricing, so don’t expect to get a steal. At least it’s not for me as I’m a picker so there was no meat-on-the-bone with the pricing on the tools. He was asking $2100 for the Stanley No 1 which was way above my budget. It looks like it’s sitting on the original box but I don’t remember noticing the box when I was looking at it.
He did have a real nice selection of molding planes with prices that were in my budget however, he only takes cash and I didn’t have any on me so, it was pretty much a few minutes of browsing.
He also had a nice closet full of woodworking books. There were a lot of out of print books along with Lost Art Press favorites. I looked for the 2nd edition of the Stanley Tool Collecting book by John Walter but, there was none to be found.
After twenty minutes of browsing, I said goodbye and went on my way as my wife was waiting in the truck. The weekend wasn’t a total lost as I was able to find tools in my budget in antique malls in Berlin, and Walnut Creek, OH. The prelateral Stanley No 37 Jenny’s Plane was my favorite pick of the trip.
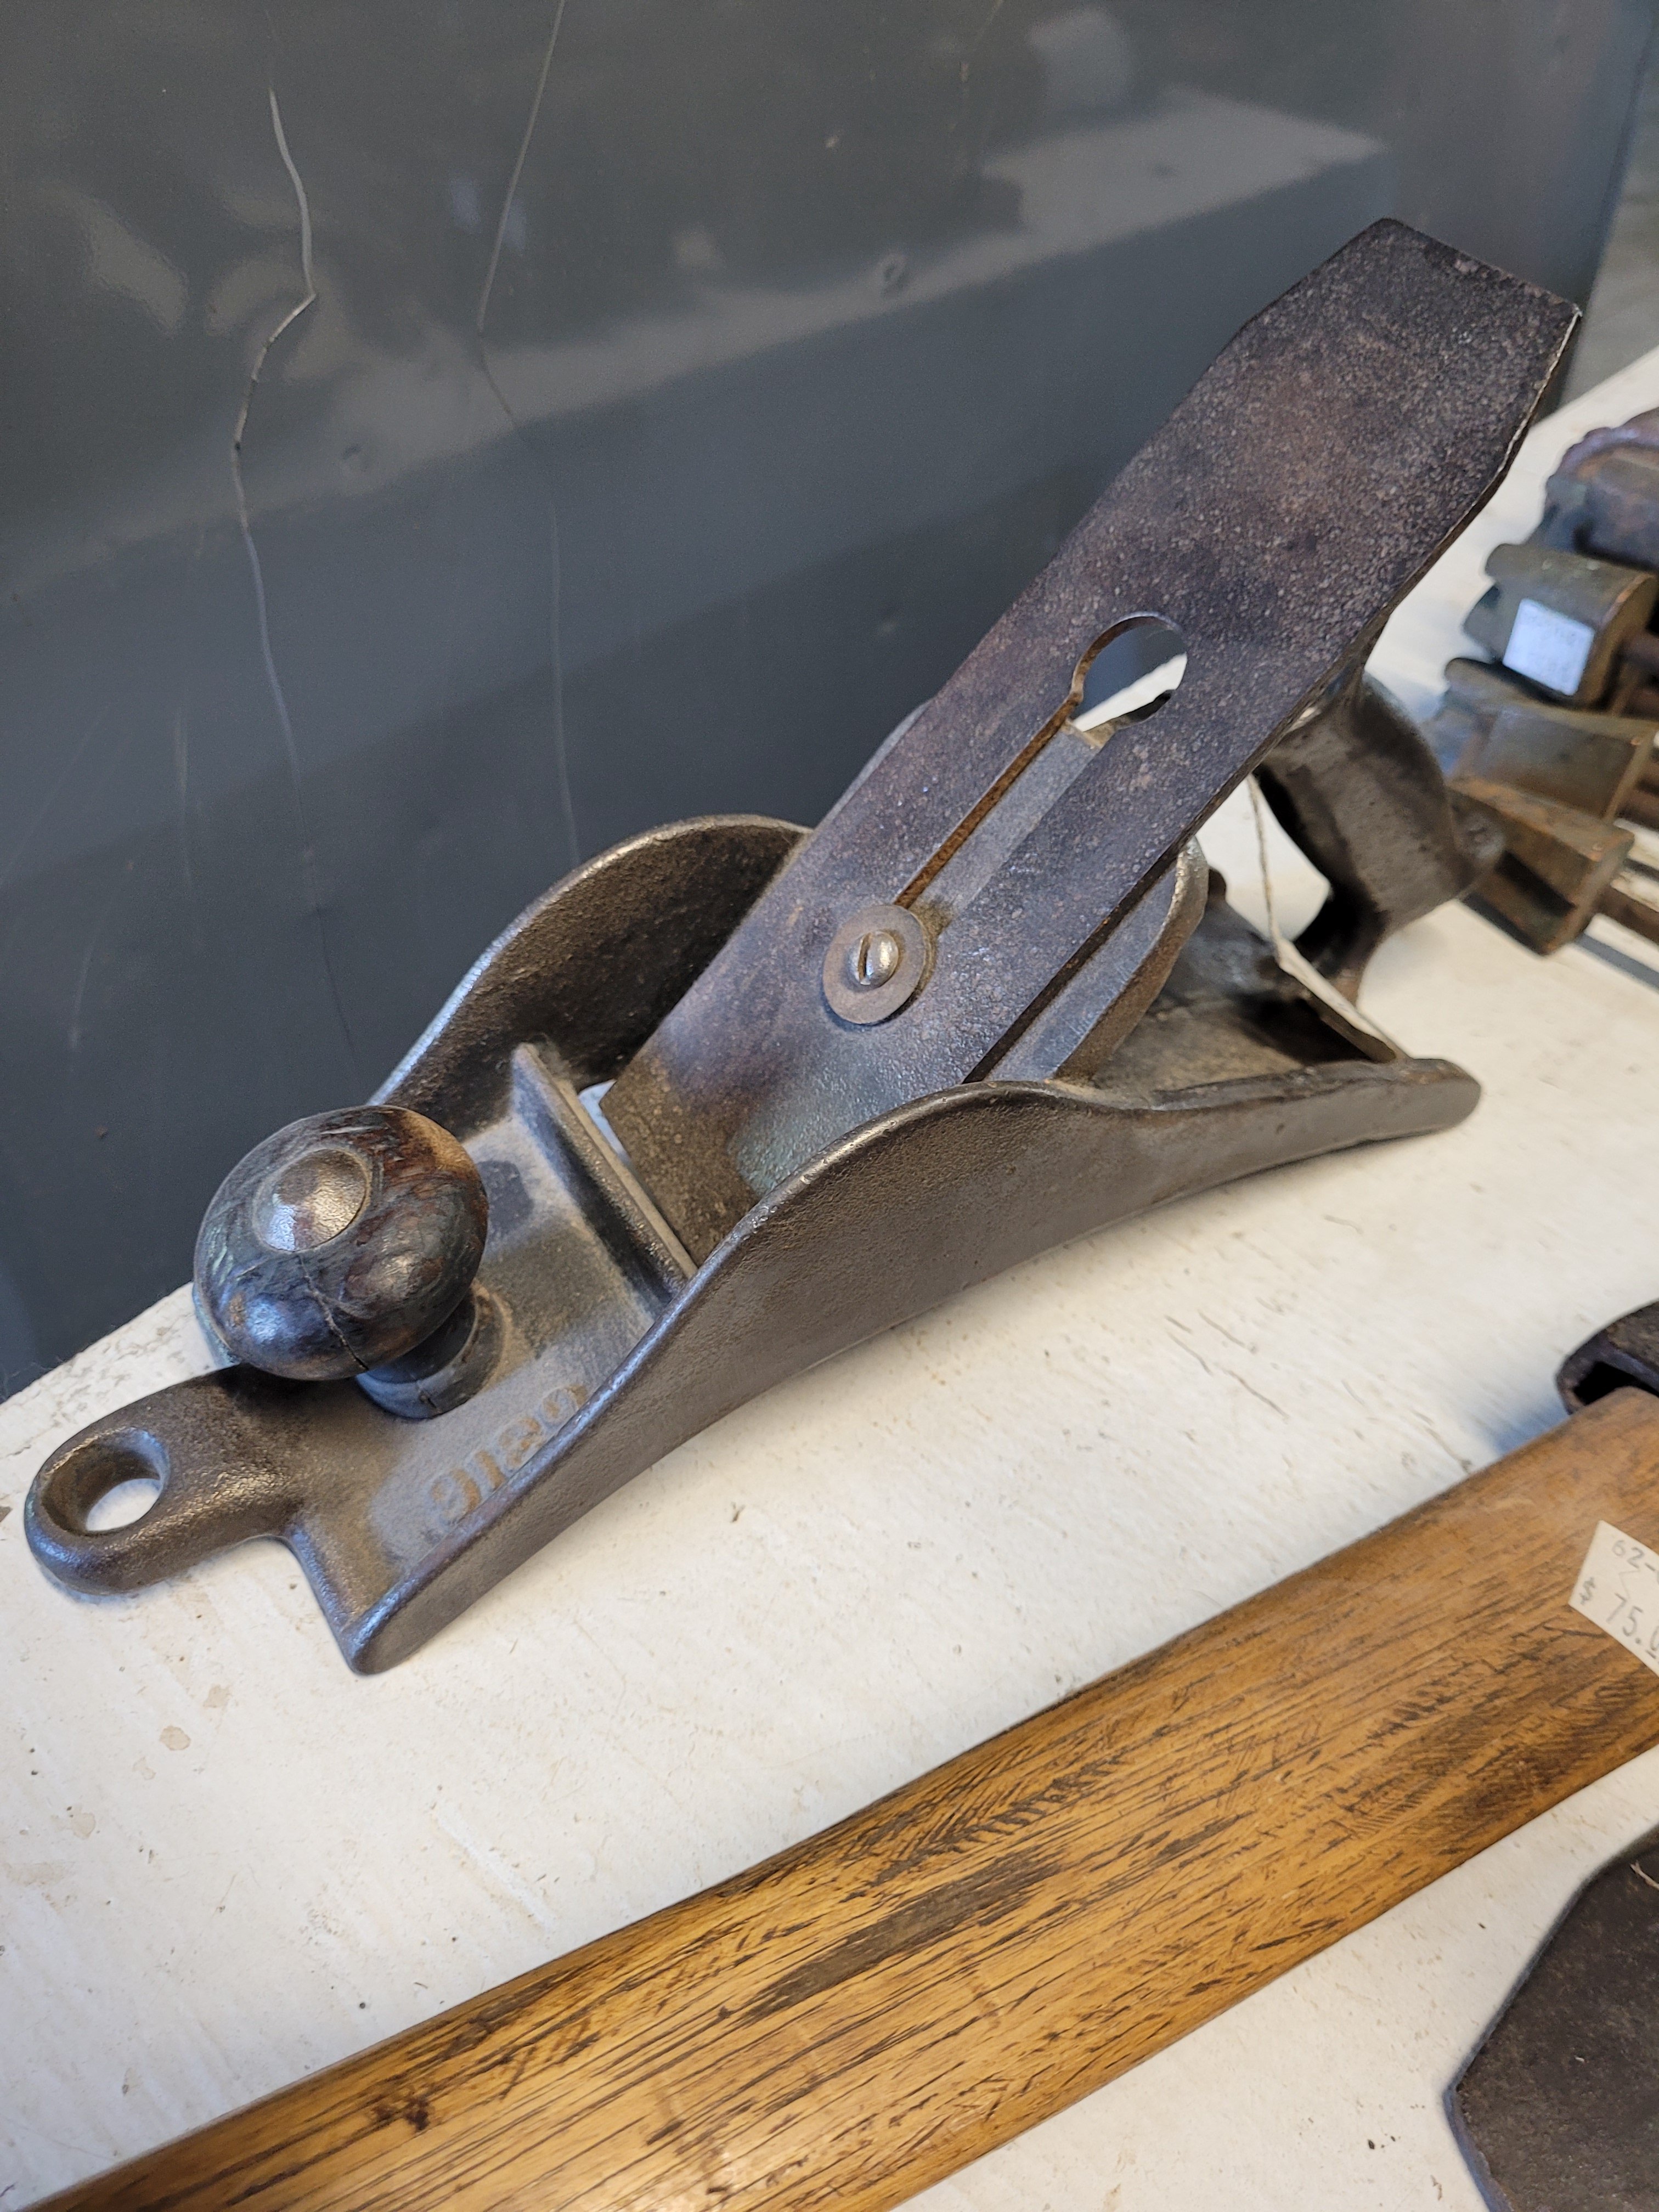
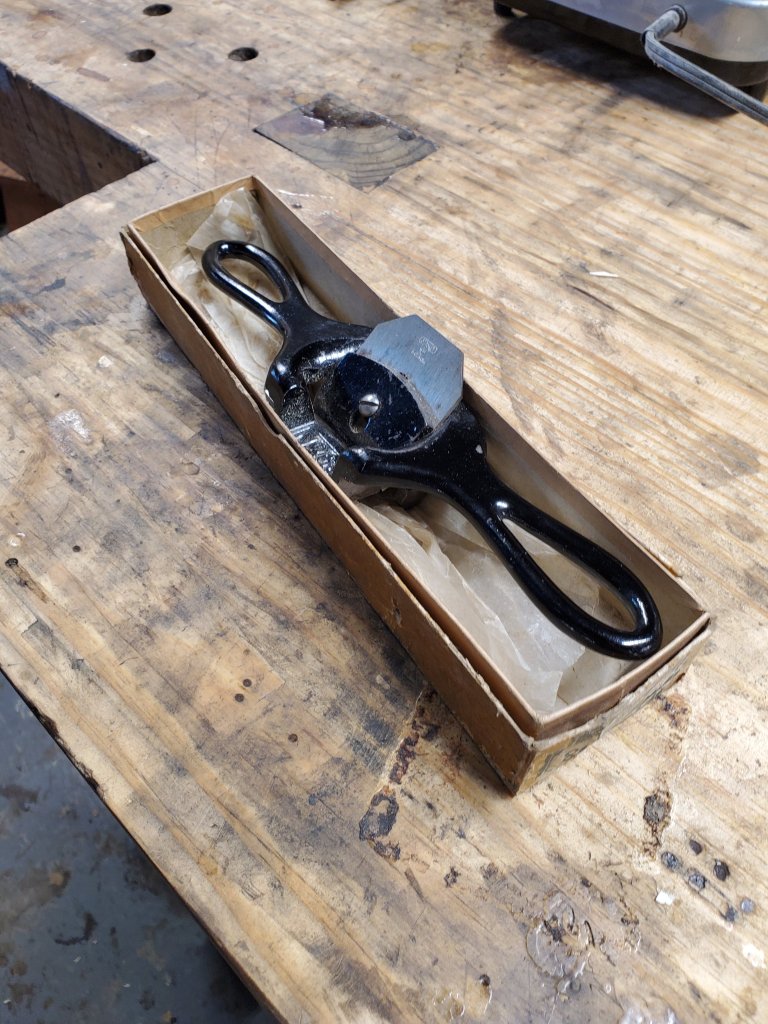
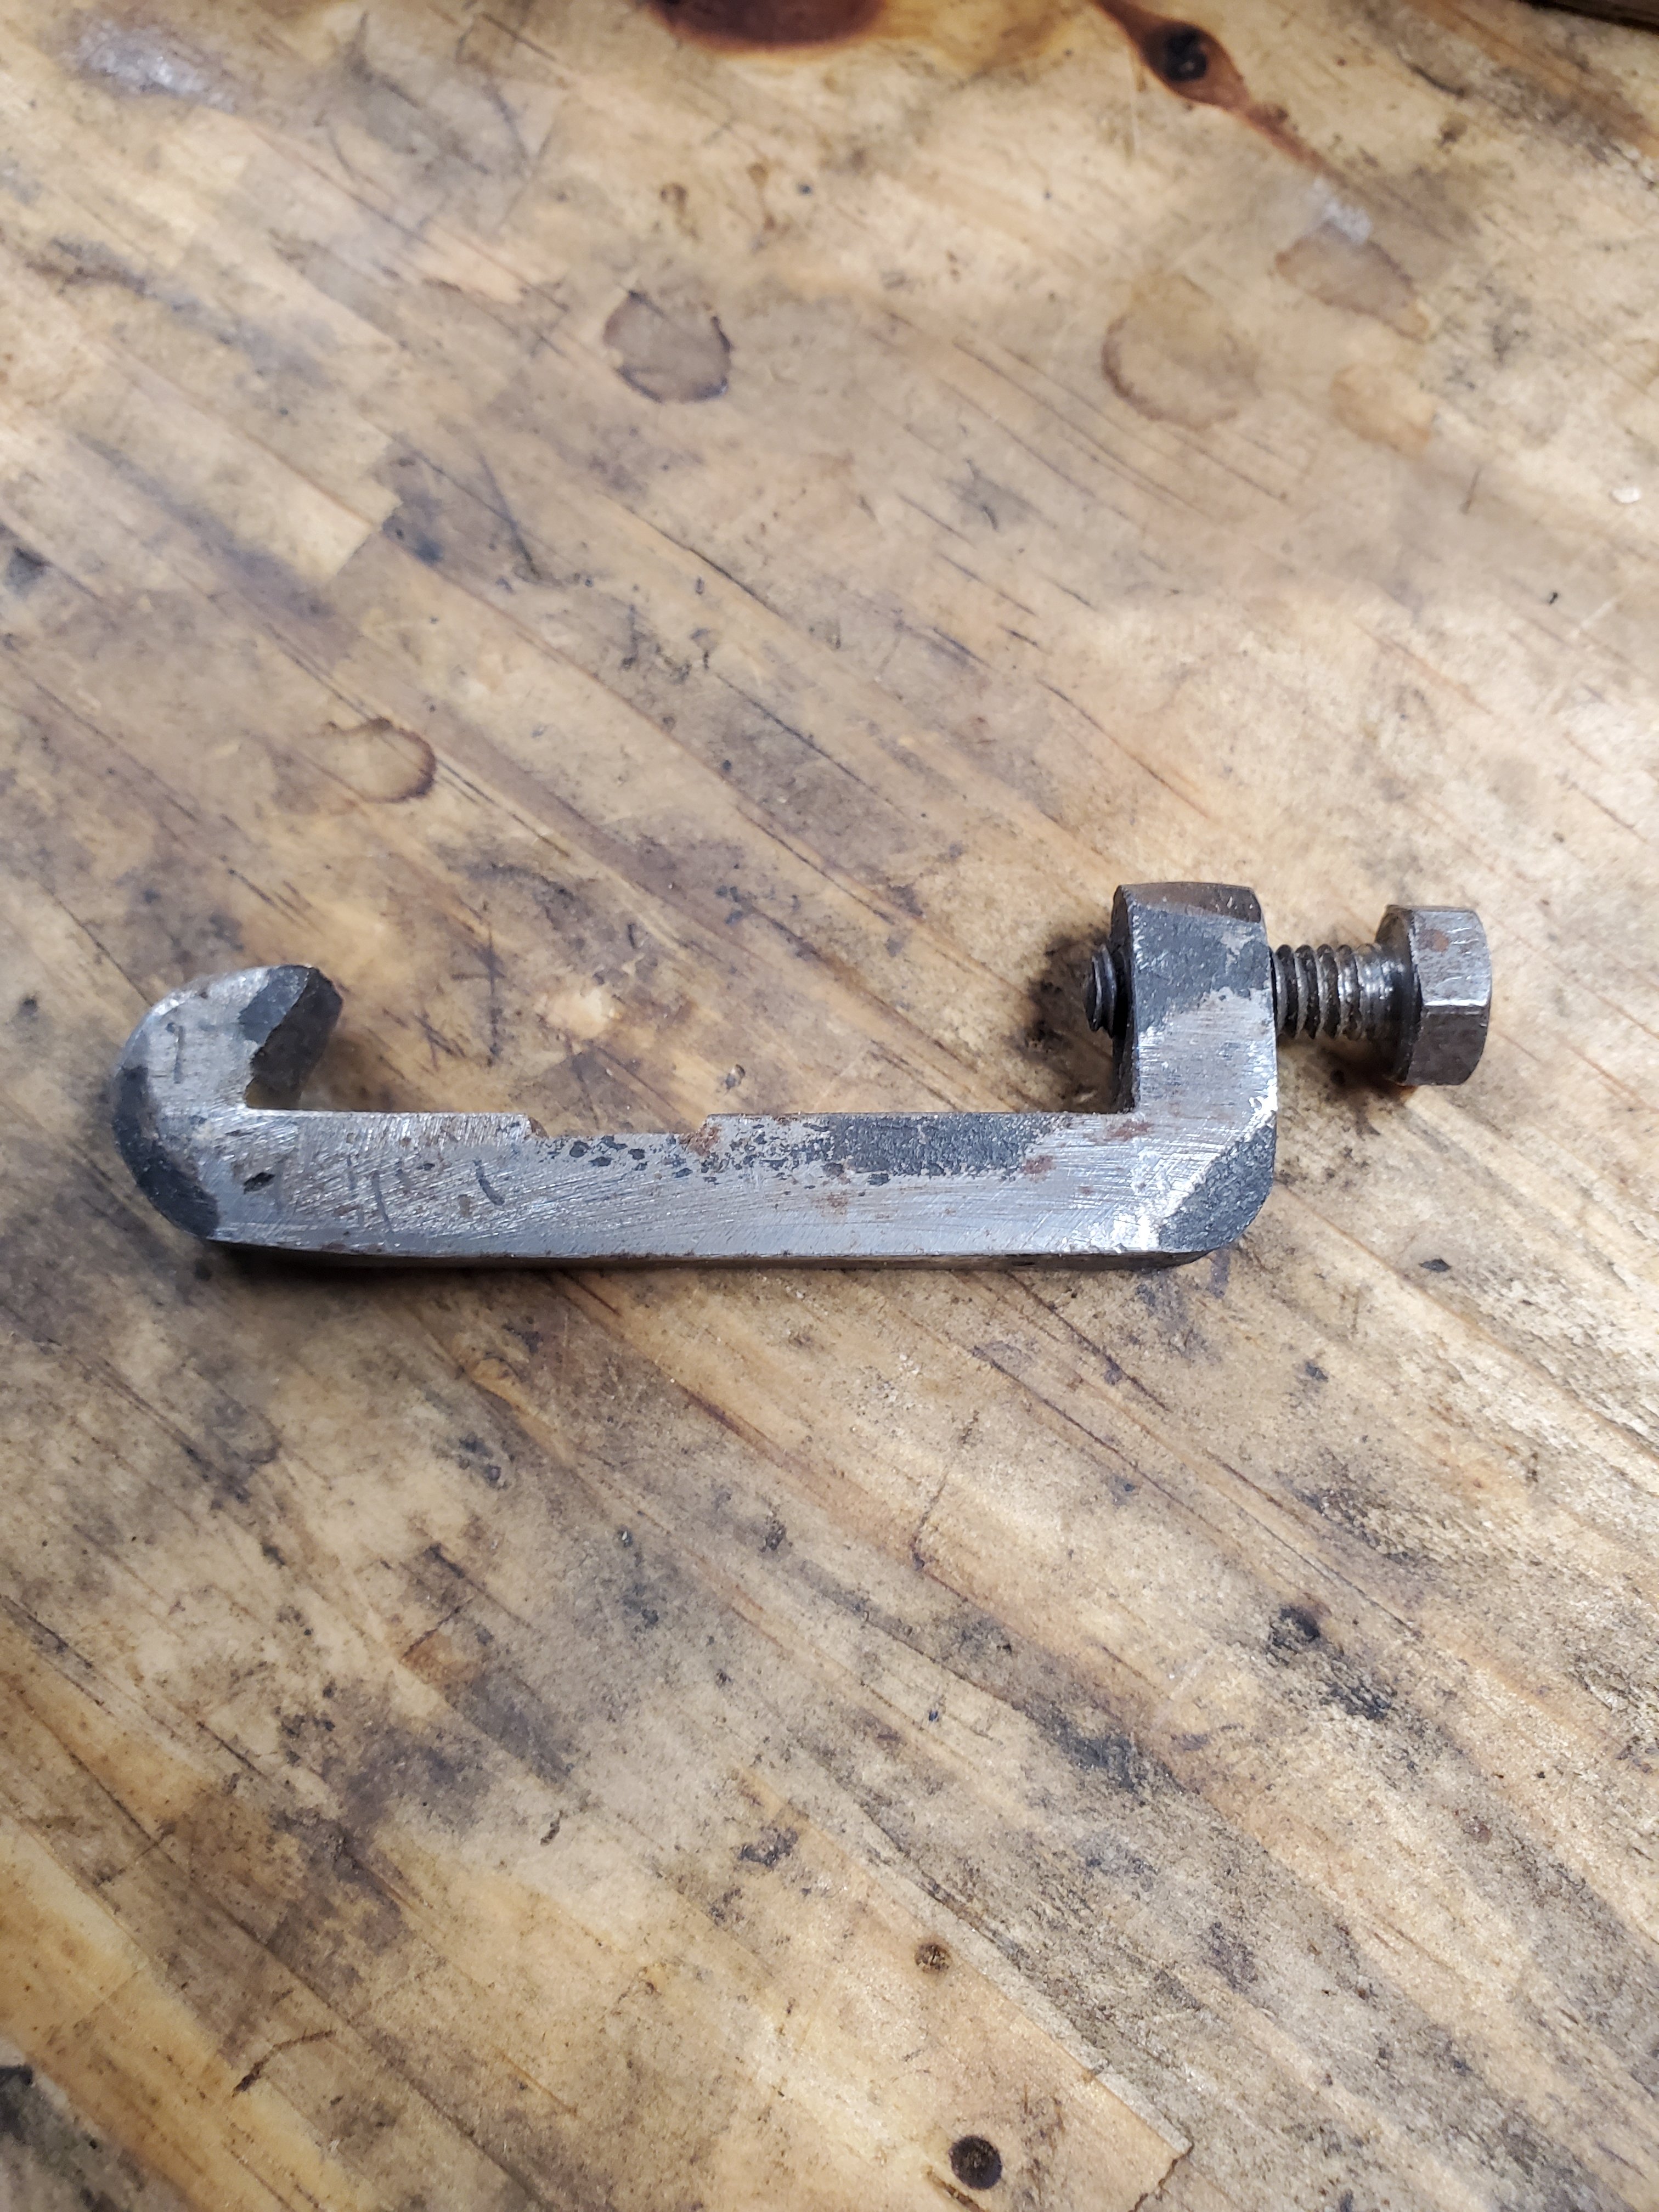
Yesterday, I went to an antique show and picked up the Stanley No 68 Rabbet Spokeshave in it’s original box. I’ve heard about the tool, but I don’t think I’ve ever seen one in person. The price the guy was asking was too good to pass up so I took it home.
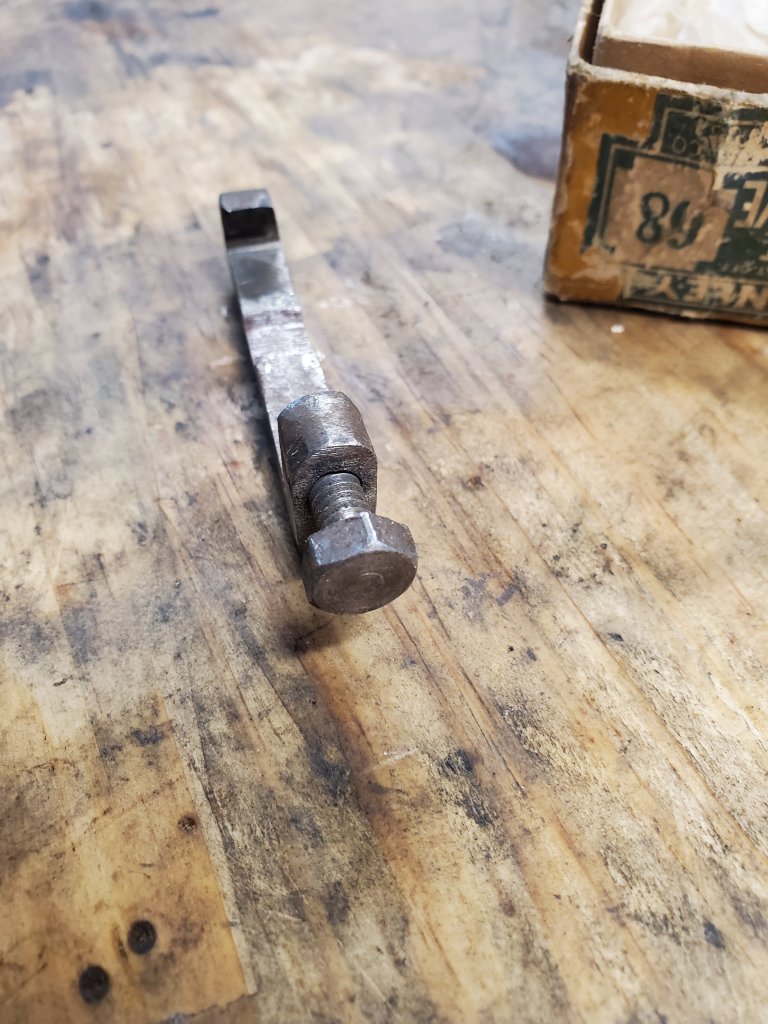
When I got home, I noticed a fence inside the box. At first, I thought it didn’t belong with the spokeshave but after looking at it for a few minutes, I saw that it clips on the back. The fence looks crude as if it was made by the original user, so I looked in John Walter’s Stanley book, but saw no mention of a fence that came with the tool.
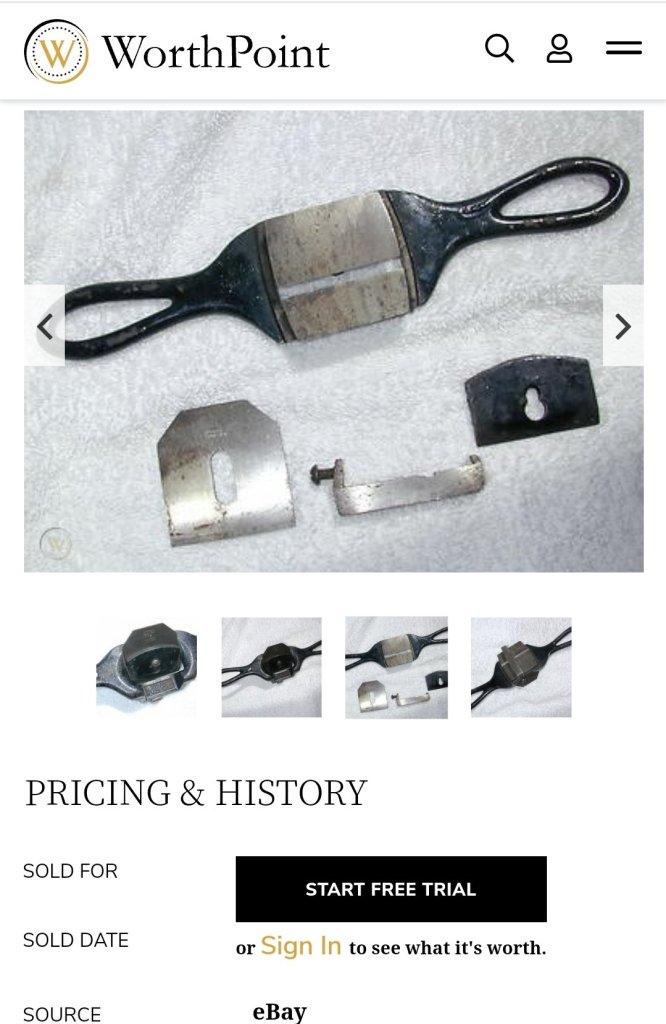
When looking online for more information for this spokeshave, I saw that the vast majority of them have no fence. Then I came across this photo on WorthPoint where it shows a similar fence as mine, except this fence has a screw to tighten it while mine has a bolt. So, I’m not sure if this was a user tip that people saw in magazines that they made themselves or not.
Here’s the spokeshave in action. It works quite well with the fence. I posted this video on instagram and people said that the spokeshave was used by boat builders and carriage makers which would make sense. Definitely an interesting tool.
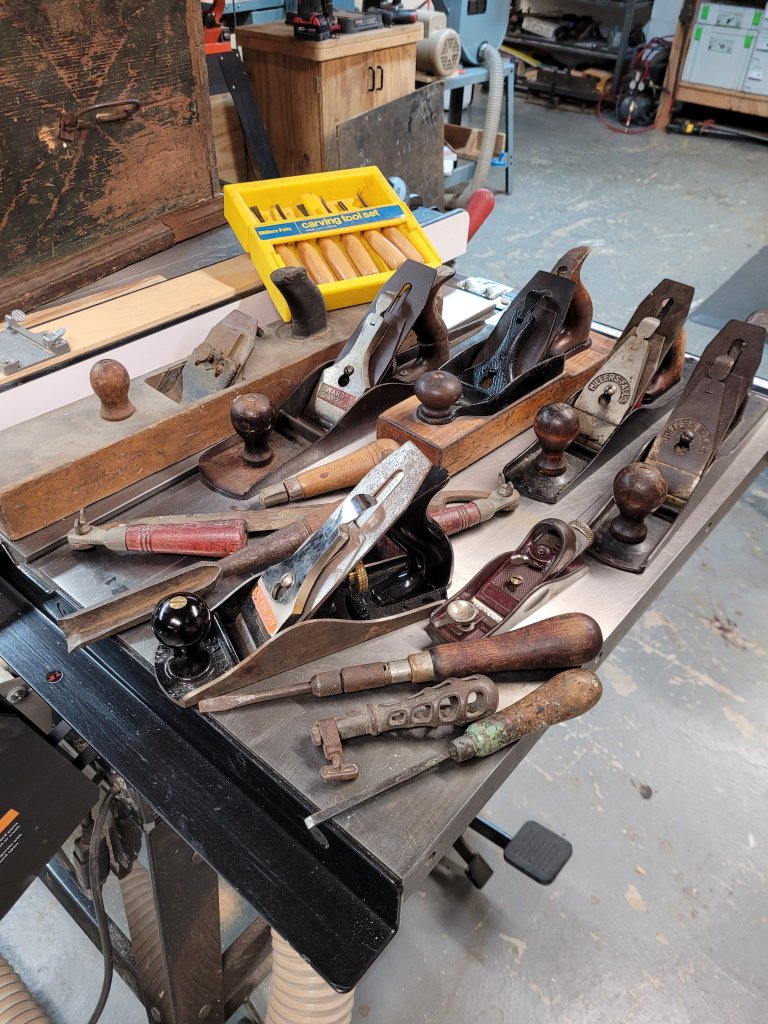
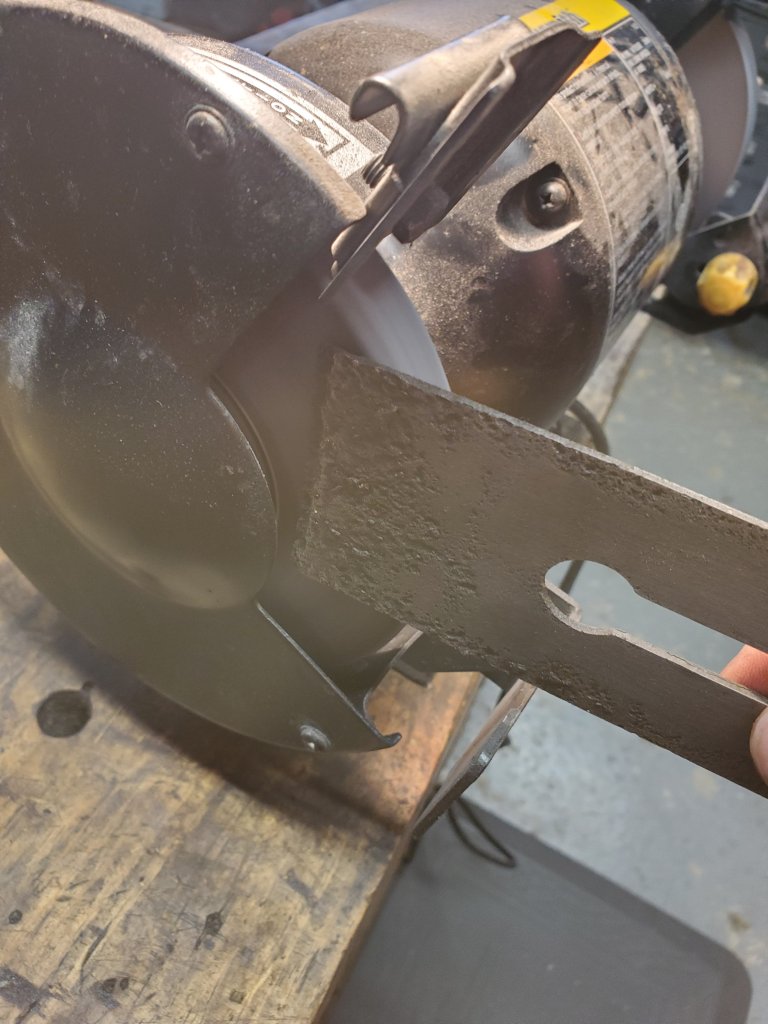
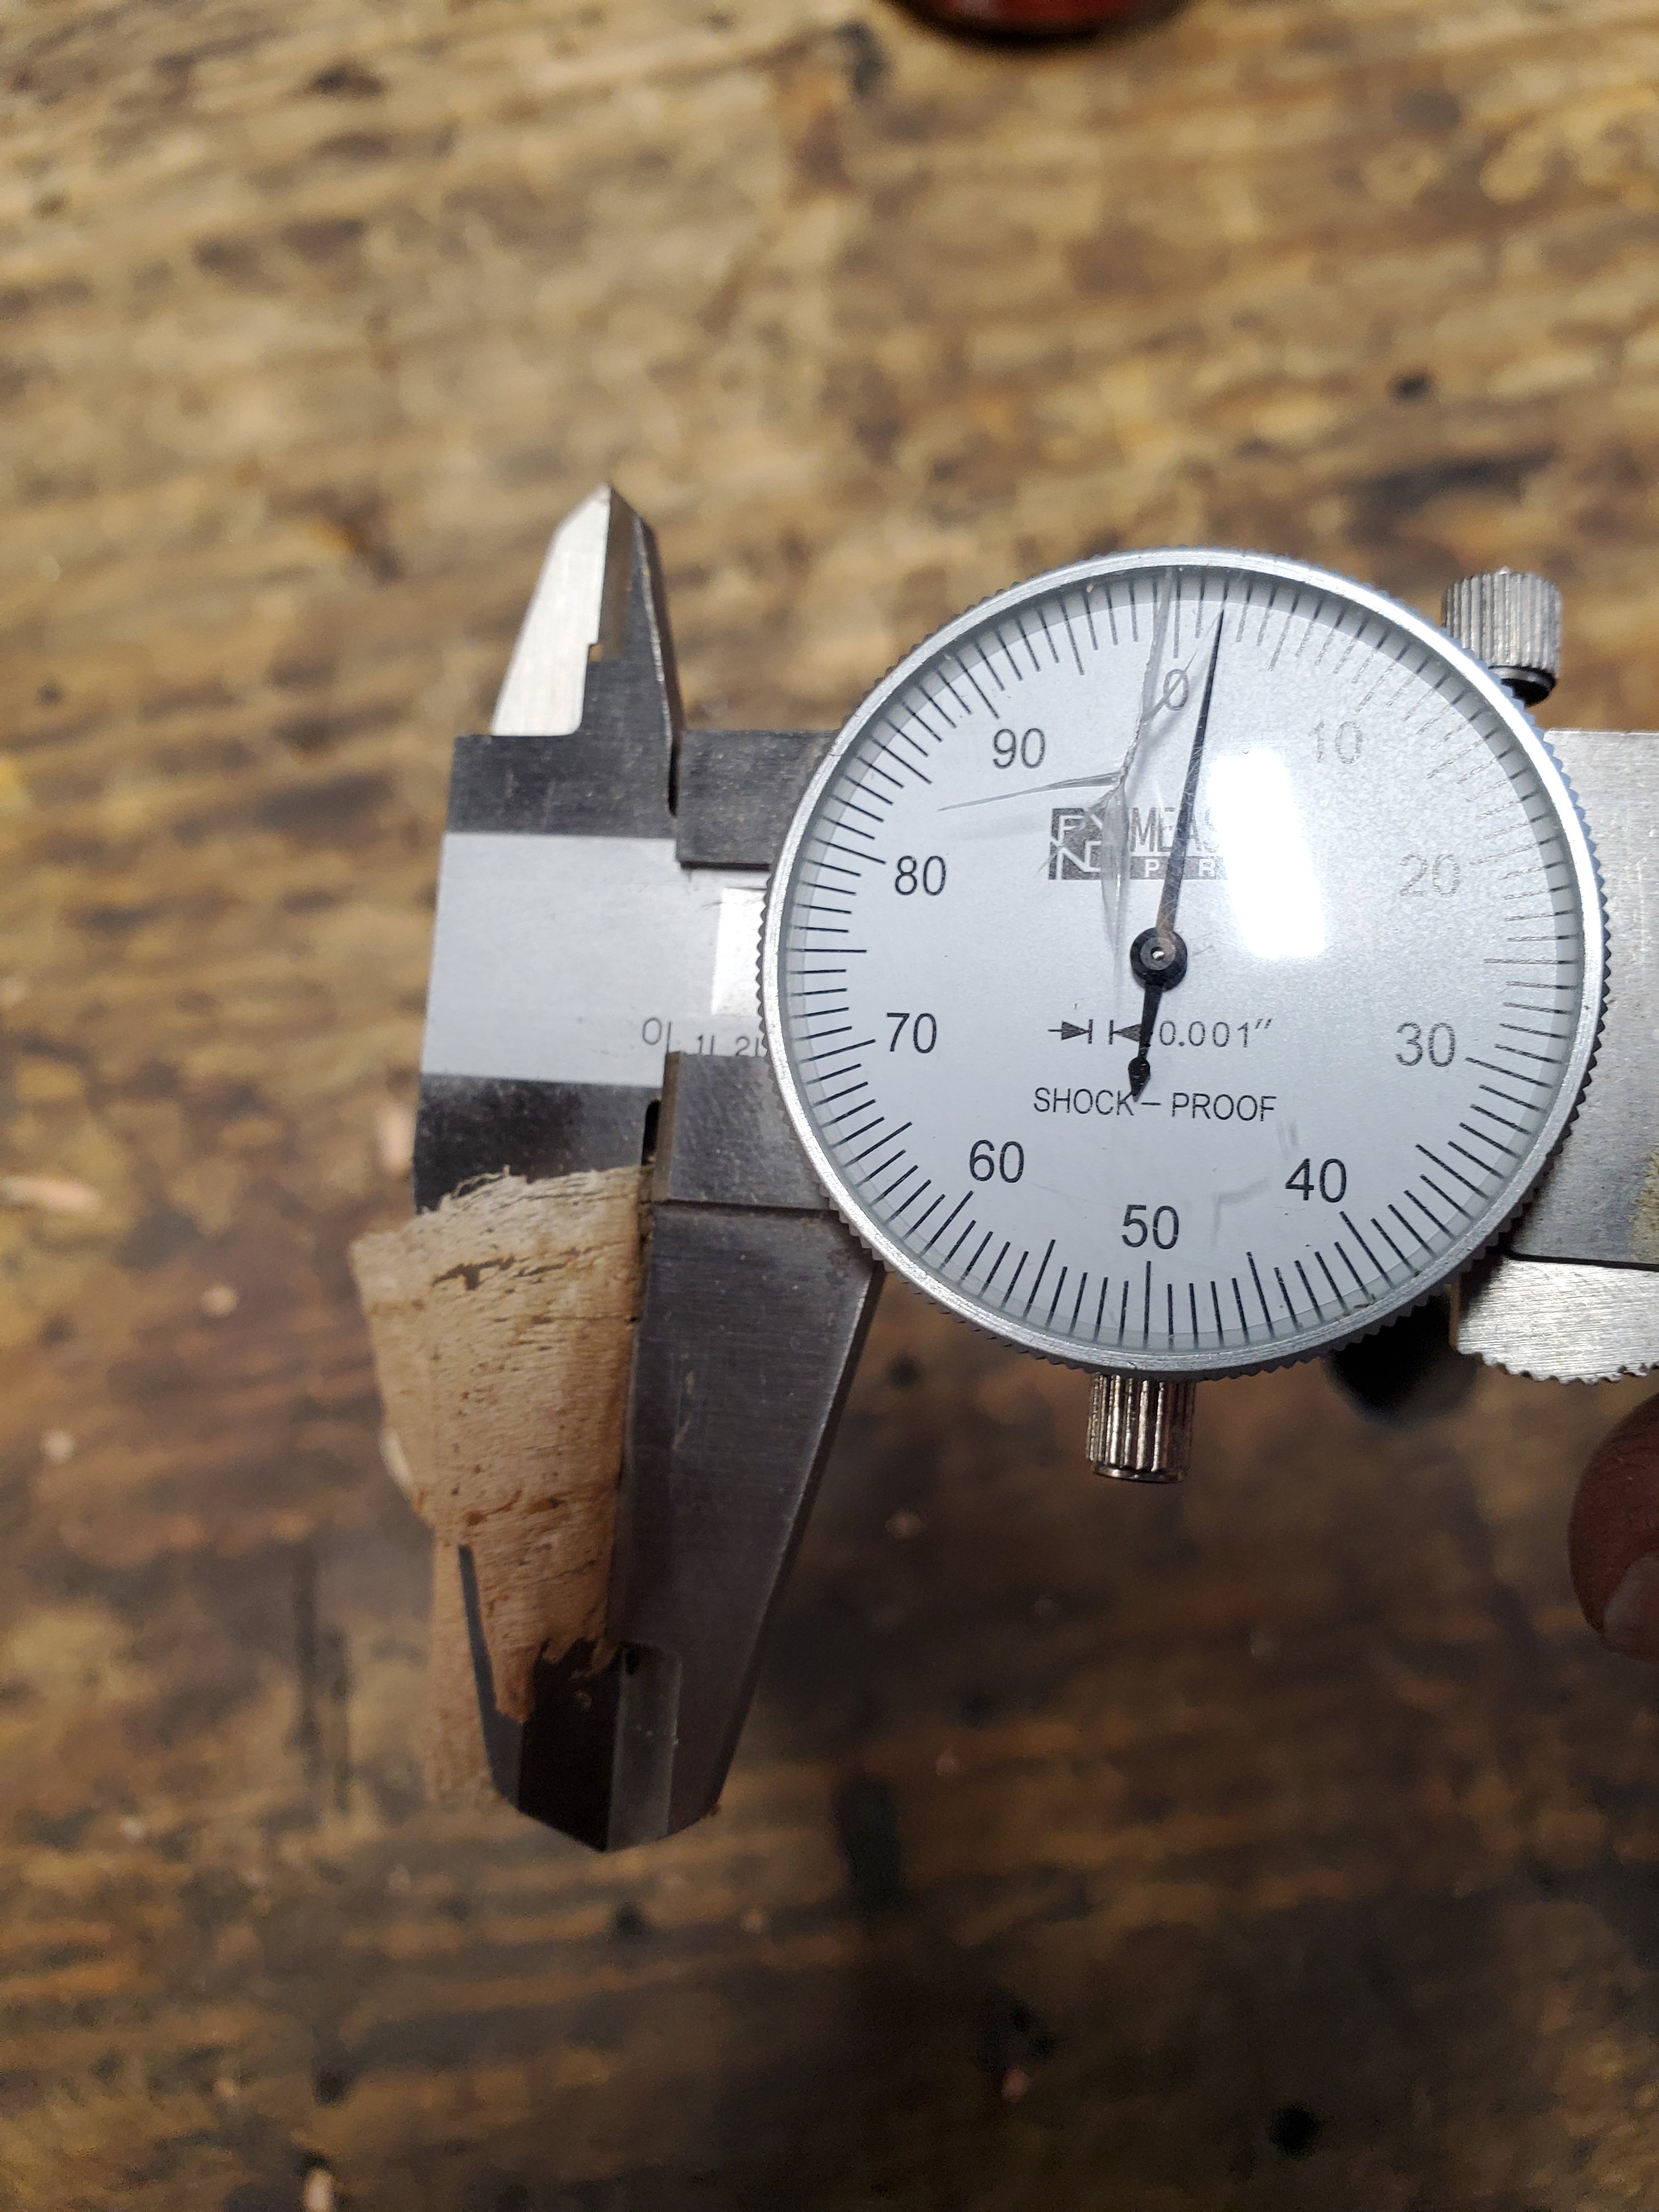
Every once in awhile I’ll come across a plane blade that is so heavily pitted and corroded, the best thing to do is to simply throw it away. This blade that came off a Stanley No 6 plane was no different. The problem was that I didn’t have a replacement blade to go with the plane I was restoring, so I was forced to see if I could get the blade to work again.
The first thing I did was take the blade over to my 8″ speed grinder and grind the face and back of the blade to remove the corrosion. I paid special attention not to heat the blade up too much so, I occasionally cooled it off in a bucket of water. Fortunately, the blade’s face had about a 1/4″ of metal at the bottom that wasn’t pitted, so I was hopeful I could still get a good edge out of it.
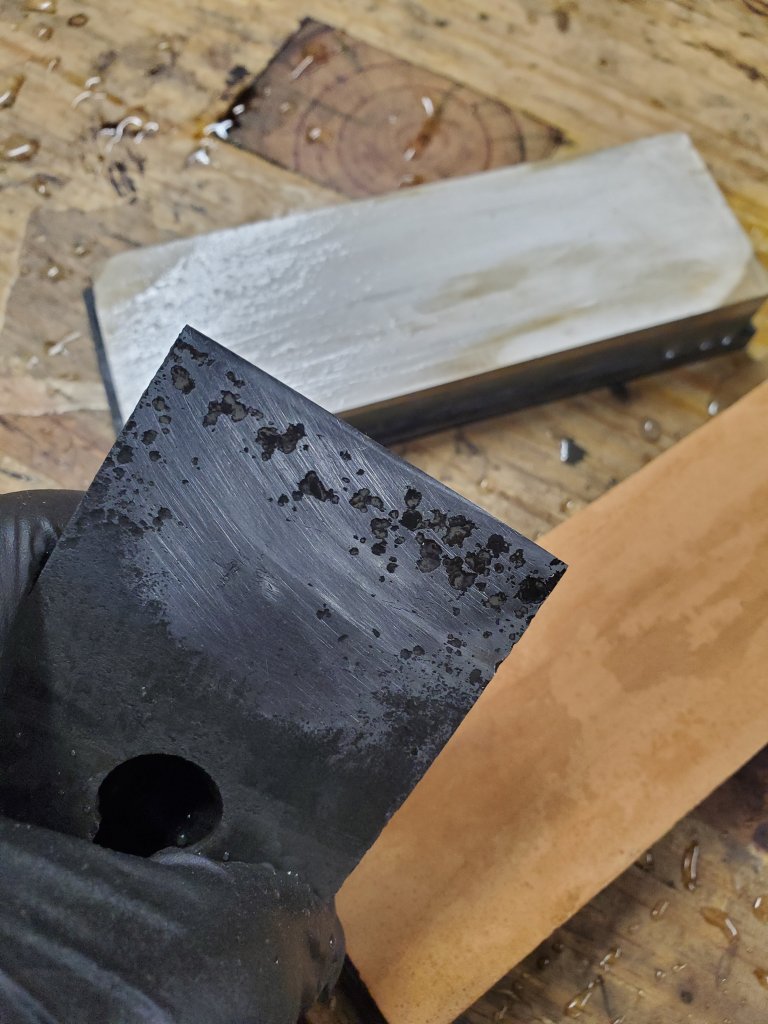
I took the blade over to my Tormek and ground a 25 degree bevel on it and honed the face flattler on the side of the Tormek grinding wheel the same way as I did with my 8″ speed grinder.
After the grinding was finished, I took the blade over to my water stones and sharpened it just as I do with any other blade. When I was done, there was a clean line of light at the tip of the cutting edge so I was hopeful it could achieve a nice cut.
Placing the blade back into the plane, I tuned it up, and sure enough, this crappy blade cut pretty well. I took out my dial calipers, and the shavings measured .002″ thick. The blade will eventually need to be replaced, but at least the plane can function properly now.
The plane performed so nicely, I used it to flatten my workbench.
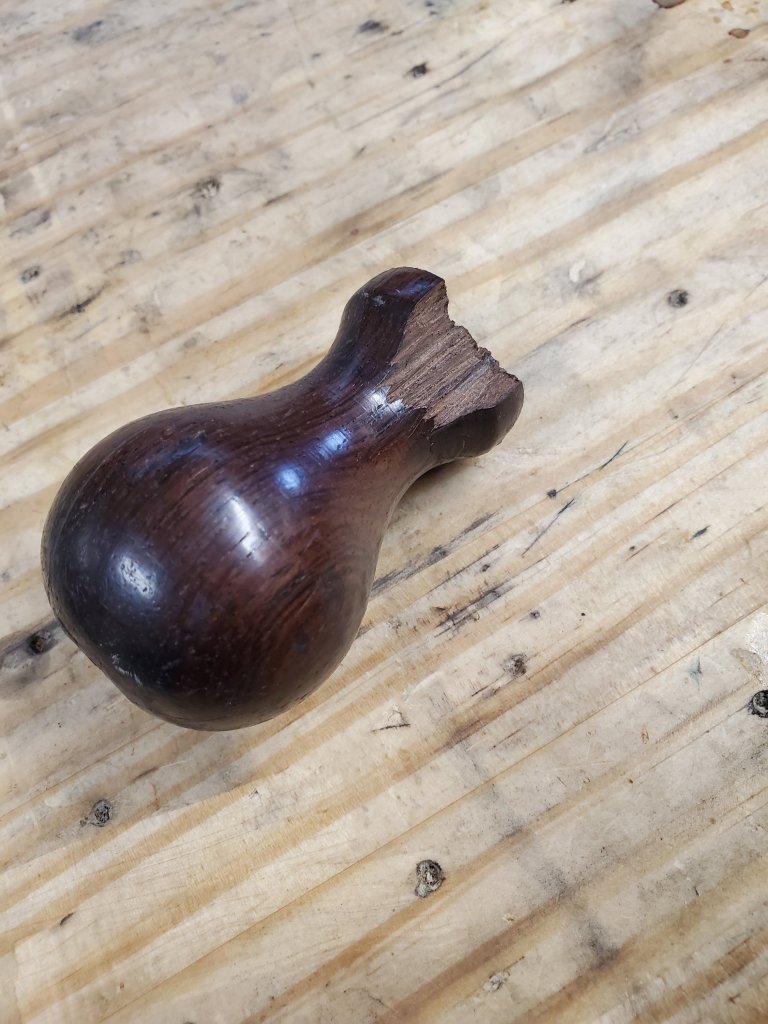
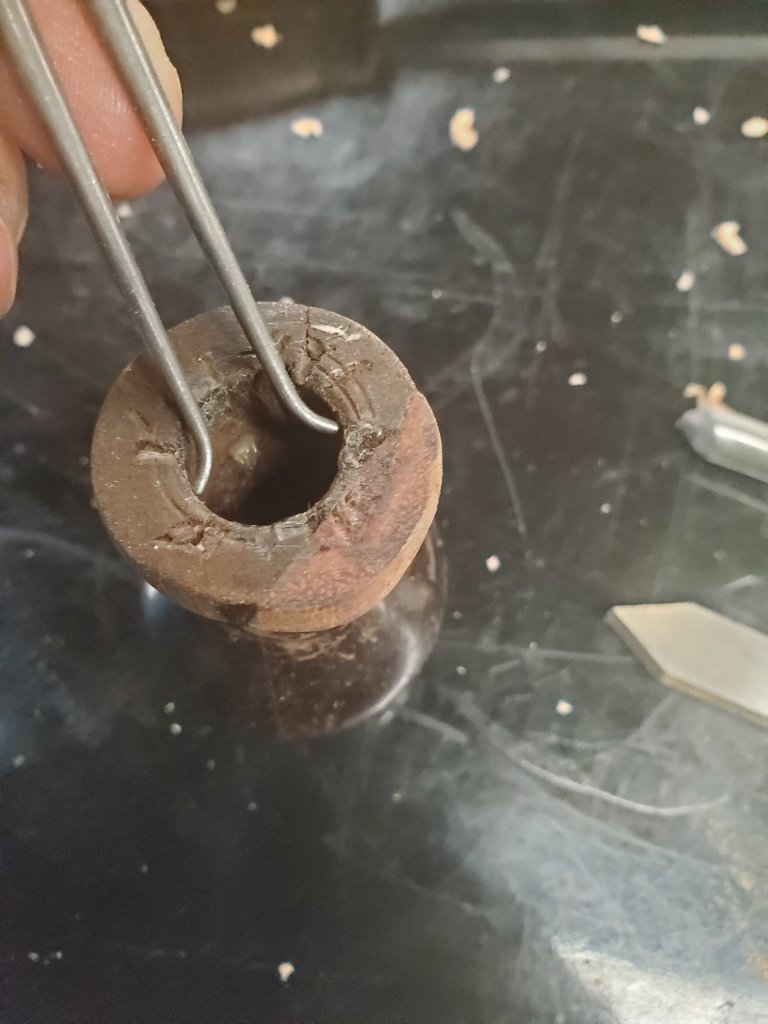
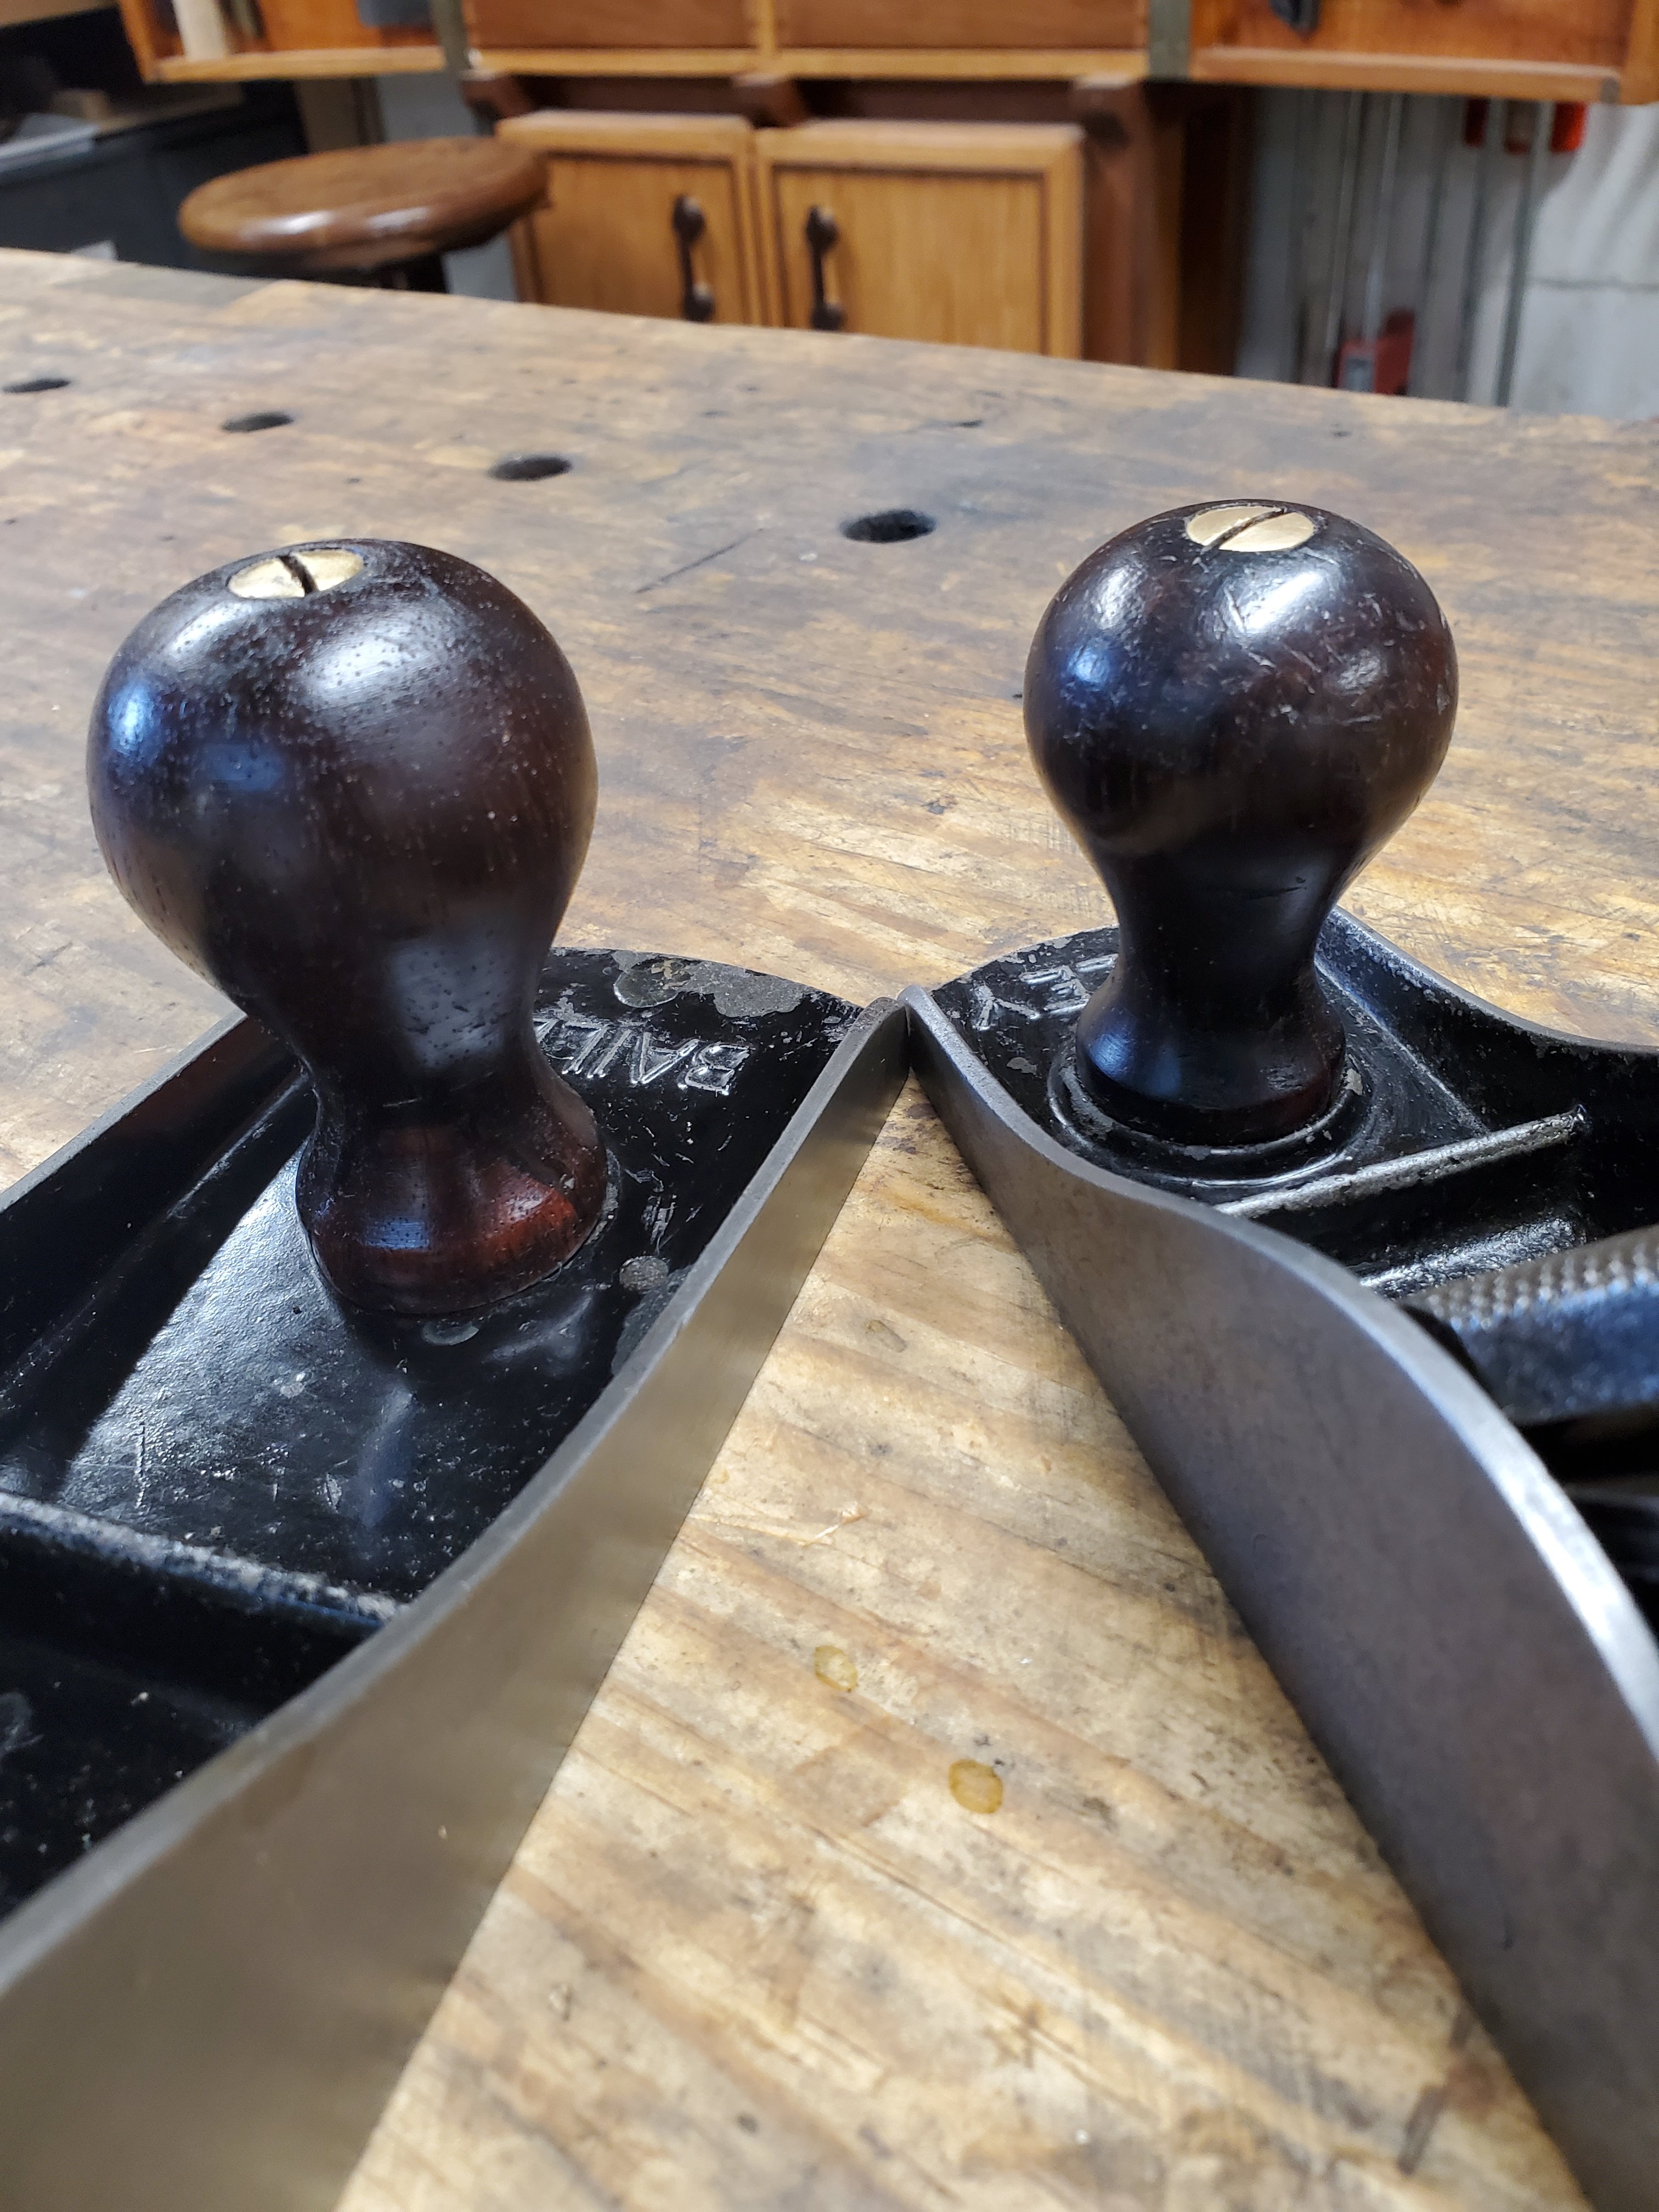
Sometimes when buying a plane, all the parts will be in good shape until you look at the front knob and see a big chunk missing from the bottom. I’ve repaired dozens of totes over the years, but I’ve never really tackled a knob as it looked like a big pain in the ass. So, I decided to give it a go and see how it turns out.
The first thing I did was shave the broken area smooth with a bastard file. It didn’t have to be completely clean, just good enough to hold some glue.
Then I took a piece of cocobolo scrap wood and glued it to the surface of the break. I paid careful attention to the orientation of the grain so the repair would look nicer. I used Gorilla Super Glue Gel as it works well gluing all type of rosewood woods together.
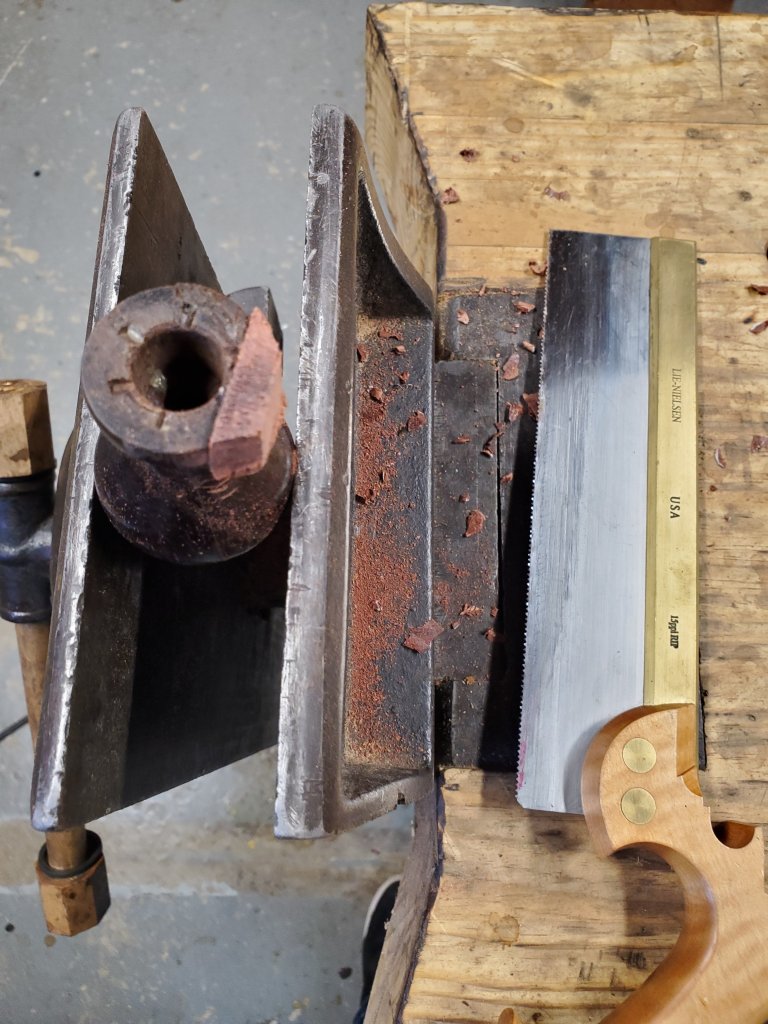
Once the glue dried, I cut off the excess with a dovetail saw and shaved the thick areas away with some chisels and gouges.
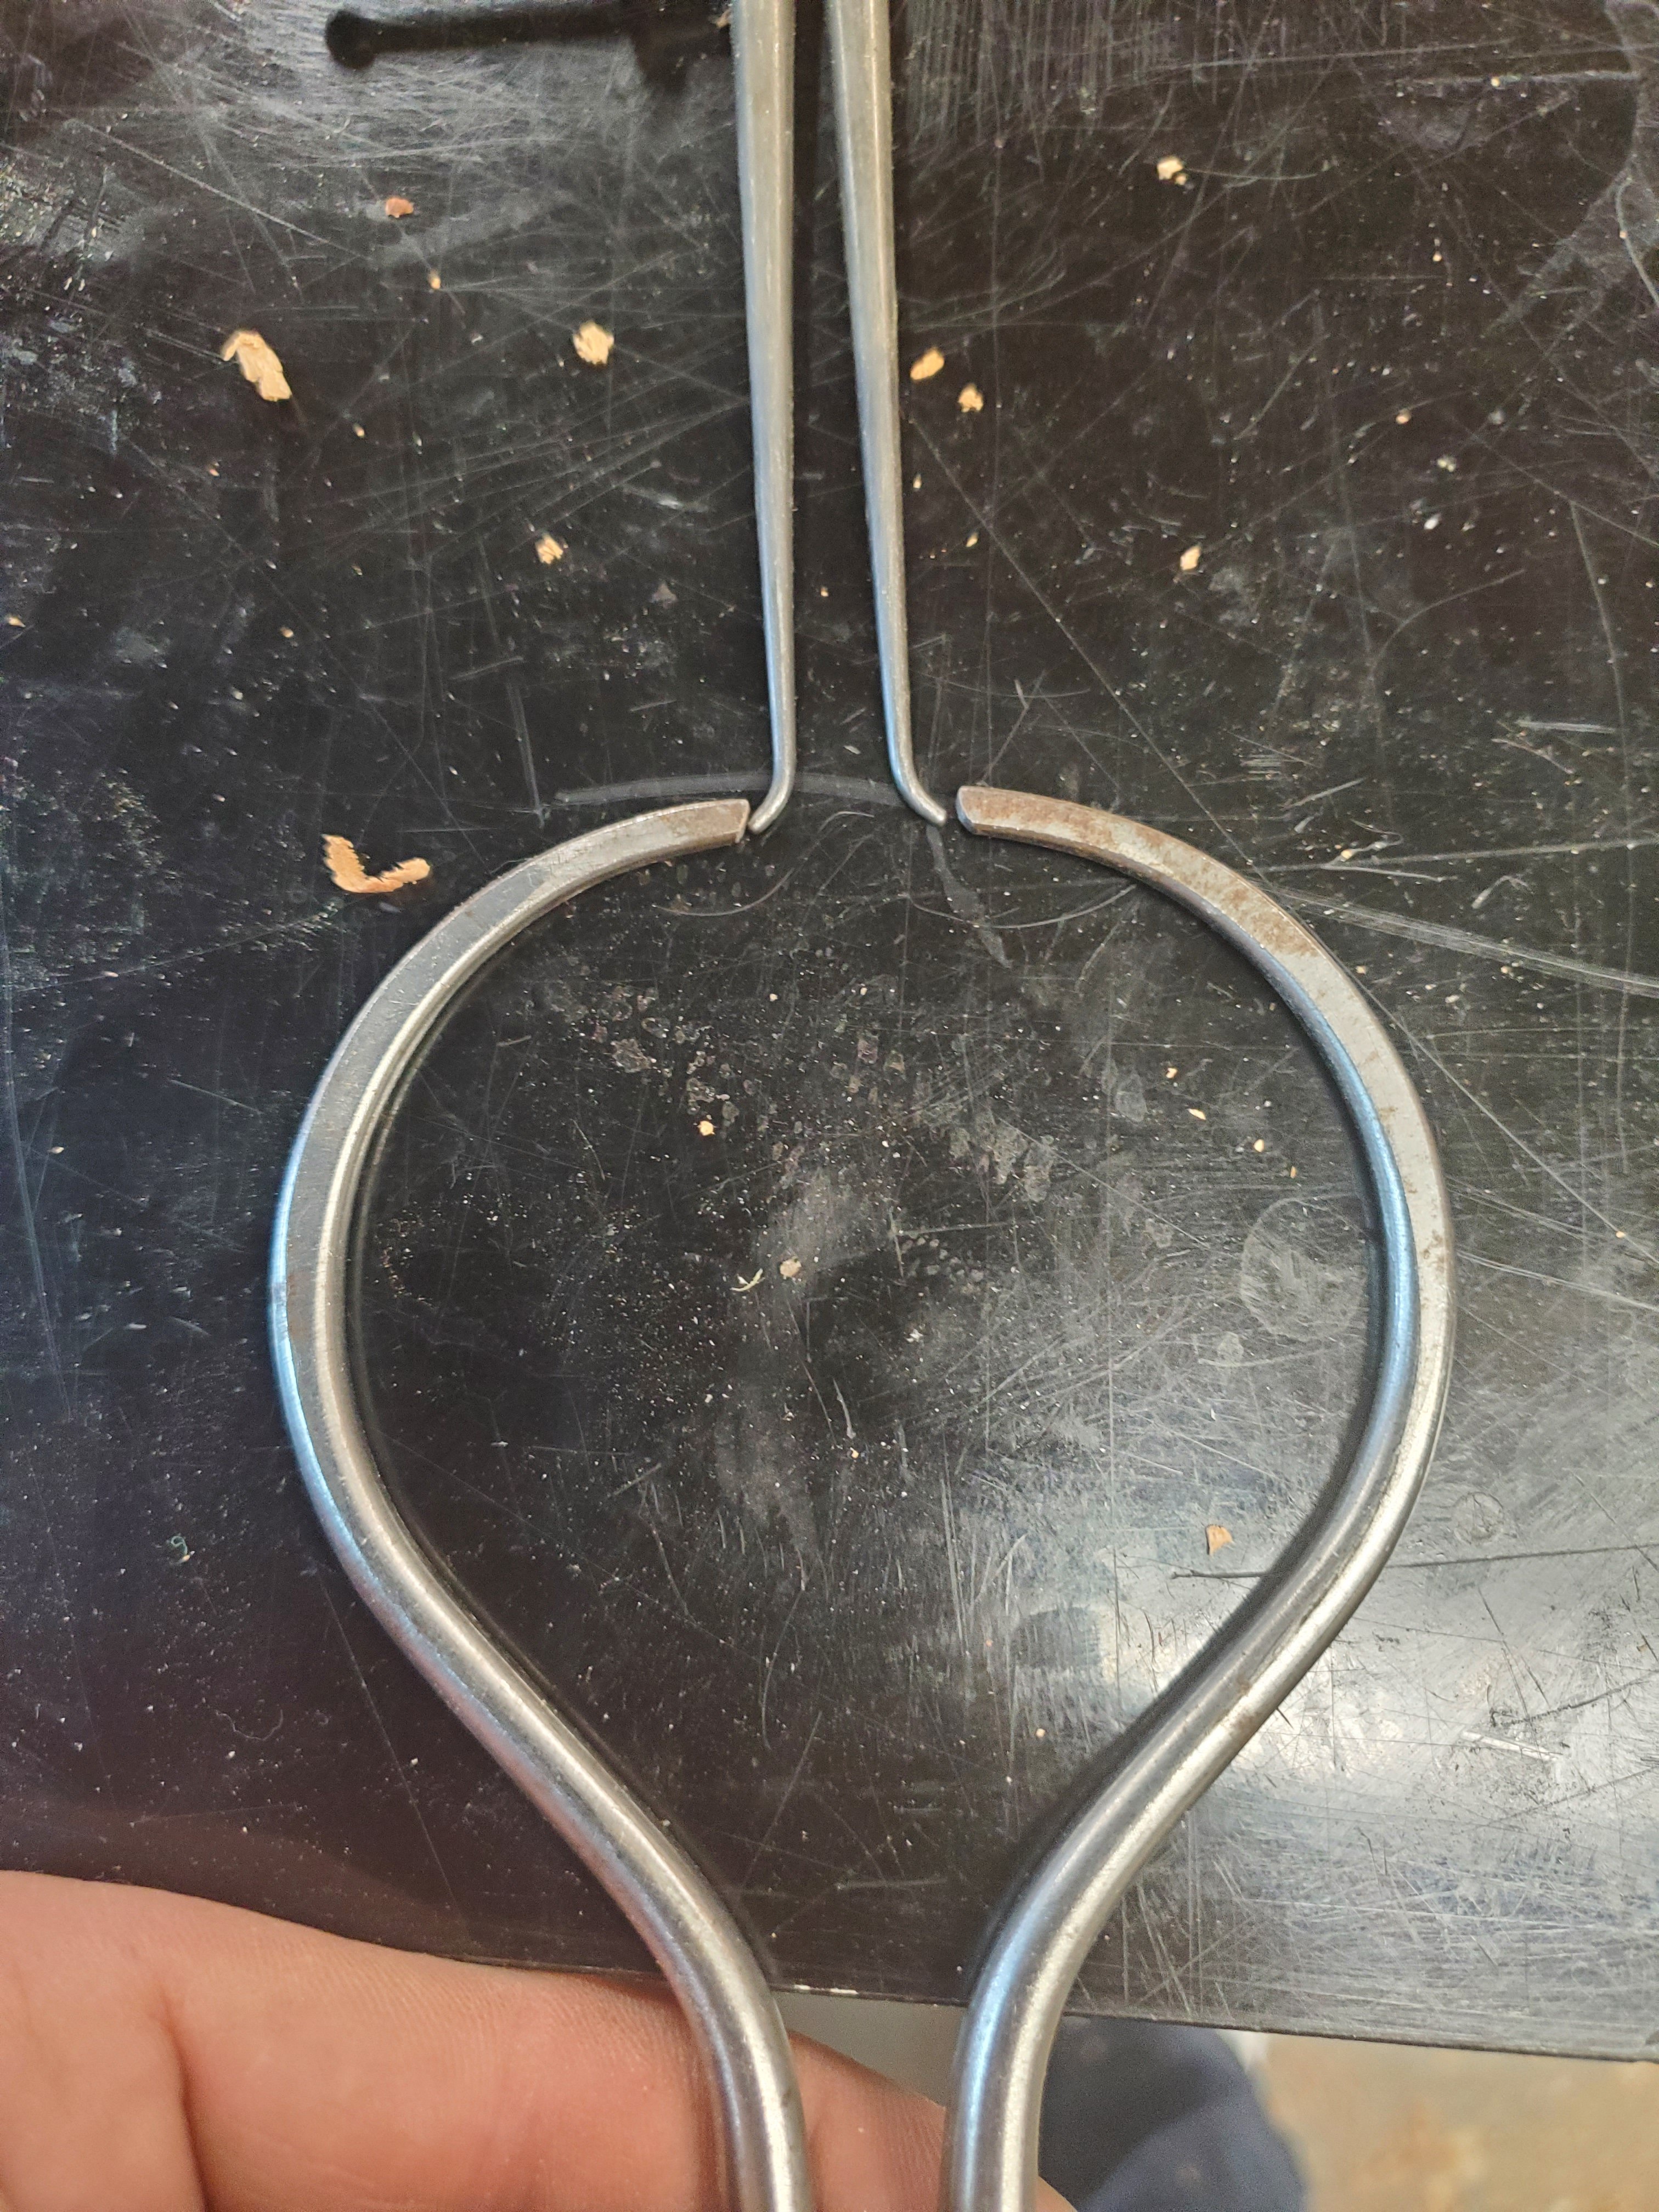
I wanted to shape the new area perfectly round with the rest of the knob so I created a little holding jig to be used on my lathe.
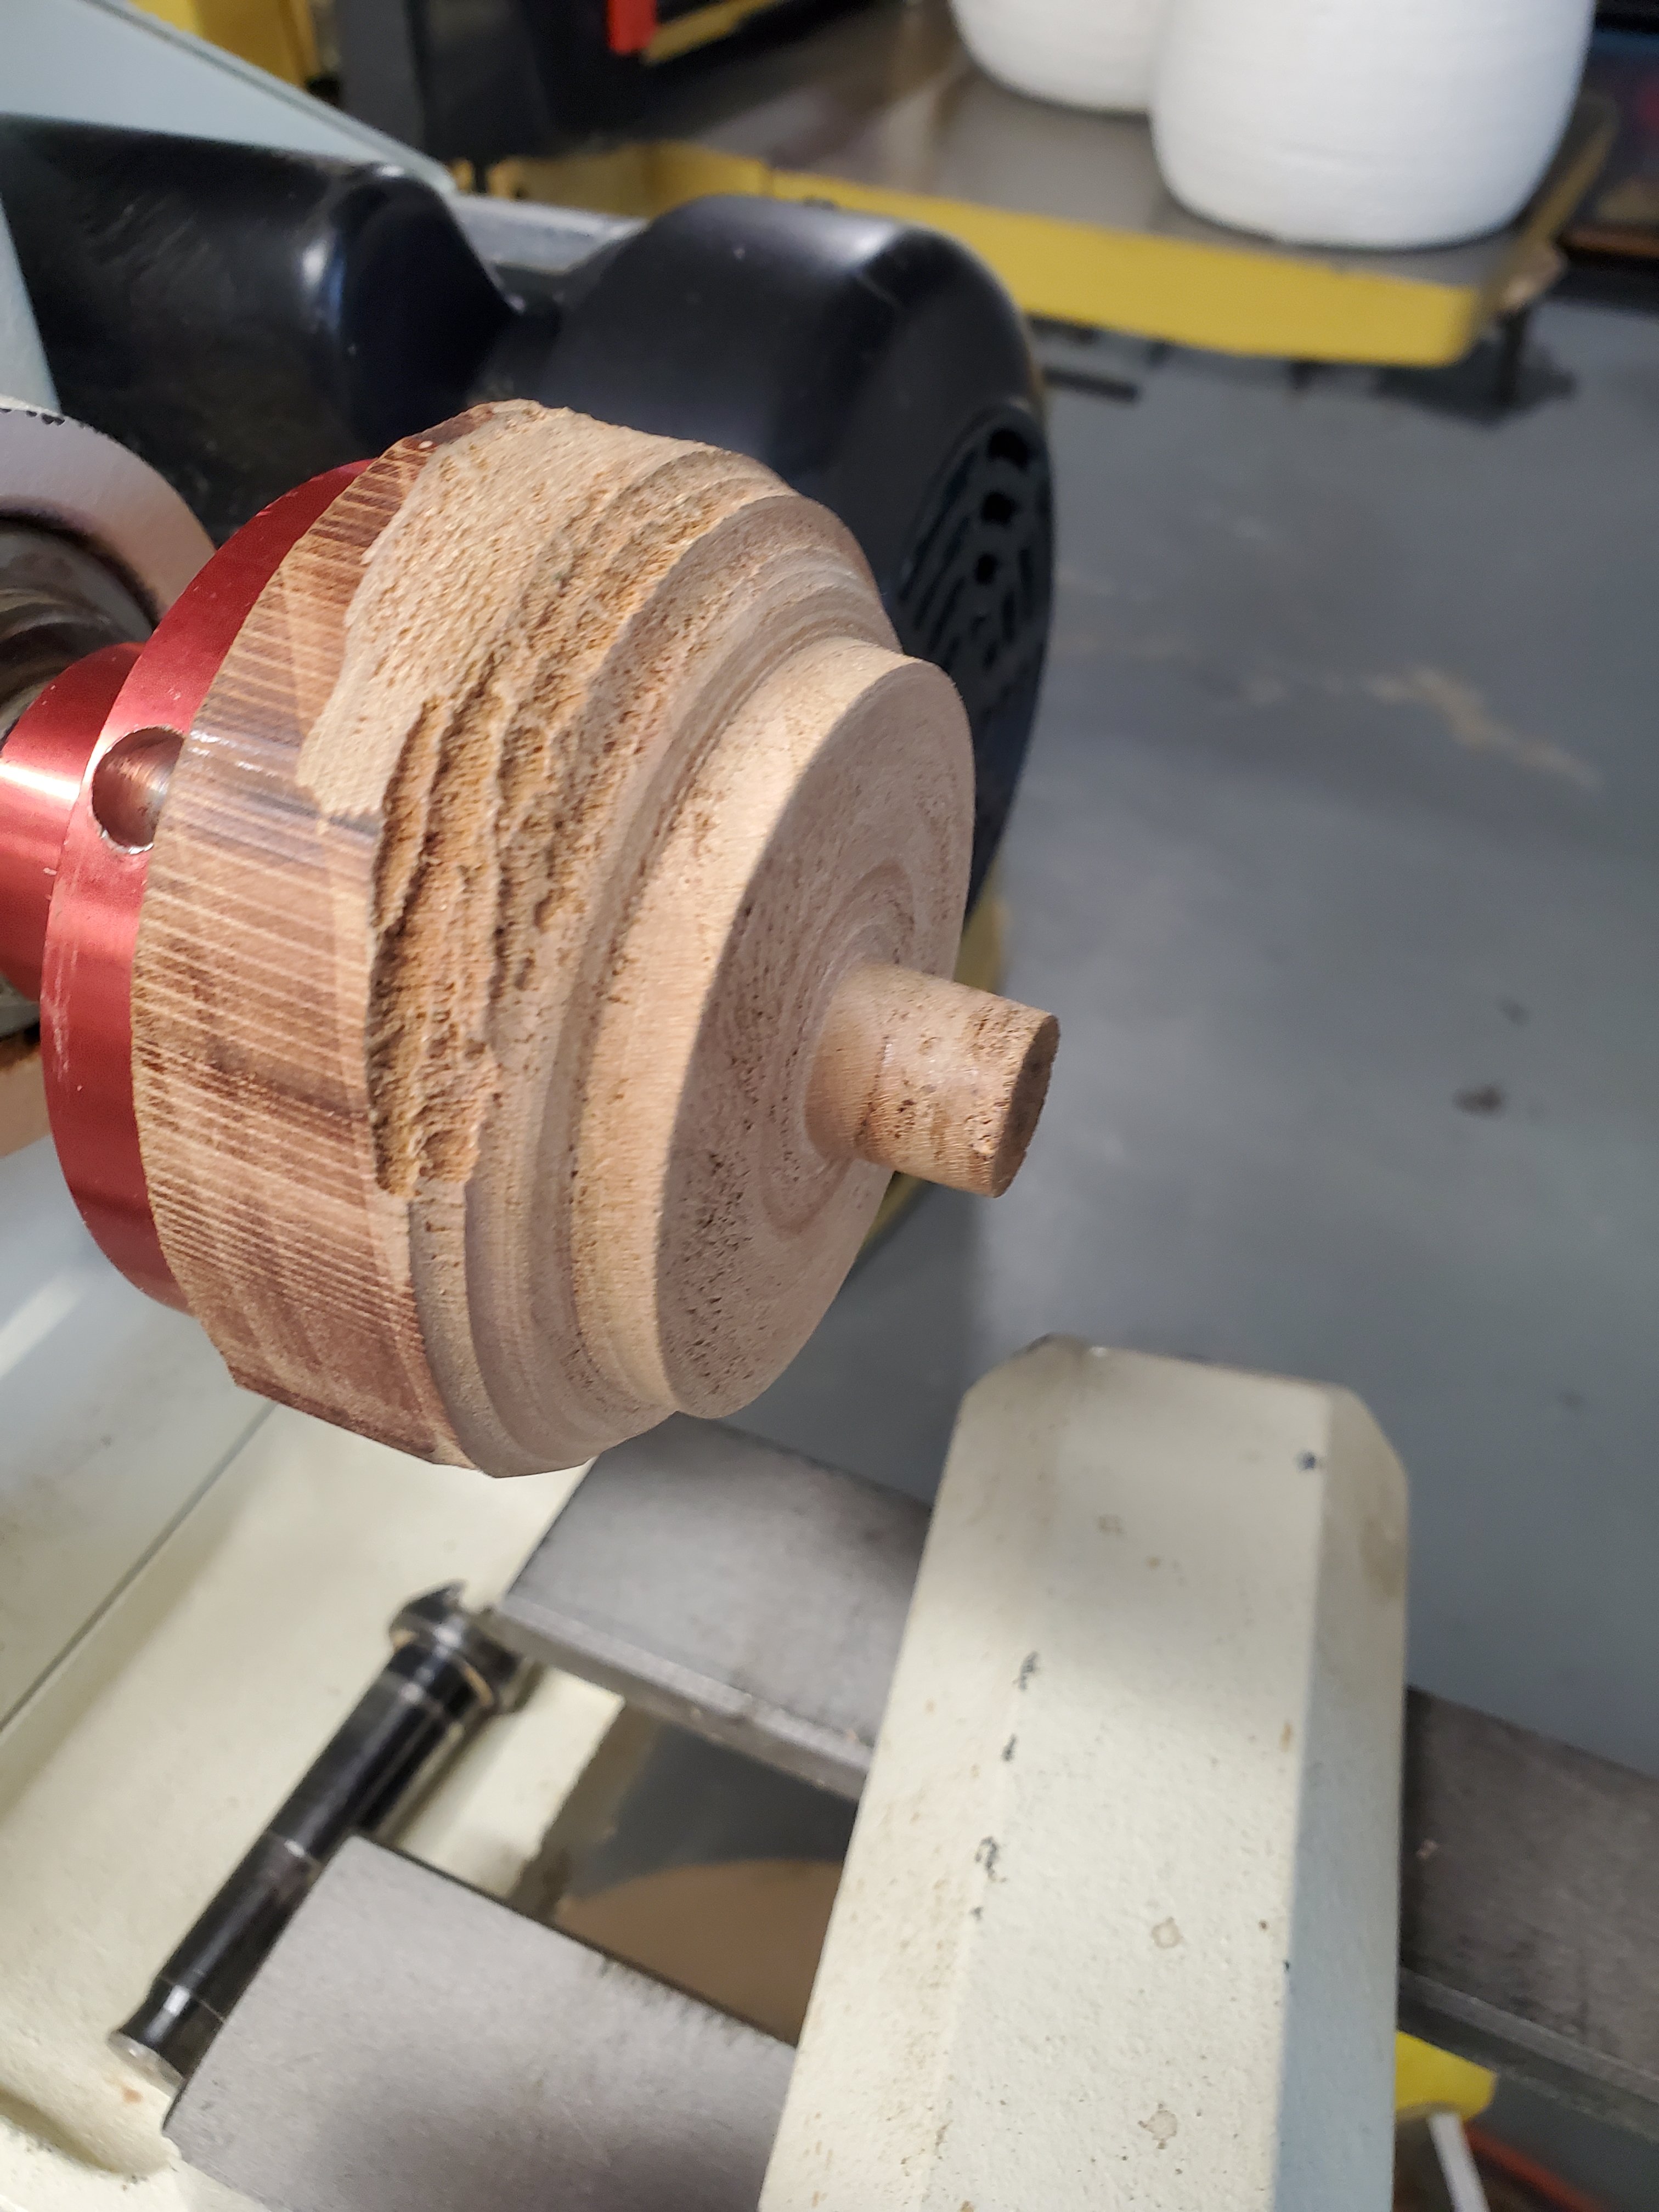
I measured the inside diameter of the knob’s mounting hole with inside calipers and transferred that measurement unto outside calipers, then turned a tenon to the measurement. Then I stuck the knob onto the tenon and stabalized the top of the knob with the lathe live center point.
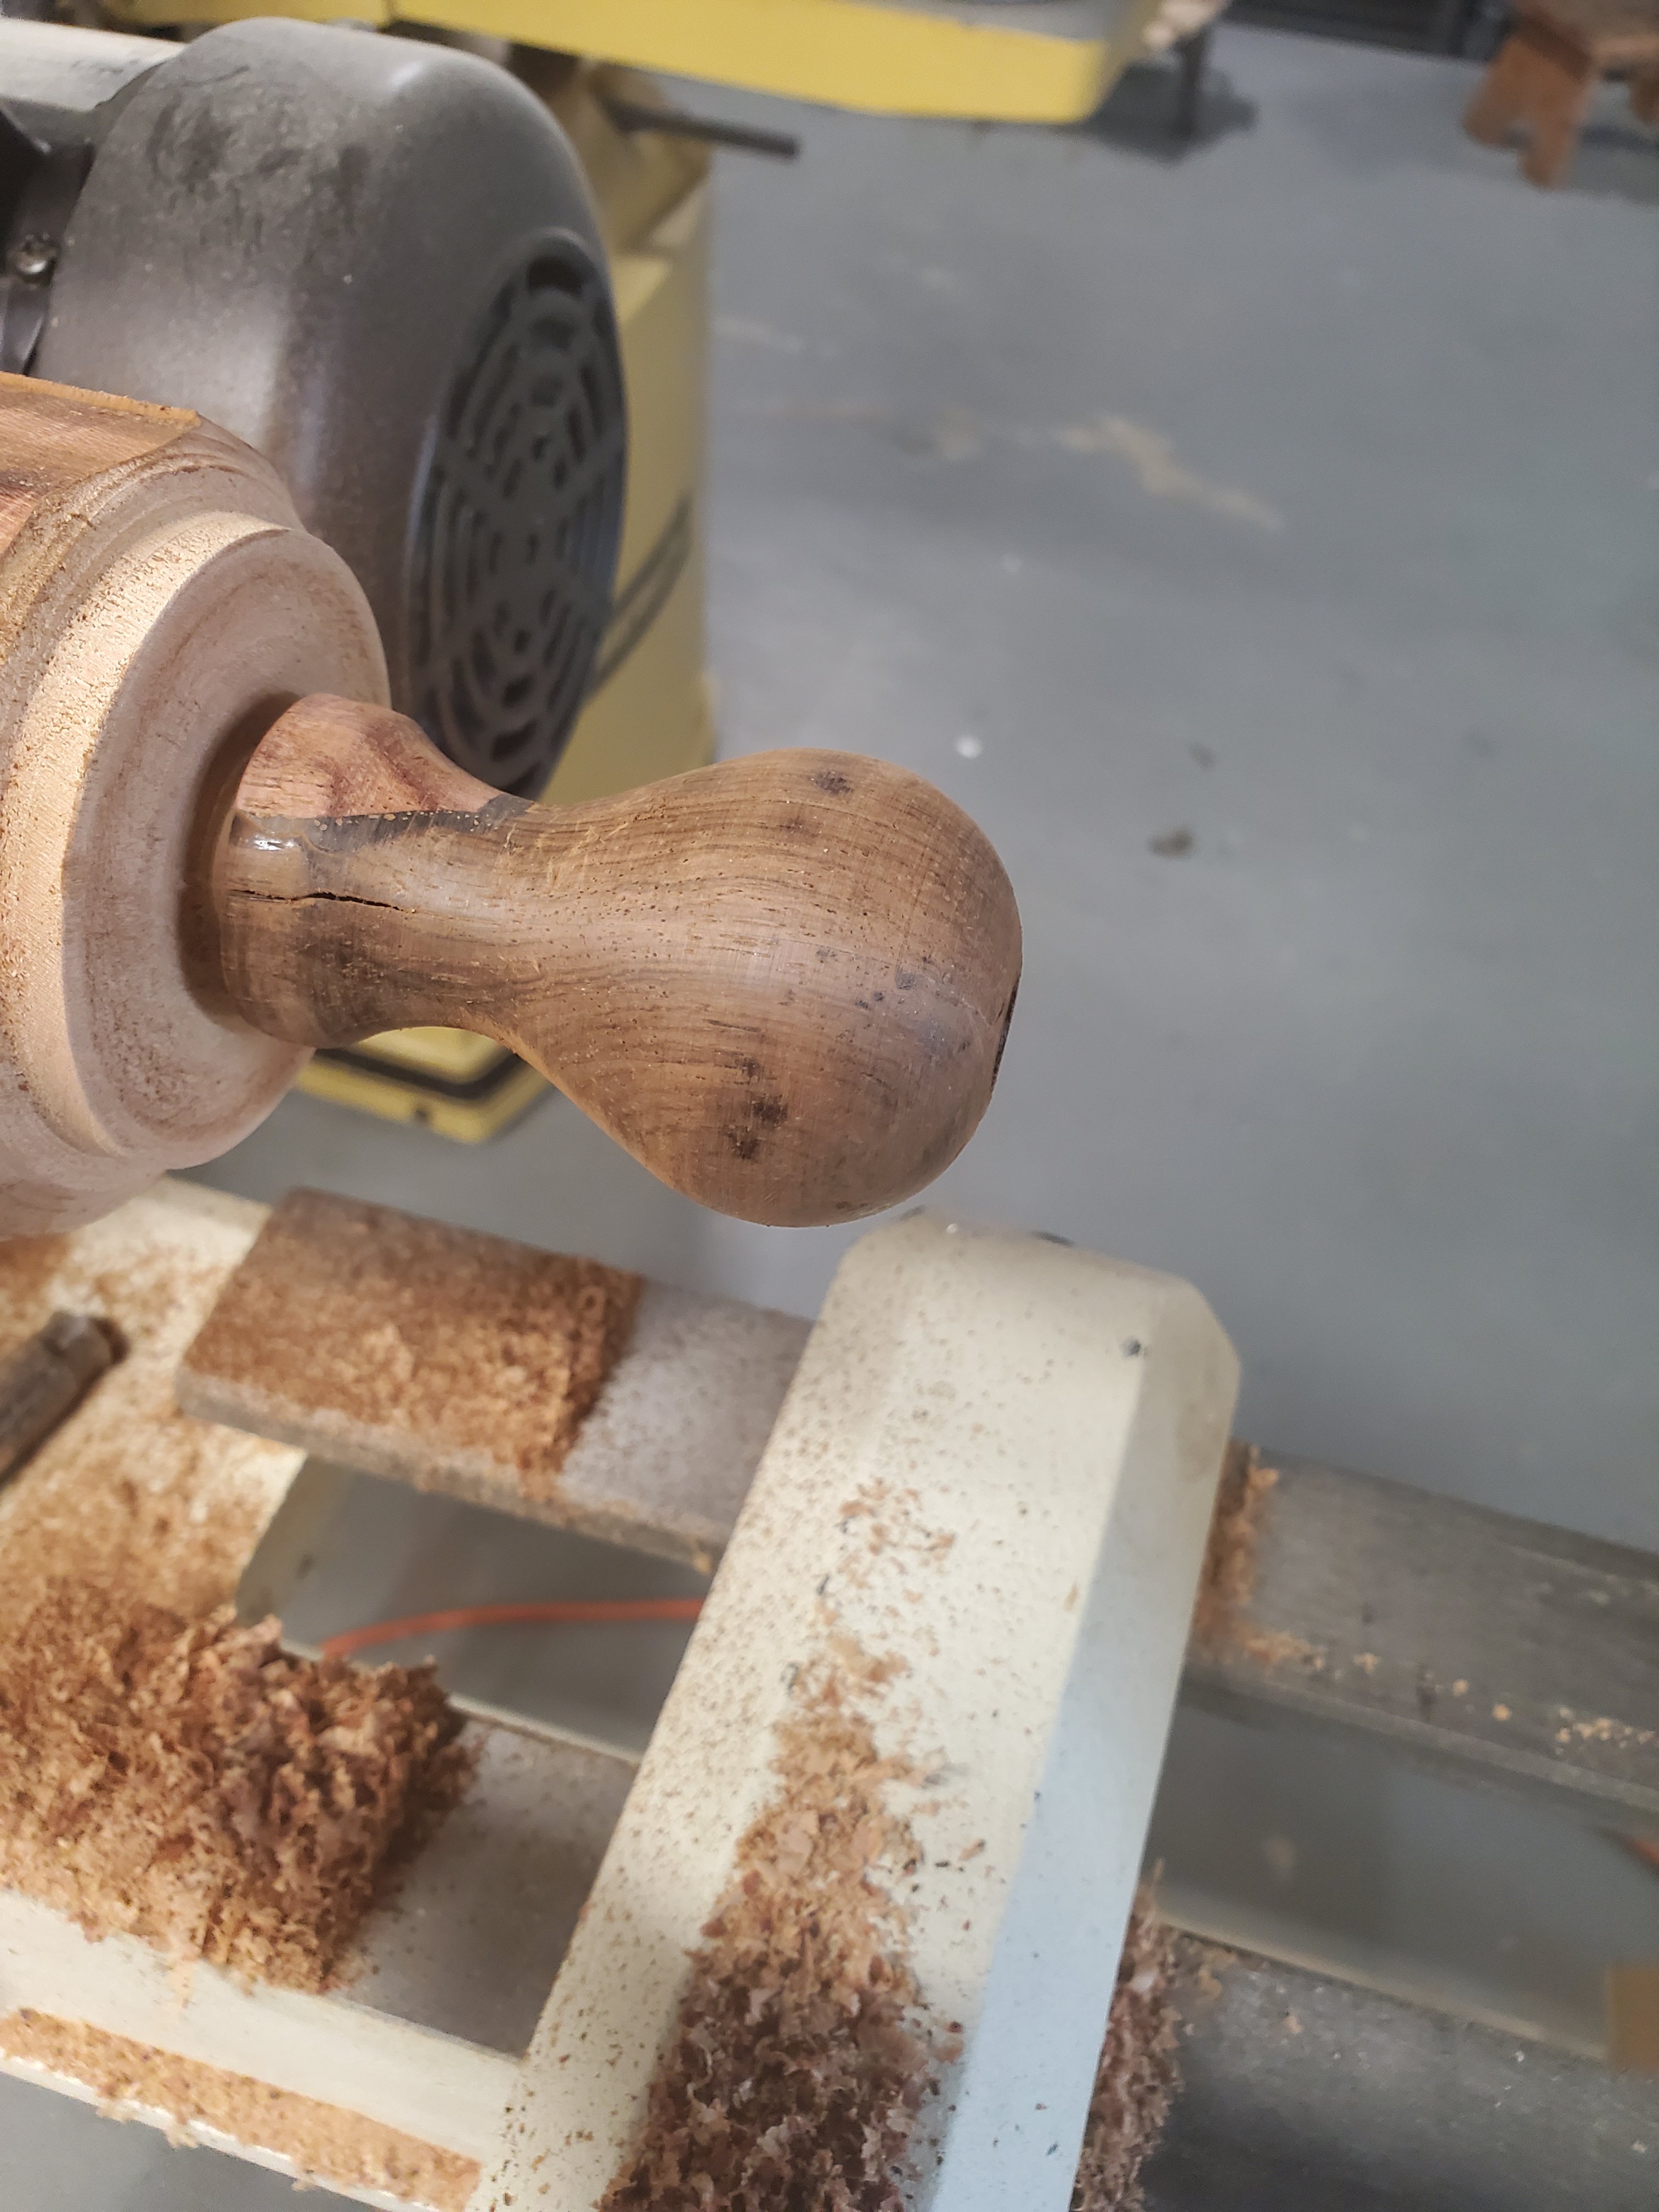
With the knob spinning nice and true, I carefully used a round scraper and gently turned the new piece of wood concentric with the knob. After a few minutes, and a little bit of sanding, the knob was finished.
I noticed that the knob had split just a little bit while it was turning, so I applied more super glue gel to the bottom of the knob to stabalize the wood.
The final step was to apply a couple coats of shellac to the knob and stick it back on the plane. Because the piece of cocobolo was a little lighter in color than the rosewood, I colored the cocobolo darker with a black Sharpie marker then wiped off the excess with some fine steel wool.
The end result came out fine. The knob looks complete and you can only notice the repair if you really look at it. In fact, the knob on the right was also repaired the same way, and you can hardly see it. Looks like I’ll have to start repairing more knobs from now on.
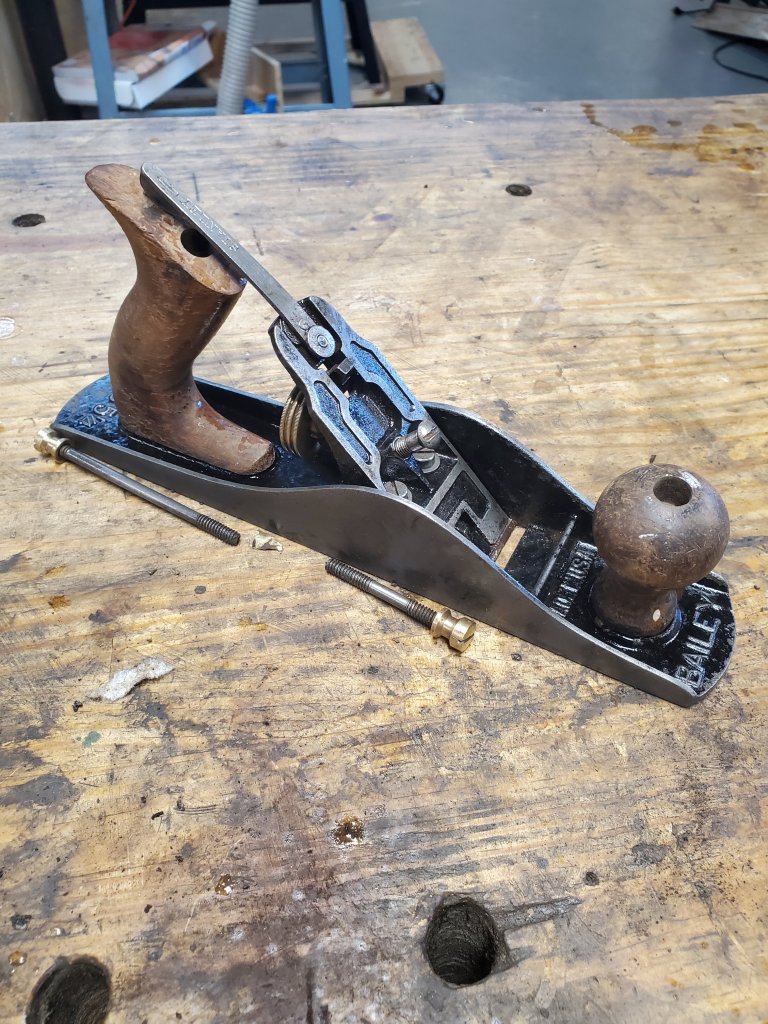
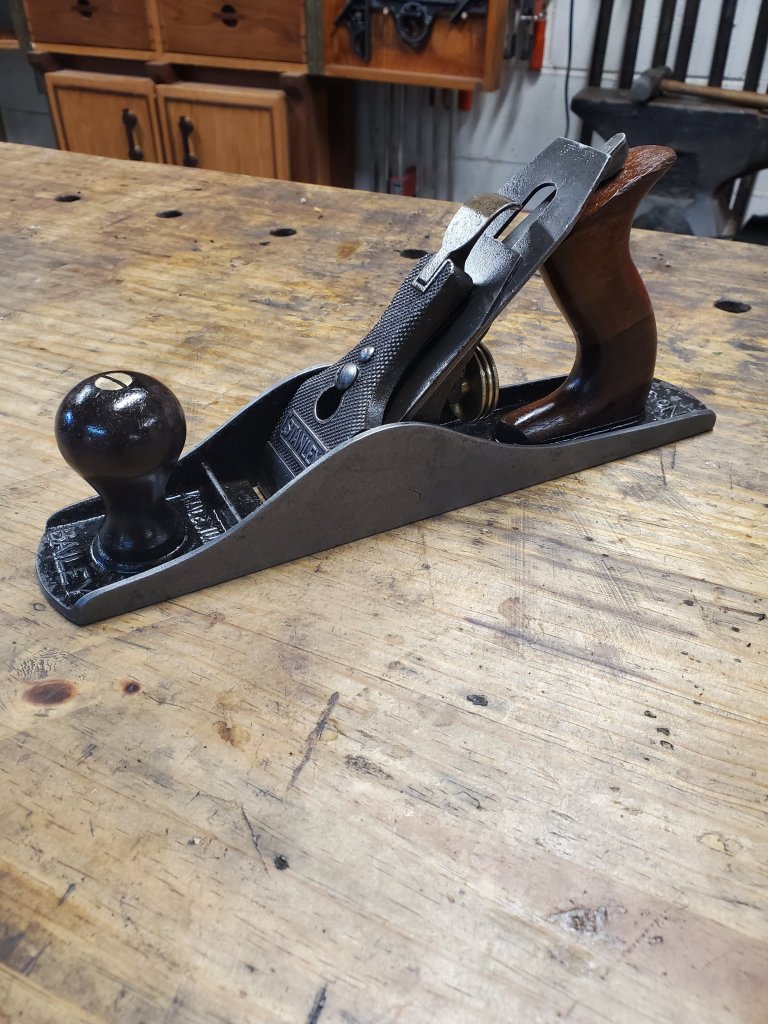
A few weeks ago, I stopped by an antique store in New Paris, OH across the state line from Richmond, IN and bought a Stanley No 5 1/4 plane strictly for the parts. The plane was missing the blade and lever cap but the price was right so I took it home.
When I cleaned up the plane a little bit, I noticed it was stamped Cincinnati Public Schools. I thought that was pretty cool since I live in Cincinnati, even though I went to Sycamore High School and not CPS. After thinking about it, a light bulb went off in my head.
I’ve owned this Stanley No 5 1/4 ish plane for years however, the plane is not marked 5 1/4 on the bed. I think it was either a Four Square plane or maybe a plane that came with a tool cabinet kit. I use it from time to time and it works well, it just sucks that it’s brazed on one side. I’m not sure where that lever cap came from as it looks like a transitional plane lever cap.
I ended up deciding to take the blade and lever cap from the old plane and put it on my new 5 1/4 plane and keep this one in my tool cabinet bidding the old brazed bed goodbye. After I cleaned all the parts, the plane came out pretty nice.
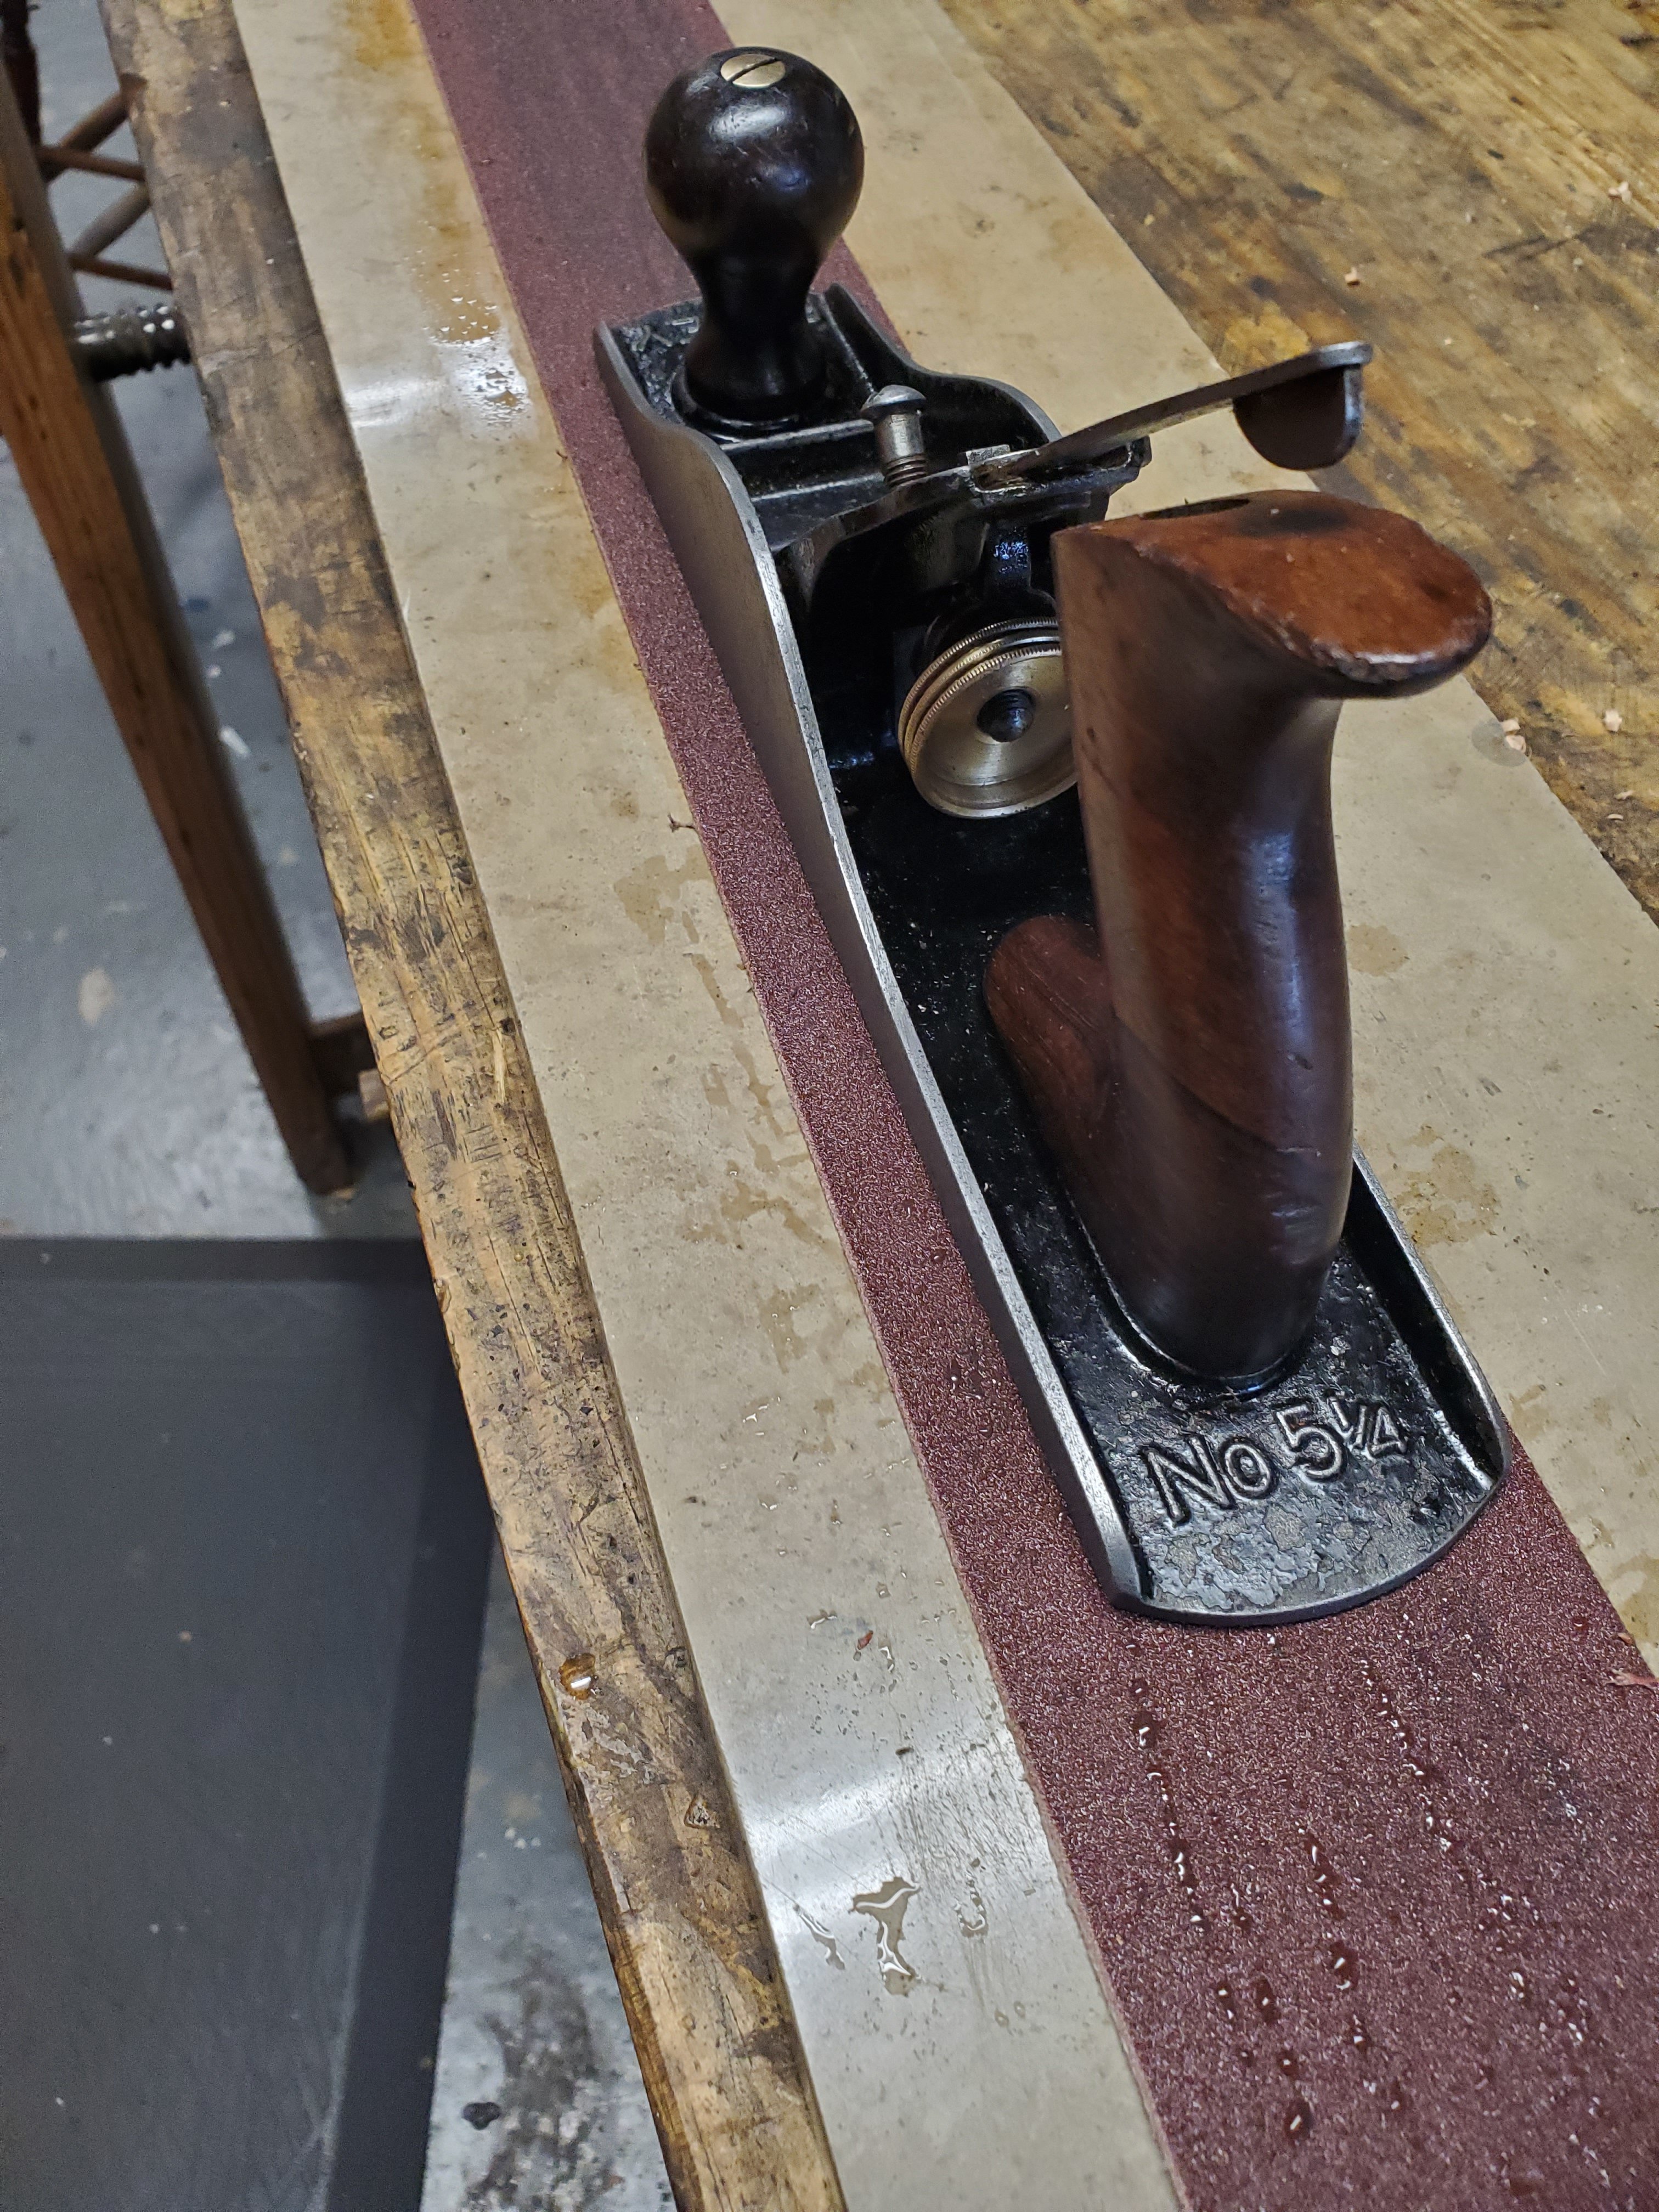
I used the plane right away to see how it cut. It worked okay but I decided to see if the bed needed to be fettled so I gtabbed some sandpaper and an old window sill to act as a surface plate and went to work.
After several minutes of fettling and changing the grits, I was happy with the outcome. Some people fettle their beds until there are no pits left on the bed and it obtains a mirror finish, but I don’t have the patience for that. As long as the front of the bed, the front and back of the mouth, and the back of the bed are even with eachother, I’m happy.
I went back to the board to see how the plane cuts and it works like a dream. Now I have a new Stanley No 5 1/4 with the provenance from my back yard.
Some people may wonder what the intended purpose of a 5 1/4 plane is, and for that, I’m not entirely sure. It’s a little too big to excel as a good smoother and a little too small to be a good jack plane. If I had to guess, I think Stanley made this size plane as well as a No 2 size plane for kids. Kid’s hands are much smaller than adults so smaller planes work well for them. The fact that this plane was marked Cincinnati Public Schools, it was more likely used by little kids in shop class. Nevertheless, I still enjoy using this plane in case one of my other planes is not set up right or it’s blade is dull.
Last week I received a message in my Instagram messaging page. I’m small potatoes on Instagram as I only have a few thousand followers, so I don’t get many messages. The ones I do get, the majority of them are some sort of spam bullshit trying to hack my account, so I usually don’t pay much attention to them.
However this time, the message was from one of my followers. Johnson21800 sent me a couple of pictures of his Great Grandad’s Stanley No 32 Jointer Plane. He said he was so inspired by my posts on restoring tools, he decided to restore his Great Grandad’s plane.
Here’s the plane all cleaned up and restored. I think Peter does a better job than I do!
The fact that Peter would send me pictures of his plane that he restored after watching my feed humbles me. It makes feel good inside that I inspire people to restore and use these old tools that just sit around collecting dust. It’s pretty much the reason I post so many antique tools on Instagram.
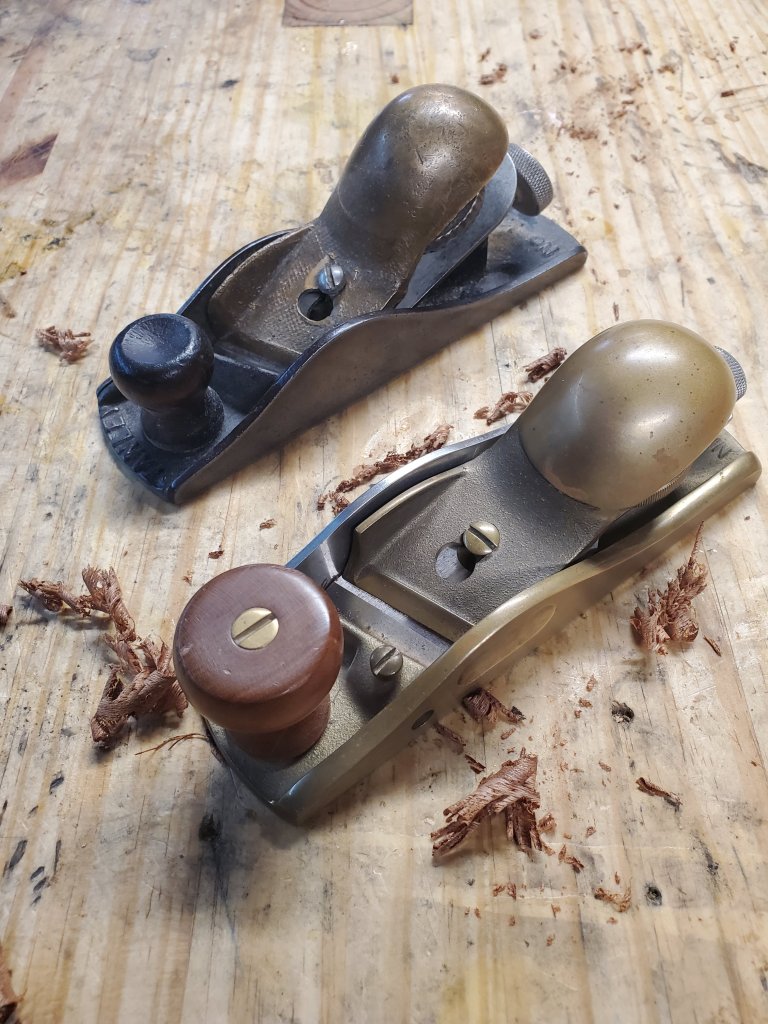
Apparently, Hell has frozen over as I bought a Lie-Nielsen plane. I never thought I would own one as restoring old Stanley’s is my gig but, I found this at an antique mall and couldn’t resist even though I already own a Stanley No 140 Rabbet Plane.
The two planes are very similar to eachother with the biggest difference is that L-N is a low angle plane. The other differences is that L-N has a thicker blade made from A2 tool steel, a cutter on the side to slice the wood fibers when using it across the grain, and a fence. This plane’s fence was missing so, I contacted Lie-Nielsen to see if a replacement fence could be bought. They told me to send them a picture of the plane to make sure it is the current version they produce. After they saw the picture I sent, they informed me that their fence probably won’t work as my plane is the earlier version. Oh well, I never wished my Stanley No 140 had a fence so maybe I would never use it anyway.
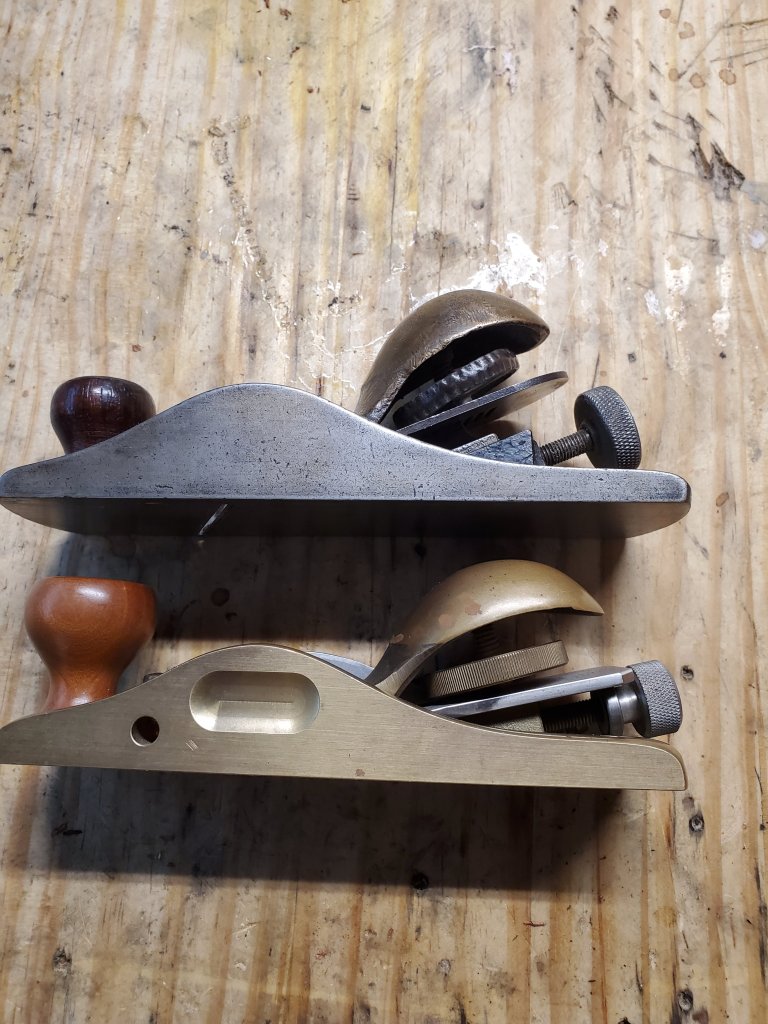
The planes are nearly identical in size as well, with Lie-Nielsen being a touch smaller. However, the Lie-Nielsen is a little bit heavier since it’s made of bronze as opposed to cast iron. The Lie-Nielsen feels much nicer in your hand. You can tell the difference in quality between the two as soon as you hold it.
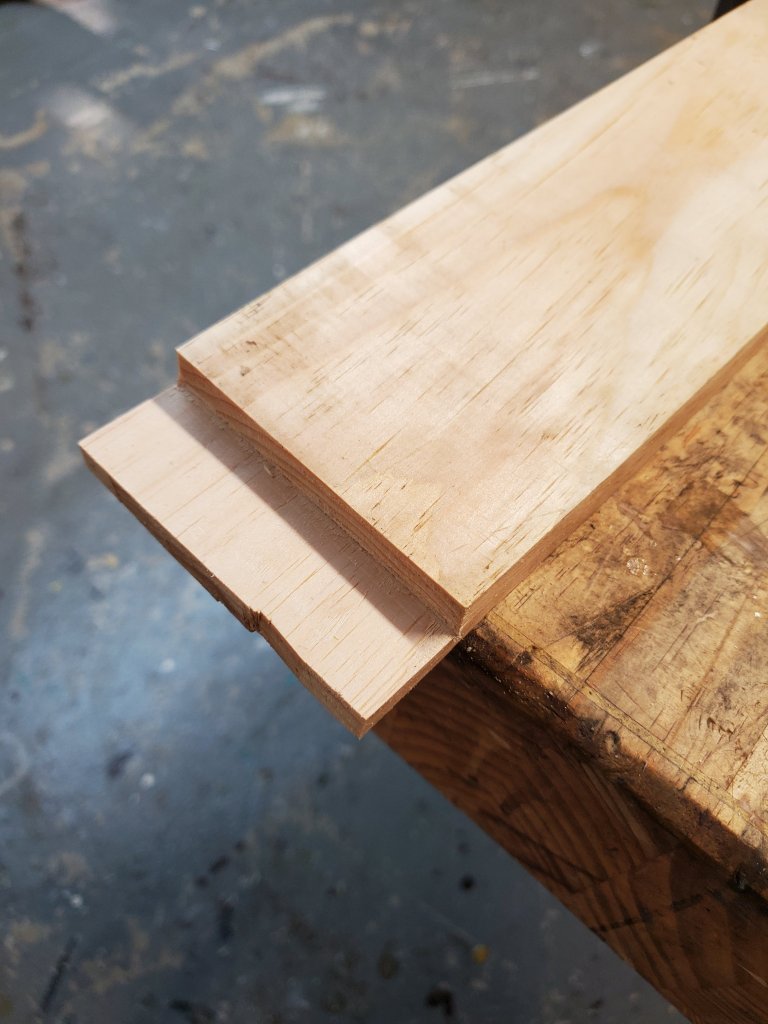
I wanted to see the difference of how each plane cuts, so I grabbed a piece of white pine and chopped a rabbet on the end. I then planed the rabbet clean with each plane.
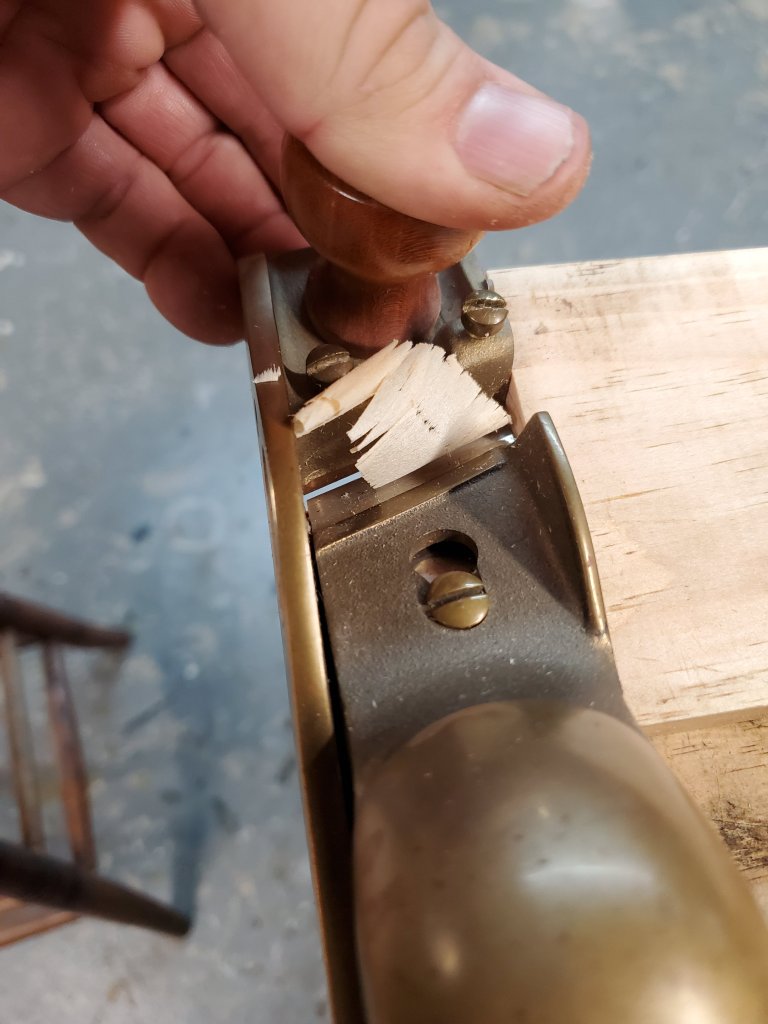
The Lie-Nielsen cut extremely well as it shaved the wood fibers like butter. Lie-Nielsen planes are extremely well made and worth the extra money if you’re not interested in restoring old Stanley planes.
My tuned up Stanley No 140 also cut the wood fibers well. Not quite as nice as Lie-Nielsen but well enough to get the job done. You can see the shavings between the two planes are nearly identical. My Stanley No has user made bronze lever cap. It works so I never replaced it with a real lever cap. I’m cheap!
So, which is better? Lie-Nielsen wins hands down however, the price of the plane is nearly triple than that of a Stanley No 140 plane. You can find old Stanley No 140’s on eBay for around $100-150. Lie-Nielsen lists their No 140 for $385 on their website but is currently out of stock. Some used Lie-Nielsen No 140 planes have sold on eBay for over $500.
Whether or not the Lie-Nielsen is worth the extra money is up to you. Honestly, if I was a professional woodworker, I would buy Lie-Nielsen planes and depreciate their expense on my income statements. Being able to depreciate your tools is one of the nice benefits of being a pro. It’s no wonder why Lie-Nielsen tools are on backorder.