
Over the past few months, I’ve been making and selling these Ohio signs in our booths in the antique malls we rent space in. They’re super simple to make. Just old scrap wood I have lying around, painted and stained to make it look like old barn wood. Then I cut the wood out from a pattern and attach the pieces to a plywood back.

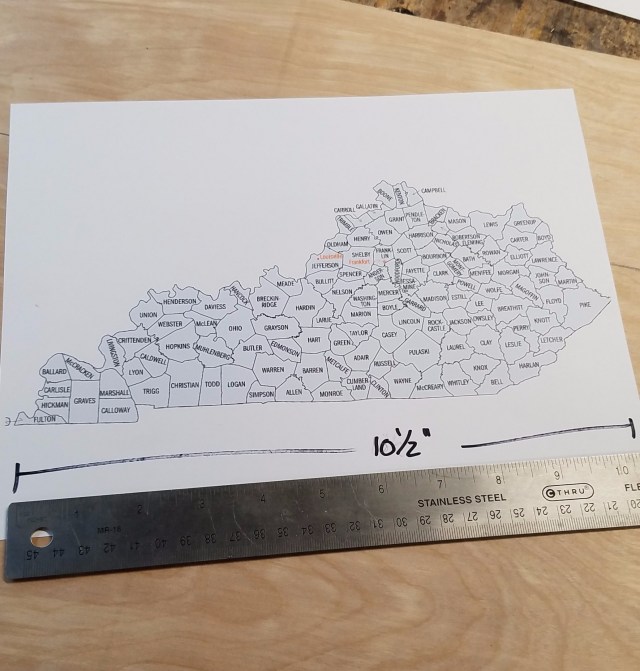
They’ve been so popular, I decided to make a Kentucky one as well since Cincinnati is near the Kentucky border. The Ohio signs are about 15″ x 16″ so I knew I wanted the Kentucky one to be about 24″ long. The problem was that I didn’t have a map of Kentucky that was 24″ large. I decided to Google image a map of Kentucky and print it out on my printer. That left me with a map that was 10 1/2″ long, but I didn’t have a scaling ruler that would work for that size.
I decided to make a scaling ruler where 10 1/2″ equals 24″ in scale. I grabbed a piece of plywood and ran a line down the board 10 1/2″ wide. I then took my ruler and put the end of the ruler on the line and angled it so that the 12″ mark would be at the other end of the board. I then made a mark on every 1/2″ increment giving me 24 equal units for the 10 1/2″ length.
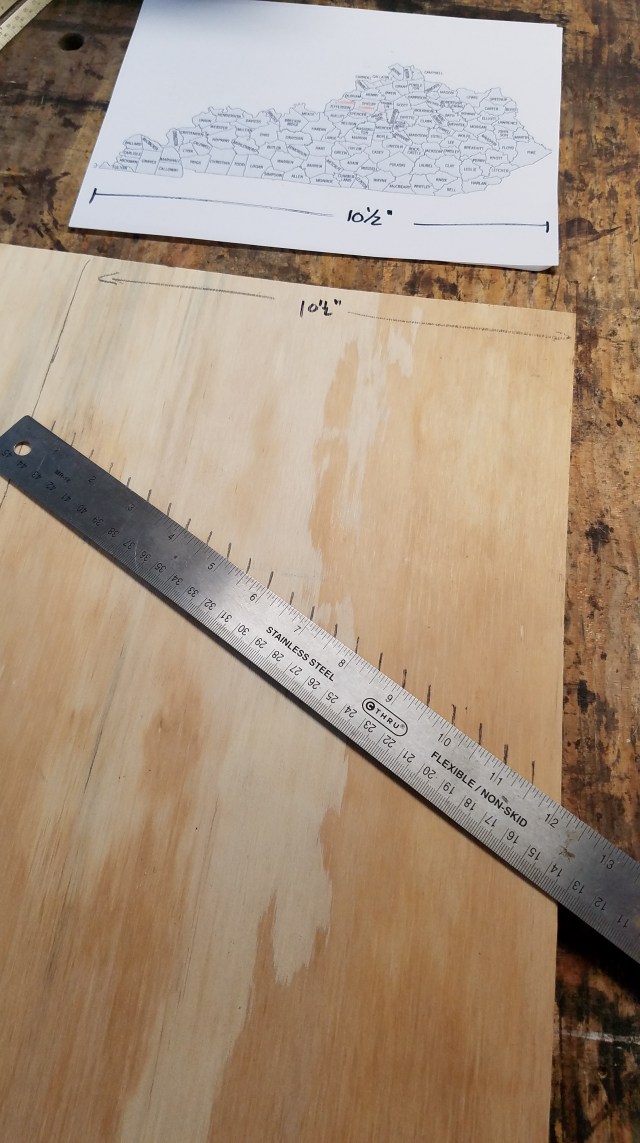
I then drew the lines down the board, grabbed a scrap stick and transferred those increments to the board creating my scaled ruler. The units didn’t have to be perfect. I was just trying to get an approximate measurement.

I then used that scaled ruler and marked lines on both the horizontal and vertical axis of the map creating a grid.

I then drew 1″ grids on the piece of plywood and drew the pattern of the map onto the wood carefully transferring the image of each little box to the corresponding box on the plywood. This is very similar to games I played as a kid where you would have to create a picture based off random shaded box patterns.
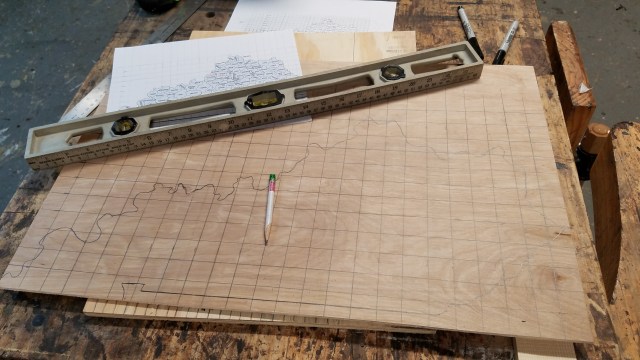
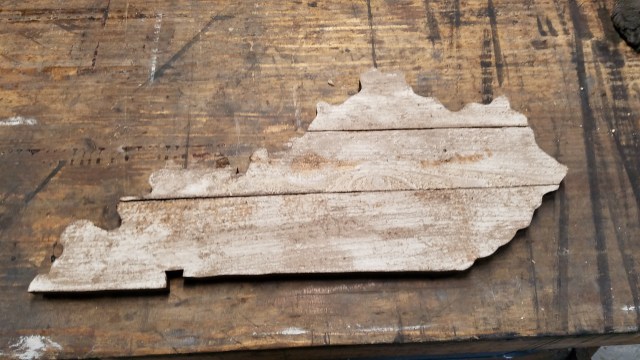
Once the pattern was transferred, I cut it out on the band saw. The template ended up being 24″ long by 12″ tall.
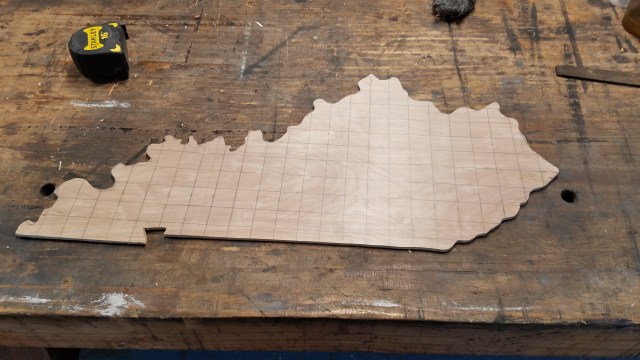
Here’s the finished Kentucky sign. I shared this image on Instagram and someone wants me to make him one. The work is already paying off. Merry Christmas!

The signs are a great novelty, but the process was too complicated (and time consuming. You could have simply taken your original to a place like Staples or Fedex office businesss Center to enlarge. Or you could have used a pantapraph.
LikeLike
Yeah, I thought of that, but I didn’t feel like going out to Staples to get it enlarged. Plus, I’m sure they charge for their services. I’m cheap.
Also, I figured by the time I made a pantograph, I could have just transferred the lines to the scaled ruler. The image didn’t have to be exact, it just had to look like Kentucky.
LikeLike
Thales theorem (intercept theorem/ basic proportionality theorem) to the rescue.
Anyway the contour will never be more precise than the starting map and, recycled lumber has its limitations, it is not fine pear-wood.
Getting such an odd ratio with a pantograph would need some trial and error.
You might be interested by Matthias Wendel’s printing programme:
https://woodgears.ca/bigprint/
Sylvain
LikeLike
that’s a great link. If I wanted an exact enlargement I’d buy his service. I went the cheap route as I didn’t care how accurate the template was. As long as it looked like Kentucky I was happy.
LikeLike
You can use a projector to accomplish the same task. Google the image and save it. Pull up the image as a jpeg or whatever you wish and then put a ruler up to the screen and measure its size. Tape a piece of paper to the screen and then get to tracing. I do this project at school with my students. It’s quick and easy and you get a pattern in less than 15 minutes.
LikeLike
You guys are coming up with ways that’s easier than mine. Well done.
LikeLike