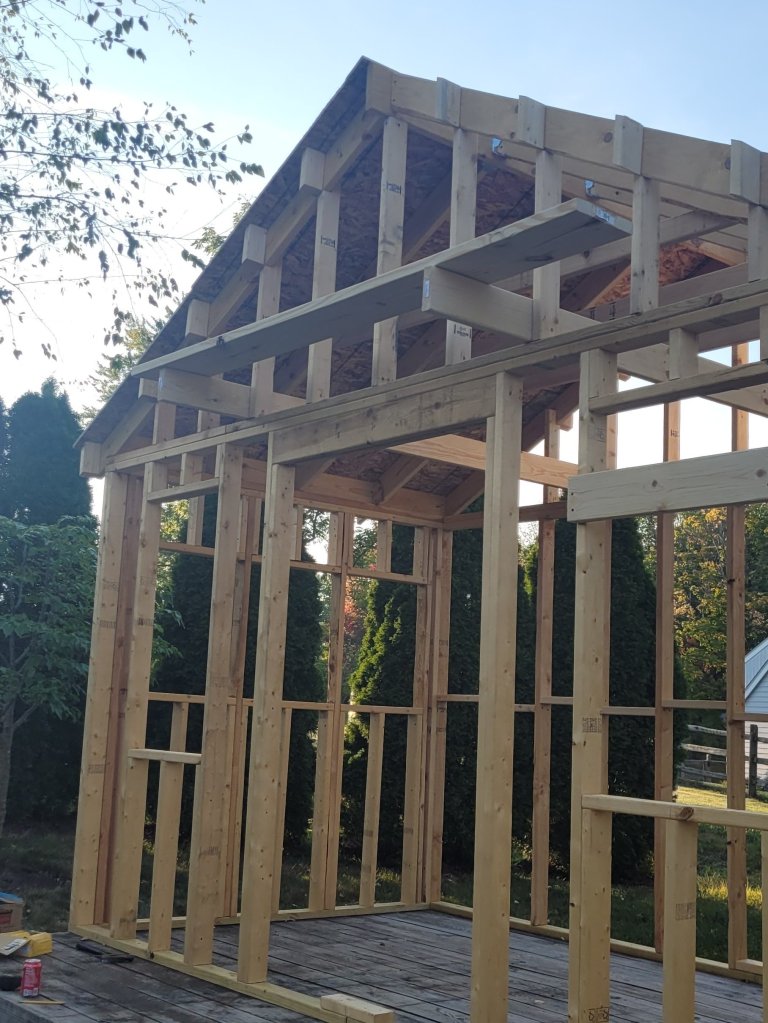
The day after we got the framing up, I was excited to get going on the roof. I knew I needed to put drip edge on the roof sheathing before the tar paper, but my wife, Anita, told me that I need to put the fascia boards on first.

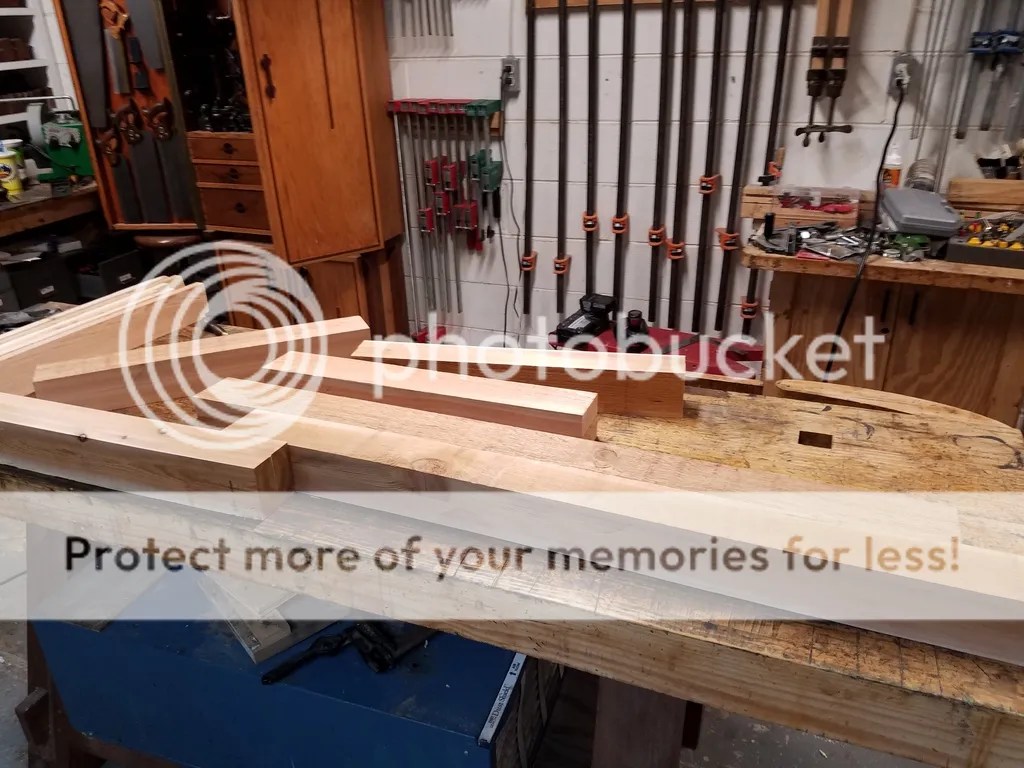
So, we went to Home Depot and picked up some 6″ wide cedar boards 10′ long and cut it to proper length. Since the roof was 16′ long, I had to scarf joint the boards in front with a 45 degree angle in case the boards shrink a little bit over time.

I cut the side fascia at the same angle of the roof rafters and carefully fitted them together with tight joint at the top.

After a few hours the fascia was up, so I started installing the drip edge. I watched a couple of YouTube videos to make sure I cut the drip edge properly so I could bend it at a 90 degree angle.

The drip edge went up with ease. Now it was time for the tar paper. I grabbed the ladder and laid down the first row. I hammered down button caps about every foot on the bottom and about every three feet on the top.

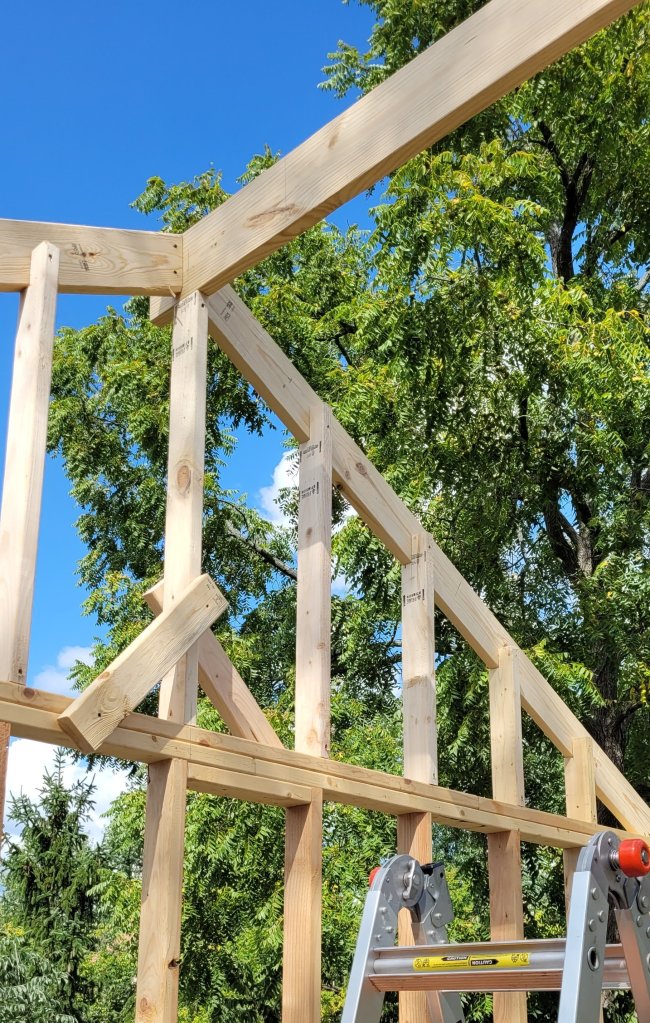
The first row was up and I started on the second row overlapping the first row about 4″. This is where the hell started. Because we built the rafters based on a 3, 4, 5 Pythagorean Theorem, the roof was at a 9 / 12 pitch. I couldn’t stand up on the roof because it was too steep nor could I manage to work on the second row off the ladder safely because of the slope of the yard. With all the trouble, I couldn’t tack down the second row without the tar paper getting ripples in it.

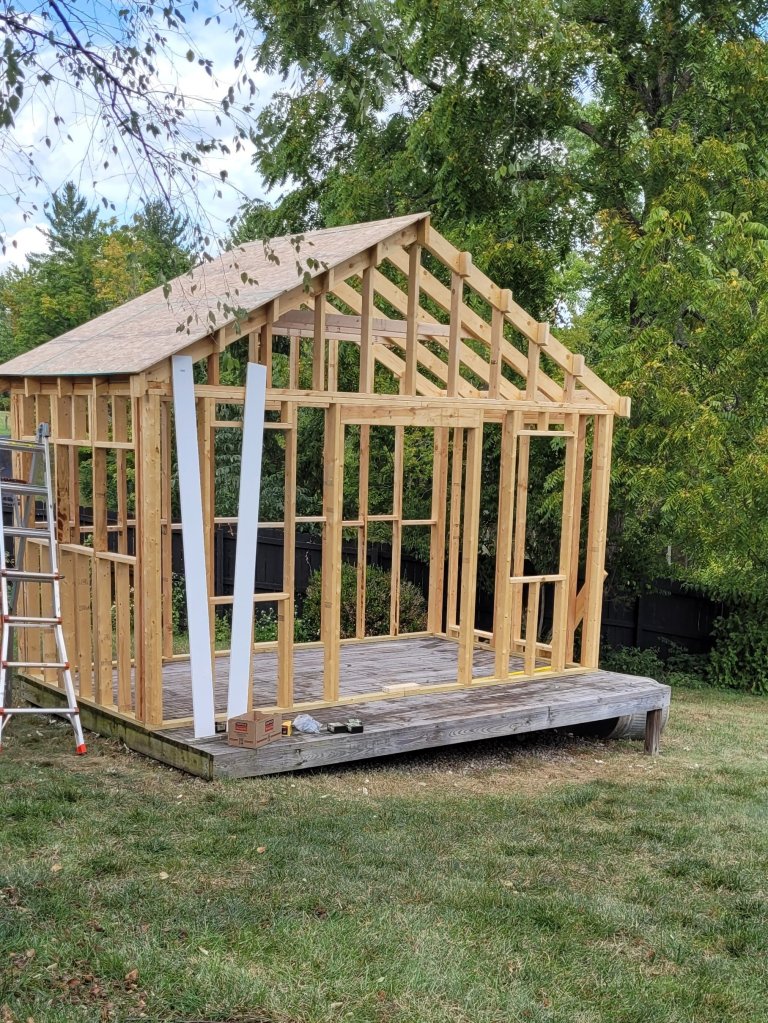
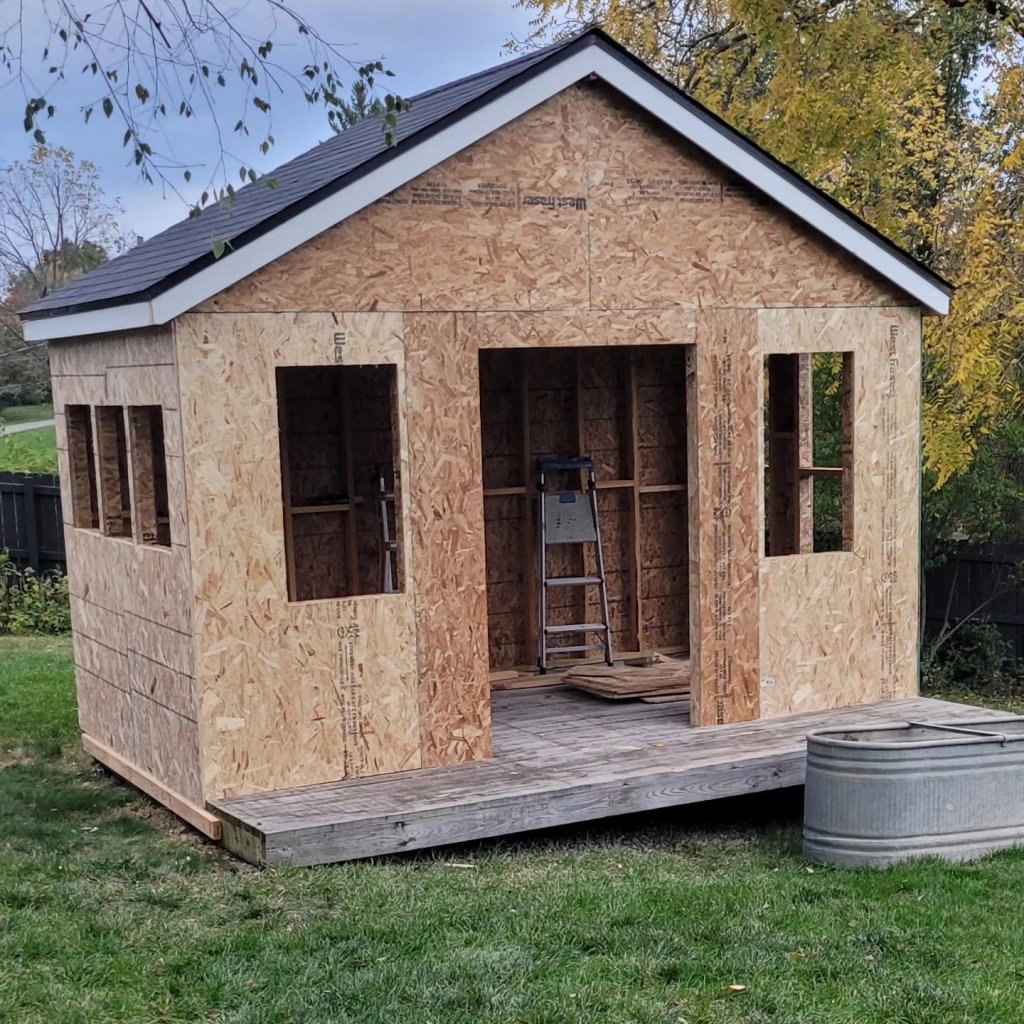
Completely pissed that I couldn’t do it, I removed all the tar paper from the roof. We decided to shore up the shed framing by putting up part of the siding. This way when I’m on the roof, the shed wouldn’t be rocking and rolling back and forth.

Since my shed wasn’t going to have a soffit, I cut notches in the first row of the siding to slide past the rafters.

It took a bit of time, but I was happy with the outcome. Any gap would be filled in with caulk. I ended the weekend getting a lot done, but felt completely defeated by not being able to tar paper the roof. I spent the night in a bad mood because I had no idea how I was going to do it.

The next morning I went to work, and while walking through a Lowes, I spotted a book in the magazine section called “Building Sheds” by the Taunton Press. I skimmed through the book when I saw a picture of a couple of guys installing a roof on a shed. When I saw how they were doing it I thought to myself “of course”! The guys built wooden scaffolding platform on one side of the shed framing. I rushed down to the lumber aisle and figured out how much it would cost for two 2 x 12’s, four 2 x 6’s and a couple of 2 x 4’s. It ended costing $45.00 for all the lumber and $20 for the book. I got home that day and immediately started to build the scaffolding.

I shored up the platform with a couple of 2 x 4’s cut at a 45 degree angle on one end. I screwed 2 1/2″ and 3″ screws throughout the scaffolding so I could stand on it without fear of it caving in. Once I was done building it, I climbed up the ladder and stood on it. It was perfect! Now I could lay the tar paper on one side of the roof, break down the scaffolding, and build it again on the other side of the shed to do the other side of the roof. I was so happy I figured out how to do it safely.