
The same weekend it was too hot to work on the shed, was the same weekend I built the corbels. I sell to 26 Lowe’s and 14 Home Depot’s in the Cincinnati-Dayton area, and in all those stores, only one of them carried cedar 2 x 4’s. So, I’m lucky to be building these corbels out of cedar instead of douglas fir. I glued two cedar 2 x 4’s together to give me a post 3″ thick. I then cut the posts to 25″, 25″ and 46″.
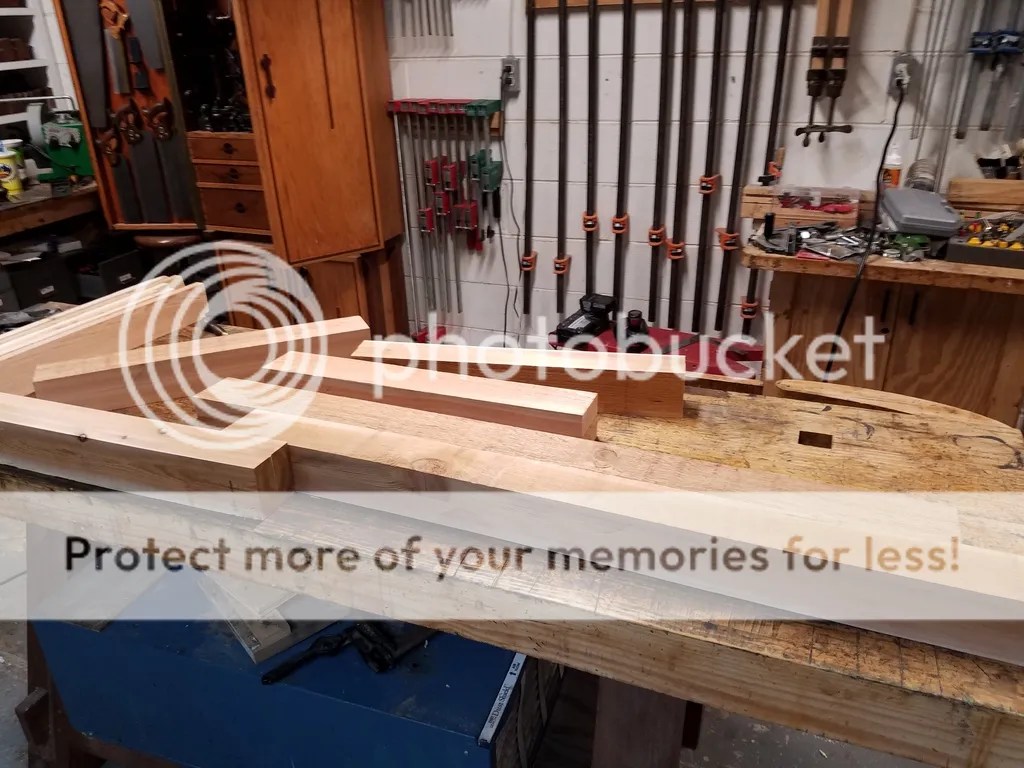
I sized the 25″ long posts to two 12″ lengths. I then built a sled for my table saw so I could cut one of the ends to a 45 degree chamfer. The stop on the sled made sure all the cuts were the same on each side.

Flipping the post over with each cut, I quickly made the soft point for the front of the corbels.

I made eight of these pieces. Two of the eight, I will save for a trellis that I will build over the side window.

I then took the 46″ long pieces and cut them to 12″ long with 45 degree cuts on each end.

I got lucky with my first post as I was able to avoid a large knot in the middle.

The woodworking Gods were with me that day as I was able to avoid another large knot on the other post.

I wanted a 45 degree chamfer on the bottom of the back of the corbels, so I moved the stop over on my sled and reattached it in the proper place.

Using exterior wood glue, 3″ deck screws and 1 1/2″ long, 1/4″ crown galvanized staples, I fastened the hell out of the corbels as I built them.

Eight corbels are all the same. I took the best two corbels and set them aside for the trellis as it will be stained and not painted.

When it cooled down, I fitted the corbels into the soffit. I used a level to accurately scribe where I needed to cut and then used my Fein Multi-Master to cut away the wood.

As luck would have it, the width of my level was pretty much the correct location of where I needed to cut. I attached the corbels to the trim of the shed with 1 1/2″ long 15 gauge pneumatic nails.

After a few minutes of work, one side of the shed was done.

The shed is getting really close to being complete. We just need to build a platform in the front for a step, build and attach the trellis over the side window, build shelving inside, paint/stain the shed, add landscaping, and possibly add electric. Shit, we’re not that close after all. HAHA.


Very nicely done, those corbels add a lot to the design!
LikeLike
Thanks! The design of the shed is based off of a Weaver Barn shed. My wife wanted to get one, but the one she wanted was $7k. No thanks. I have about $2k in this one so far.
LikeLike