Replacing my Tormek Sharpening Stone

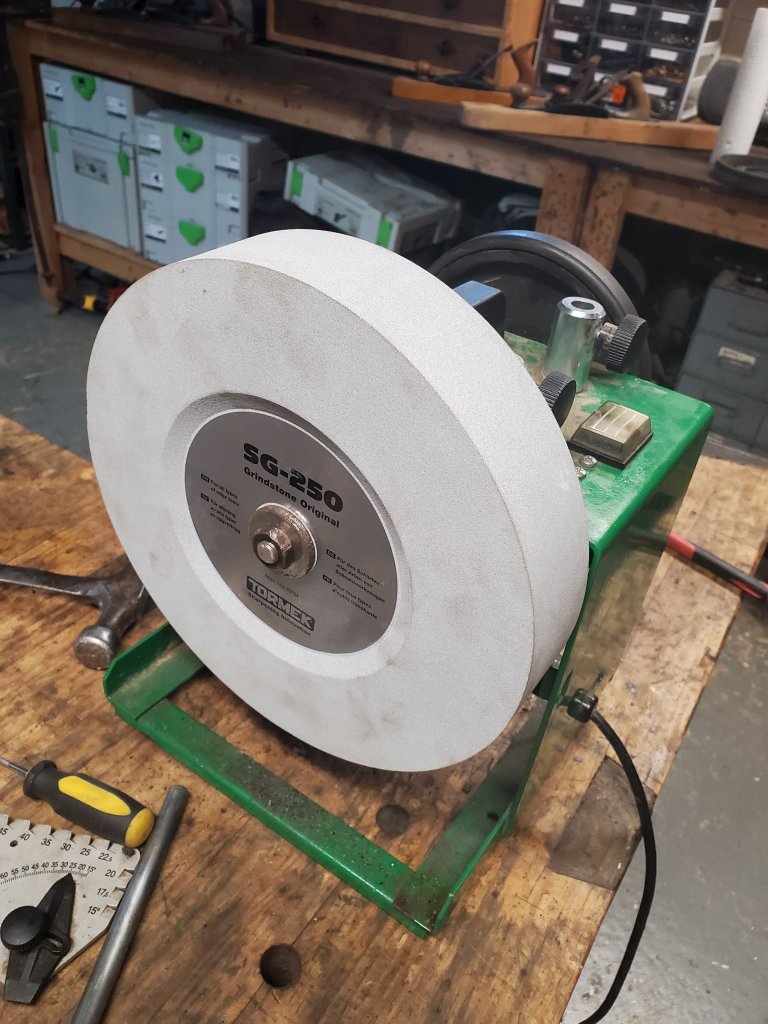
After using my Tormek sharpening machine for the past twenty years, it was time for a new stone. When I researched replacement wheels, I read all about the new CBN wheels on the market that stay flat and don’t require water to use. The one disadvantage I saw with these wheels, is that the side of the stones are prettty narrow. When I sharpen old plane blades, I like to flatten the back of them as well, so I often grind the back of the blade with the side of the stone. I was afraid that the narrowness of the CBN stones wouldn’t do the job as well as my original stone. I’ve been happy with the stone that came with the machine so, if it ain’t broke, dont fix it.
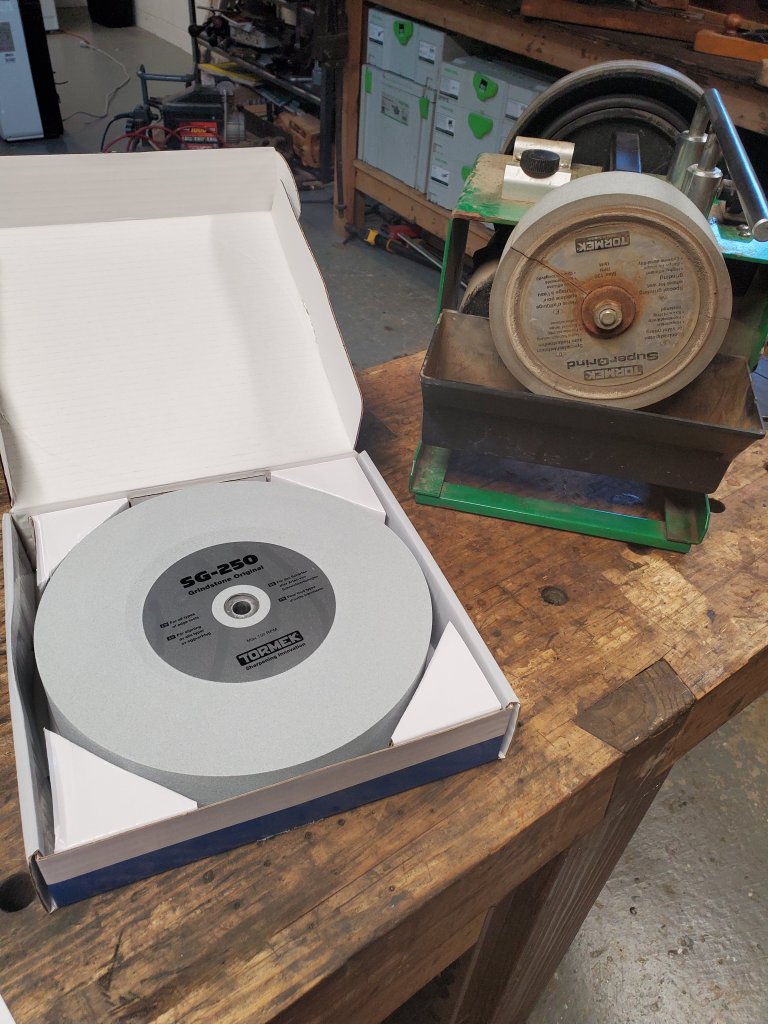
I knew the hard part of replacing the stone would be taking the old one off. I grabbed a 3/4″ wrench and tried like hell to unscrew the nut. I whacked on the wrench with a hammer as hard as I could hoping not to bend the shaft of the machine. It was so tough to get off, my stone cracked and fell apart.
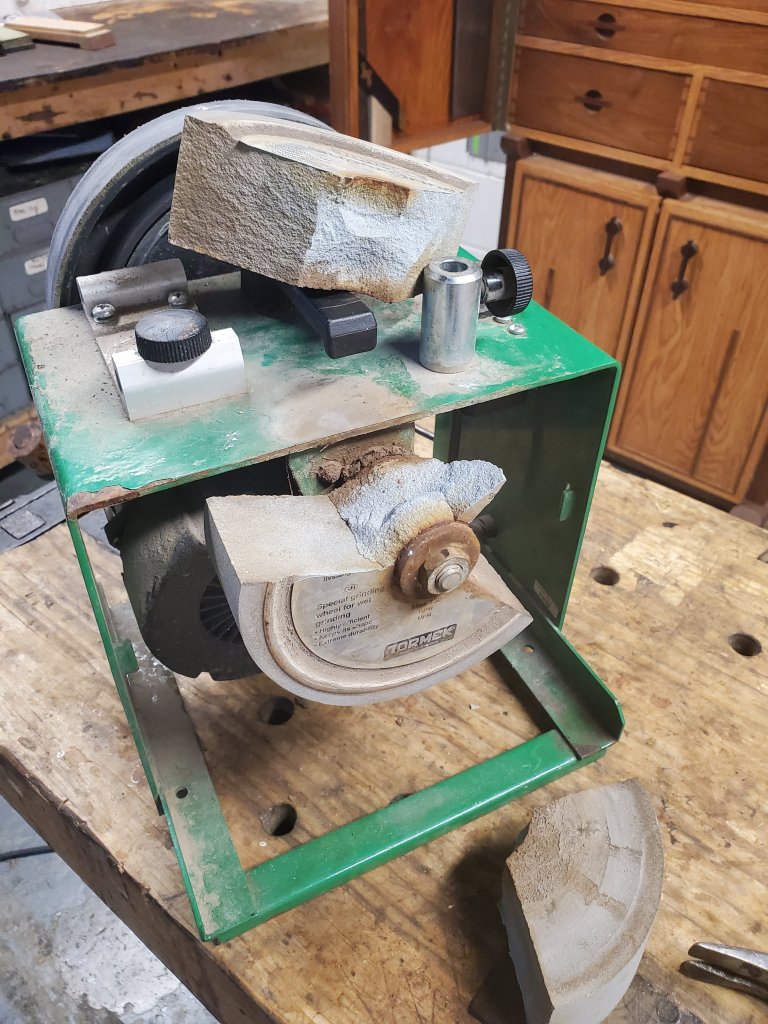
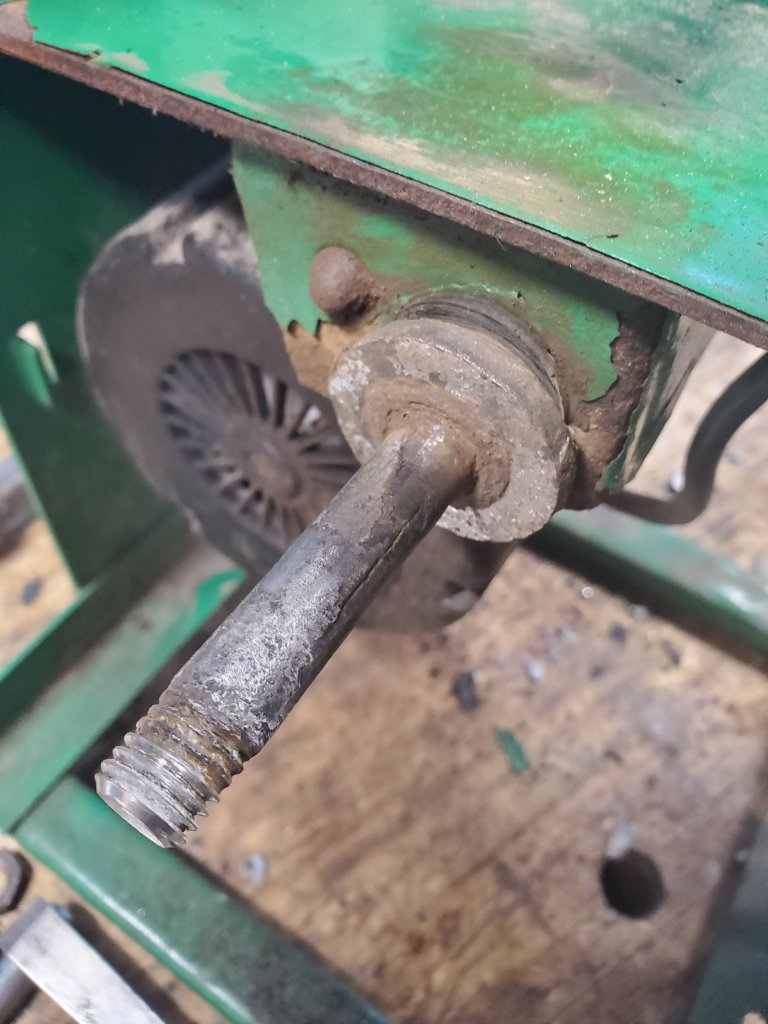
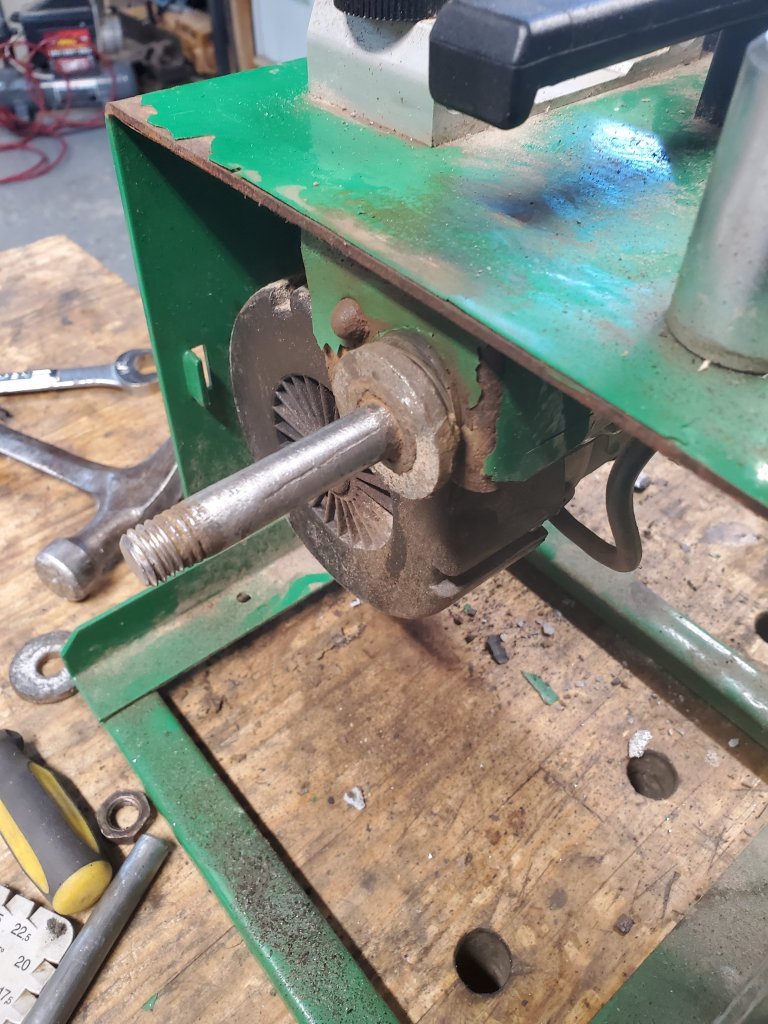
After about twenty minutes of cussing and using a half of a can of PB Blaster, the nut finally freed itself. Once I took the remainder of the stone off, I tried to put the new stone on, but the shaft was so rusted and corroded, I had to sand the shaft smooth in order for the new stone to slide on.
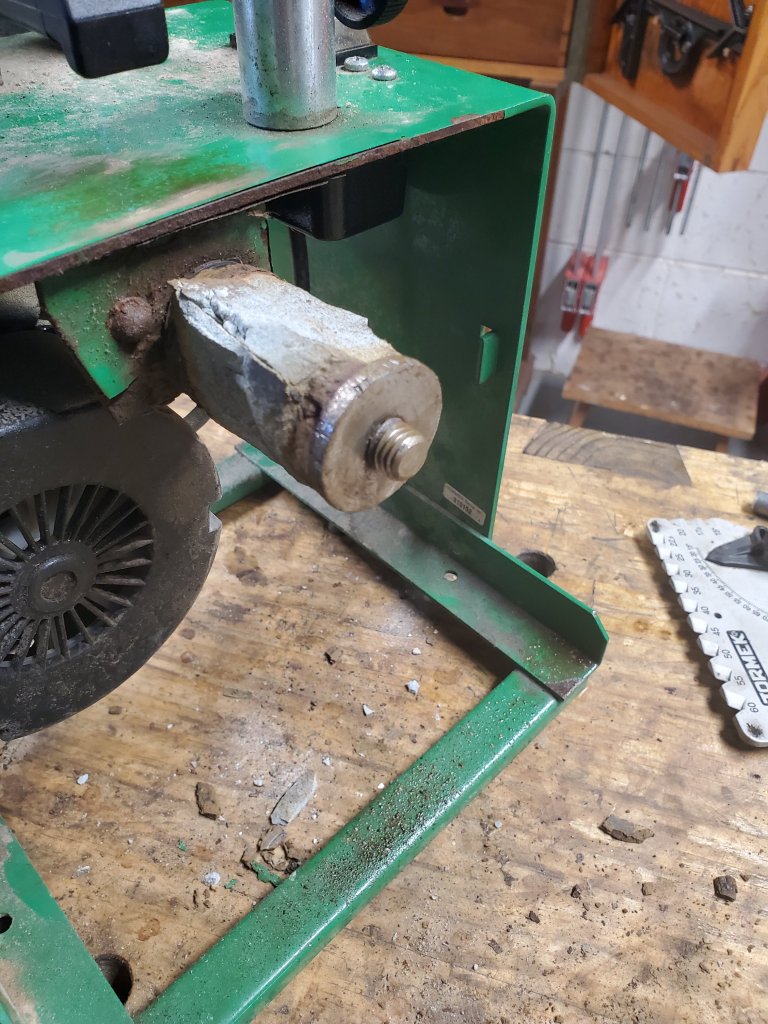
I slipped on the new stone and noticed that it moved up and down just a little bit. Curious, I removed it from the machine and also removed the stropping wheel on the other side so I could remove the shaft in order to get a better look at what was going on.
Sure enough, the plastic gasket that was next to the stone had wore a larger hole in it from use over the past twenty years. Not having a replacement gasket on hand, I simply switched the gaskets from eachother sides hoping they will still work.
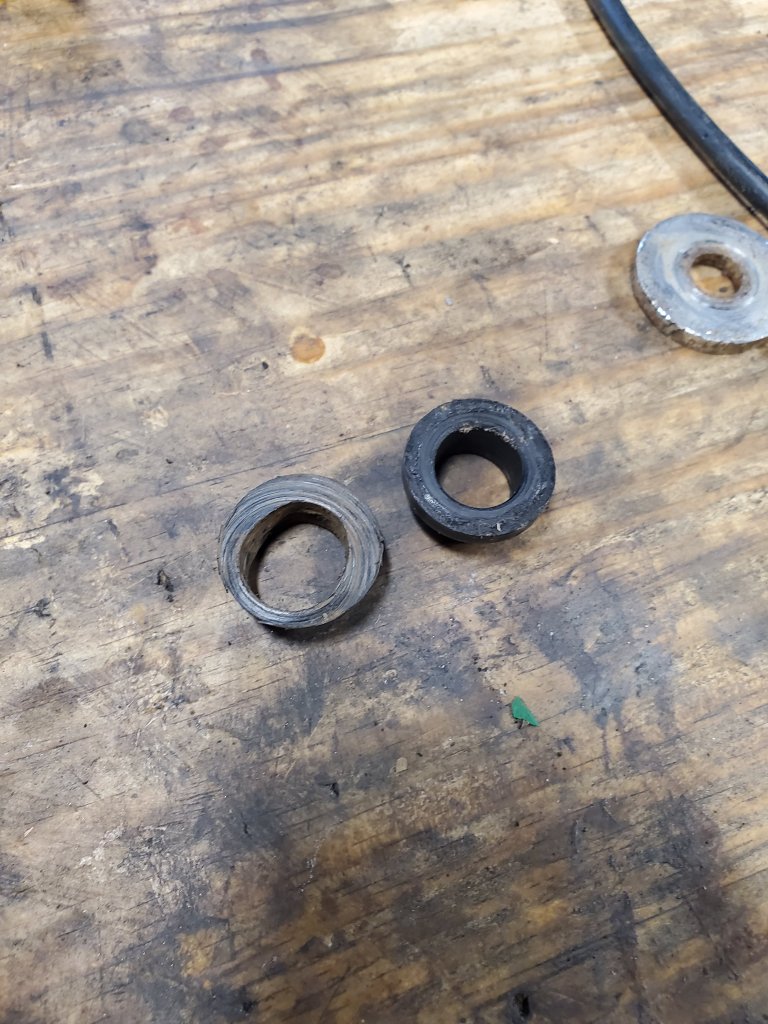
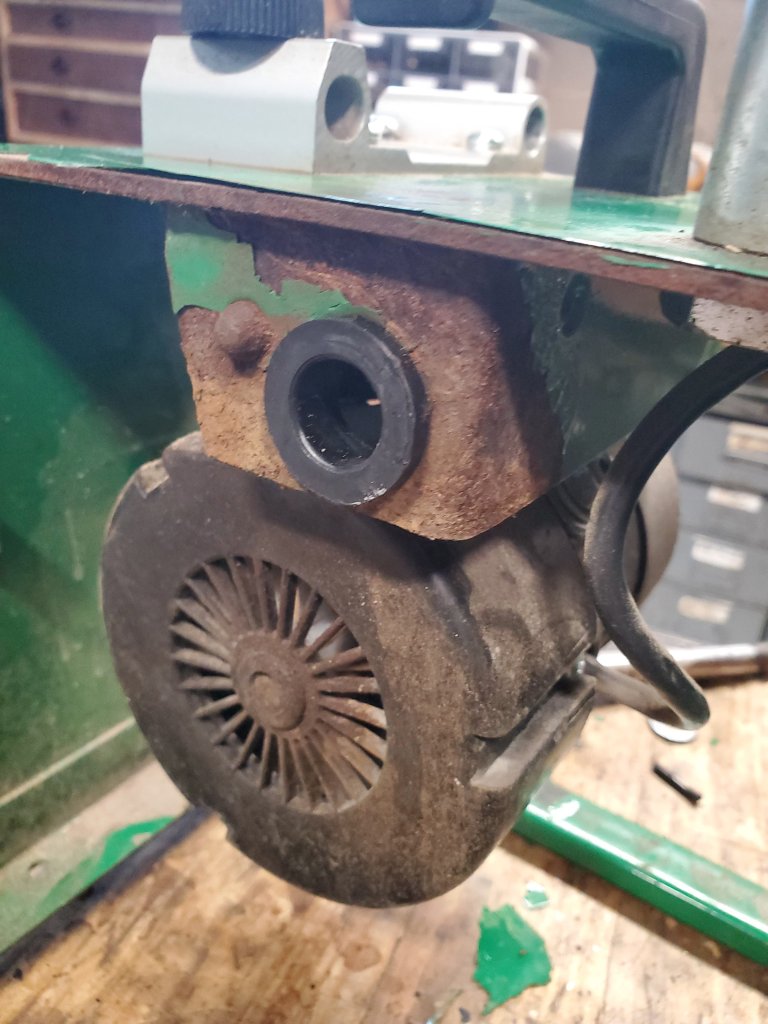
Now with a “new” gasket in place, the shaft wouldn’t fit into the hole because of all the corrosion on it so, I carefully filed and sanded the rust away. After a few minutes, I was able to get the shaft nicely seated in the machine.
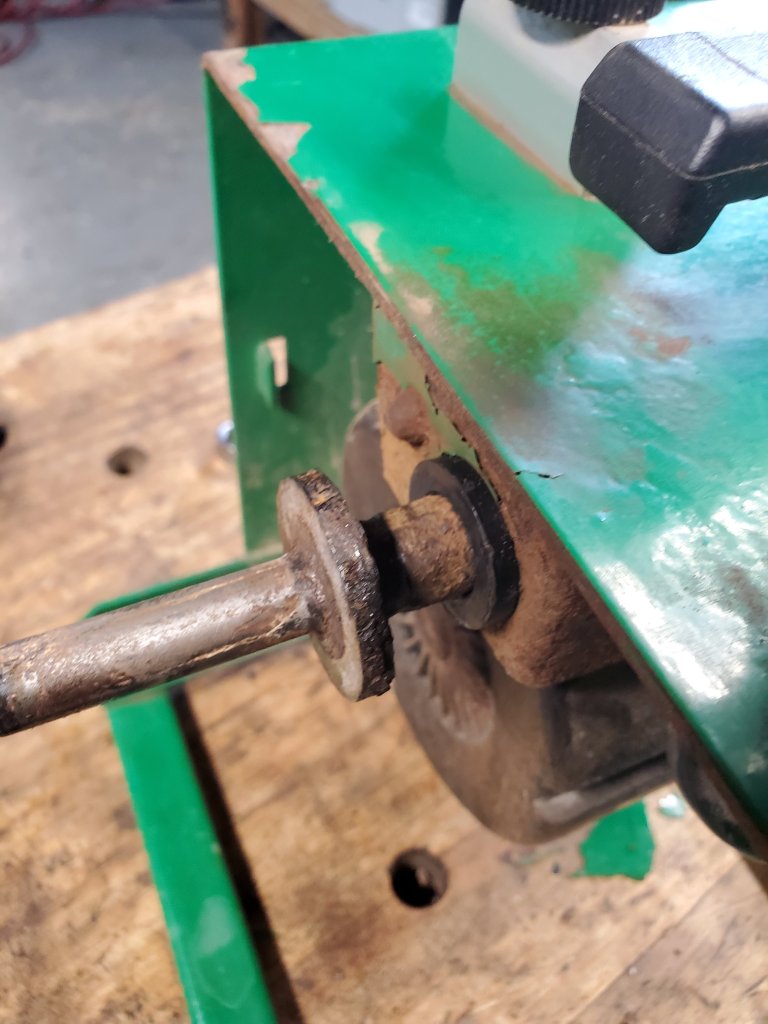
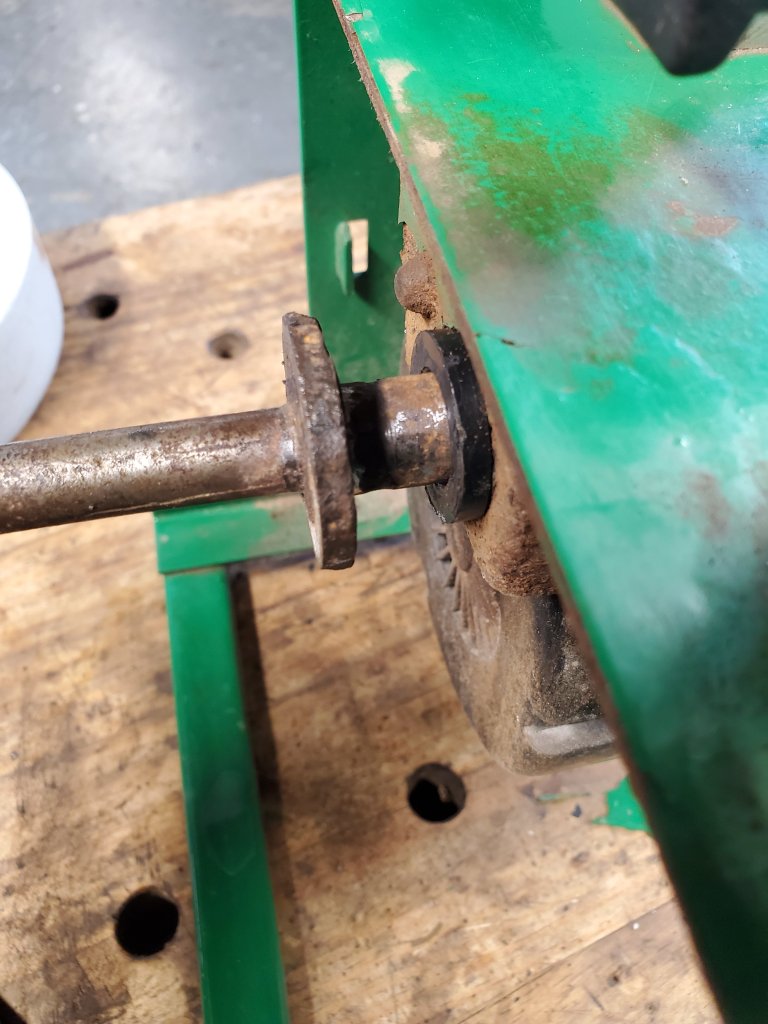
I checked the squareness of the stone to my crossbar and it looked much better than before. For years when I used the Tormek, it would cut slightly heavier on one side of the blade. I would compensate for this error by tilting the angle of my blade in the jig just a smudge. After messing around with the machine this afternoon, I finally understand why it would cut heavier on one side.
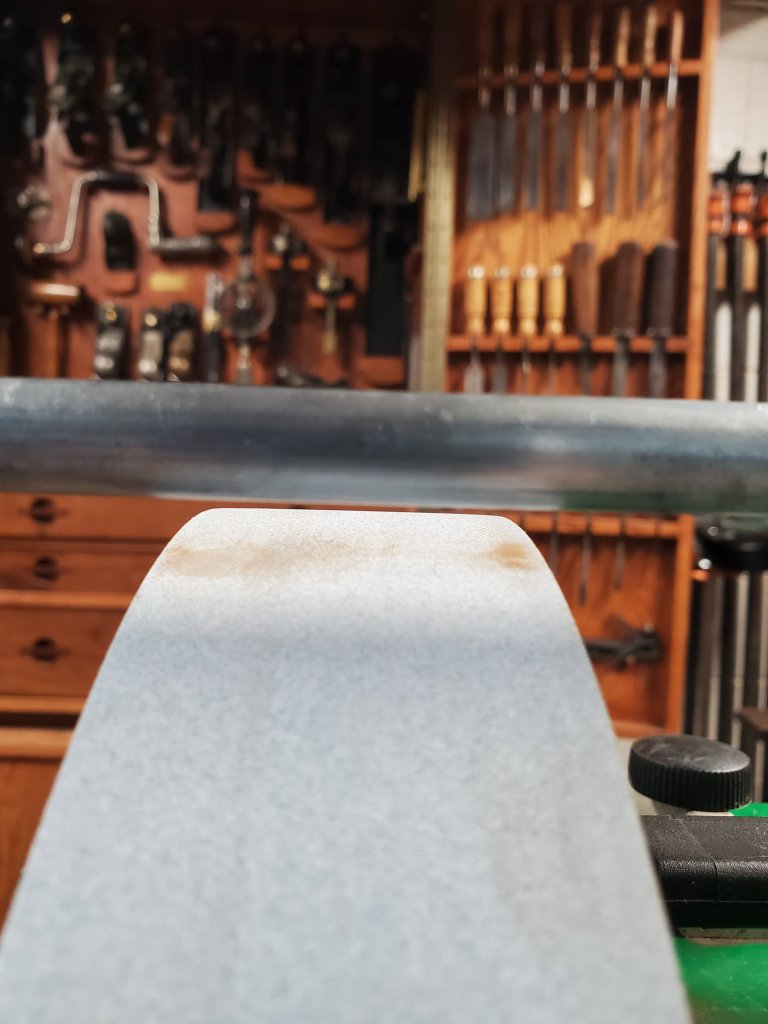
I turned the machine on and checked how everything was running. The stone wobbles just a touch but, from how hard I was hitting the wrench with a hammer in order to get that nut off, I’m not surprised. As long as the machine sharpens blades fine, I’m happy with it.

The Worst Plane Blade

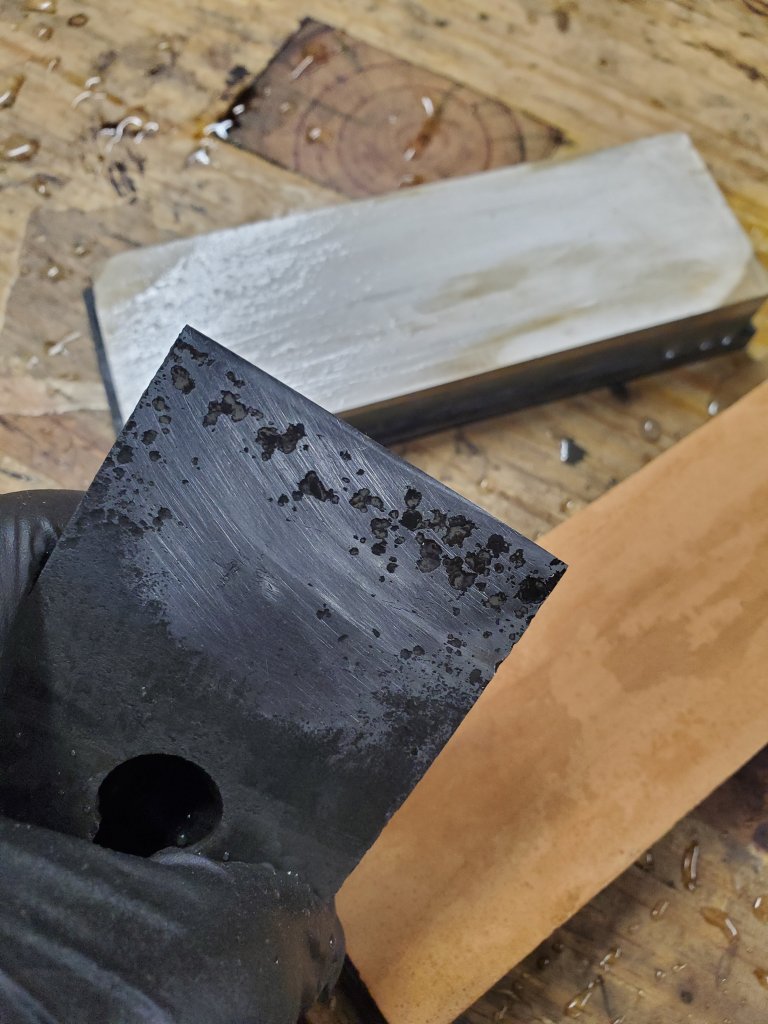
Every once in awhile I’ll come across a plane blade that is so heavily pitted and corroded, the best thing to do is to simply throw it away. This blade that came off a Stanley No 6 plane was no different. The problem was that I didn’t have a replacement blade to go with the plane I was restoring, so I was forced to see if I could get the blade to work again.

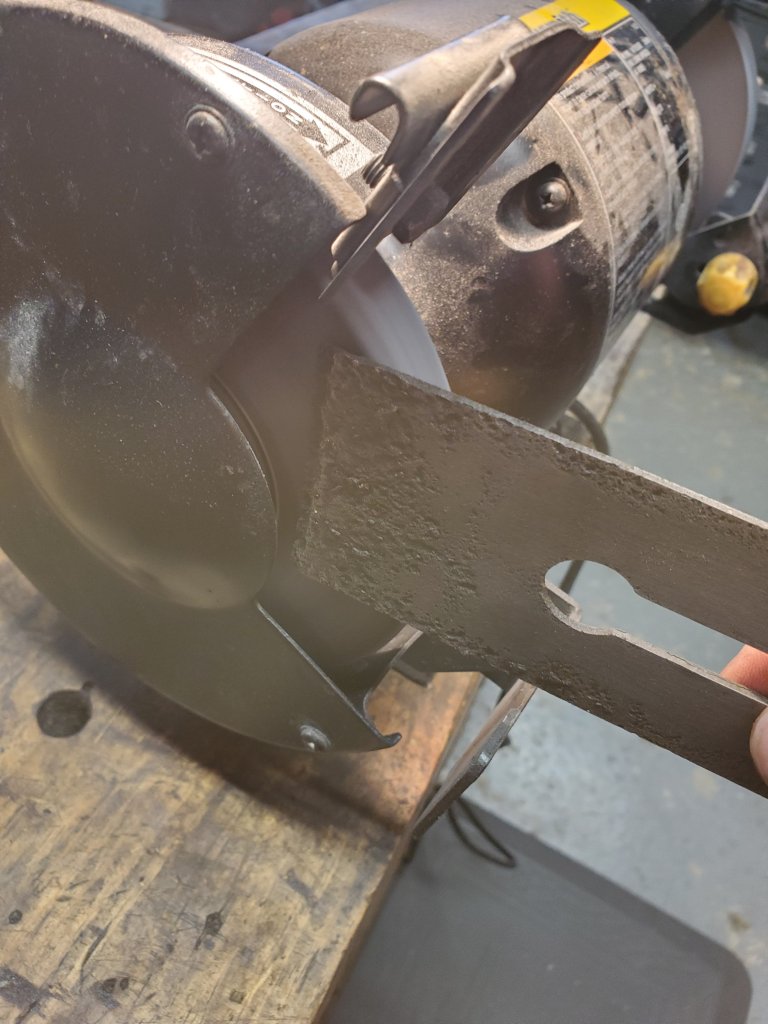
The first thing I did was take the blade over to my 8″ speed grinder and grind the face and back of the blade to remove the corrosion. I paid special attention not to heat the blade up too much so, I occasionally cooled it off in a bucket of water. Fortunately, the blade’s face had about a 1/4″ of metal at the bottom that wasn’t pitted, so I was hopeful I could still get a good edge out of it.
I took the blade over to my Tormek and ground a 25 degree bevel on it and honed the face flattler on the side of the Tormek grinding wheel the same way as I did with my 8″ speed grinder.

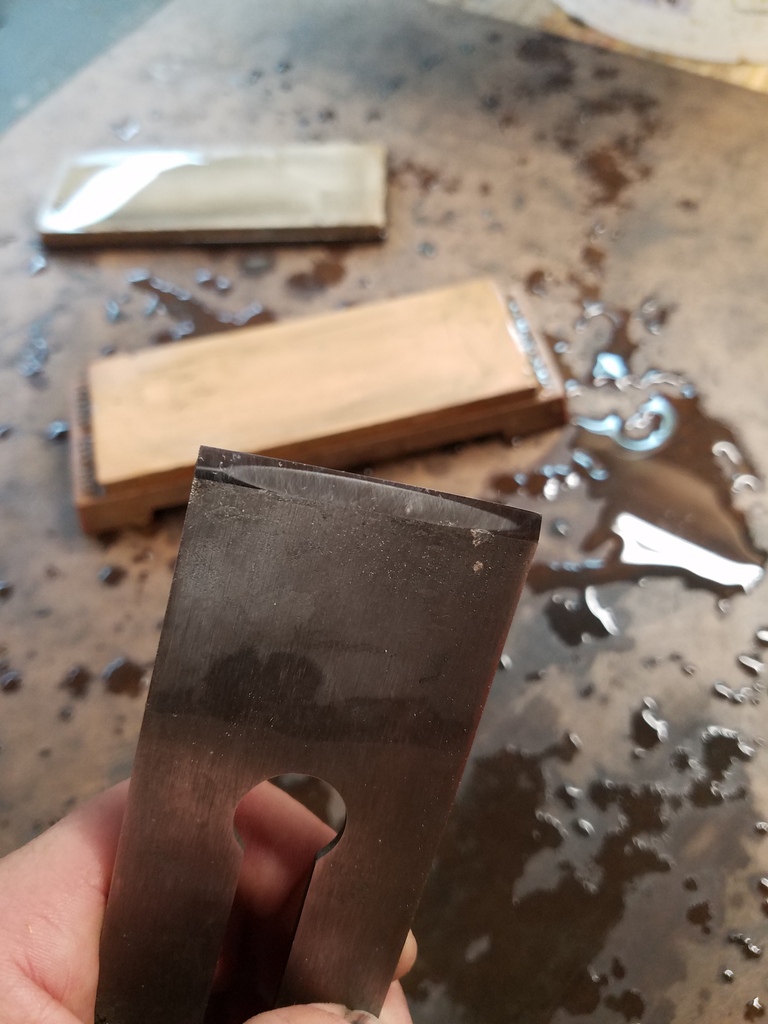
After the grinding was finished, I took the blade over to my water stones and sharpened it just as I do with any other blade. When I was done, there was a clean line of light at the tip of the cutting edge so I was hopeful it could achieve a nice cut.

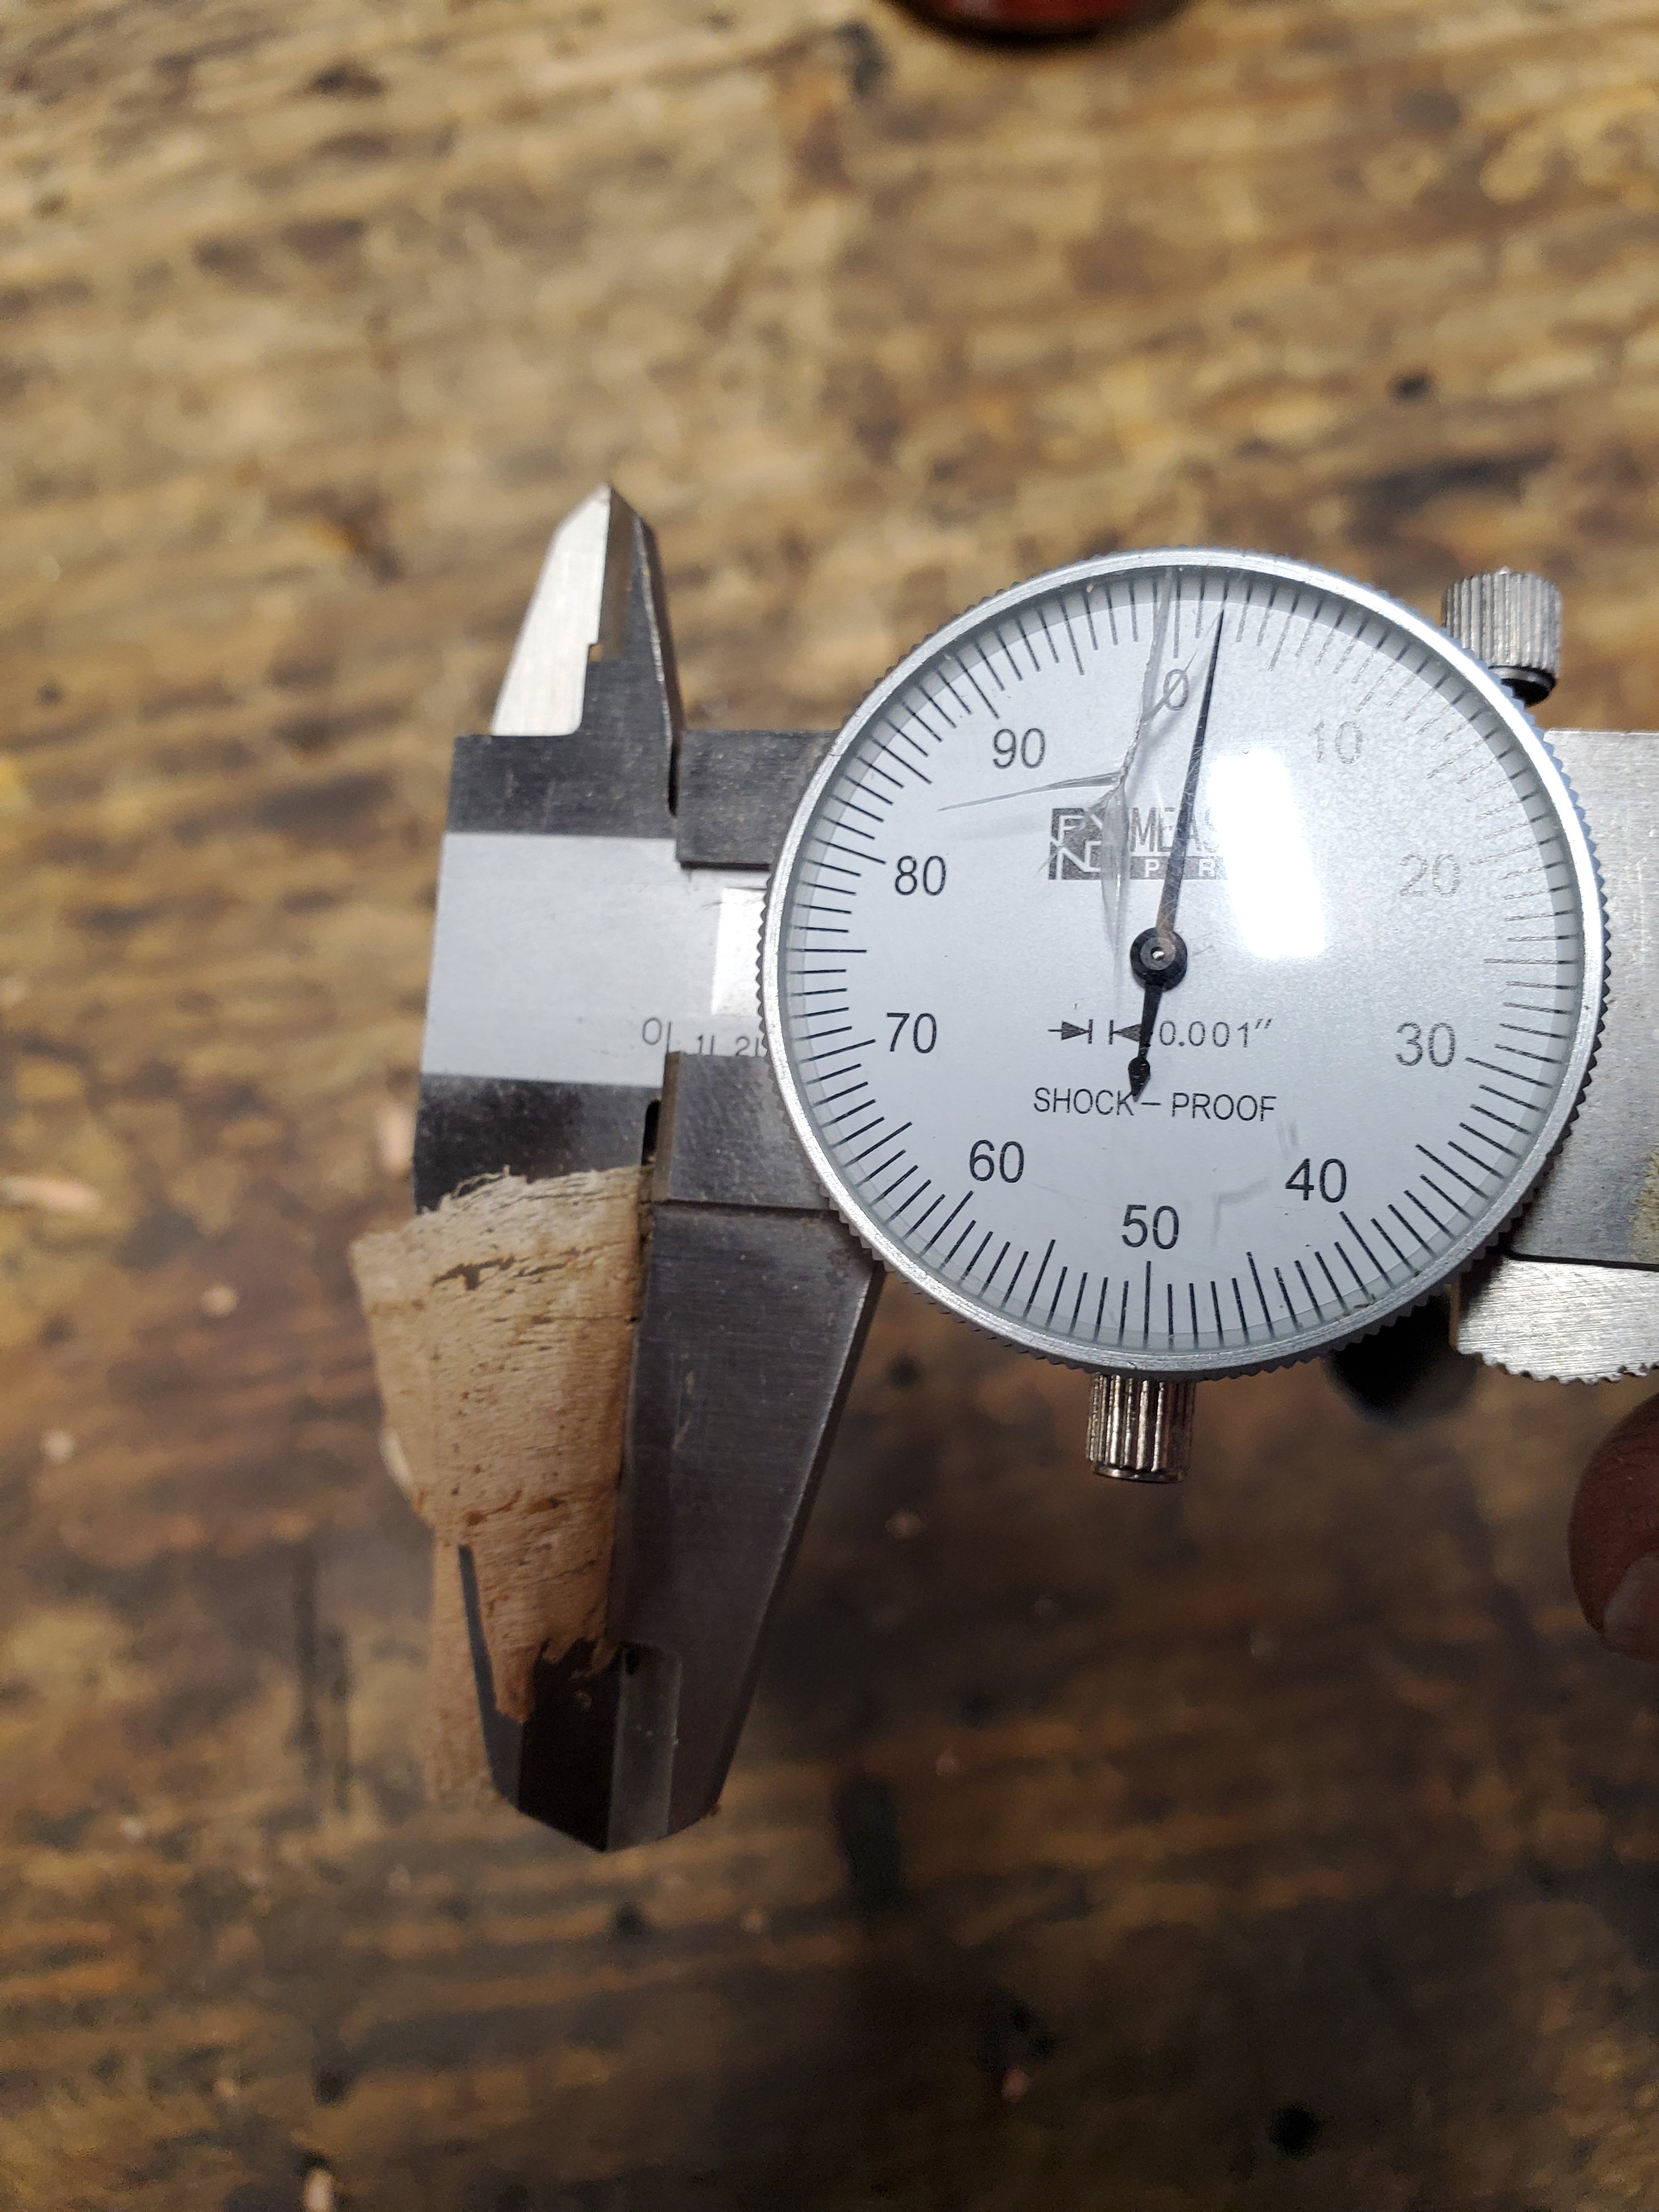
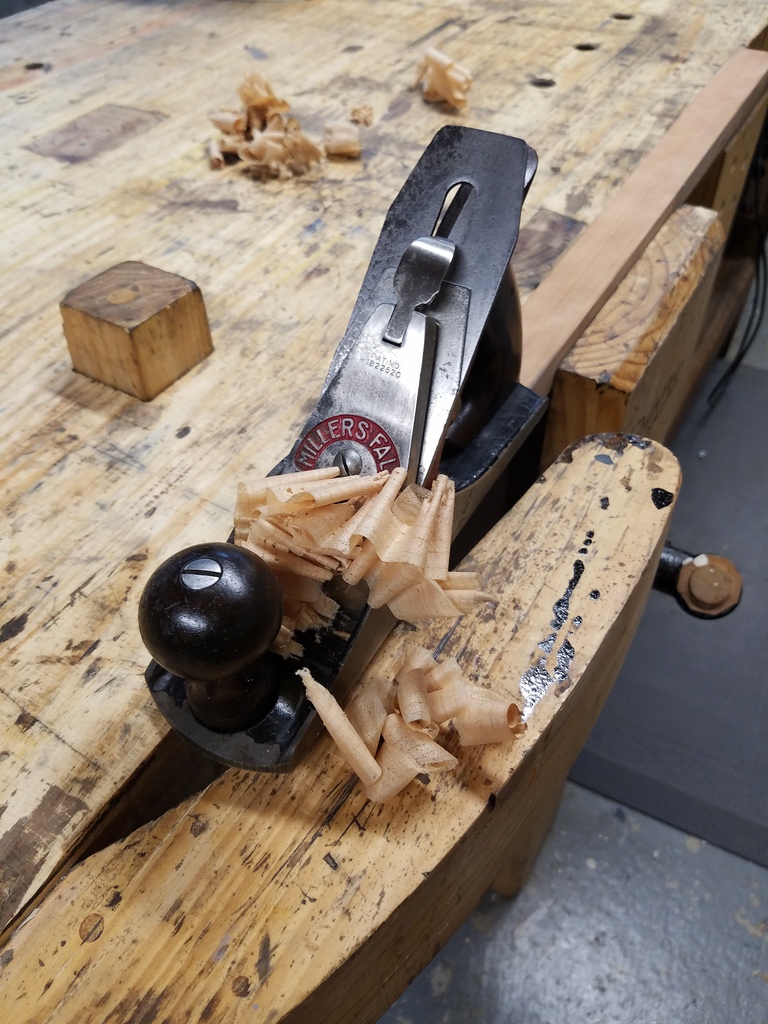
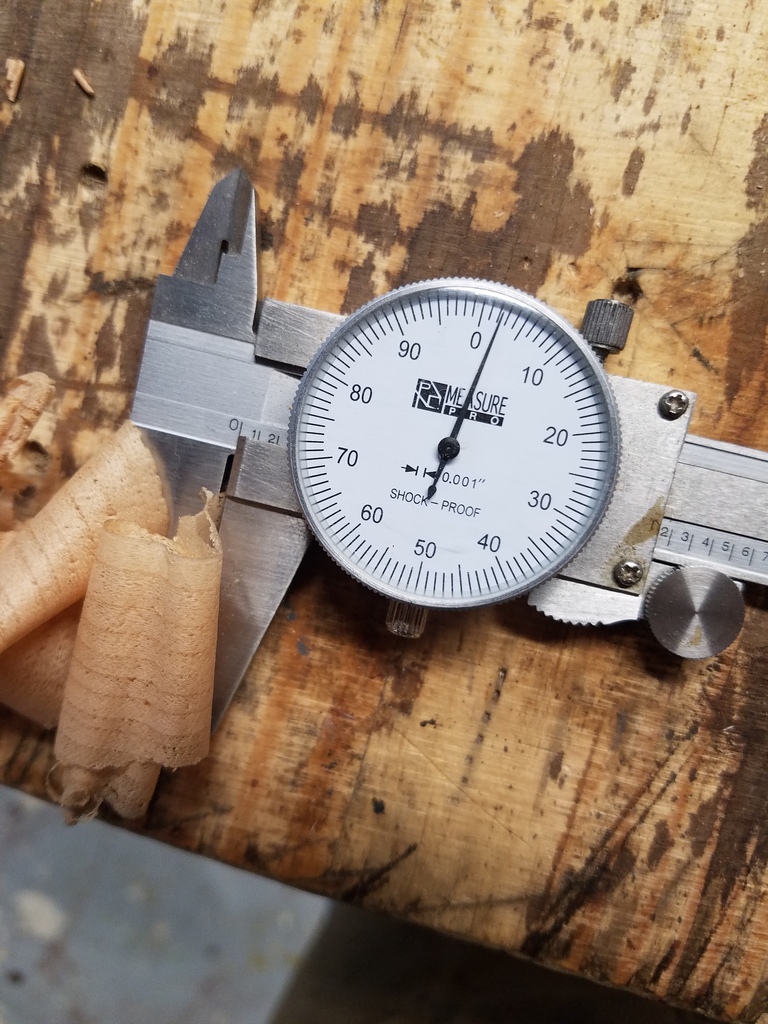
Placing the blade back into the plane, I tuned it up, and sure enough, this crappy blade cut pretty well. I took out my dial calipers, and the shavings measured .002″ thick. The blade will eventually need to be replaced, but at least the plane can function properly now.

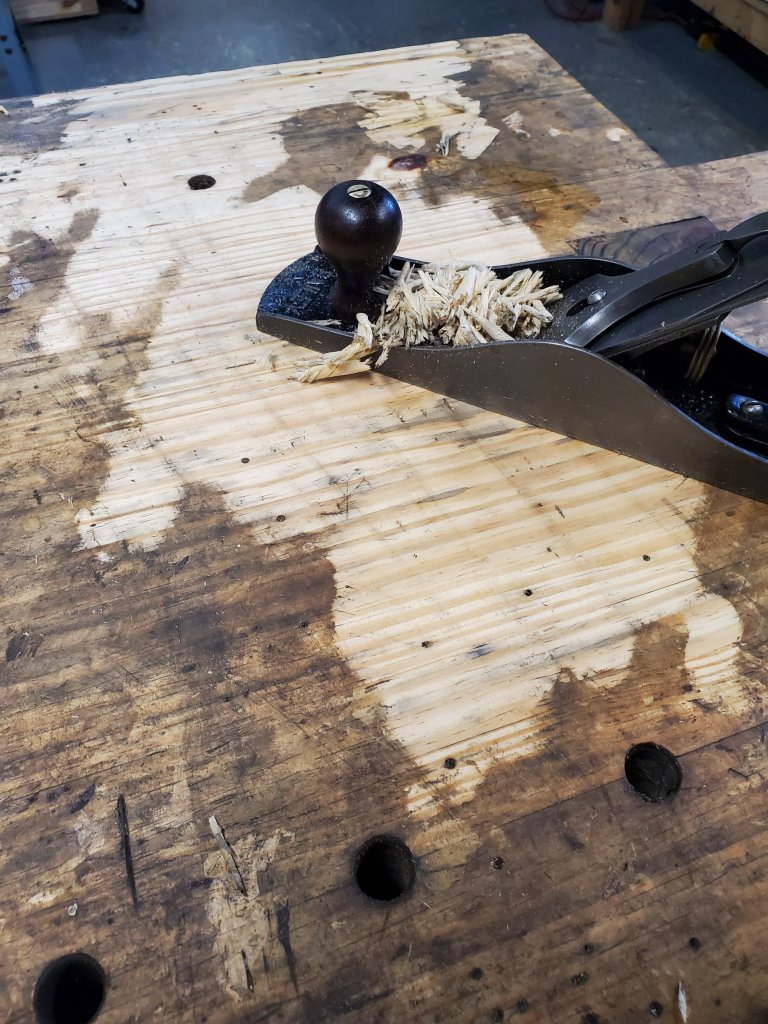
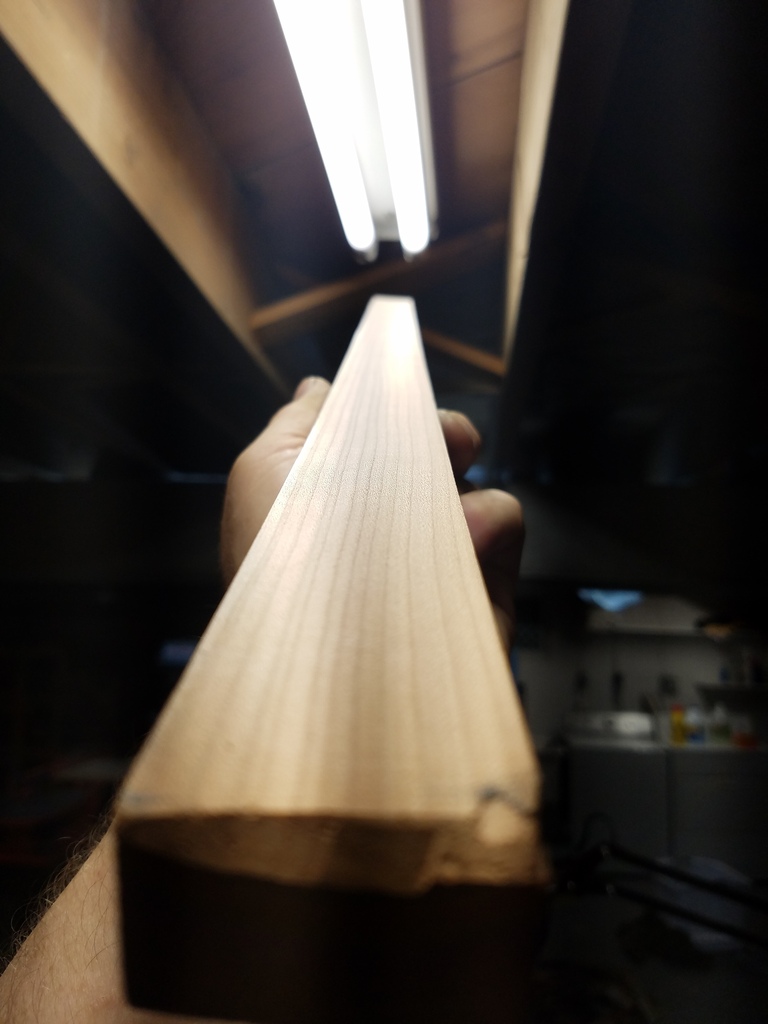
The plane performed so nicely, I used it to flatten my workbench.

Repairing a Rosewood Knob

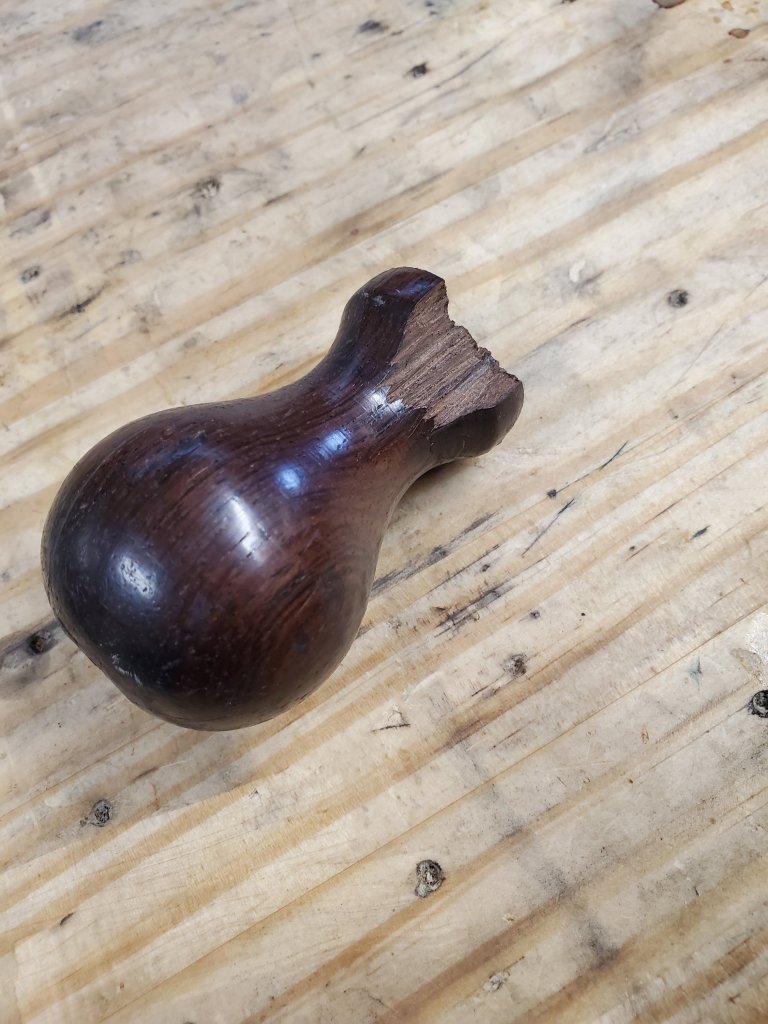
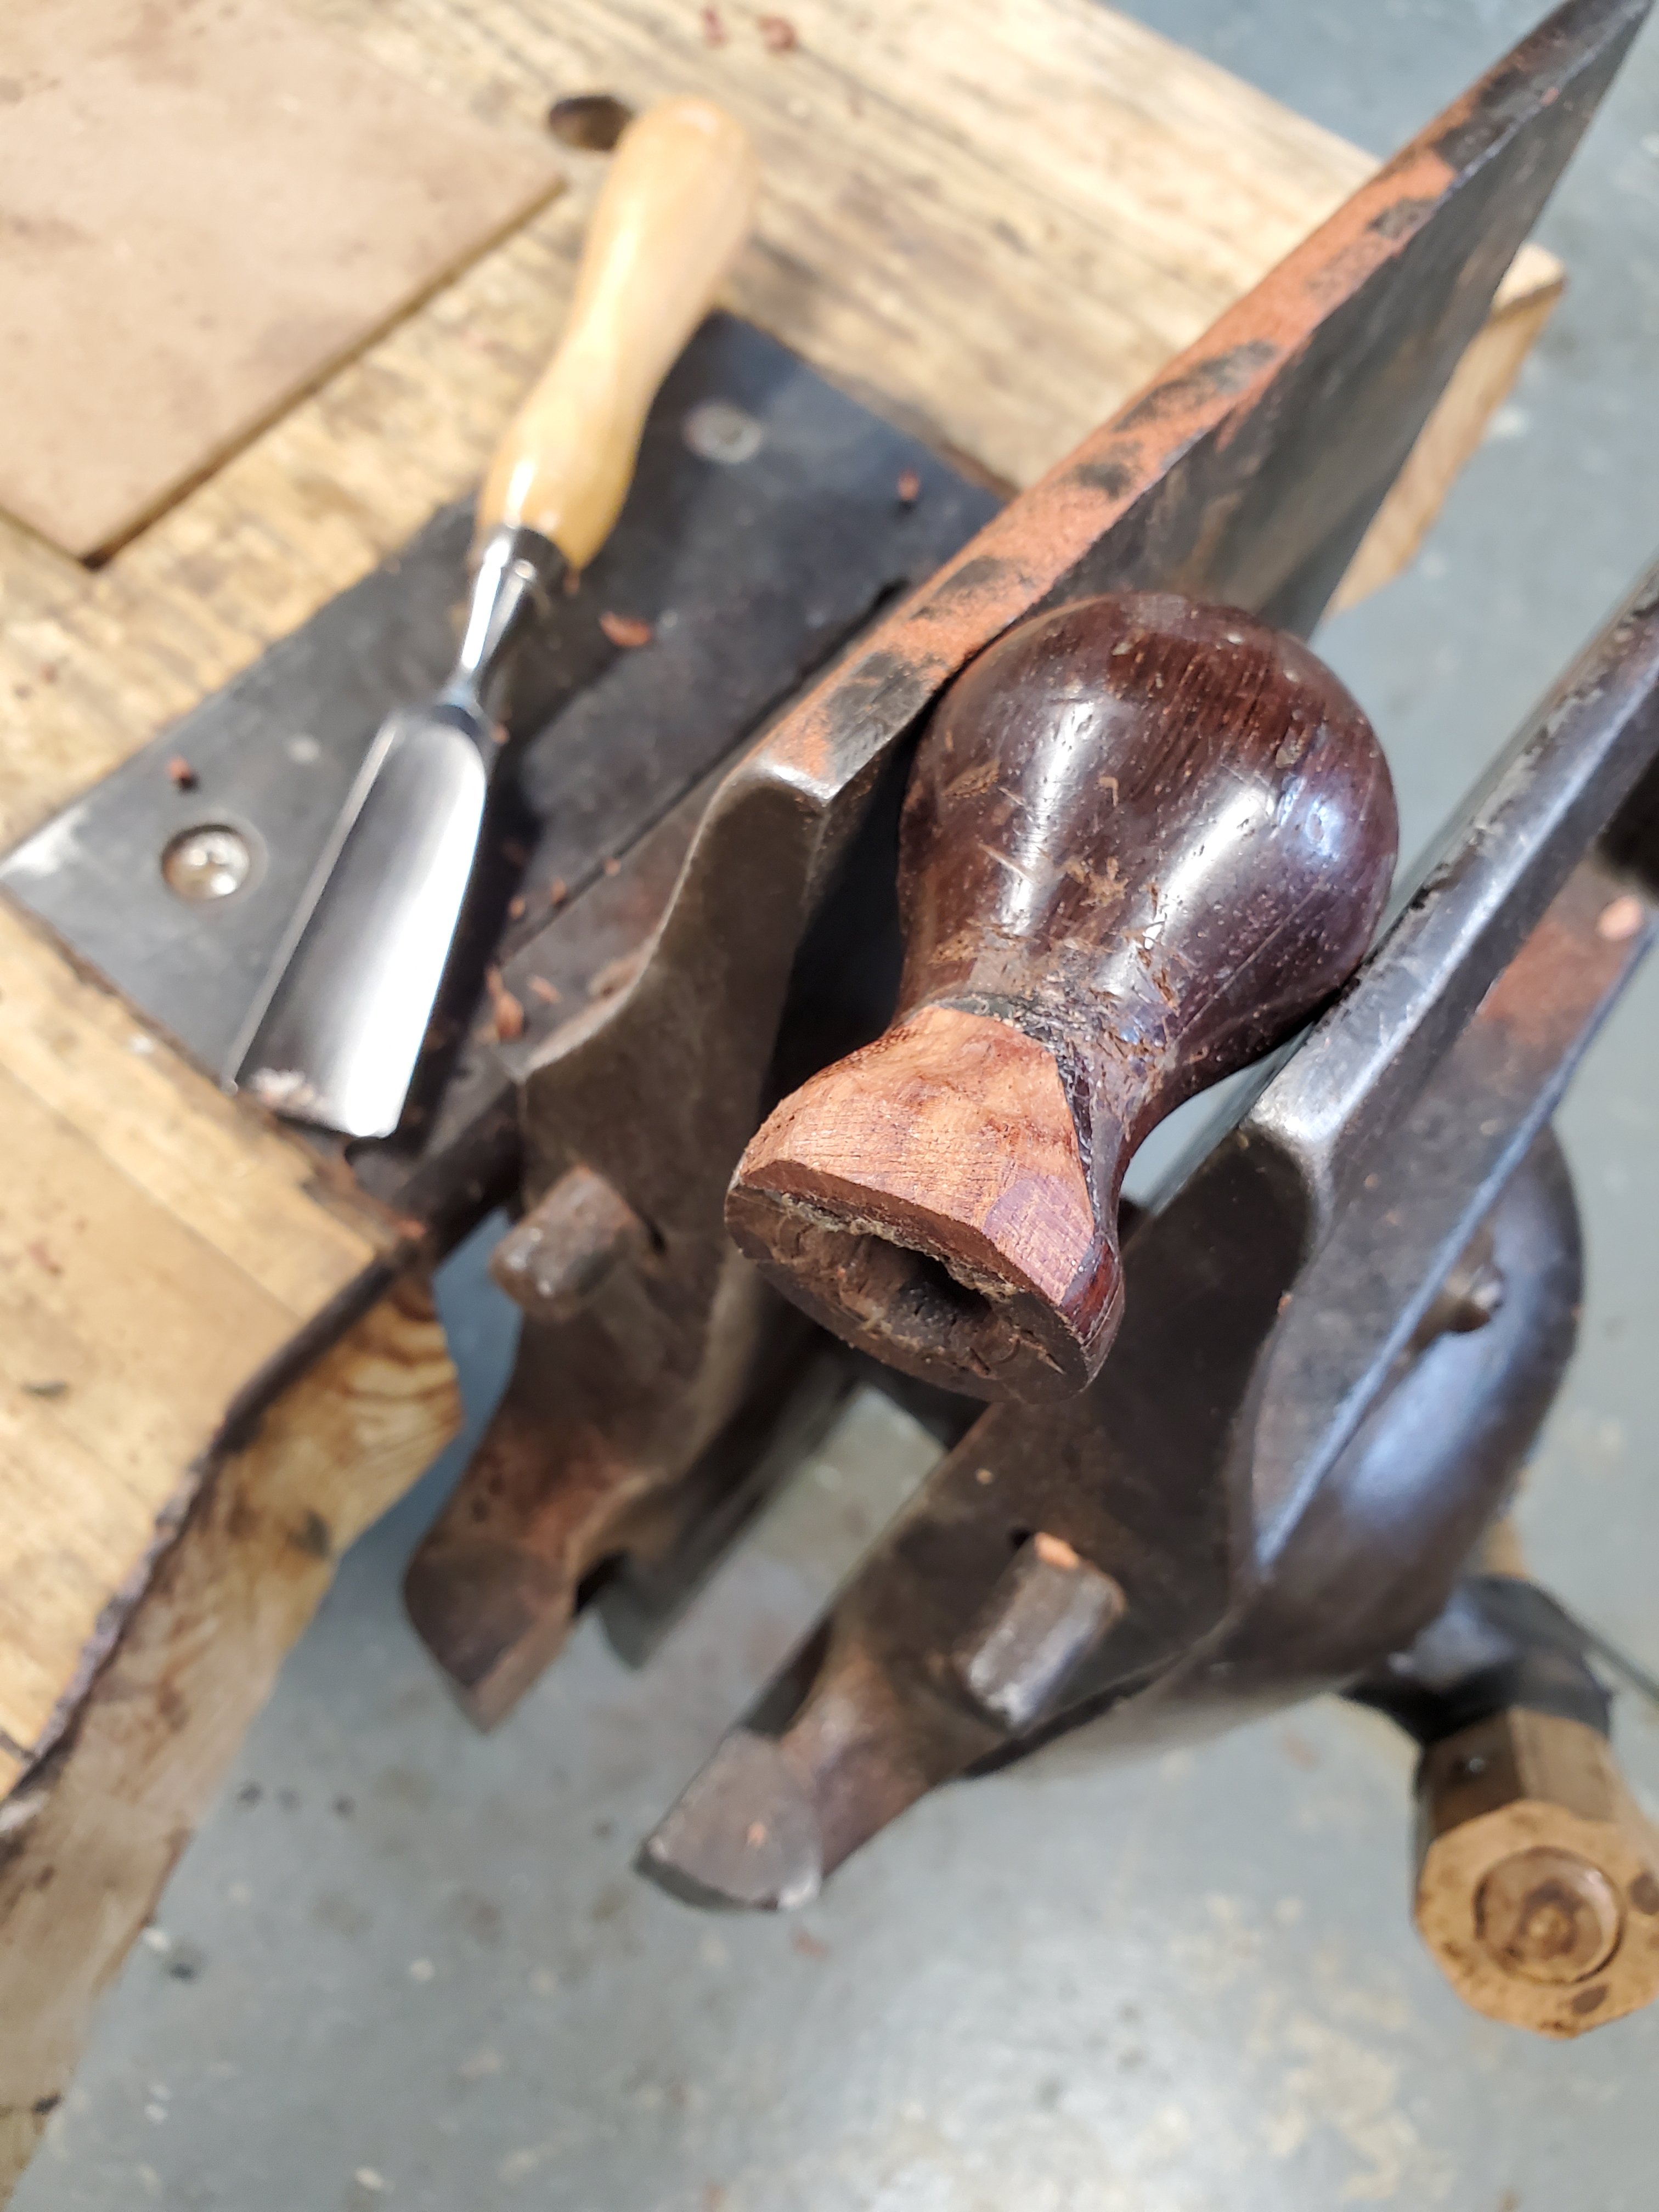
Sometimes when buying a plane, all the parts will be in good shape until you look at the front knob and see a big chunk missing from the bottom. I’ve repaired dozens of totes over the years, but I’ve never really tackled a knob as it looked like a big pain in the ass. So, I decided to give it a go and see how it turns out.

The first thing I did was shave the broken area smooth with a bastard file. It didn’t have to be completely clean, just good enough to hold some glue.

Then I took a piece of cocobolo scrap wood and glued it to the surface of the break. I paid careful attention to the orientation of the grain so the repair would look nicer. I used Gorilla Super Glue Gel as it works well gluing all type of rosewood woods together.

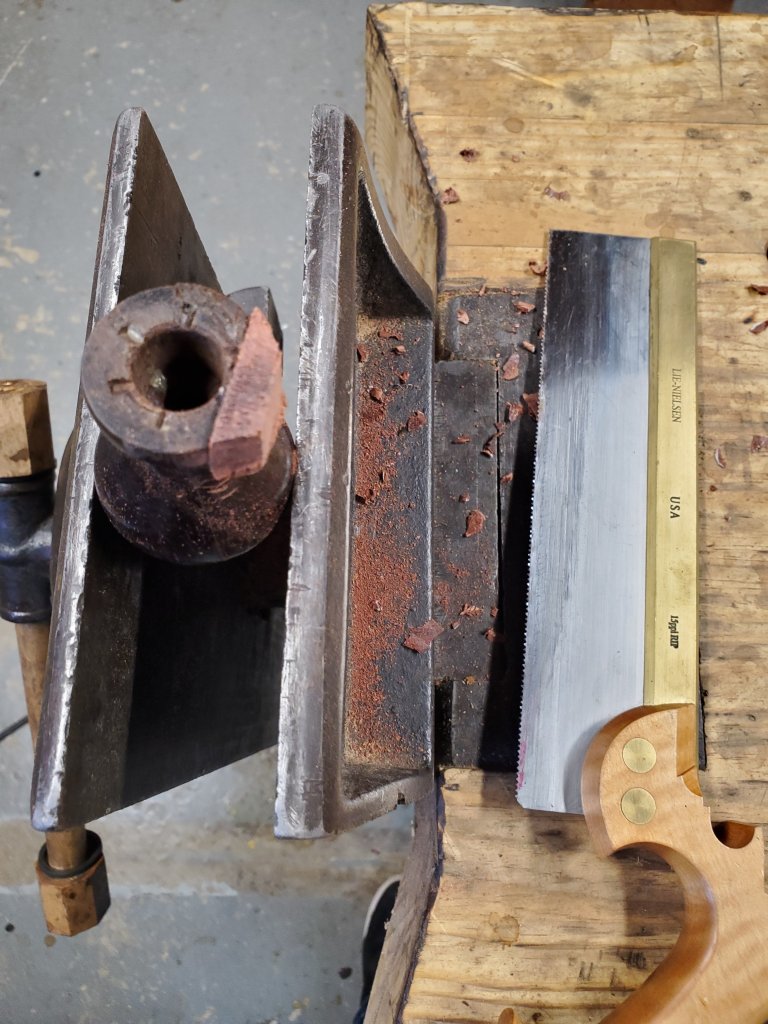
Once the glue dried, I cut off the excess with a dovetail saw and shaved the thick areas away with some chisels and gouges.

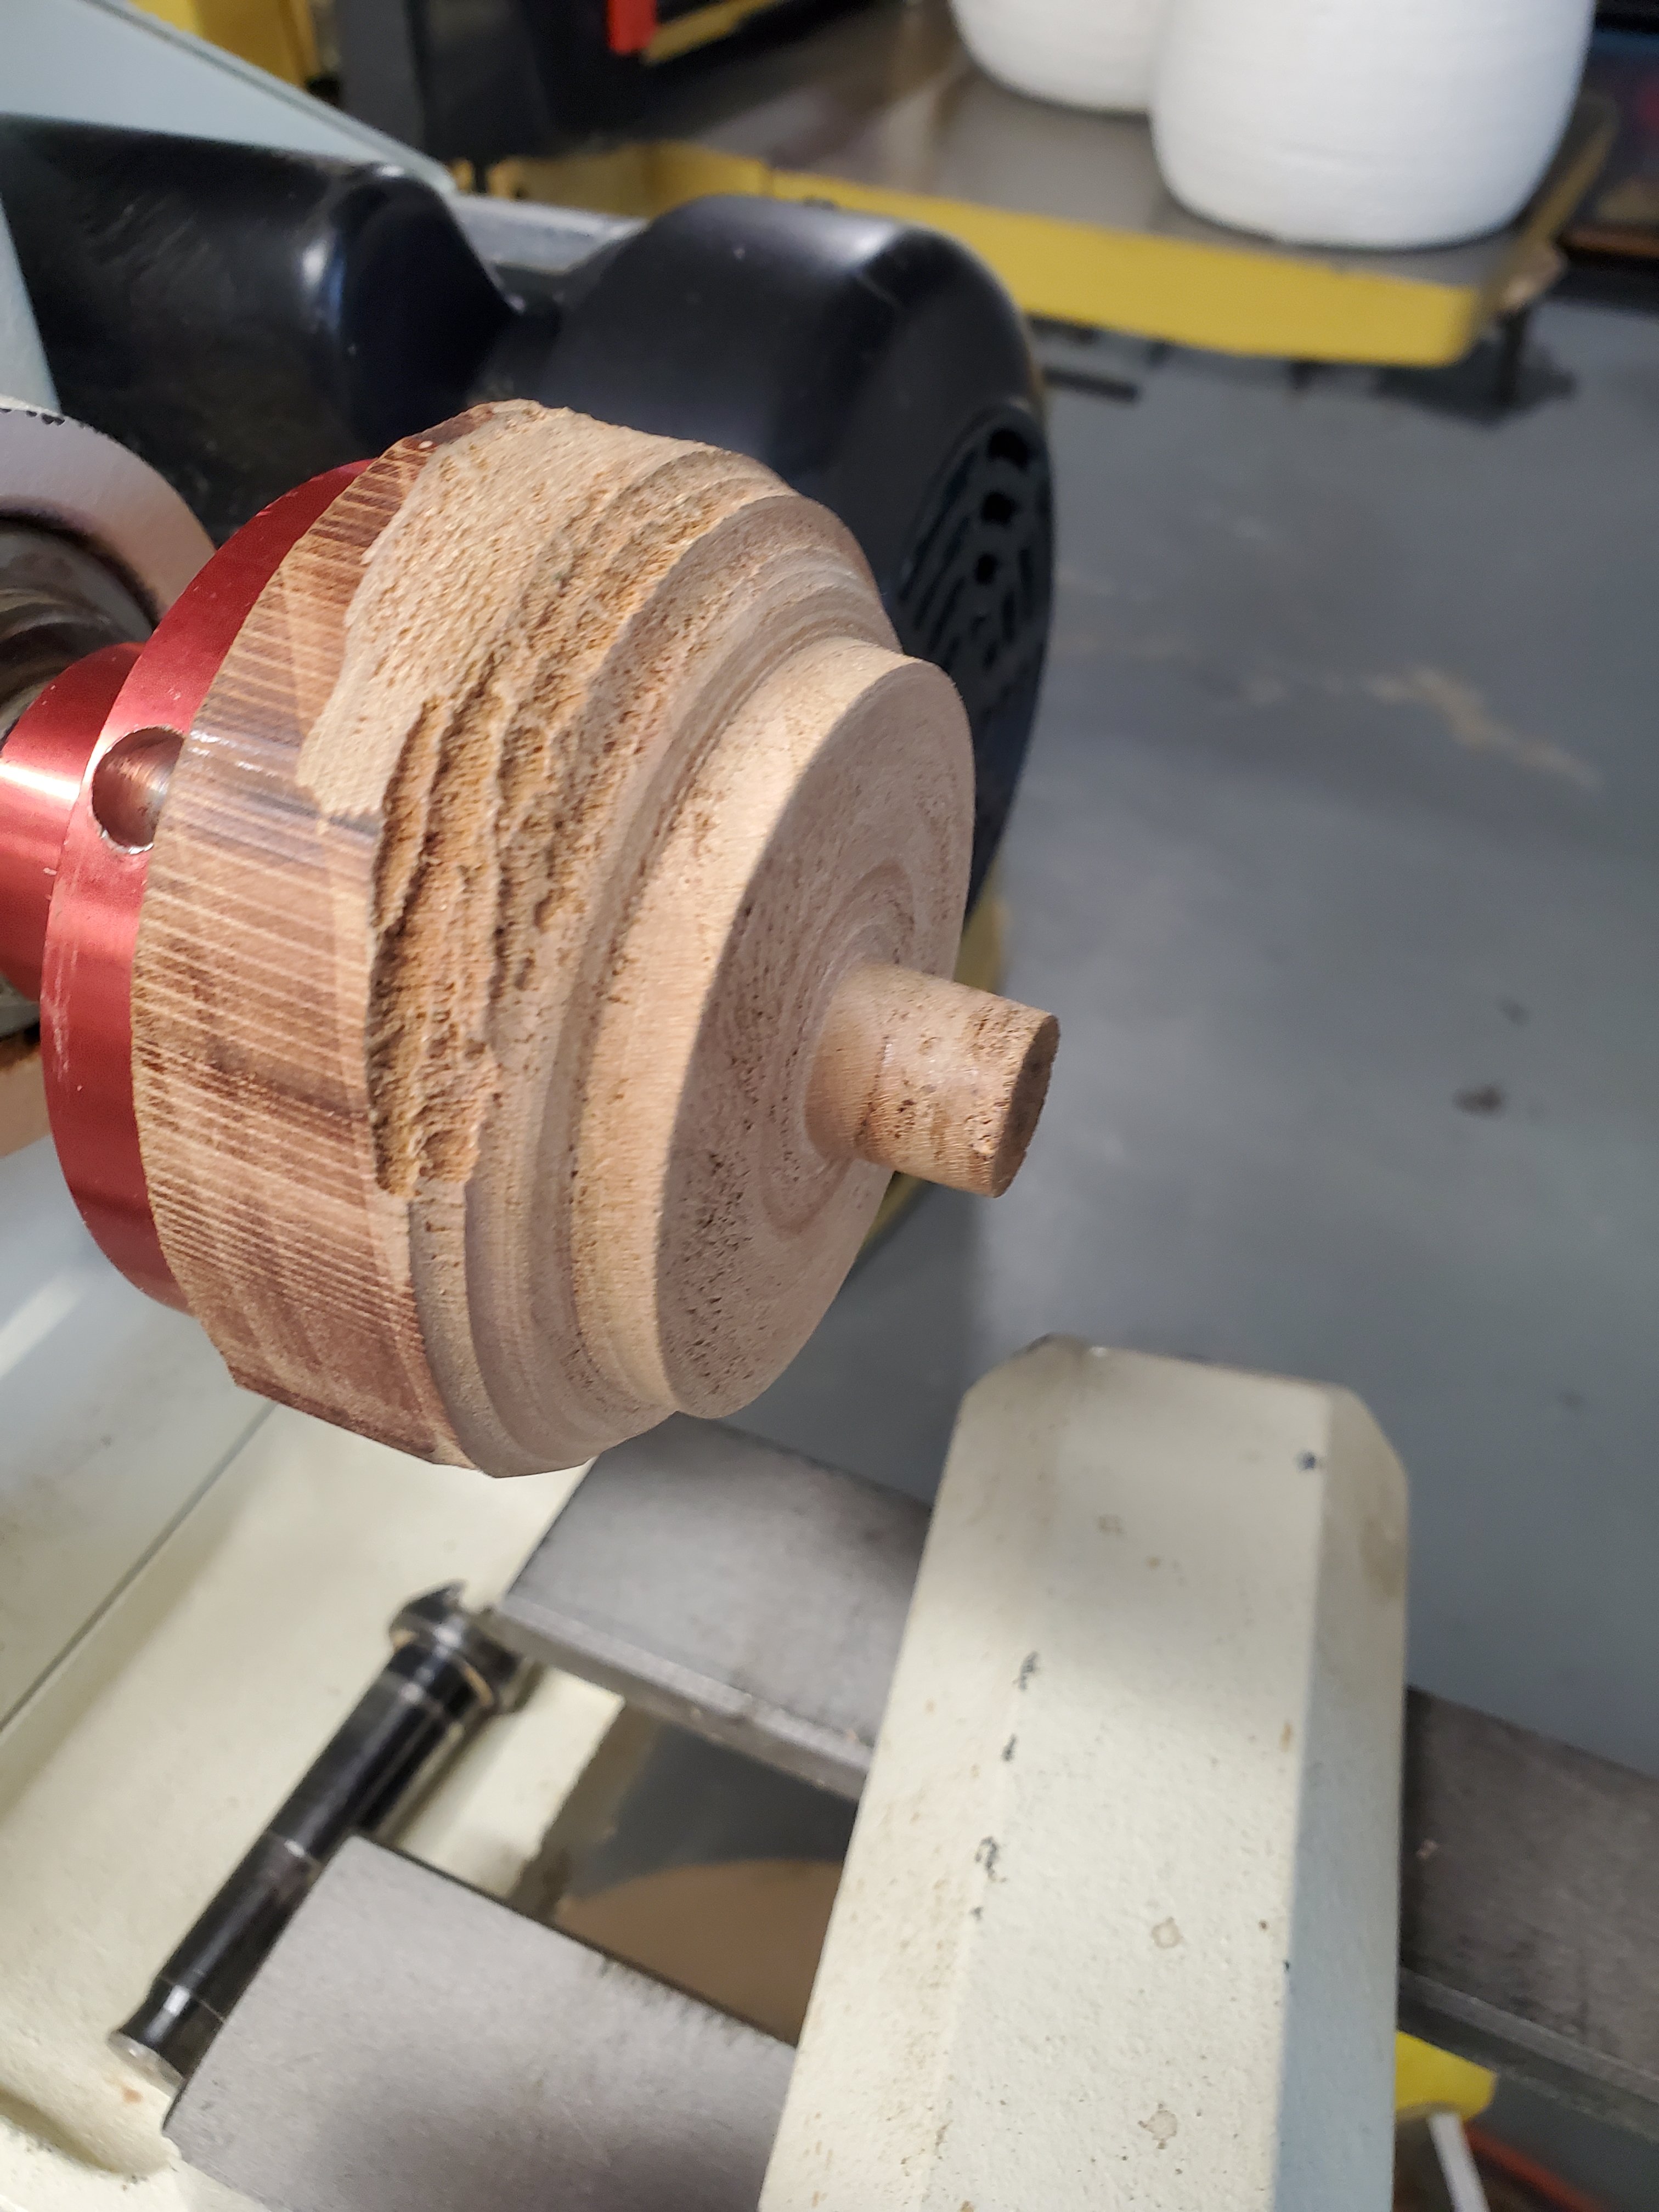
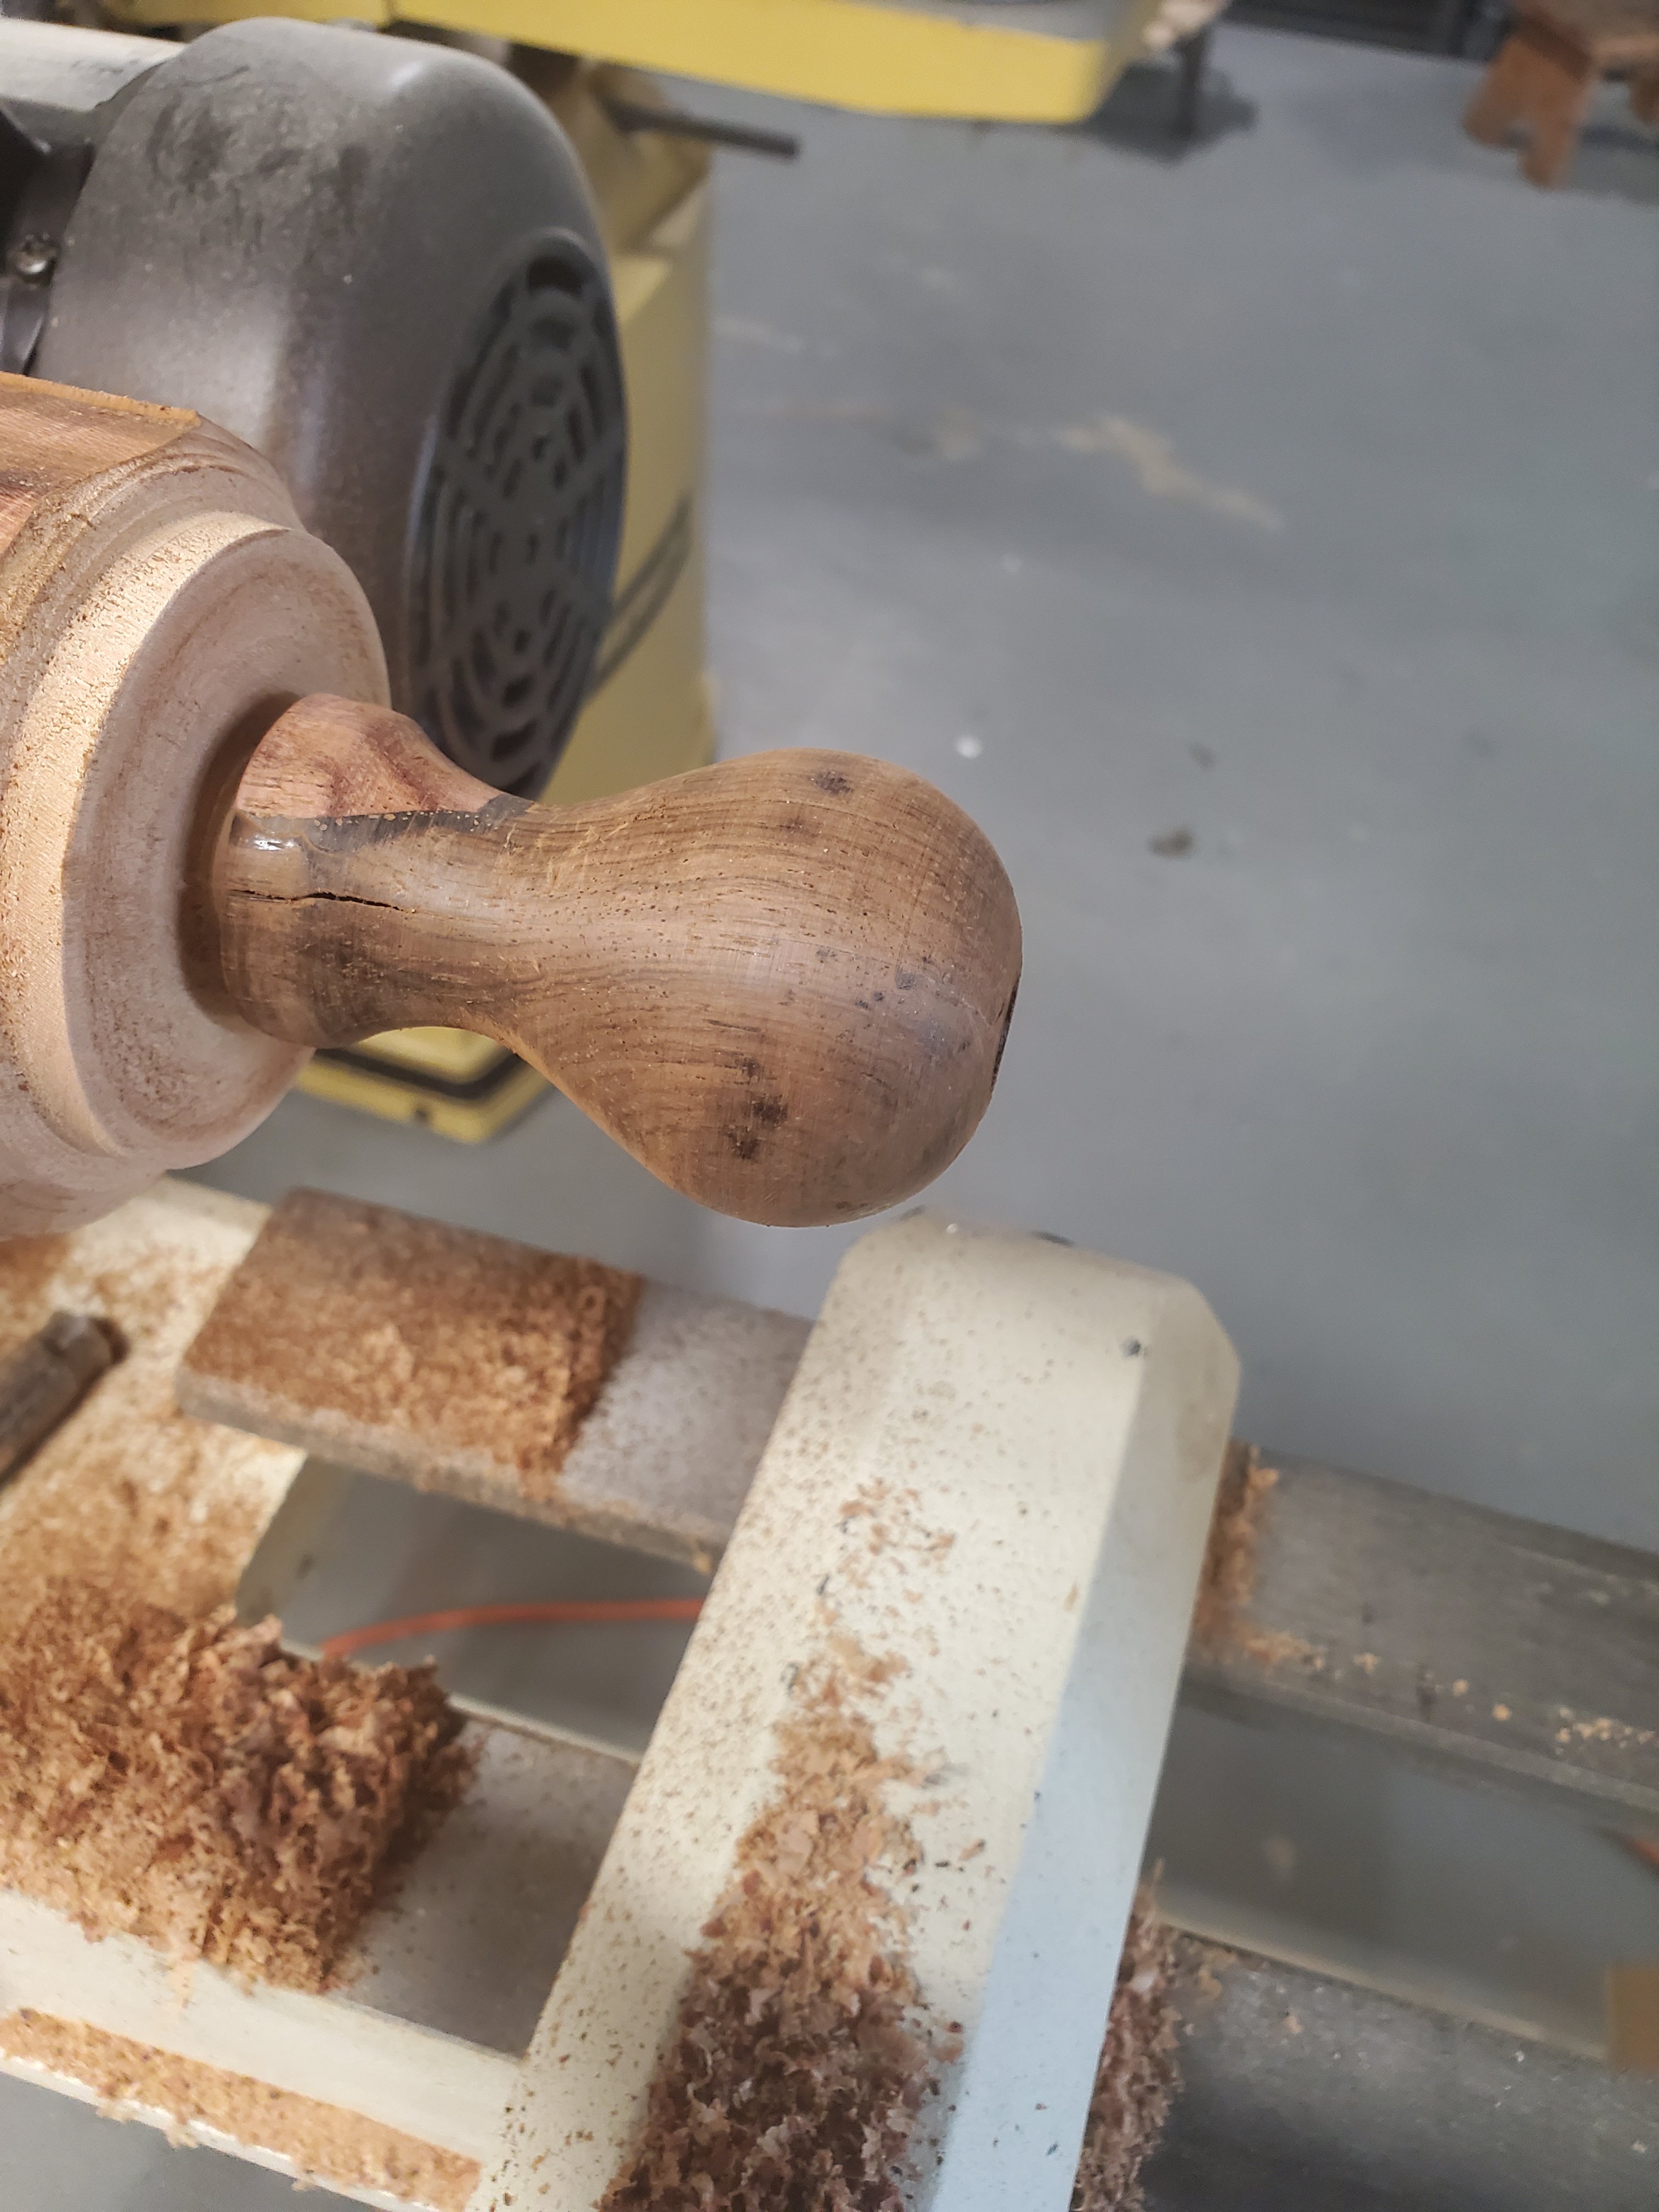
I wanted to shape the new area perfectly round with the rest of the knob so I created a little holding jig to be used on my lathe.

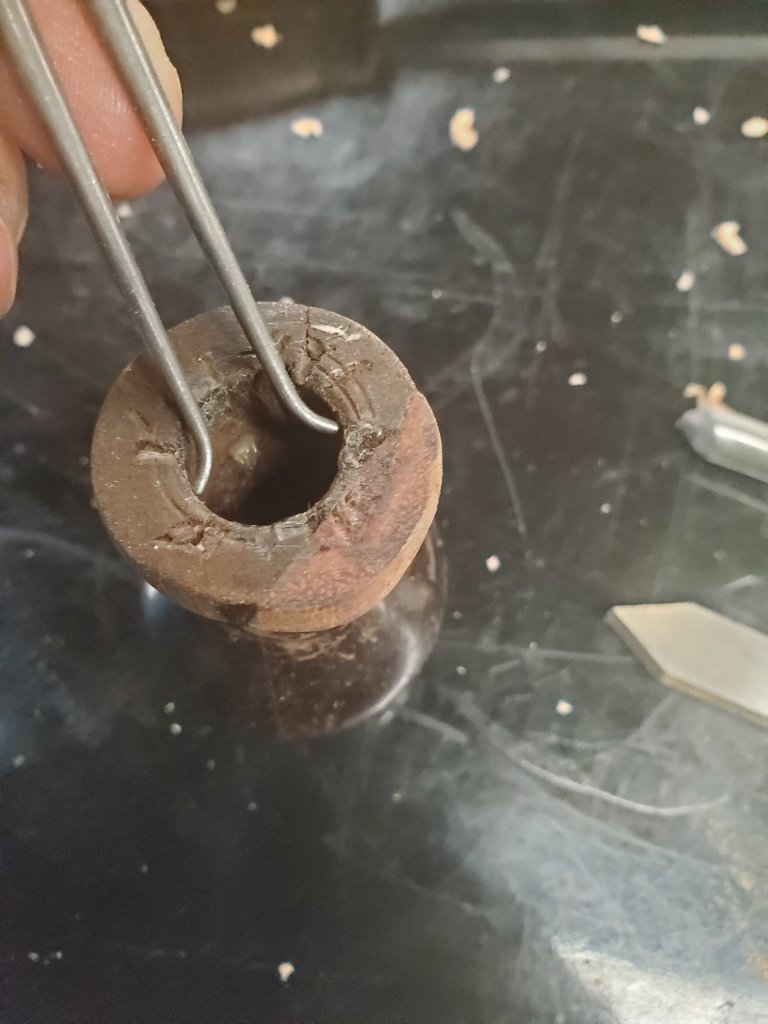
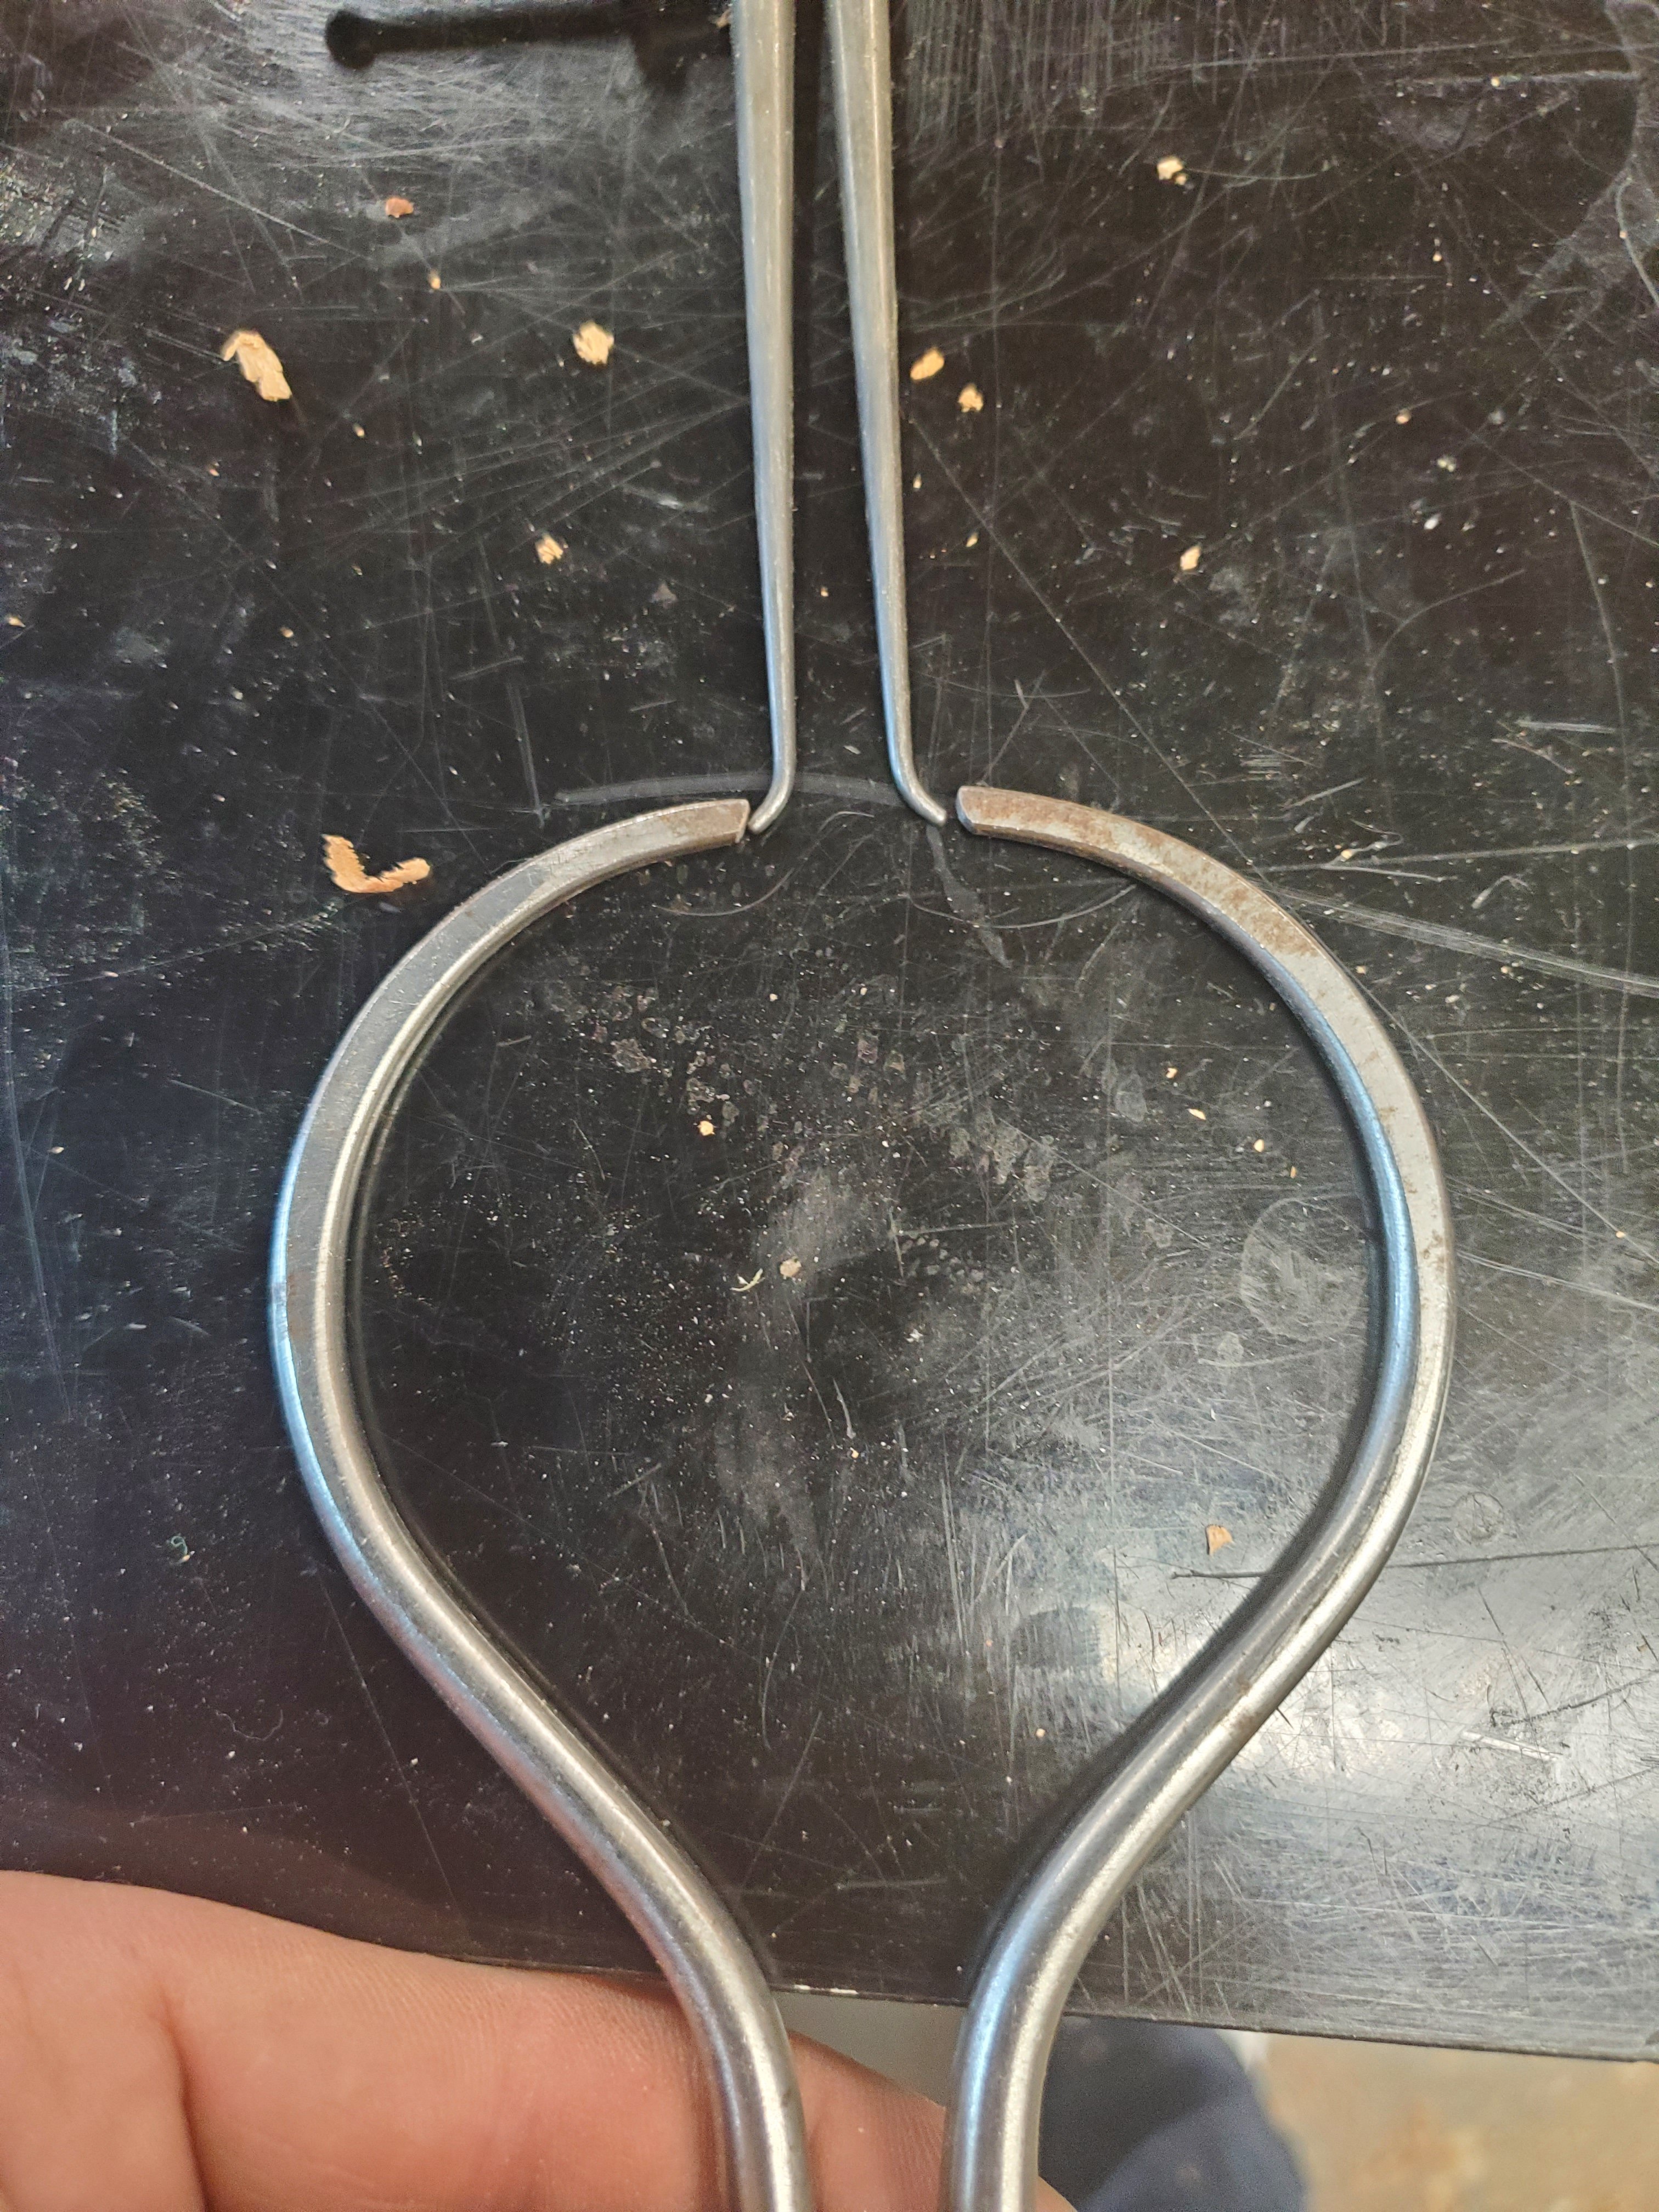
I measured the inside diameter of the knob’s mounting hole with inside calipers and transferred that measurement unto outside calipers, then turned a tenon to the measurement. Then I stuck the knob onto the tenon and stabalized the top of the knob with the lathe live center point.

With the knob spinning nice and true, I carefully used a round scraper and gently turned the new piece of wood concentric with the knob. After a few minutes, and a little bit of sanding, the knob was finished.

I noticed that the knob had split just a little bit while it was turning, so I applied more super glue gel to the bottom of the knob to stabalize the wood.

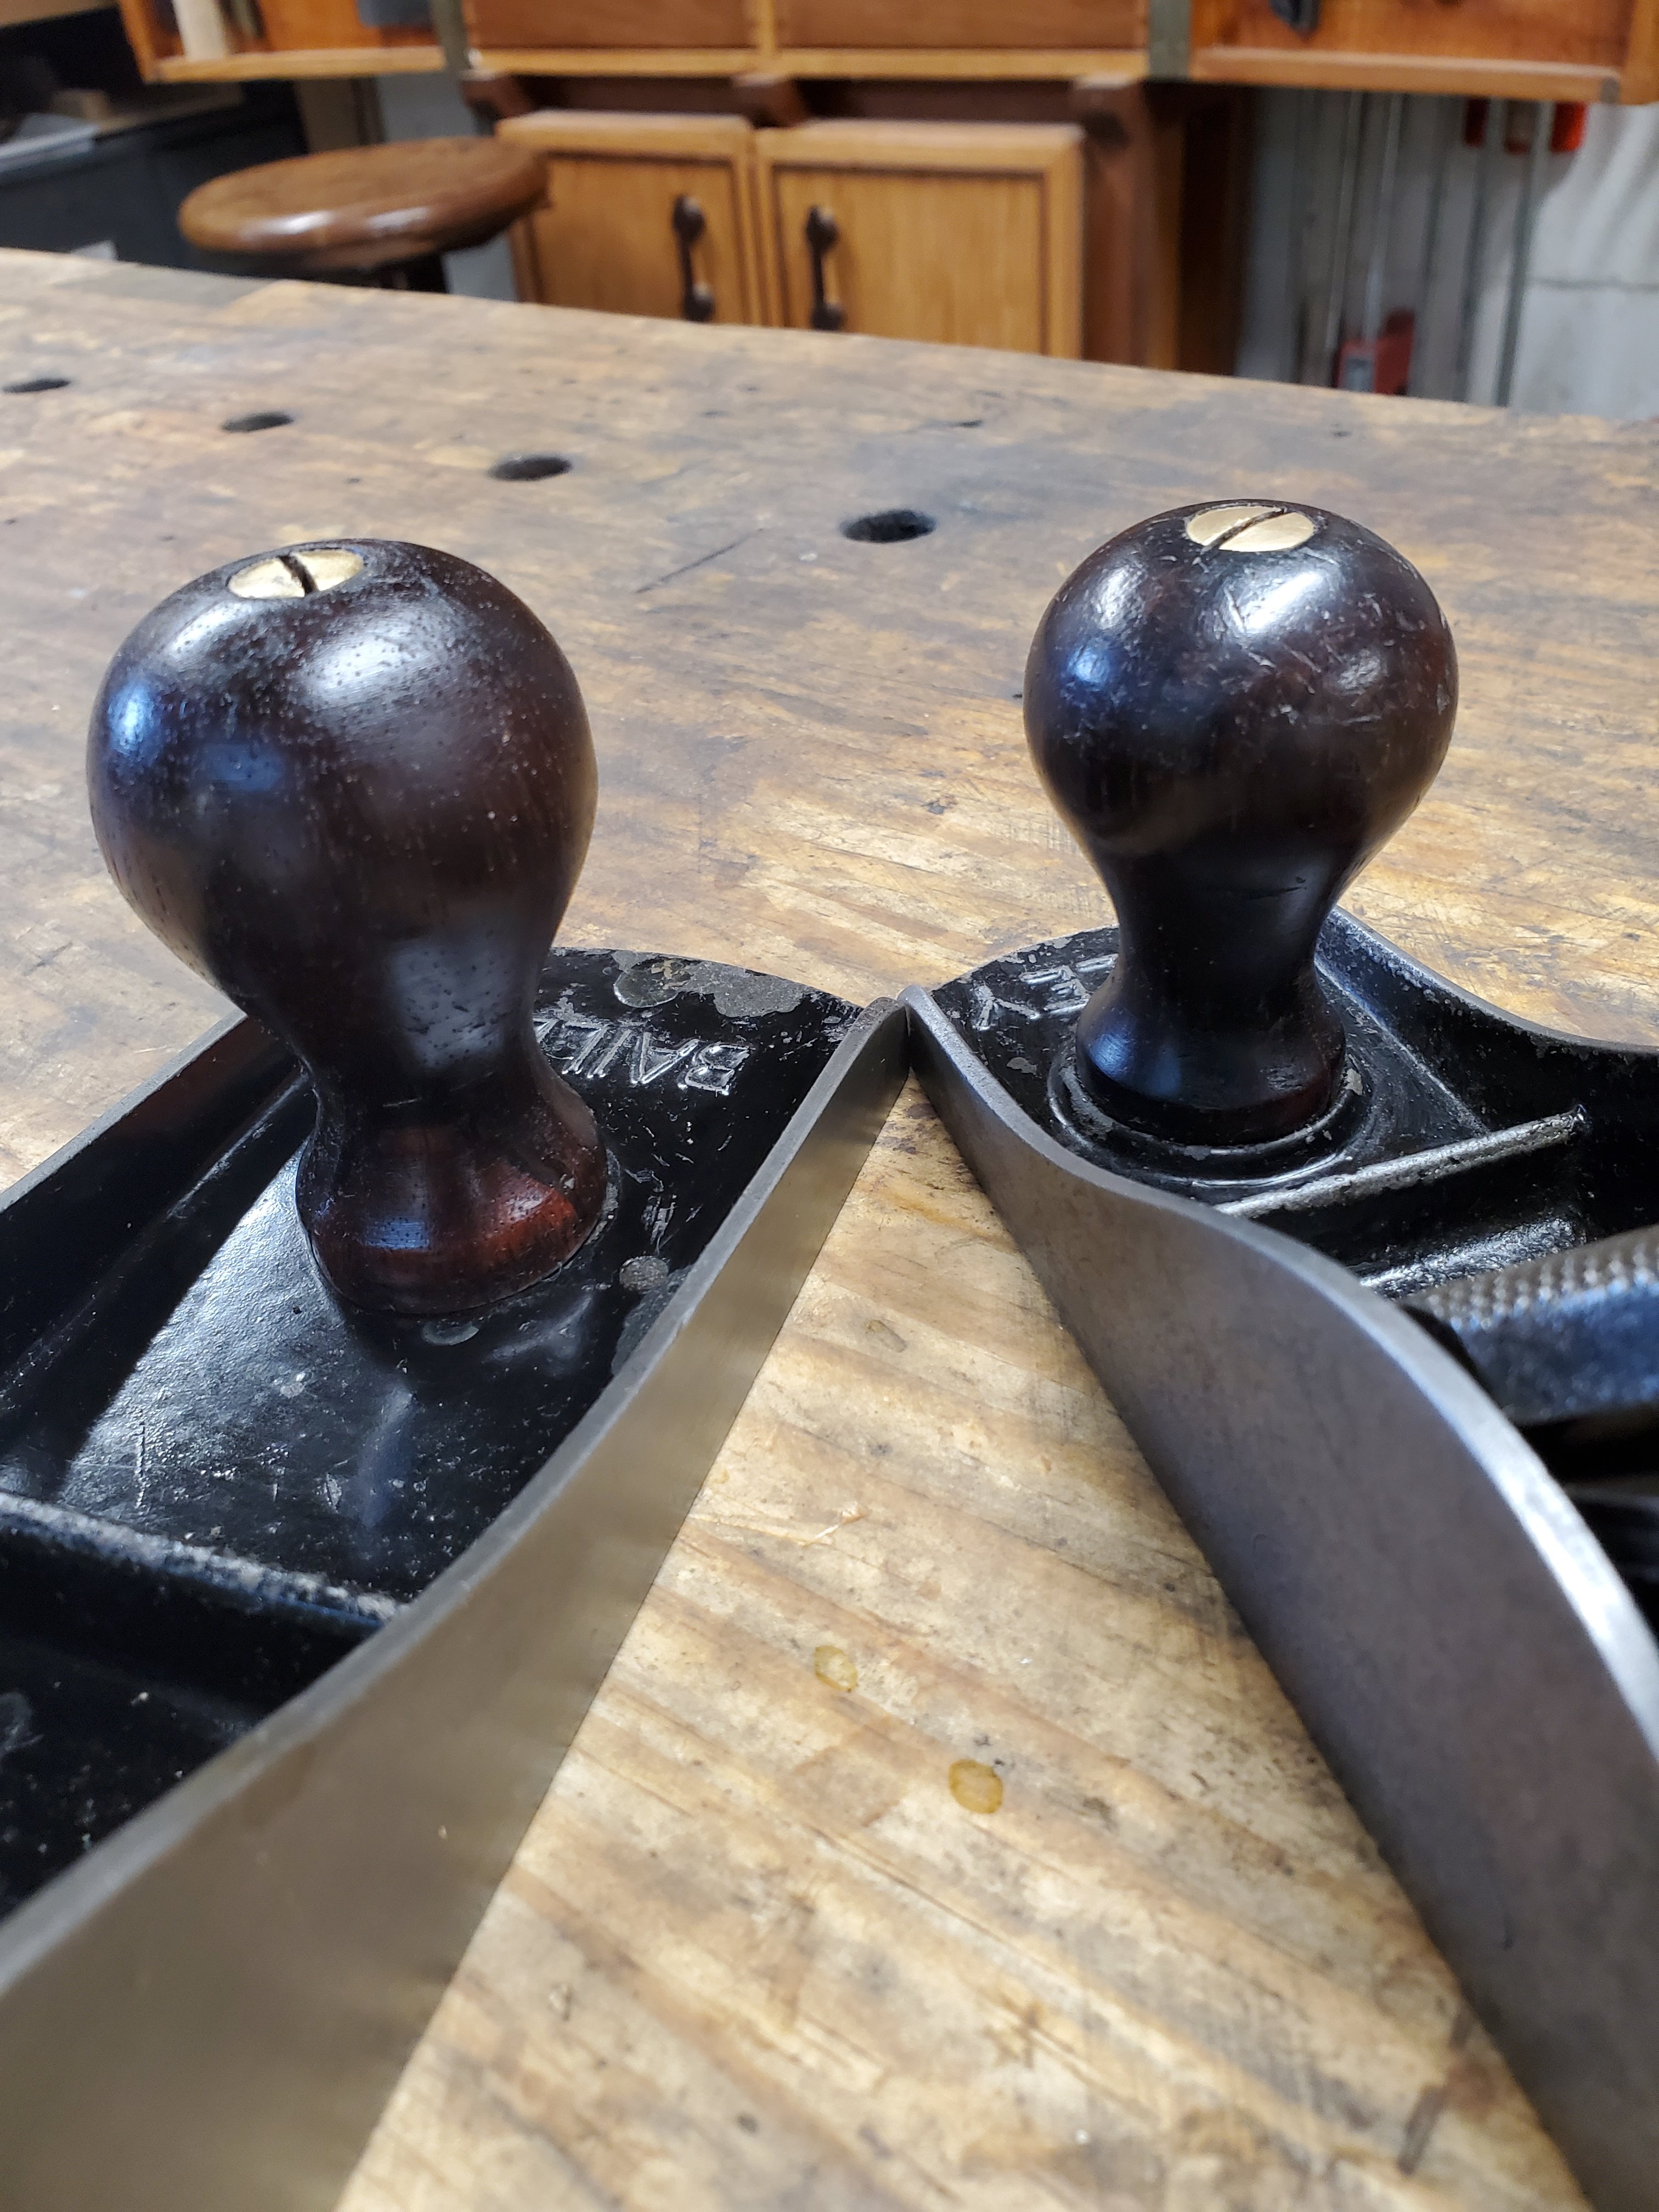
The final step was to apply a couple coats of shellac to the knob and stick it back on the plane. Because the piece of cocobolo was a little lighter in color than the rosewood, I colored the cocobolo darker with a black Sharpie marker then wiped off the excess with some fine steel wool.

The end result came out fine. The knob looks complete and you can only notice the repair if you really look at it. In fact, the knob on the right was also repaired the same way, and you can hardly see it. Looks like I’ll have to start repairing more knobs from now on.
Nicest Compliment I ever Received

Last week I received a message in my Instagram messaging page. I’m small potatoes on Instagram as I only have a few thousand followers, so I don’t get many messages. The ones I do get, the majority of them are some sort of spam bullshit trying to hack my account, so I usually don’t pay much attention to them.

However this time, the message was from one of my followers. Johnson21800 sent me a couple of pictures of his Great Grandad’s Stanley No 32 Jointer Plane. He said he was so inspired by my posts on restoring tools, he decided to restore his Great Grandad’s plane.

Here’s the plane all cleaned up and restored. I think Peter does a better job than I do!

The fact that Peter would send me pictures of his plane that he restored after watching my feed humbles me. It makes feel good inside that I inspire people to restore and use these old tools that just sit around collecting dust. It’s pretty much the reason I post so many antique tools on Instagram.

A Once in a Lifetime Deal

Every few years I get a deal of a lifetime when buying tools. Many years ago, I bought my 15″ Powermatic planer from a company going out of business for $700. I bought my Contractor SawStop table saw from SawStop corporate through Pop Wood for $1000, and yesterday, I bought a six piece Porter Cable combo kit for $25.00.

20171122_160102.jpg

As you may know, I’m a sales rep for Oldcastle selling patio block, mulch and soon composite decking to Lowe’s and Home Depot. While visiting one of my stores yesterday, I walked in the back of the store by receiving to talk to the RTM clerk to see if there were any credits I needed to give for broken patio block. While back there, I saw a Porter Cable tool bag full of tools lying on the floor and asked the RTM clerk what they were doing there. She told me that it was a return that the customer said the batteries wouldn’t hold a charge. Knowing that Lowe’s will take back anything no questions asked, the first thing that came to my mind was a customer buying a tool, using it to do a job, then returning it to get his money back.

She told me she had to get rid of it somehow and asked if I wanted to buy it, so I said “sure”. She asked what I would give for them so I told her $20.00. She then told me she would have to call the manager to see if that would be okay. I told her before I buy them, I wanted to make sure that my current batteries from my Porter Cable set would work on the tools. I’ve been using the same drill and jigsaw from the same set for a few years now, so I was hopeful my batteries would be compatible. I went to my car to grab my tool bag while she called the manager to make the deal happen. When I returned, she said “what about $25.00”. I said fine and hooked up my battery to the all the tools to make sure they all functioned. I took the bag of tools and walked up to customer service to buy them. I couldn’t believe it. I just bought a $300 combo set for $25.00. I didn’t care that the tools were a little beaten up and used. Almost all of my hand tools I buy are used. Many from a hundred years ago.

20171122_133927.jpg

When I got home, I laid the tools on my bench to see what I got. A drill, an impact drill, a sawsall, circular saw, multi tool, flashlight, and a battery power checker with USB ports. I took the battery it came with and charged it up. It works perfectly.

20171122_160821.jpg

Why the customer returned the tools is anybody’s guess. There is only one battery for the set, so it may be the guy wanted a free battery so he simply didn’t put the extra one back in the bag when he returned it. I don’t care. I’m just glad as hell I got the deal of the year. Happy Thanksgiving!


The Tool that Changed my Life

It was thirty years ago this summer. I was thirteen years old visiting my grand parent’s house on my Mom’s side in Detroit, Michigan when I walked into my Grandpa’s garage and spotted this little drill press on top of his cabinet.

20170709_124131

It’s was a little German-made drill press. It had no manufacturer’s name on it, so I have no idea who made it, but I thought it was the coolest tool I ever saw. I played with it for a few minutes, and my Grandpa seeing I took a liking to it, gave it to me. I was stoked.

20170709_124139

My Grandpa was never really a woodworker. He was a mechanic who restored old cars like Ford Model T’s and Maxwell’s, so he had no use for the press. I just started to work with wood in my parent’s basement, so I was glad to have it.

A few days later, my Mom, Grandparents, and I went to the flea market. While there, I started hunting for more cool tools. I found some old wrenches and a Ohio Tool Co wooden razee fore plane that I still use to this day. The only money I had was a few bucks I saved up from my allowance of cutting the grass, so I bought all my tools dirt cheap. Nevertheless, even though I didn’t realize it at the time, it was the start of my antique tool collecting.

As the months and years went by, I started buying more and more old tools. I’d buy planes, chisels, drills, saws and clean them up. As my tool collection grew, my woodworking skills developed right along with every tool I bought as I learned how to use it. I enjoyed the process of restoring old planes so much that I kept buying more of them and before I knew it, I had collected nearly 100 old tools by the time I was sixteen years old. I used to have white bookshelves in my parent’s basement filled with all my tools. My friends would come over, take a look, and asked what the hell was wrong with me.

At the height of my collecting I had over 600 tools. Then one day, I stared at all of it and decided that enough was enough. I took some of the tools I didn’t care much for and threw them on eBay. I watched the auctions end and realized that I enjoyed that process as well, so I threw more tools on eBay. Before I knew it, I was buying and selling tools on a regular basis.

Today, I’ve figured that I have bought, restored, and sold almost three thousand tools on eBay. It’s become a hobby within a hobby. Something that I would never have believed would have happened thirty years ago when my Grandpa gave me his little drill press.

The Downfall of Sears

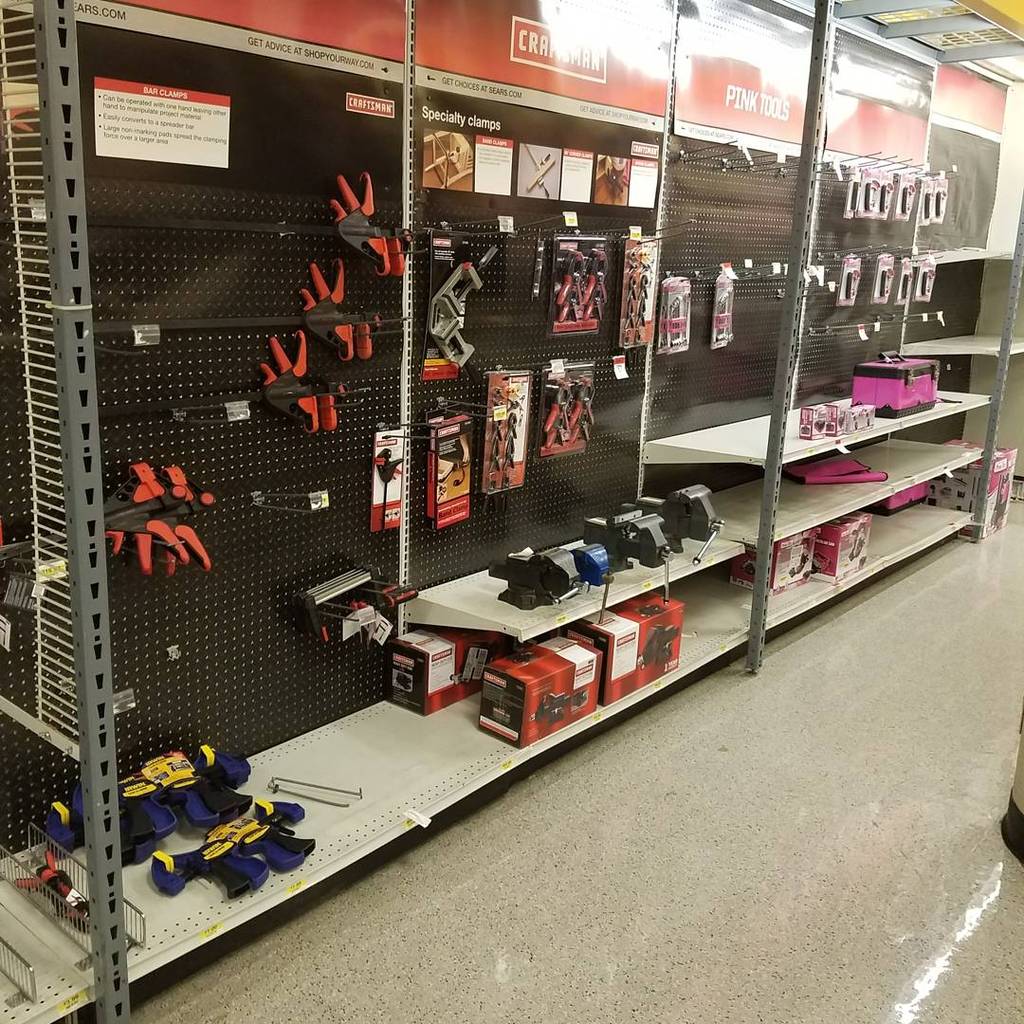
This morning I had some time to kill in between store visits, so I decided to stop in a local Sears to browse their tool department for a few minutes. I wasn’t expecting much since I knew that Sears had fallen on hard times in recent years, but what I encountered was just plain sad.

20170608_102711

I was so taken back by their tool department that I grabbed my cell phone and took some pictures of  their shelves. There was hardly any selection of any kind. I remember about twenty years ago, Sears was one of the main places to buy tools. They had a huge selection with competitive prices. I used to buy all my tools from Sears. From clamps to power tools, to automotive wrenches. In fact I still own a Craftsman bench top radial drill press that still works like a champ to this day.

img_20170608_103022_267

I was wondering if this was a store that was closing so, I looked around for clearance signs, but found none. The only reason I could think of why they don’t have any products on their shelves is because they may be on COD-only terms with the majority of their suppliers. I remember the company I used to work for a few years ago had the same problem. They couldn’t order any product from the manufacturers to resell it to their dealers and ended up going bankrupt within six months. It’s been so bad for Sears lately that they sold the Craftsman brand name to Stanley Black and Decker late last year to generate cash.

img_20170608_103022_285

This is what’s left of their machinery selection. A radial arm saw and a cheap looking band saw. There was one old lady working the entire department who looked like she was 82 years old. I remember back in the day, there would be at least three or four clerks around to help you out.

img_20170608_103022_265

When things get this bad, there’s no way I would even buy anything from them in the first place. There’s a good chance that if I did buy something from them and the product ended up breaking within the 30 days of my purchase, with my luck, the company’s doors would be closed leaving me high and dry. When was the last time you bought something from Sears? I can’t even remember the last time I did.

img_20170608_103022_269


Springfield Antique Show

Last Friday, my wife and I, went to Brimfield, Massachusetts for their antique show. This Friday we headed to Springfield, Ohio for their Extravaganza. Even though the amount of vendors attending is a third of who sets up at Brimfield (2000 vs 6000), I was hoping to find better deals as I usually don’t do too bad at the Extravaganza.

20170519_091439

There are a lot of professional dealers at Springfield, however the majority of them are concentrated in the center of the fairgrounds. As you venture out onto the outskirts of the show, that is where you’ll find people just setting up tables to sell some of their junk. These are the places where I find the best deals. It’s always nice to visit the tables with a bunch of tools from tool collectors, but that’s not typically where the deals are.

img_20170519_204638_625

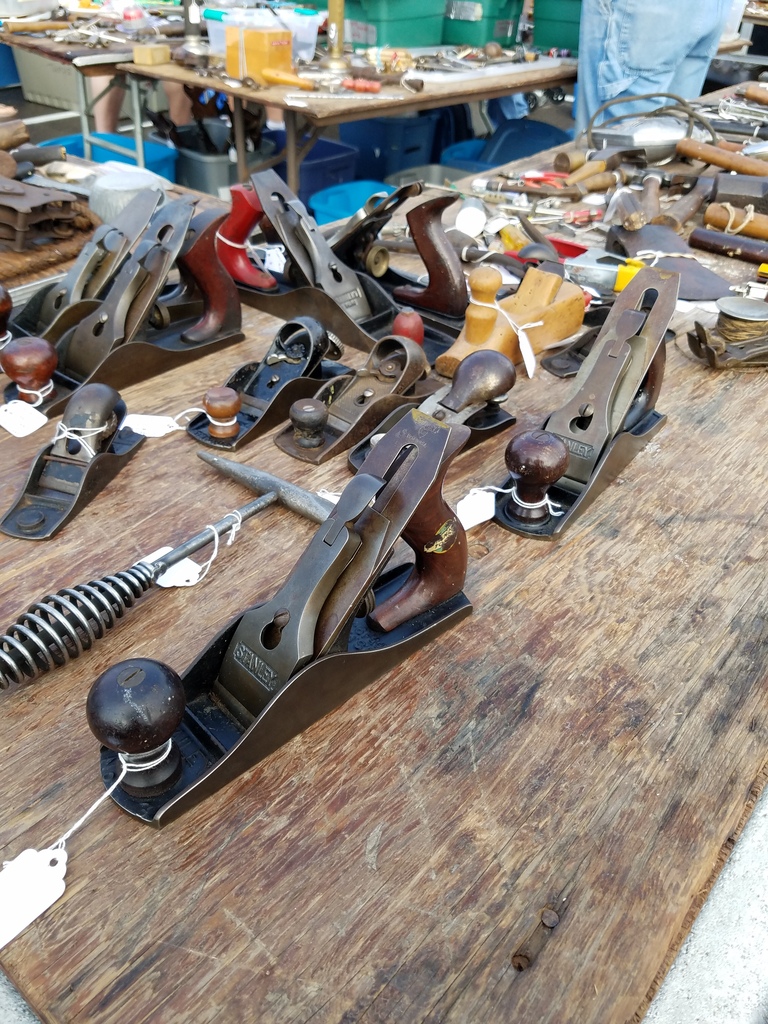
On this table were a Stanley BedRock No 604 for $150 and a Stanley No 8 for $100. Not bad prices if you wanted to pay retail, but I’m always looking for a deal.

20170519_113657

Occasionally you’ll find good deals at these tables. Here were a couple of Stanley planes and a Keen Kutter No 5. The two No 5’s were $15 and the Stanley No 4 was only $21. I passed up on these planes as I wasn’t feeling it for some reason. I only had $40 left in my pocket and still wanted to walk around and see what else was available before I spent all my cash, so I walked away.

20170519_113827

I always love checking out old anvils even though I haven’t set up my blacksmith shop yet. The big boy anvil in the front was a mere $1000. Too rich for my blood.

img_20170519_141842_852

After we walked around the fairgrounds for six hours, I came home with a few nice tools. Two Stanley miter boxes, two Stanley No 3’s and two Hartford Clamp Co clamps. The clamps are the most interesting thing I bought as after I researched them, they were primarily used for gluing up thin panels. The bars ride on both sides of the panel so the wood won’t bow while being clamped. I’m going to clean them up and see how well they work.

img_20170519_175909_077

As far as deals, I believe I did better at Springfield than I did at Brimfield even though I spent a little bit more money. Now I need to go back to the bank and get some more cash for the Burlington Antique Show in Kentucky on Sunday.

Brimfield Antique Show

Last weekend, my wife and I drove to Massachusetts to go to the Brimfield Antique Show. We heard about Brimfield for years, but finally decided to take the plunge and drive out there to see it for ourselves. With 6000 dealers attending, we were excited to see the show.

20170512_094352

We drove to Connecticut the night before and woke up Friday morning at 5:00 am to drive up north to the show. We arrived into Brimfield around 7:30 am and the first thing we noticed was that it reminded us of a very large stop on the World’s Longest Yard Sale. Dealer tents were set up on both sides of the street which stretched down for nearly a mile. We came up to a gate where a few people were waiting until 8:00 am for it to open and noticed that there was a $5.00 entry fee to get inside. Given we had a half an hour wait, we walked across the street trying to see if any ther dealers were already open, but only a handful were.

About a half an hour later, we came back to the gate where a large group of people were now waiting. We thought to ourselves that this area must be the place to be, so we handed the attendants $5.00 and waited for the gates to open. As soon as they did, we saw people literally running in like it was a black Friday sale. Anita and I started laughing thinking what in the world could be inside the show area worth running for.

Once we got inside, we looked around to see what all the fuss was all about. There were plenty of dealers selling quality antiques, but they came with dealer prices. After about an hour of buying a few things inside, we went out to see what the other areas had to offer.

20170512_082104

The majority of tools that I saw were being sold by collectors, so there was little opportunity to snag a good deal. I was hoping that since I was on the east coast, I would see a lot of good deals on old Stanley planes, but unfortunately that wasn’t the case.

20170512_081523

I used to think that all the old tools were on the east coast since that is where Stanley plant was located, but I now think tool collectors have all the old tools, not the east coast. It’s just getting harder and harder to find them in the wild for a good price. Most of the planes on this table were $40-85 in price. Even the broken casting block plane was $30.00.

img_20170513_185227_627

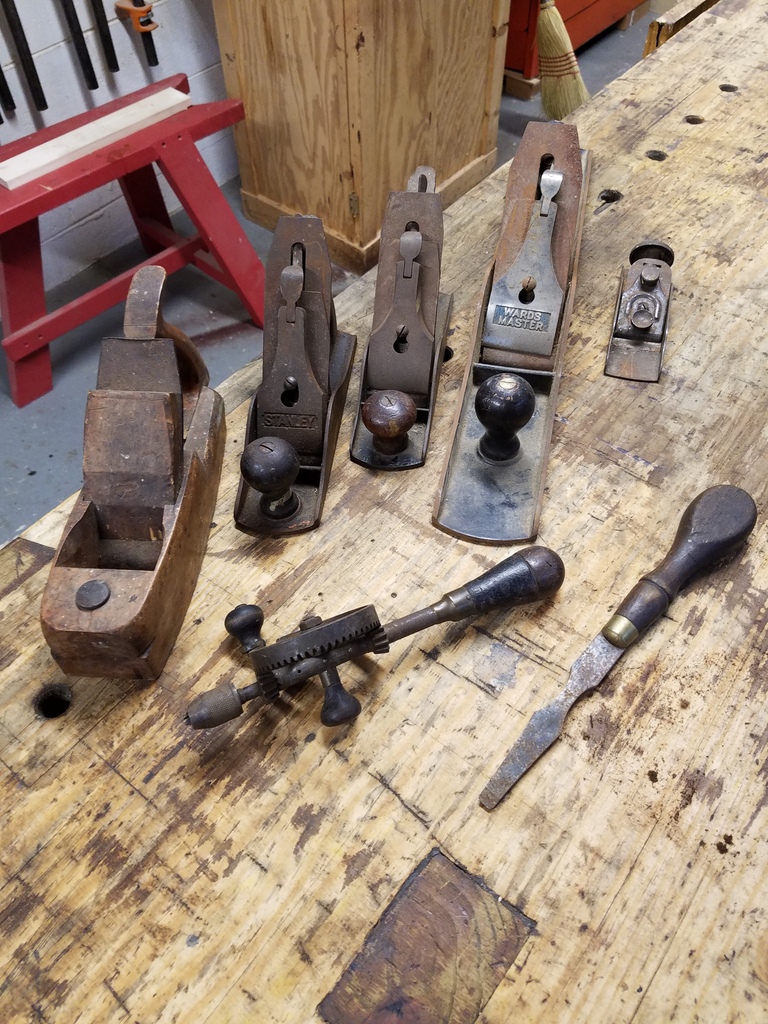
It’s impossible to see the whole show in one day, but after spending seven hours all over Brimfield we saw 80-90% of it. Unfortunately, these are all the tools I came home with. An old razee smooth plane, a Stanley No 4, a Ohio Tool Co No 4, a Wards Master No 7,  a Sargent block plane, an egg beater drill, and a turn screw. Not terrible, but I’ve done better. Anita faired better than me as she ran out of money and had to borrow mine. It was still a lot of fun and is definitely worth it, if it is on your bucket list.

20170514_152031


Saving a Millers Falls No 9 Plane

Last month my wife and I were at an antique show in Columbus, Ohio when I passed by this Millers Falls No 9 plane. I looked at it and decided that the rust on the right side was too much to deal with, so I walked away. About ten minutes later, something told me to go back and examine the plane better to see if it was worth saving. I thought to myself if nothing else, it could be used for parts as the handles and frog were in good shape. I asked the dealer how much he wanted for it and he told me $10.00 so I handed him a ten-dollar bill and walked away.

img_20170304_120015_038

The first thing I do when restoring an old plane is to take everything completely apart spraying PB Blaster on the parts if necessary to break free the rust.

20170304_121257

Once apart, I soak the plane in a citric acid bath for a few hours. I use an old planter box as my tub and fill it half way up with water. Then I’ll scoop out about a cup of citric acid and spread it over the water. Sometimes you can buy citric acid at the grocery store in the spices section, but I buy mine by bulk on eBay. I buy about ten pounds worth for $30.00 which is much cheaper than the grocery store which is usually about $7.00 per pound.

img_20170304_155902_905

After a few hours, I take the parts out of the bath and use a wire brush to scrub the residue off the parts. The acid does a great job of removing the rust from the tool.

img_20170305_101028_318

I then polish all the parts with sanding sponges and apply my own homemade rust protection solution which contains, mineral oil, orange oil, and beeswax. I also steel wool the handles of the plane and apply a couple of coats of shellac to them.

20170305_200606

Once everything is cleaned and polished, I put the plane back together to see how it looks.

img_20170305_202015_812

If all the plane was to do is to sit on a shelf and collect dust, then I would be done. However, I want this plane to be used again, so I needed to focus on the blade. As you can see in the picture, the blade was roasted and desperately needed a new edge. Some people feel a blade that is in this bad of shape would automatically need to be replaced, but I like to see if I can get it to work again first.

20170401_102354

I took the blade over to my high-speed grinder and ground a new edge making sure not to overheat the blade making it lose its hardness.

20170401_103001

After the major grinding was done, I switched to my slow speed water-cooled grinder and worked on the edge some more. I also flattened the back of the blade on my grinder at the same time.

20170401_104744

After I was satisfied with the grinding process, I switched to my water stones to hone the edge. I sharpened the blade with a series of 800, 2000, and 5000 grit water stones.

20170401_105348

I set the cap iron about a 1/8″ from the edge of the blade and put it back in the plane. After adjusting the blade up and down, I was able to get the plane to cut off a nice thin shaving.

20170401_105936

I took one of the shavings and measured it with my calipers. The shavings produced were .002 of an inch thick.

20170401_110035

The shavings are nice, but the real proof is the way the plane leaves the wood with a nice sheen. No sandpaper needed. Not too shabby for a rusty $10 plane.

20170401_110434