Several years ago I heard about making black shellac out of an old 78 record. At the time, I didn’t have an old 78 around so I never gave much thought about it, but a few weeks ago, my Dad gave me some old records he had lying around his garage. In the pile were some old 78’s that were broken. I thought this would be a good opportunity to try to make black shellac.

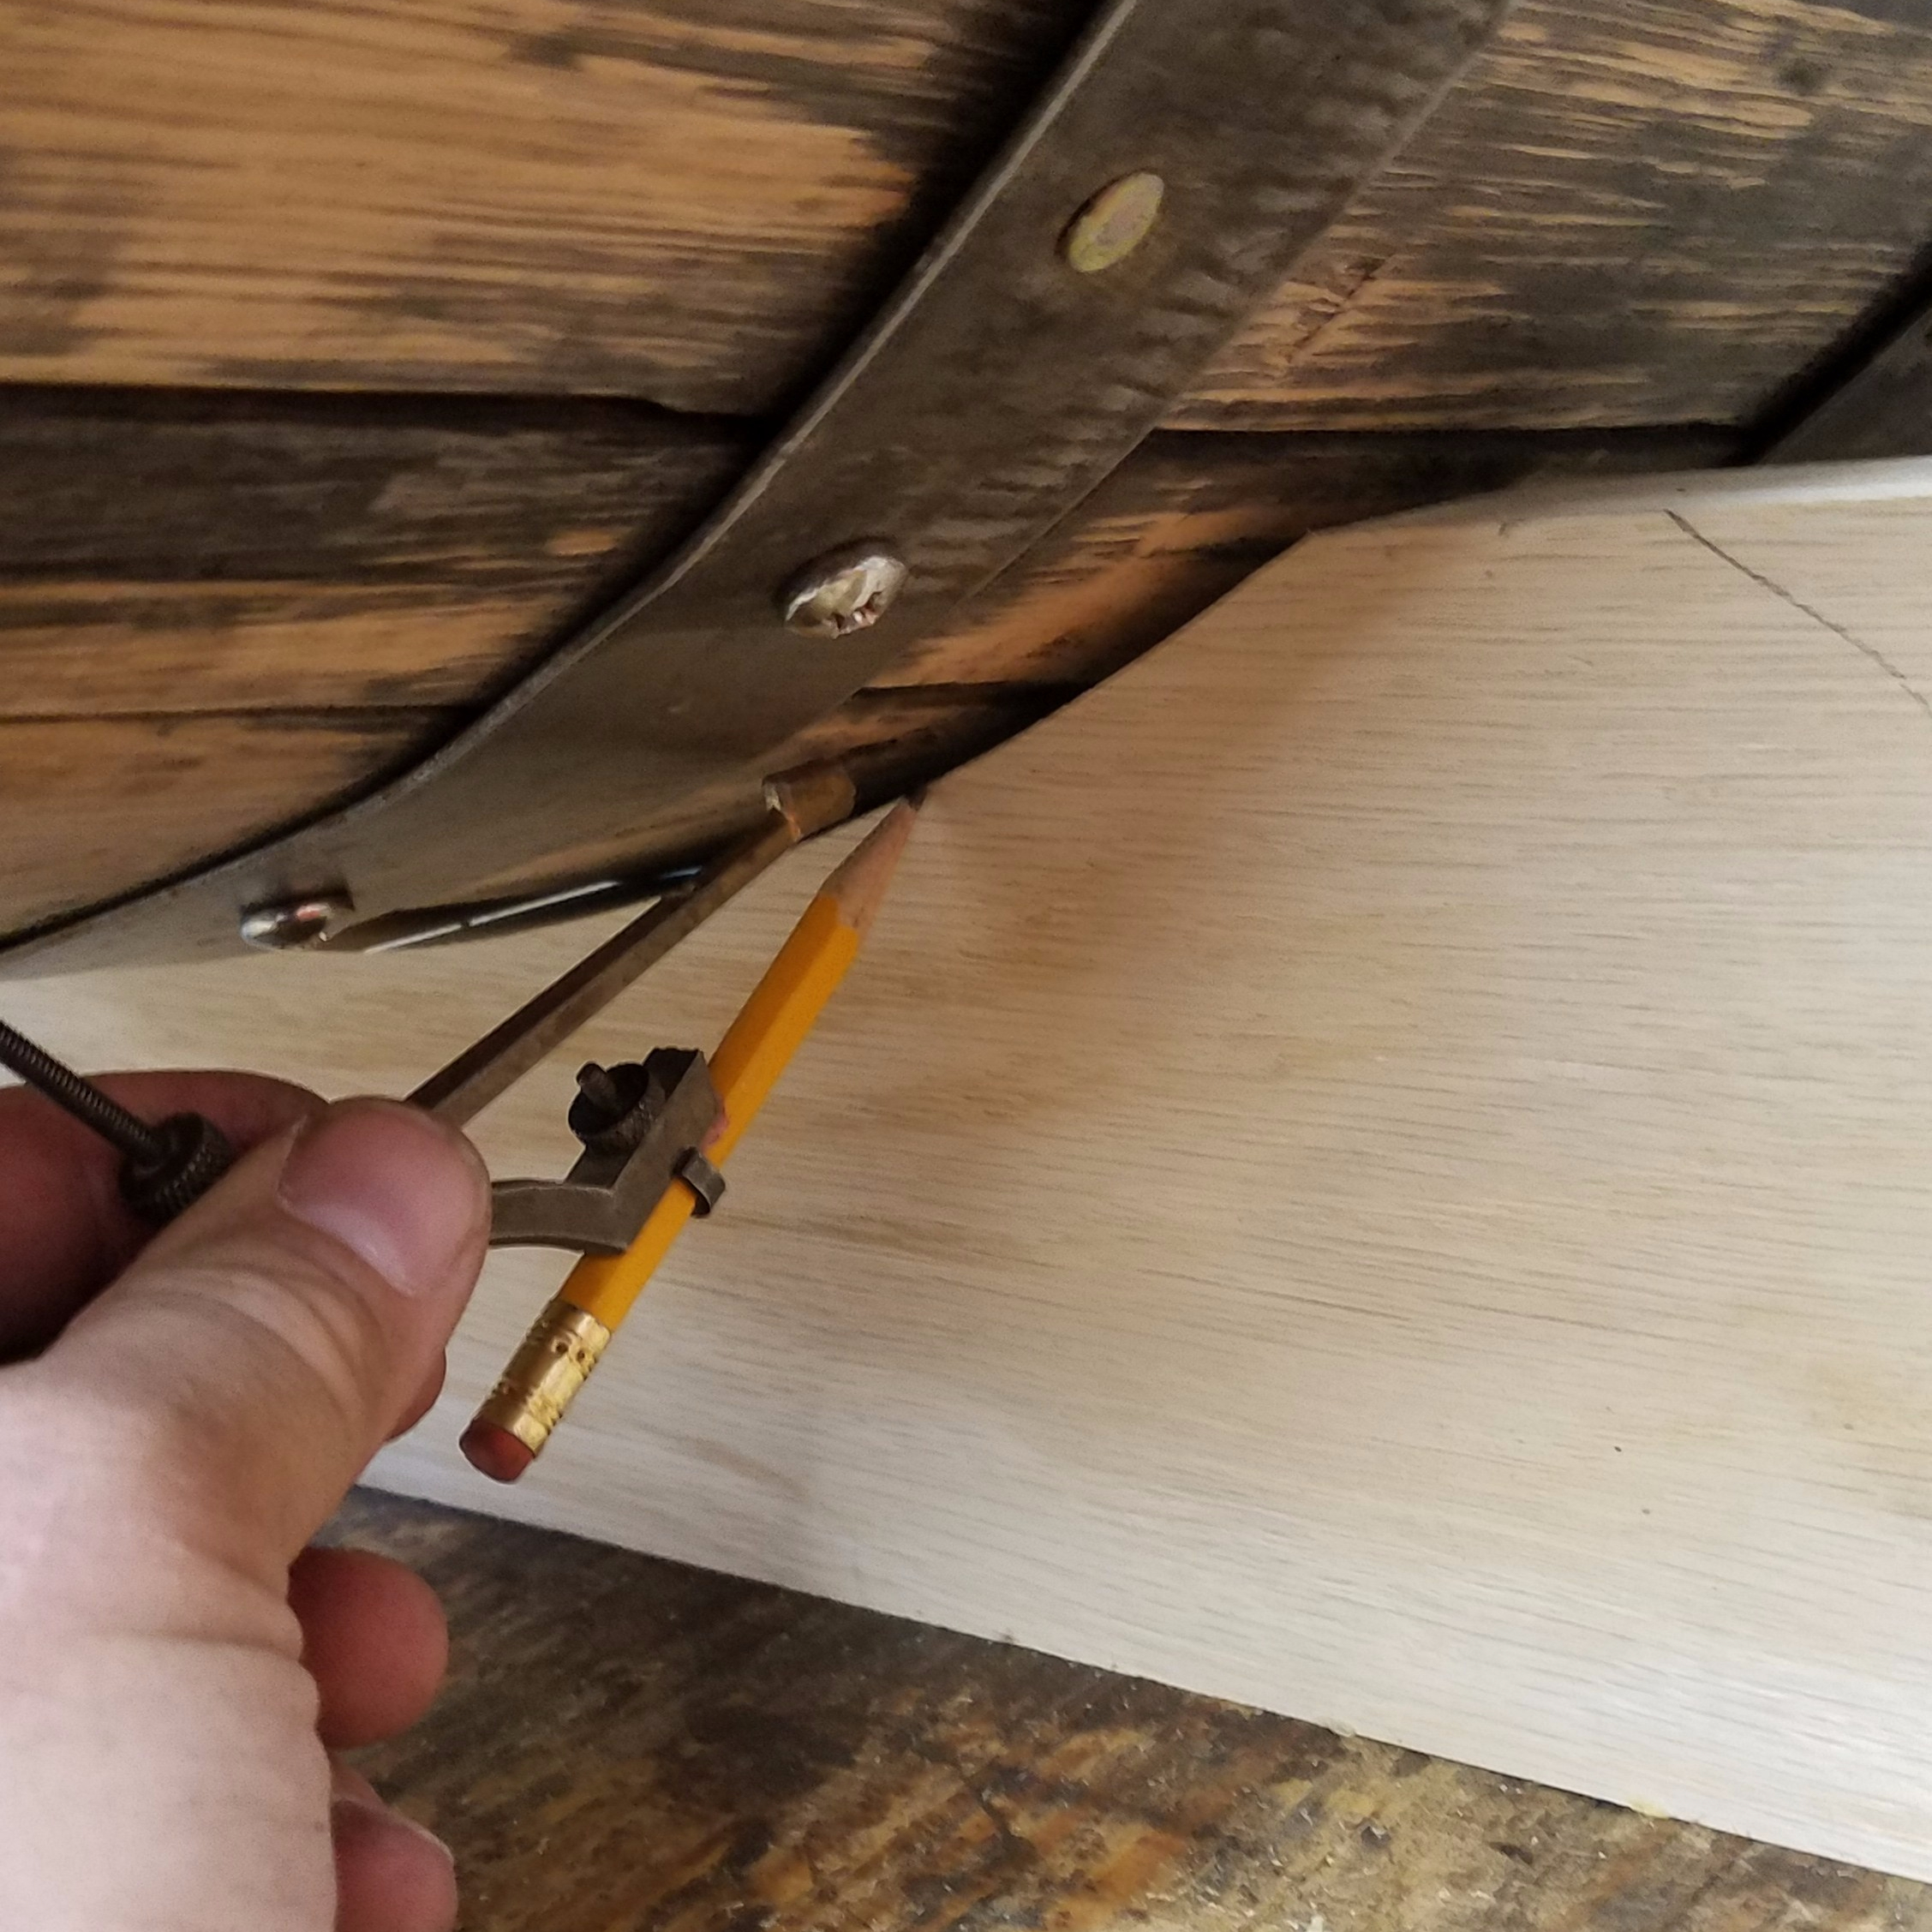
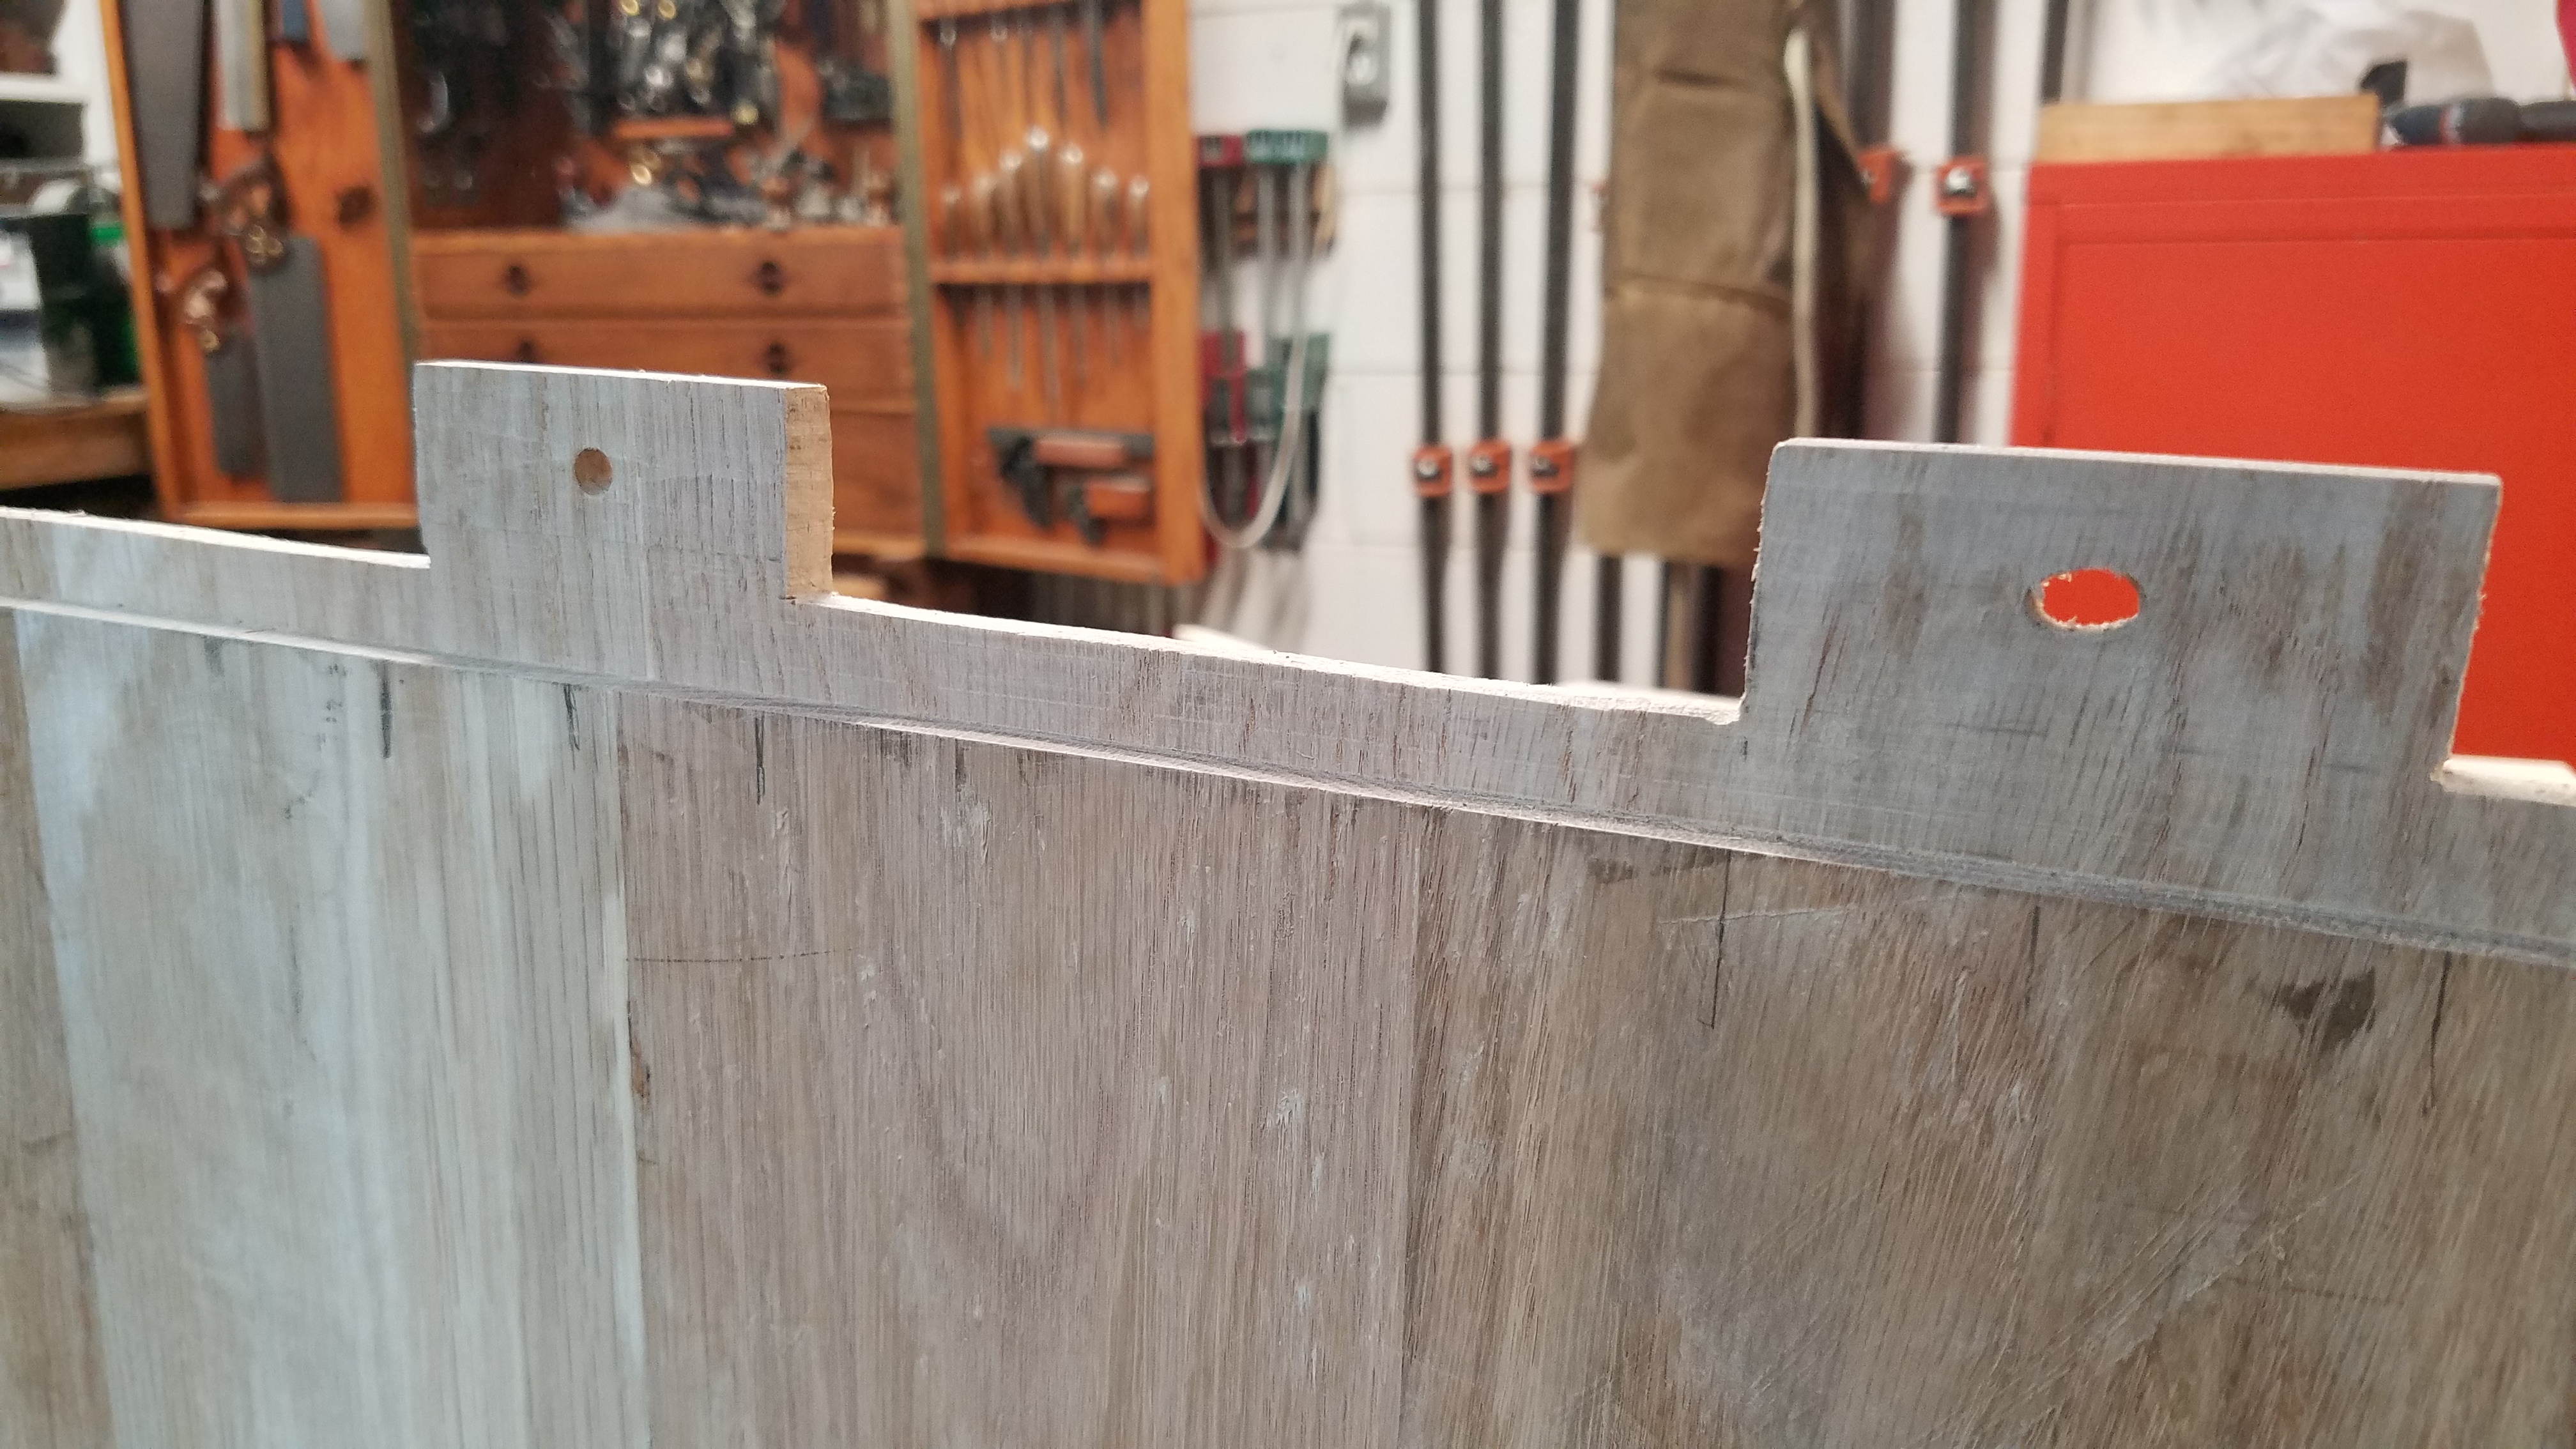
The first thing I did was make sure that the 78, even while broke, wasn’t worth anything. I scanned eBay to see what a good condition Darktown Strutters Ball was going for. At $3.00 plus shipping, it wasn’t worth much, so I was willing to destroy the record. I would only try this with broken 78’s that aren’t worth anything. Doing this to a 78 that is in good shape is considered sacrilege to audiophiles. Plus, you can only do this with old 78’s. Any newer records are made of vinyl and won’t work at all.

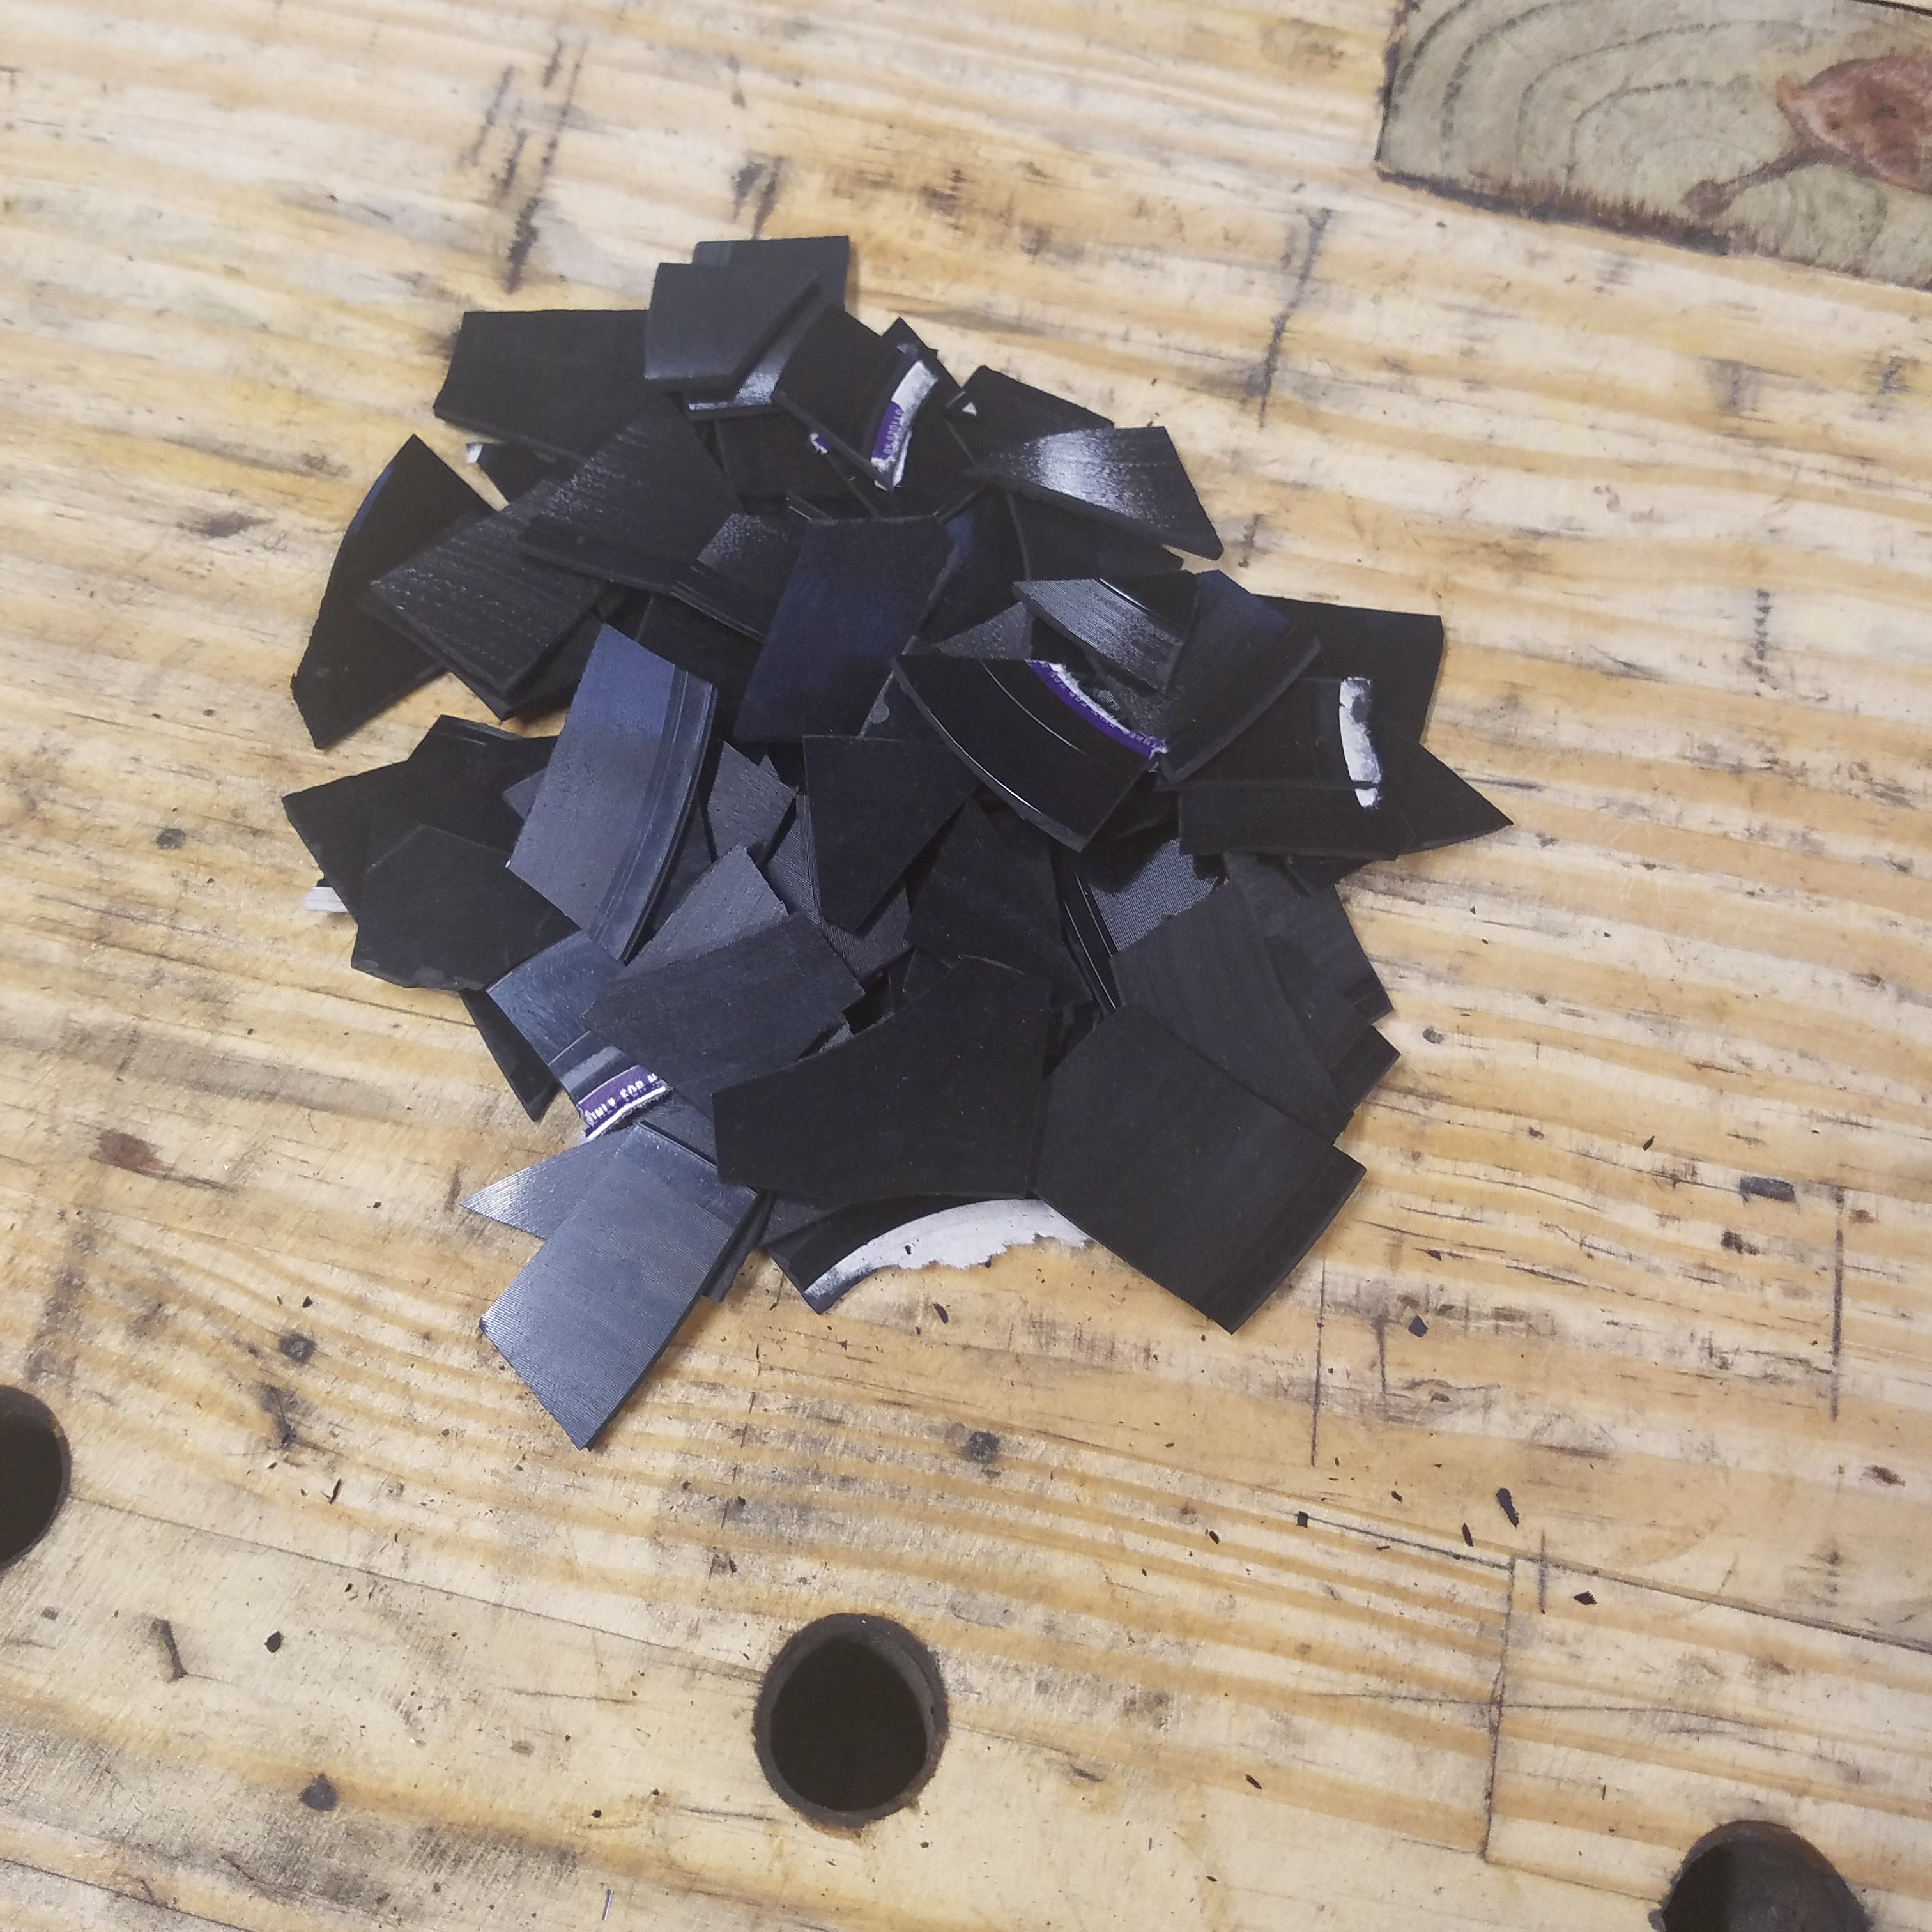
I broke the record apart like snapping a KitKat. I couldn’t believe how easily it snapped in half. I then stuck all the pieces into a plastic bag and crushed it more with a hammer.

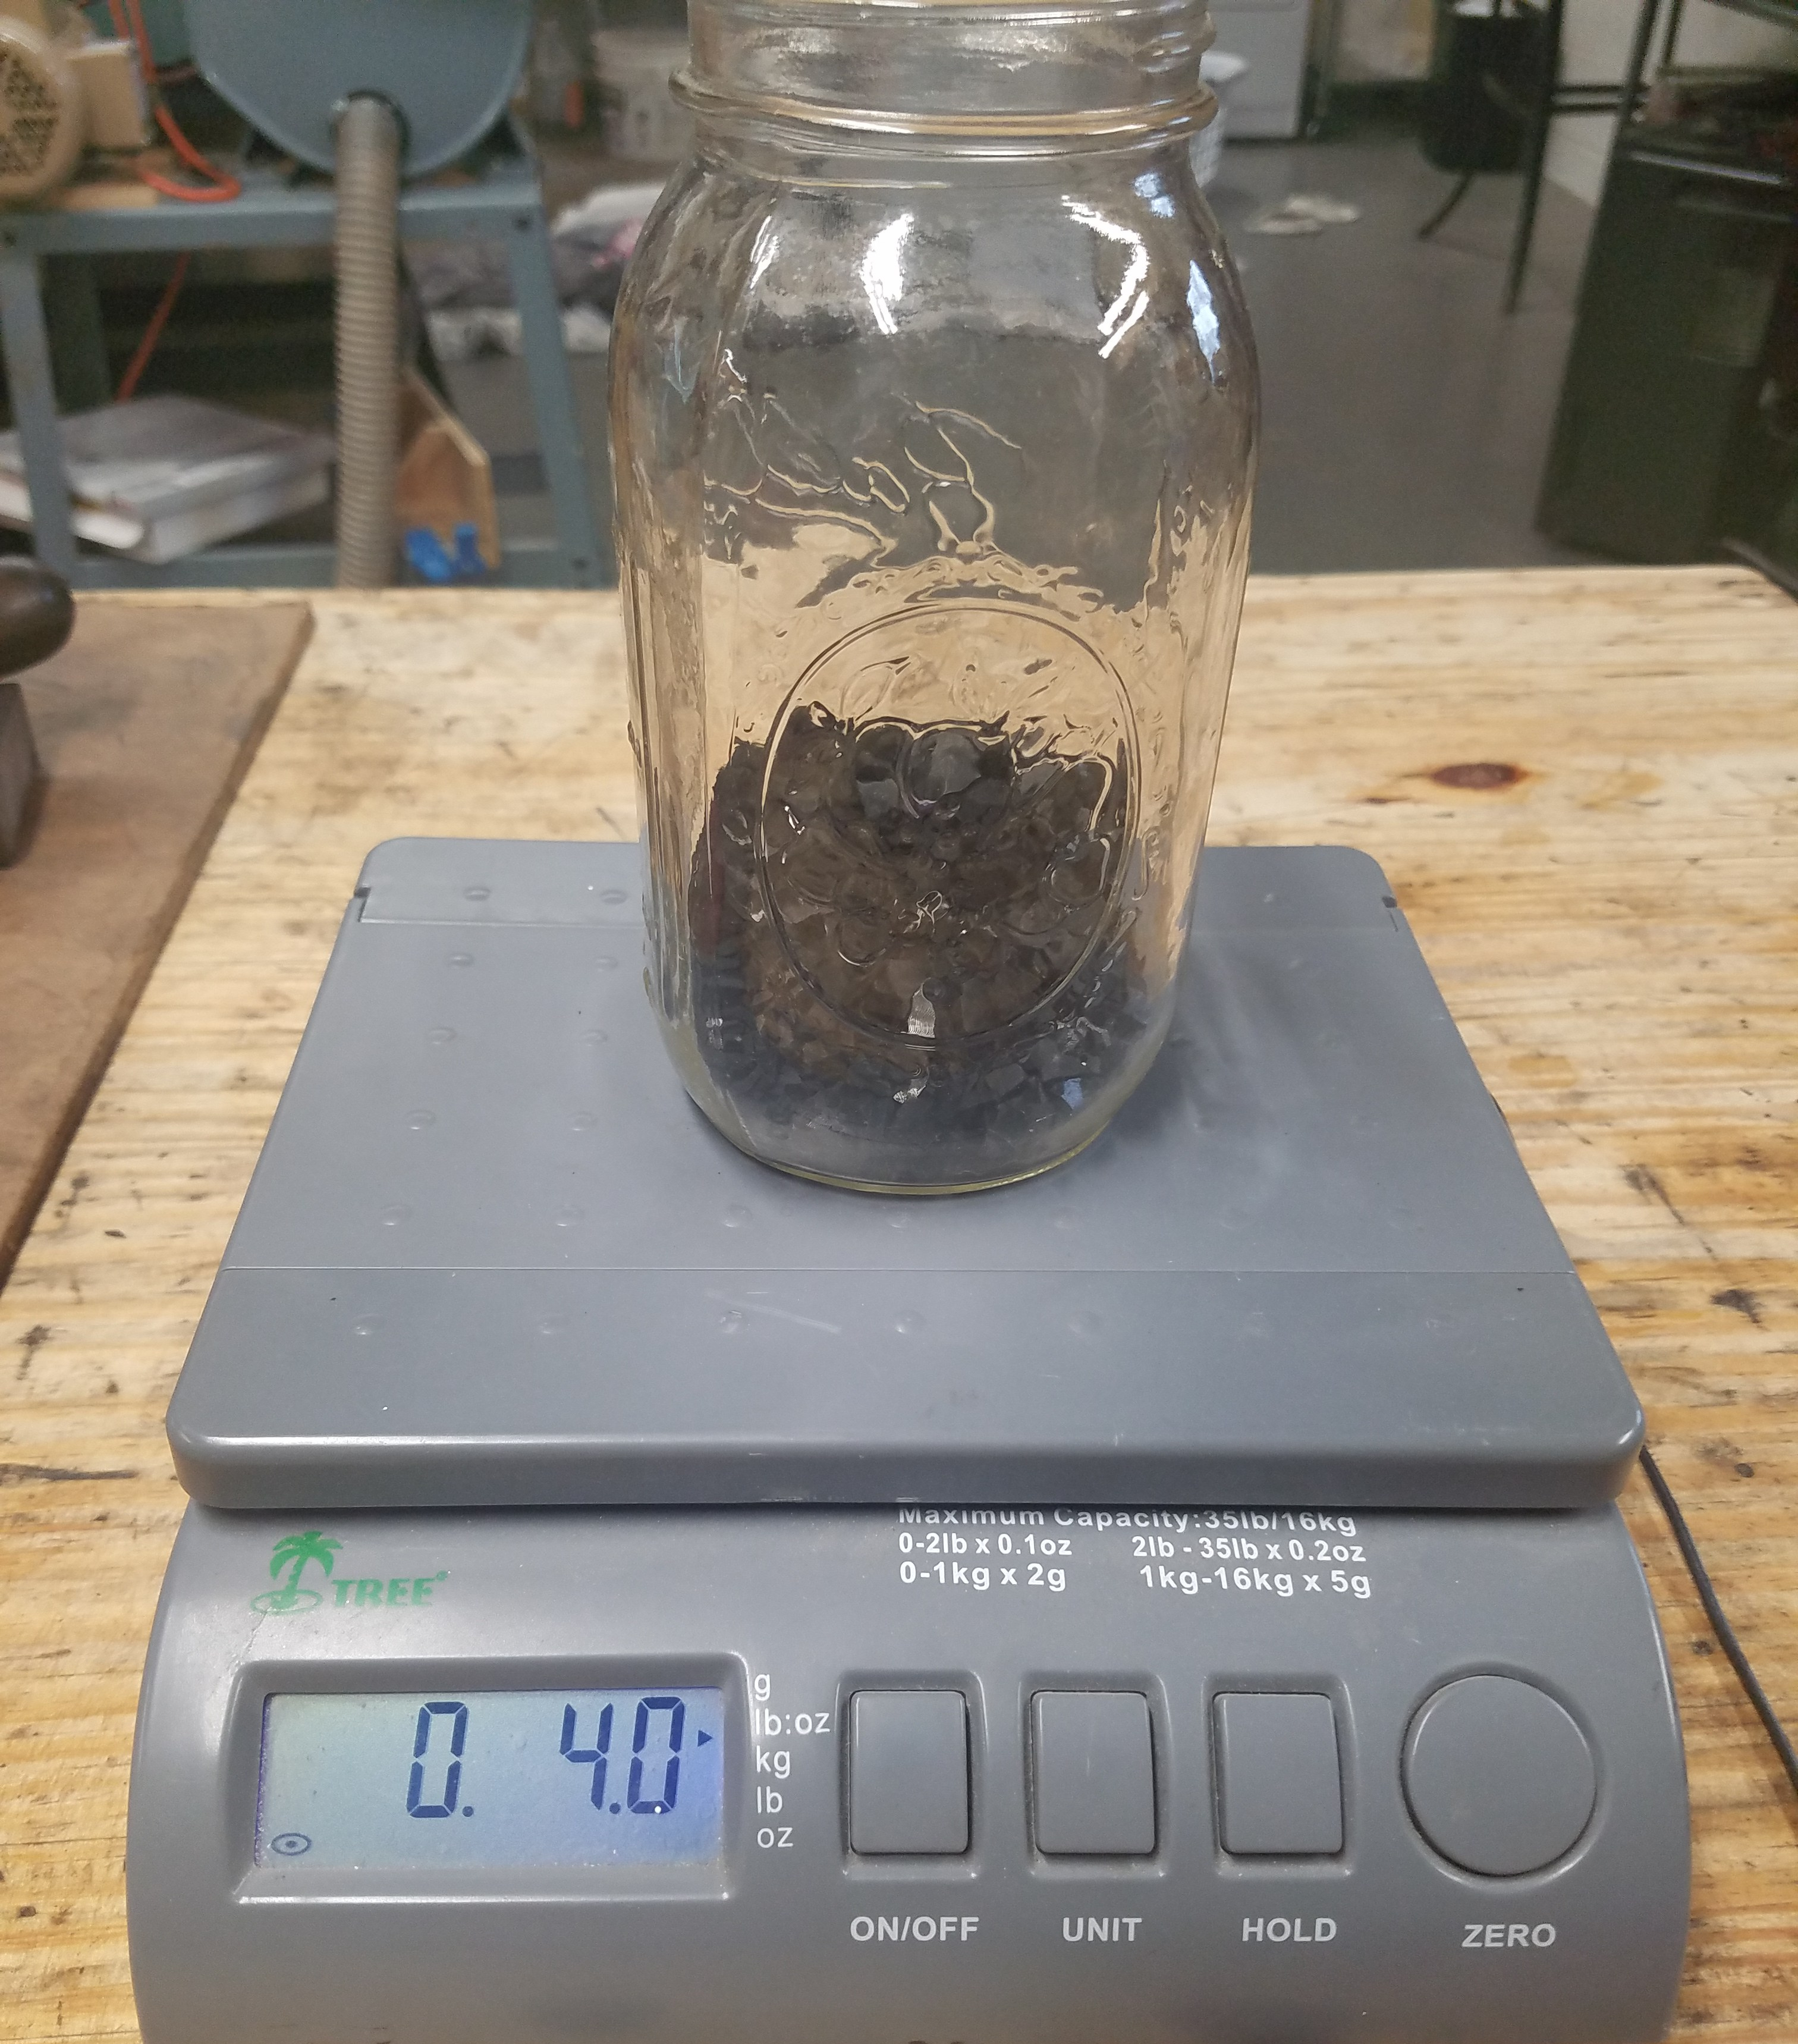
Next, I weighed the pieces into a mason jar and measured out 4 ounces of shellac since I was making a two pound cut with 16 ounces of denatured alcohol

If you get confused on much shellac flakes you need for certain pound cut of shellac, here’s a simple chart I’ve been using for years. Since I make 2 cups of shellac, I double the amount of flakes I need for a two pound cut on the chart. Pretty simple.

Like any other shellac, I let the solution set for a day or two stirring the mix every few hours to help break it down. With the black carbon in the old 78 record, there will always be a sludge at the bottom of the jar. I shake and stir the black shellac before I use it to make sure the black dye is mixed well in the solution.

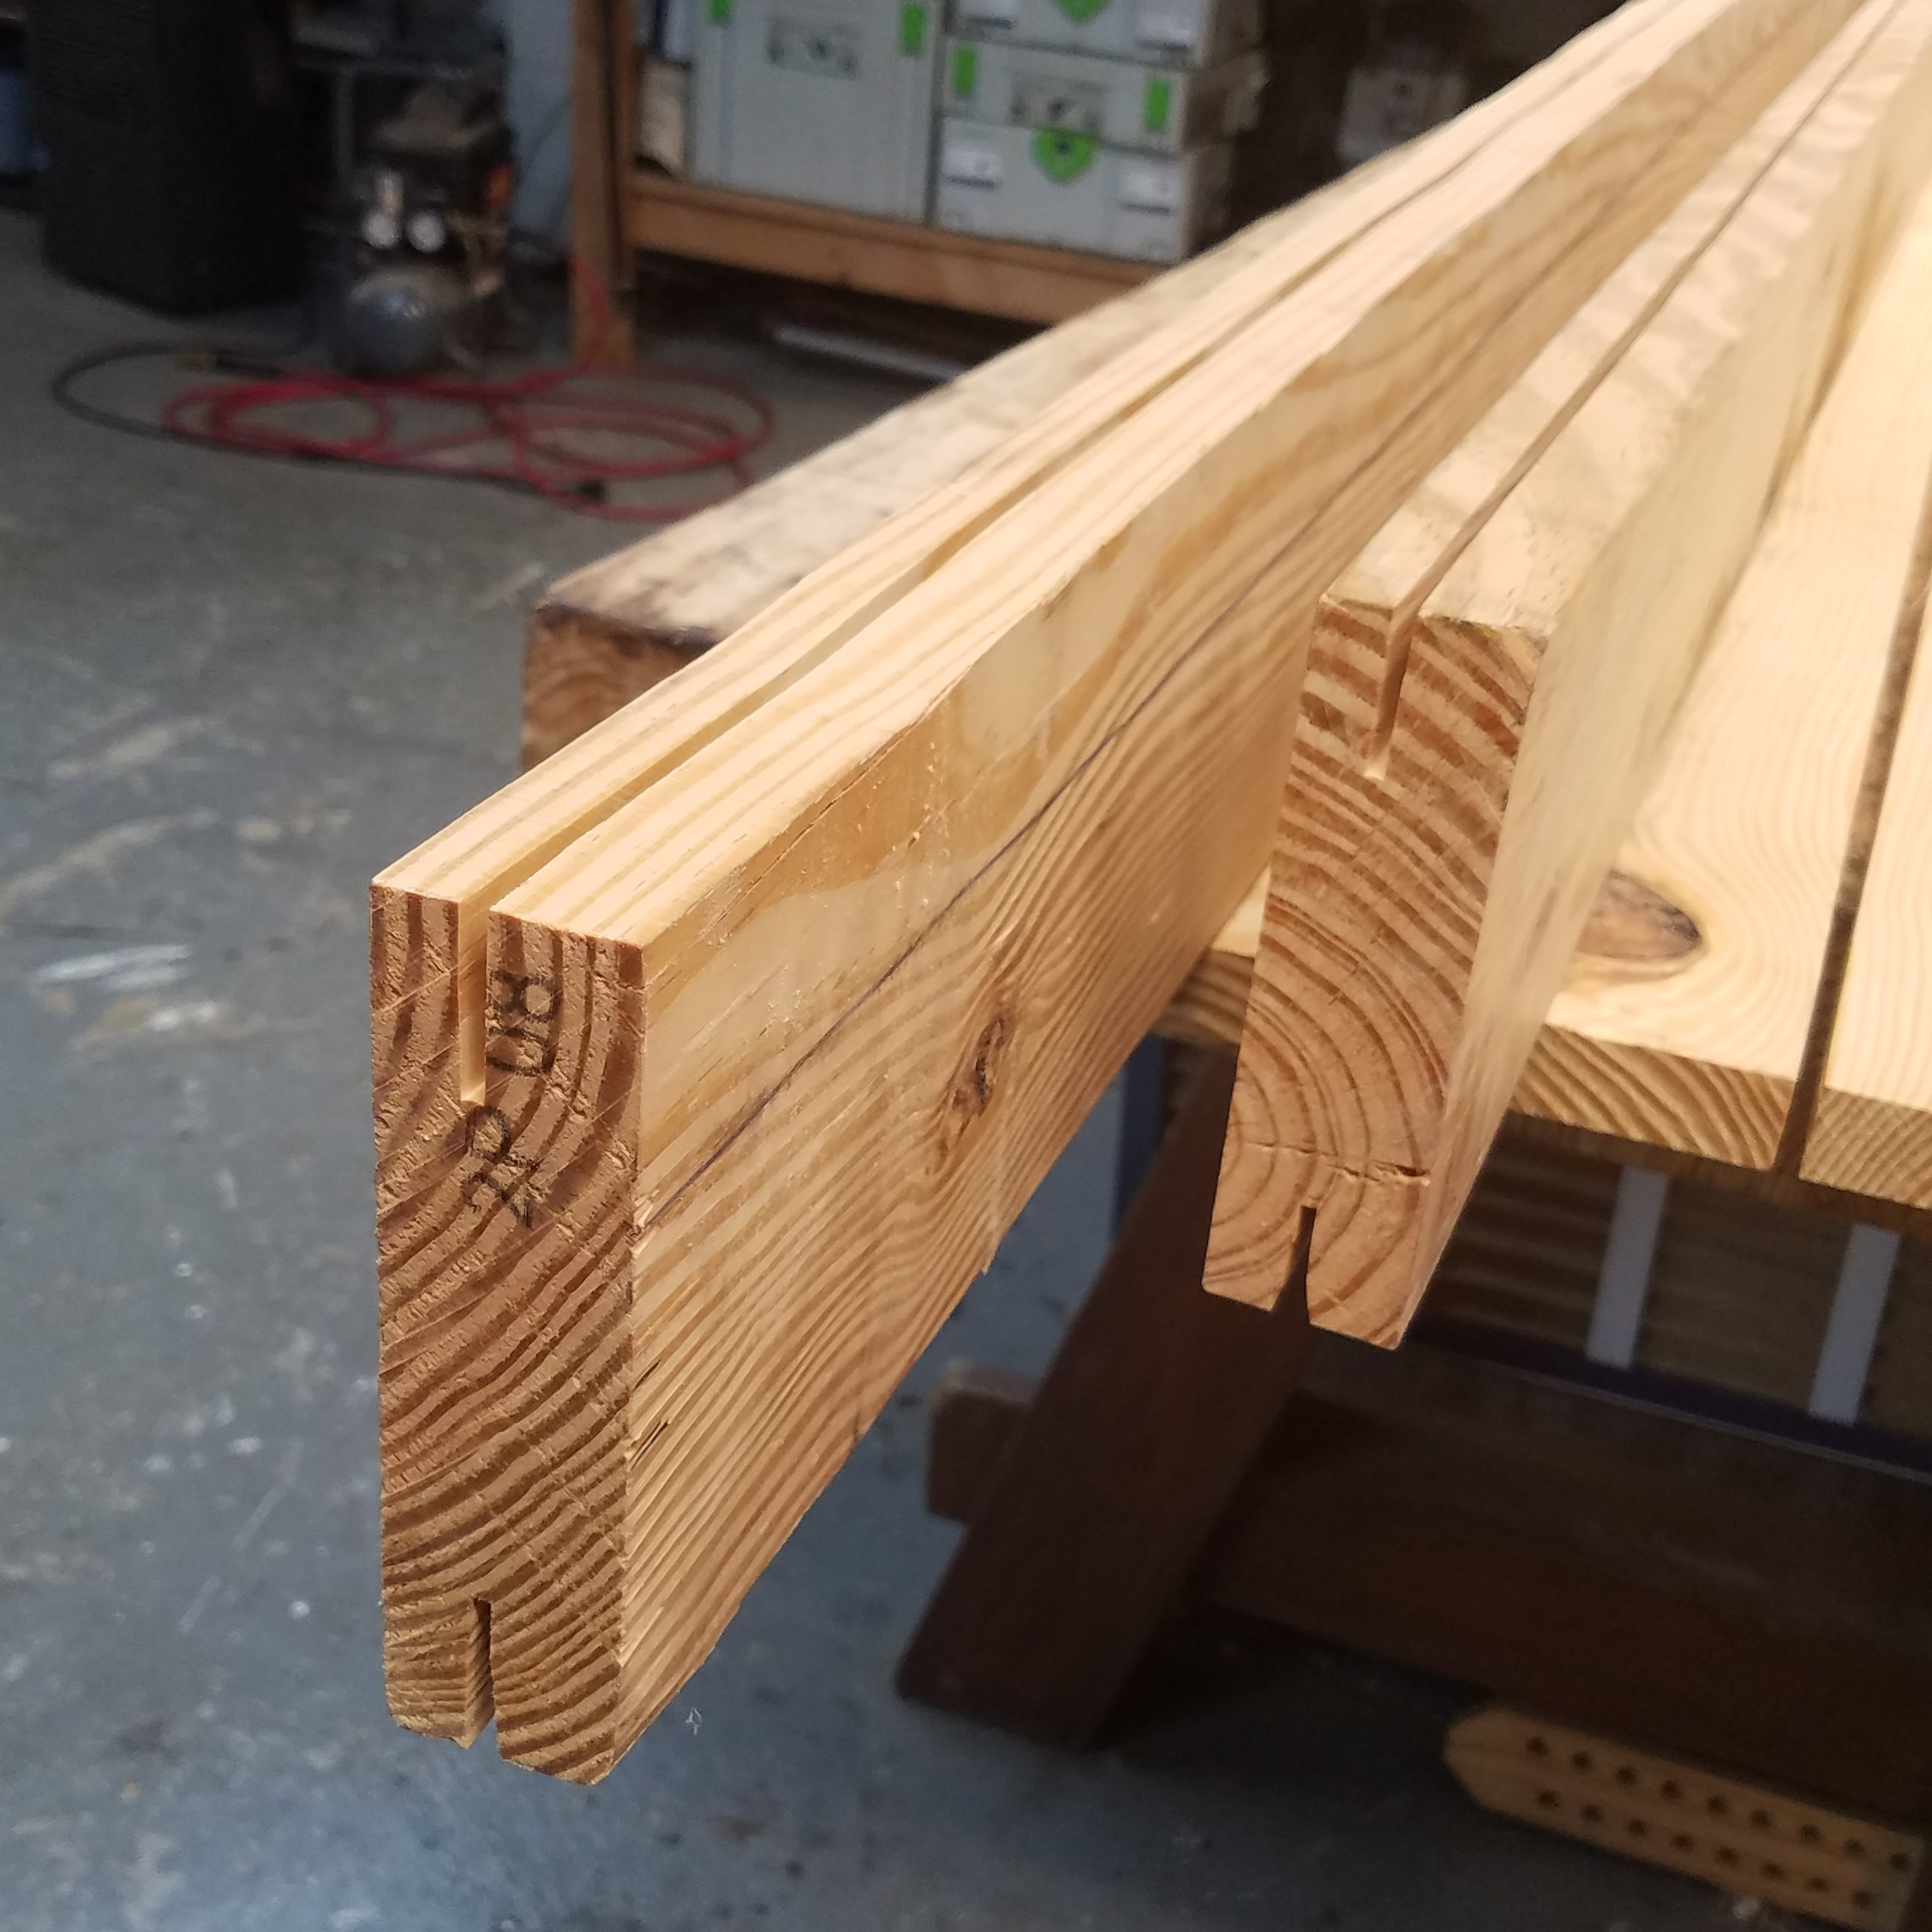
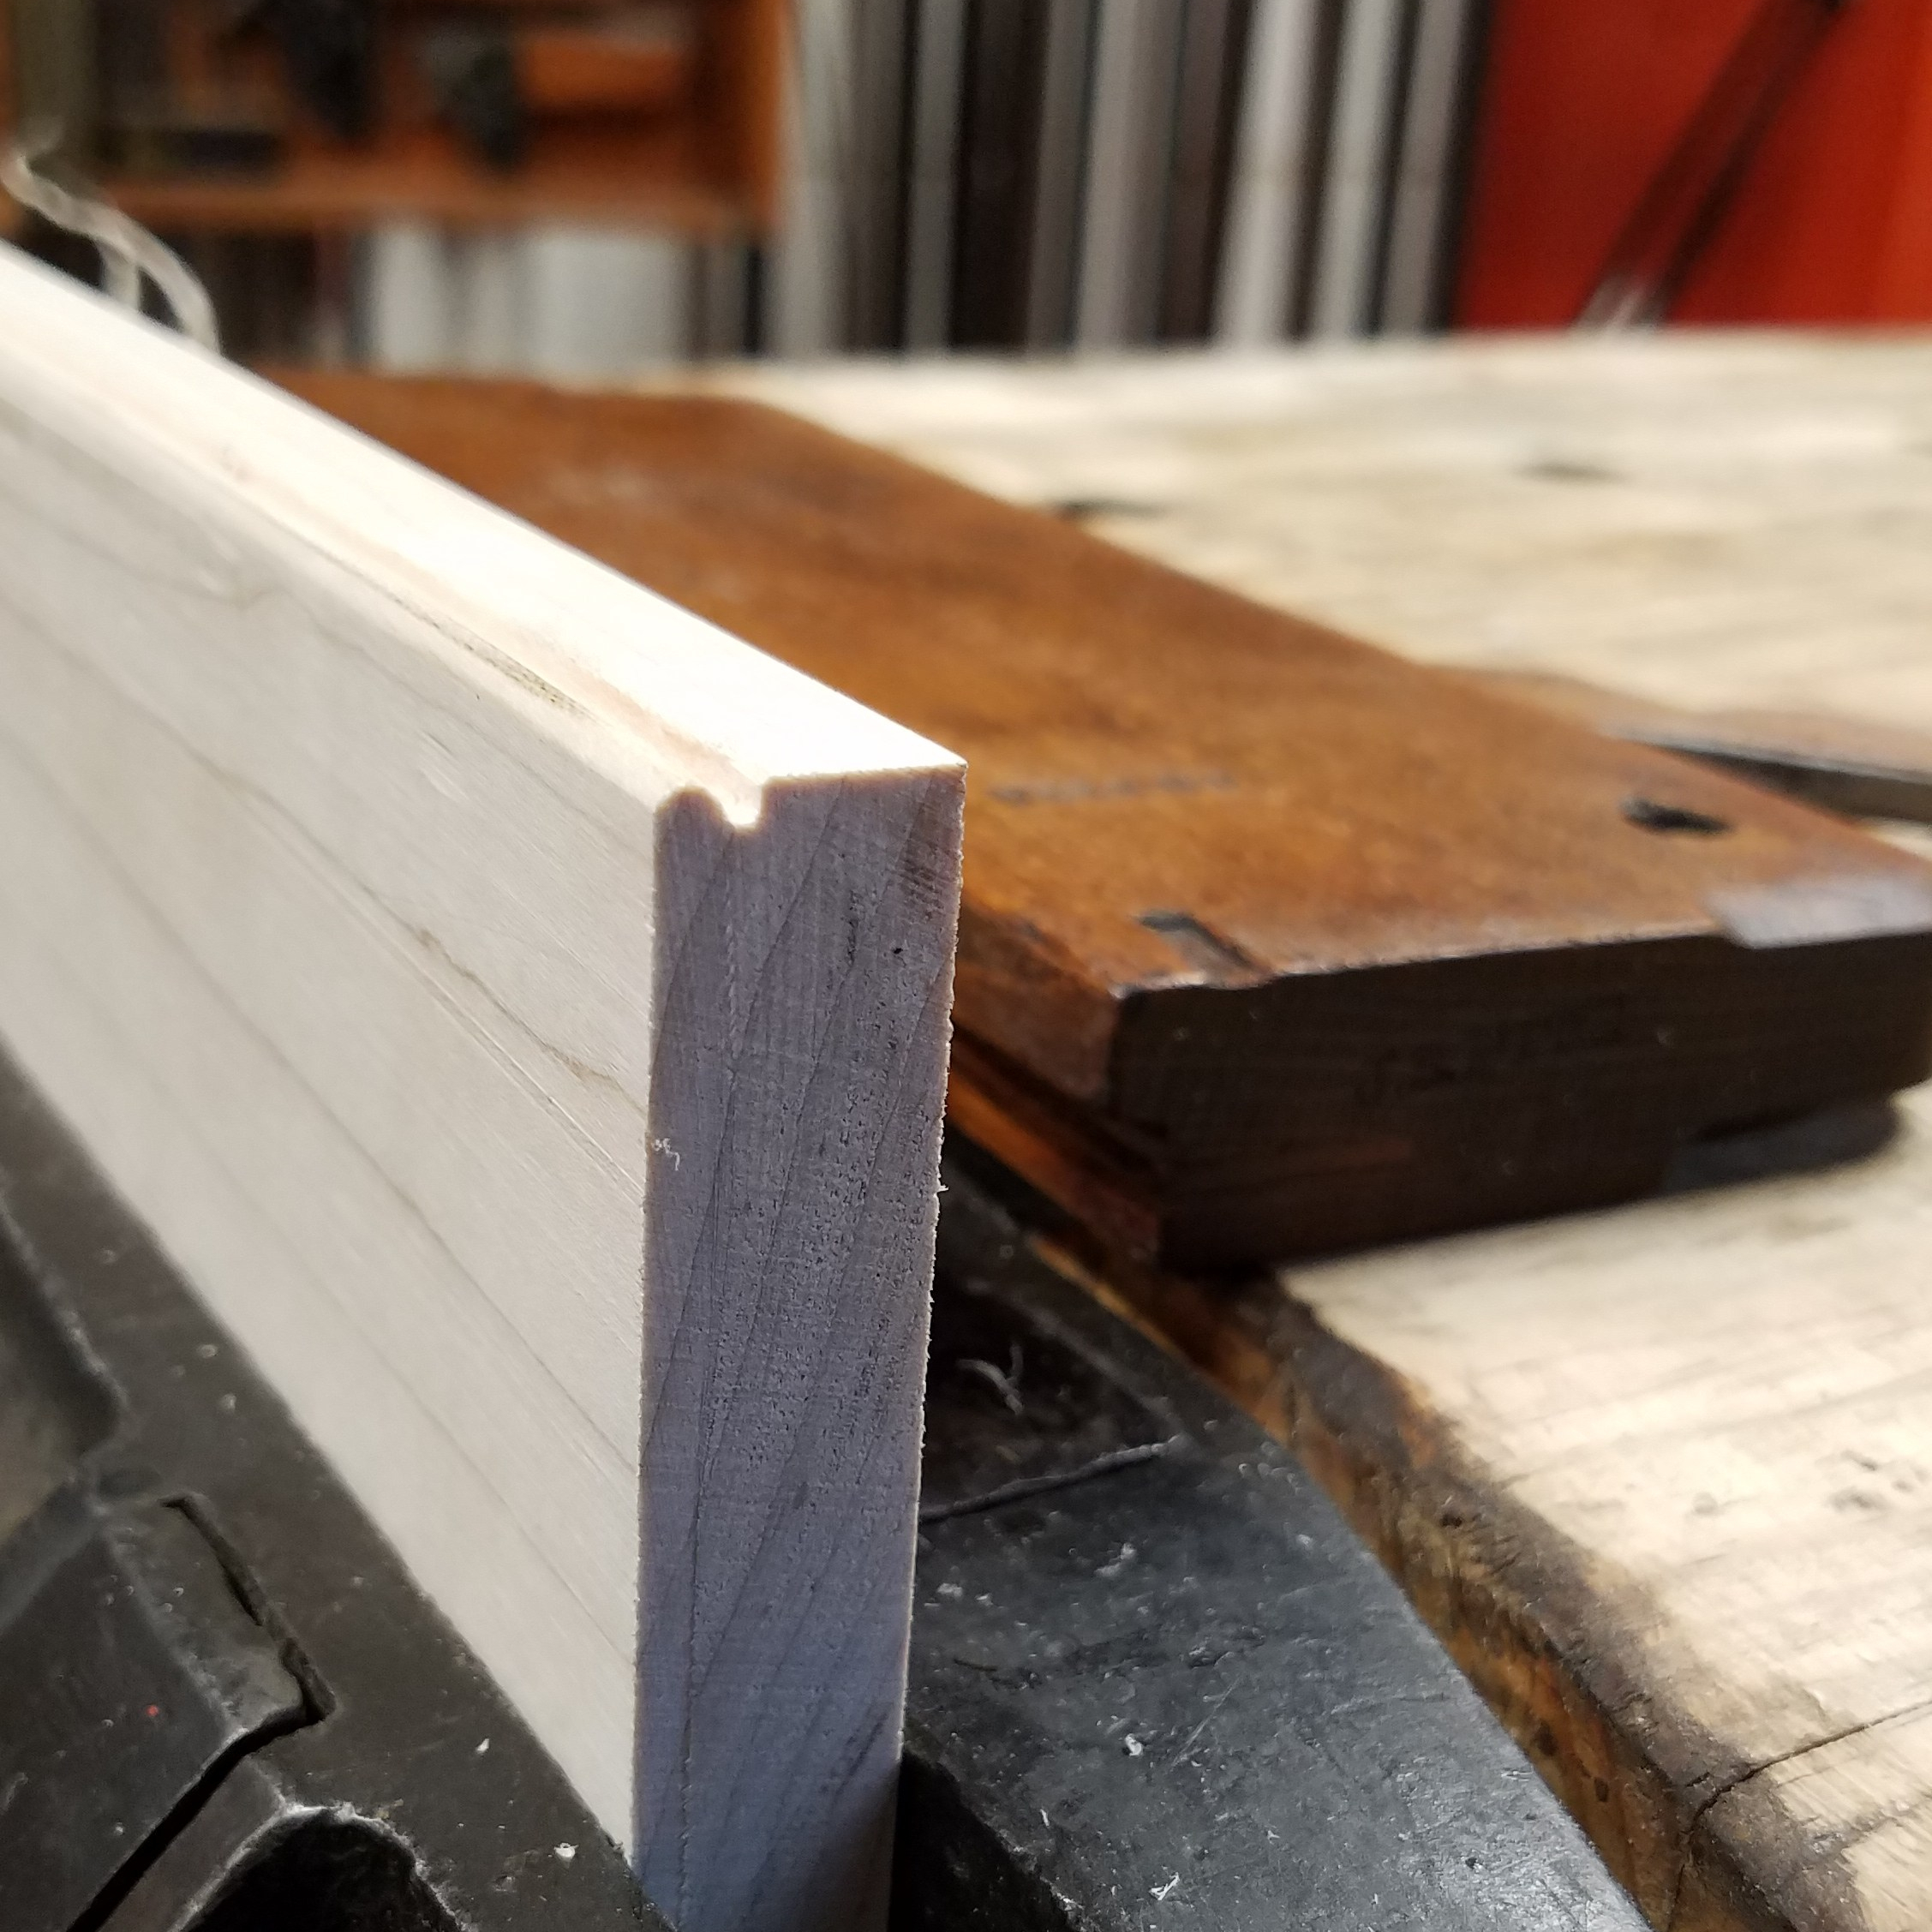
Below is a sample of three coats of black shellac on four different species of wood. You can see how the soft maple and red oak look a bit muddy however, the southern yellow pine and poplar highlight the early wood and late wood of the grain. As of right now, I’m just playing around with the shellac. I need to see how it performs on a project I make. What I like about the shellac so far is that it’s very quick to add more coats not having to wait very long between coats as the shellac dries very fast.

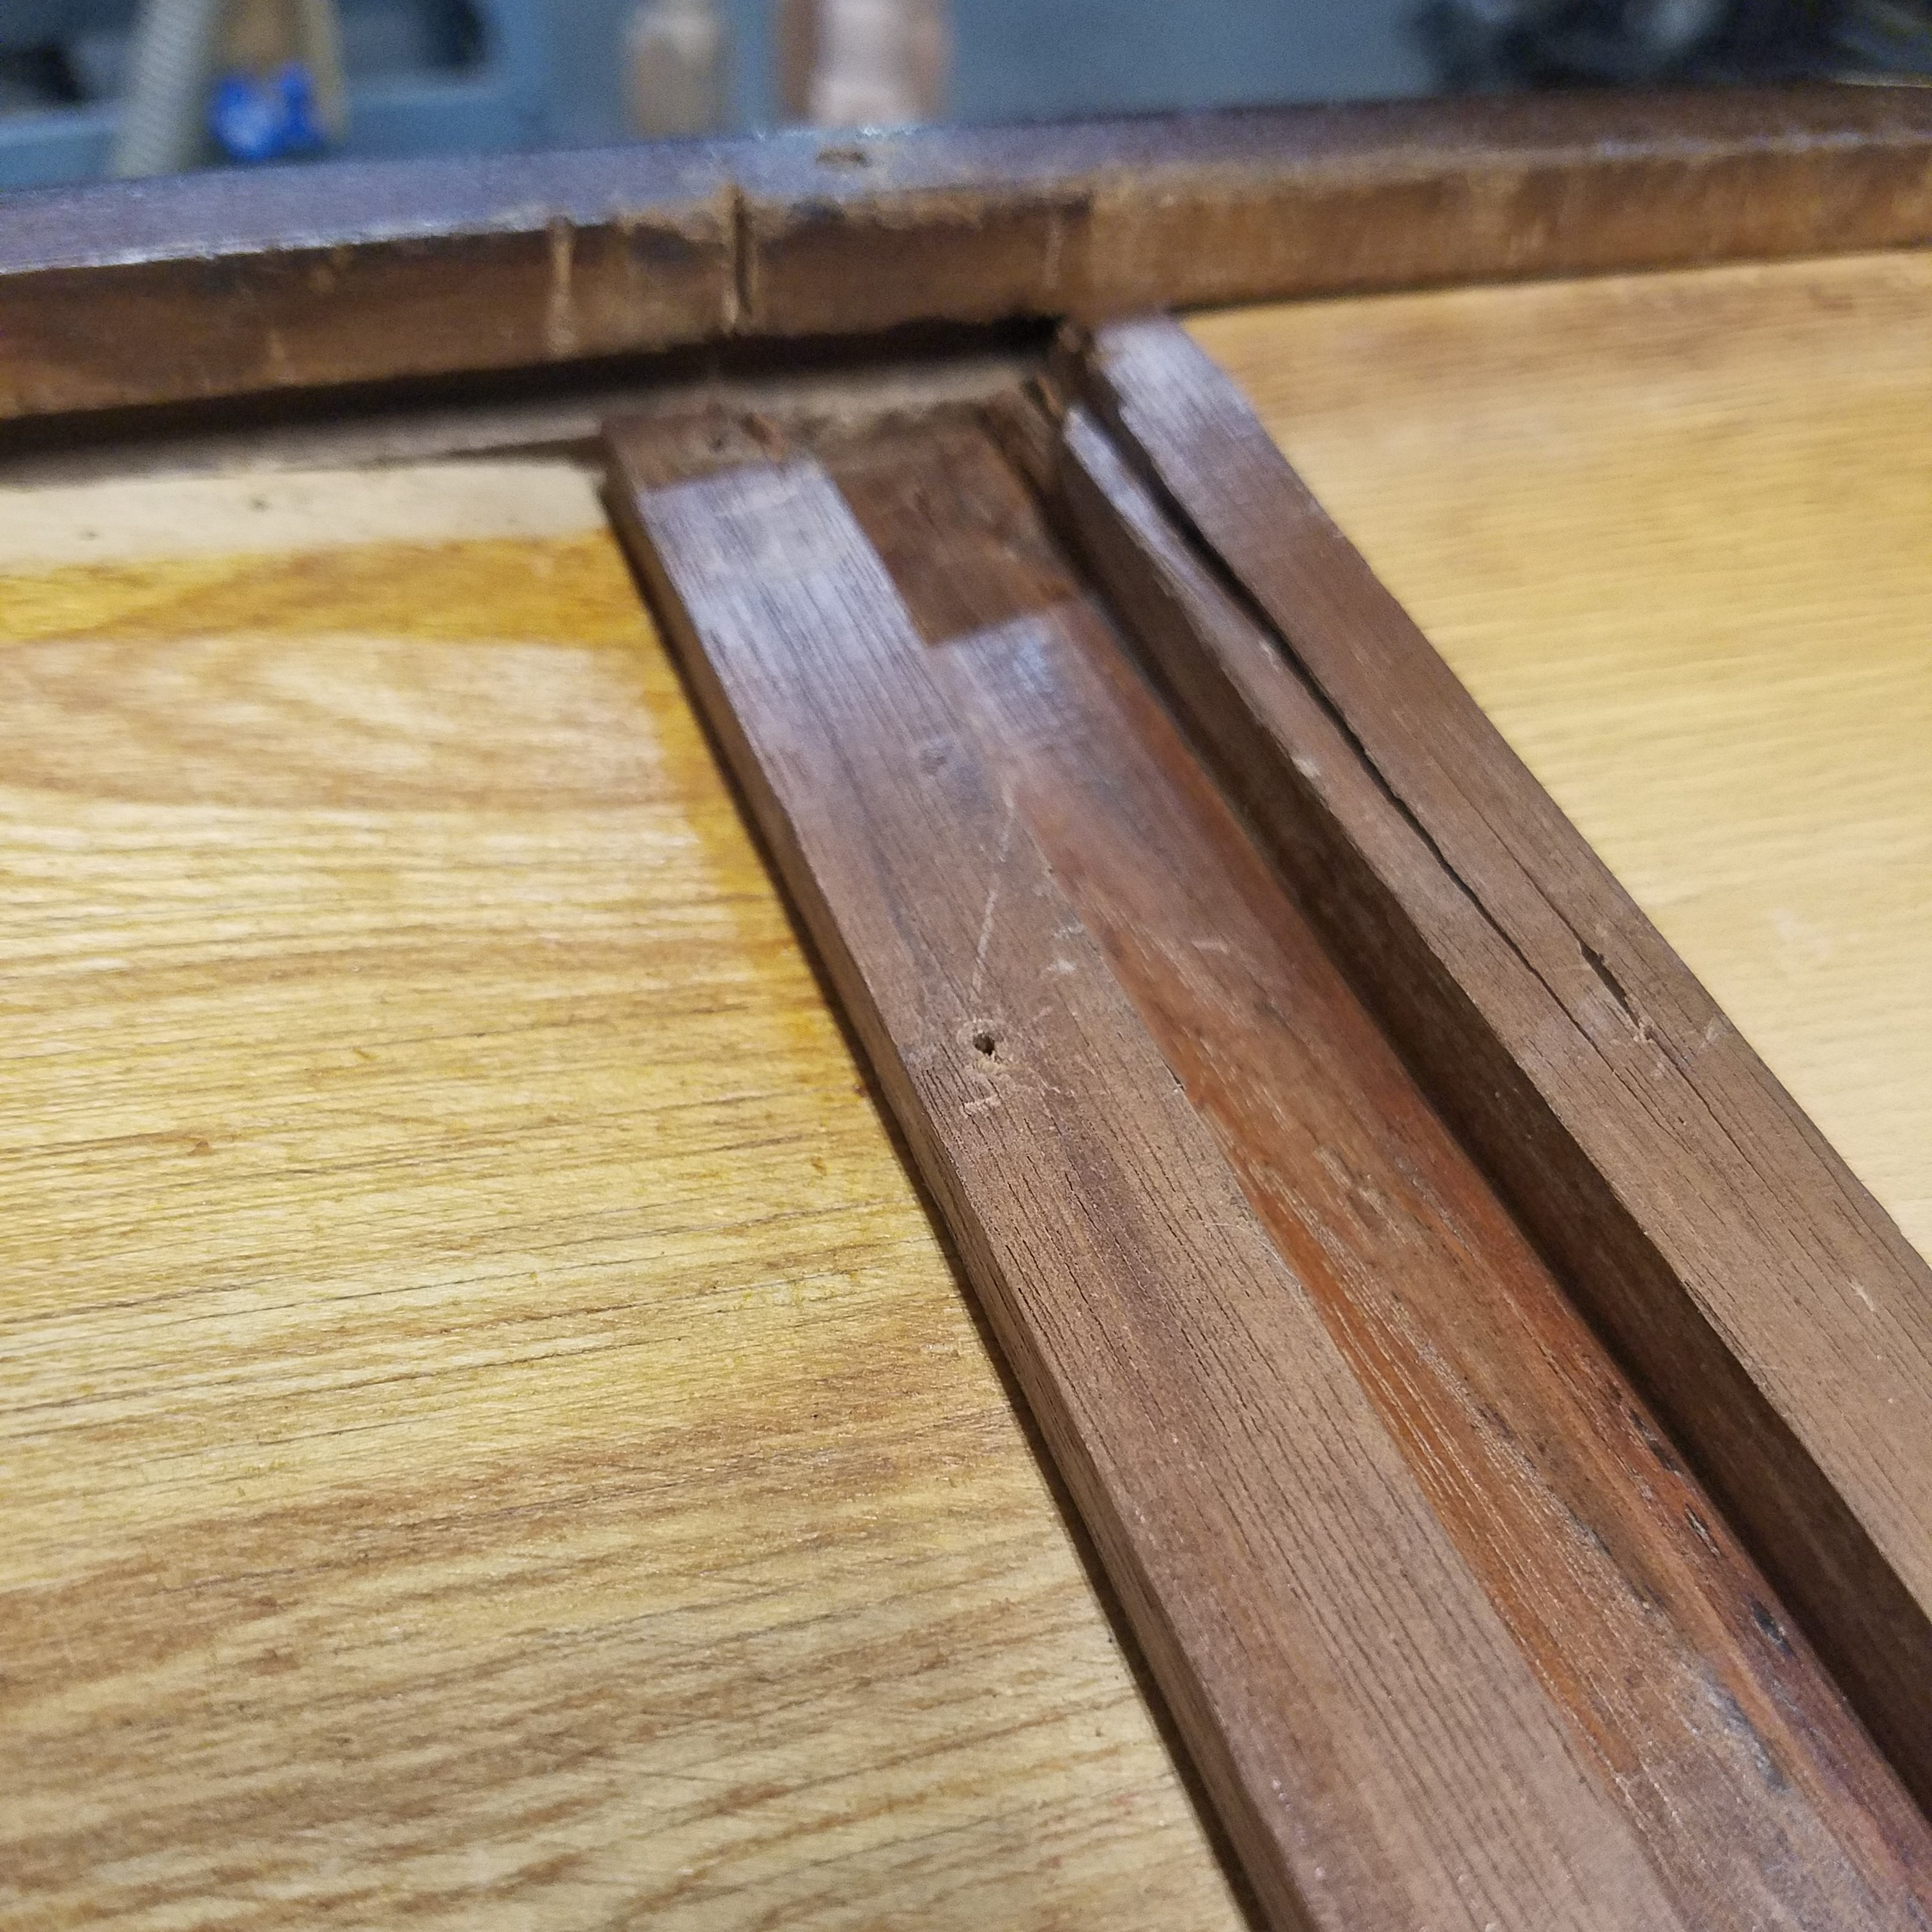
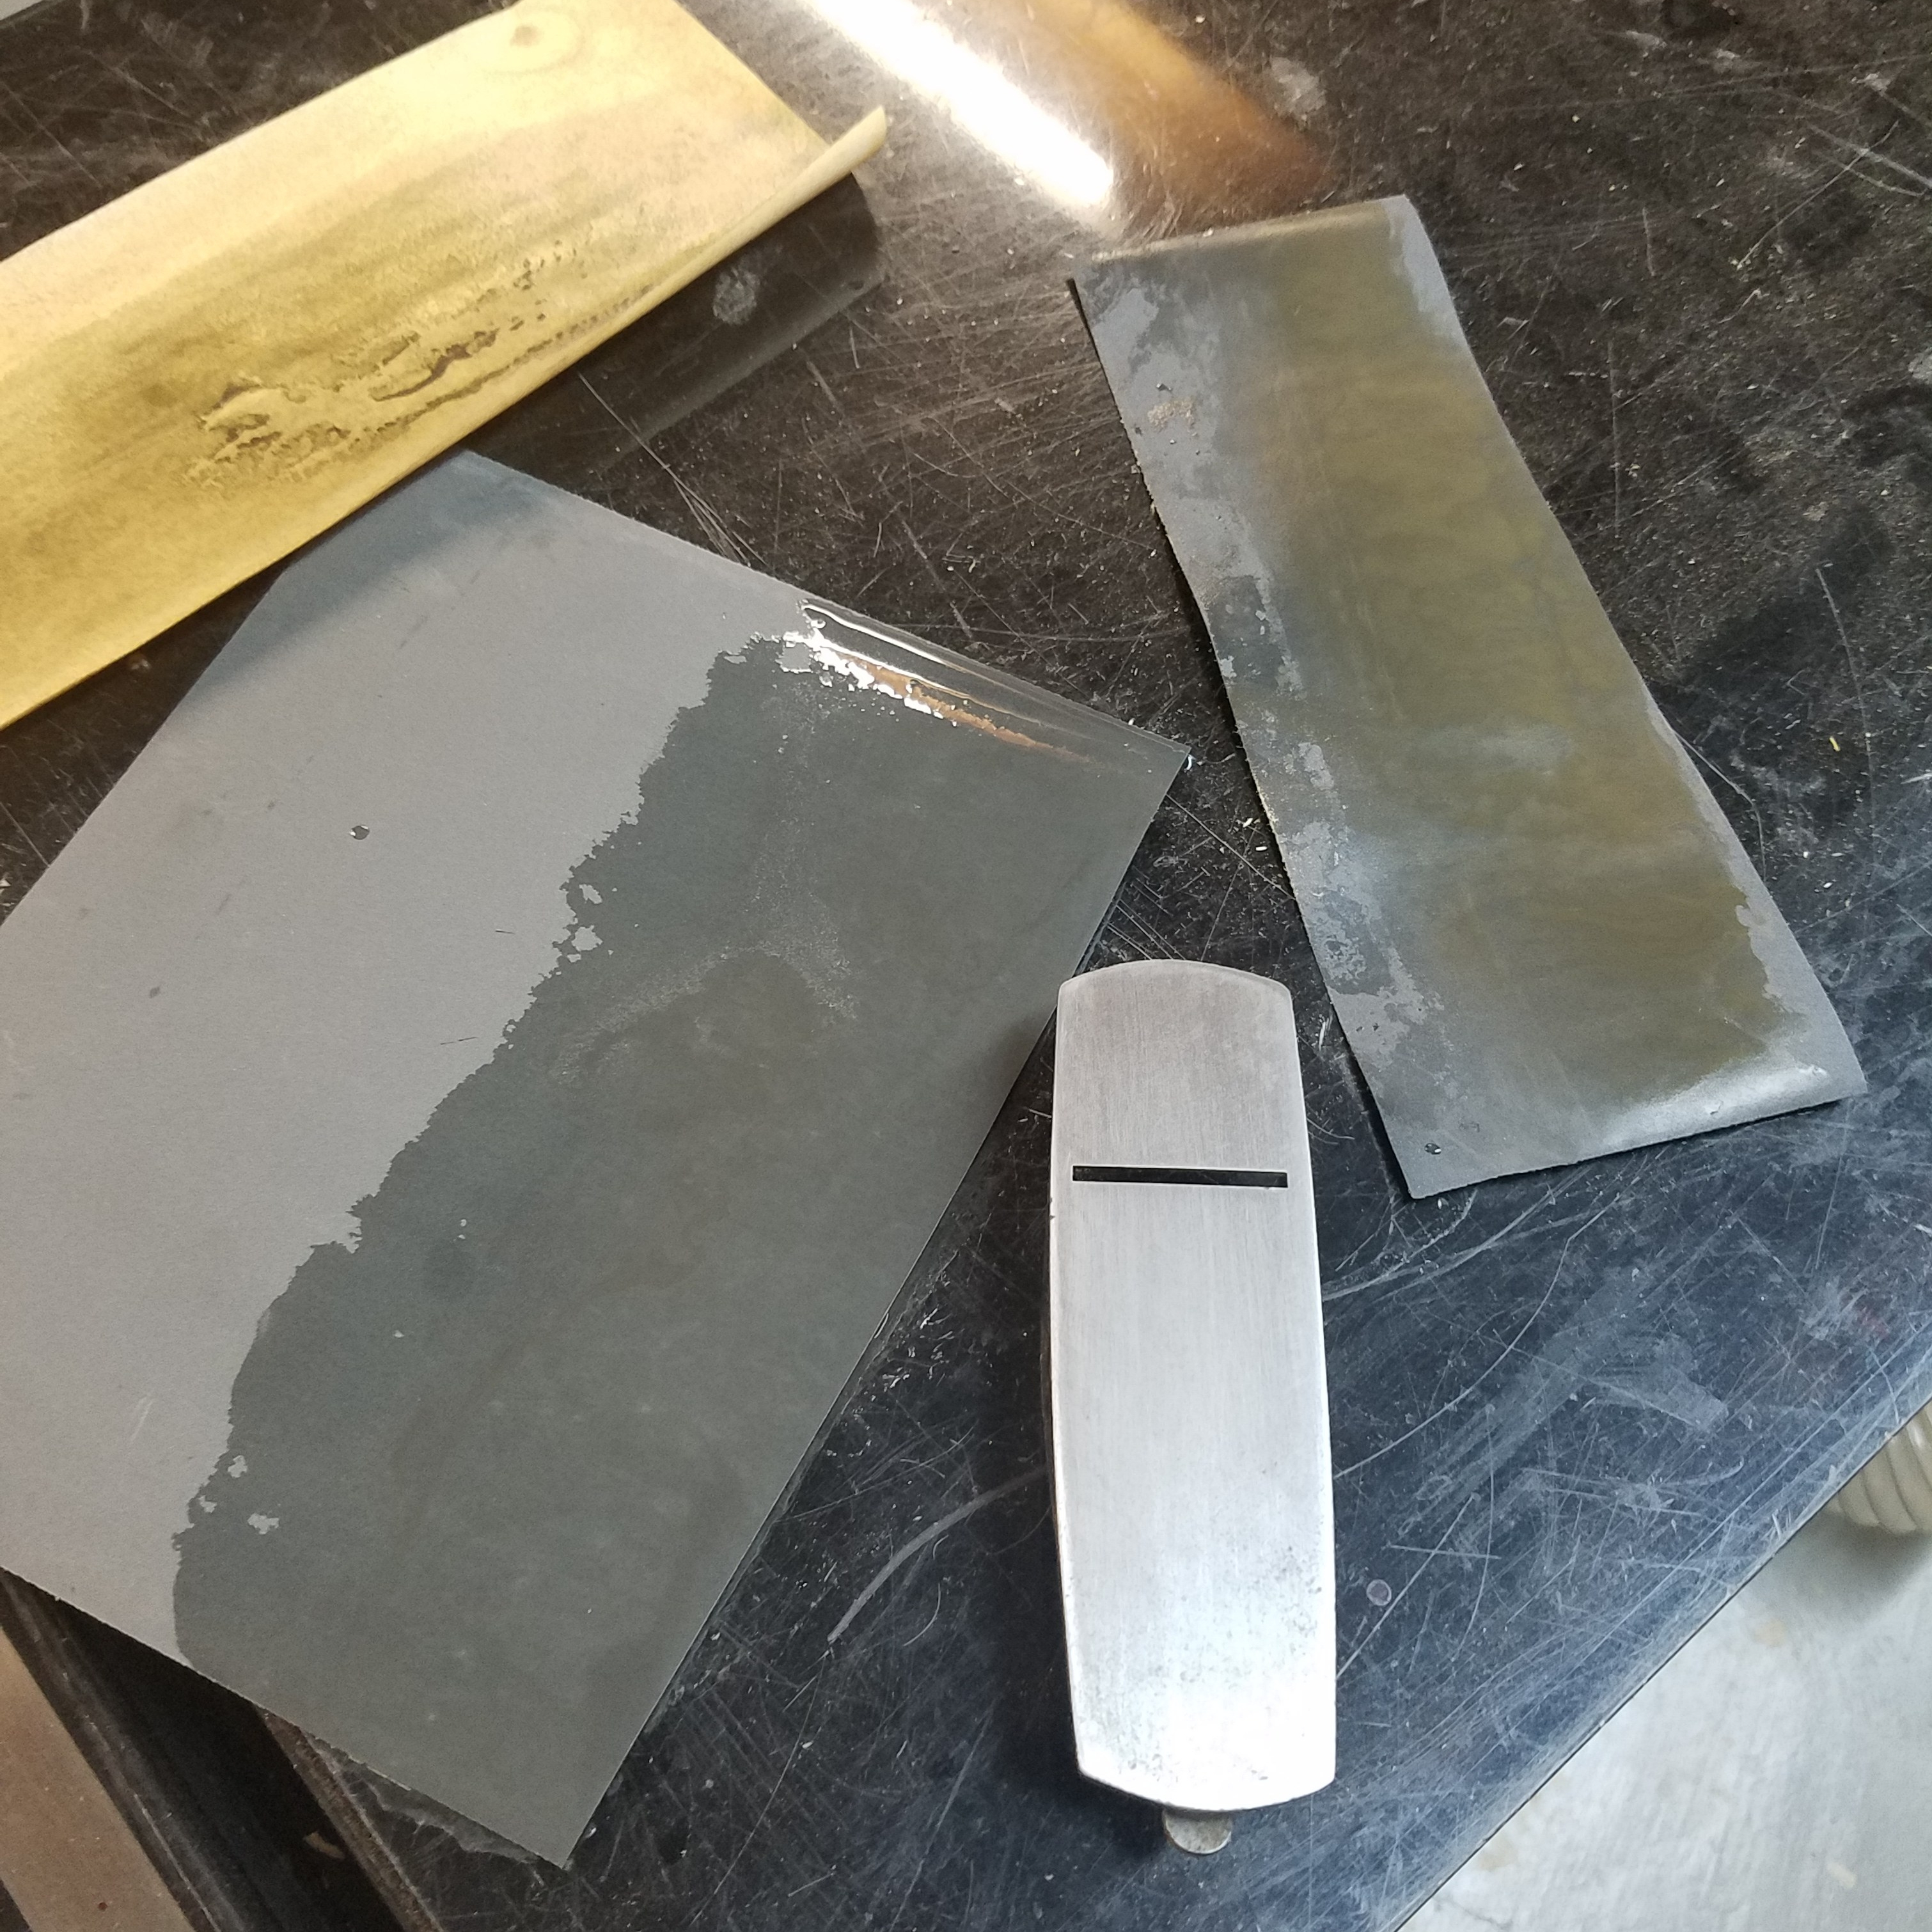
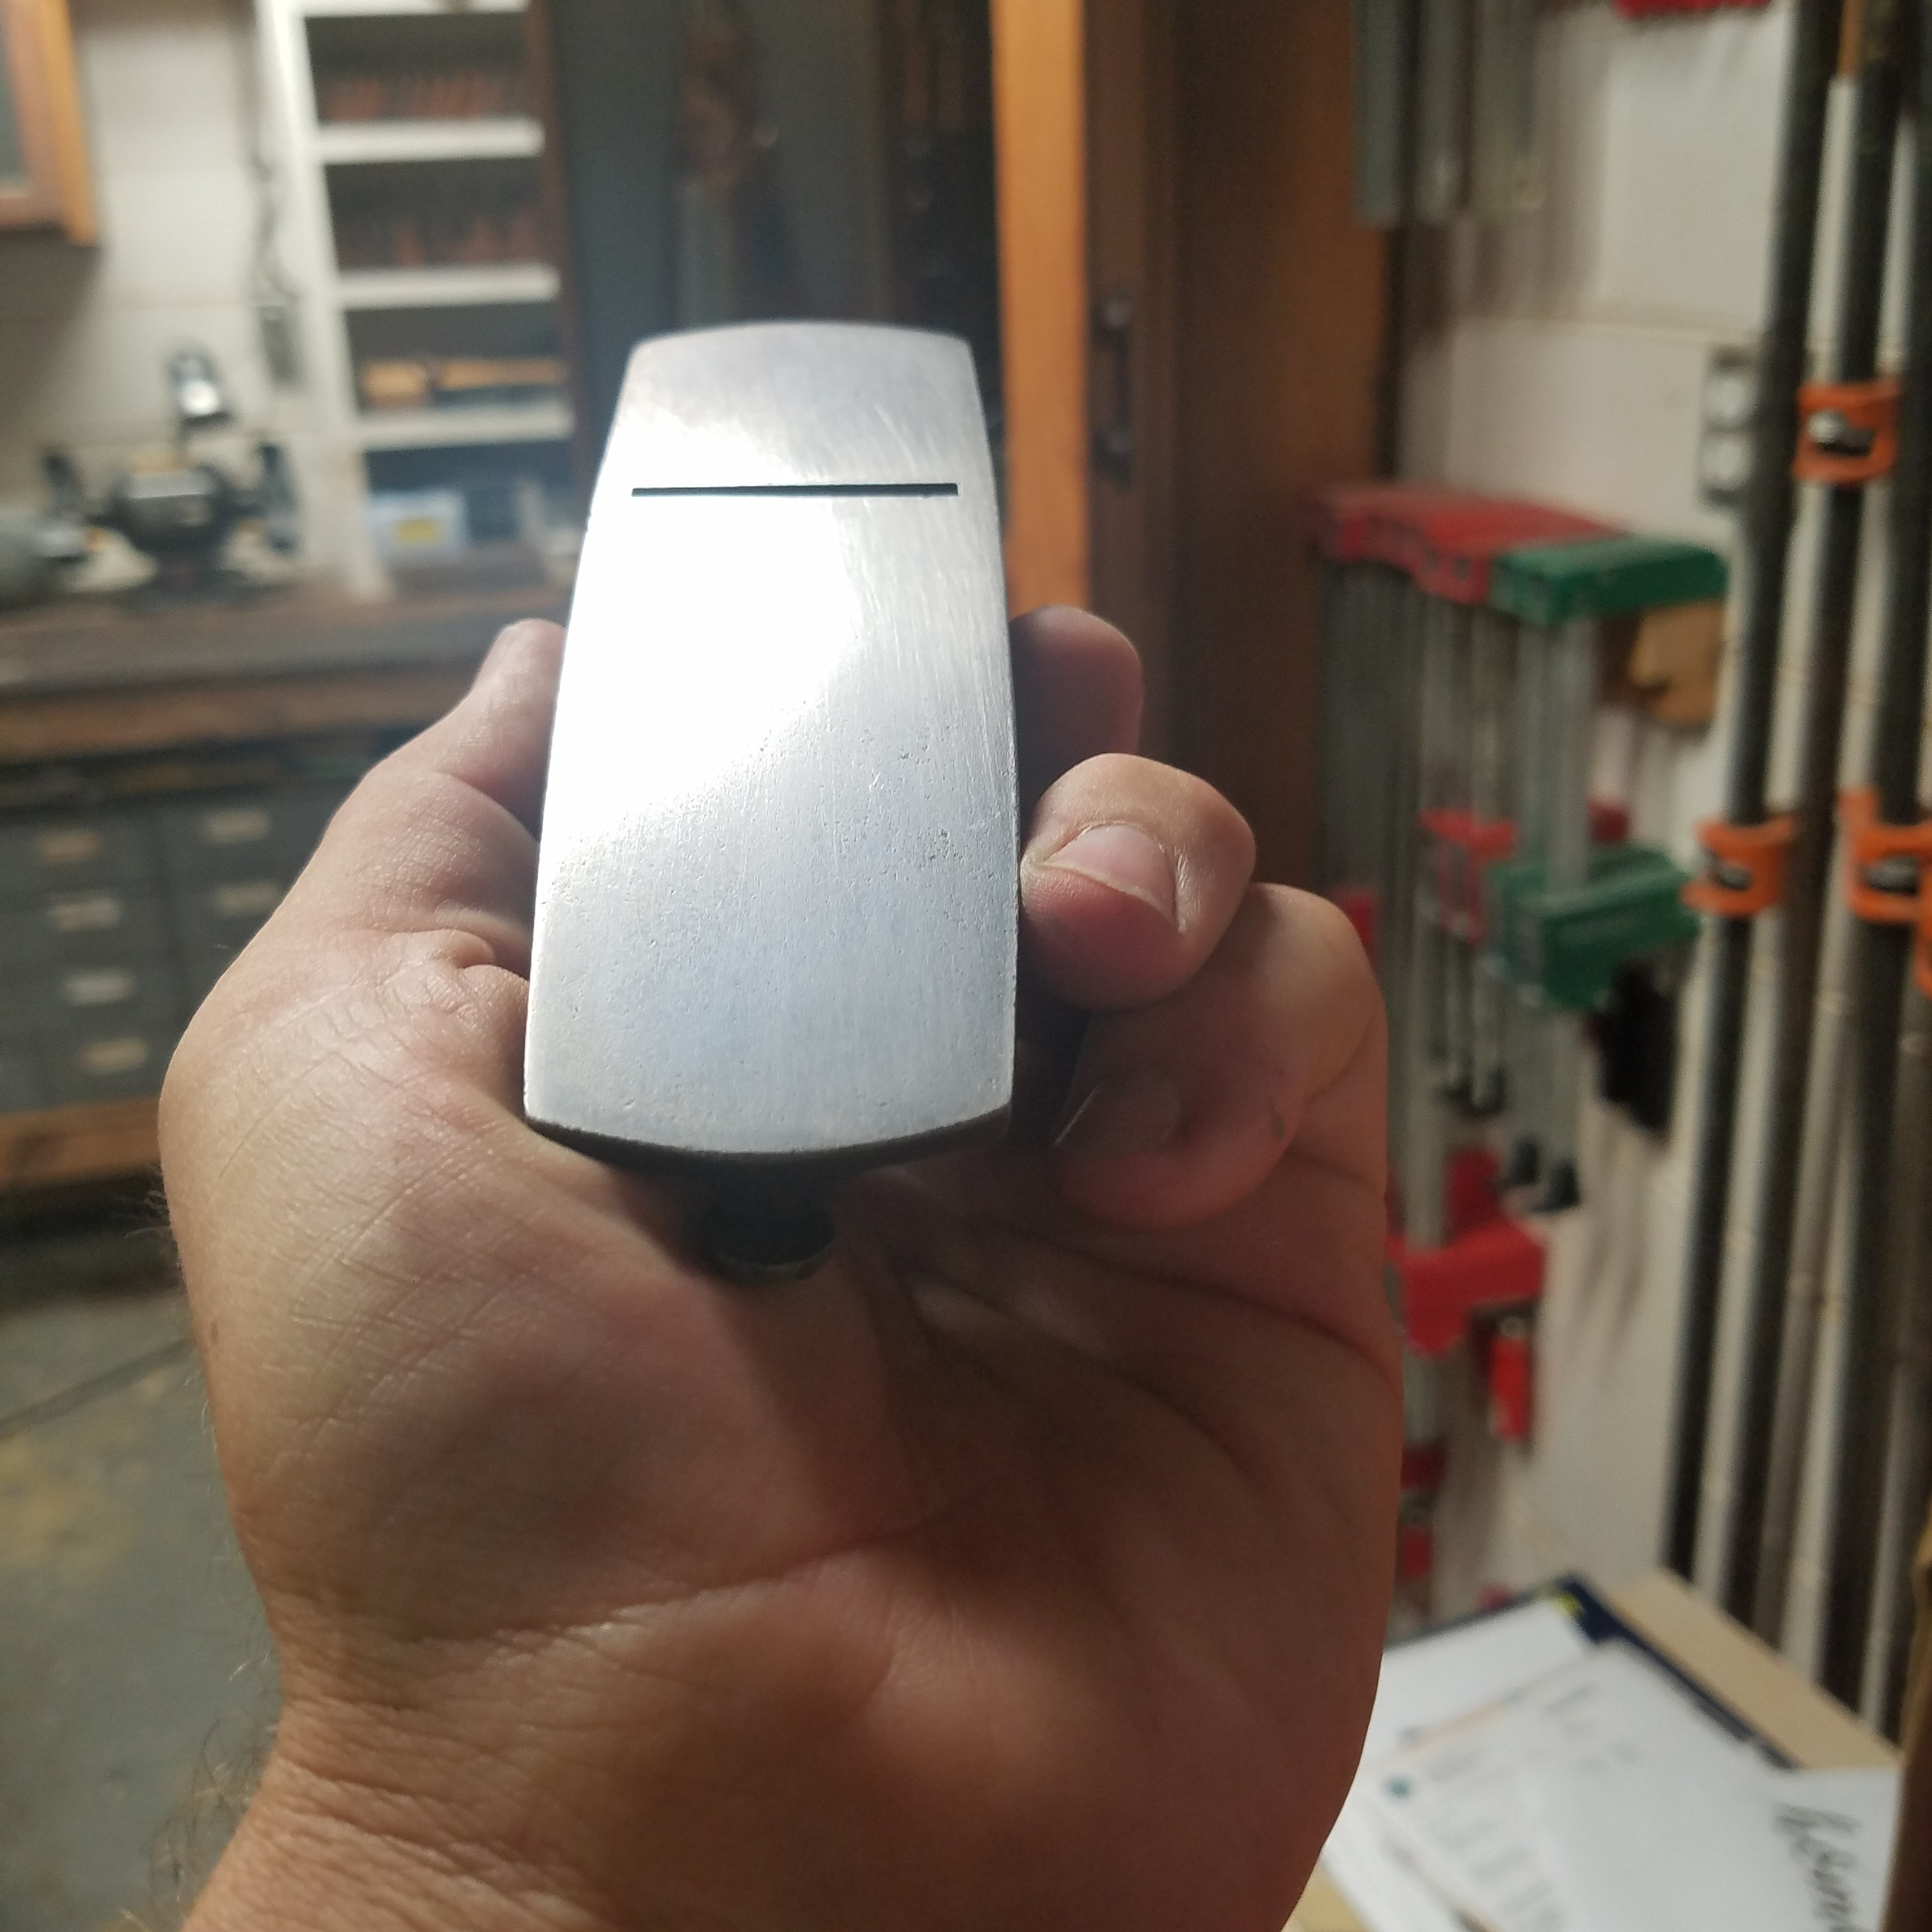
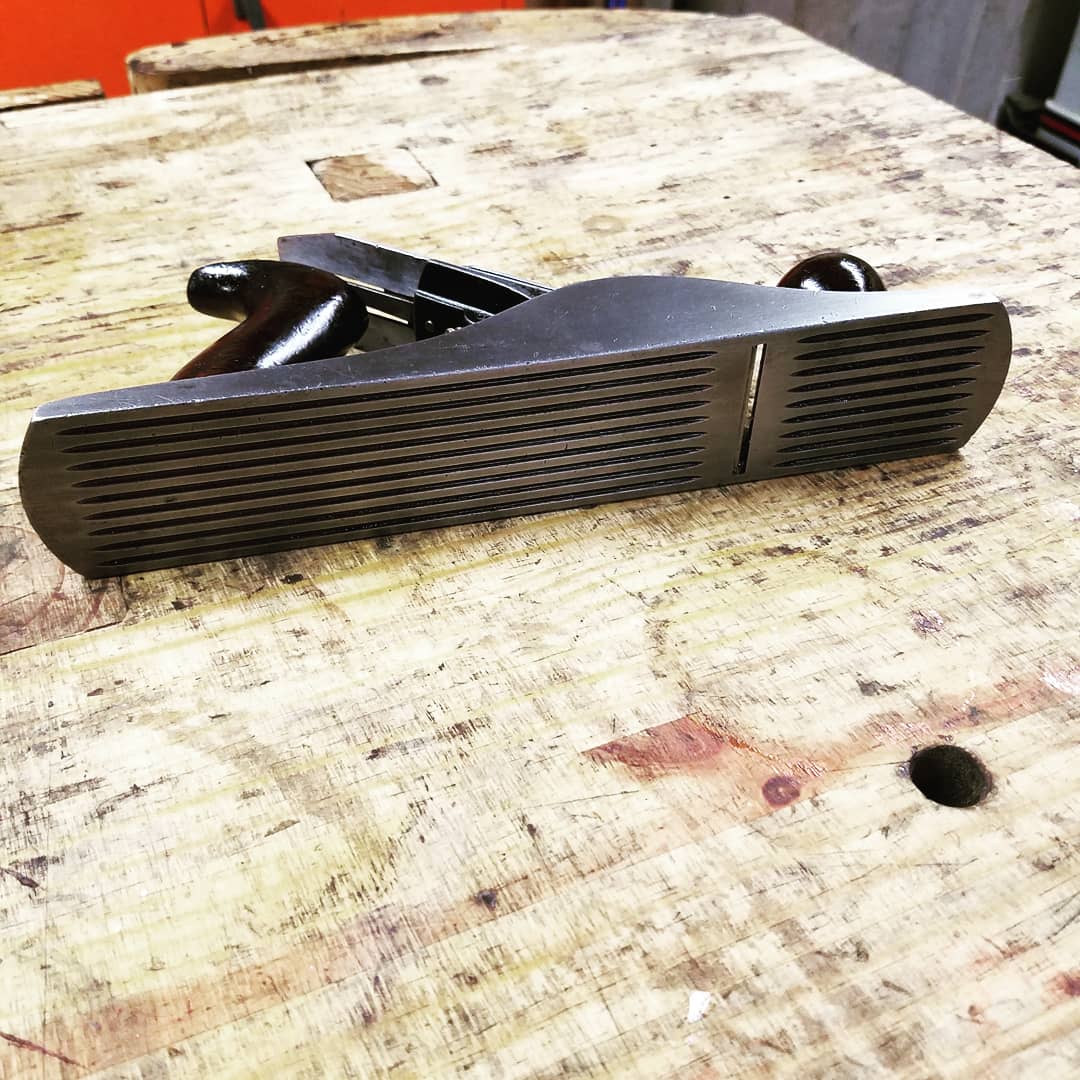
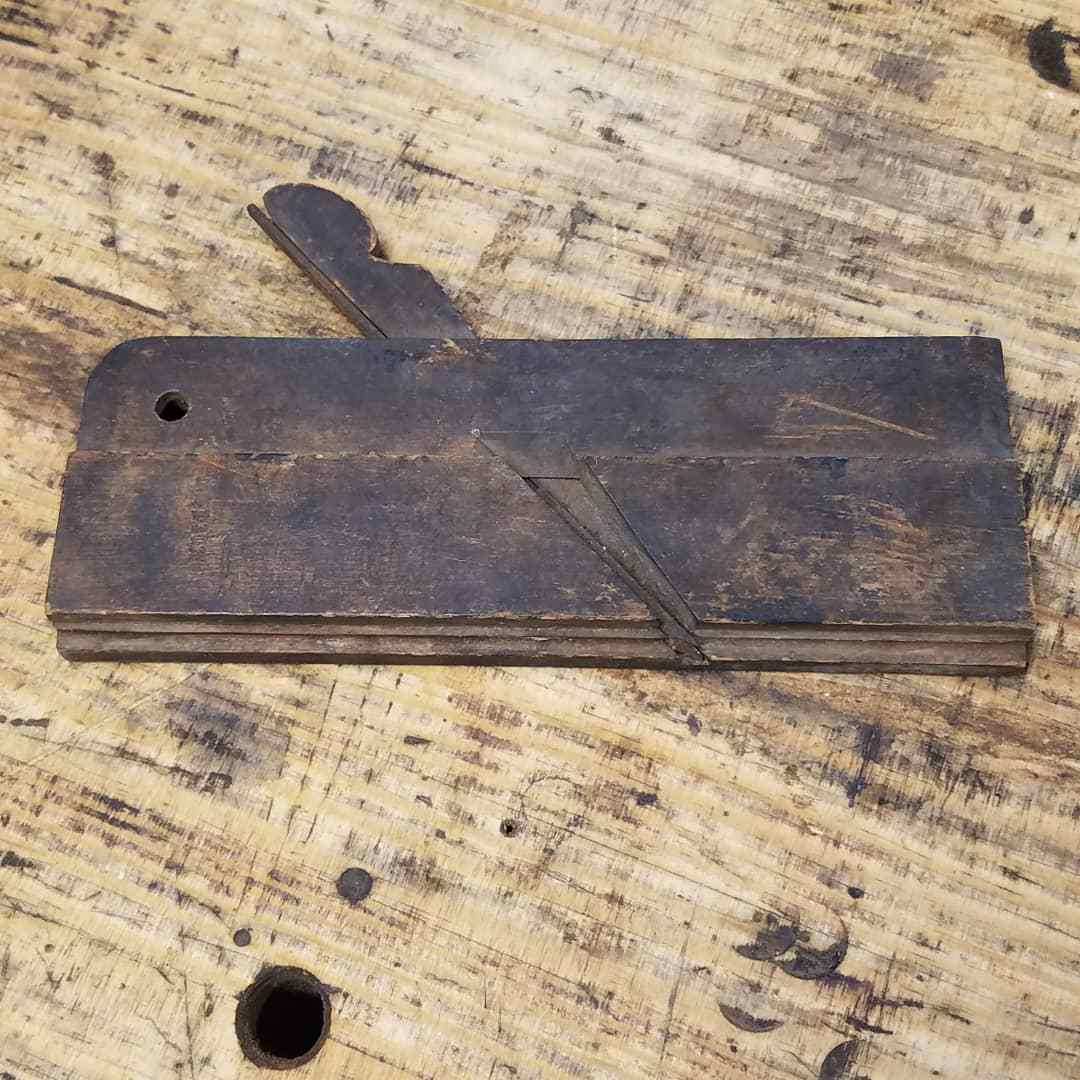
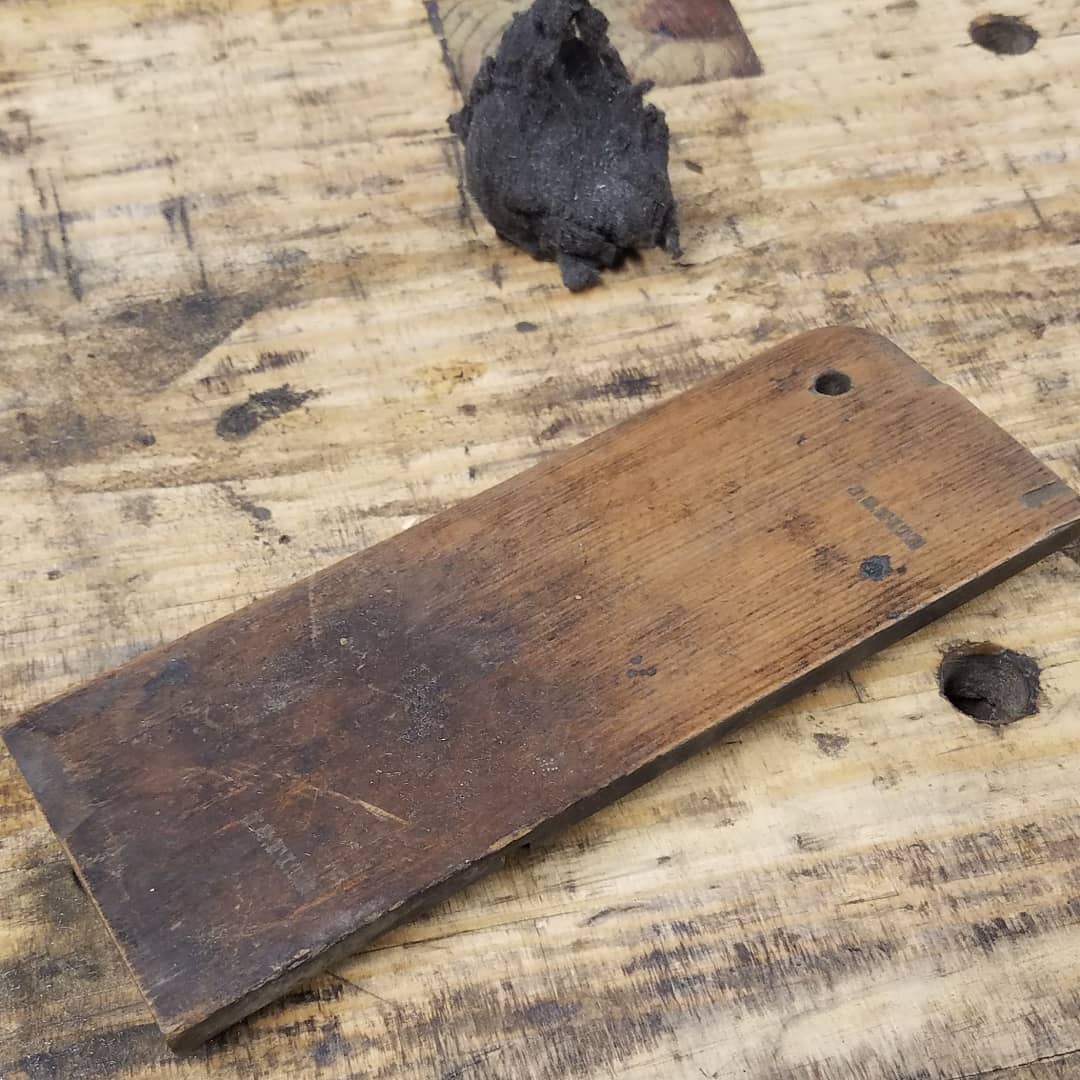
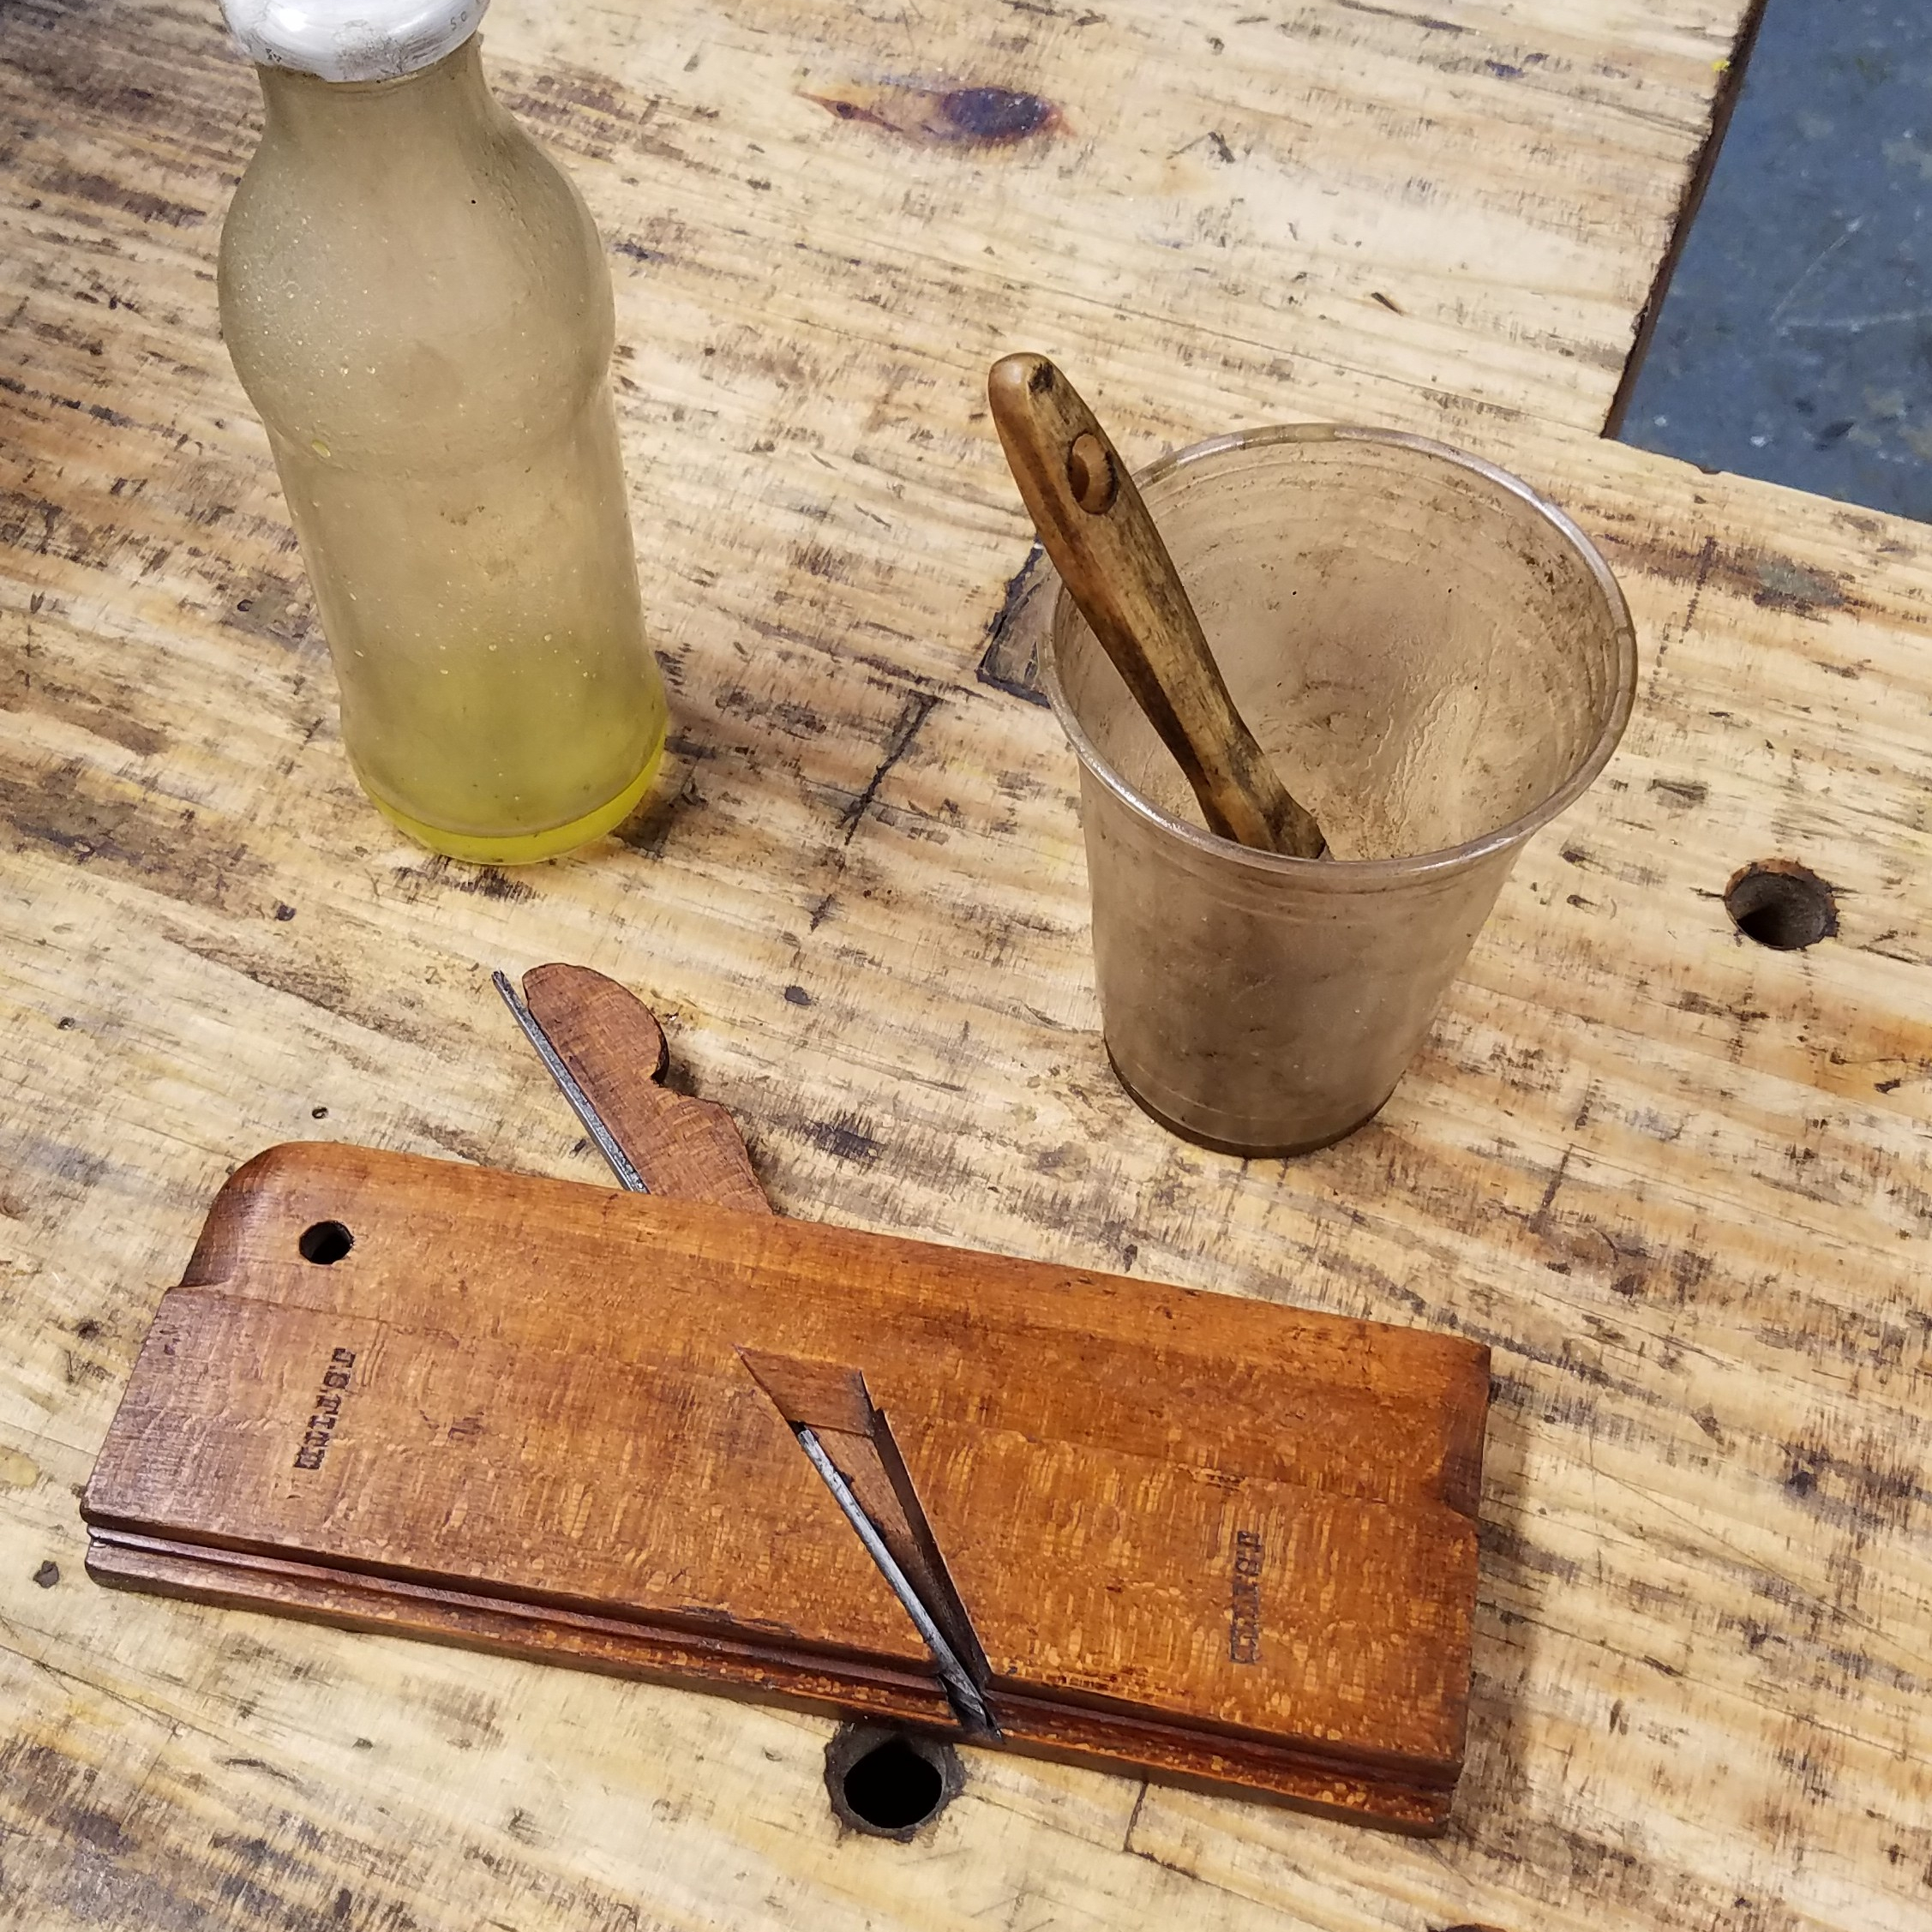
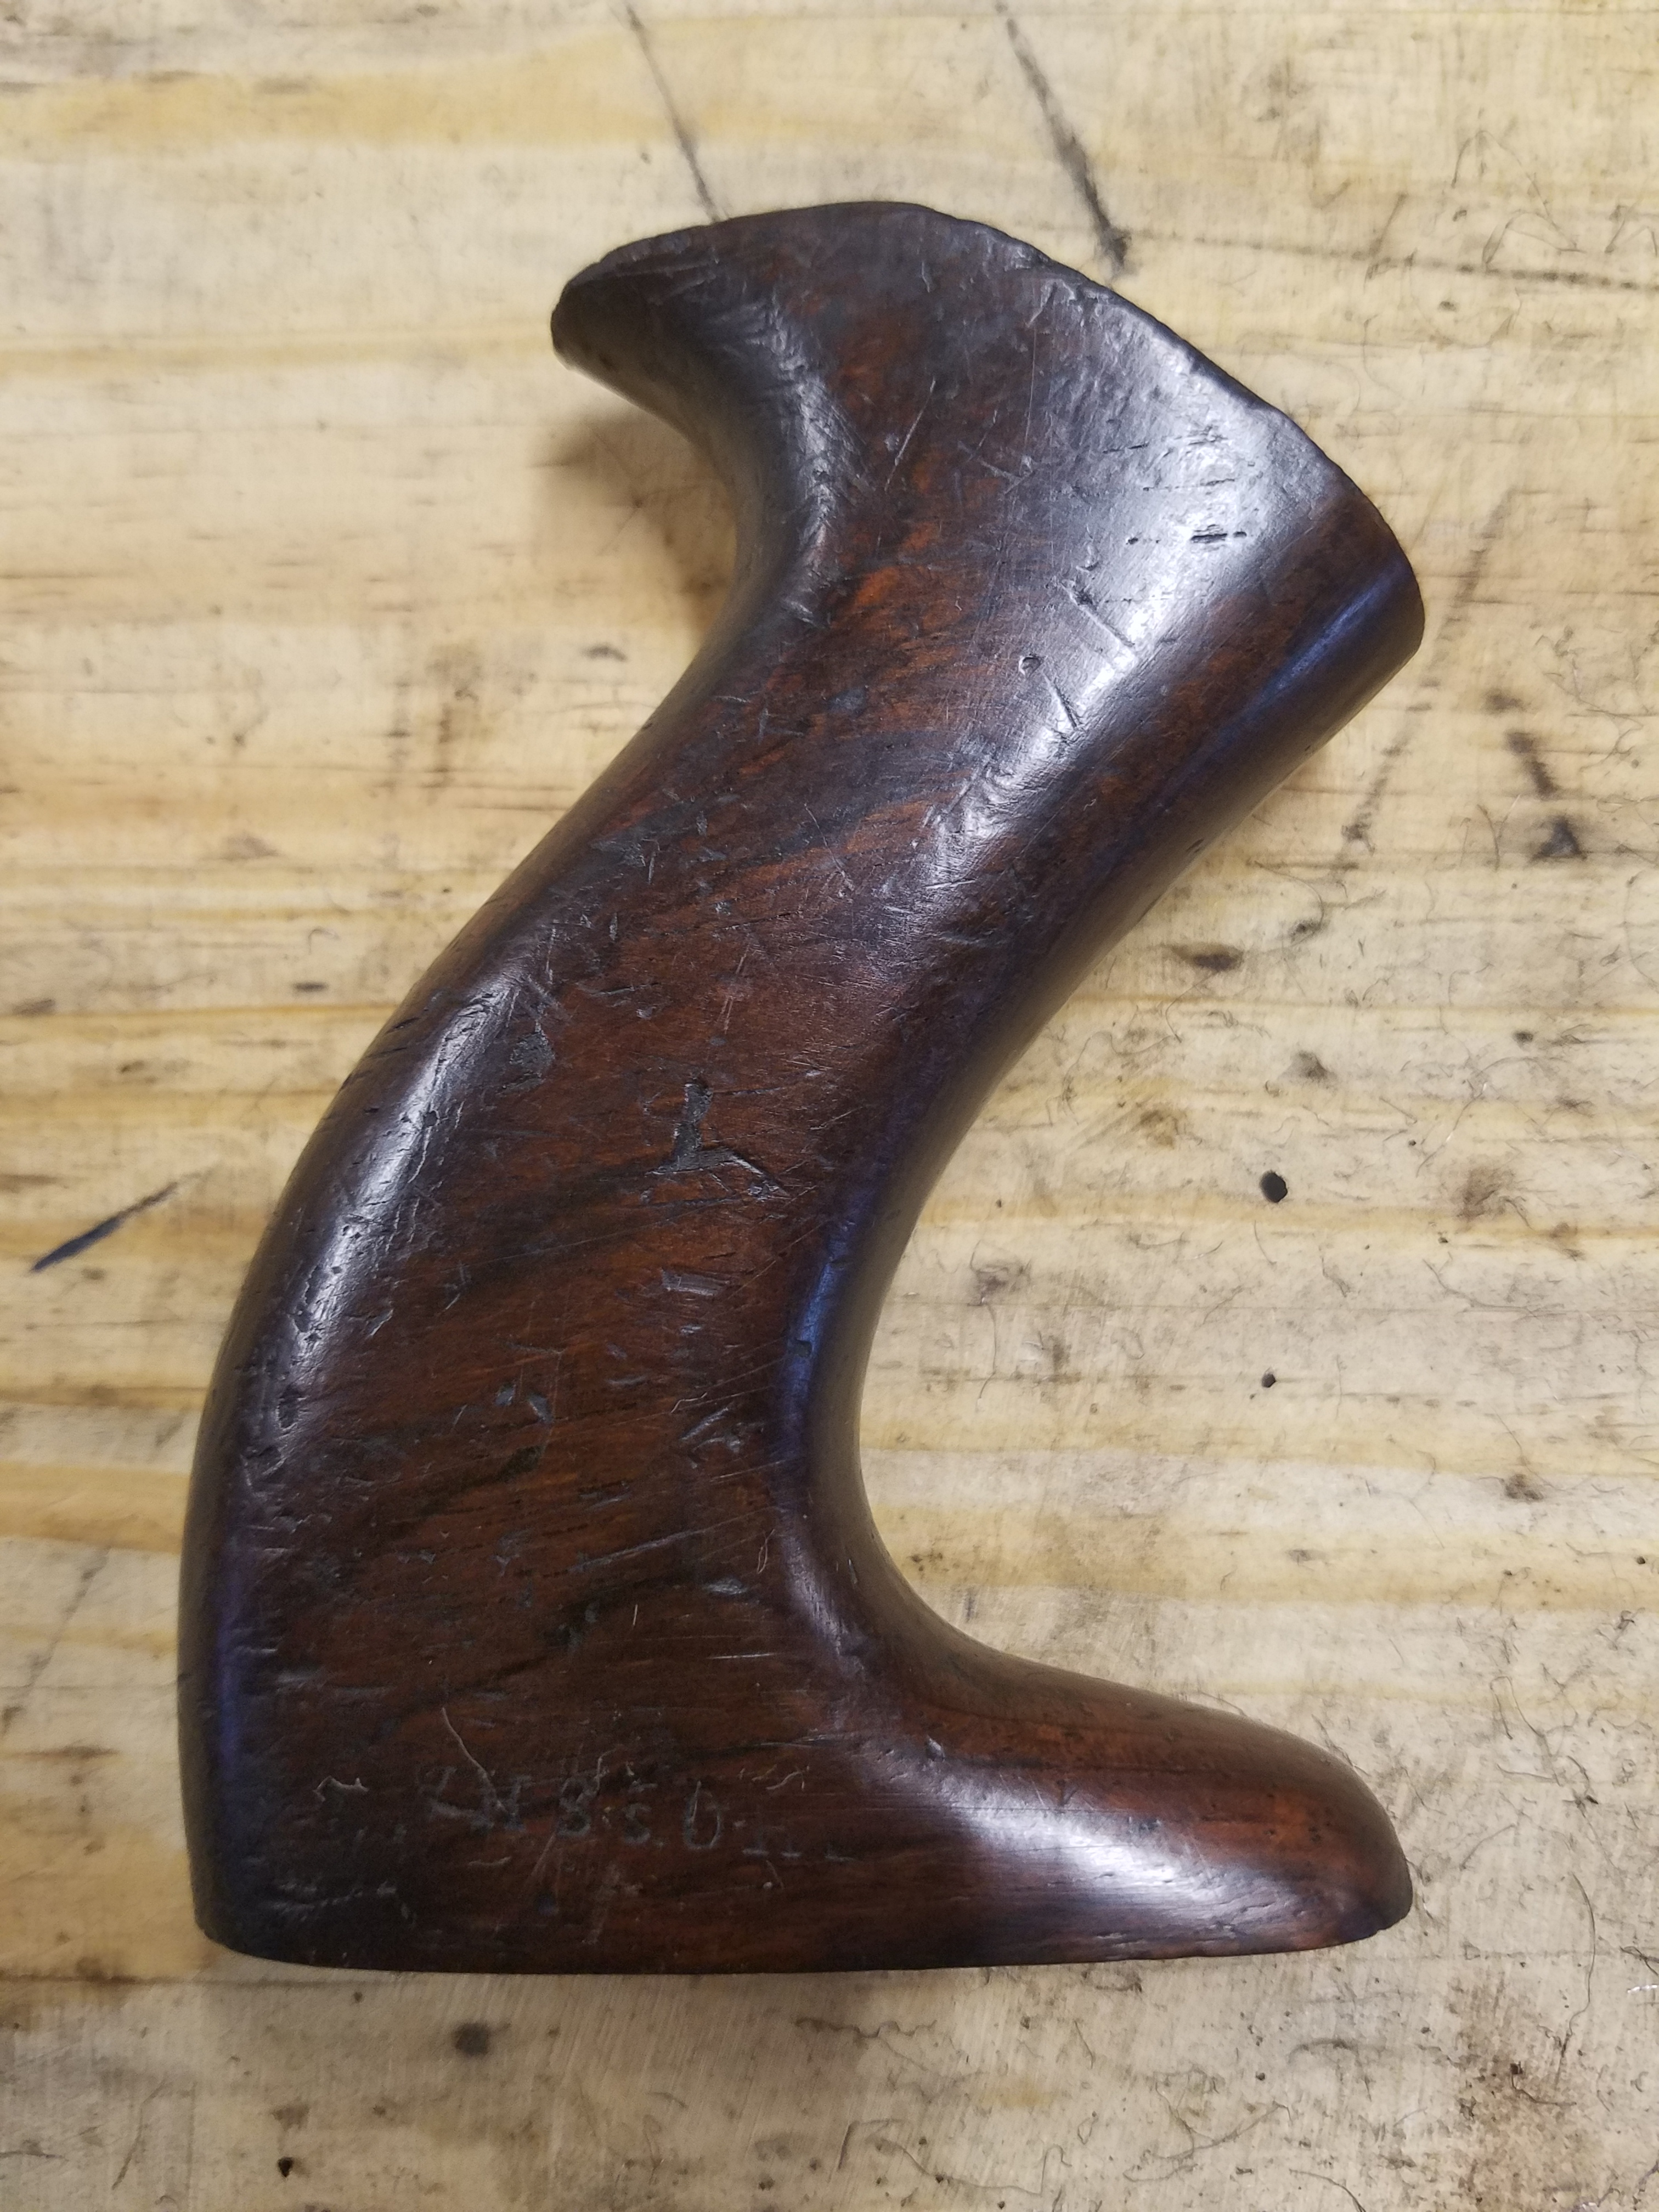
This is one side of an old rosewood tote from a Stanley plane with normal blonde shellac applied to it. Below is the other side of the tote with a coat of black shellac. Even though, the blonde shellac pops the grain, you can see how the grain on the black shellac is much more subdue and looks more natural. It’s all in what your intentions are.

Have you ever played around with black shellac? Let me know what you think about it.