
My wife wanted me to make a serving tray with splayed sides for her. She had a similar one she bought, but wanted to know if whipping up another one for her was doable. I didn’t think it would take too long so I accepted the challenge. I thought all I had to do was cut four boards with 15 degree angles on each end, attach them together and lay some slats down the middle. Boy was I wrong!
I started by milling up the stock by ripping a 2 x 8 length ways in half on the table saw and planed the wood to 1/2″ with my surface planer. After the stock was milled, I left them alone for a few days to let them acclimate in my shop.

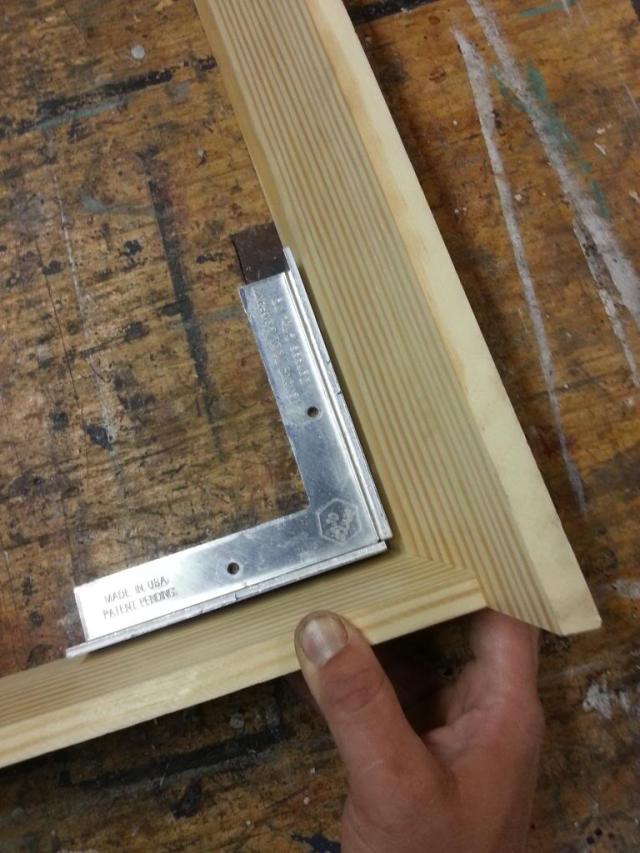
The toughest part about making a serving tray with splayed sides is calculating the compound angles of the sides. When I first looked at the tray, it seemed like if I simply cut a couple of boards at 90 degrees with a 15 degree angle on each end, it would work, but it won’t. I’m no math teacher so I can’t technically explain the geometry that is at work here, but when the sides are splayed to 15 degrees, it changes the end cut by just a few degrees. If I took my bevel and laid it on the outside of the tray and compared it to my try square, you can see the slight difference. I guess another way to look at the geometry is if you cut a cone in half at 15 degrees then look down at the part that had just been cut off, the shape wouldn’t be a circle, but a slight ellipse.
Trying to find the correct compound angle to cut the sides is simple if you know the trick. It starts with a piece of scrap wood with 15 degree angles cut on one side and one end. This piece will now be a jig to use to set up the miter gauge and saw blade.

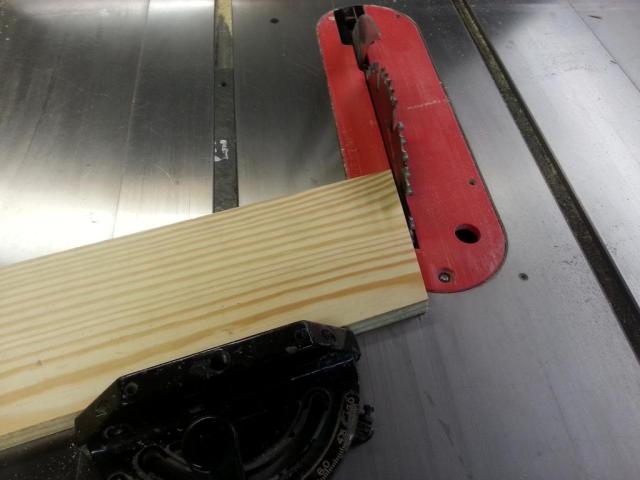
With the jig on it’s face, place it against the saw blade and swing the blade to match up with the other 15 degree angle. Now take your miter gauge and set it to the angle of the wood. Presto, there’s your compound angle.

When cutting the parts you need to do like Roy Underhill and “keep your mind clear of impure thoughts.” It can get quite complicated figuring out which side of the blade you need cut your part on so that the two sides of the tray line up to 90 degrees. Testing on scrap pieces until you get the right cut is highly recommended. It took me nearly 30-45 minutes to figure it out.
Ah, the pieces fit nicely and are square to one another.
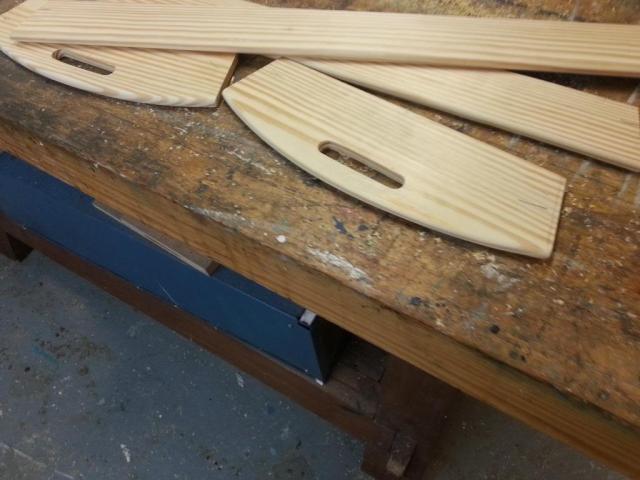
After the sides were cut I needed to cut a couple of handle holes which was no big deal. I used 3/4″ forstner bit and drilled five holes. Then I cleaned up between the holes with a paring chisel and rasps. Then I routed the top of the four sides with a 1/4″ round over bit.
I glued and pinned the sides together with pneumatic nails. Then I attached thin strips to the sides so that I could attach the slats.

I milled up sixteen slats 1 1/2″ wide with 15 degree angles cut on both ends. The two slats at each end of the tray had a 15 degree angle cut down one side to fit snuggly against the side. After lying all the slats to one side, I measured the gap that was left. The total was 11 1/4″. With fifteen spaces between the slats, that would give me 3/4″ of space between each slat.
The dry fit worked well so now it’s time for the finish. I finished all the slats before attaching them to the tray because it would be a lot easier to apply finish that way. I started by dying the parts with walnut wood dye. This gave the wood an even darker tone and took a lot of the yellow coloring out of the pine.
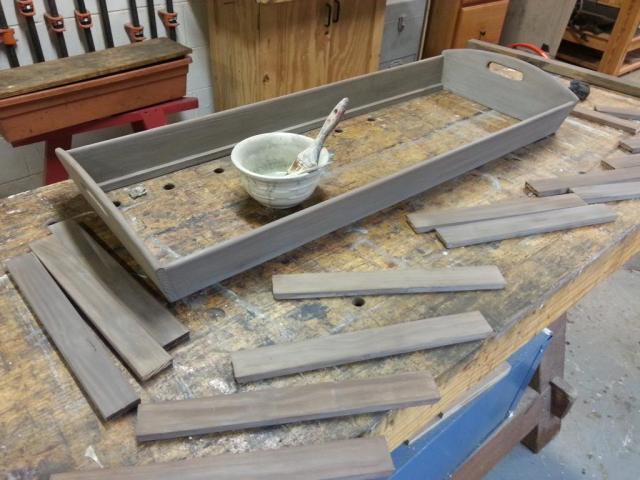
Next, I painted the parts with grey milk paint and let it dry for a few hours.

After the milk paint dried, I mixed up a batch of paste wax. I used an Ebony colored wax, mixed it with a Clear wax so the color wouldn’t be so strong and applied a coat to all the parts. When I wiped off the excess, I glued and nailed the slats into place completing the tray. The wax colored the wood so dark that the pine looks like walnut now. My wife loves it! This tray could be used as a center piece on a dining room table or even hung on the wall in a kitchen as a piece of art.

Nice work, I like the final color a lot.
LikeLike
Thanks. The color was a pleasant surprise.
LikeLike
Pingback: Great Projects For Your New Miter Saw | ReviewThis