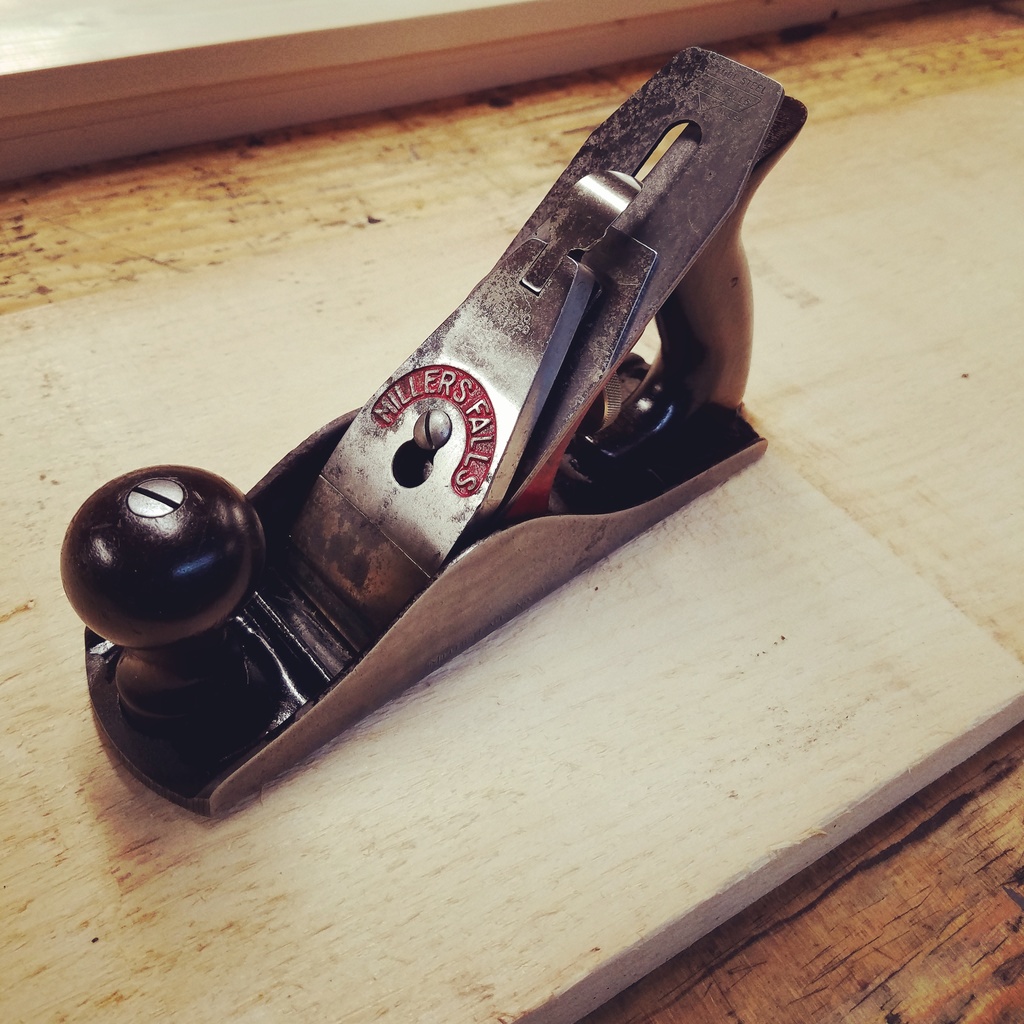
Last month my wife and I were at an antique show in Columbus, Ohio when I passed by this Millers Falls No 9 plane. I looked at it and decided that the rust on the right side was too much to deal with, so I walked away. About ten minutes later, something told me to go back and examine the plane better to see if it was worth saving. I thought to myself if nothing else, it could be used for parts as the handles and frog were in good shape. I asked the dealer how much he wanted for it and he told me $10.00 so I handed him a ten-dollar bill and walked away.

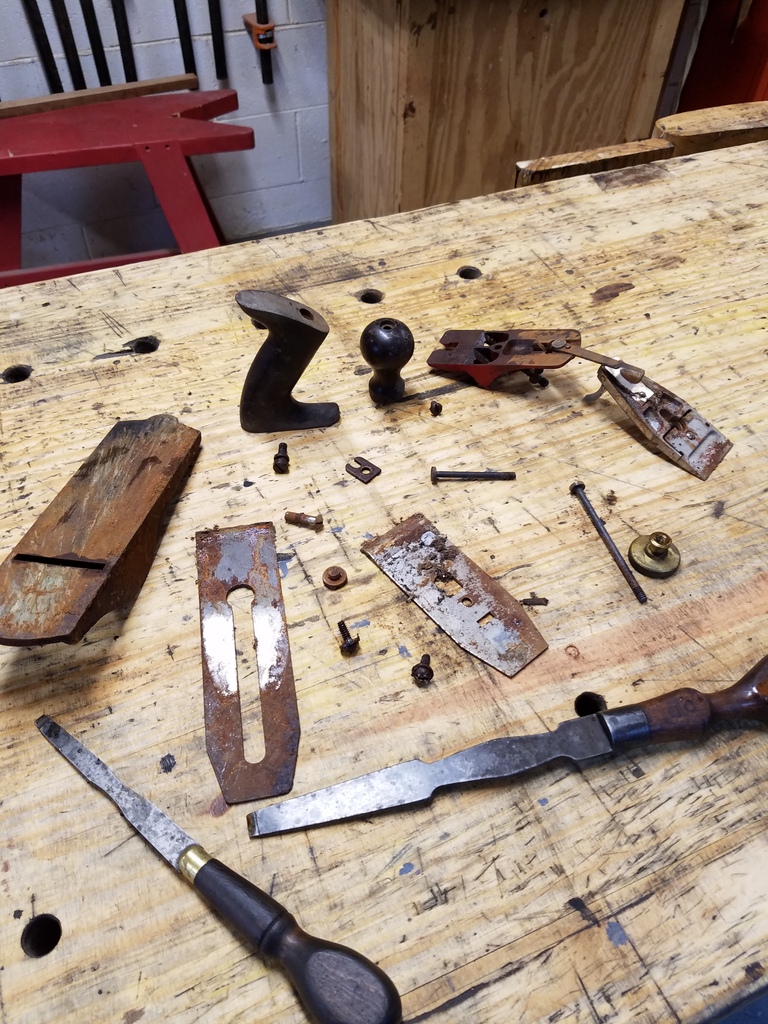
The first thing I do when restoring an old plane is to take everything completely apart spraying PB Blaster on the parts if necessary to break free the rust.
Once apart, I soak the plane in a citric acid bath for a few hours. I use an old planter box as my tub and fill it half way up with water. Then I’ll scoop out about a cup of citric acid and spread it over the water. Sometimes you can buy citric acid at the grocery store in the spices section, but I buy mine by bulk on eBay. I buy about ten pounds worth for $30.00 which is much cheaper than the grocery store which is usually about $7.00 per pound.

After a few hours, I take the parts out of the bath and use a wire brush to scrub the residue off the parts. The acid does a great job of removing the rust from the tool.
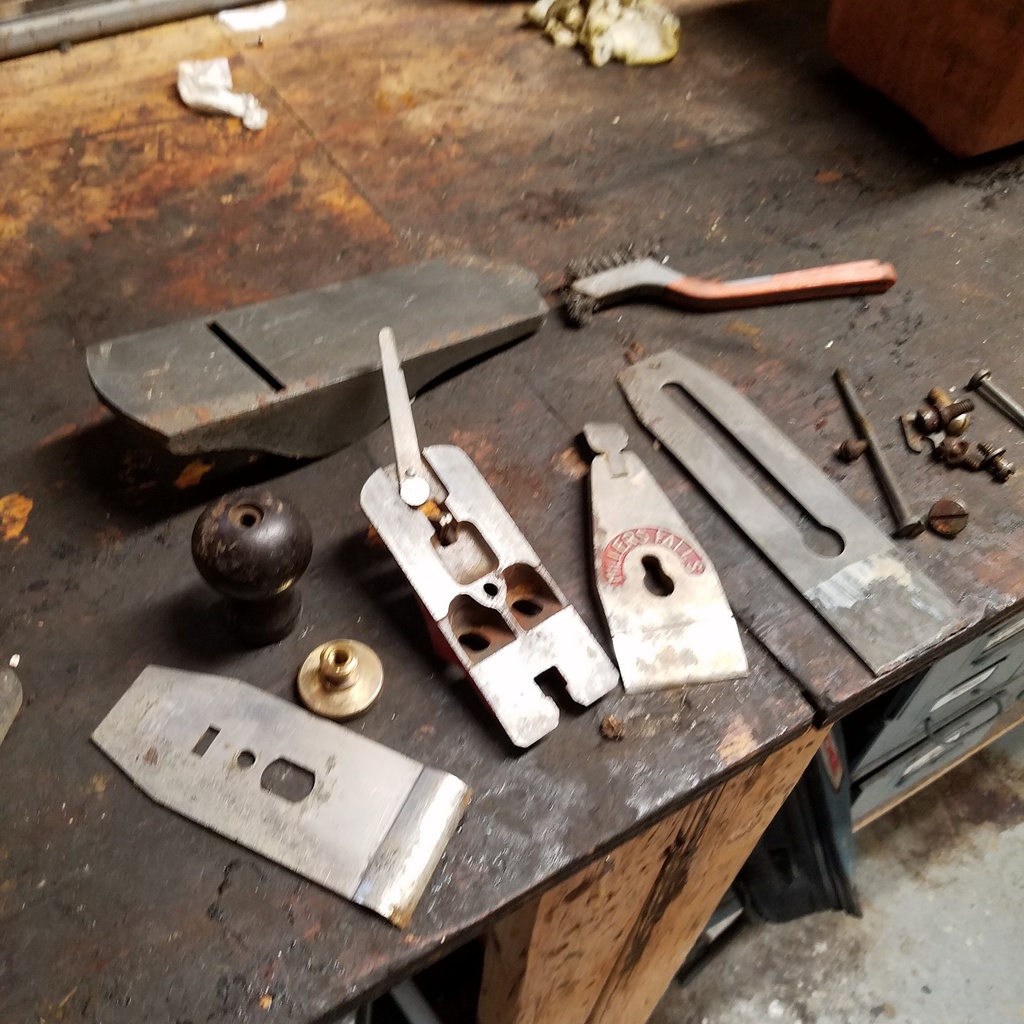
I then polish all the parts with sanding sponges and apply my own homemade rust protection solution which contains, mineral oil, orange oil, and beeswax. I also steel wool the handles of the plane and apply a couple of coats of shellac to them.

Once everything is cleaned and polished, I put the plane back together to see how it looks.
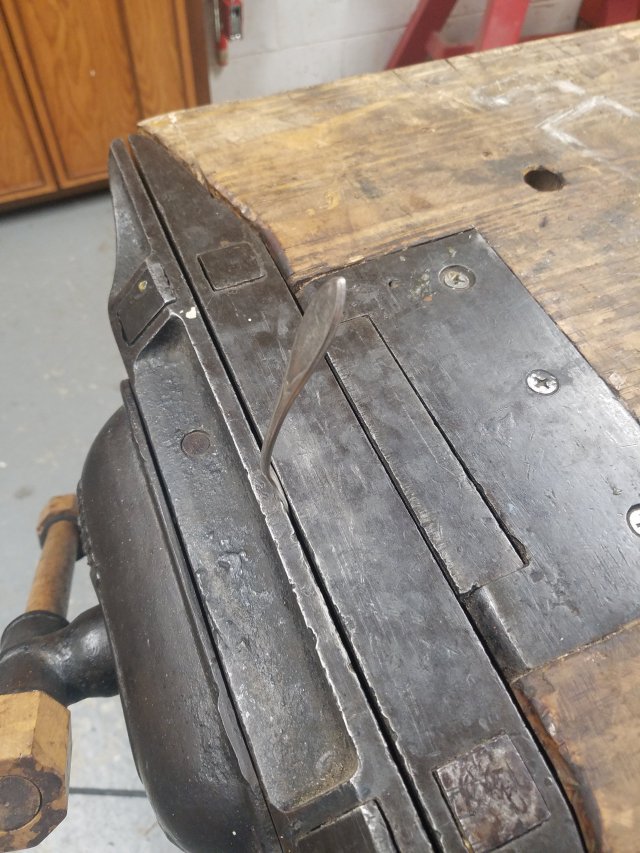
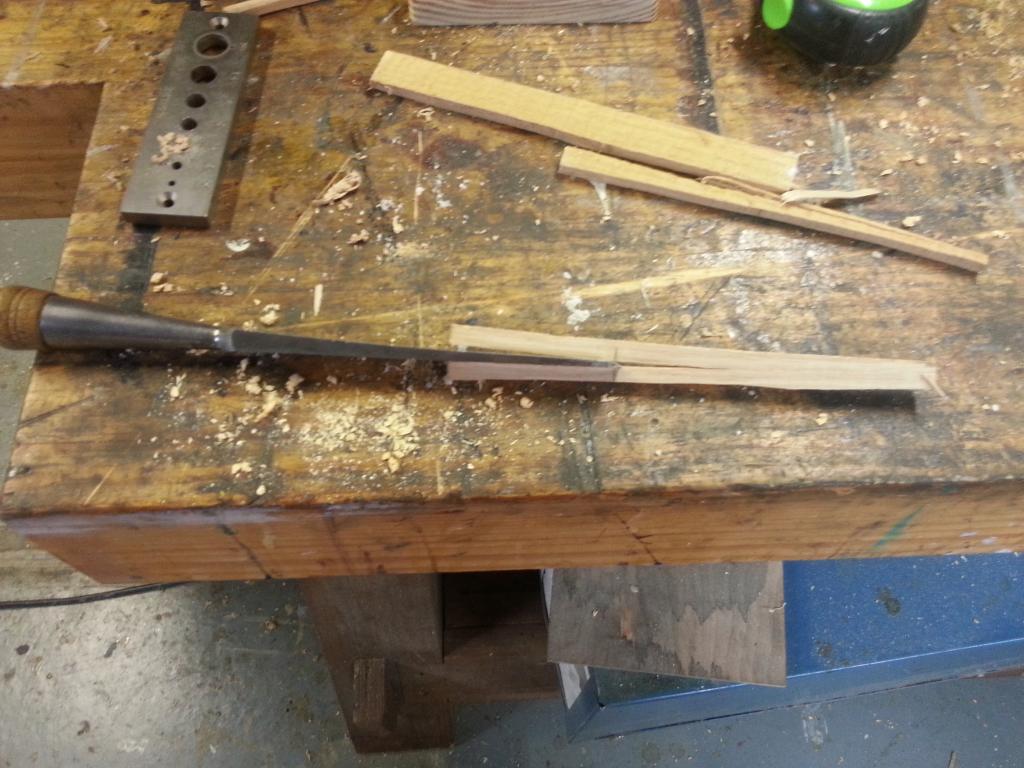
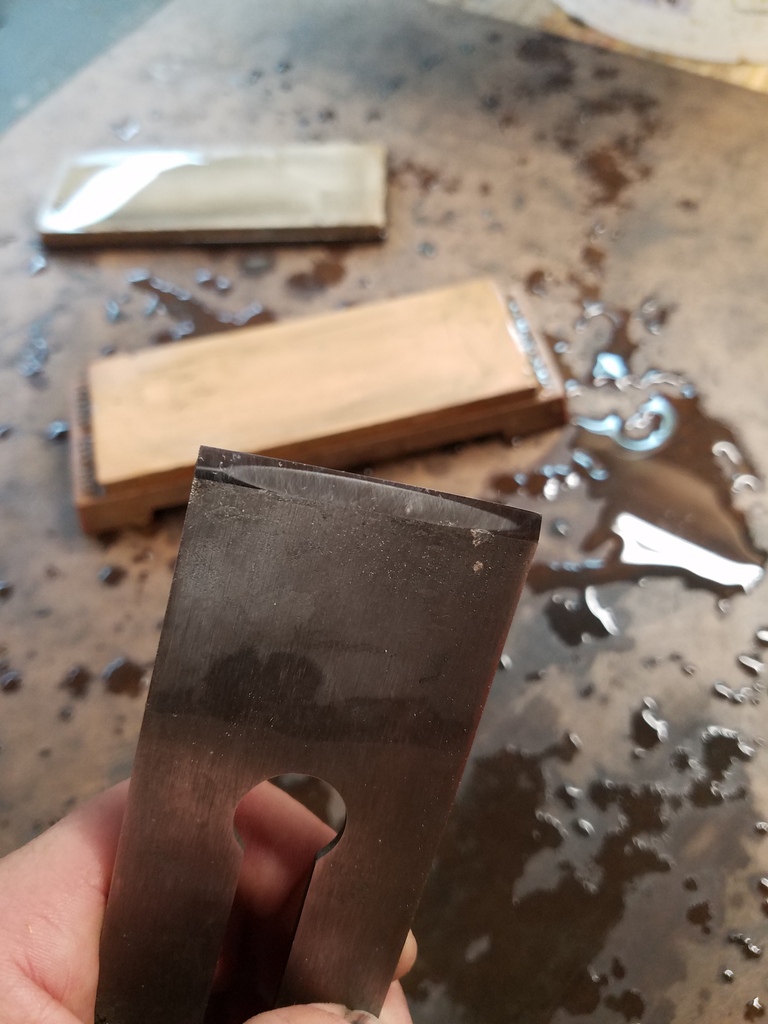
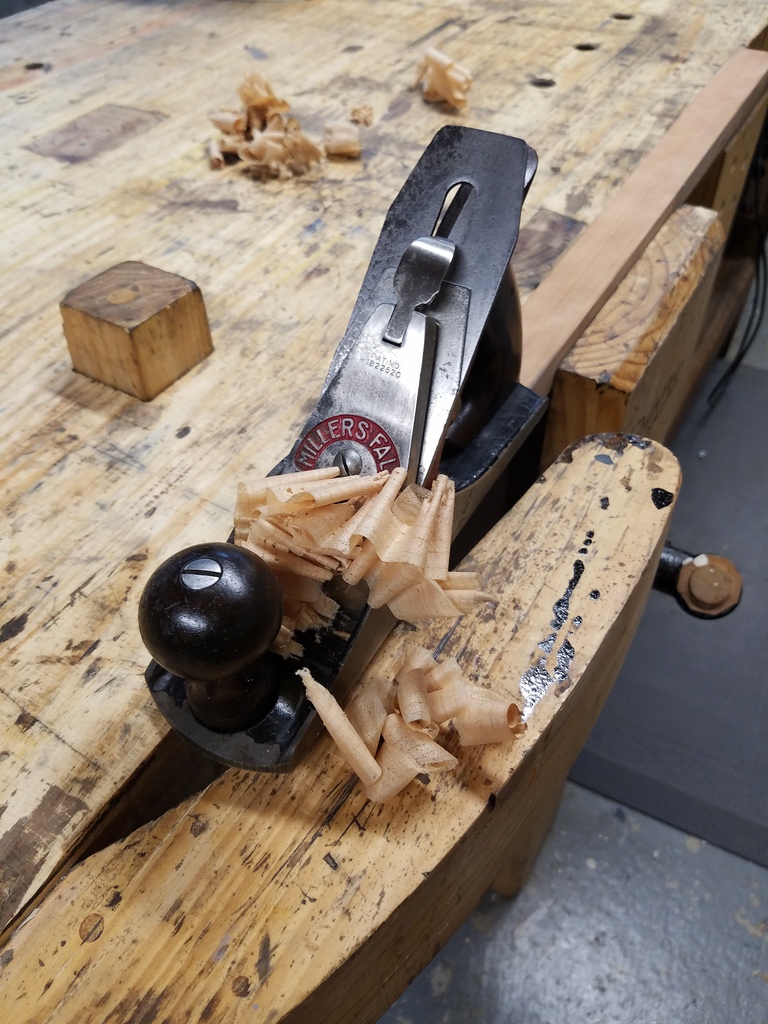
If all the plane was to do is to sit on a shelf and collect dust, then I would be done. However, I want this plane to be used again, so I needed to focus on the blade. As you can see in the picture, the blade was roasted and desperately needed a new edge. Some people feel a blade that is in this bad of shape would automatically need to be replaced, but I like to see if I can get it to work again first.

I took the blade over to my high-speed grinder and ground a new edge making sure not to overheat the blade making it lose its hardness.

After the major grinding was done, I switched to my slow speed water-cooled grinder and worked on the edge some more. I also flattened the back of the blade on my grinder at the same time.

After I was satisfied with the grinding process, I switched to my water stones to hone the edge. I sharpened the blade with a series of 800, 2000, and 5000 grit water stones.
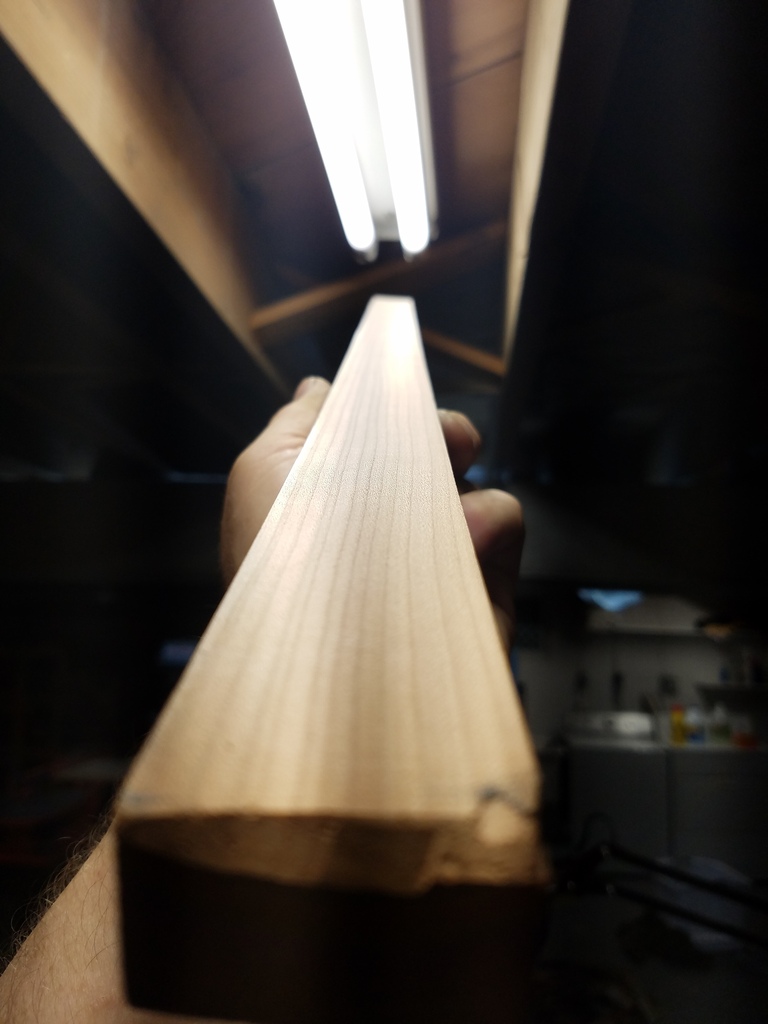
I set the cap iron about a 1/8″ from the edge of the blade and put it back in the plane. After adjusting the blade up and down, I was able to get the plane to cut off a nice thin shaving.
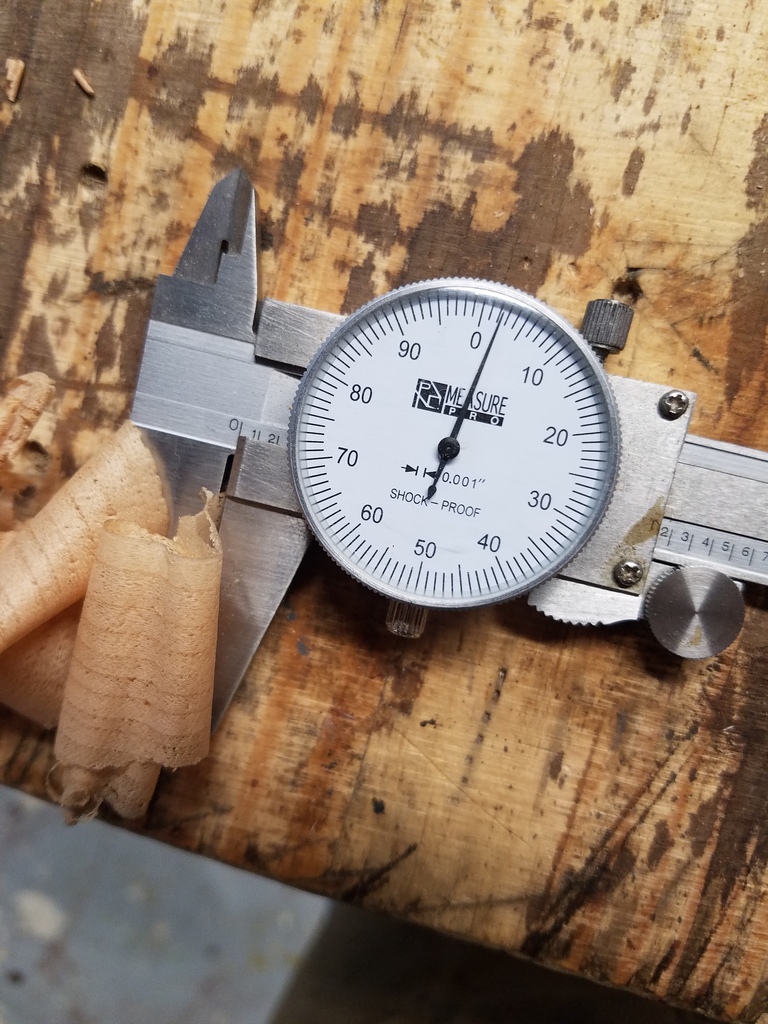
I took one of the shavings and measured it with my calipers. The shavings produced were .002 of an inch thick.
The shavings are nice, but the real proof is the way the plane leaves the wood with a nice sheen. No sandpaper needed. Not too shabby for a rusty $10 plane.