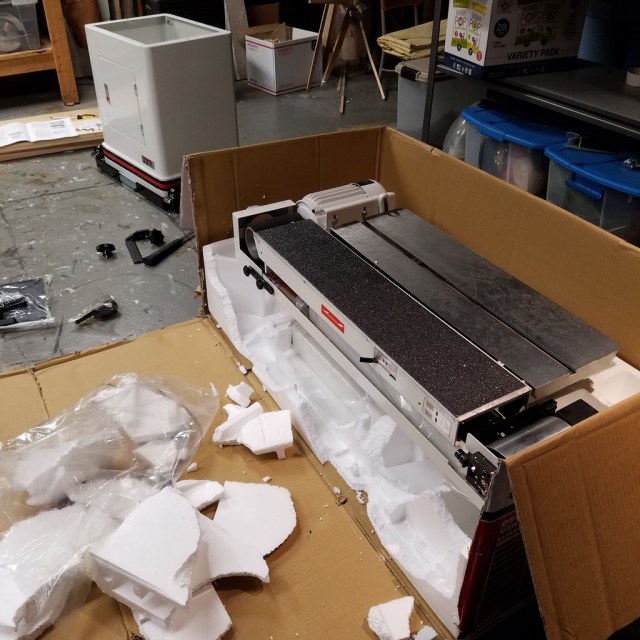
A couple of weeks ago, my local tool supply company I’ve been buying my power tools for the past twenty-five years, Edward B Mueller Co, was having a spring tool sale. I looked through the email and saw that they were offering the Jet oscillating edge sander for $1019.00, which matched Amazon’s price, but they were also offering $95.00 in free accessories. I’ve wanted one of these machines for a while, but was unsure how useful they were since I’ve never tried one myself. I went over to Woodnet.net and asked the guys over there what their thoughts were on them. Everyone who owned one came back that they loved theirs and they use it on nearly every project they work on. So, I decided to bite the bullet and bring one home to my shop. Along with the sander I also got a mobile base and an extra sanding belt with my $95.00 in free accessories.
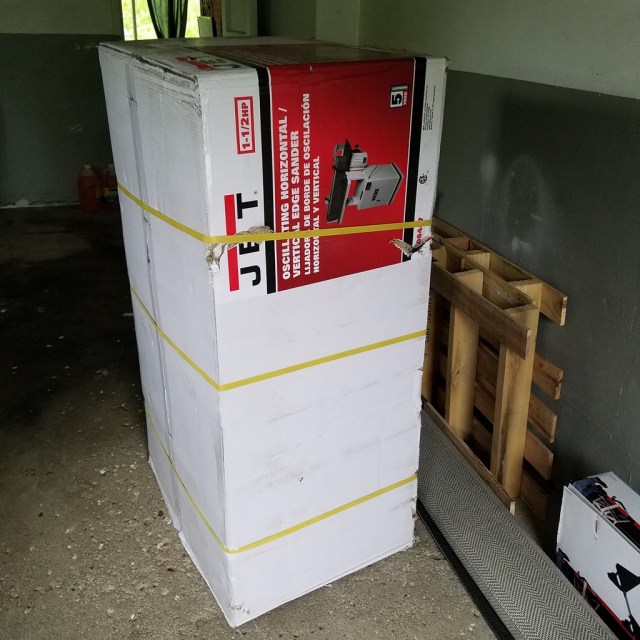
After dragging the sander out of my car, I had to slide it down the basement steps. But before I did that, I took a lot of the parts out of the box to lighten the load. I built the cabinet first and slipped my mobile base underneath before I tried to stick the main unit on it.
Thankfully, I have a strong wife as we were able to lift it up on the cabinet after I took off the cast iron table.
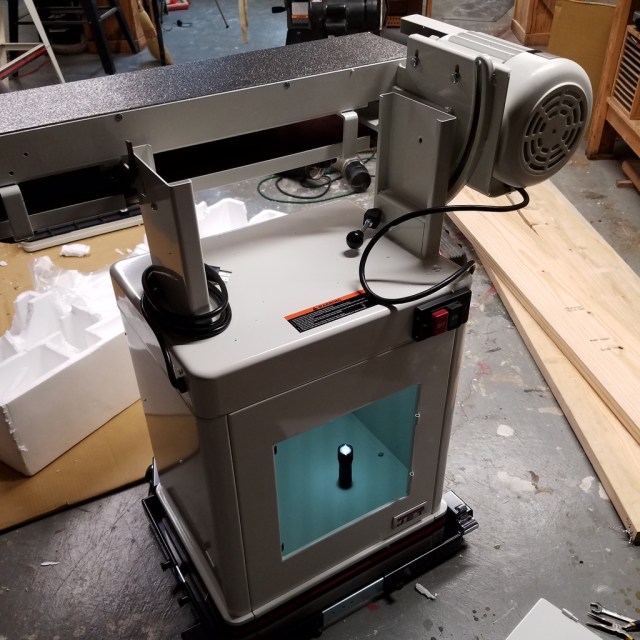
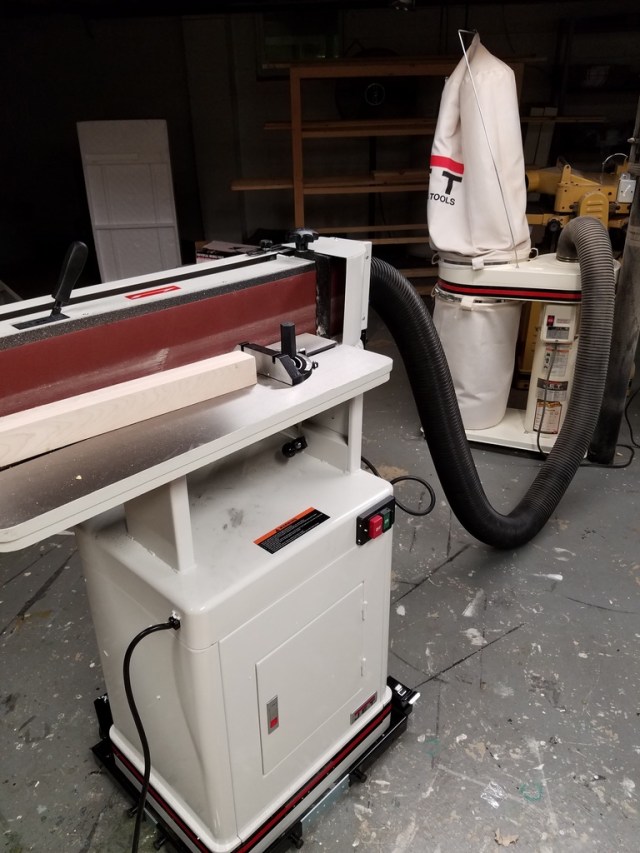
After about an hour to put everything together, the sander was up and running. I hooked up my dust collector to it and turned the beast on to see how it worked. The sander is awesome and the oscillating function works well.
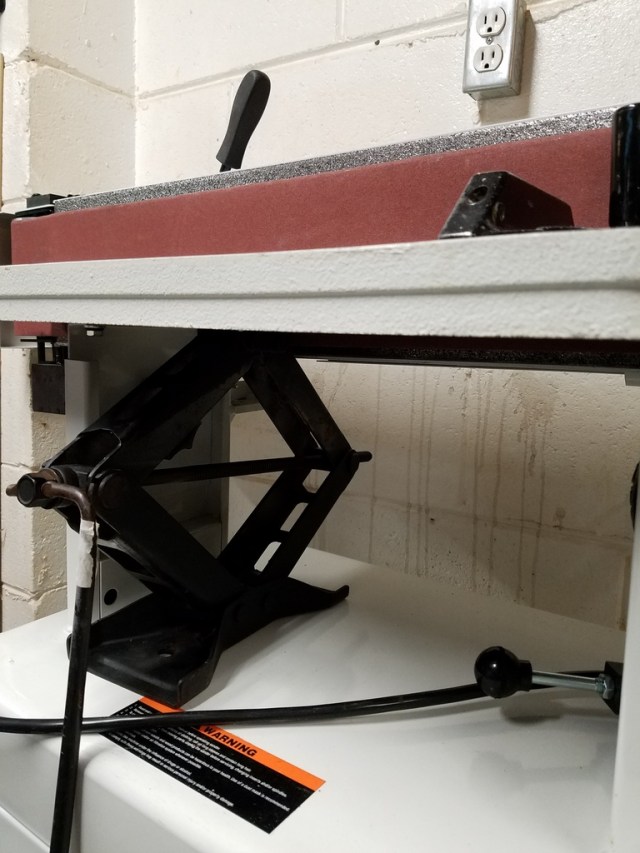
While reading the reviews for the machine on Amazon, one of the biggest complaints people had with it was the fact that the cast iron table was too heavy to move on your own. So, I went to the flea market this weekend and bought an old car jack for $5.00. I slid the jack under the table, loosen the knobs, jacked it up a little bit, then tighten back the knobs. Works great! Plus the jack is small enough to fit inside the cabinet.
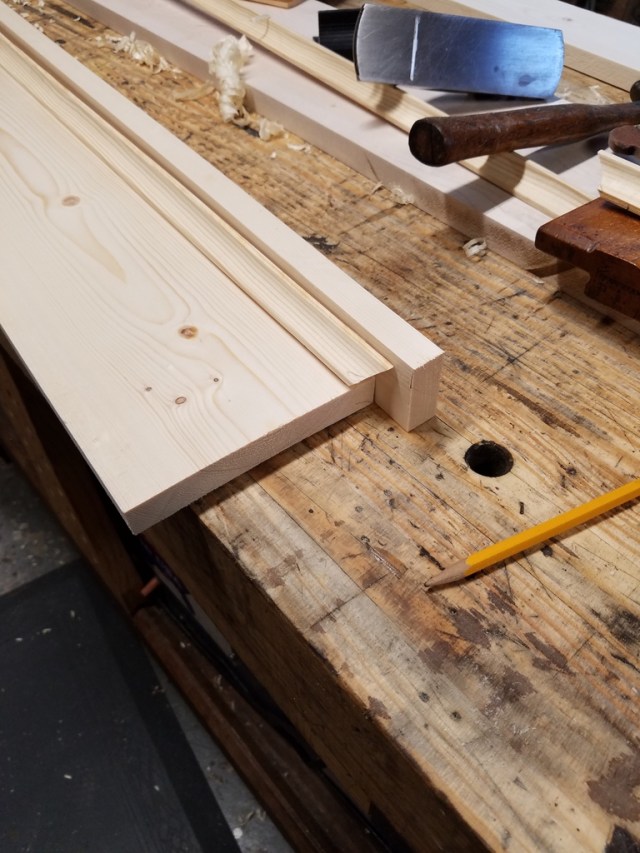
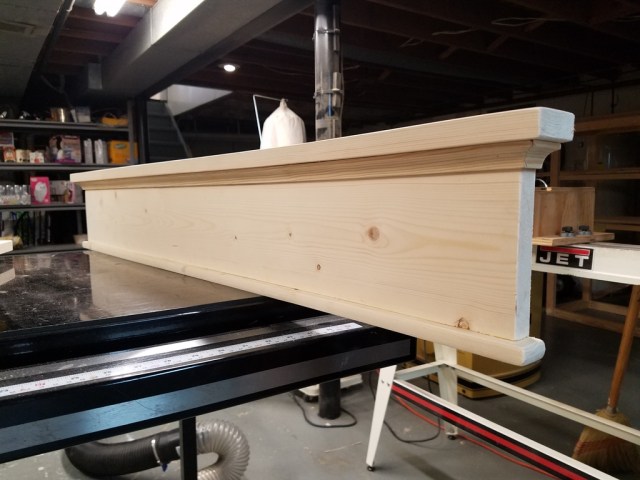
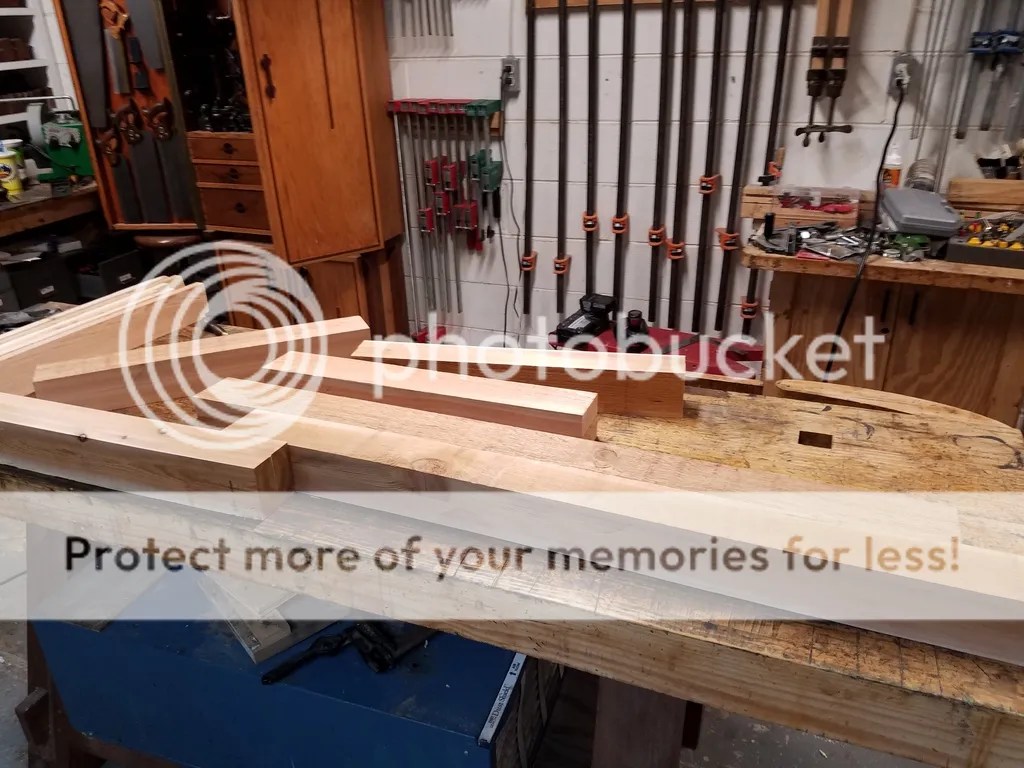
Yesterday I was building a coffee console table for my wife that had “X” cross braces on each side of the table. I scribed the angle on the crossbar, cut it off heavy on the band saw, and then cleaned up the piece on my edge sander.
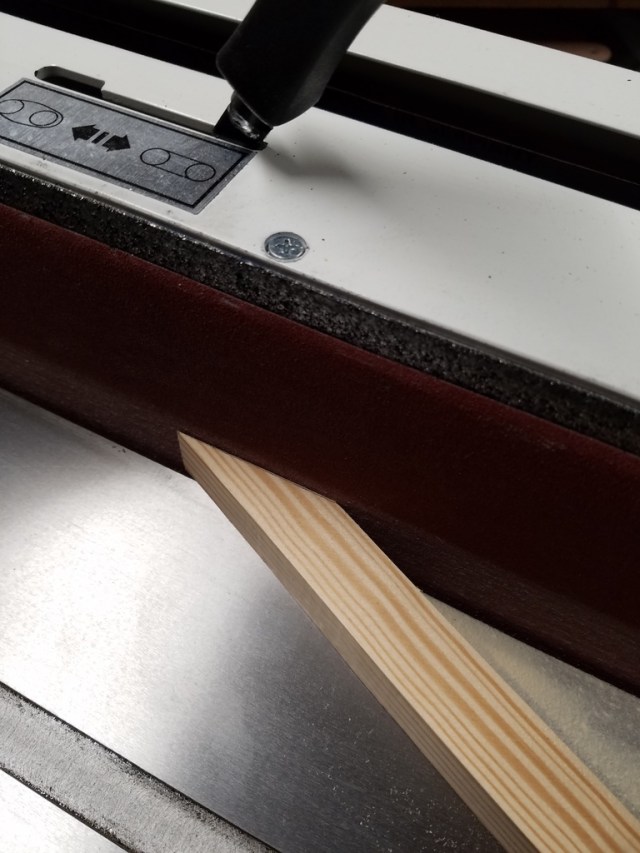
It works perfectly and leaves a super clean finish. All I can say is that I love this tool! I can easily see using it on nearly everything I make. For years, I used to chuck up a 12″ disc to my lathe and stick a sand paper disc onto it to turn it into a disc sander. I used it so much that I used my lathe as a sander more than I did for turning. I’m happy to say that lathe is going back to being a lathe.