Several months ago I picked up a Stanley No 10 Carriage Makers Rabbet plane with a welded sole at a local auction. I wanted to restore the plane and make it usable again so I took it all apart and soaked everything in a citric acid solution for a few hours.
Even thought the weld was done fairly well, the plane’s sides were no longer straight. Not the best situation for a plane that needs straight sides in order to cut a clean rabbet.
Fortunately, because the plane cracked only on one side, the bed was still relatively flat when it was welded back. If the bed would have been out of whack, I may have resorted to the garbage can as it would have been too much work to fettle flat.
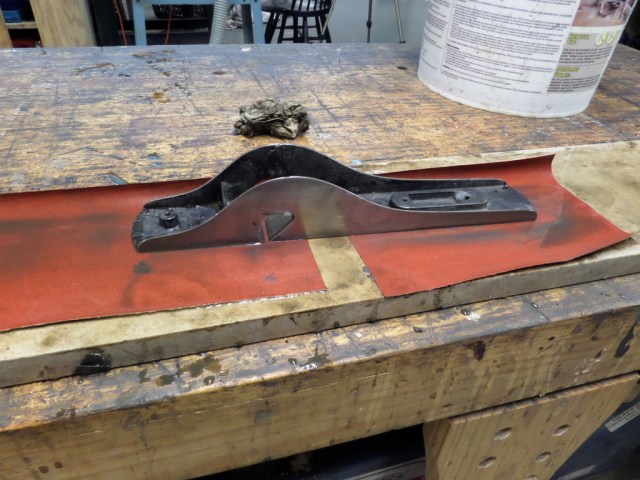
I wanted the black removed from the sides as the previous owner painted the sides to cover up the weld. I spread some paint remover on it and let it sit for a few minutes before removing it with a putty knife. I then needed the sides to be straight so I started to fettle them with sandpaper on a marble base. Rubbing the bed back in forth, I could see the high and low spots on each side.
There was a lot of metal to remove, so I decided to take the bed to my stationary disc sander and carefully grind the bed using 80 grit sand paper.
Using the disc sander saved a lot of time, but it scratched the hell out of the surface. I made sure I moved the bed back and forth so that I wouldn’t do more damage than good.
Because the disc sander made a lot of scratches on the sides, I took the bed back to my marble base and used a variety of sand paper grits to remove as many scratches as I could.

I then focused on the bed, fettling it flat. I used a variety of sand paper from 150-400 grit. I worked on it for a few minutes until I was satisfied with the results.
Once the bed was done, I sharpened the blade using my Tormek sharpening wheel and water stones.
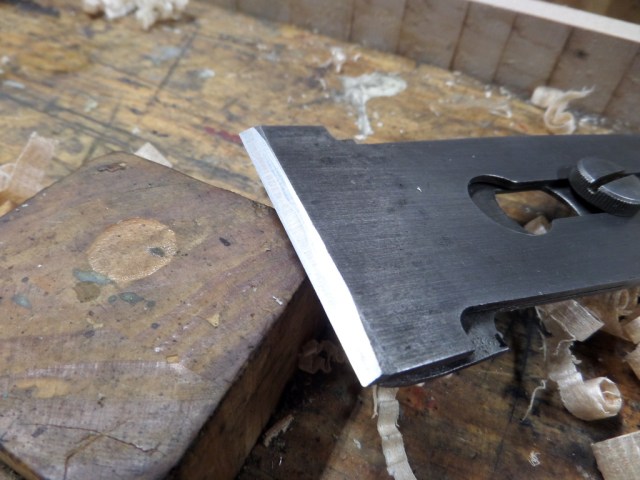
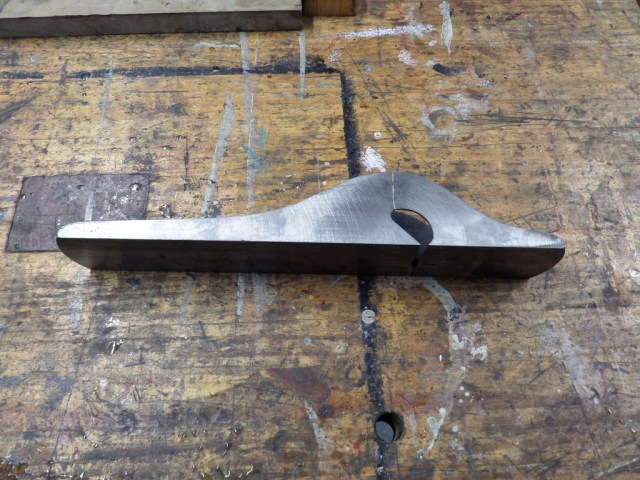
Since I ground some of the thickness of the sides away, you can see where the blade protrudes farther out of the side than normal. I could grind away the sides of the blade, but I wanted to wait and see how it performs first. If I was able to cut a clean rabbet with the way it was, I would just leave it alone.

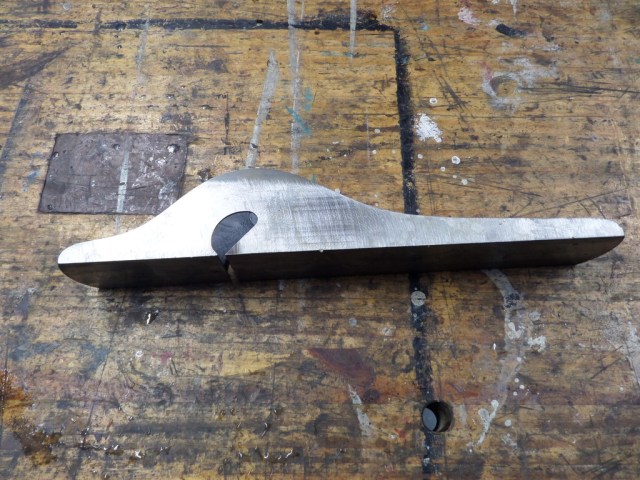
Here she is after all the work has been done. It looks a lot better than the way I bought her, but I still needed to see if she works.

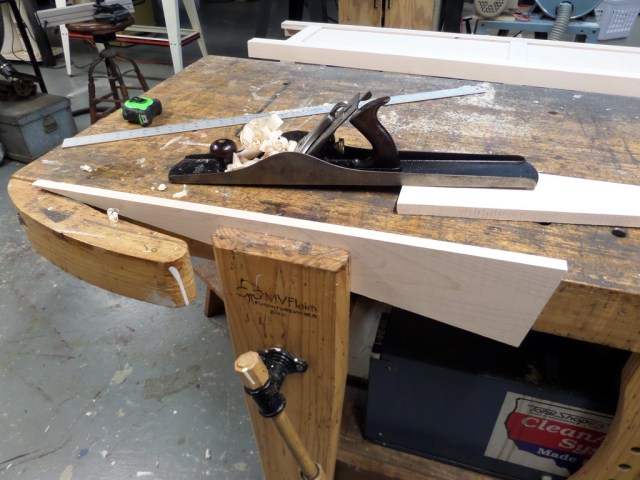
After setting the blade to the right depth, I tried it out on a scrap piece of wood. It cut nice little shavings with ease and can now be put in my arsenal of planes for use. Even though I spent a good day tuning this plane up, it gives me great satisfaction resurrecting an old tool back to life. Plus it saved me a ton of money versus buying a new rabbet plane.